Introduction
When your computer or electronic device fails to turn on or experiences random shutdowns, the culprit may be a faulty power supply unit (PSU). The power supply unit is responsible for providing electrical power to all the components inside your computer or electronic device. Over time, it can become damaged or worn out, leading to various issues.
In this guide, we will walk you through the steps to fix a power supply unit and get your device up and running again. Whether you are a beginner or an experienced computer enthusiast, this guide will provide you with the necessary knowledge and tools to identify and resolve common power supply issues.
We will start by discussing some of the most common power supply issues you may encounter. Understanding these issues will help you pinpoint the underlying problem. Then, we will list the tools you will need to perform the necessary repairs or adjustments. With the proper tools in hand, we will guide you through each step of the troubleshooting and repair process.
It is important to note that if you are uncomfortable working with electronics or unsure about any of the procedures, it is best to consult a professional technician. However, for those who are willing to learn and take on the challenge, let’s dive into the world of power supply unit troubleshooting and repair!
Common Power Supply Issues
A power supply unit can encounter various issues that can cause disruptions in the functioning of your computer or electronic device. By understanding these common issues, you can quickly diagnose the problem and take appropriate action. Here are some of the most frequent power supply issues:
- Power Surges: Power surges can occur due to lightning strikes or fluctuations in the electrical grid. They can damage the components of the power supply unit and even other connected devices. To prevent power surges, it is advisable to use surge protectors or uninterruptible power supply (UPS) devices.
- Overheating: When a power supply unit becomes overheated, it may not function properly or may shut down to protect itself. Overheating can be caused by a lack of airflow, accumulated dust, or a malfunctioning fan. Regularly cleaning the power supply and ensuring proper ventilation can prevent overheating.
- Failed Components: Over time, certain components in the power supply unit, such as capacitors, can deteriorate and fail. This can result in a loss of power or unstable voltage output, causing system instability or even complete failure. Identifying and replacing faulty components can often resolve these issues.
- Loose Connections: Loose connections between the power supply and other components can cause intermittent power failure or irregular voltage output. Checking and tightening all connections can help ensure a stable power supply connection.
- No Power: If your computer or device does not turn on at all, it could indicate a complete power failure. This issue can be caused by a blown fuse, a faulty power switch, or a dead power supply unit. Troubleshooting these potential causes can help you get to the root of the problem.
By familiarizing yourself with these common power supply issues, you will be better equipped to diagnose and fix problems that may arise. In the next section, we will discuss the tools you will need to perform power supply unit troubleshooting and repair.
Tools Needed
Before you start troubleshooting and repairing your power supply unit, it’s important to gather the necessary tools to ensure a smooth and successful process. Here are the tools you will need:
- Multimeter: A multimeter is a versatile tool used to measure voltage, current, and resistance. It is essential in diagnosing power supply issues and checking the functionality of different components.
- Screwdriver set: A set of screwdrivers with different types and sizes will be needed to open the casing of your power supply unit and access its internal components.
- Compressed air or brush: Dust and debris can accumulate inside the power supply unit, affecting its performance. Using compressed air or a small brush, you can clean the dust off the components and improve airflow.
- Thermal paste: If you determine that the overheating issue is caused by a faulty thermal interface between the heat sink and the component, you may need to apply new thermal paste. It ensures better heat transfer between the two surfaces.
- Replacement components: In some cases, you may need to replace faulty components, such as capacitors or transistors. Having replacement components on hand will allow you to make necessary replacements quickly.
- Antistatic wristband: Electrostatic discharge (ESD) can damage sensitive electronic components. An antistatic wristband will help ground you and prevent ESD while working with your power supply unit.
Make sure you have these tools ready before proceeding with the troubleshooting and repair process. Having them on hand will save you time and ensure that you can address the power supply issues effectively.
Step 1: Unplug the Power Supply
The first step in troubleshooting and repairing a power supply unit is to ensure your safety by disconnecting it from the power source. This will prevent any potential electric shock or damage to your devices during the repair process. Follow these steps to unplug the power supply:
- Turn off your computer or device: Shut down your computer or turn off the device that is powered by the power supply unit. This will ensure that no power is being drawn from the power supply.
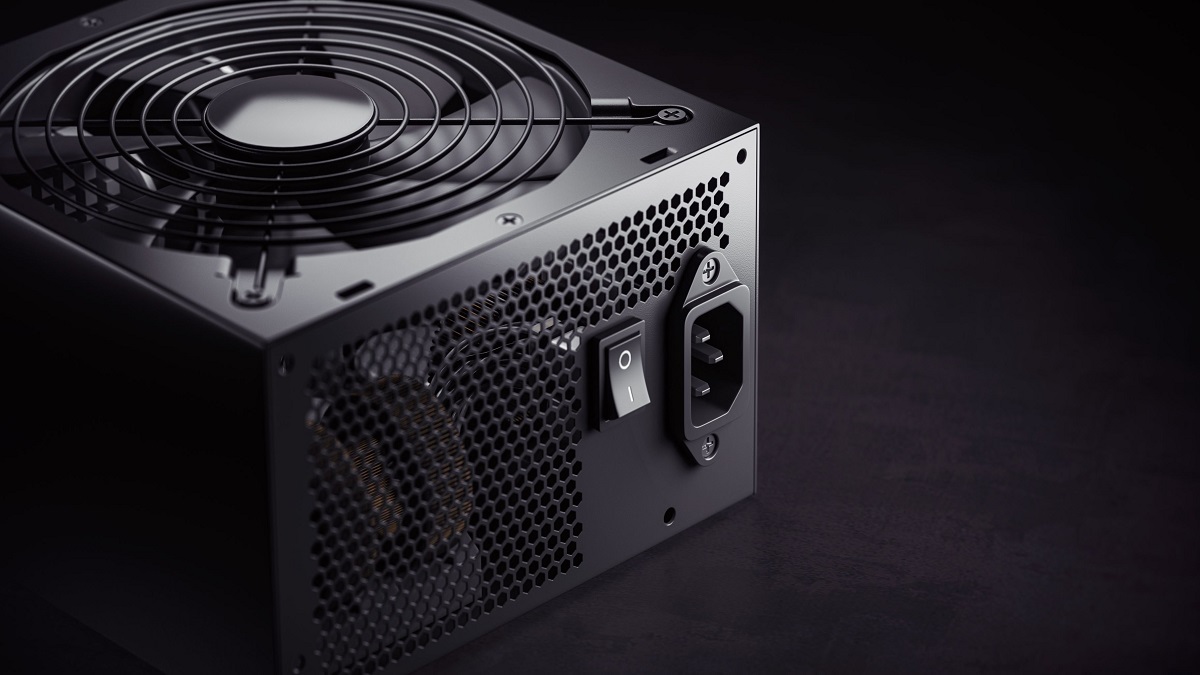
- Switch off the power supply: Locate the power switch on your power supply unit. It is typically located near the power cord connection on the back of the unit. Switch it off to cut off the power supply.
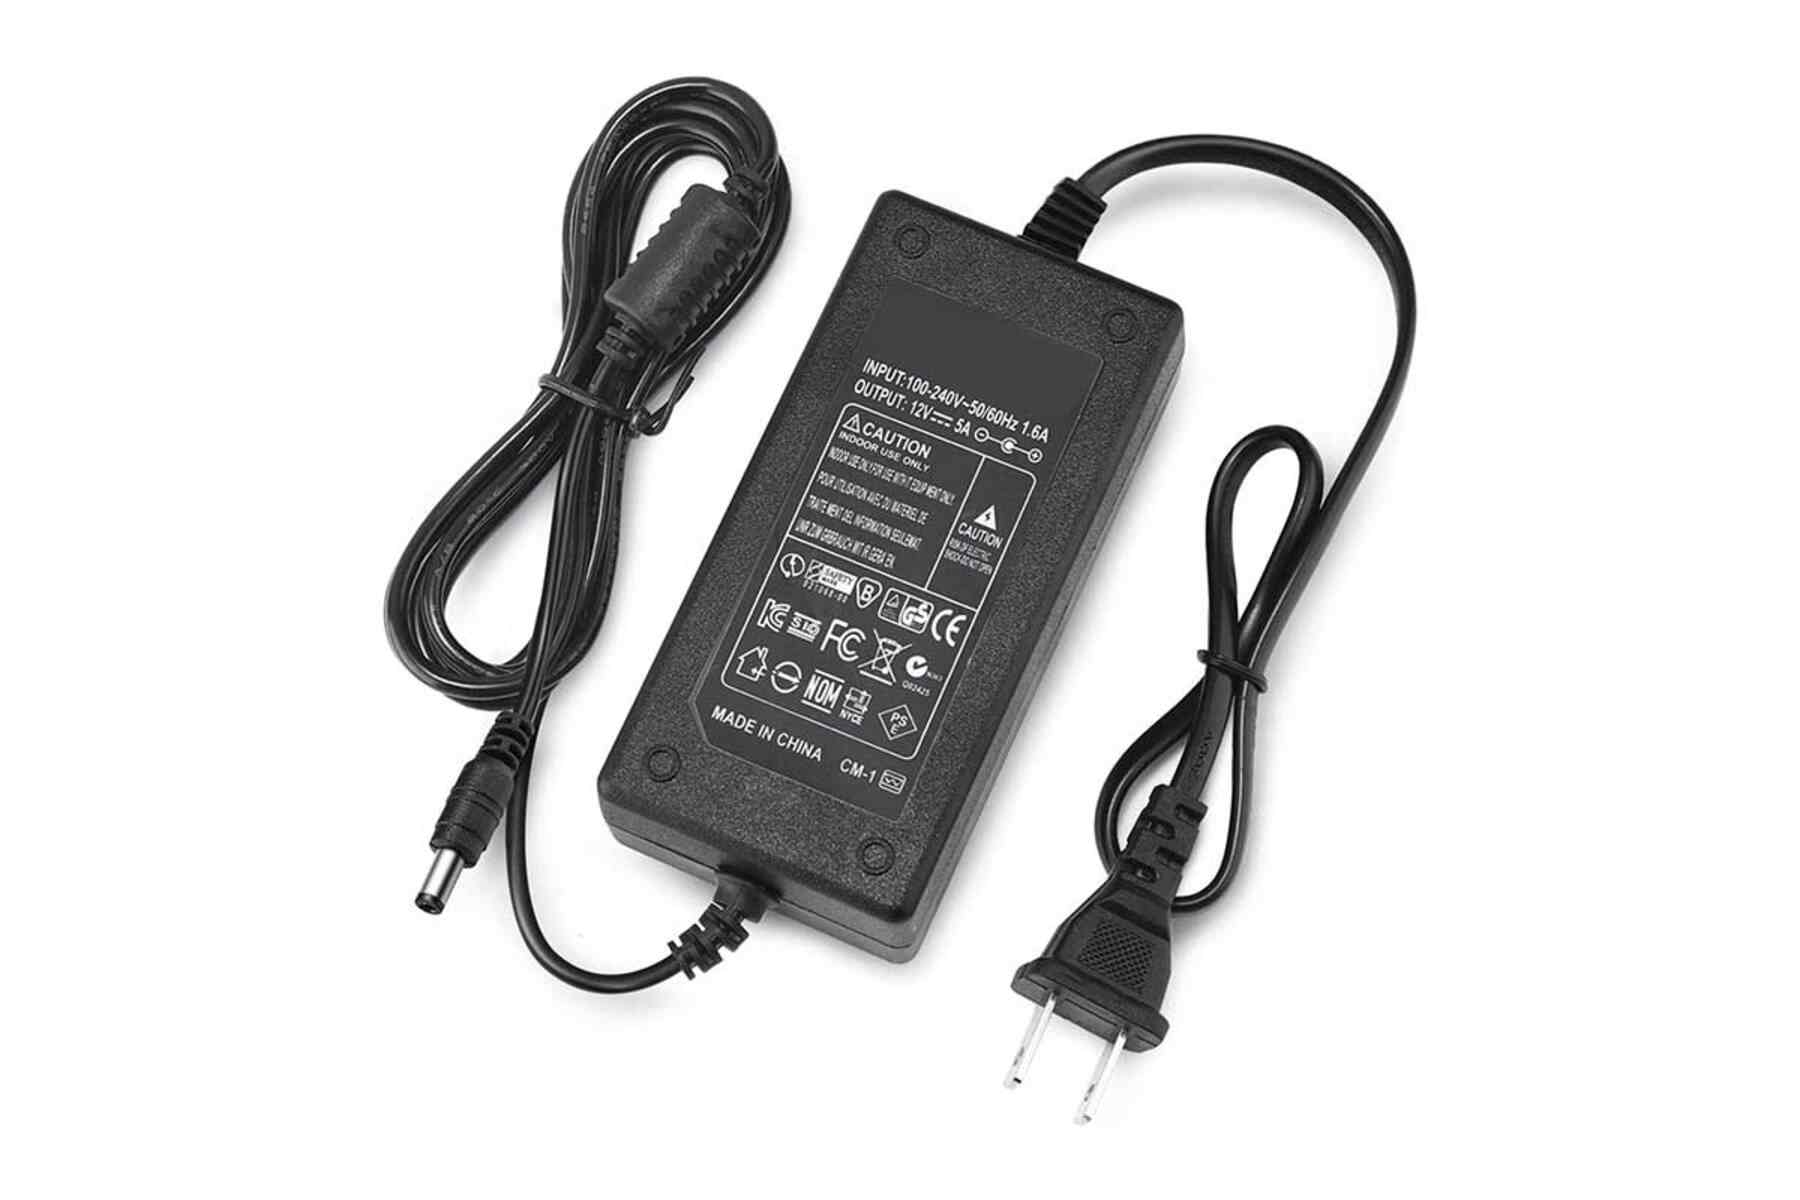
- Unplug the power cord: Disconnect the power cord from the outlet or power strip. Make sure there is no physical connection between your power supply unit and the electrical power source.
- Wait for residual power to drain: After unplugging the power supply, it is important to allow any residual power to drain. This can be done by pressing the power button on your computer or device a few times while it is unplugged. This helps discharge any remaining stored power.
By following these steps, you have successfully unplugged the power supply unit and ensured your safety while working on it. Now, you can move on to the next step in diagnosing and fixing the power supply issues.
Step 2: Inspect for Physical Damage
After unplugging the power supply, the next step is to visually inspect the unit for any signs of physical damage. Physical damage can contribute to power supply issues and may require repair or replacement. Follow these guidelines to conduct a thorough inspection:
- Examine the power supply casing: Carefully inspect the external casing of the power supply for any cracks, dents, or other visible damage. Pay close attention to the corners and edges, as these areas are more prone to impact damage.
- Check the power supply fan: The fan inside the power supply unit is responsible for cooling its components. Look for any obstructions, such as accumulated dust or tangled cables, that may hinder the fan’s operation. A malfunctioning or noisy fan could indicate a problem with the power supply’s cooling system.
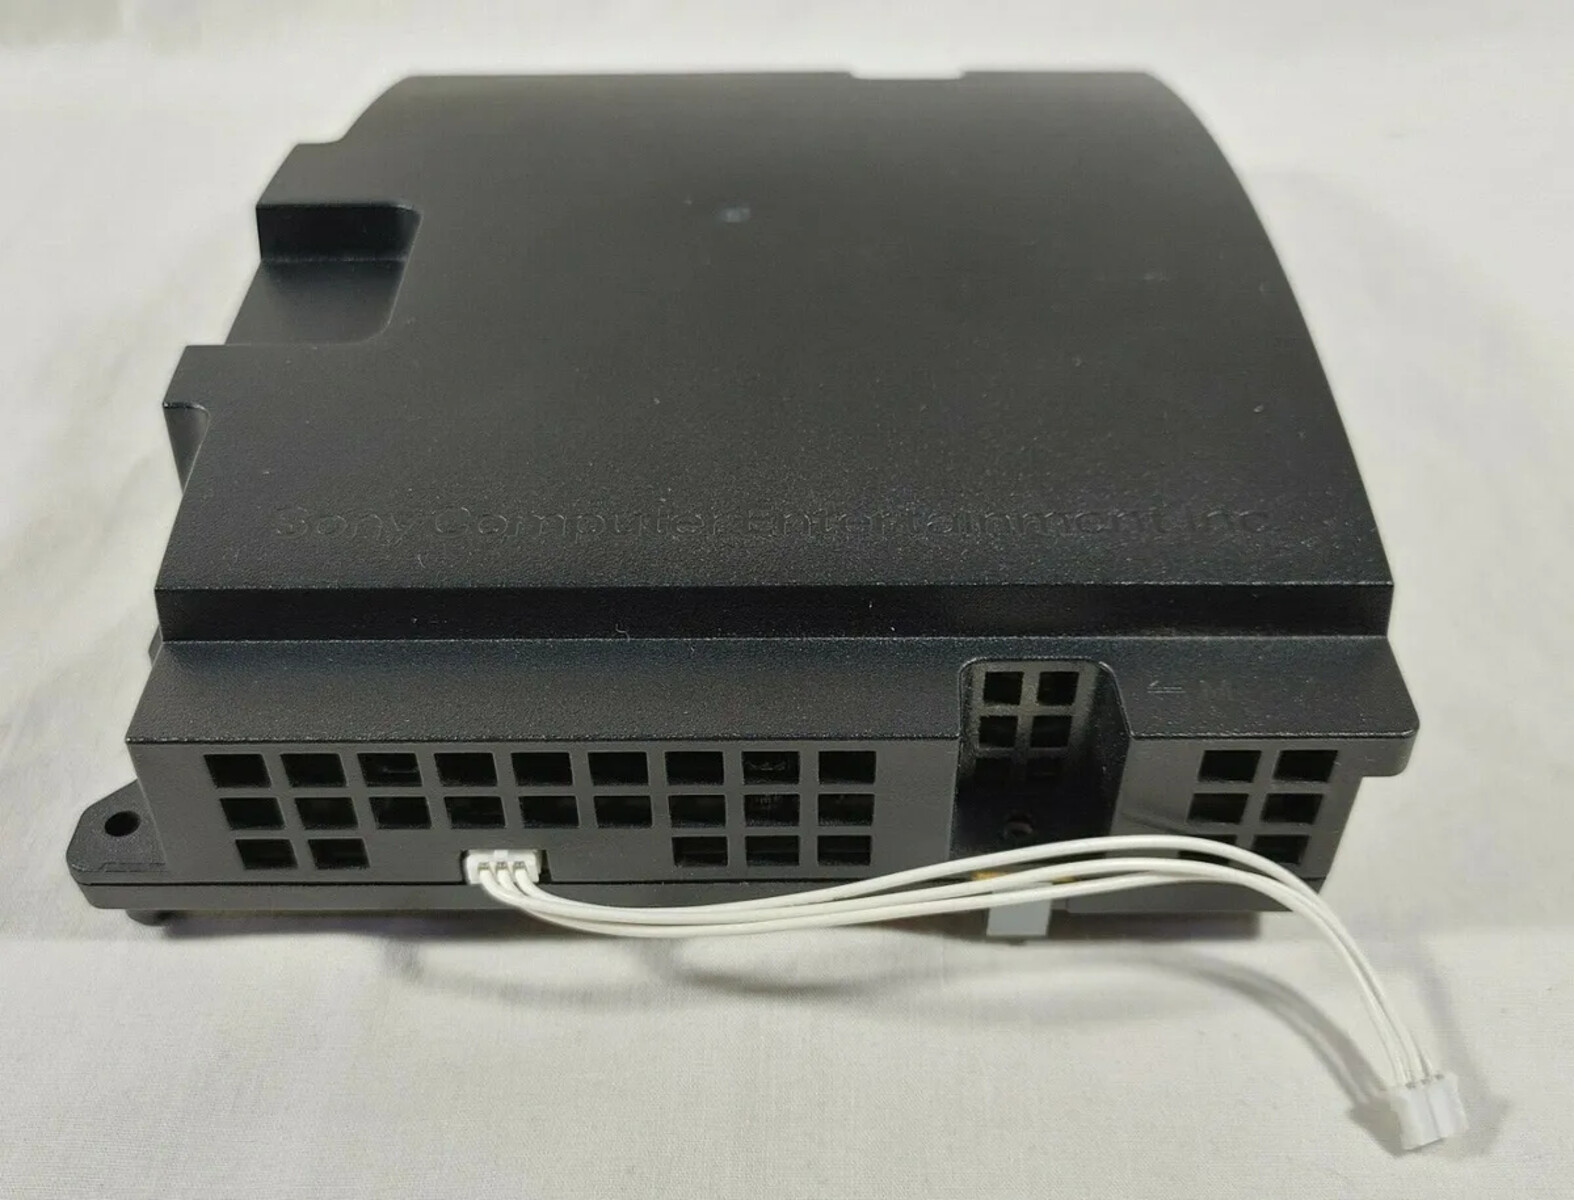
- Inspect the cables and connectors: Check all the cables and connectors leading into and out of the power supply for any signs of fraying, pinching, or loose connections. Damaged or loose cables can disrupt the flow of power and cause issues.
- Look for burnt or swollen components: Within the power supply, look for any components that appear burnt or swollen. This includes capacitors, resistors, and transistors. Burnt or swollen components are a clear indication of damage and will require professional repair or replacement.
- Inspect the circuit board: Carefully examine the circuit board inside the power supply for any signs of discoloration, corrosion, or damaged traces. These issues can affect the performance of the power supply and may require specialized repair or replacement.
By conducting a thorough inspection of the power supply for any physical damage, you can identify potential issues that may be contributing to the power supply problems. If you notice any significant damage, it is recommended to seek professional assistance or consider replacing the power supply. However, if no apparent damage is found, proceed to the next step to further diagnose the power supply unit.
Step 3: Check for Loose Connections
Loose connections can disrupt the flow of power within the power supply unit and cause various issues. In this step, you will need to carefully check for any loose connections and ensure they are properly secured. Follow these steps to check for loose connections:
- Open the power supply casing: Using the appropriate screwdriver, carefully remove the screws that secure the casing of the power supply. Set the screws aside in a safe place.
- Inspect the internal connections: Once the power supply casing is open, visually inspect all internal connections. Pay close attention to the cables and connectors leading into and out of the power supply, as well as the connections on the circuit board.
- Tighten any loose connections: If you find any loose connections, use your fingers or a small screwdriver to gently tighten them. Ensure that all cables and connectors are snugly fitted and properly aligned.
- Check for damaged or corroded connectors: While inspecting the connections, keep an eye out for any damaged or corroded connectors. If you find any, they may need to be replaced to ensure a solid and reliable connection.
- Inspect the power switch: If your power supply has an external power switch, check its connection. Make sure it is properly connected to the internal circuitry of the power supply. A loose power switch can prevent the power supply from turning on.
After checking and tightening all the connections, carefully close the power supply casing and secure it with the screws. Once the casing is closed, you can proceed to the next step to further troubleshoot and repair the power supply unit.
Step 4: Clean the Power Supply
Over time, dust and debris can accumulate inside the power supply, restricting airflow and affecting its performance. Cleaning the power supply can help improve its cooling efficiency and prevent overheating issues. Follow these steps to clean the power supply:
- Power off and unplug the unit: Before cleaning, ensure that the power supply is turned off and unplugged from the electrical outlet. This is crucial for your safety during the cleaning process.
- Open the power supply casing: Using the appropriate screwdriver, carefully remove the screws that secure the casing of the power supply. Set the screws aside in a safe place.
- Clean the exterior casing: Wipe down the external casing of the power supply using a soft, lint-free cloth. This will remove any surface dust or grime that has accumulated over time.
- Clean the interior components: Use compressed air or a soft brush to gently remove dust and debris from the interior components of the power supply. Pay special attention to the fan, heatsink, and any visible dust buildup near the connectors and circuit board.
- Do not use liquid cleaners: It is important to note that you should never use liquid cleaners or moisture when cleaning the power supply. Liquids can damage the electronic components and cause electrical hazards.
- Verify proper airflow: Once the power supply is clean, visually inspect the fan and air vents to ensure there is no obstruction. Proper airflow is essential for maintaining the cooling efficiency of the power supply.
- Close the power supply casing: After cleaning, carefully close the power supply casing and secure it with the screws. Ensure that the casing is properly aligned and tightened to maintain the integrity of the power supply.
By cleaning the power supply, you will not only enhance its performance but also increase its lifespan. This step can significantly reduce the risk of overheating and other power supply issues. Once the power supply casing is closed, you can proceed to the next step to continue troubleshooting and repairing the unit.
Step 5: Test with a Multimeter
One of the most effective ways to diagnose power supply issues is by using a multimeter to measure voltage, current, and resistance. By performing various tests with a multimeter, you can determine if the power supply is functioning correctly. Follow these steps to test the power supply with a multimeter:
- Set up the multimeter: Switch the multimeter to the appropriate settings for voltage measurement. Make sure to choose a range that is higher than the expected voltage output of the power supply.
- Turn on the power supply: Plug in and turn on the power supply while keeping the multimeter probes ready to make measurements. Be cautious during this step to avoid coming into contact with any exposed electrical components.
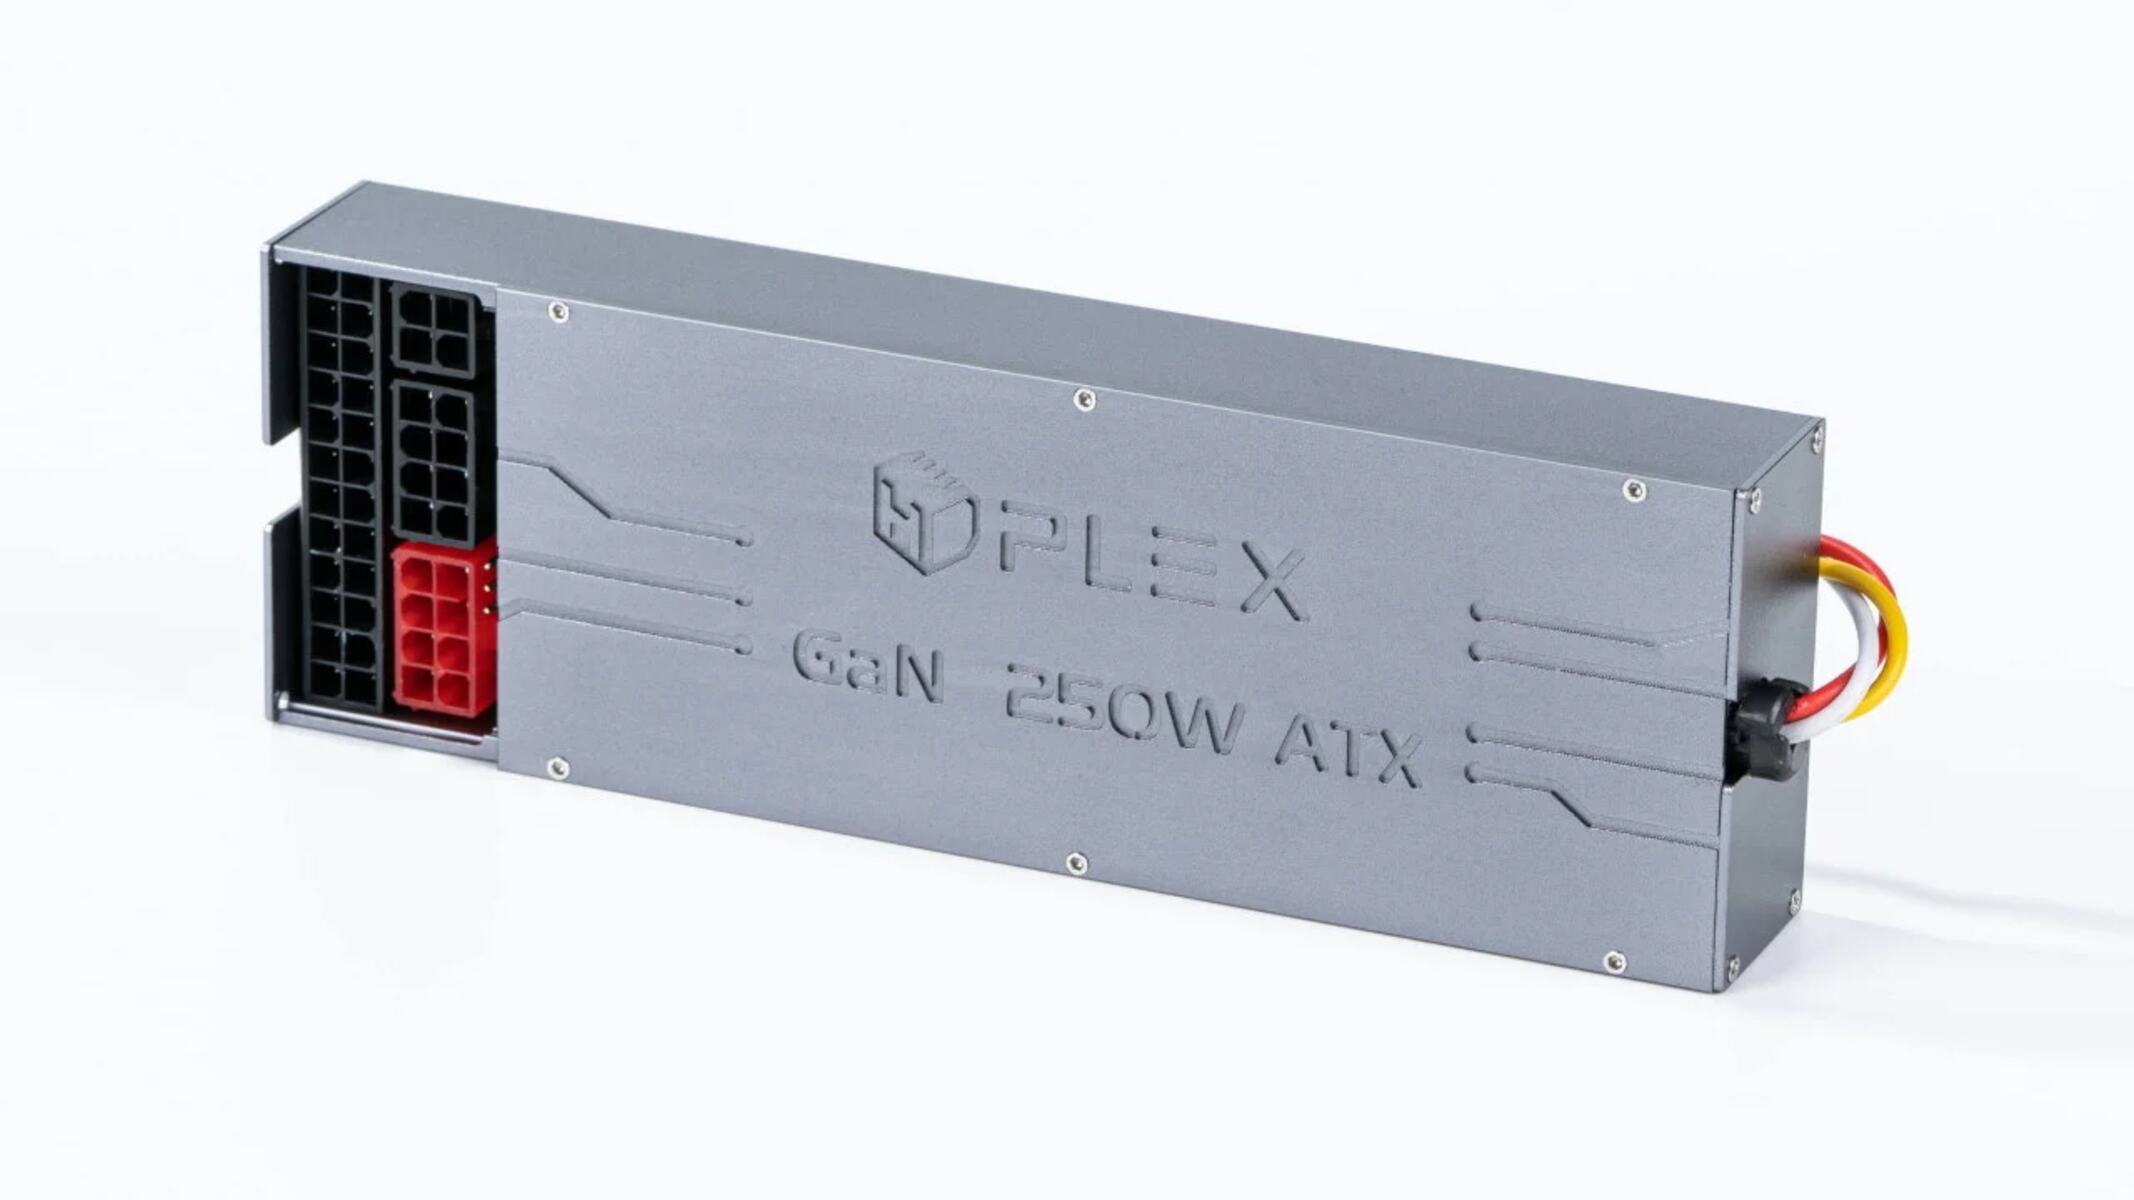
- Test the voltages: Touch the multimeter probes to the appropriate voltage output connectors on the power supply, such as the 12V, 5V, and 3.3V connectors. Compare the measured voltages to the expected values. Significant deviations from the expected values may indicate a faulty power supply.
- Check for ripple voltage: Use the multimeter to measure the ripple voltage, which is the fluctuation in voltage that can occur in the power supply. Higher ripple voltage levels can lead to system instability. Compare the measured ripple voltage to the acceptable range specified by the manufacturer.
- Test the connectors: With the power supply still on, test the connectors using the resistance setting on the multimeter. This will help identify any short circuits or open circuits in the power supply connectors.
- Perform load tests: To assess the power supply’s ability to handle a load, you can connect different devices to it while monitoring the voltages. Ensure that the power supply maintains stable voltages within an acceptable range when under various load conditions.
By testing the power supply with a multimeter, you can gain valuable insights into its performance and identify any potential issues. If the measurements indicate irregular voltages, excessive ripple, or other abnormalities, it may be necessary to repair or replace the power supply. However, if the power supply passes all the tests, you can proceed to the next step to address any other underlying causes of the power supply issues.
Step 6: Replace Faulty Components
If you have identified faulty components within the power supply unit during the previous steps, it is crucial to replace them to restore proper functionality. While replacing components requires some technical expertise, it can be a cost-effective solution compared to replacing the entire power supply unit. Here’s how you can replace faulty components:
- Identify the faulty component: Use visual inspections, multimeter readings, or professional assistance to determine the specific component that needs to be replaced. It could be a capacitor, transistor, resistor, or any other faulty part.
- Source the replacement component: Once you have identified the faulty component, source a replacement for it. This can typically be done by ordering the exact component from electronics suppliers or requesting it from the manufacturer if the power supply is under warranty.
- Prepare for component replacement: Gather the necessary tools such as soldering iron, desoldering pump, soldering wire, and safety equipment. Ensure that you are in a well-ventilated area and take necessary precautions to avoid getting burnt or damaging other components during the replacement process.
- Remove the faulty component: Use the soldering iron to carefully heat the solder joints and remove the faulty component from the circuit board. Take note of the orientation and polarity of the component before removing it.
- Install the replacement component: Position the replacement component correctly on the circuit board and solder it in place. Make sure to create clean solder joints and avoid creating any short circuits during the installation.
- Clean and inspect: Once the replacement component is securely soldered, clean any excess flux and debris from the circuit board. Inspect the area and surrounding components to ensure that there are no solder bridges or other issues.
- Test the repaired power supply: Reassemble the power supply unit, reconnect it to your computer or device, and perform tests with a multimeter or power-on tests to verify that the replaced component has resolved the power supply issues.
Replacing faulty components requires a steady hand and understanding of electronics. If you are not confident in performing the replacement yourself, it’s recommended to seek assistance from a professional technician. However, if you have successfully replaced the faulty component, your power supply unit should now be functioning properly again.
Conclusion
Fixing a power supply unit is a crucial skill that can help save you time and money. By following the steps outlined in this guide, you can troubleshoot and repair common power supply issues effectively. Remember to prioritize your safety by unplugging the power supply and taking necessary precautions before starting any repairs.
We discussed common power supply issues, such as power surges, overheating, failed components, loose connections, and complete power failures. Understanding these issues can help you identify the root cause of the problem and take appropriate actions to resolve them.
Additionally, we covered the tools needed for power supply repairs, including a multimeter, screwdriver set, compressed air or brush, thermal paste, replacement components, and an antistatic wristband. Having the right tools at your disposal will make the repair process smoother and more successful.
We outlined the step-by-step process for fixing a power supply unit, from unplugging the power supply to inspecting for physical damage, checking for loose connections, cleaning the unit, testing with a multimeter, and replacing faulty components. Each step plays a crucial role in diagnosing and resolving power supply issues.
However, it’s essential to note that if you are uncomfortable or unsure about any of the procedures, it is always recommended to seek professional help. Electrical components can be delicate and sensitive to mishandling, so it’s better to be safe than sorry.
By following this guide, you have gained valuable knowledge and skills in fixing a power supply unit. With your newfound expertise, you can confidently troubleshoot, repair, and maintain power supply units, ensuring the stable and reliable operation of your electronic devices.