Introduction
Welcome to our comprehensive guide on how to hook up a GPU into a PSU! If you’re looking to upgrade your computer’s graphics capabilities or replace a faulty GPU, you’ve come to the right place. Installing a new GPU can be a daunting task for beginners, but with the right guidance, it can be a seamless process.
A graphics processing unit (GPU) is a vital component of any modern computer, responsible for rendering visual effects and handling complex calculations. The power supply unit (PSU) is equally crucial, as it provides the necessary power for all computer components to function properly. Connecting your GPU to the PSU is a crucial step in ensuring optimal performance and stability.
In this guide, we will take you through each step of the process, from gathering the necessary equipment to installing the GPU drivers. Whether you’re a seasoned computer enthusiast or a novice in the realm of hardware installation, this guide will provide detailed instructions to make the process as simple and straightforward as possible.
Before we dive into the steps, it’s essential to note that different computer systems may vary in terms of hardware layout and connectors. While this guide aims to be as universal as possible, it’s always a good idea to consult your specific motherboard and GPU manuals for any specific instructions.
So, without further ado, let’s get started on the journey of hooking up your GPU into your PSU. By the end of this guide, you’ll have your new GPU installed and ready to provide an enhanced visual experience for all your computing needs!
Step 1: Gather the necessary equipment
Before you begin the process of hooking up your GPU into your PSU, it’s important to gather all the necessary equipment. Having everything ready beforehand will help make the installation process smoother and more efficient. Here’s a list of the essential tools and components you’ll need:
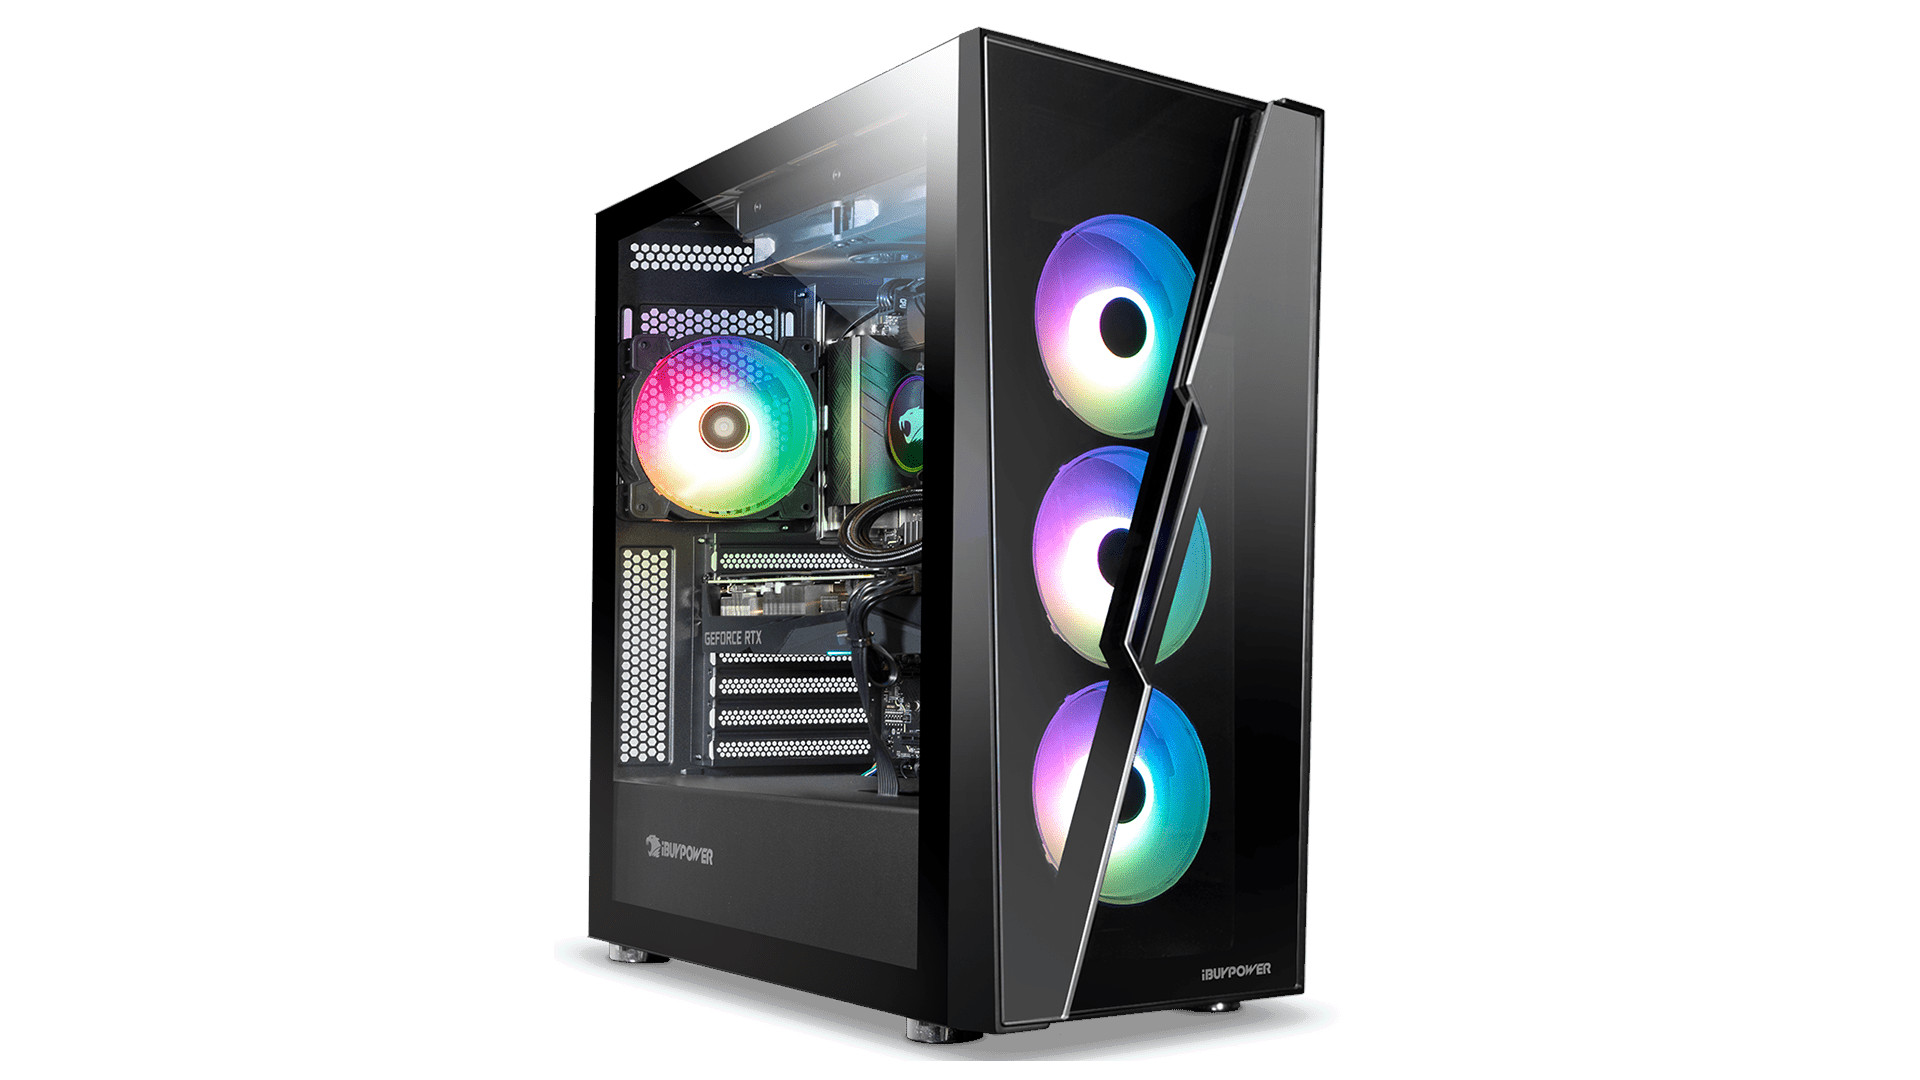
- Graphics Processing Unit (GPU): Make sure you have a compatible GPU that meets your performance requirements. Be aware of the size and power requirements of the GPU to ensure it fits in your computer case.
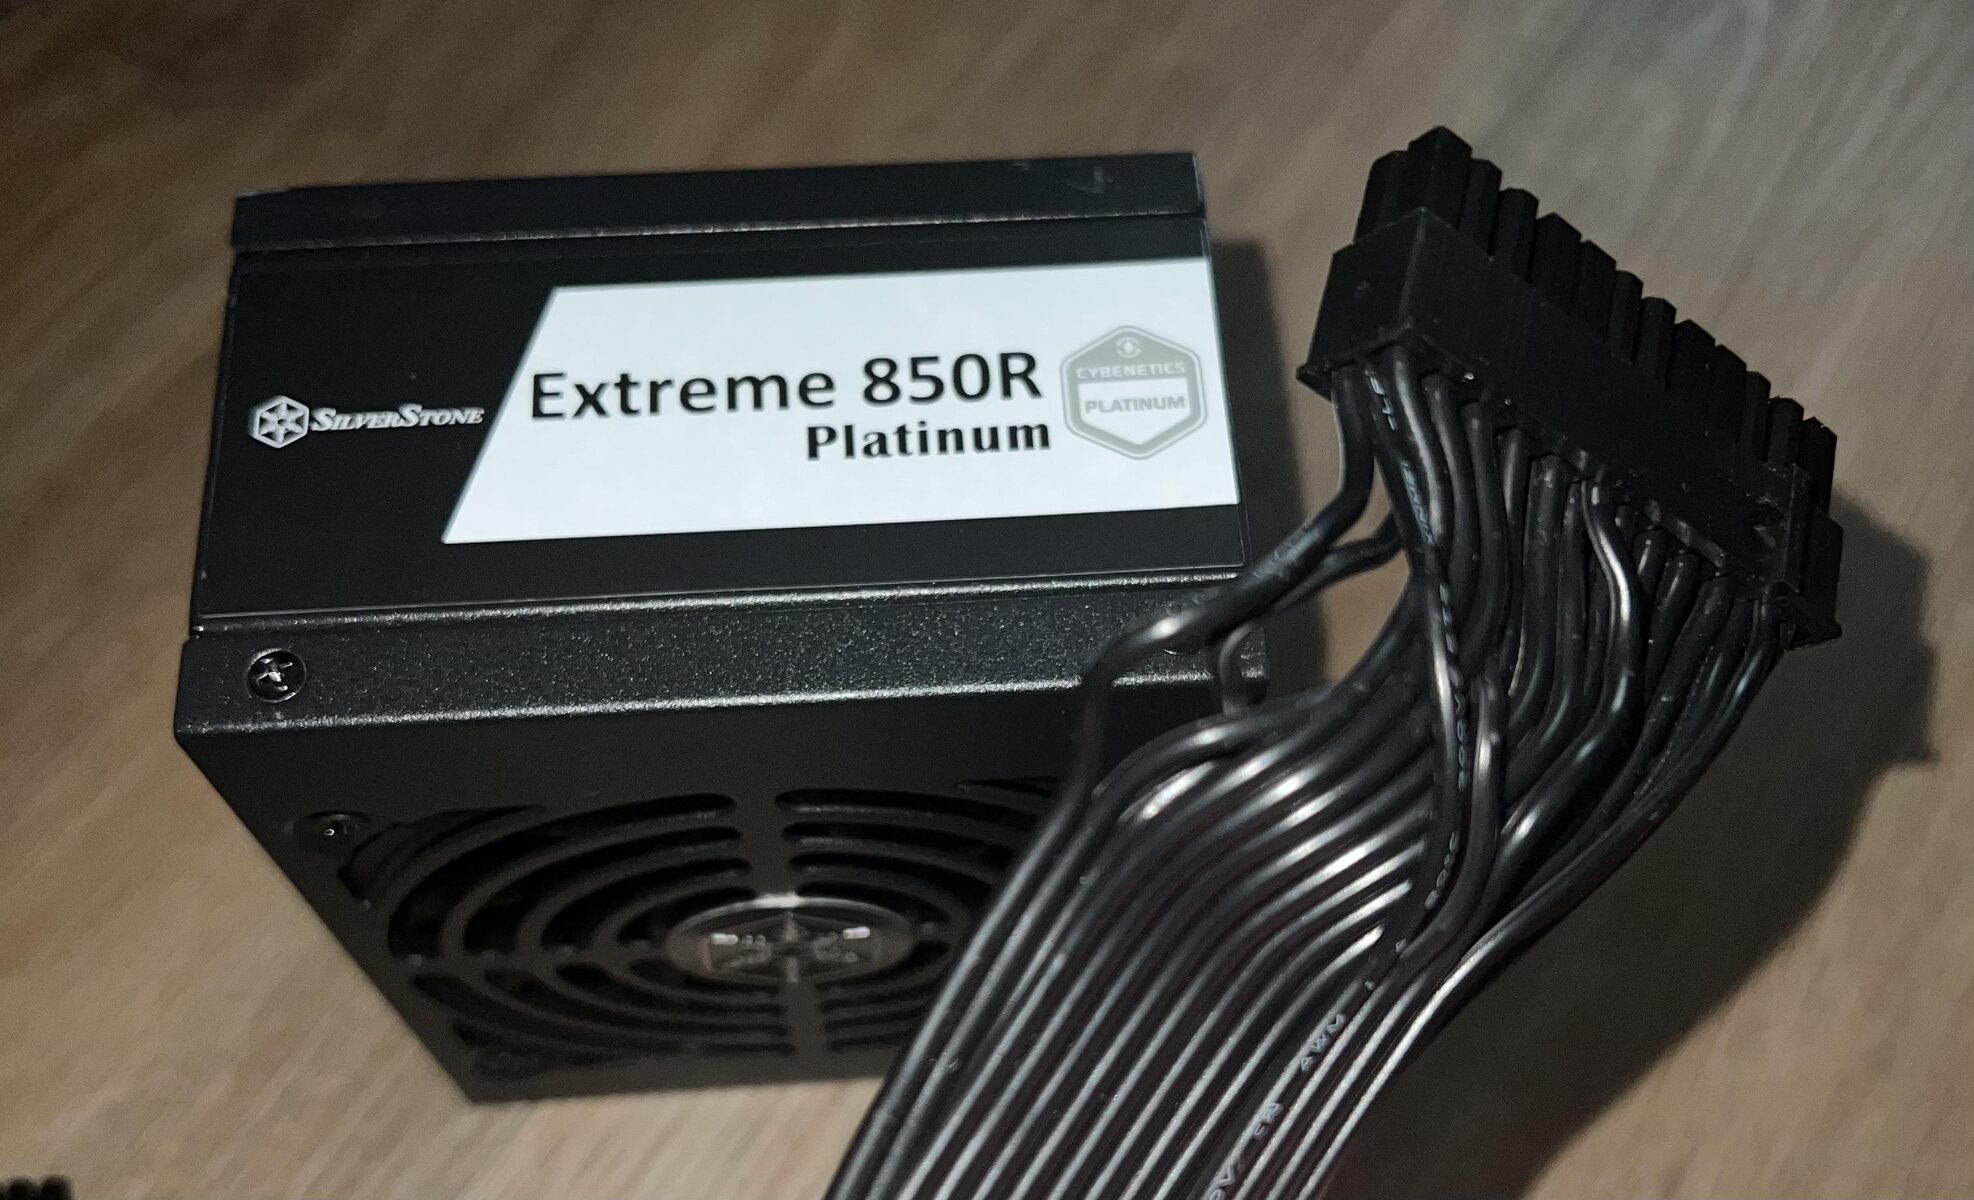
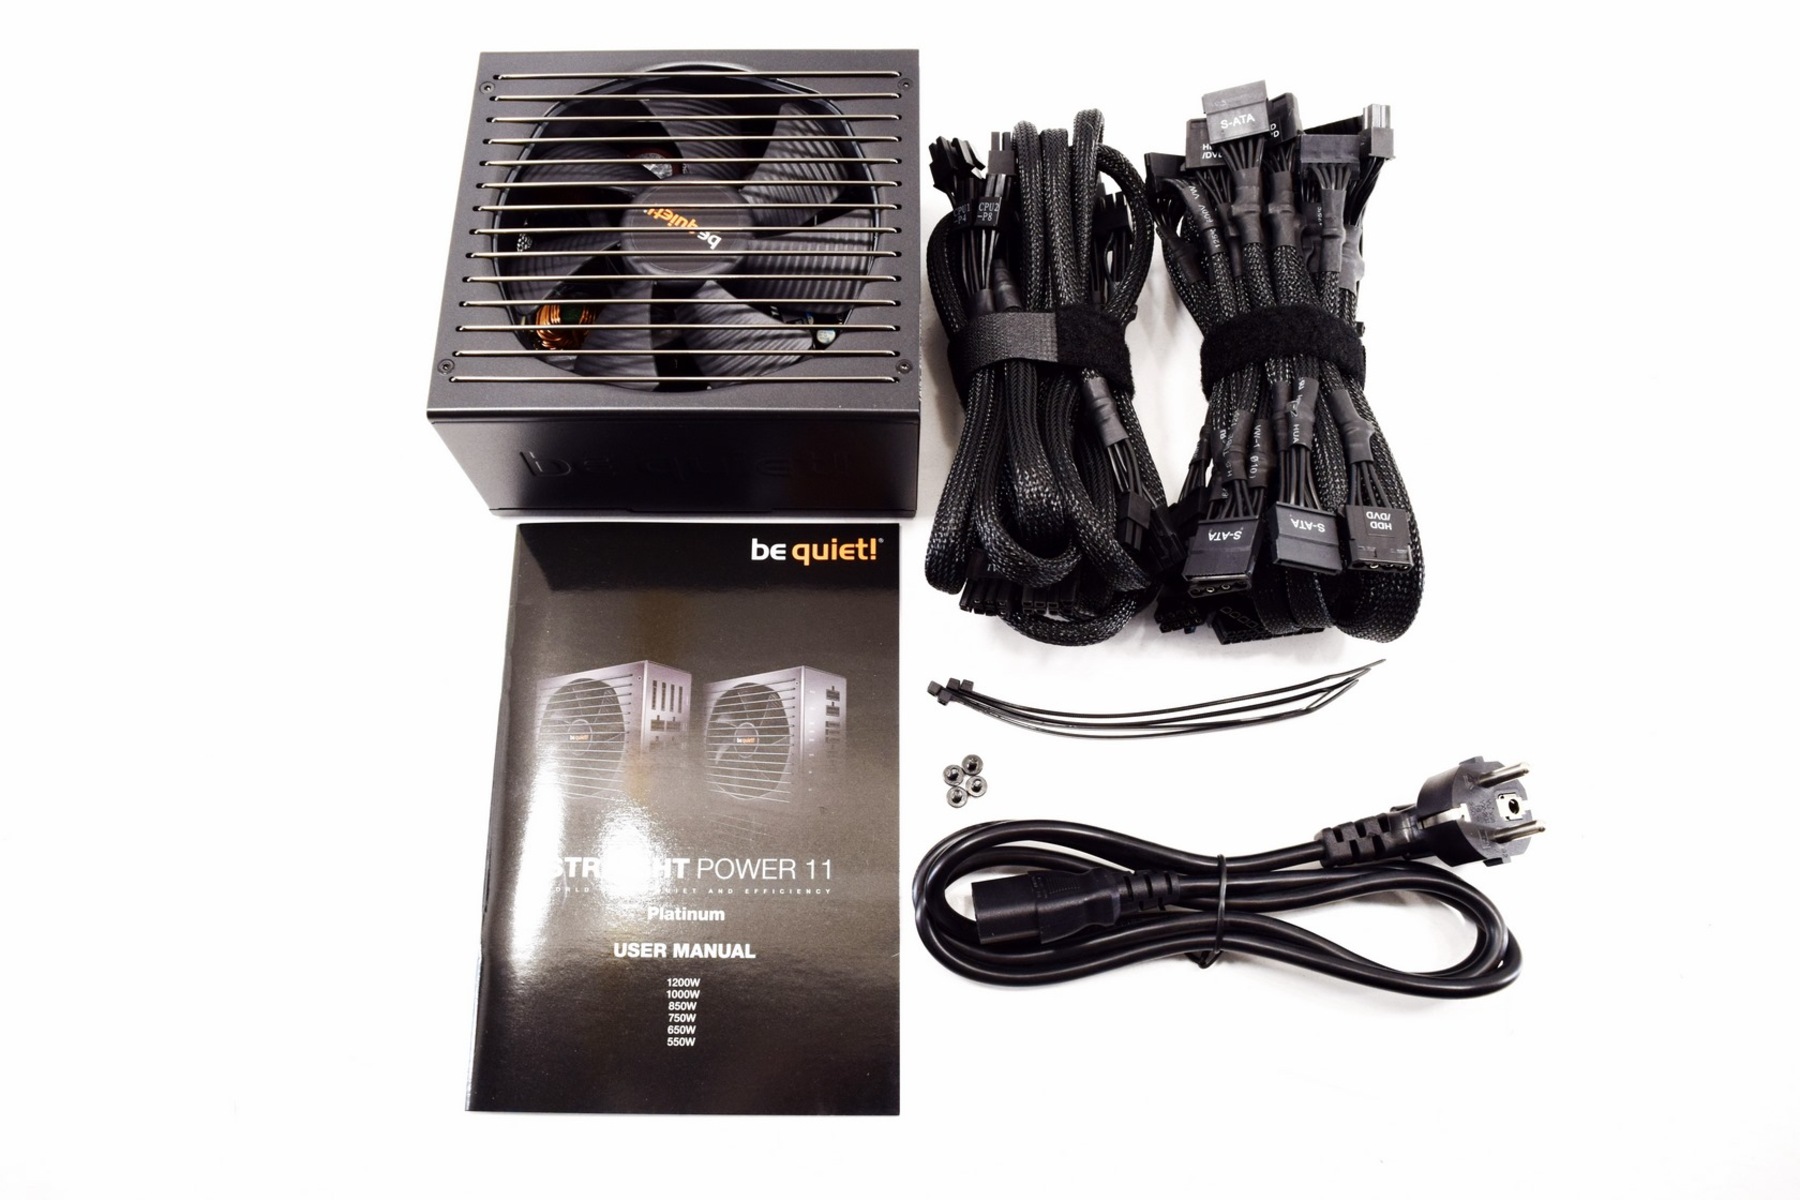
- Power Supply Unit (PSU): Ensure that your PSU has enough power capacity to support the GPU. Check the PSU’s connectors to verify that it has the necessary cables to power the GPU.
- Computer case: You’ll need a computer case with enough space to accommodate the GPU and proper airflow for cooling.
- Phillips screwdriver: A screwdriver will be required to secure the GPU in place and potentially to open the computer case.
- Anti-static wrist strap: It’s highly recommended to use an anti-static wrist strap to protect delicate computer components from electrostatic discharge.
- Documentation: Keep the manuals and documentation for your GPU, PSU, and computer case nearby. They can provide helpful instructions and troubleshooting information.
- Optional: Depending on your specific GPU and computer case, you may need additional cables or adapters to connect the GPU to the PSU. Check the GPU and motherboard manuals for any specific requirements.
Double-check that you have all the necessary equipment before proceeding. This will help prevent interruptions or delays during the installation process. Now that you’ve gathered all the necessary tools and components, it’s time to move on to the next step: preparing the power supply unit (PSU).
Step 2: Prepare the power supply unit (PSU)
Before connecting your GPU to the PSU, it’s important to prepare the power supply unit to ensure a smooth and secure installation. Follow these steps to prepare the PSU:
- Turn off the computer: Shut down your computer and unplug it from the power source. This is crucial to avoid any electrical accidents or damage to your components.
- Locate the PSU connectors: Take a look at your power supply unit and familiarize yourself with the available connectors. Locate the PCIe power connectors, as these will be used to power the GPU. These connectors are typically labeled as PCIe or VGA on the PSU.
- Check the cable length: Ensure that the PCIe power cables from the PSU are long enough to reach the GPU’s location in your computer case. Insufficient cable length can lead to cable tension and strain on the connectors.
- Verify the power rating: Confirm that the power supply unit has enough capacity to support the GPU. Check the GPU’s power requirements in the manual or on the manufacturer’s website and compare it to the PSU’s wattage rating. It’s recommended to have a PSU with a slightly higher power rating than the GPU’s requirement to allow for future upgrades or additional components.
- Connect power cables: If you have modular cables, attach the PCIe power cables to the appropriate connectors on the PSU. Make sure they are securely connected and fastened to avoid any accidental disconnections during installation.
- Organize cables: Neatly arrange the cables inside the computer case to improve airflow and minimize cable clutter. Use zip ties or cable ties to secure the cables out of the way.
- Double-check connections: Before proceeding to the next step, double-check that all power connections are secure and properly attached. Any loose connections can cause instability and power issues.
With the power supply unit prepared, you’re now ready to move on to the next step: turning off and unplugging the computer. This ensures a safe environment for the installation process and protects your components from accidental damage.
Step 3: Turn off and unplug the computer
Before you begin connecting your GPU to the power supply unit (PSU), it’s crucial to turn off your computer and unplug it from the power source. This step ensures your safety and prevents any potential damage to the components. Here’s how to properly turn off and unplug your computer:
- Save your work and close applications: Before shutting down your computer, make sure to save any unsaved work and close all running applications. This will prevent data loss and ensure a smooth shutdown process.
- Shut down the computer: Click on the Start menu and select “Shut down” or “Power off” to initiate the shutdown process. Wait for the computer to completely power down before proceeding further.
- Unplug the power cord: Locate the power cord connected to your computer and unplug it from the electrical outlet. This step is crucial to disconnect the computer from the power source and ensure your safety during the installation process.
- Press and hold the power button: To discharge any remaining electrical charge in the system, press and hold the power button on your computer for approximately 10 seconds. This helps prevent any potential residual power from causing damage to the components.
- Ground yourself: To avoid any electrostatic discharge that can damage sensitive computer components, it’s recommended to ground yourself. You can use an anti-static wrist strap or simply touch a metal object, such as the computer case, to discharge any static electricity.
By turning off and unplugging your computer, you ensure a safe environment for the installation process and protect your components from any potential electrical accidents. With your computer properly powered down and unplugged, you’re now ready to move on to the next step: locating the GPU slot on the motherboard.
Step 4: Locate the GPU slot on the motherboard
In order to hook up your GPU to the power supply unit (PSU), you need to locate the GPU slot on your motherboard. The exact placement of the GPU slot can vary depending on the motherboard model, so it’s important to identify the correct slot. Here’s how you can locate the GPU slot on your motherboard:
- Refer to the motherboard manual: The motherboard manual is a valuable resource that provides detailed information about the layout and placement of components. Locate the manual for your specific motherboard and refer to the section related to expansion slots or graphics card installation. This will guide you to the exact location of the GPU slot.
- Identify the PCIe slots: The GPU slot on most modern motherboards is a PCIe (Peripheral Component Interconnect Express) slot. Look for the PCIe slots, which are longer and have a series of small contacts on one side. The PCIe slots are usually located near the CPU socket.
- Determine the appropriate PCIe slot: If you have more than one PCIe slot on your motherboard, you need to identify the appropriate slot for your GPU. The primary or topmost PCIe x16 slot is typically the optimal choice for installing a graphics card. However, consult your motherboard manual to confirm the recommended slot for the GPU.
- Prepare the slot: Before inserting the GPU, make sure the PCIe slot is free of any obstructions such as dust or debris. Gently blow on the slot or use a can of compressed air to clean it if necessary.
By following these steps, you will be able to locate the GPU slot on your motherboard with ease. Once you have identified the GPU slot, it’s time to move on to the next step: inserting the GPU into the slot.
Step 5: Insert the GPU into the slot
With the GPU slot on the motherboard located, it’s now time to insert the graphics processing unit (GPU) into the slot. Proper installation of the GPU is crucial for optimal performance and stability. Here’s how you can insert the GPU into the slot:
- Prepare the GPU: Carefully remove the GPU from its anti-static bag or packaging. Hold the GPU by its edges to avoid touching any sensitive components, and avoid applying excessive force or bending the card.
- Identify the PCIe slot: Line up the GPU’s PCIe connector with the PCIe slot on the motherboard. The PCIe connector is a series of contacts on the edge of the GPU that matches the contacts in the slot. Make sure to align them properly.
- Insert the GPU: Gently slide the GPU into the PCIe slot, applying even pressure. The connector should fit snugly into the slot, and you may need to exert a small amount of force. Make sure the GPU is fully inserted into the slot.
- Secure the GPU: Once the GPU is fully inserted, align it with the screw hole on the rear bracket of the computer case. Use the screw that came with the case or GPU to secure the GPU in place. Be careful not to overtighten the screw.
It’s worth noting that some GPUs may require additional power connectors from the power supply unit (PSU) to function properly. If your GPU has additional power connectors, make sure to connect them securely to the corresponding ports on the GPU.
With the GPU correctly inserted and secured in the slot, you’ve completed the crucial step of physically installing the graphics card. Now it’s time to move on to the next step: connecting the power cables to the GPU.
Step 6: Connect the power cables to the GPU
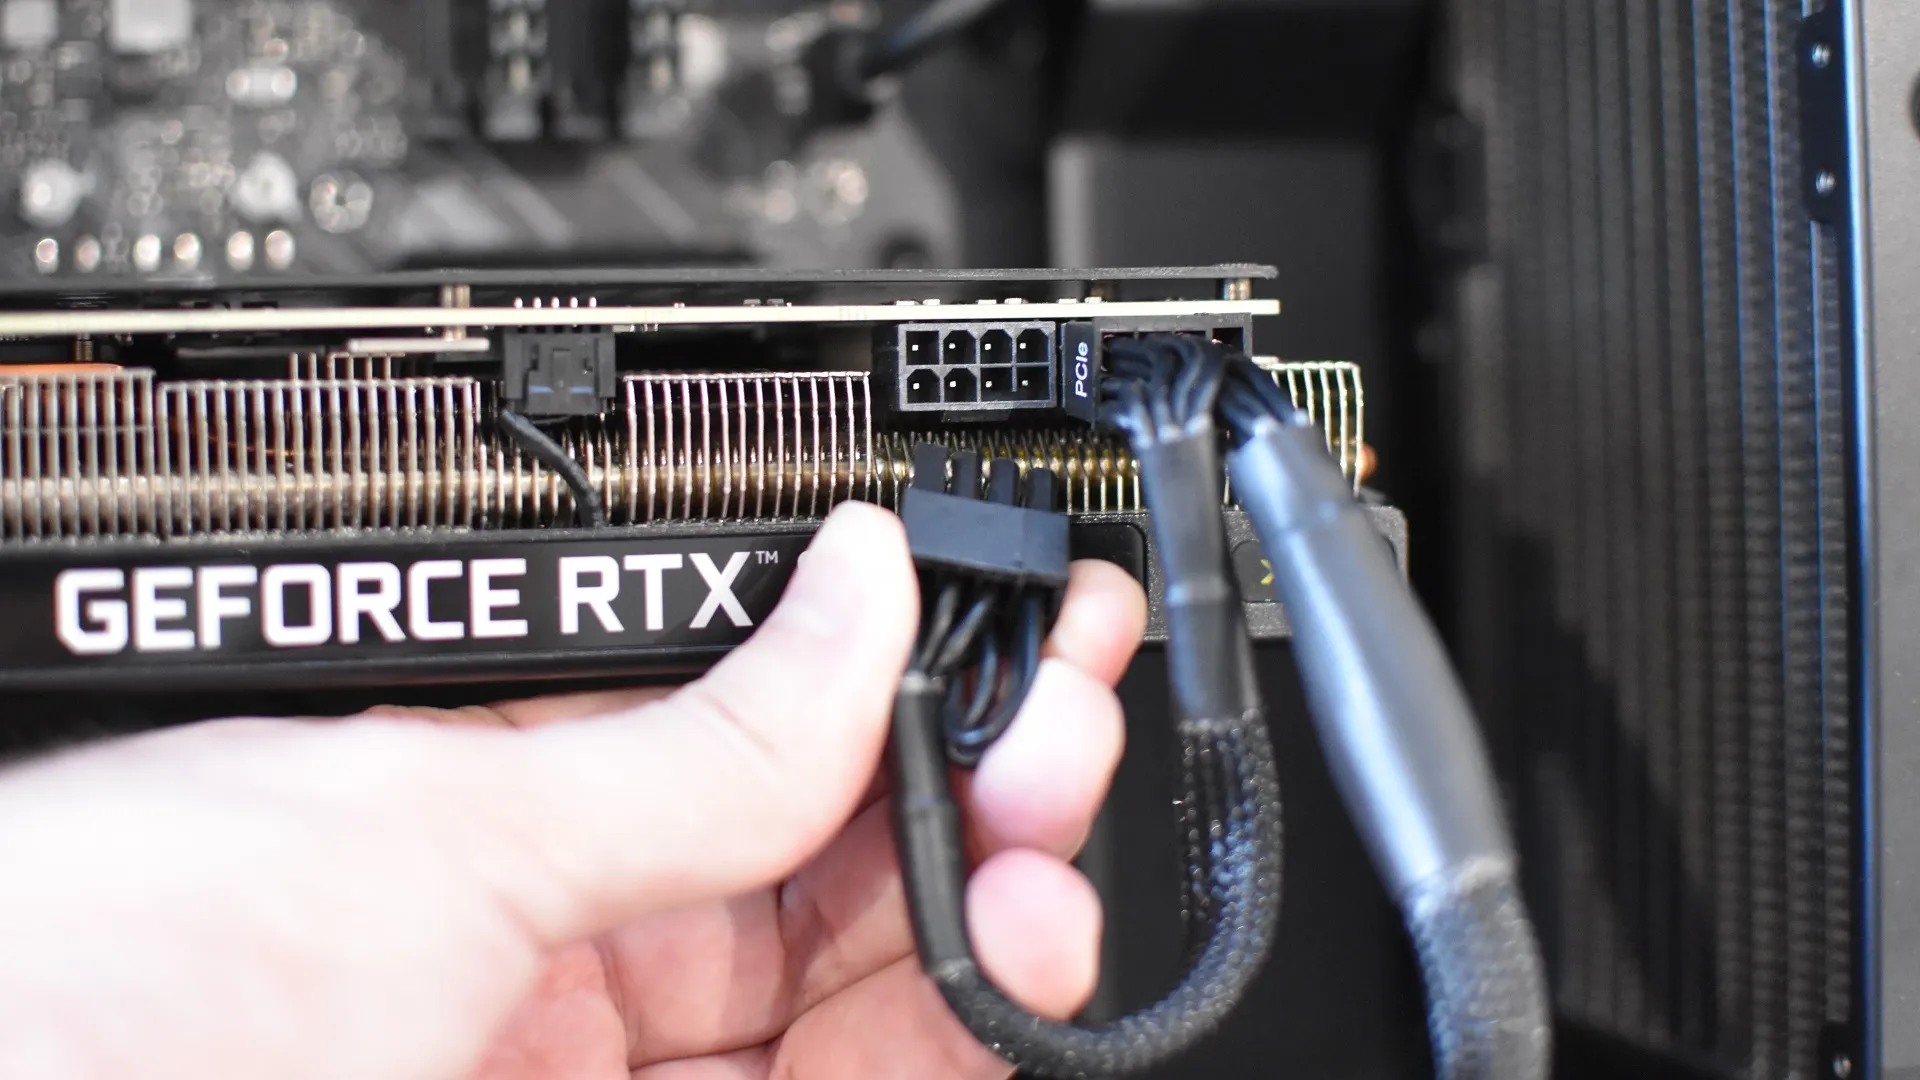
After inserting the graphics processing unit (GPU) into the slot, the next step is to connect the necessary power cables from the power supply unit (PSU) to the GPU. This provides the required power for the GPU to function properly. Here’s how to connect the power cables to the GPU:
- Refer to the GPU and PSU manuals: Consult the manuals for both your GPU and PSU to determine the specific power requirements and cable connections for your setup. Different GPUs may have varying power connector configurations.
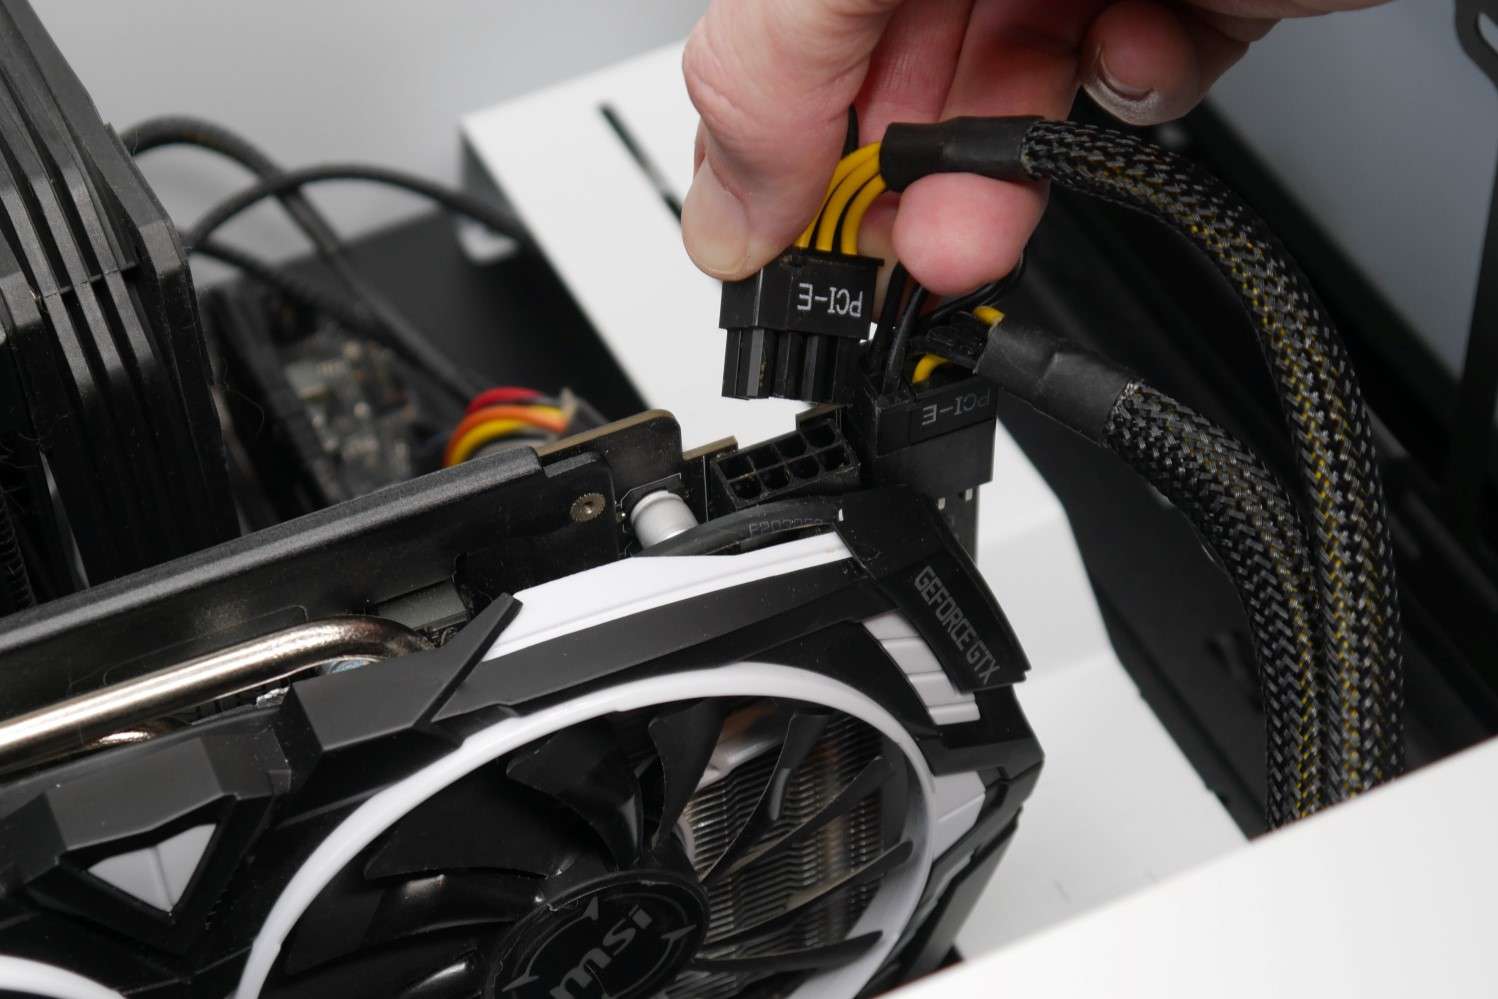
- Locate the power connectors on the GPU: Identify the power connectors on the GPU. These connectors are typically located near the rear end of the card and are labeled as PCIe power connectors or similar.
- Connect the power cables: Take the appropriate PCIe power cables from the PSU with matching connectors and connect them securely to the corresponding ports on the GPU. Ensure that they are firmly plugged in and properly aligned.
- Secure the power cables: Use zip ties or cable clips to neatly secure the power cables alongside other cables in your computer case. This helps prevent them from interfering with other components or obstructing airflow.
If your GPU requires multiple power connectors, make sure to connect all of them. It’s essential to provide the proper power supply to the GPU for optimal performance and stability.
Before proceeding to the next step, double-check that all power connections are securely in place. Loose connections can cause instability or prevent the GPU from functioning correctly.
With the power cables connected, you’ve successfully provided the necessary power to your GPU. Now it’s time to move on to the next step: securing the GPU into place.
Step 7: Secure the GPU into place
After connecting the necessary power cables to the graphics processing unit (GPU), the next step is to securely fasten the GPU within the computer case. This step ensures stability and prevents any accidental dislodging of the GPU during use. Here’s how you can securely secure the GPU into place:
- Align the GPU: Ensure that the GPU is properly aligned within the PCIe slot on the motherboard. The metal bracket at the rear end of the GPU should be flush with the case’s rear bracket.
- Use the provided screws: Most computer cases come with screws specifically designed for securing expansion cards. Locate the appropriate screw that matches the screw hole on the GPU’s rear bracket.
- Attach the screw: Insert the screw into the designated screw hole on the rear bracket while holding the GPU in place. Use a screwdriver to tighten the screw gently, taking care not to overtighten or damage the GPU.
By securely fastening the GPU, you ensure that it remains in place even when the computer case is moved or transported. This prevents any accidental disconnections or damage to the GPU during operation.
After tightening the screw, double-check that the GPU is securely held in place. Gently give it a firm but careful tug to ensure it does not move or come loose. If the GPU remains firmly in position, you can proceed to the next step: plugging in and turning on the computer.
Step 8: Plug in and turn on the computer
With the graphics processing unit (GPU) securely installed and connected to the power supply unit (PSU), it’s time to plug in and turn on your computer. Following the proper procedure ensures a smooth startup and allows the system to recognize and utilize the newly installed GPU. Here’s how to plug in and turn on the computer:
- Double-check connections: Before plugging in the computer, make sure all cables and connections are secure. Verify that the GPU power cables are properly connected to the PSU and the GPU itself.
- Connect the power cord: Plug the power cord back into the electrical outlet. Ensure that it is securely connected and that there are no loose connections.
- Power on the computer: Press the power button on your computer case to turn on the system. The computer will start powering up, and you should hear the fans spinning and see the lights turning on.
- Monitor connection: Ensure that your monitor is connected to the appropriate port on the GPU. The GPU provides the video output, so connecting the monitor to the GPU instead of the motherboard ensures that the GPU is being utilized.
- Boot into the operating system: Wait for the computer to complete the boot process. Depending on your system configuration, this may take a few moments. Once the operating system loads, you should be able to see the screen and any applicable GPU visuals or settings.
- Check GPU recognition: To ensure that the GPU is properly recognized, you can check the Device Manager or the GPU software provided by the manufacturer. This will indicate if the GPU is detected and functioning correctly.
If the computer does not turn on or you experience any issues, double-check all connections and consult your motherboard and GPU manuals for troubleshooting steps. Remember to refer to the manuals or the manufacturer’s website for any specific instructions related to your particular hardware configuration.
Once your computer is up and running with the GPU, you can proceed to the final step: installing the GPU drivers.
Step 9: Install the GPU drivers
With the graphics card successfully installed and the computer powered on, the next crucial step is to install the proper drivers for the graphics processing unit (GPU). Installing the GPU drivers ensures that your system can fully utilize the capabilities of the GPU and optimize its performance. Follow these steps to install the GPU drivers:
- Visit the manufacturer’s website: Go to the website of the GPU manufacturer, such as NVIDIA or AMD, to download the latest GPU drivers. Navigate to the support or driver section of the website, and find the drivers specific to your GPU model and operating system.
- Download and run the driver installer: Click on the download link for the appropriate driver version and save the file to your computer. Once the download is complete, run the installer file to start the driver installation process.
- Follow the installation prompts: The driver installer will guide you through the installation process. Read and accept any license agreements or terms of use. You may have the option to choose between a standard or custom installation. For most users, the standard installation is recommended.
- Restart your computer: After the driver installation is complete, you will be prompted to restart your computer. Restart the system to fully apply the driver changes.
- Verify the driver installation: Once your computer has rebooted, check if the GPU drivers are successfully installed. Open the GPU control panel provided by the manufacturer or use the Device Manager to confirm that the GPU is recognized and the drivers are functioning correctly.
- Update drivers periodically: It’s recommended to periodically check for driver updates to ensure that you have the latest software and optimizations for your GPU. Most manufacturers release driver updates regularly to improve performance and fix any issues.
By installing the GPU drivers, you unlock the full potential of your graphics card and ensure that it works seamlessly with your operating system and other software applications. Updated drivers can significantly enhance the GPU’s performance and compatibility with various games and applications.
With the GPU drivers successfully installed, you have completed the final step in hooking up your GPU into the power supply unit (PSU). Congratulations! Your computer is now equipped with a powerful GPU, ready to deliver an enhanced visual experience for all your computing tasks.
Conclusion
Congratulations! You have successfully completed the process of hooking up your graphics processing unit (GPU) into the power supply unit (PSU). By following the steps outlined in this guide, you have installed the GPU, connected the necessary power cables, and installed the GPU drivers. Your computer is now equipped to deliver enhanced graphics performance and handle demanding tasks with ease.
It’s important to note that while this guide provides a general overview of the process, specific hardware configurations may vary. Always consult the manuals for your GPU, PSU, and motherboard for any specific instructions or requirements. Additionally, ensure that you take precautions to protect your components from static electricity and handle them with care throughout the installation process.
Now that your GPU is up and running, you can enjoy smoother gameplay, improved video editing, and enhanced visual effects in multimedia applications. Whether you’re a gamer, designer, or content creator, the power of your GPU will greatly enhance your computing experience.
Remember to periodically check for driver updates from the GPU manufacturer and stay up to date with the latest software optimizations for your GPU. This will ensure that your system continues to perform optimally and takes advantage of any improvements or bug fixes.
We hope that this guide has been helpful in guiding you through the process of hooking up your GPU into the PSU. If you have any further questions or need additional assistance, don’t hesitate to consult the manufacturer’s support resources or seek help from a computer technician.
Thank you for following this guide, and may your newly installed GPU provide you with exceptional performance and stunning visuals for all your computing needs!