Introduction
Welcome to the world of computer hardware! If you’re interested in taking out your GPU (Graphics Processing Unit), whether it’s for troubleshooting, upgrading, or simply curiosity, you’ve come to the right place. This step-by-step guide will walk you through the process of safely removing your GPU.
The GPU is a vital component responsible for rendering images, videos, and animations on your computer. Over time, you may encounter issues with your GPU or may want to upgrade to a more powerful one to enhance your gaming or graphic design experience. However, before embarking on this process, it’s important to note that removing your GPU requires caution and careful handling to avoid any damage.
In this guide, we’ll cover the necessary preparations, as well as the step-by-step procedure for safely removing and replacing your GPU. Whether you’re a seasoned tech enthusiast or a beginner in the world of computer hardware, this guide will help you navigate the process with ease.
Before we dive into the steps, it’s important to emphasize that if you’re not comfortable with opening up your computer or handling delicate components, it may be best to seek assistance from a professional. Additionally, always ensure you have the necessary tools and a clear workspace to safely carry out the following steps.
Now that we’ve covered the necessary introductions and precautions, let’s move on to the first step: preparing your system for the GPU removal process.
Preparation
Before you begin, it’s important to gather the necessary tools and prepare your workspace for a smooth and hassle-free GPU removal process. Here are the steps to prepare yourself:
- Make sure your computer is powered off and unplugged. This will ensure your safety and prevent any electrical accidents while working on the hardware.
- Gather the necessary tools, including a screwdriver that fits the screws on the computer case. It’s recommended to have a magnetic screwdriver to prevent losing any small screws during the process.
- Prepare a clean and static-free workspace. Find a flat surface with ample space to spread out your tools and place the computer case while you work on it. Additionally, consider using an anti-static mat or wearing an anti-static wrist strap to protect delicate components from electrical discharge.
- Take a moment to familiarize yourself with the internal layout of your computer. Look for the GPU, which is usually located in one of the expansion slots near the back of the computer case. Refer to your computer’s manual or manufacturer’s website if you’re unsure about the exact location.
- Ensure you have a clear understanding of how the GPU is connected to the motherboard and power supply. This will vary depending on the model and make of your computer. Again, referencing the manual or manufacturer’s documentation can be helpful in this regard.
- Finally, mentally prepare yourself for the removal process. Take a deep breath, stay calm, and remember that taking your time and being gentle with the components is crucial to prevent any accidental damage.
With these preparation steps completed, you’re now ready to move on to the actual process of removing the GPU. Remember, patience and attention to detail are essential in ensuring a successful removal process without any mishaps.
Step 1: Powering Down the System
The first step in removing your GPU is to power down your computer completely. This ensures your safety and prevents any potential damage to the components.
- Save any ongoing work and close all open applications to prevent data loss.
- Click on the “Start” button on your computer and select “Shut Down” from the options.
- Wait for your computer to completely shut down. You can check the status of the shutdown process by monitoring the lights on your computer case or listening for any internal fans turning off.
- Once your computer is powered down, unplug the power cord from the wall outlet to ensure no electrical current is flowing through the system.
- In addition to unplugging the power cord, it’s recommended to press the power button on your computer for a few seconds to discharge any remaining power in the system. This step is crucial to eliminate any residual electric charge that could potentially harm the components.
By following these steps, you have successfully powered down your computer and taken the necessary precautions to protect yourself and the components from any electrical hazards. Now, you’re ready to move on to the next step: removing the side panel of your computer case.
Step 2: Removing the Side Panel
With your computer powered down, it’s time to remove the side panel of the computer case. This will grant you access to the internal components, including the GPU. Follow these steps to remove the side panel:
- Locate the screws or fasteners securing the side panel to the computer case. These are usually located on the rear or towards the back of the case.
- Using the appropriate screwdriver, carefully remove the screws while keeping track of them. Some cases may have a latch or lever mechanism instead of screws, so be sure to familiarize yourself with your specific case design.
- Once the screws are removed, gently slide or pull the side panel away from the case. Be cautious, as the panel may have clips or hooks holding it in place. Use steady and even pressure to prevent any damage.
- Set the side panel aside in a safe location where it won’t get damaged or misplaced.
With the side panel successfully removed, you now have clear access to the internal components of your computer. Take a moment to inspect the interior, familiarize yourself with the layout, and locate the GPU. It’s usually situated in one of the expansion slots towards the bottom of the case.
Now that the side panel is out of the way, the next step is to disconnect the necessary cables from the GPU in preparation for its removal. Let’s move on to Step 3: Disconnecting Cables.
Step 3: Disconnecting Cables
Before you can remove the GPU from your computer, you need to disconnect the cables that are connected to it. This ensures a safe and proper removal without causing any damage to the GPU or other components. Follow these steps to disconnect the cables:
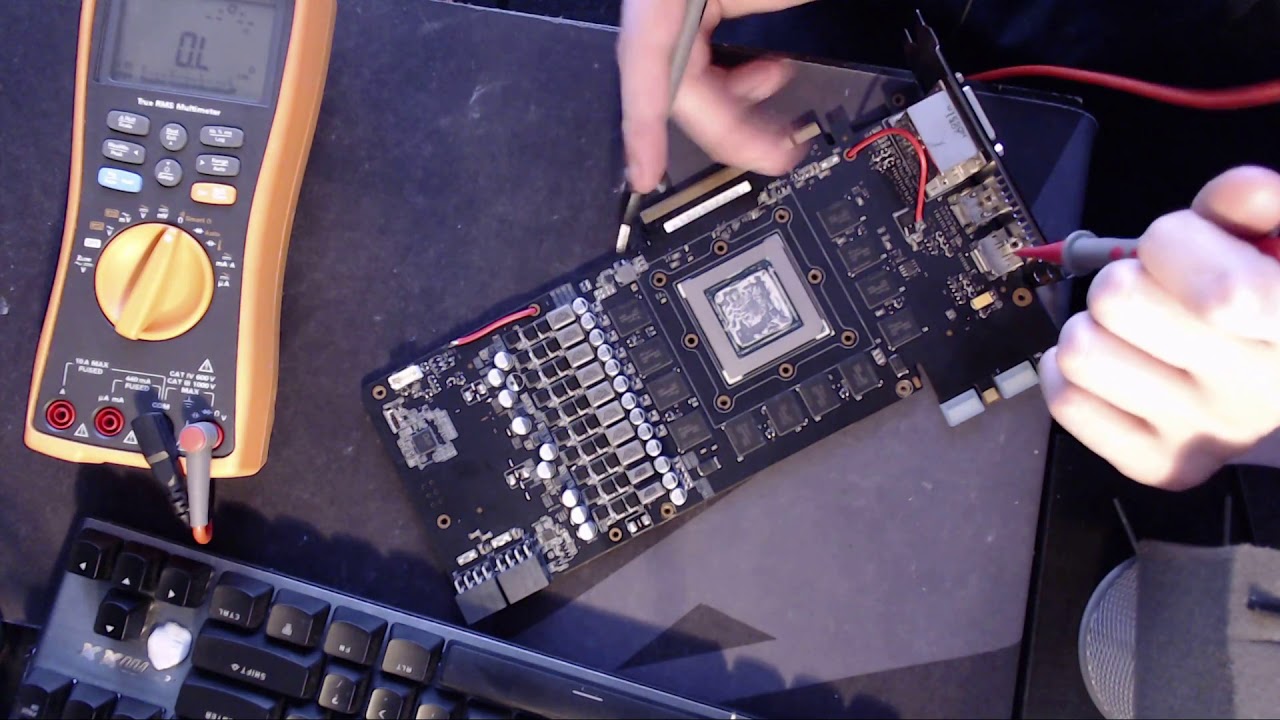
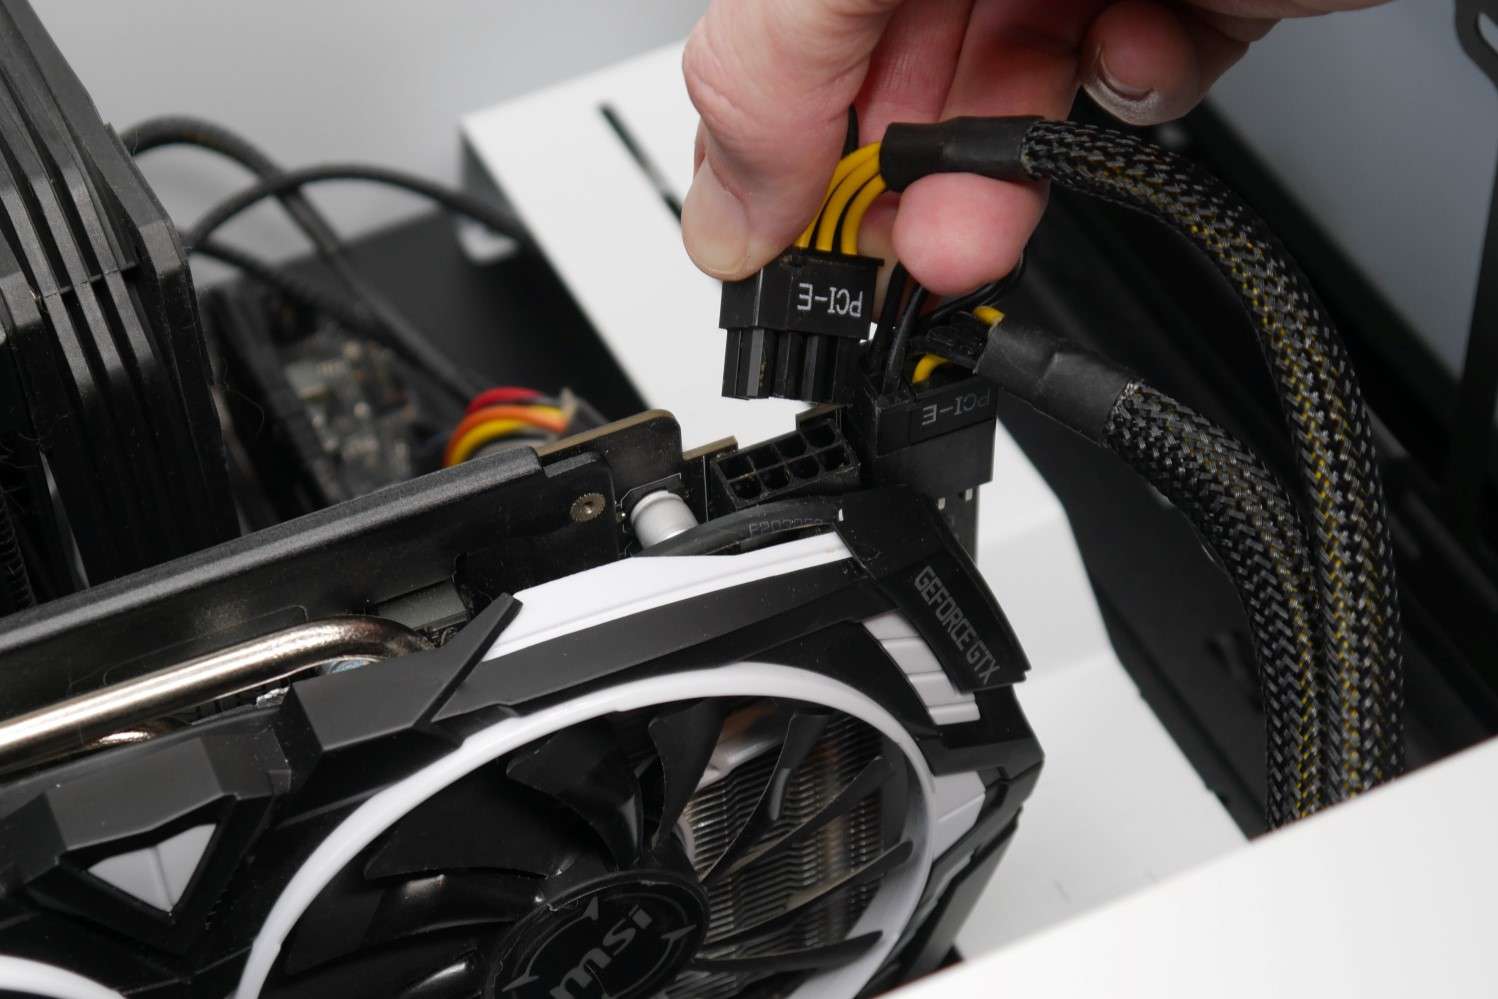
- Take a close look at the GPU and identify the power cables and any other connectors attached to it. These may include a PCIe power cable, display cables (such as HDMI or DisplayPort), and any other supplementary connectors.
- Start by disconnecting the power cables. Most GPUs require additional power from the power supply unit (PSU) via PCIe power cables. Locate the power connectors on the GPU and gently unplug the cables. Some connectors may have locking tabs that need to be pushed or pulled before the cable can be released.
- Next, proceed to disconnect any display cables attached to the GPU. These cables connect your monitor(s) to the GPU to display images and video. Depending on the type of cable, you may need to press a release button or unscrew the connector to detach it from the GPU.
- If there are any additional connectors, such as fan headers or audio connectors, disconnect them one by one, making sure not to force or twist any cables unnecessarily.
During the process, it’s important to handle the cables gently and avoid pulling or tugging on the cables themselves. Hold the connectors firmly while removing them to prevent any accidental damage.
Once all the necessary cables are disconnected, you are now ready to proceed to the next step: removing the GPU from its slot. Let’s move on to Step 4: Removing the GPU.
Step 4: Removing the GPU
Now that you have disconnected all the necessary cables from the GPU, it’s time to remove the GPU itself from its slot. Follow the steps below to safely remove the GPU:
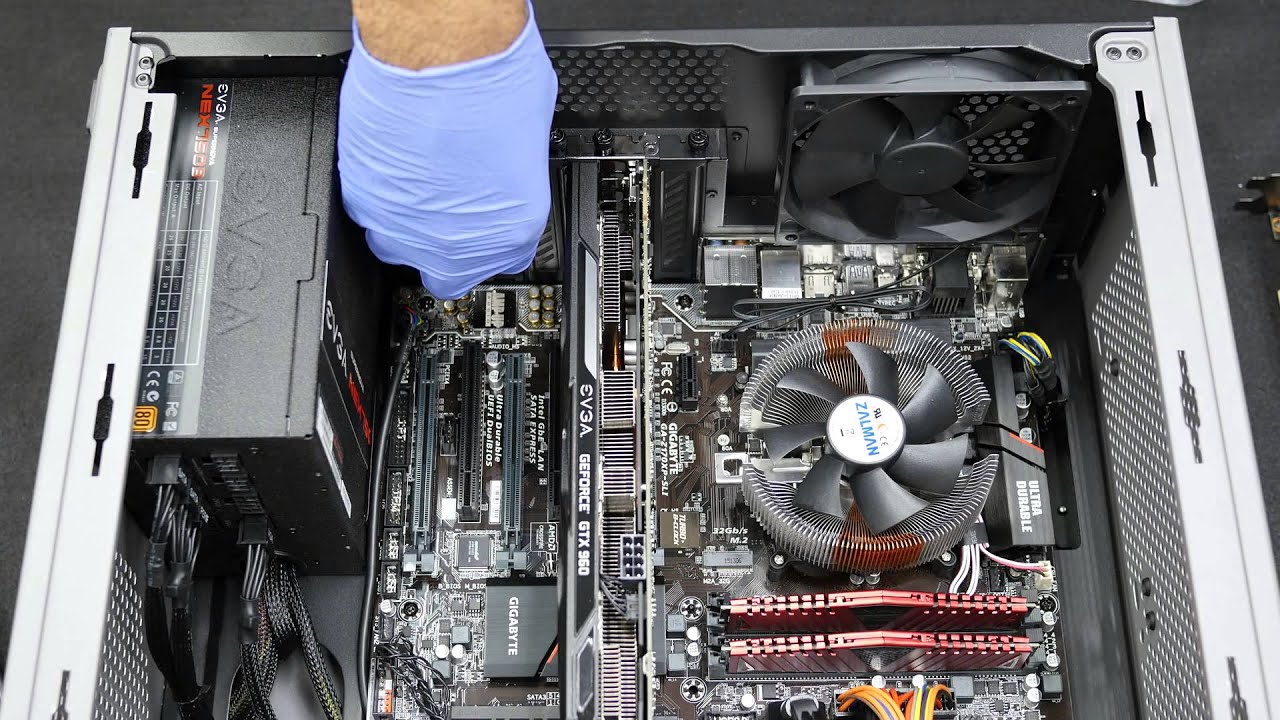
- Identify the retention mechanism that secures the GPU in place. This may be in the form of a latch, lever, or screw depending on your motherboard and GPU design.
- Depending on the mechanism, carefully release the latch, flip the lever, or unscrew the retaining screw to loosen the GPU from the slot.
- Gently hold the GPU by its sides and lift it straight upwards. Avoid pulling at an angle as this may damage the connectors or the PCIe slot itself.
- If the GPU feels stuck, double-check that you have released all the retaining mechanisms and gently wiggle the GPU while lifting to loosen it from the slot.
- Once the GPU is free from the slot, place it on an anti-static surface or in an anti-static bag to prevent any static electricity damage or dust accumulation.
It’s important to note that GPUs can vary in size and weight, so handle them with care to avoid any accidental drops or damage. Avoid touching the gold contacts on the underside of the GPU, as oils from your fingers can potentially hinder performance.
With the GPU successfully removed, you can now proceed to the next step: replacing or upgrading your GPU. If you’re not planning to replace or upgrade your GPU, remember to store it in a safe place until you’re ready to reinstall it.
Step 5: Replacing or Upgrading the GPU
If you’re looking to replace or upgrade your GPU, this step will guide you through the process. Here’s what you need to do:
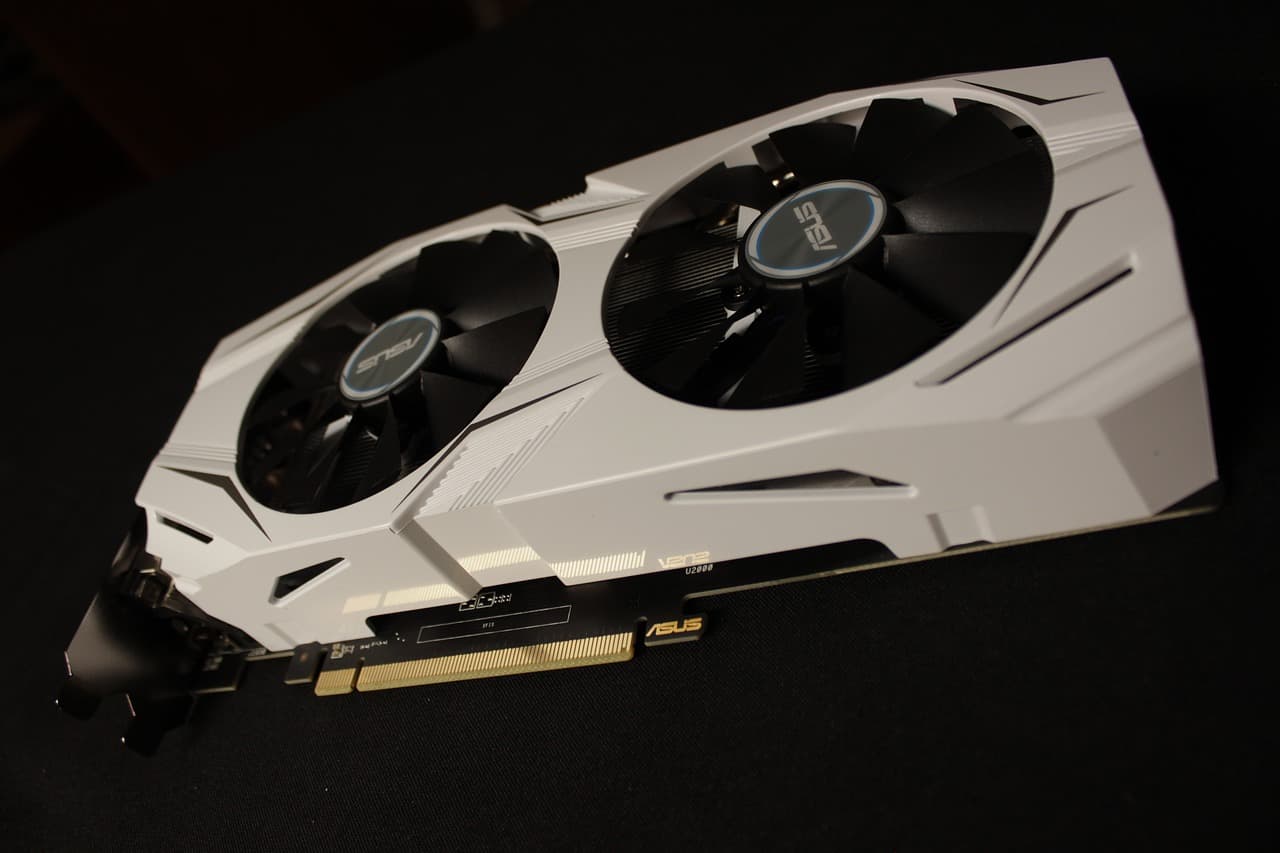
- Start by researching and selecting a new GPU that is compatible with your system and meets your performance needs. Consider factors such as budget, power requirements, and compatibility with your motherboard and other components.
- Carefully unpack the new GPU from its packaging, being mindful of any static-sensitive components.
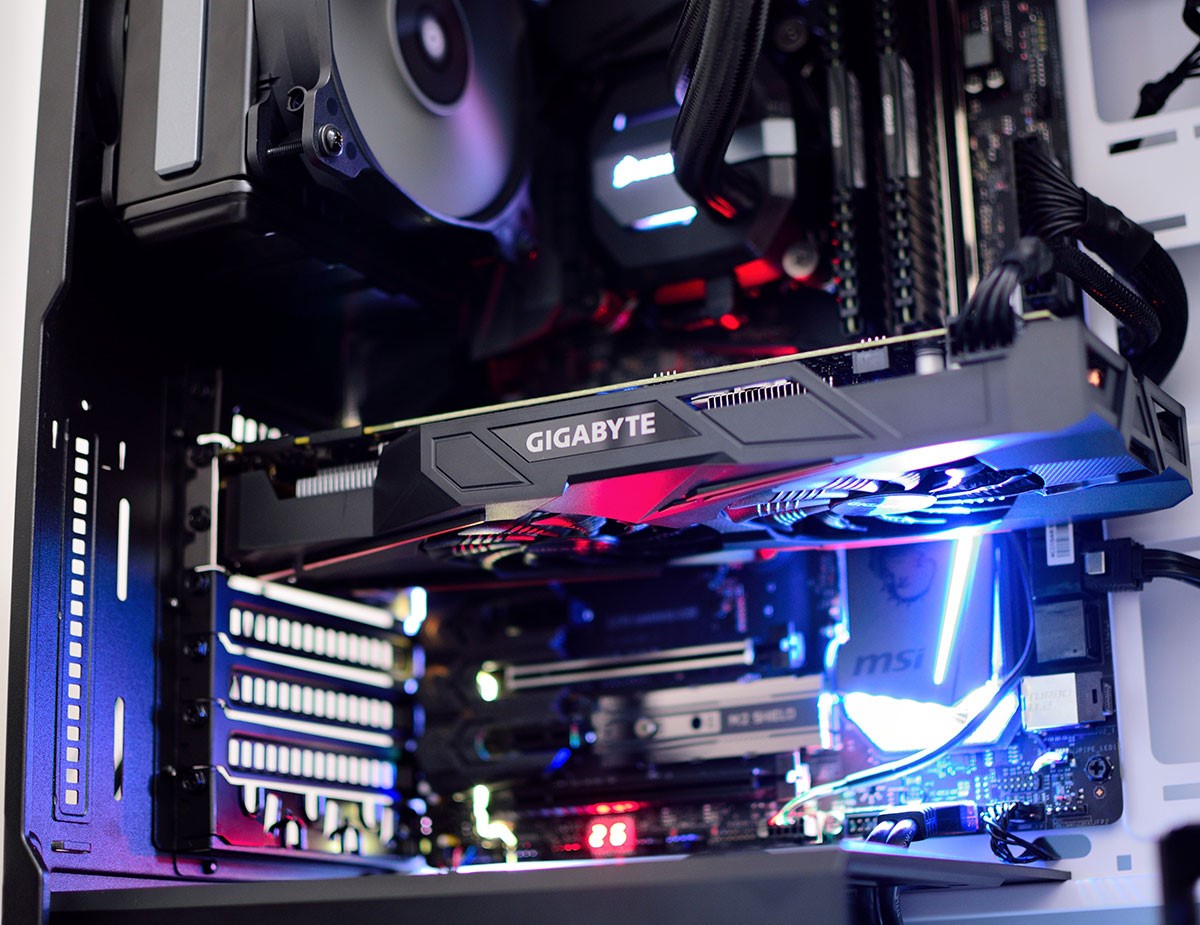
- Hold the new GPU by its sides and align it with the PCIe slot on the motherboard. Ensure that the metal contacts on the bottom of the GPU align with the slot on the motherboard.
- Gently place the GPU into the slot, applying light pressure until it is seated firmly. Do not force it into place; it should slide in smoothly without resistance.
- Once the GPU is inserted, re-secure it using the retention mechanism that you released in the previous step. This could be a latch, lever, or screw, depending on your motherboard design.
- If your new GPU requires additional power, such as PCIe power cables, connect them securely to the appropriate connectors on the GPU.
It’s important to note that if you’re upgrading to a more powerful GPU, you may need to check if your power supply unit (PSU) can handle the increased power requirements. Refer to your GPU and PSU specifications for the recommended power supply and wattage.
With the new GPU properly installed and secured, you’ve completed the process of replacing or upgrading your GPU. Now it’s time to move on to the next step: reconnecting the cables. Let’s proceed to Step 6: Reconnecting Cables.
Step 6: Reconnecting Cables
Now that you have replaced or upgraded your GPU, it’s time to reconnect the necessary cables to ensure proper functionality. Follow these steps to reconnect the cables:
- Start by reattaching the power cables to the new GPU. Refer to the GPU manufacturer’s documentation or labels on the connectors to ensure they are connected correctly. Make sure the cables are securely plugged in to provide a stable power supply to the GPU.
- If you had disconnected any display cables, now is the time to reconnect them. Attach the appropriate video cables, such as HDMI, DisplayPort, or DVI, to the corresponding connectors on the GPU and your monitor(s).
- If there were any additional connectors removed, such as fan headers or audio connectors, reconnect them one by one, ensuring a secure connection.
It’s important to handle the cables with care and ensure they are inserted straight and aligned correctly. Avoid applying excessive force or bending the cables to prevent any damage to the connectors or the GPU itself.
Once all the necessary cables are reconnected, you have successfully completed the process of reconnecting the GPU. Now, let’s move on to securing the GPU in the next step: Step 7: Securing the GPU.
Step 7: Securing the GPU
Securing the GPU is an important step to ensure it remains in place and functions correctly within your system. Follow these steps to properly secure the GPU:
- Visually inspect the GPU to ensure it is aligned correctly within the PCIe slot and other components within the case. Adjust its position if necessary.
- Identify the retention mechanism for securing the GPU. This may be a latch, lever, or screw, depending on your motherboard design.
- Carefully engage the retention mechanism to hold the GPU in place. Follow the instructions in your motherboard’s manual or the manufacturer’s guidelines to ensure the proper method of securing the GPU.
- Double-check that the retention mechanism is securely fastened and that the GPU is firmly seated in the slot. This will help prevent any movement or dislodging while the computer is in use.
It’s essential to ensure that the GPU is fully secured and that there is no loose movement. This helps maintain a stable connection and prevents any potential damage to the GPU or other components caused by unnecessary vibrations.
With the GPU now securely in place, you’re one step closer to completing the reinstallation process. In the next step, we will reattach the side panel of the computer case. Let’s move on to Step 8: Reattaching the Side Panel.
Step 8: Reattaching the Side Panel
Now that you have completed the necessary steps to replace or upgrade your GPU and ensure its proper connection, it’s time to reattach the side panel of your computer case. Follow these steps to securely reattach the side panel:
- Align the side panel with the case, making sure the edges and screw holes line up properly.
- Gently slide or push the side panel back into place until it is snug against the case. Be careful not to use excessive force that could potentially damage the panel or the case itself.
- If your case uses screws to secure the side panel, carefully insert the screws into the corresponding screw holes on the case. Use a screwdriver to tighten the screws, but avoid overtightening to prevent stripping the screws or damaging the case.
- If your case uses a latch or lever mechanism, make sure it is engaged securely to hold the side panel in place. Follow the instructions provided by the case manufacturer to ensure proper installation.
It’s important to ensure that the side panel is securely attached to the case. This will help maintain proper airflow, reduce noise, and protect the internal components from dust and potential damage.
With the side panel securely reattached, you’re almost done with your GPU installation process. The final steps involve powering on your system and verifying that everything is working as expected. Let’s move on to Step 9: Powering on the System.
Step 9: Powering on the System
Now that you have successfully reinstalled your GPU, it’s time to power on your system and ensure everything is functioning properly. Follow these steps to power on the system:
- Double-check that all cables, including the power cables and display cables, are securely connected to the GPU and other components.
- Plug in the power cord and ensure it is securely connected to the power outlet.
- Press the power button on your computer case to start the system.
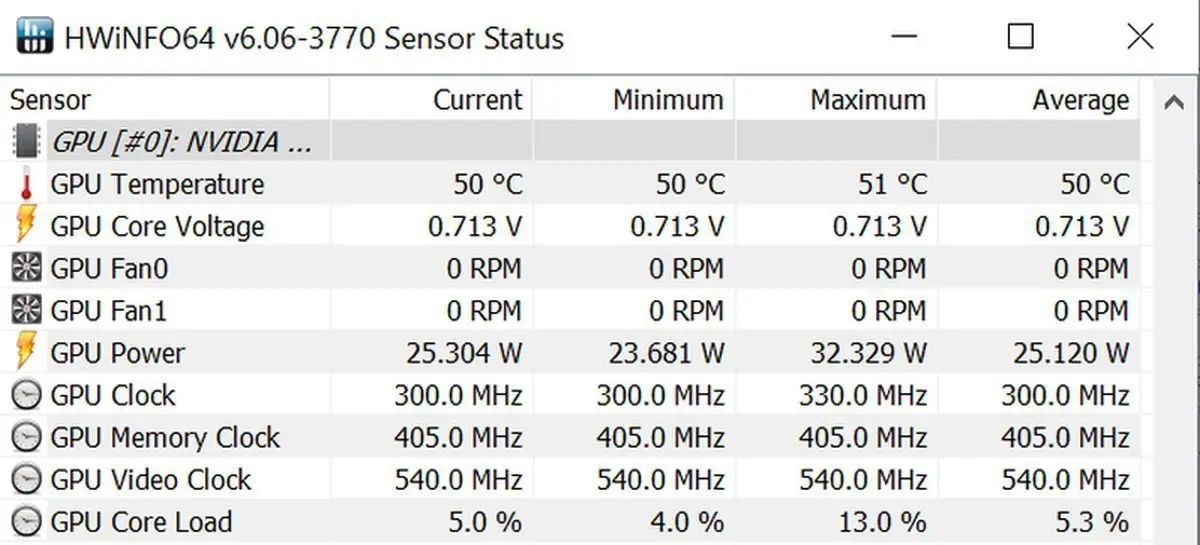
- Observe the fans and lights on your computer to ensure they are functioning as expected.
- Listen for any unusual noises or beeps that may indicate a problem with the GPU or other components.
- Check your monitor to see if it displays any video output from the newly installed GPU.
- If your system powers on and displays normal functionality, you have successfully completed the GPU installation process.
If you encounter any issues during the power-on process, check the connections and consult your GPU’s manual or the manufacturer’s support documentation for troubleshooting steps. Remember, it’s always a good idea to periodically update your GPU drivers to ensure optimal performance and compatibility with your system.
Congratulations! You have completed the process of taking out your GPU, whether for troubleshooting or upgrading purposes. By following these steps, you have successfully navigated through the installation process and now have a properly installed GPU ready to enhance your computer’s graphics performance.
Should you ever need to remove or replace your GPU again in the future, refer back to this guide for a quick and handy reference. Now, enjoy your improved graphics capabilities and happy computing!
Conclusion
Congratulations on successfully taking out your GPU! We hope that this step-by-step guide has been helpful in guiding you through the process. Whether you were troubleshooting an issue, upgrading to a more powerful GPU, or satisfying your curiosity, removing a GPU can be a rewarding experience.
Throughout this guide, we emphasized the importance of caution, careful handling, and the necessary preparations. Prioritizing your safety, understanding your computer’s layout, and using the correct tools are essential for a successful GPU removal.
We covered the crucial steps, from powering down your system and removing the side panel, to disconnecting cables, removing the GPU, replacing or upgrading the GPU, reconnecting cables, securing the GPU, and reattaching the side panel. Finally, we concluded with powering on the system and ensuring everything is functioning as expected.
Remember that if you ever feel unsure or uncomfortable during the process, it’s always a good idea to seek assistance from a professional. They can provide guidance and ensure that the removal is performed with expertise and precision.
We hope that by following this guide, you were able to accomplish your goal of taking out your GPU successfully. Whether you’re continuing with further hardware upgrades or simply taking a moment to appreciate your newfound knowledge about computer hardware, we’re glad to have been a part of your journey.
Thank you for choosing our guide, and we wish you the best of luck with your future adventures in computer hardware!