Introduction
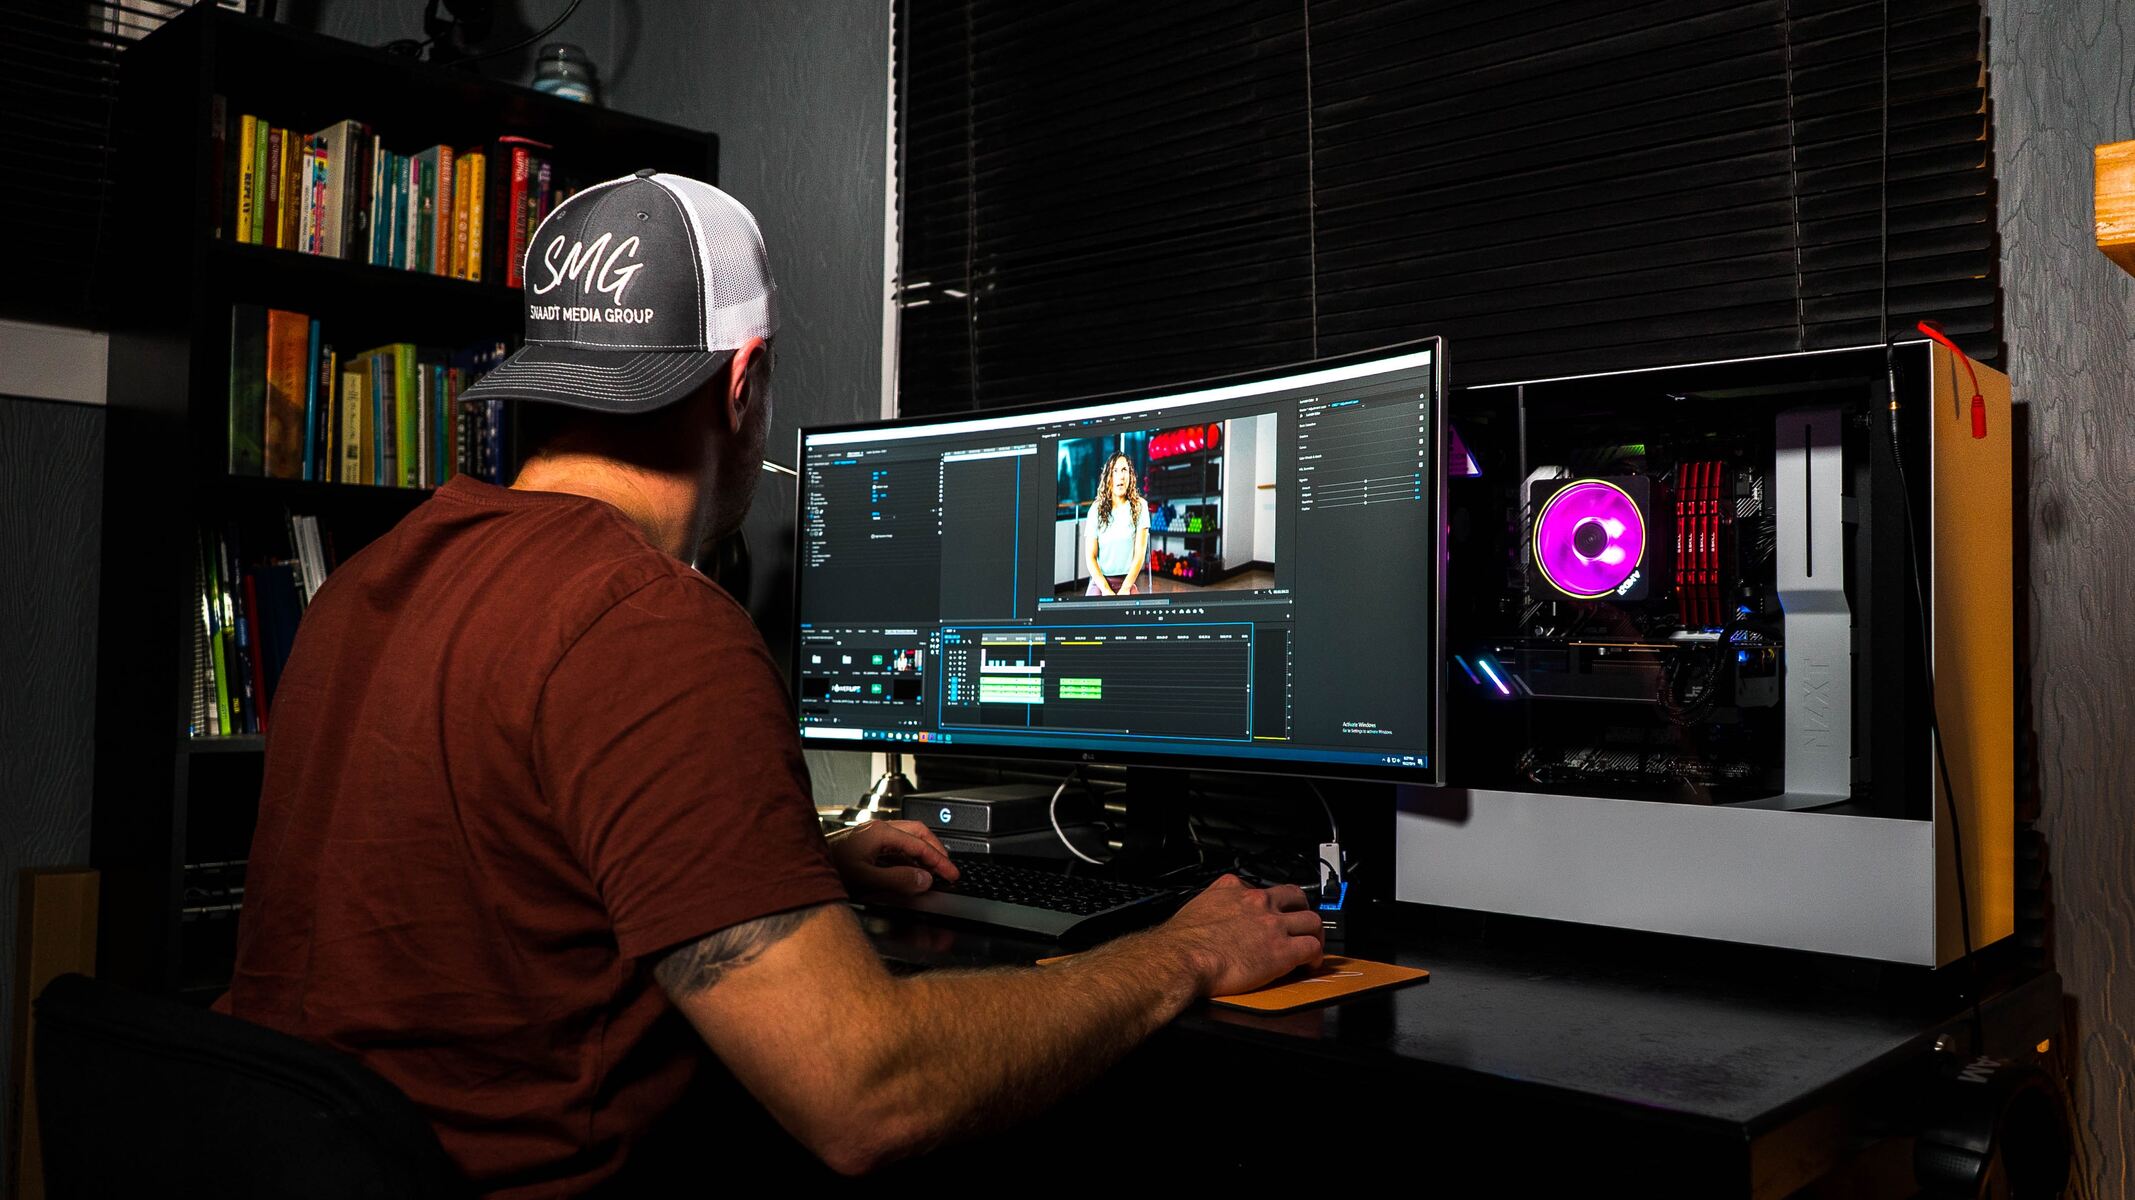
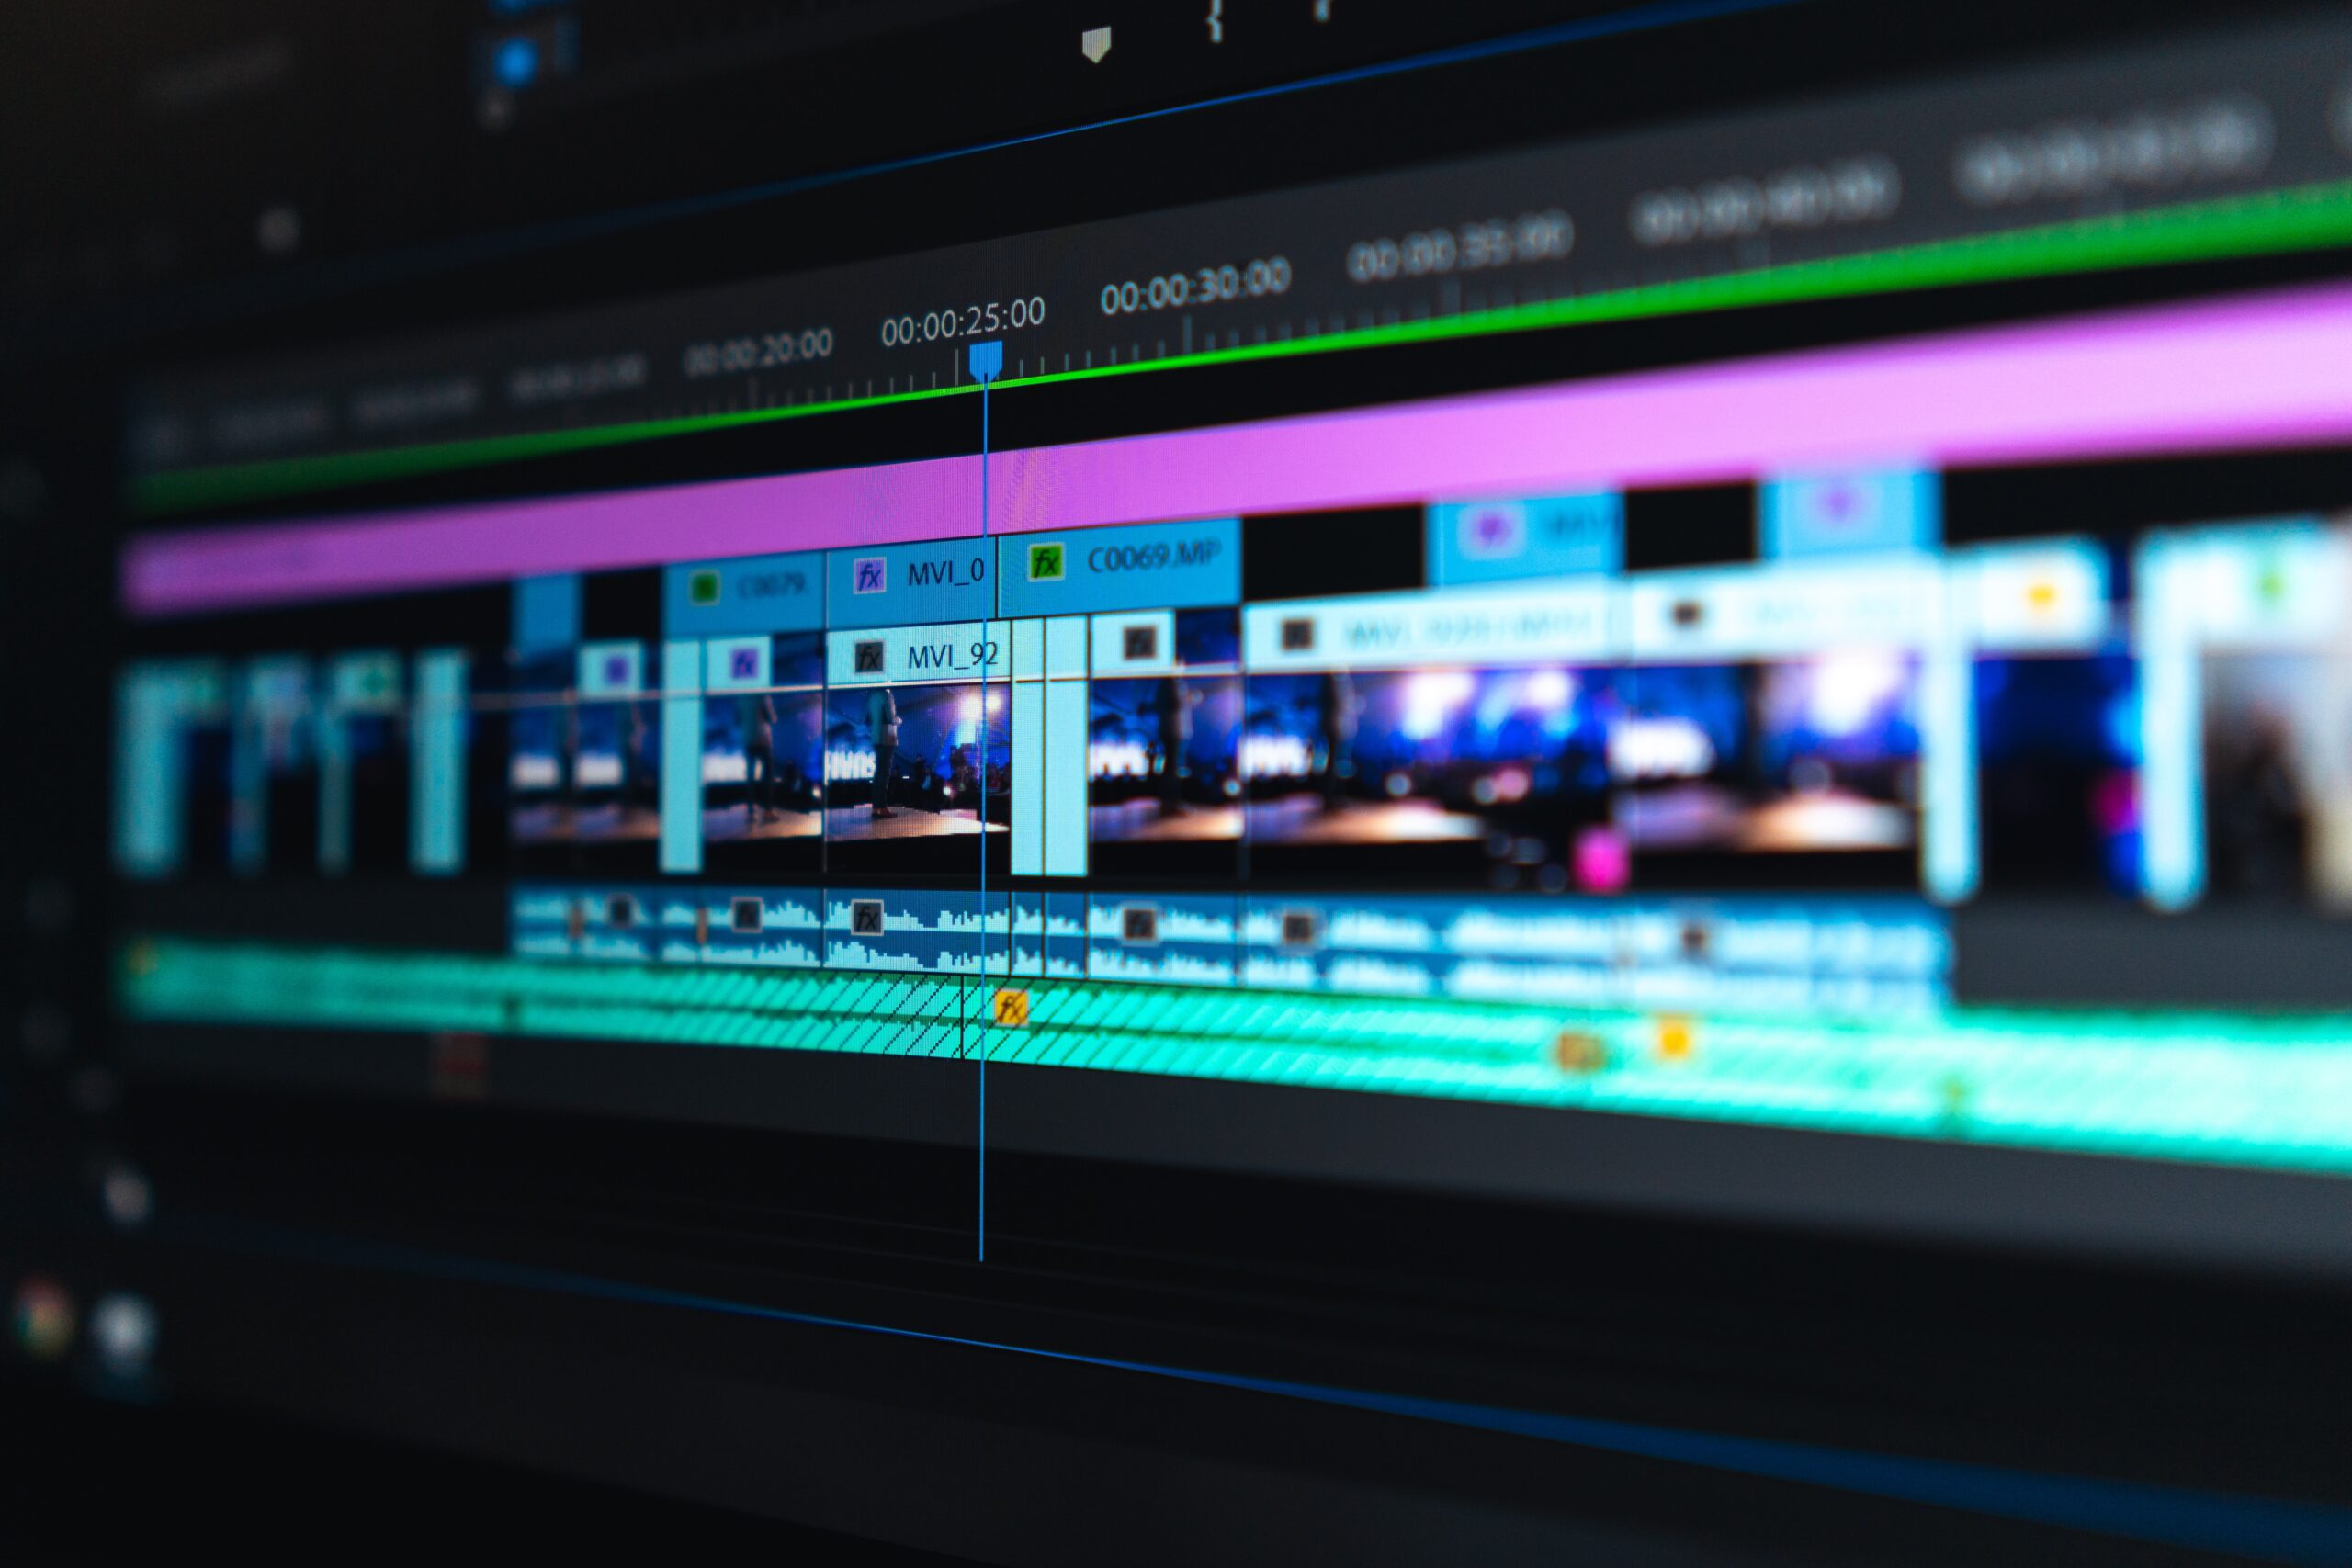
When it comes to video editing, having a powerful and efficient software is crucial. Adobe Premiere Pro is one of the most popular video editing applications in the industry, known for its robust features and professional-grade capabilities. To further enhance its performance, Premiere Pro offers GPU acceleration, a technology that leverages the power of your graphics card to accelerate the editing process.
GPU acceleration, short for Graphics Processing Unit acceleration, allows Premiere Pro to offload certain compute-intensive tasks from the CPU to the GPU. This division of labor can significantly speed up rendering and playback, leading to smoother editing experiences and reduced waiting times. With GPU acceleration, you can handle high-resolution footage, apply complex effects, and work with multiple layers with ease.
In this article, we will explore the benefits of GPU acceleration in Premiere Pro and guide you through the process of enabling this feature. We will also provide troubleshooting tips for common GPU acceleration issues. Whether you are a beginner or an experienced video editor, this article will help you optimize your Premiere Pro workflow and take advantage of the power of your graphics card.
To ensure a successful implementation of GPU acceleration, it is important to first check if your system meets the requirements. Additionally, keeping your graphics card driver up-to-date is crucial for optimal performance. Enabling GPU acceleration in Premiere Pro and adjusting the GPU performance settings will further fine-tune the software to make the most of your graphics card’s capabilities.
So, let’s dive into the world of GPU acceleration in Premiere Pro and unleash the full potential of your editing workstation.
What is GPU Acceleration?
GPU acceleration, also known as GPU computing or GPU processing, is the utilization of a computer’s graphics processing unit (GPU) to perform tasks that would typically be handled by the central processing unit (CPU). While the CPU is responsible for general-purpose computing, the GPU is specifically designed for rendering and manipulating graphics-related operations.
In the context of video editing software like Adobe Premiere Pro, GPU acceleration refers to the ability to harness the power of the GPU to accelerate certain tasks involved in the editing process. By offloading compute-intensive tasks from the CPU to the GPU, editing software can leverage the parallel processing capabilities of the graphics card to significantly improve performance and efficiency.
Traditionally, video editing heavily relied on the CPU for processing tasks such as decoding video files, applying effects, and rendering the final output. However, as video resolutions and effects become more demanding, the CPU alone may struggle to handle the workload efficiently. This is where GPU acceleration comes into play.
With GPU acceleration, the GPU takes over specific tasks that are optimized to be processed in parallel. This includes tasks such as real-time playback, video decoding, video encoding, and rendering visual effects. By dividing these tasks between the CPU and GPU, video editing software can achieve faster rendering times, smoother playback, and improved overall performance.
It is important to note that not all tasks in Premiere Pro can be accelerated by the GPU. While GPU acceleration is particularly beneficial for tasks related to graphics processing and effects, certain operations still rely on the CPU. For example, timeline scrubbing, file I/O operations, and some audio processing tasks are primarily handled by the CPU.
Overall, GPU acceleration in video editing software like Adobe Premiere Pro allows users to harness the power of their graphics card to perform complex computations, resulting in faster and more efficient video editing workflows. By taking advantage of the GPU’s parallel processing capabilities, users can achieve higher performance, smoother playback, and reduced rendering times, ultimately improving their productivity and creativity in the editing process.
Benefits of GPU Acceleration in Premiere Pro
GPU acceleration in Adobe Premiere Pro brings numerous benefits to video editing workflows. Let’s explore the advantages of using GPU acceleration in Premiere Pro:
- Improved Performance: By offloading compute-intensive tasks to the GPU, Premiere Pro can achieve significantly improved performance. Tasks such as real-time playback, applying effects, and rendering are accelerated, resulting in smoother editing experiences and reduced waiting times.
- Faster Rendering: One of the primary benefits of GPU acceleration is faster rendering times. The parallel processing capabilities of the GPU allow for quicker video encoding and rendering, enabling video editors to export their projects more quickly.
- Smoother Playback: GPU acceleration enables Premiere Pro to handle high-resolution footage and complex visual effects more effectively. This results in smoother playback during editing, allowing editors to preview their work in real-time without dropped frames or lag, leading to a more efficient editing experience.
- Real-Time Effects: GPU acceleration allows for real-time rendering and application of effects, even with multiple layers and complex adjustments. This real-time feedback empowers editors to make instant visual decisions, experimenting with different effects and modifications on the fly.
- High-Resolution Support: With GPU acceleration, Premiere Pro can handle high-resolution video files more efficiently. This is particularly beneficial for editing projects with 4K, 6K, or even 8K footage, as the GPU can handle the increased computational demands required for these higher resolutions.
- Optimized Effects: Many of the built-in effects within Premiere Pro are specifically optimized for GPU acceleration. By utilizing the power of the GPU, these effects can be applied and rendered more quickly, allowing editors to experiment with a wide range of effects without sacrificing performance.
Overall, GPU acceleration in Premiere Pro offers a range of benefits that enhance the editing process. From improved performance and faster rendering times to smoother playback and real-time effects, GPU acceleration unlocks the full potential of your graphics card and ensures a more efficient and visually dynamic editing workflow.
Check System Requirements
Before enabling GPU acceleration in Adobe Premiere Pro, it’s crucial to ensure that your system meets the necessary requirements. Checking the system requirements helps to guarantee compatibility and optimal performance when utilizing GPU acceleration. Here are the key aspects to consider:
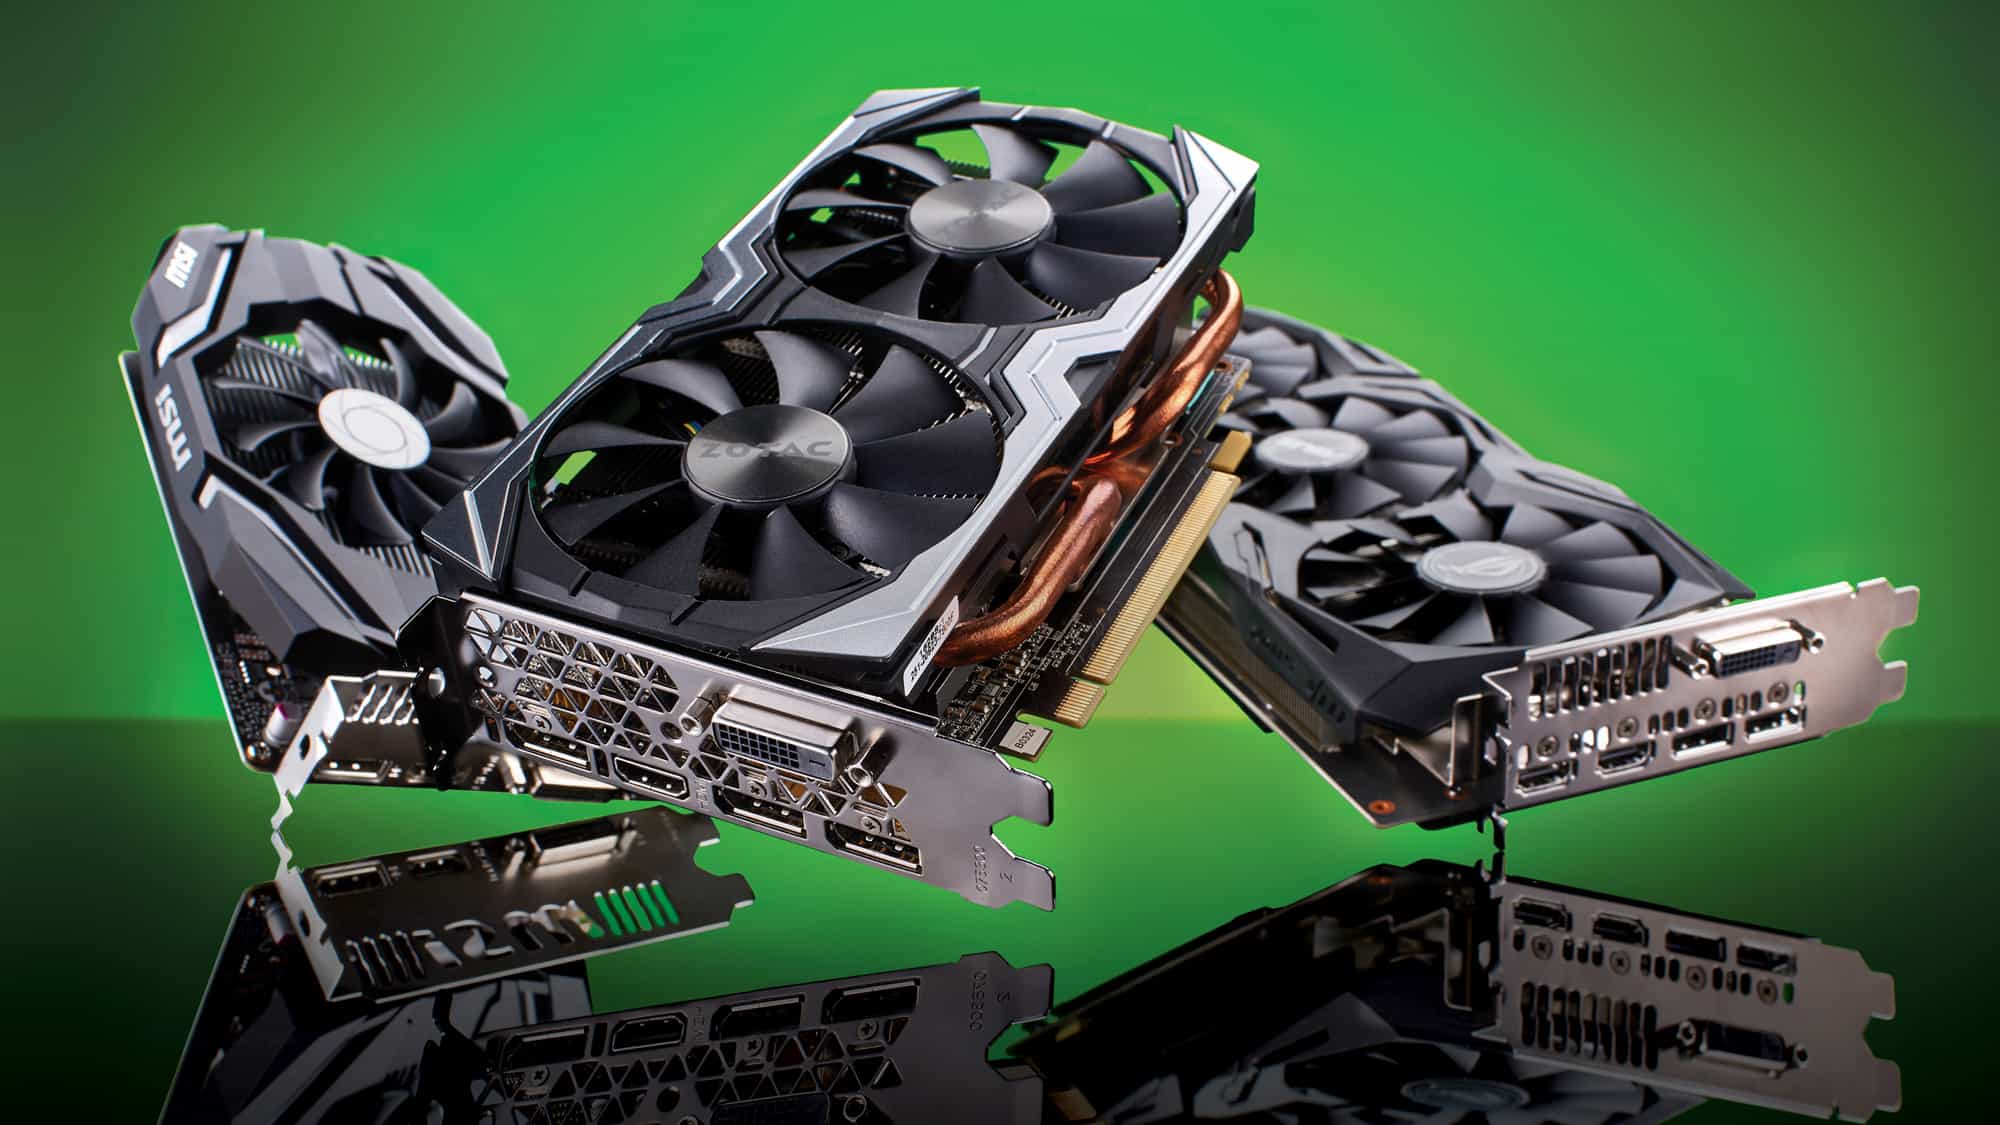
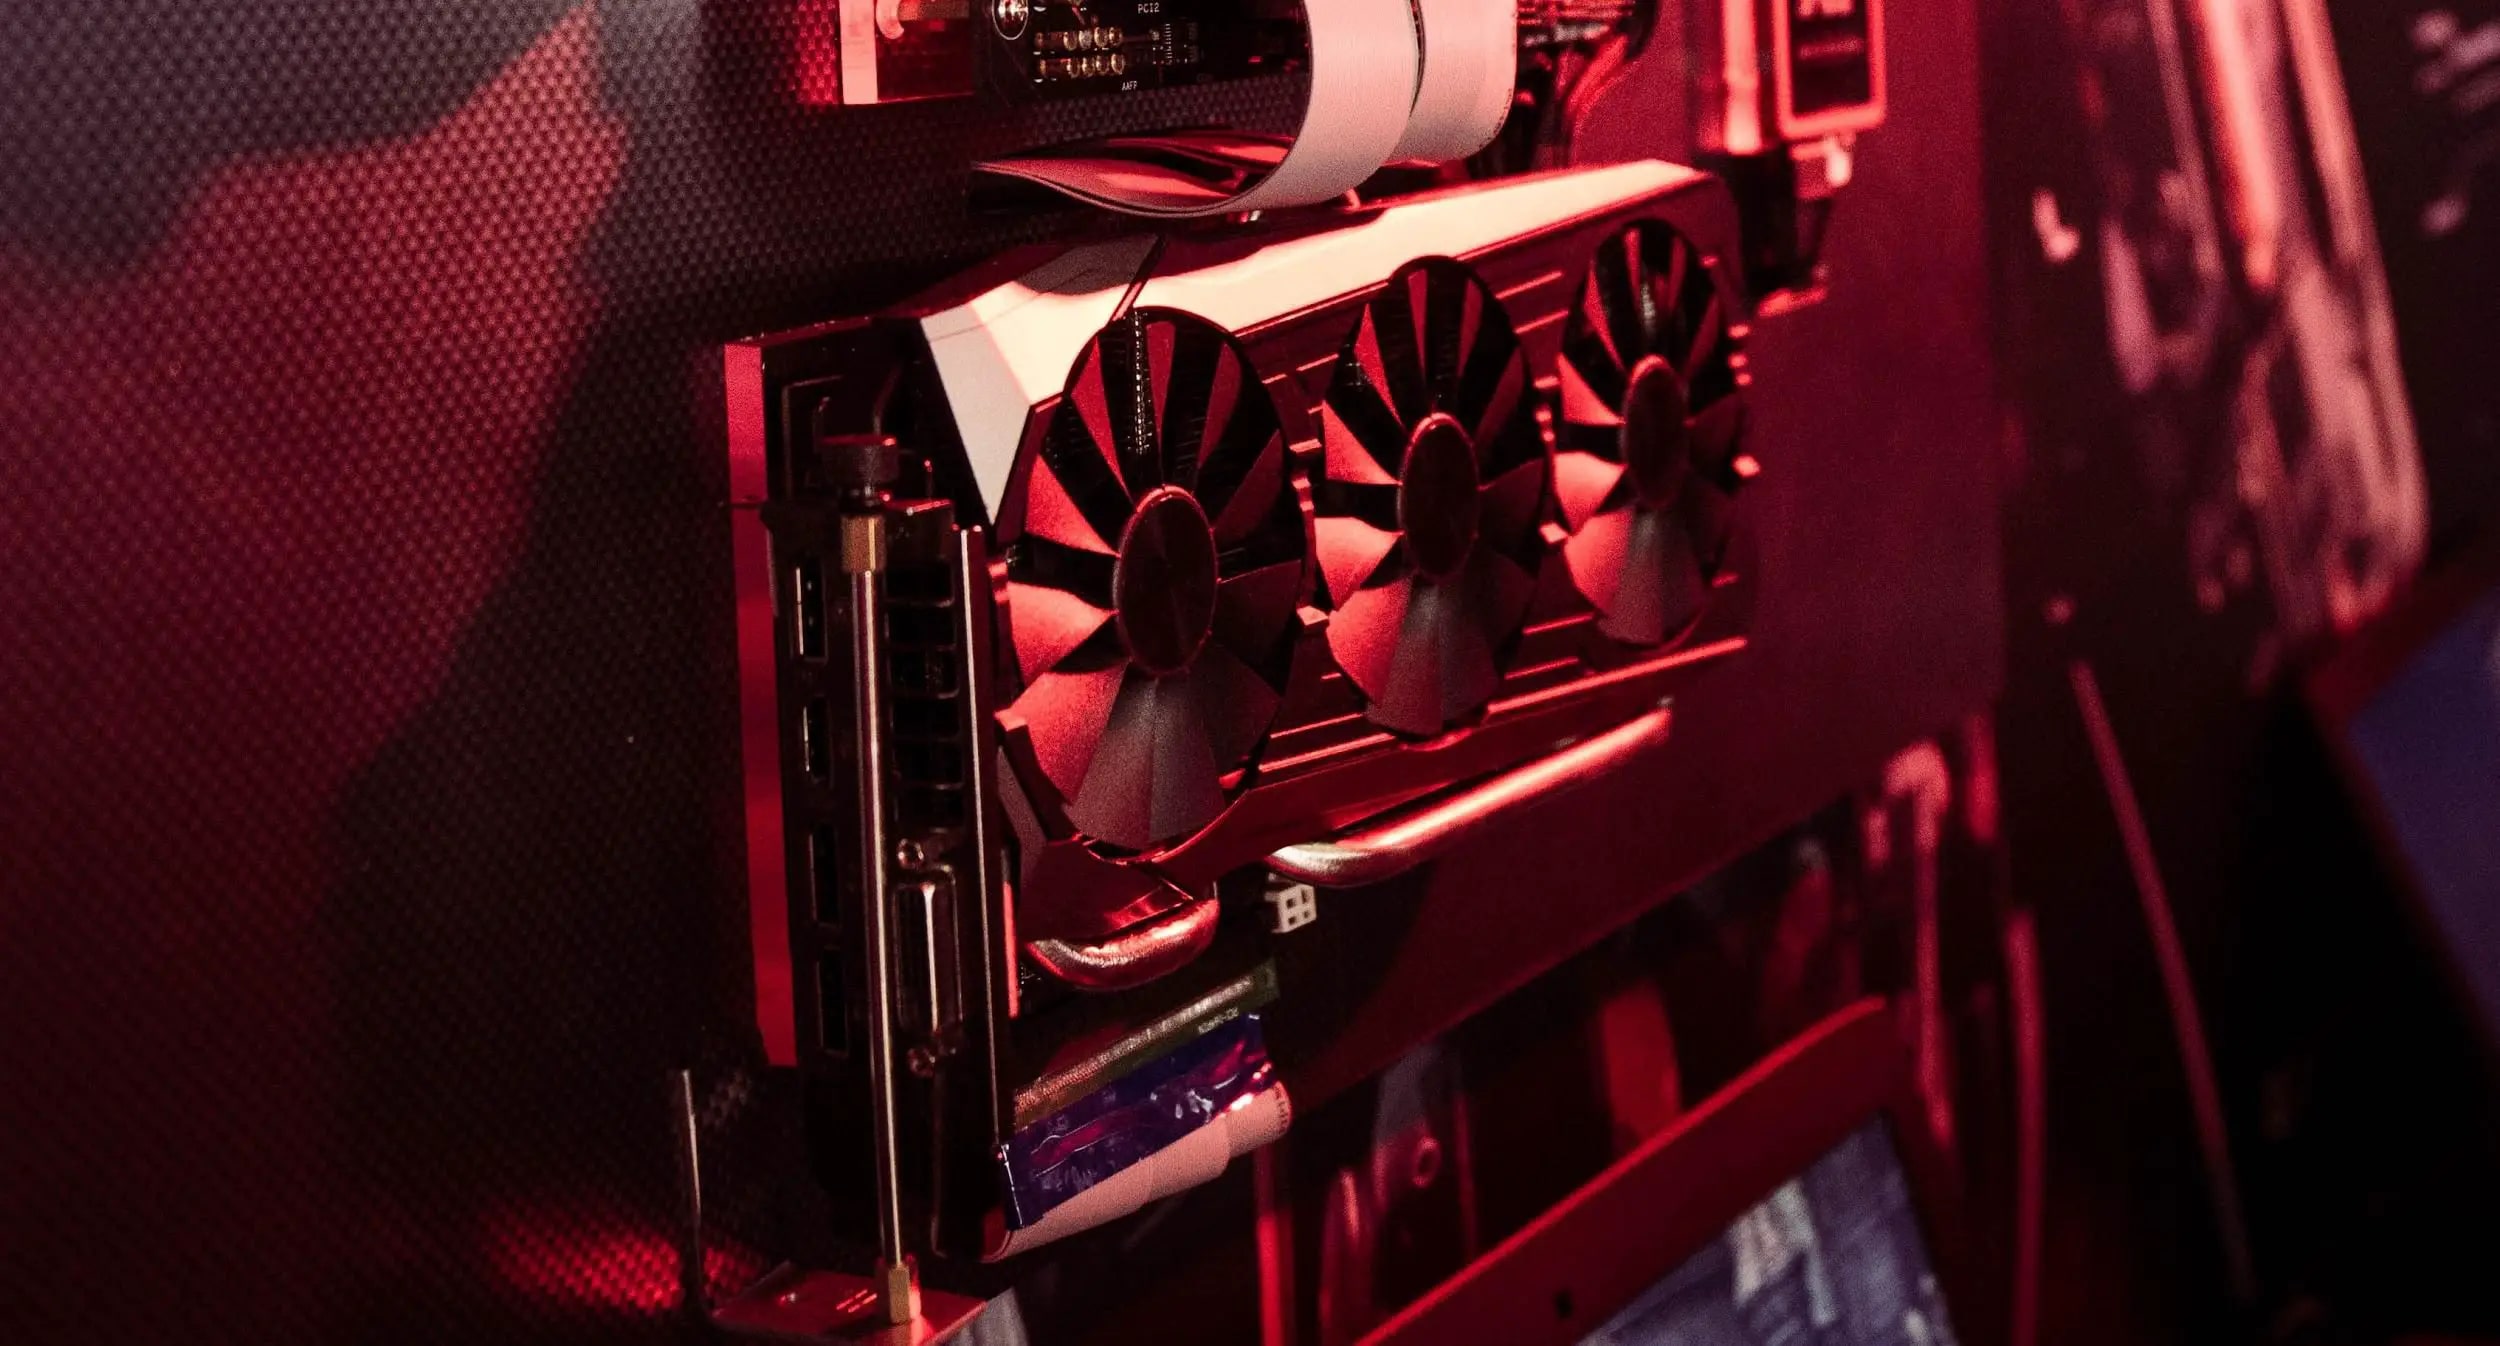
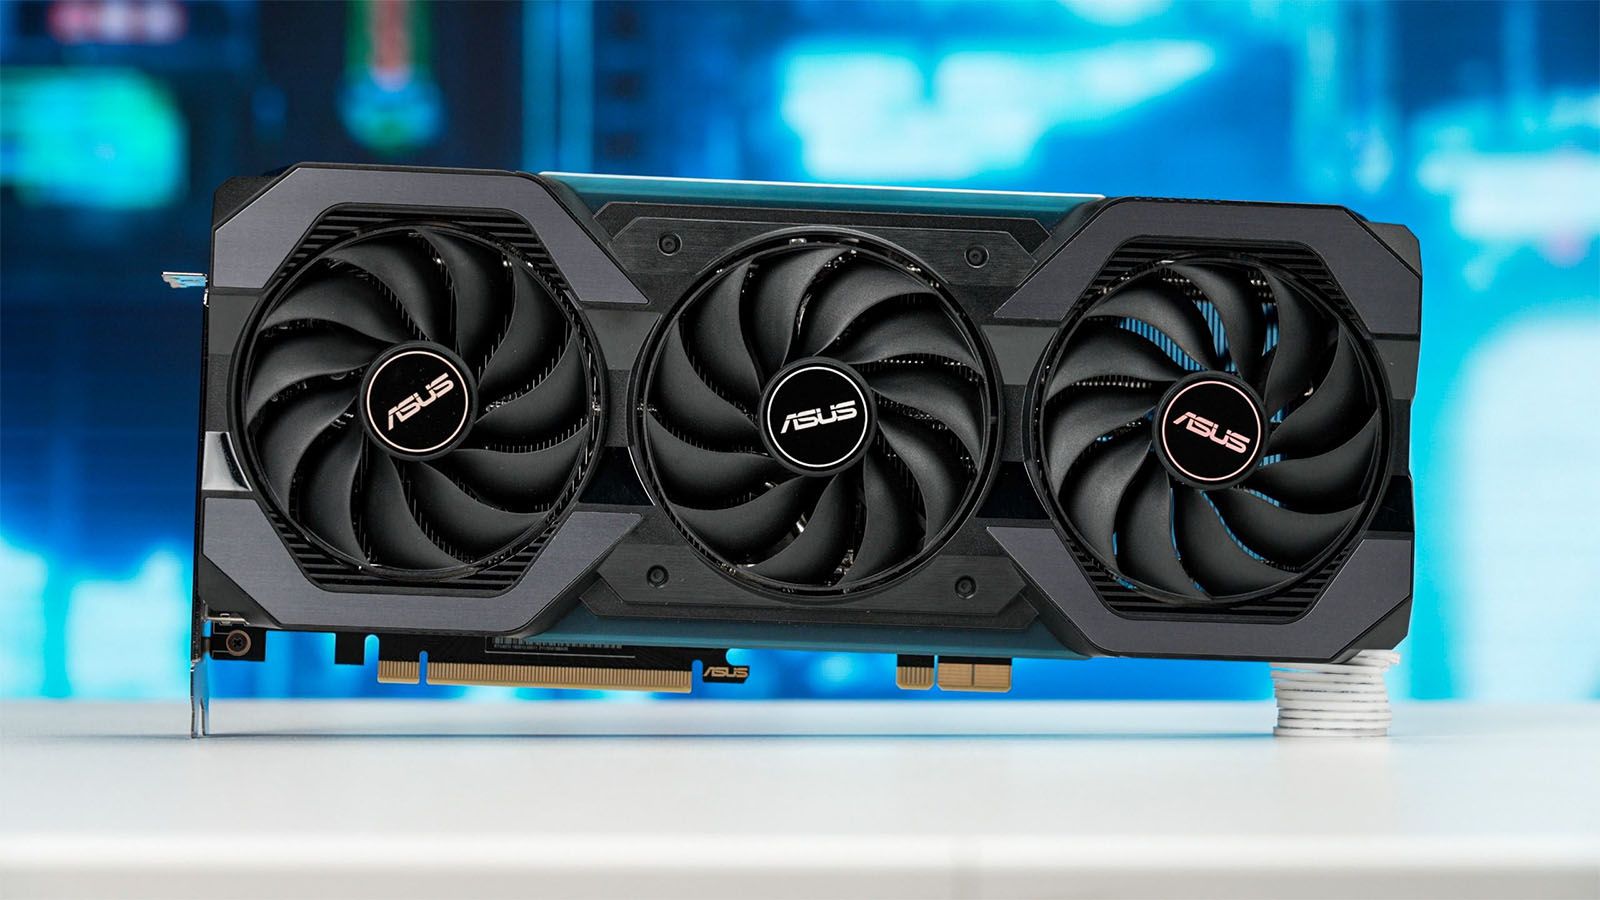
- Graphics Card: GPU acceleration relies on a dedicated graphics card with adequate power and capabilities. Premiere Pro supports a wide range of graphics cards from various manufacturers, including NVIDIA, AMD, and Intel. Check the Adobe website or official documentation for a list of supported graphics cards and their required specifications.
- Driver Updates: Ensure that your graphics card driver is up-to-date. Outdated drivers may lack the necessary optimizations and bug fixes that enable smooth GPU acceleration performance. Visit the manufacturer’s website or use the automatic driver update tool provided by the graphics card manufacturer to download and install the latest driver version.
- Operating System: Verify that your operating system is compatible with GPU acceleration in Premiere Pro. Check the system requirements specified by Adobe to ensure that your operating system version is supported. Additionally, ensure that your operating system is updated to the latest version to maintain compatibility with the software.
- Memory (RAM): Having sufficient RAM is crucial for smooth video editing performance, especially when utilizing GPU acceleration. Premiere Pro recommends a minimum of 8GB of RAM, but higher amounts are beneficial for handling complex projects and high-resolution footage. Consider upgrading your RAM if you frequently work with large-scale projects.
- Storage: Adequate storage space is essential for storing video files, project files, and Premiere Pro itself. Ensure that you have enough free space to accommodate the media assets and projects you’ll be working with. Utilize high-performance storage options, such as solid-state drives (SSDs), for improved read/write speeds and overall system responsiveness.
Taking the time to check your system’s compatibility and requirements ensures a seamless experience when enabling GPU acceleration in Premiere Pro. By meeting these requirements, you can optimize your editing environment for efficient GPU usage and enjoy the full benefits of GPU acceleration in Adobe Premiere Pro.
Update Graphics Card Driver
Updating your graphics card driver is crucial for ensuring optimal performance when utilizing GPU acceleration in Adobe Premiere Pro. Outdated or incompatible drivers can lead to stability issues, reduced performance, and even software crashes. Here’s a step-by-step guide to updating your graphics card driver:
- Identify Your Graphics Card: Determine the make and model of your graphics card. You can usually find this information in your computer’s device manager or by checking the manufacturer’s documentation.
- Visit the Manufacturer’s Website: Visit the website of your graphics card manufacturer, such as NVIDIA, AMD, or Intel. Look for the support or drivers section on their website.
- Search for the Latest Driver: Use the search function on the manufacturer’s website to find the latest driver for your specific graphics card model. Make sure to download the driver that is compatible with your operating system.
- Download and Install the Driver: Once you’ve located the latest driver, download it to your computer. Follow the installation instructions provided by the manufacturer to install the driver. It’s recommended to choose the “Clean Install” option if available to ensure a fresh installation and minimize potential conflicts.
- Restart Your Computer: After installing the new driver, restart your computer to complete the installation process. Restarting helps to ensure that the new driver settings take effect properly.
- Verify Driver Installation: Once your computer has rebooted, verify that the new driver has been successfully installed. You can do this by checking the device manager or visiting the graphics card settings within your computer’s control panel.
It’s important to note that some graphics card manufacturers provide software utilities that simplify the driver update process. These utilities often notify you of available driver updates and can automatically download and install them for you. Consider using these utilities if they are available for your graphics card.
Regularly updating your graphics card driver ensures that you have the latest optimizations, bug fixes, and compatibility enhancements necessary for smooth GPU acceleration performance in Premiere Pro. By keeping your driver up-to-date, you can maximize the benefits and stability of GPU acceleration and enjoy a seamless editing experience.
Enable GPU Acceleration in Premiere Pro
To take advantage of GPU acceleration in Adobe Premiere Pro, you need to enable the feature within the software settings. Here’s a step-by-step process to enable GPU acceleration in Premiere Pro:
- Open Premiere Pro: Launch Adobe Premiere Pro on your computer.
- Go to Preferences: Click on “Edit” in the top menu bar and select “Preferences” from the drop-down menu. Alternatively, you can use the keyboard shortcut “Ctrl + K” (Windows) or “Command + K” (Mac) to open the Preferences window.
- Select “Playback”: In the Preferences window, click on the “Playback” tab located on the left-hand side.
- Enable GPU Acceleration: Under the “Video Rendering and Playback” section, check the box next to “Enable Mercury Playback Engine GPU Acceleration (CUDA or OpenCL)” depending on the type of graphics card that you have. If you are unsure, you can select the “Auto” option, which will automatically detect the suitable GPU acceleration option.
- Adjust Additional Settings (Optional): Premiere Pro also provides additional settings related to GPU acceleration. You can adjust these settings based on your specific workflow and requirements. For example, you can modify the renderer settings, memory settings, and other GPU-related options to fine-tune the performance and memory usage.
- Click “OK”: Once you’ve enabled GPU acceleration and adjusted any additional settings, click the “OK” button to save the changes.
After enabling GPU acceleration, be sure to restart Premiere Pro to ensure that the changes take effect. Once the software reopens, you should experience improved performance, smoother playback, and faster rendering times thanks to the utilization of your graphics card’s computing power.
If your system has multiple GPUs, Premiere Pro allows you to select the specific GPU that you want to use for acceleration. This can be done in the “Playback” tab of the Preferences window. By selecting the desired GPU, you can optimize the performance based on your system configuration.
Remember that not all effects and operations in Premiere Pro will benefit from GPU acceleration. Some may still rely on the CPU for processing. Nevertheless, by enabling GPU acceleration, you are capitalizing on the power of your graphics card and taking full advantage of its capabilities to optimize your video editing workflow in Adobe Premiere Pro.
Adjust GPU Performance Settings
In addition to enabling GPU acceleration, Adobe Premiere Pro provides options to adjust GPU performance settings, allowing you to further optimize the software’s performance based on your specific needs. Here’s how you can adjust the GPU performance settings in Premiere Pro:
- Open Premiere Pro: Launch Adobe Premiere Pro on your computer.
- Go to Preferences: Click on “Edit” in the top menu bar and select “Preferences” from the drop-down menu. Alternatively, you can use the keyboard shortcut “Ctrl + K” (Windows) or “Command + K” (Mac) to open the Preferences window.
- Select “Memory”: In the Preferences window, click on the “Memory” tab located on the left-hand side.
- Adjust the GPU Performance Settings: Under the “GPU Acceleration” section, you will find options to adjust the GPU performance settings. The available settings may vary depending on your graphics card and driver version. You can typically modify parameters such as “GPU Memory Usage,” “Renderer,” and “GPU Effects Acceleration.
- GPU Memory Usage: This setting determines the amount of GPU memory (VRAM) that Premiere Pro can utilize. Based on the capabilities of your graphics card, you can increase or decrease the GPU memory allocation. If you experience issues related to insufficient memory or performance, consider adjusting this setting accordingly.
- Renderer: Premiere Pro offers different renderer options to optimize performance and compatibility. “CUDA” is suitable for NVIDIA graphics cards, while “OpenCL” is for AMD cards. You can choose the appropriate renderer based on your graphics card. Alternatively, you can select “Software Only” if you want to disable GPU acceleration entirely.
- GPU Effects Acceleration: This setting allows you to specify the type of effects that will utilize GPU acceleration. You can choose between “Metal,” “CUDA,” “OpenCL,” or “Software Only.” Adjust this setting based on the effects you commonly use in your projects.
- Click “OK”: Once you’ve adjusted the GPU performance settings according to your preferences, click the “OK” button to save the changes.
By adjusting the GPU performance settings, you can fine-tune the software to work optimally based on your graphics card and project requirements. Experiment with different settings and monitor the performance to find the best configuration for your editing workflow.
Keep in mind that modifying these settings can have various effects on performance and stability. If you experience any issues or instability after adjusting the GPU performance settings, you can always revert to the default settings or consult Adobe’s support documentation for further guidance.
Optimizing the GPU performance settings in Premiere Pro allows you to fully utilize the power of your graphics card, further enhancing the performance of GPU acceleration and providing you with a smoother, more efficient editing experience.
Troubleshooting GPU Acceleration Issues
While GPU acceleration in Adobe Premiere Pro can greatly enhance editing performance, it’s possible to encounter issues that may affect its functionality. If you’re experiencing problems with GPU acceleration in Premiere Pro, follow these troubleshooting steps to resolve the issue:
- Update Graphics Card Driver: Ensure that you have the latest graphics card driver installed on your system. Outdated drivers can cause compatibility issues and performance problems. Visit the manufacturer’s website to download and install the latest driver version.
- Check System Requirements: Verify that your system meets the minimum requirements for GPU acceleration in Premiere Pro. This includes having a compatible graphics card with sufficient VRAM and the latest operating system updates.
- Disable GPU Acceleration: Temporarily disable GPU acceleration in Premiere Pro to determine if the issue is specific to GPU-related functionality. This can be done by navigating to Preferences > Playback and unchecking the “Enable Mercury Playback Engine GPU Acceleration” option.
- Clear Cache Files: Premiere Pro stores cache files that can become corrupted and impact GPU acceleration. Clear the cache files by going to Edit > Preferences > Media Cache and clicking on the “Clean” button to delete the cache files.
- Reset Preferences: In some cases, corrupted preferences can lead to GPU acceleration issues. Resetting preferences can help resolve these problems. Hold down the Alt (Option) key while launching Premiere Pro, select “OK” to confirm resetting preferences, and then test GPU acceleration.
- Disable Hardware Decoding/Encoding: If you encounter specific issues related to video decoding or encoding, disable hardware decoding or encoding in Premiere Pro. Go to Preferences > Media and disable “Enable Hardware Acceleration (Metal, CUDA, OpenCL)” under the “Video Rendering and Playback” section.
- Update Premiere Pro: Ensure that you have the latest version of Adobe Premiere Pro installed on your system. Adobe regularly releases updates that include bug fixes and improvements, which can help resolve GPU acceleration issues.
- Consult Adobe Support: If none of the above troubleshooting steps resolve the GPU acceleration issues, reach out to Adobe Support for further assistance. They can provide additional guidance and solutions specific to your situation.
Remember, GPU acceleration issues can be caused by various factors, including hardware configuration, software conflicts, and driver compatibility. By systematically troubleshooting and following the steps outlined above, you can resolve GPU acceleration issues and restore smooth performance in Adobe Premiere Pro.
Conclusion
Enabling GPU acceleration in Adobe Premiere Pro can significantly enhance your video editing experience by leveraging the power of your graphics card. Through GPU acceleration, you can enjoy improved performance, faster rendering times, smoother playback, and real-time effects. However, to fully take advantage of GPU acceleration, it’s important to ensure that your system meets the requirements and that your graphics card driver is up-to-date. By following the steps to enable GPU acceleration and adjusting the GPU performance settings in Premiere Pro, you can optimize the software’s performance based on your specific needs and system configuration.
If you encounter any issues with GPU acceleration, such as compatibility problems or performance limitations, you can troubleshoot the problem by updating the graphics card driver, checking system requirements, and adjusting settings as necessary. Clearing cache files and resetting preferences may also help resolve any GPU-related issues.
Remember that GPU acceleration is not suitable for all tasks within Premiere Pro, and certain operations will still rely on the CPU. It’s important to understand the limitations and advantages of GPU acceleration to effectively utilize the feature in your video editing workflow.
Overall, GPU acceleration in Adobe Premiere Pro unlocks the full potential of your graphics card and enhances the editing process. By optimizing GPU performance, you can enjoy smoother editing experiences, faster render times, and improved efficiency. As technology continues to evolve, GPU acceleration will play an increasingly important role in maximizing the capabilities of video editing software, allowing editors to bring their creative visions to life more efficiently and effectively.