Introduction
When it comes to troubleshooting computer issues, one component that often gets overlooked is the power supply unit (PSU). The PSU is responsible for supplying power to all the components in your computer, making it a crucial part of your system’s functionality. If your computer is experiencing random shutdowns, power fluctuations, or other hardware malfunctions, the PSU could be the culprit.
Checking your power supply unit is a simple and essential process that can help you diagnose any potential issues before they escalate. By following a few basic steps, you can ensure that your PSU is in proper working condition and avoid potential damage to other hardware components.
In this guide, we will walk you through the process of checking your power supply unit. We’ll cover everything from safety precautions to testing the PSU’s functionality, allowing you to troubleshoot and address any potential issues along the way.
So, if you’re experiencing any power-related problems with your computer or if you simply want to ensure the health of your PSU, let’s dive into the step-by-step process of checking your power supply unit and ensuring its optimal performance.
Why is it important to check your power supply unit?
The power supply unit (PSU) is a critical component of your computer’s hardware infrastructure, responsible for providing the necessary power to all the other components. Ensuring that your PSU is in good working condition is vital for the overall stability and reliability of your computer system. Here are a few reasons why it is important to regularly check your power supply unit:
- Prevent damage to other components: A malfunctioning PSU can send irregular voltages or insufficient power to other hardware components, potentially causing damage or failure. By checking your power supply unit, you can catch any issues early on and prevent them from affecting other parts of your computer.
- Detect and diagnose power-related issues: Random shutdowns, sudden reboots, or unstable system behavior can be indicative of a faulty PSU. By inspecting and testing your power supply unit, you can pinpoint whether power-related issues are the root cause of these problems and take appropriate actions to resolve them.
- Ensure system stability and performance: A faulty or insufficient power supply can lead to system crashes, sluggish performance, and overall instability. By verifying the condition of your PSU, you can ensure that your computer receives the necessary power it needs to run smoothly, improving its overall performance.
- Prevent overheating and data loss: Inadequate power supply can put excessive strain on your components, causing them to heat up more than usual. Overheating can lead to system instability, hardware damage, and even data loss. By checking your power supply unit, you can identify any potential issues that may be causing overheating and address them promptly.
By regularly checking your power supply unit, you can maintain the health and longevity of your computer system. It allows you to catch any potential problems early on and take necessary measures to prevent further damage. So, whether you’re experiencing power-related issues or simply want to ensure the optimal performance of your computer, don’t overlook the importance of checking your power supply unit.
What you will need
Before you begin checking your power supply unit (PSU), it’s important to gather the necessary tools and equipment. Here is a list of items you will need to perform the inspection and testing process:
- Philips screwdriver: You’ll need a screwdriver to open your computer case and access the power supply unit. Make sure you have the appropriate size for the screws on your case.
- Anti-static wrist strap: To prevent accidental damage from static electricity, it’s recommended to use an anti-static wrist strap. This will help discharge any static electricity built up in your body and protect the sensitive components inside your computer.
- Flashlight: A flashlight will come in handy so you can clearly see the inside of your computer case, especially when inspecting the power supply unit and its connections.
- Multimeter or power supply tester: To test the functionality of your power supply unit, you’ll need either a multimeter or a power supply tester. A multimeter allows you to measure various electrical parameters, while a power supply tester is specifically designed to test PSU functionality.
- Replacement power supply unit (optional): If you discover that your power supply unit is faulty and needs to be replaced, it’s a good idea to have a replacement PSU on hand. This will allow for a smooth transition and minimize downtime if you need to swap out the old PSU.
By gathering these essential tools and equipment, you’ll be well-prepared to check your power supply unit without any unexpected hurdles. Having the right tools at your disposal will ensure a safer and more efficient process, allowing you to accurately assess the condition and functionality of your PSU.
Step 1: Safety precautions
Before you start handling any computer components, including the power supply unit (PSU), it’s important to prioritize safety. By taking the following safety precautions, you can protect yourself and your equipment from potential harm:
- Disconnect from the power source: Before opening your computer case, make sure to turn off your computer and unplug it from the power source. This will prevent any electrical shocks or damage to the components.
- Use an anti-static wrist strap: Static electricity can damage sensitive computer components. To avoid any static discharge, connect an anti-static wrist strap to your body and attach the other end to a grounded metal surface, such as a metal part of your computer case.
- Work in a well-ventilated area: Checking the power supply unit may involve opening your computer case, which can release dust and debris. Therefore, it’s recommended to work in a well-ventilated area to avoid inhaling harmful particles.
- Avoid wearing loose clothing and jewelry: Loose clothing and jewelry pose a risk of getting caught in moving parts or causing static discharge. It’s best to remove any loose items before working on your computer to prevent accidents.
- Handle components with care: The power supply unit and other computer components are delicate and can be easily damaged if mishandled. Avoid excessive force or dropping the components and be gentle when connecting or disconnecting cables.
- Avoid touching sensitive components: While inspecting the power supply unit, avoid touching any exposed circuitry or sensitive components. Fingers and body oils can leave behind residue or damage delicate electronics.
By adhering to these safety precautions, you can minimize the risk of accidents and protect both yourself and your computer hardware. Safety should always be a top priority when working with any computer components, including the power supply unit.
Step 2: Disconnecting from the power source
Before you can begin checking the power supply unit (PSU), it is crucial to disconnect your computer from the power source. This step ensures your safety and prevents any electrical accidents while working on the internal components. Follow these steps to properly disconnect your computer:
- Turn off your computer: Save any open files and properly shut down your computer from the operating system. This ensures that all processes and applications are safely closed before disconnecting the power.
- Unplug the power cable: Locate the power cable at the back of your computer tower or laptop. Gently pull out the power cable from the power outlet, ensuring a clean and complete disconnect.
- Press the power button: Press and hold the power button on your computer for a few seconds. This helps discharge any residual power in the system and ensures that there is no remaining electrical charge.
By following these steps, you effectively remove the power source from your computer, eliminating the risk of electrical shock and providing a safe working environment. It is essential to complete this step thoroughly before moving on to the next steps of checking the power supply unit.
It’s important to note that laptops and certain types of compact desktop computers may have different methods for disconnecting the power source. Refer to your computer’s user manual or manufacturer’s instructions for specific guidelines on how to safely disconnect the power.
Step 3: Opening your computer case
Once you have disconnected your computer from the power source, the next step is to open the computer case to access the power supply unit (PSU) and other internal components. Follow these guidelines to safely open your computer case:
- Place your computer on a stable surface: Find a sturdy, flat surface to work on where your computer case can be safely placed. This will ensure that your computer remains stable and secure throughout the process.
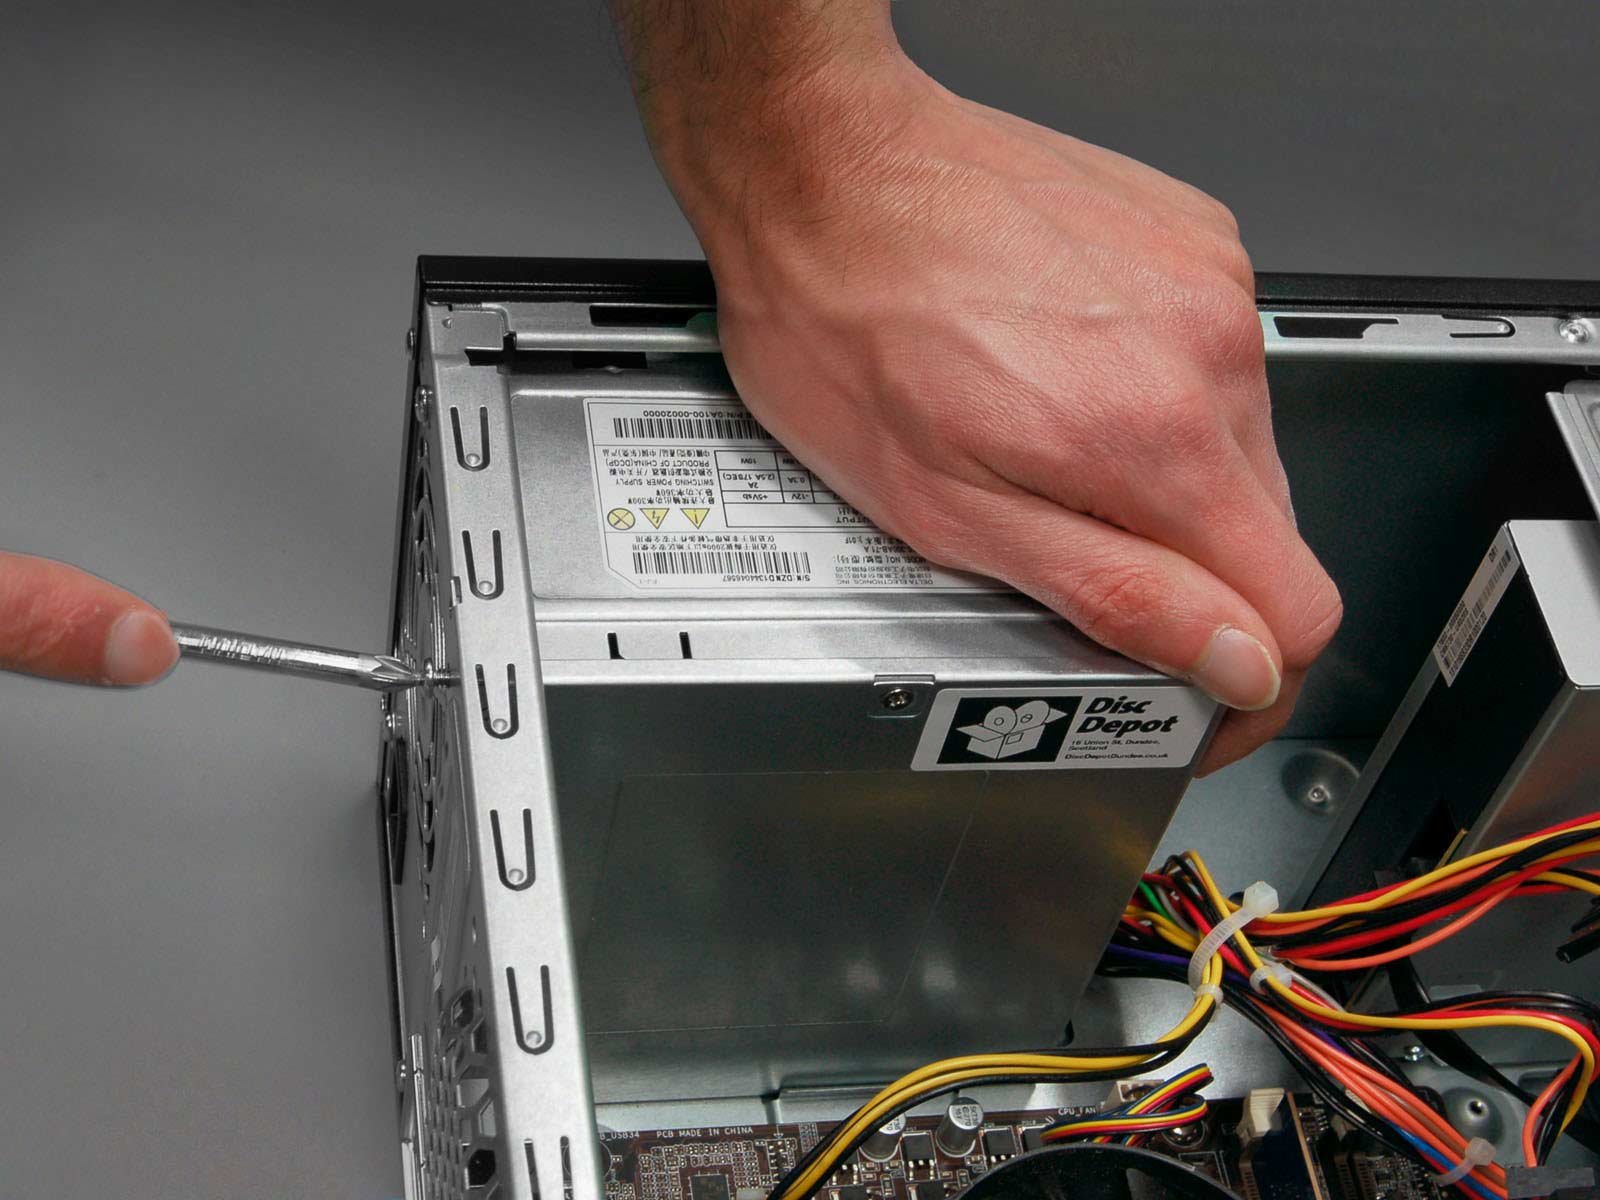
- Identify the screws or latches: Observe your computer case and locate the screws or latches that hold the side panel in place. These screws or latches are usually found on the back or side of the case.
- Use the appropriate tools: Depending on the type of screws or latches on your computer case, use a suitable screwdriver or follow the instructions to release the latches. Be careful not to overtighten the screws or force the latches open.
- Remove the side panel: Once the screws are loosened or the latches are released, gently slide or lift off the side panel of the computer case. Set it aside in a safe place where it won’t get damaged.
It’s important to note that different computer cases may have variations in the method of opening, such as sliding panels, removable panels, or hinged panels. Refer to your computer’s user manual or the manufacturer’s instructions for specific guidance on how to open your particular case model.
Opening the computer case allows you access to the internal components, including the power supply unit. However, it’s essential to handle the case with care and avoid touching any exposed circuitry or other sensitive parts to prevent damage.
Step 4: Locating the power supply unit
After opening your computer case, it’s time to locate the power supply unit (PSU) inside your computer. The PSU is usually positioned at the back of the case, near the top or bottom. Follow these steps to find the power supply unit:
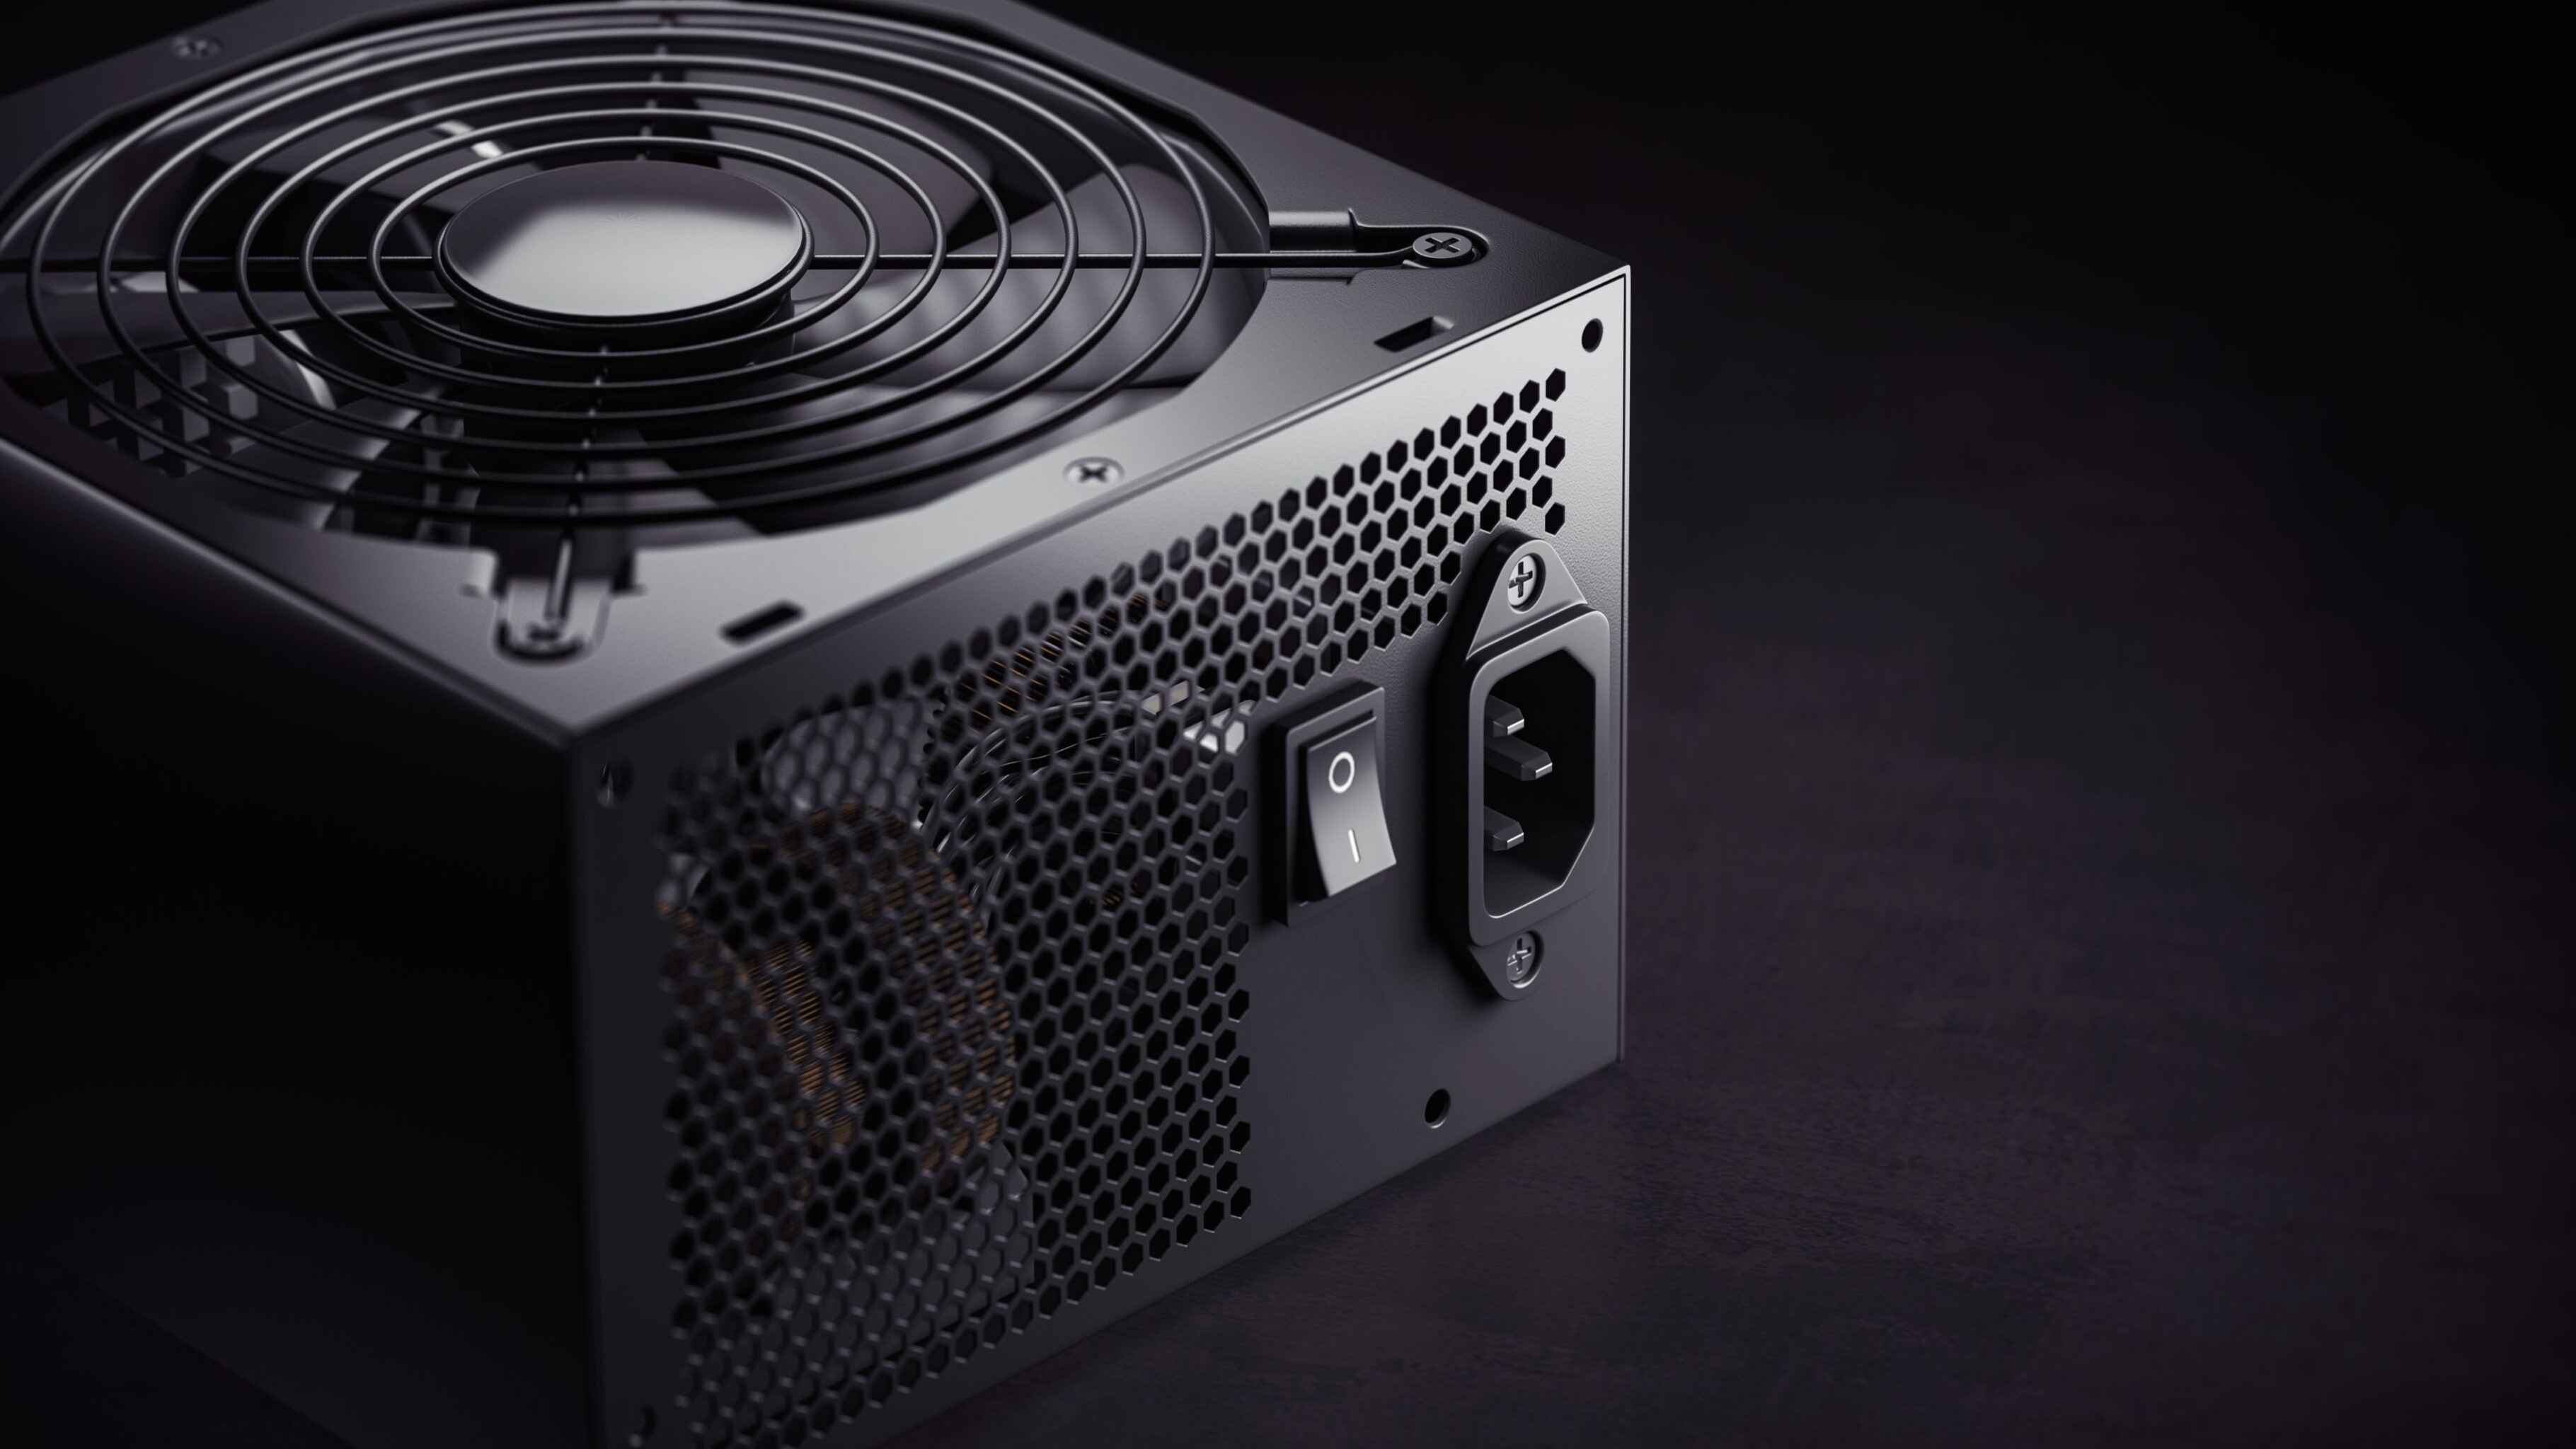
- Observe the back of your computer case: Take a look at the back of your computer case once the side panel is removed. Look for a rectangular metal box with multiple cables coming out of it.
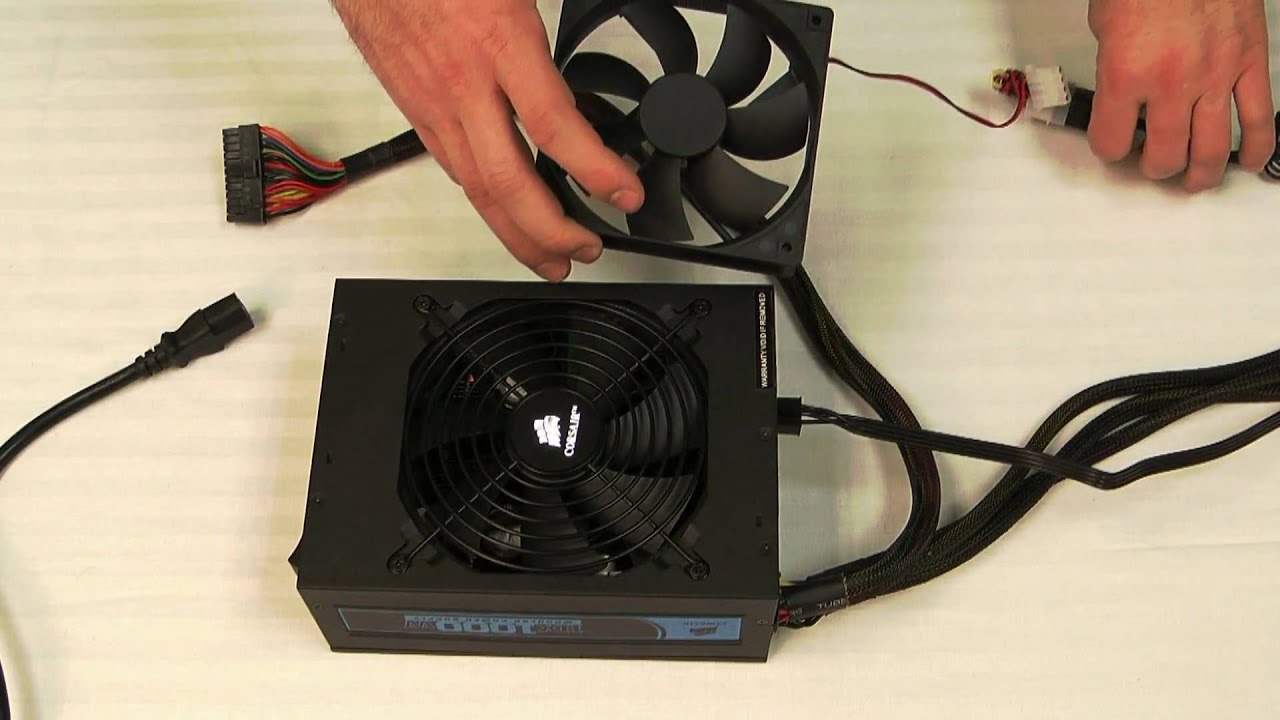
- Identify the power supply fan: The power supply unit typically has a fan on one of its sides, which helps cool down the internal components. Locate this fan, which will help you confirm the presence of the PSU.
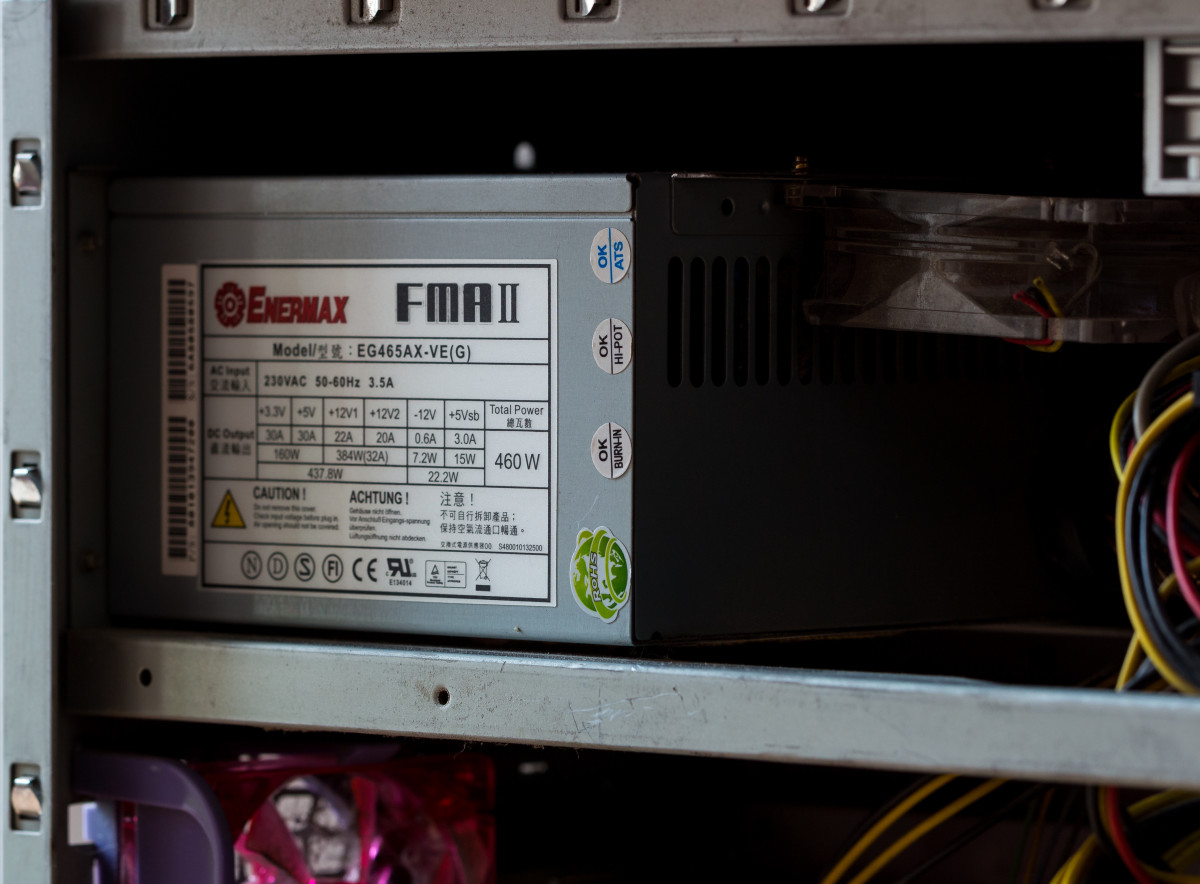
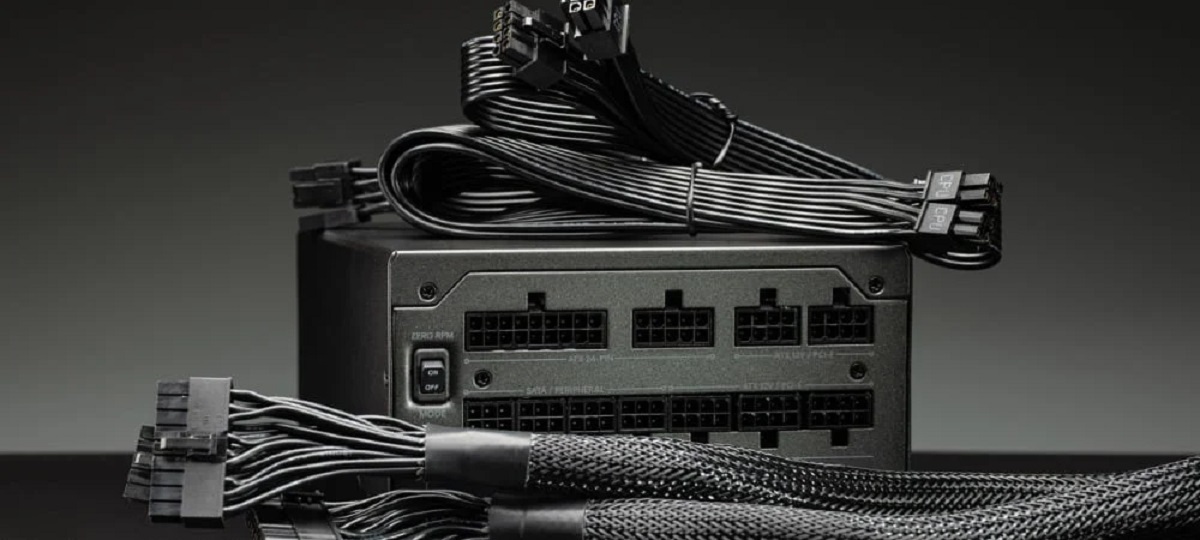
- Check for labels and connectors: Look for labels or stickers on the power supply unit that indicate its wattage, model number, and manufacturer. Additionally, take note of the various connectors emerging from the PSU, as these are used to power different components of your computer.
In some computer cases, especially smaller form factor models or pre-built systems, the power supply unit may be located at the top or the front of the case. If you can’t find the PSU at the back, carefully examine other areas of your computer case to locate it.
It’s important to handle the power supply unit with care and avoid applying any excessive force or pressure. Doing so could damage the PSU or the components inside. Once you have located the power supply unit, you’re ready to move on to the next steps of checking its condition and functionality.
Step 5: Checking the physical condition
After locating the power supply unit (PSU) within your computer, it’s time to assess its physical condition. Examining the PSU can provide valuable insights into its overall health and help identify any visible issues. Follow these steps to check the physical condition of your power supply unit:
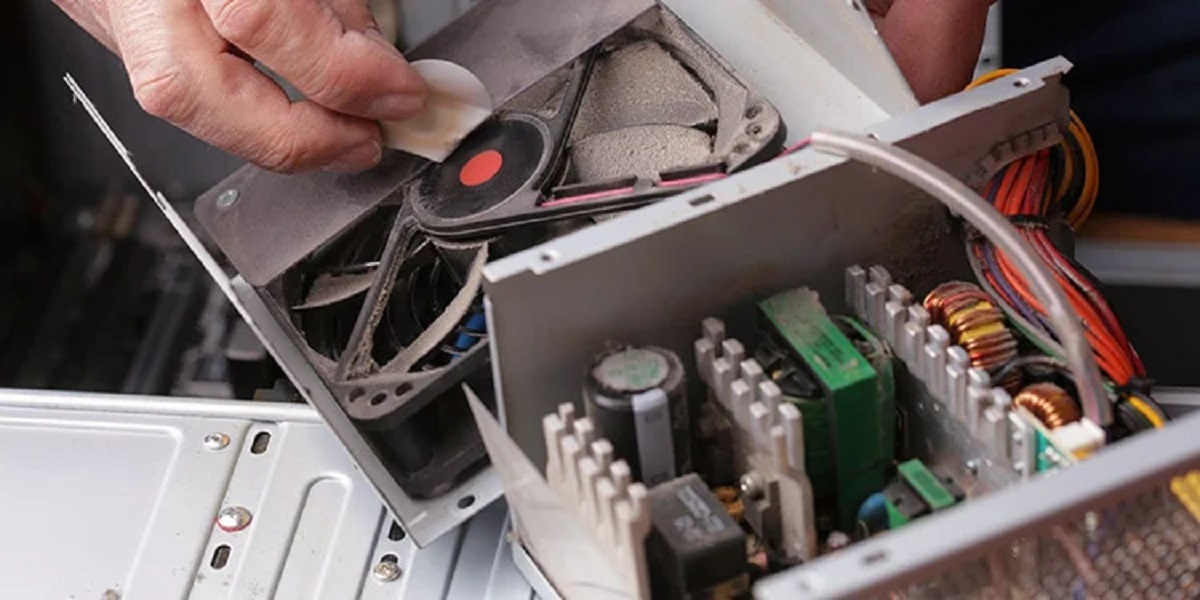
- Inspect for visible damage: Take a close look at the power supply unit and its components for any signs of physical damage, such as dents, cracks, or bulges. Pay particular attention to the fan, connectors, and cables, as they can indicate potential issues.
- Check for loose connections: Ensure that all cables and connectors attached to the power supply unit are securely plugged in. Loose connections can lead to power fluctuations and cause issues with the functionality of the PSU.
- Clear any dust or debris: Use a can of compressed air or a soft brush to gently remove any dust or debris buildup on the power supply unit’s fan and vents. Accumulated dust can hinder proper cooling and cause overheating.
- Inspect the fan’s functionality: Power on your computer and observe the power supply unit’s fan while it’s running. Make sure the fan spins smoothly without any excessive noise or vibration. A malfunctioning fan can cause inadequate cooling, leading to overheating problems.
By checking the physical condition of your power supply unit, you can identify any visible issues that may affect its performance. If you notice any significant damage or abnormalities, it may be a sign that the PSU needs to be replaced. However, if everything appears to be in good condition, you can proceed to the next step of testing the functionality of the power supply unit.
Remember to always exercise caution and avoid touching any exposed components or circuitry within the power supply unit. If you are unsure or uncomfortable with inspecting the PSU’s physical condition, it’s best to seek professional assistance.
Step 6: Checking the fan
The fan in your power supply unit (PSU) plays a crucial role in keeping the internal components cool and preventing overheating. It’s essential to ensure that the fan is functioning properly. Here are the steps to check the fan in your PSU:
- Power off your computer: Before inspecting the fan, make sure your computer is powered off and disconnected from the power source. This ensures your safety during the process.
- Remove any obstructions: Check for any visible obstructions around the fan area, such as dust, debris, or cables. Clearing any blockages will ensure proper airflow and prevent strain on the fan.
- Power on your computer: Turn on your computer while keeping a close eye on the power supply unit’s fan. Listen for any unusual noises, such as grinding or rattling, which may indicate a faulty fan.
- Observe the fan’s rotation: Verify that the fan is spinning smoothly and consistently. It should rotate without any hitches or sudden stops. An irregular rotation pattern or a stationary fan can indicate a fan failure.
- Check for excessive noise or vibration: A properly functioning fan should operate quietly without excessive noise or vibration. Excessive noise or vibrations may suggest a worn-out or unbalanced fan, which should be replaced.
If you notice any abnormalities or issues with the power supply unit’s fan, such as noisy operation or irregular rotation, it’s advisable to replace the fan promptly. A malfunctioning fan can lead to insufficient cooling, resulting in potential overheating and damage to your computer’s components.
However, if the fan appears to be functioning properly, you can proceed to the next step of testing the functionality of the power supply unit to ensure its reliable performance.
Note that if you are not confident in performing this inspection yourself or if your power supply unit is sealed, it is recommended to seek assistance from a professional technician.
Step 7: Testing the power supply unit
Testing the functionality of your power supply unit (PSU) is an important step in determining if it is working properly. There are a few methods you can use to test your PSU, depending on the available tools and your level of technical expertise. Here are a couple of common testing methods:
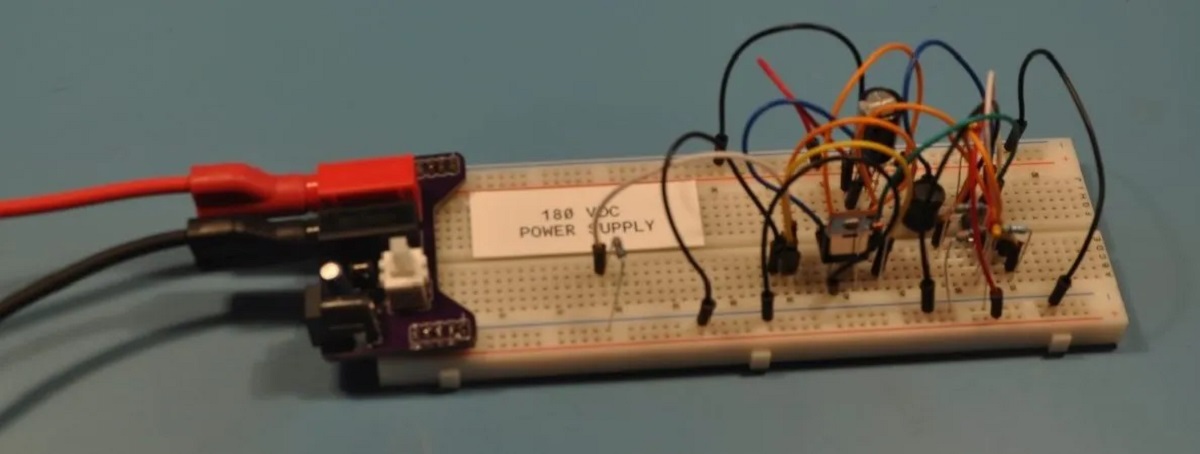
- Using a multimeter: A multimeter allows you to measure electrical voltages and test the output of your power supply unit. Set the multimeter to the DC voltage setting and use the included probes to measure the voltage of the various power connectors coming from the PSU. Compare the readings with the expected values provided by the PSU’s manufacturer. A significant deviation from the expected values may indicate a faulty power supply.
- Using a power supply tester: A power supply tester is a dedicated tool designed specifically for testing PSUs. It’s a convenient and straightforward method that involves connecting the tester to the power supply unit’s main connector. The tester will then check the various voltage outputs and provide a diagnostic report indicating whether the PSU is functioning correctly.
It’s important to follow the instructions for using a multimeter or power supply tester carefully to ensure accurate results. If you are unfamiliar with these testing methods or uncomfortable performing them, consider seeking assistance from a knowledgeable technician or using specialized testing equipment.
By testing your power supply unit, you can determine its functionality and identify any potential issues that may require further investigation or replacement. This step helps validate the performance and reliability of your PSU, giving you confidence in its ability to provide stable power to your computer’s components.
Remember that power supply unit testing should be done with caution, as it involves working with electricity. If you’re unsure or inexperienced, it’s recommended to seek professional assistance to avoid any electrical hazards.
Step 8: Reassembling the computer case
After you have completed the necessary inspections and tests on your power supply unit (PSU), it’s time to reassemble your computer case. Follow these steps to safely put everything back together:
- Ensure a clean work area: Clear your workspace from any tools, cables, or debris to avoid potential accidents or damage to your computer components.
- Place the side panel back on: Align the side panel with the computer case and gently slide or secure it into place. Make sure it fits snugly and securely to ensure proper protection and airflow.
- Tighten the screws or fasten the latches: Use the appropriate tool to tighten the screws or fasten the latches on the side panel. Avoid overtightening, as this can damage the case or strip the screws.
- Reconnect the peripherals: Plug in all the necessary cables for your monitor, keyboard, mouse, and any other peripherals you have. Ensure that the connections are secure.
- Reconnect the power: Plug the power cable back into the power outlet and connect it to the power supply unit.
- Power on your computer: Press the power button to turn on your computer. Check for any unusual noises or error messages during the boot-up process, which could indicate a problem with the reassembled components.
With the computer case properly reassembled, you have successfully completed the process of checking your power supply unit. Your computer should now be back in its fully operational state, ready to provide reliable performance.
It’s always a good idea to double-check all connections and ensure that everything is securely in place before powering on your computer. This minimizes the risk of loose cables or components causing any issues.
If, after reassembling, you encounter any persistent issues or your computer does not power on correctly, it is recommended to seek assistance from a professional technician who can provide further guidance and support.
Conclusion
Checking your power supply unit is an essential step in maintaining the functionality and reliability of your computer system. By following the steps outlined in this guide, you can identify any potential issues and ensure that your power supply unit is in good working condition.
We started by highlighting the importance of checking your power supply unit, emphasizing its role in preventing damage to other components and maintaining system stability. We then discussed the tools and equipment you will need for the inspection process, such as a screwdriver, anti-static wrist strap, flashlight, and a multimeter or power supply tester.
Throughout the guide, we provided step-by-step instructions on how to check the power supply unit. We covered safety precautions to follow before handling the components, the process of disconnecting from the power source, opening the computer case, locating the power supply unit, and checking its physical condition and fan functionality. We also addressed the crucial step of testing the power supply unit’s performance.
Finally, we concluded with the step of reassembling the computer case and ensuring proper connections before powering on your computer again.
Regularly checking your power supply unit allows you to catch any potential issues early on and take appropriate action. A well-functioning power supply unit ensures stable power delivery to your computer’s components, minimizing the risk of system crashes, hardware damage, and data loss.
If you encounter persistent issues with your power supply unit or feel unsure about performing the checks yourself, it is recommended to seek assistance from a qualified technician who can provide further guidance and support.
By taking the time to inspect and test your power supply unit, you can ensure the longevity and efficient performance of your computer system for years to come.