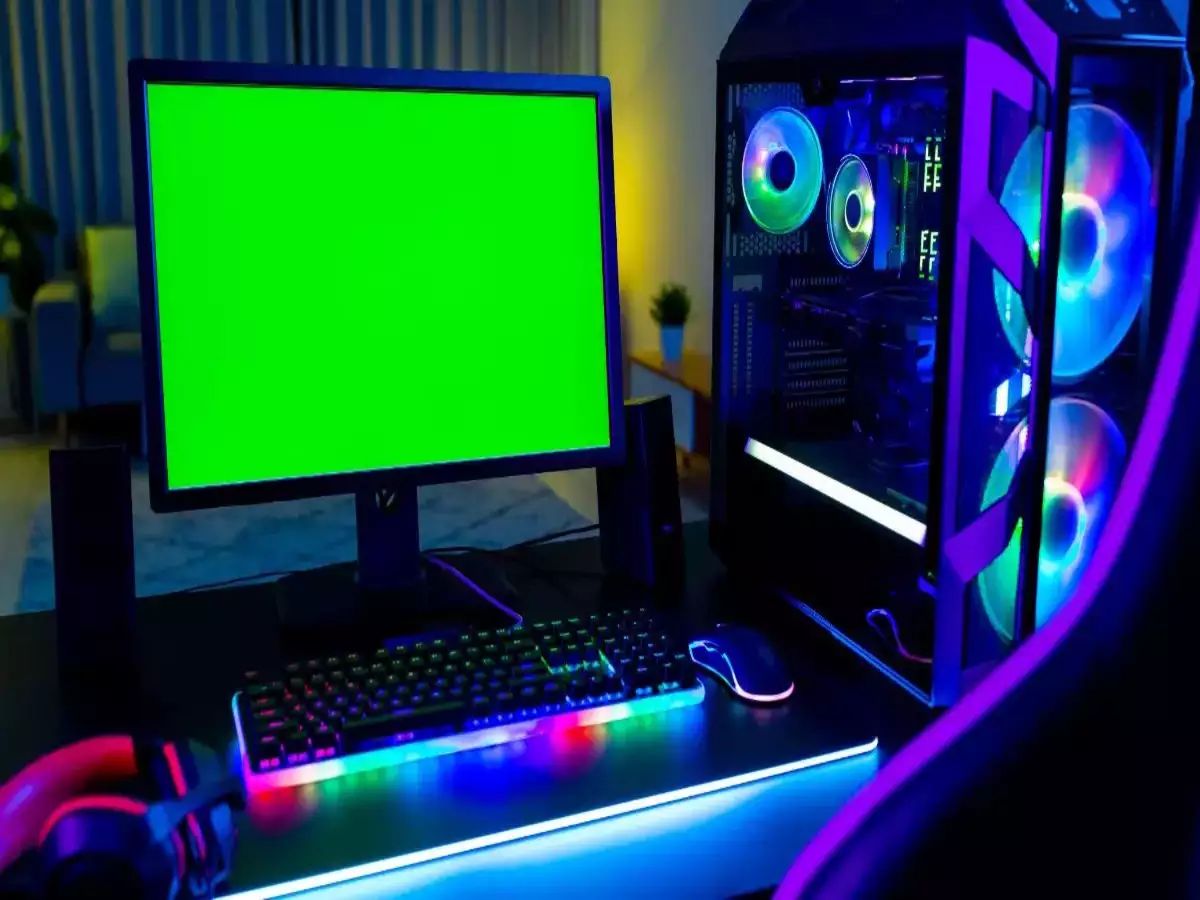
Introduction
Welcome to our guide on how to clean your GPU! Your Graphics Processing Unit (GPU) plays a crucial role in powering the visual aspects of your computer, whether you’re gaming, editing videos, or simply browsing the internet. Over time, however, dust and debris can accumulate on your GPU, leading to decreased performance and potential overheating issues.
Regularly cleaning your GPU is important to ensure optimal performance and maintain its longevity. By removing the built-up dust and debris, you can prevent overheating, reduce the risk of hardware failure, and improve the overall efficiency of your GPU.
In this article, we will provide you with step-by-step instructions on how to properly clean your GPU. We will guide you through the process of safely removing your GPU from your computer, dusting off the components, and reassembling everything to ensure your GPU is running at its best.
Before we dive into the cleaning process, let’s take a look at the tools you’ll need to successfully clean your GPU.
Why Cleaning Your GPU is Important
Cleaning your GPU on a regular basis is essential for several reasons:
- Prevents overheating: Dust and debris can obstruct the airflow around your GPU, causing it to overheat. When your GPU overheats, it can lead to decreased performance, system instability, and potentially even permanent damage. Cleaning your GPU ensures that it remains cool and operates within safe temperature limits.
- Improves performance: A clean GPU can function at its best, delivering optimal performance in demanding tasks such as gaming or graphic-intensive applications. By removing the accumulated dust, you allow the GPU to run more efficiently, resulting in smoother gameplay, faster rendering times, and improved overall system performance.
- Prolongs the lifespan: Regularly cleaning your GPU can help extend its lifespan. Dust and debris can cause unnecessary strain on the components, leading to wear and tear over time. By keeping your GPU clean, you can reduce the risk of hardware failure and ensure that it continues to function properly for years to come.
- Enhances stability: A dirty GPU can contribute to system instability, crashes, and freezes. As the components heat up due to poor ventilation, they become more prone to errors and instability. By cleaning your GPU, you can maintain a stable and reliable computing experience.
It’s worth noting that cleaning your GPU is not just about aesthetics. While a clean GPU certainly looks better, the primary goal is to improve its performance, prevent overheating, and prolong its lifespan. So, let’s move on to the next section where we will discuss the essential tools you will need for the cleaning process.
Tools You Will Need
Before you begin cleaning your GPU, you’ll want to gather a few essential tools to ensure a successful and safe cleaning process. Here are the tools you’ll need:
- Compressed Air Canister: This is the most important tool for cleaning your GPU. Look for a can of compressed air specifically designed for electronics. Make sure the canister is clean, as a contaminated canister may release moisture or other particles onto your GPU.
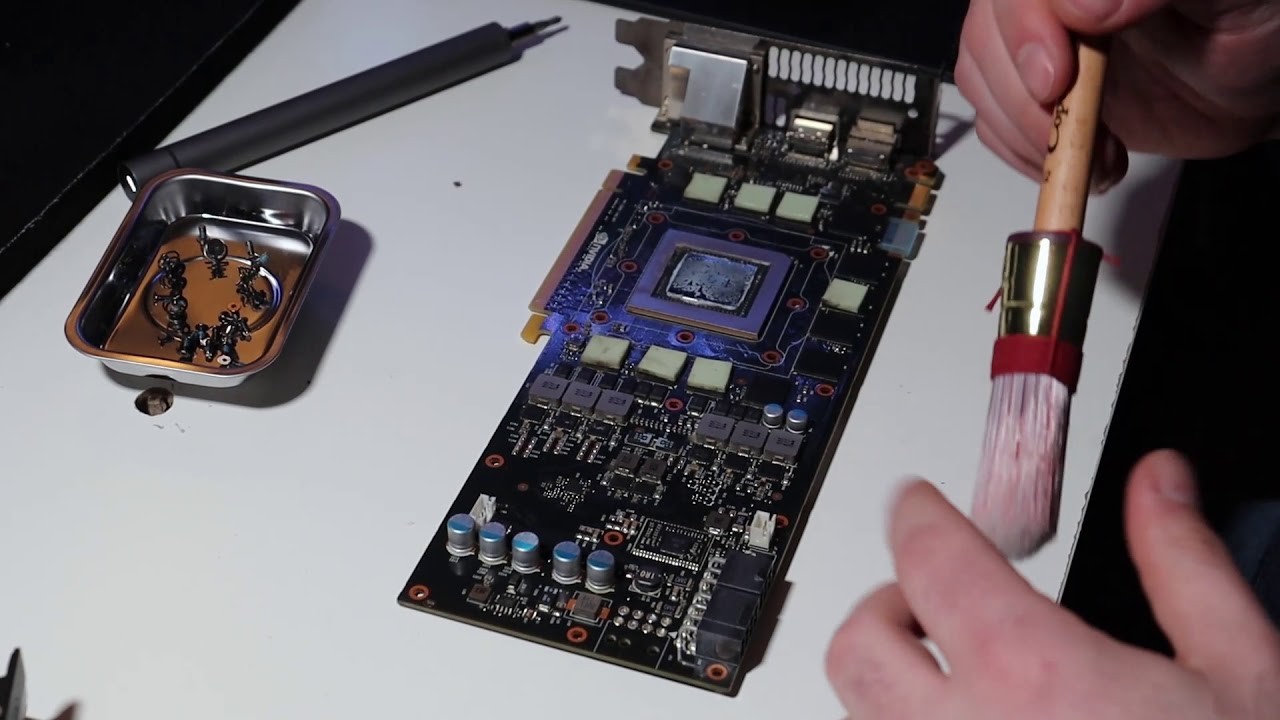
- Soft Brush: A soft-bristled brush or a clean, unused paintbrush can be useful in dislodging stubborn dust particles from the GPU and its components. Make sure the brush is clean and free of any dirt or debris.
- Microfiber Cloth: A microfiber cloth is ideal for wiping away any smudges or fingerprints from the exterior of your GPU. It is gentle on the surface and helps avoid scratching or damaging the card.
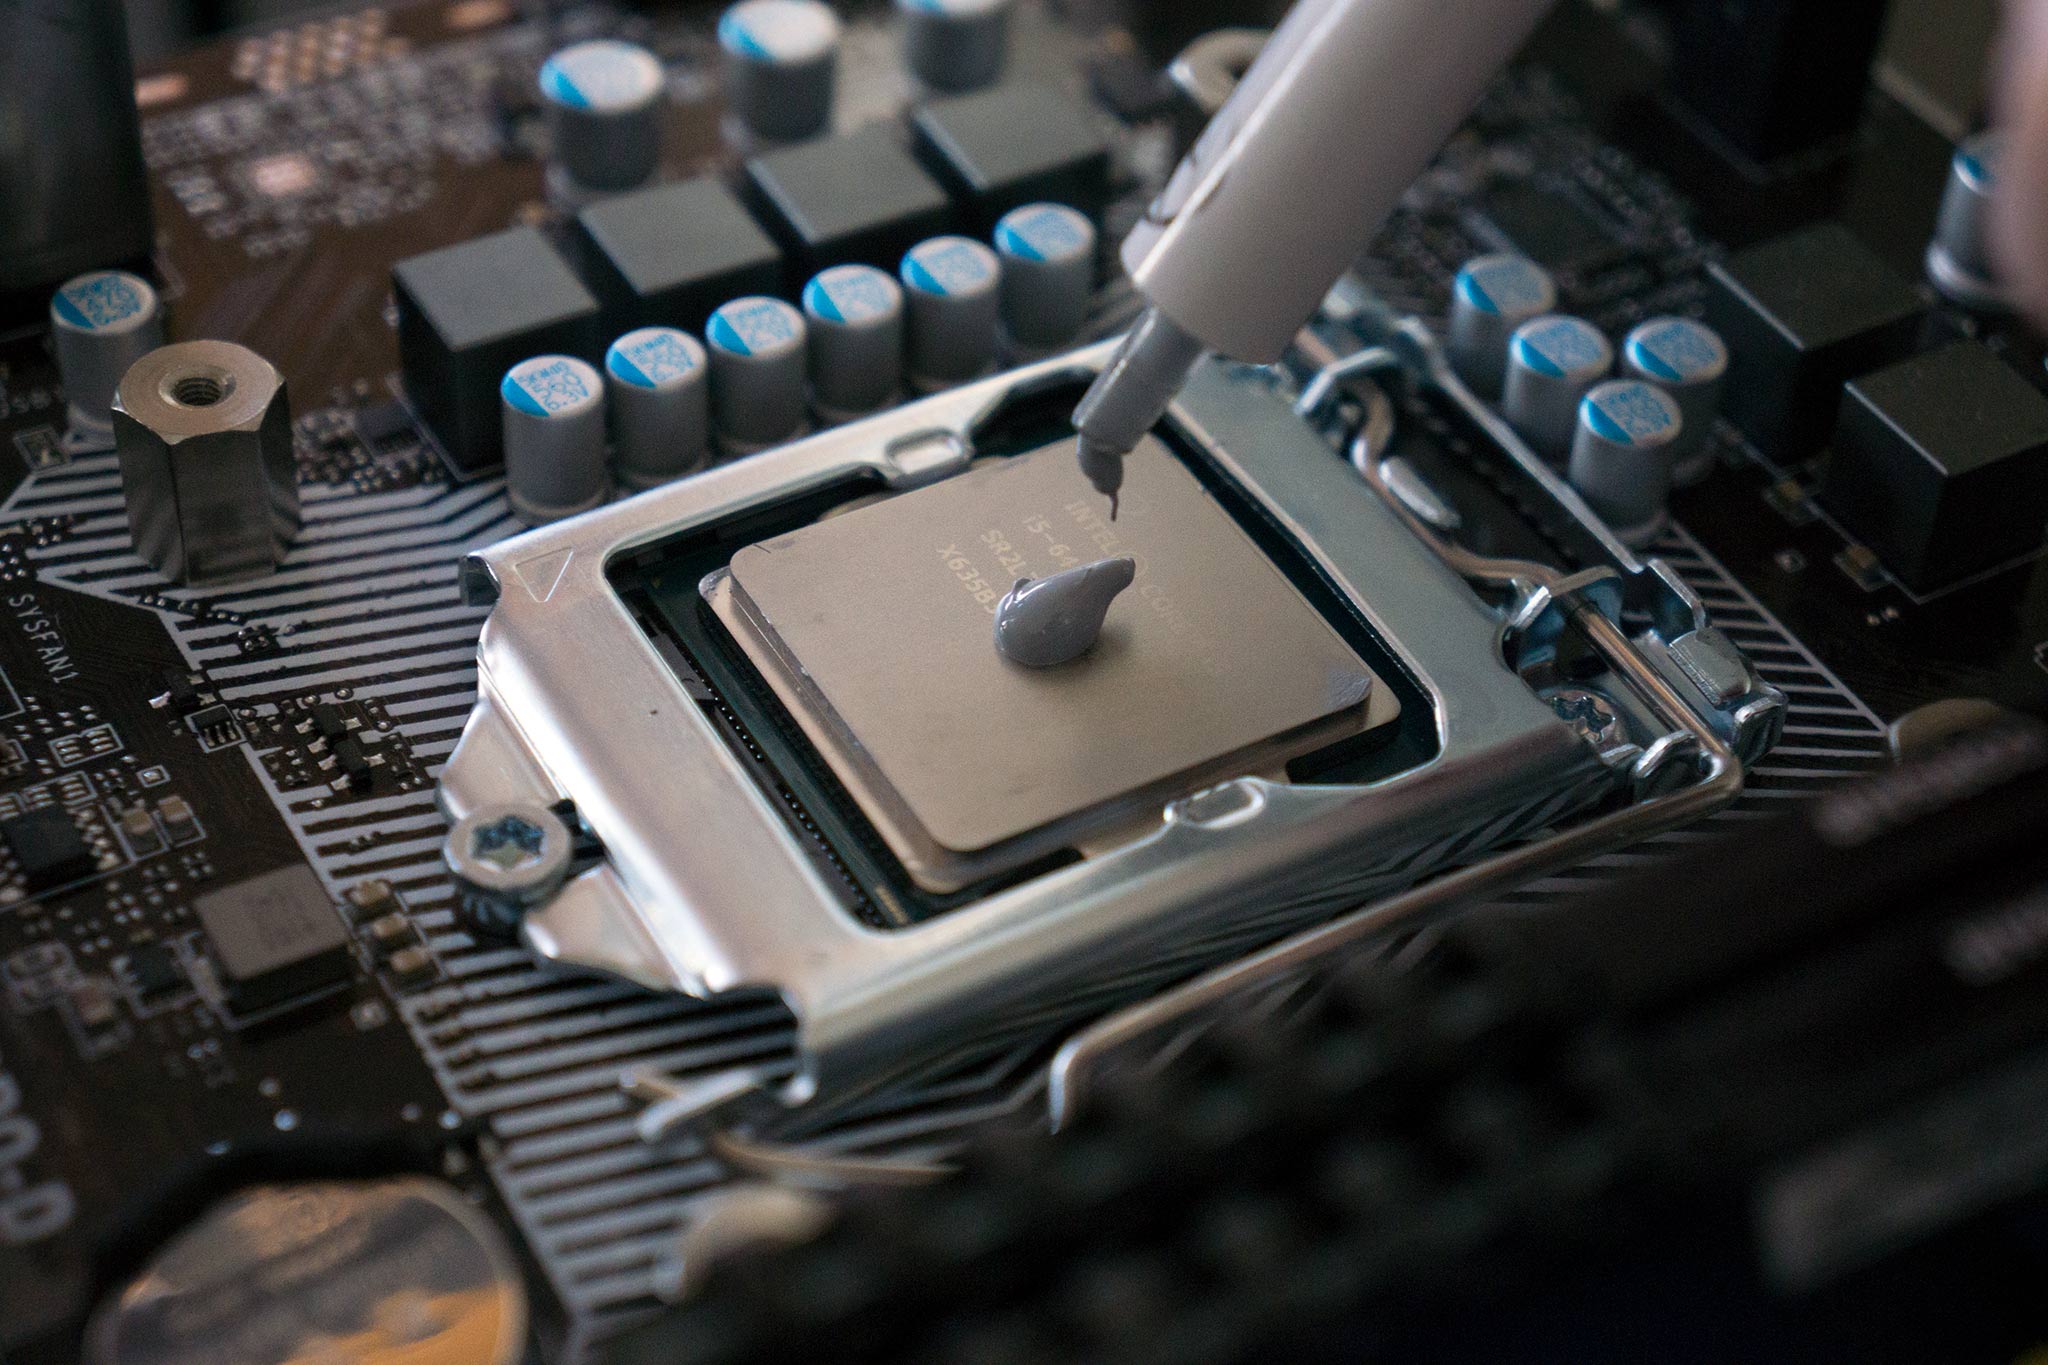
- Mild Detergent or Isopropyl Alcohol: In some cases, you may need to clean the GPU more thoroughly. Use a mild detergent or isopropyl alcohol (at least 90% concentration) along with a microfiber cloth to gently clean the GPU’s surface or fan blades. Be cautious and ensure that the GPU is powered off and disconnected before using any liquid cleaning agents.
- Safety Gloves: While not necessary, wearing antistatic gloves can offer an extra layer of protection against static electricity during the cleaning process, minimizing the risk of damaging sensitive components.
- Anti-static Wrist Strap (Optional): If you have an anti-static wrist strap, it can be beneficial to wear it while handling and cleaning the GPU. This helps to prevent static discharge, which can damage delicate electronic components.
With these tools in hand, you’ll be fully equipped to safely and effectively clean your GPU. In the next section, we’ll walk you through the step-by-step process of cleaning your GPU from start to finish. So, let’s get started!
Step 1: Shutting Down Your Computer
The first step in cleaning your GPU is to ensure that your computer is completely shut down. Shutting down your computer allows you to safely disconnect and remove the GPU without any risk of damaging the components or causing any electrical hazards.
Here’s how you can shut down your computer:
- Save and close all open files and applications: Before shutting down your computer, make sure you save any important work and close all open files and applications. This prevents the loss of any unsaved data and ensures a smooth restart once you’ve finished cleaning your GPU.
- Click on the Start menu: In the bottom-left corner of your screen, you’ll find the Start menu. Click on it to open the menu.
- Click on the Power button: Once the Start menu is open, you’ll see the Power button. Click on it to reveal the available power options.
- Select Shut Down: From the power options menu, select the “Shut Down” option. This initiates the shut down process for your computer.
- Wait for the computer to shut down: Once you’ve selected the shut down option, your computer will begin the shut down process. Wait for the system to fully power off before proceeding to the next step.
It’s important to ensure that your computer is completely shut down before you proceed to the next step. This prevents any potential damage to your GPU or other computer components during the cleaning process. Once your computer is fully shut down, you’re ready to move on to the next step, which involves removing the GPU from your computer.
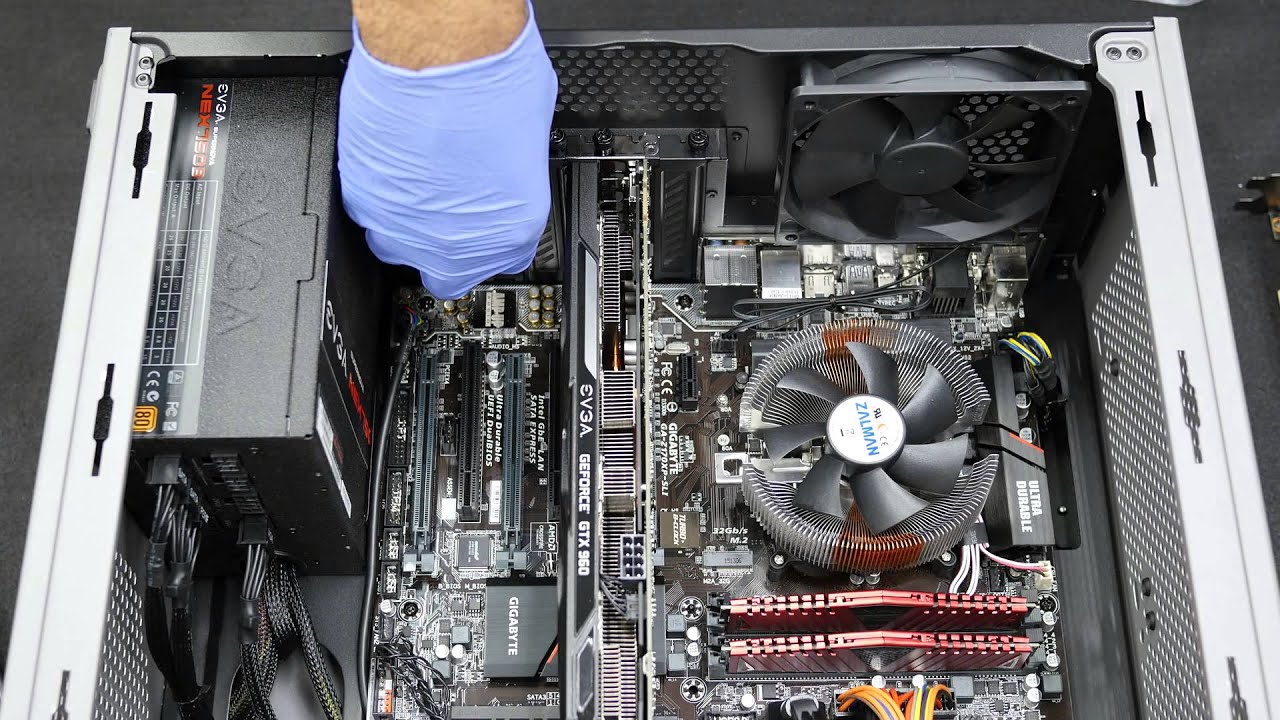
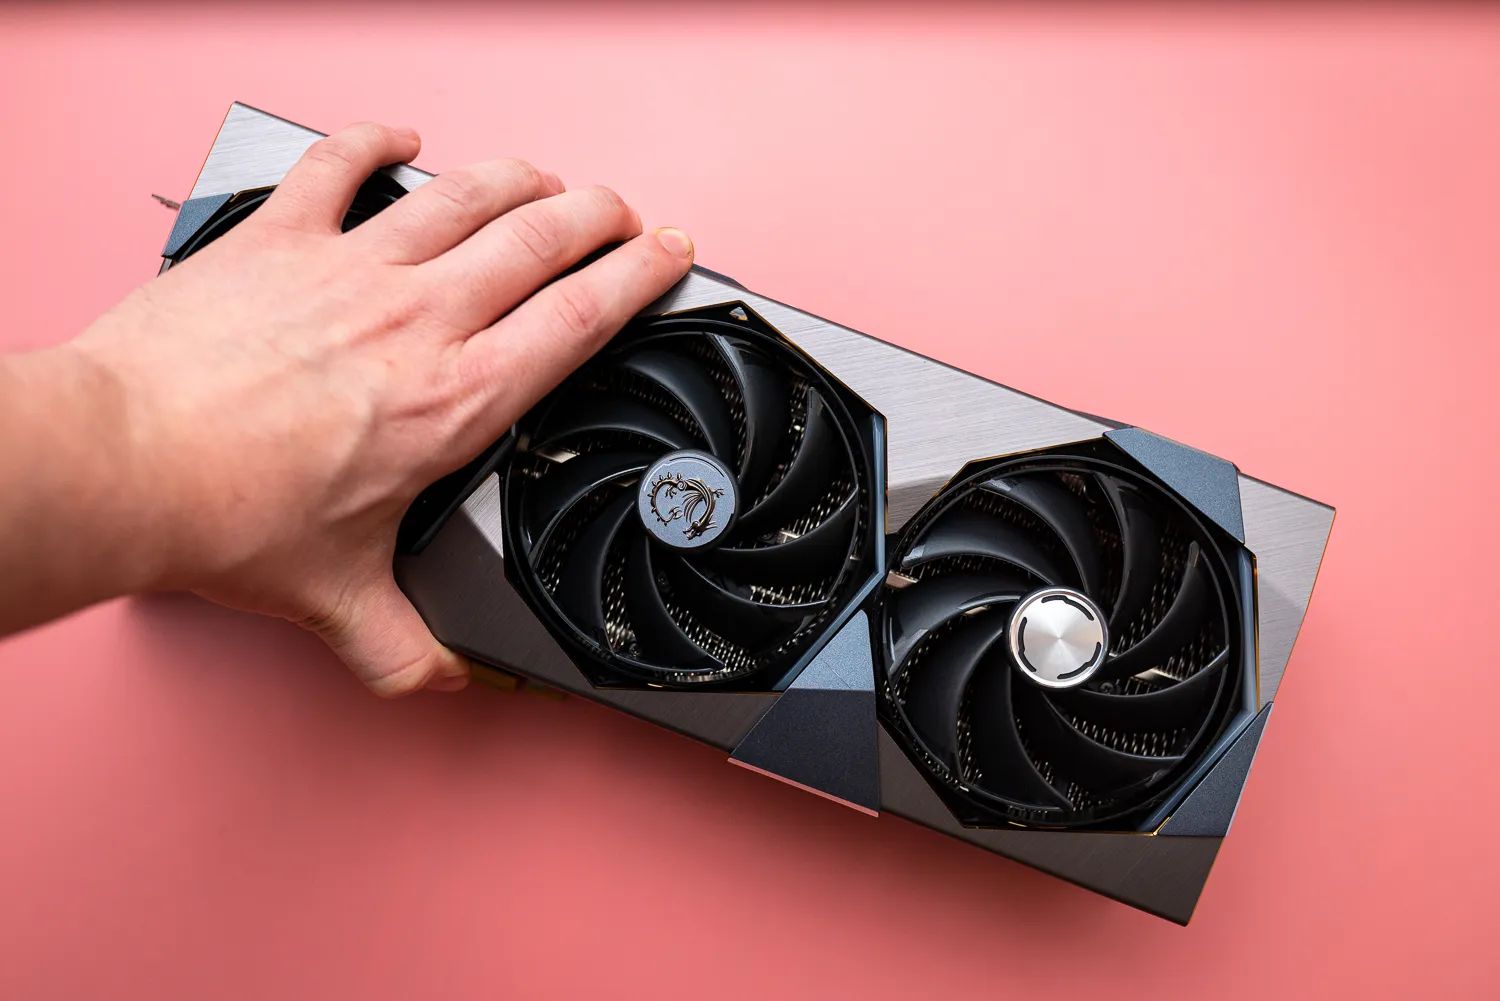
Step 2: Removing the GPU from Your Computer
Now that your computer is shut down, it’s time to remove the GPU from your computer. Removing the GPU will allow you to have better access to clean the components thoroughly.
Follow these steps to safely remove the GPU:
- Locate the GPU: Depending on the type of computer case you have, the GPU may be located at the back or side of the case. It is usually secured in place with screws or clips. Take note of its location.
- Open the computer case: To access the GPU, you’ll need to open the computer case. Remove any side panels or covers that grant access to the internal components. Typically, you’ll need to unscrew the screws on the back or side of the case and slide off the panel.
- Ground yourself: Before handling any of the computer’s internal components, it’s important to ground yourself to prevent any static electricity from damaging the sensitive electronics. You can do this by touching a grounded metal object or wearing an anti-static wrist strap.
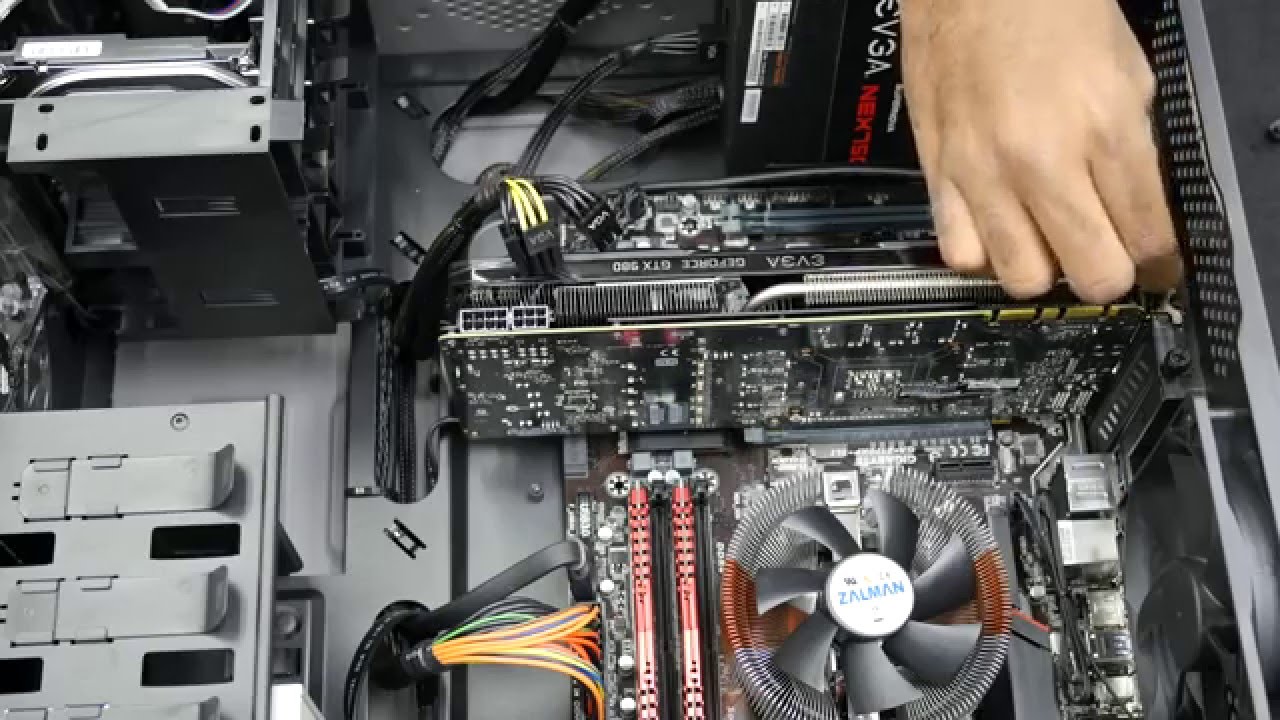
- Identify the GPU: Locate the GPU within the computer case. It is the card that is plugged into the slot on the motherboard. Carefully examine its connections and make a mental note of how it is secured.
- Disconnect cables: Gently disconnect any power cables or data cables that are connected to the GPU. These cables usually connect from the power supply or other components to the GPU. Take note of where each cable is connected so you can easily reconnect them later.
- Remove securing screws or clips: Depending on the case and GPU model, there may be securing screws or clips holding the GPU in place. Use a screwdriver or release the clips to loosen the GPU from its slot.
- Remove the GPU: Once the screws or clips are loosened, carefully slide the GPU out of the slot. Be cautious of any plastic tabs or other obstructions that may be holding it in place. Gently lift it out of the slot.
- Place the GPU on a static-free surface: Set the GPU on a static-free surface, such as an anti-static mat or a clean and dry non-conductive surface. This ensures that the GPU doesn’t get damaged from static electricity or accidental drops.
By following these steps, you can safely remove the GPU from your computer. With the GPU removed, you’re now ready to move on to the next step, which involves dusting off the GPU to remove any accumulated debris.
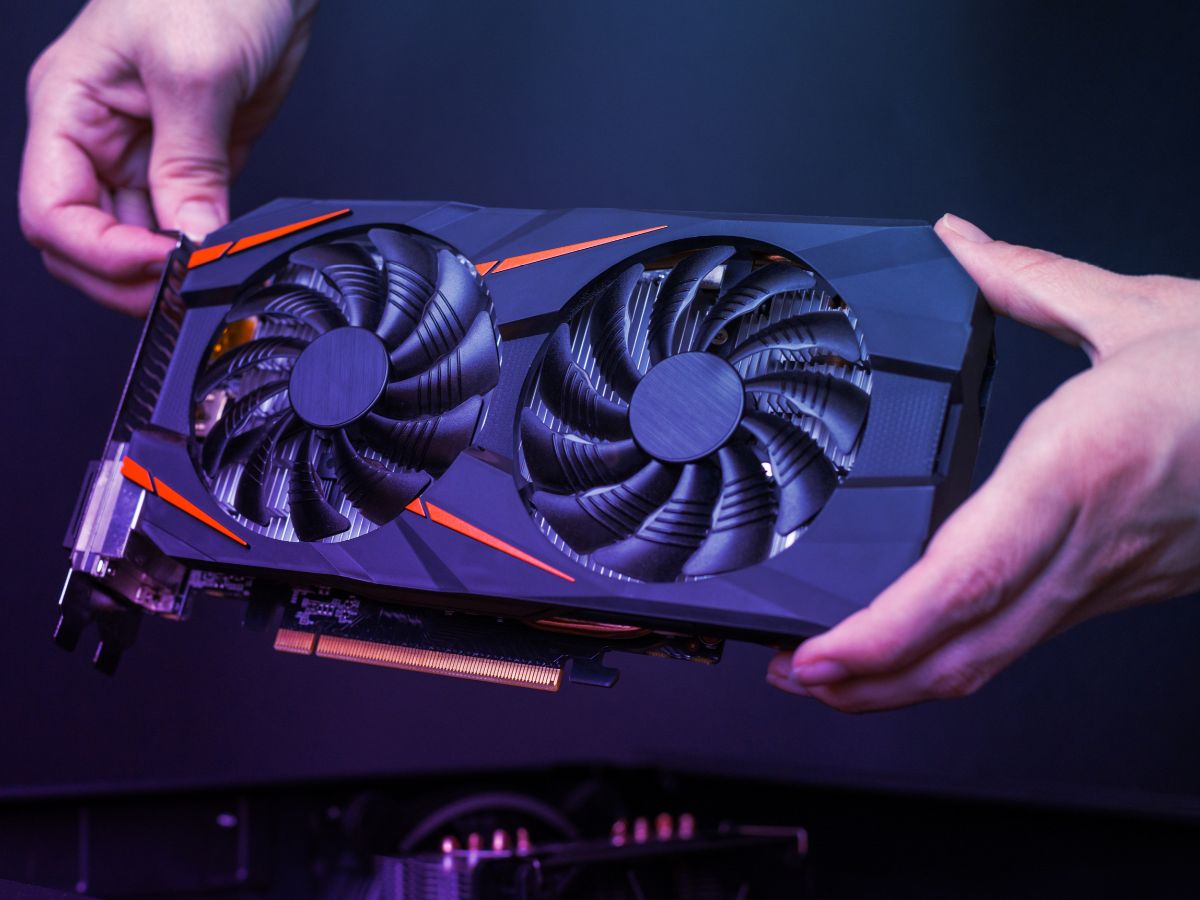
Step 3: Dusting Off the GPU
Now that the GPU is removed from your computer, it’s time to start dusting off the components to remove any accumulated dust and debris. Dust can hinder the cooling performance of the GPU, leading to increased temperatures and potential performance issues. Cleaning off the dust ensures that the GPU operates at its best.
Follow these steps to effectively dust off your GPU:
- Use compressed air: Take your can of compressed air and point it at the GPU. Use short bursts of air to dislodge any dust or debris from the components. Start from the top and work your way down, focusing on the fan blades, the heatsink, and any other visible areas. Be sure to hold the can upright and follow the instructions provided on the canister to avoid any mishaps.
- Pay attention to hard-to-reach areas: Dust can accumulate in tight spaces or corners, so be thorough in your cleaning. Direct the compressed air to these hard-to-reach areas to ensure all the dust is removed. You may need to use a soft brush or a clean, unused paintbrush to gently dislodge stubborn dust particles.
- Blow away dust from the PCIe slot: While the GPU is removed, take the opportunity to blow away any dust that may have accumulated in the PCIe slot on the motherboard. This ensures a clean connection when you reinstall the GPU.
- Inspect for any remaining dust: After dusting off the GPU, visually inspect the components to ensure all the dust has been removed. If you notice any remaining dust or debris, repeat the process of using compressed air or a brush to dislodge and remove it.
- Be cautious with delicate components: While cleaning, take care not to touch any delicate components, such as the circuitry or connectors, with your hands or the compressed air nozzle. This helps prevent accidental damage to the GPU.
By following these steps, you can effectively dust off your GPU and remove any accumulated debris. The next step will focus on cleaning the GPU fan, which plays a crucial role in keeping the GPU cool. Let’s move on to step 4!
Step 4: Cleaning the GPU Fan
The GPU fan is responsible for cooling the GPU by circulating air over the heatsink. Over time, dust and debris can accumulate on the fan blades, hindering its performance and reducing airflow. Cleaning the GPU fan is essential for maintaining optimal cooling and preventing overheating issues.
Follow these steps to effectively clean the GPU fan:
- Locate the GPU fan: Identify the GPU fan, which is usually located on the top or side of the GPU. It consists of a plastic or metal casing with spinning fan blades.
- Secure the GPU: To clean the fan, it’s important to prevent it from spinning during the cleaning process. You can do this by gently holding the fan blades in place with your finger or a small object. Be careful not to exert too much pressure or damage the blades.
- Use compressed air: Point the nozzle of the compressed air canister towards the GPU fan and blow short bursts of air onto the blades. This will dislodge any dust or debris that may have accumulated on the fan.
- Rotate the fan: While continuing to blow air onto the fan blades, gently rotate the fan in both directions. This will help loosen any stubborn dust particles and allow the compressed air to reach all areas of the fan.
- Repeat if necessary: If the fan blades are still dirty after using compressed air, you can gently wipe them with a microfiber cloth dampened with isopropyl alcohol or mild detergent. Be careful not to wet any other components of the GPU.
- Inspect the fan: After cleaning, visually inspect the fan blades to ensure that all dust and debris have been removed. Check for any remaining residue or stubborn dirt and repeat the cleaning process if necessary.
By following these steps, you can effectively clean the GPU fan and ensure that it operates at optimal performance. The next step will focus on cleaning the heatsink, which works in conjunction with the fan to dissipate heat. Let’s move on to step 5!
Step 5: Cleaning the GPU Heatsink
The GPU heatsink plays a crucial role in dissipating heat generated by the GPU. Over time, dust and debris can accumulate on the heatsink fins, reducing its cooling efficiency. Cleaning the GPU heatsink is essential for maintaining optimal heat dissipation and preventing overheating issues.
Follow these steps to effectively clean the GPU heatsink:
- Locate the GPU heatsink: The GPU heatsink is typically located underneath the GPU fan. It consists of a metal structure with fins that helps dissipate heat.
- Use compressed air: Point the nozzle of the compressed air canister towards the heatsink fins and blow short bursts of air. This will dislodge any dust or debris that may have accumulated between the fins.
- Blow in different angles: To ensure thorough cleaning, blow compressed air from different angles to reach all areas of the heatsink. This will help remove any hidden dust and improve airflow through the fins.
- Inspect for remaining dust: After using compressed air, visually inspect the heatsink fins to ensure that all dust and debris have been removed. If there are still visible dust particles, repeat the process of blowing compressed air until the heatsink is clean.
- Use a brush if necessary: If there are stubborn dust particles that cannot be removed with compressed air alone, you can use a soft brush or a clean, unused paintbrush to gently brush the heatsink fins. This will help dislodge any stuck-on debris.
- Be gentle and cautious: While cleaning the heatsink, be careful not to exert too much force or bend the delicate fins. Take your time and ensure that you’re using gentle motions to prevent any damage to the GPU or heatsink.
By following these steps, you can effectively clean the GPU heatsink and optimize its heat dissipation capabilities. Once you’ve completed the cleaning process, you’re ready to reassemble your GPU and enjoy its improved performance. Let’s move on to the next step!
Step 6: Reinstalling the GPU
Now that you have successfully cleaned your GPU, it’s time to reinsert it back into your computer. By following these steps, you can ensure a secure and proper reinstallation of your GPU:
- Prepare the GPU: Before reinstalling the GPU, double-check that it is clean and free from any dust or debris. Also, ensure that any cables or connectors are disconnected from the GPU.
- Align the GPU: Carefully align the GPU with the PCIe slot on the motherboard. The slot may have a latch or plastic tab that needs to be opened before inserting the GPU. Gently insert the GPU into the slot, ensuring that it is properly seated and aligned.
- Secure the GPU: If your GPU has screws or clips to secure it in place, carefully insert and tighten them to hold the GPU securely. Follow the manufacturer’s instructions for proper installation and torque specifications.
- Reconnect the cables: Reconnect any power cables or data cables to the GPU. Ensure that the connections are secure and properly aligned. Refer to your computer or GPU’s documentation for the specific cable connections.
- Close the computer case: Once the GPU is reinstalled and all cables are connected, gently close the computer case by aligning the side panel with the case and securing any screws or clips. Ensure that the case is properly closed and all screws are tightened.
- Power on your computer: Now that the GPU is reinstalled, it’s time to power on your computer. Press the power button and wait for your computer to boot up. Monitor the GPU’s temperature and performance to ensure that it is running optimally.
By following these steps, you can safely and effectively reinstall your GPU into your computer. Remember to observe proper handling and static precautions throughout the reinstallation process. Once your computer is up and running, you can enjoy the improved performance and cooling efficiency of your clean GPU.
Conclusion
Cleaning your GPU is a vital task to ensure optimal performance, prevent overheating issues, and prolong the lifespan of your graphics card. By following the step-by-step process outlined in this guide, you can effectively clean your GPU and maintain its efficiency.
We started by emphasizing the importance of cleaning your GPU and understanding how dust and debris can impact its performance and stability. We then discussed the essential tools you will need to clean your GPU effectively, including compressed air, soft brushes, microfiber cloth, mild detergent or isopropyl alcohol, safety gloves, and optionally, an anti-static wrist strap.
Each step of the cleaning process was detailed, from shutting down your computer to safely removing the GPU, dusting off the components, cleaning the GPU fan, and finally, cleaning the heatsink. We highlighted the importance of caution, thoroughness, and attention to detail throughout the entire cleaning process.
After completing the cleaning process, we provided a step-by-step guide for reinstalling your GPU into your computer safely. Once the GPU is securely back in place, you can power on your computer and enjoy the improved performance and cooling efficiency of your clean GPU.
Regularly cleaning your GPU is a proactive measure that can prevent unnecessary hardware failures, overheating, and performance degradation. We recommend performing GPU cleaning at least once every six months, or more frequently if you live in a dusty environment.
By taking the time to maintain and clean your GPU, you are investing in the longevity and optimal performance of your graphics card. So, don’t delay – grab your tools, follow the steps, and give your GPU the cleaning it deserves.