Introduction
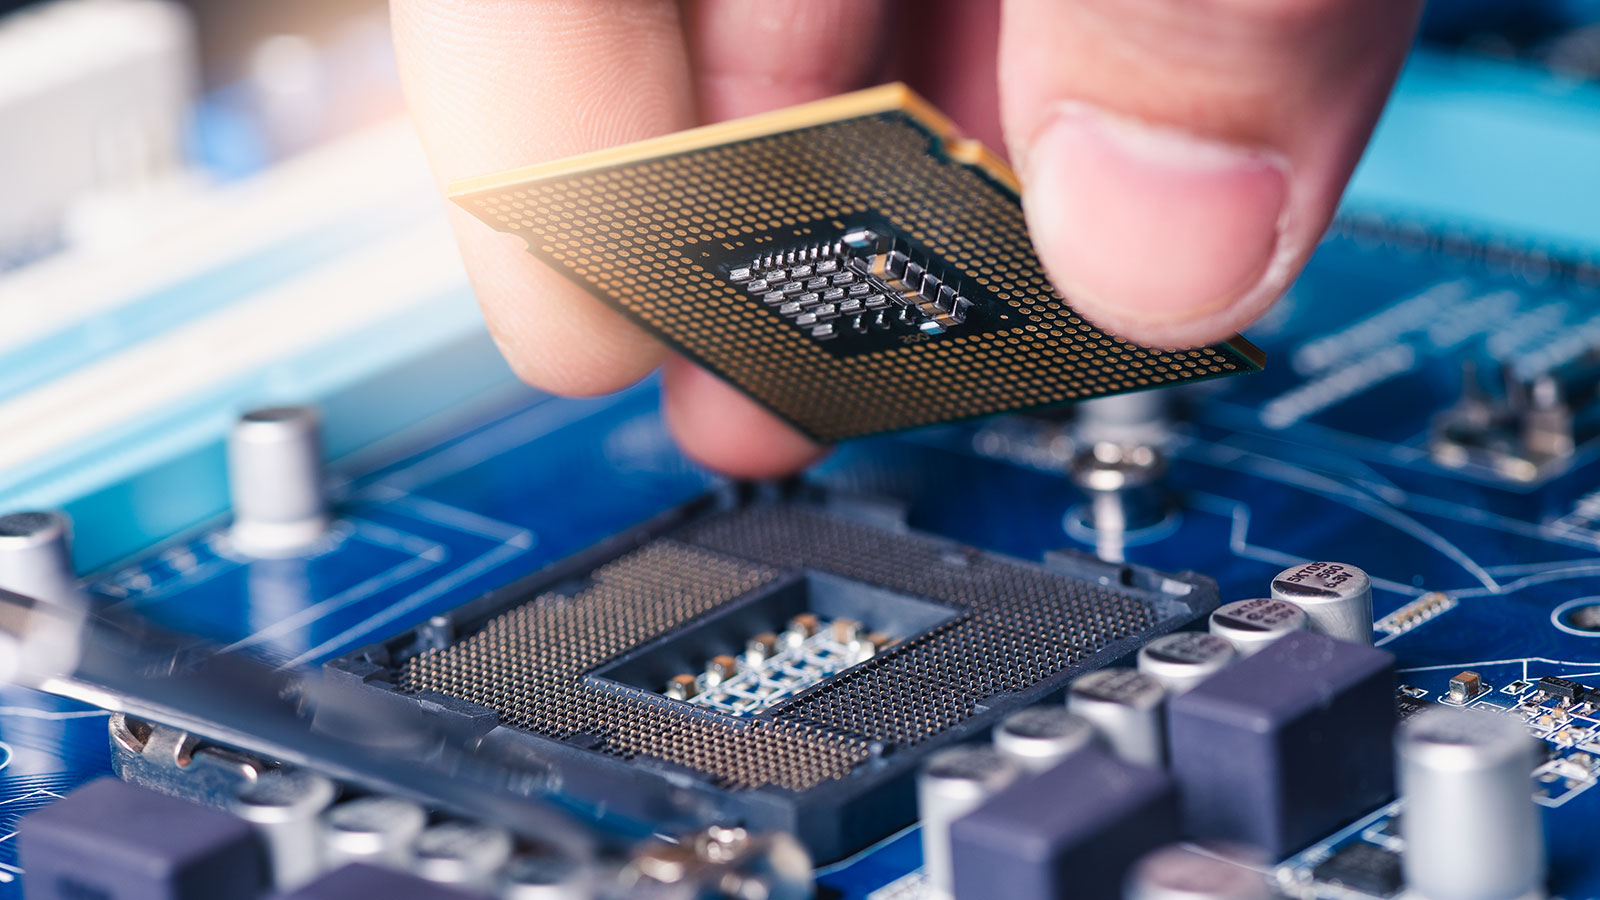
In the world of graphics processing, the role of GPU drivers is crucial. These software components enable your computer’s operating system to communicate effectively with your graphics card, ensuring optimal performance and graphical output. However, there may be instances when you need to remove or uninstall your GPU drivers.
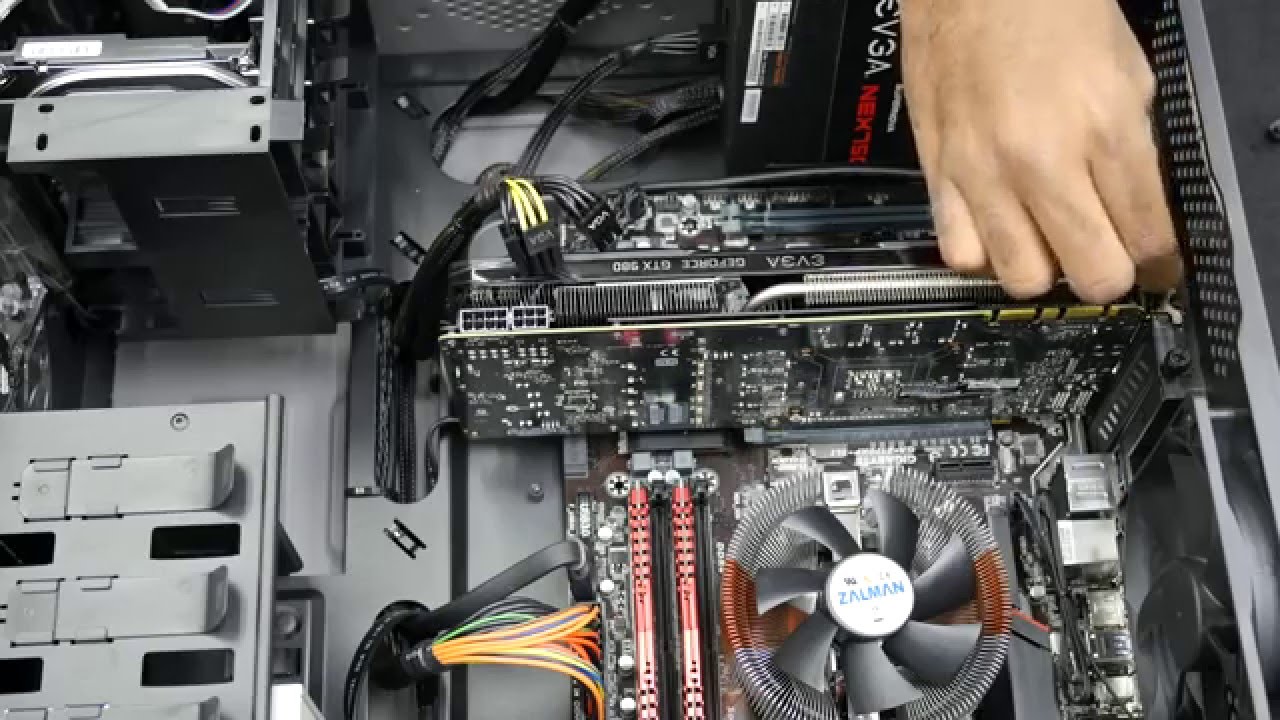
Whether you are experiencing compatibility issues, facing performance problems, or simply upgrading to a new graphics card, removing the existing GPU drivers is a crucial step. By doing so, you can ensure a clean and stable installation of new drivers that are better suited to your hardware or software requirements.
In this article, we will explore various methods to remove GPU drivers effectively and efficiently. We will cover different scenarios, including uninstalling drivers via Device Manager, using dedicated software like Display Driver Uninstaller (DDU), performing clean installations for specific GPU brands like NVIDIA and AMD, and performing Intel GPU cleanup.
Before diving into the various methods, it’s important to understand that removing GPU drivers should be approached with caution. It’s recommended to create a backup of important files and create a system restore point before proceeding. Additionally, it’s crucial to download and install the latest compatible drivers for your new graphics card before removing the old ones.
Now, let’s explore the different methods you can use to remove GPU drivers safely and effectively. Whether you’re a casual gamer, a professional graphic designer, or a tech enthusiast, this guide will provide you with the necessary information to ensure a smooth transition when dealing with GPU driver removal.
Why Remove GPU Drivers?
You may be wondering why it’s necessary to remove GPU drivers in the first place. Here are a few compelling reasons why you might need to uninstall your existing GPU drivers:
1. Compatibility Issues: Over time, software and hardware requirements change, and new updates or upgrades can result in compatibility issues between your GPU drivers and other system components. This can manifest as graphical glitches, crashes, or performance degradation. Removing and reinstalling the drivers ensures compatibility with the latest software and hardware configurations.
2. Performance Optimization: GPU driver updates often include performance optimizations, bug fixes, and new features. By uninstalling the current drivers and installing the latest version, you can take advantage of these improvements and potentially enhance the performance of your graphics card.
3. Upgrading to a New Graphics Card: If you’re upgrading to a new graphics card, you’ll need to remove the drivers associated with your old card. This precaution ensures a clean installation of the appropriate drivers for your new GPU, preventing conflicts and maximizing the performance of your upgraded hardware.
4. Troubleshooting Graphics Issues: If you’re experiencing graphical issues like artifacts, screen flickering, or display errors, removing the GPU drivers can be a helpful troubleshooting step. It allows you to eliminate any potential driver-related problems and determine if the issue lies elsewhere in your hardware or software setup.
5. Starting Fresh: Sometimes, uninstalling GPU drivers is simply a matter of starting fresh. If you’ve been using your system for an extended period and have accumulated multiple driver versions, removing them all can help ensure a clean and stable installation of the latest drivers.
6. Resolving Uninstall/Update Errors: In some cases, attempts to update or uninstall GPU drivers may result in errors or incomplete removal. Removing the drivers completely can help resolve these issues, allowing for a fresh installation of the desired drivers.
Now that we understand the importance of removing GPU drivers in certain situations, let’s explore the different methods you can use to accomplish this task effectively and efficiently.
Before You Begin
Before proceeding with the removal of GPU drivers, it’s important to consider a few factors and take certain precautions. Follow these steps to ensure a smooth and safe removal process:
1. Create a System Restore Point: Before making any changes to your system, it’s wise to create a system restore point. This allows you to revert back to a previous state in case anything goes wrong during the driver removal process.
2. Back up Important Files: It’s always a good practice to back up any important files or data on your system. Although GPU driver removal is unlikely to cause data loss, it’s better to be safe than sorry.
3. Download New Drivers: Before removing your current GPU drivers, ensure you download the latest drivers for your graphics card from the manufacturer’s official website. Having the new drivers ready will enable you to install them swiftly once the old drivers are removed.
4. Disconnect from the Internet: It is recommended to disconnect your computer from the internet before uninstalling GPU drivers. This prevents Windows from automatically installing generic drivers that may interfere with the removal process or cause compatibility issues.
5. Disable Antivirus Software: Temporarily disable your antivirus software before proceeding with the driver removal. Some antivirus programs may interfere with the uninstallation process and prevent the removal of certain driver files.
6. Read and Follow Instructions: Different GPU brands and driver versions may have specific instructions for driver removal. Take the time to read the manufacturer’s documentation or support articles on their website for any additional steps or precautions specific to your graphics card.
7. Restart Your Computer: After removing the GPU drivers, it’s essential to restart your computer. This ensures that any remaining traces of the old drivers are completely removed and that your system is ready for the installation of new drivers.
By considering these steps before you begin, you can minimize the risk of encountering any issues and ensure a smooth driver removal process. Now that you’re prepared, let’s move on to the different methods you can use to remove GPU drivers effectively.
Method 1: Uninstalling via Device Manager
Uninstalling GPU drivers through Device Manager is a straightforward method that is built into the Windows operating system. Follow these steps to uninstall your GPU drivers:
1. Open Device Manager: Right-click on the Start menu and select “Device Manager” from the list of options. Alternatively, you can press the Windows key + X and choose Device Manager from the menu.
2. Expand Display Adapters: In the Device Manager window, locate and click on the arrow next to “Display adapters” to expand the category. This will reveal the installed GPU(s) on your system.
3. Uninstall the GPU Driver: Right-click on the graphics card driver you wish to remove and select “Uninstall device” from the context menu. A confirmation dialog box will appear.
4. Confirm the Uninstallation: In the uninstallation dialog box, check the box that says “Delete the driver software for this device” if it’s available. This ensures that the driver software is completely removed from your system. Click “Uninstall” to proceed.
5. Restart Your Computer: After the driver is uninstalled, it’s recommended to restart your computer. This allows Windows to finalize the removal process and prepare your system for the installation of new drivers.
That’s it! You have successfully uninstalled the GPU driver using the Device Manager method. Remember to repeat this process for any additional graphics cards installed on your system.
Note: After restarting your computer, Windows may automatically reinstall a generic display driver. This is normal and allows you to have basic display functionality until you install the updated drivers for your specific graphics card.
If you’re encountering issues during this method or want to ensure a more thorough removal of the drivers, consider trying alternative methods like Display Driver Uninstaller (DDU), which we will discuss next.
Method 2: Using Display Driver Uninstaller (DDU)
If you’re looking for a more comprehensive and efficient way to remove GPU drivers, Display Driver Uninstaller (DDU) is a powerful tool to consider. DDU ensures a thorough removal of all driver components, including registry entries, files, and folders. Follow these steps to use DDU:
1. Download Display Driver Uninstaller: Visit the official website of Display Driver Uninstaller (https://www.wagnardsoft.com/) and download the latest version of DDU. It is a free and portable tool, which means you don’t need to install it on your system.
2. Boot into Safe Mode: To prevent any interference from running processes and ensure a clean removal, it’s recommended to boot your computer into Safe Mode. You can do this by pressing the Windows key + R, typing “msconfig,” and selecting the “Boot” tab. Check the box for “Safe boot” and choose “Minimal.” Restart your computer, and it will boot into Safe Mode.
3. Run DDU: Once your computer is in Safe Mode, open the folder where you downloaded DDU and run the executable file. A user interface will appear, displaying various GPU-related options.
4. Select GPU and Clean Uninstall: In the DDU interface, select your GPU from the drop-down menu at the top. Choose the “Clean and restart” option to initiate the removal process. DDU will then uninstall the GPU drivers, including all associated files and registry entries.
5. Restart Your Computer: After DDU completes the driver removal, it will prompt you to restart your computer. Restarting allows Windows to install basic display drivers, ensuring that you have a functioning display until you install the updated GPU drivers.
Display Driver Uninstaller provides a comprehensive and reliable method for removing GPU drivers completely. By thoroughly eliminating all traces of the old drivers, DDU helps prevent conflicts and ensures a clean installation of updated drivers for optimal performance.
Note: It’s essential to download and install the latest drivers for your graphics card after using DDU. Visit the manufacturer’s official website to obtain the most recent drivers compatible with your hardware.
Now that you’re familiar with the DDU method, let’s explore another approach specifically tailored to NVIDIA users – the NVIDIA Clean Installation method.
Method 3: NVIDIA Clean Installation
If you own an NVIDIA graphics card, the NVIDIA Clean Installation method provides a streamlined process for removing and reinstalling GPU drivers. This method ensures a clean and optimized installation of NVIDIA drivers. Follow these steps:
1. Download the Latest NVIDIA Drivers: Visit the official NVIDIA website (https://www.nvidia.com) and navigate to the drivers section. Download the latest drivers for your specific NVIDIA graphics card model and save the file to your computer.
2. Uninstall the Current NVIDIA Drivers: Open the Control Panel on your computer by pressing the Windows key + X and selecting “Control Panel” from the menu. In the Control Panel, navigate to “Programs” or “Programs and Features” and locate the NVIDIA graphics driver in the list of installed programs. Right-click on it and choose “Uninstall” to remove the current NVIDIA driver from your system.
3. Restart Your Computer: After uninstalling the NVIDIA driver, restart your computer to ensure that any remaining components are fully removed.
4. Boot into Safe Mode: To perform a clean installation, it is recommended to boot your computer into Safe Mode. Press the Windows key + R, type “msconfig”, and select the “Boot” tab. Check the box for “Safe boot” and choose “Minimal.” Restart your computer, and it will boot into Safe Mode.
5. Run the NVIDIA Driver Installer: In Safe Mode, run the NVIDIA driver installer that you downloaded earlier. Follow the on-screen prompts to install the latest NVIDIA drivers for your graphics card.
6. Customize Installation Options: During the installation process, you can customize driver installation options according to your preferences. You can select whether to perform a regular installation or a clean installation, which ensures that old driver files and settings are removed before installing the new ones.
7. Complete the Installation and Restart: Once the driver installation is complete, restart your computer to finalize the process. This will ensure that the new NVIDIA drivers are fully integrated with your system.
The NVIDIA Clean Installation method provides a seamless way to remove old drivers and install the latest NVIDIA drivers, optimizing performance and ensuring compatibility with your NVIDIA graphics card.
Note: It’s important to regularly check for driver updates from NVIDIA’s official website and install the latest drivers to fully utilize your graphics card’s capabilities.
Now that you’re familiar with the NVIDIA Clean Installation method, let’s explore a similar approach specifically for AMD GPU users – the AMD Clean Uninstall Utility.
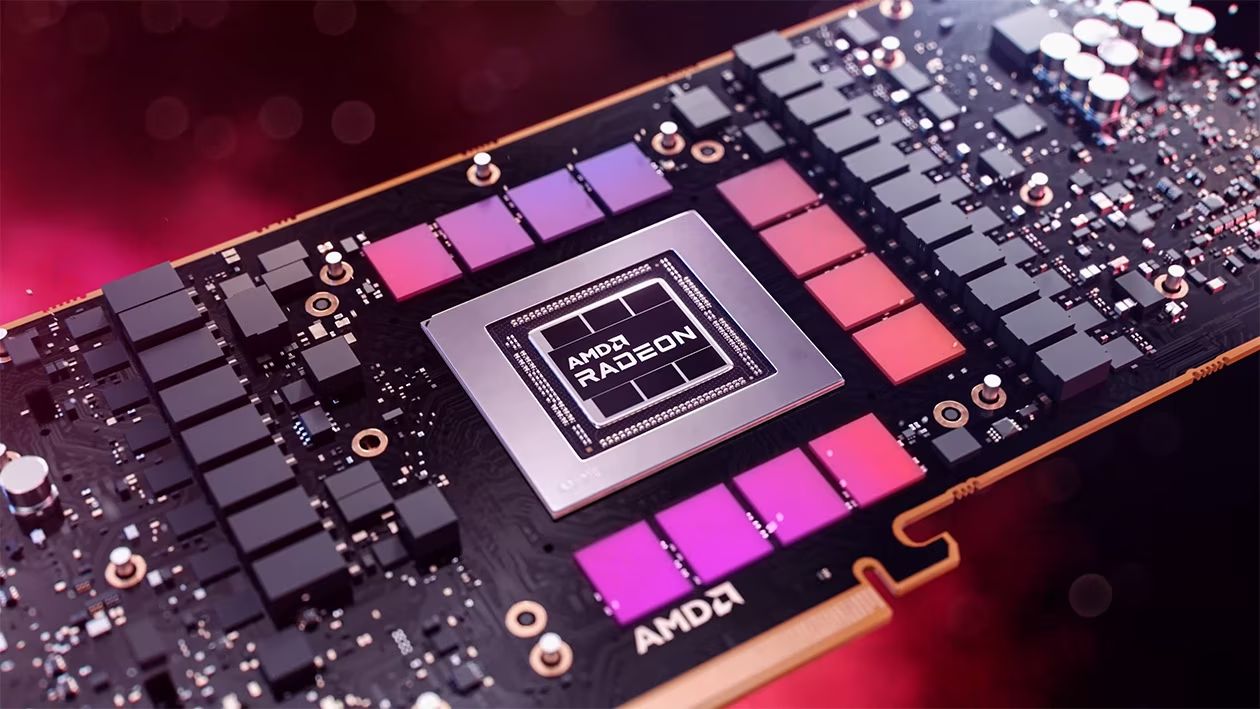
Method 4: AMD Clean Uninstall Utility
For AMD graphics card users, the AMD Clean Uninstall Utility provides a specialized method to remove AMD GPU drivers completely. This utility helps ensure a clean and optimized installation of AMD drivers. Follow these steps:
1. Download the AMD Cleanup Utility: Visit the official AMD website (https://www.amd.com) and search for the AMD Clean Uninstall Utility. Download the utility and save the file to your computer.
2. Run the AMD Cleanup Utility: Locate the downloaded AMD Cleanup Utility file and run it. You may need to grant administrative privileges for the utility to make changes to your system.
3. Accept the License Agreement: When prompted, read and accept the license agreement to proceed with the uninstallation process.
4. Select the Target AMD Software: In the AMD Cleanup Utility, select the software you want to remove. This includes AMD drivers, related software components, and additional options like Radeon settings. Ensure that all the relevant AMD software is selected for removal.
5. Begin the Cleanup Process: Once you have selected the appropriate software components, click on the “Clean” or “Uninstall” button to initiate the cleanup process. The utility will remove the selected AMD software from your system.
6. Restart Your Computer: After the AMD Cleanup Utility completes the removal process, restart your computer to finalize the removal of the AMD drivers and software.
7. Install the Latest AMD Drivers: After restarting your computer, visit the official AMD website and download the latest drivers for your specific AMD graphics card. Run the driver installer and follow the on-screen instructions to install the updated AMD drivers.
The AMD Clean Uninstall Utility is a specialized tool that ensures a thorough removal of AMD GPU drivers and associated software components. By using this utility, you can achieve a cleaner and more optimized installation of the latest AMD drivers for your graphics card.
Note: Regularly updating your AMD drivers to the latest version can help improve performance, stability, and compatibility with the latest games and software.
Now that you’re familiar with the AMD Clean Uninstall Utility method, let’s explore another approach specifically for Intel GPU users – the Intel GPU Cleanup method.
Method 5: Intel GPU Cleanup
If you have an Intel integrated graphics processor (GPU) or integrated graphics card, the Intel GPU Cleanup method provides a specialized approach to remove Intel GPU drivers completely. This method ensures a clean and optimized installation of Intel GPU drivers. Follow these steps:
1. Download the Intel Driver & Support Assistant: Visit the official Intel website (https://www.intel.com) and download the Intel Driver & Support Assistant. This tool helps identify and install the latest Intel drivers for your specific hardware.
2. Run the Intel Driver & Support Assistant: Locate the downloaded Intel Driver & Support Assistant file and run it. This tool will scan your system and recommend the latest available Intel graphics drivers.
3. Uninstall the Intel Graphics Driver: In the Intel Driver & Support Assistant, look for an option to uninstall the current Intel graphics driver. The exact location of this option may vary depending on the version of the tool. Follow the on-screen prompts to uninstall the Intel graphics driver from your system.
4. Restart Your Computer: After uninstalling the Intel graphics driver, restart your computer to complete the removal process.
5. Install the Latest Intel Graphics Driver: After restarting, open the Intel Driver & Support Assistant once again. This time, select the option to install the latest Intel graphics driver recommended for your system. Follow the on-screen prompts to install the updated Intel graphics driver.
By using the Intel GPU Cleanup method, you can ensure a clean removal of the Intel graphics driver and perform a fresh installation of the latest driver version. This helps optimize the performance and stability of your Intel integrated graphics.
Note: It’s recommended to regularly update your Intel graphics drivers to benefit from improved performance, bug fixes, and compatibility with the latest software.
With the Intel GPU Cleanup method covered, you now have a comprehensive understanding of various methods to remove GPU drivers effectively. Remember to choose the method that aligns with your specific GPU brand and follow the respective instructions to achieve a clean and optimized driver installation.
Conclusion
Removing GPU drivers is an important task that ensures compatibility, performance optimization, and troubleshooting in your graphics processing journey. Whether you’re facing compatibility issues, upgrading to a new graphics card, or troubleshooting graphical glitches, there are several methods available to remove GPU drivers effectively.
In this article, we explored five methods for removing GPU drivers: uninstalling via Device Manager, using Display Driver Uninstaller (DDU), performing an NVIDIA Clean Installation, employing the AMD Clean Uninstall Utility, and using the Intel GPU Cleanup method. Each method is tailored to specific GPU brands and provides a systematic approach to uninstalling and reinstalling GPU drivers.
Before embarking on the removal process, it’s crucial to take certain precautions. Create a system restore point, back up important files, and download the latest drivers specific to your GPU brand. Additionally, disconnecting from the internet and disabling antivirus software during the removal process can ensure a smooth experience.
Uninstalling GPU drivers via Device Manager is a simple built-in method for Windows users. Display Driver Uninstaller (DDU) offers a more comprehensive solution, removing all traces of GPU drivers for a fresh installation. The NVIDIA Clean Installation method focuses on NVIDIA users to optimize performance. Similarly, the AMD Clean Uninstall Utility is tailored for AMD GPU users, while the Intel GPU Cleanup method targets Intel integrated graphics.
By carefully following the steps outlined in each method, you can remove the existing GPU drivers and replace them with updated, compatible versions. This ensures a clean and optimized system, which translates into better performance, stability, and compatibility with the latest software and hardware configurations.
Keep in mind that regularly updating your GPU drivers is essential to stay up-to-date with performance improvements and bug fixes provided by manufacturers.
Now that you have the knowledge and tools to remove GPU drivers effectively, you can confidently navigate the world of graphics processing and ensure an optimal experience for all your gaming, graphics design, and multimedia needs.