Checking Compatibility
Before installing a new GPU in your computer, it is crucial to check its compatibility to ensure a smooth installation process. Here are a few steps to follow:
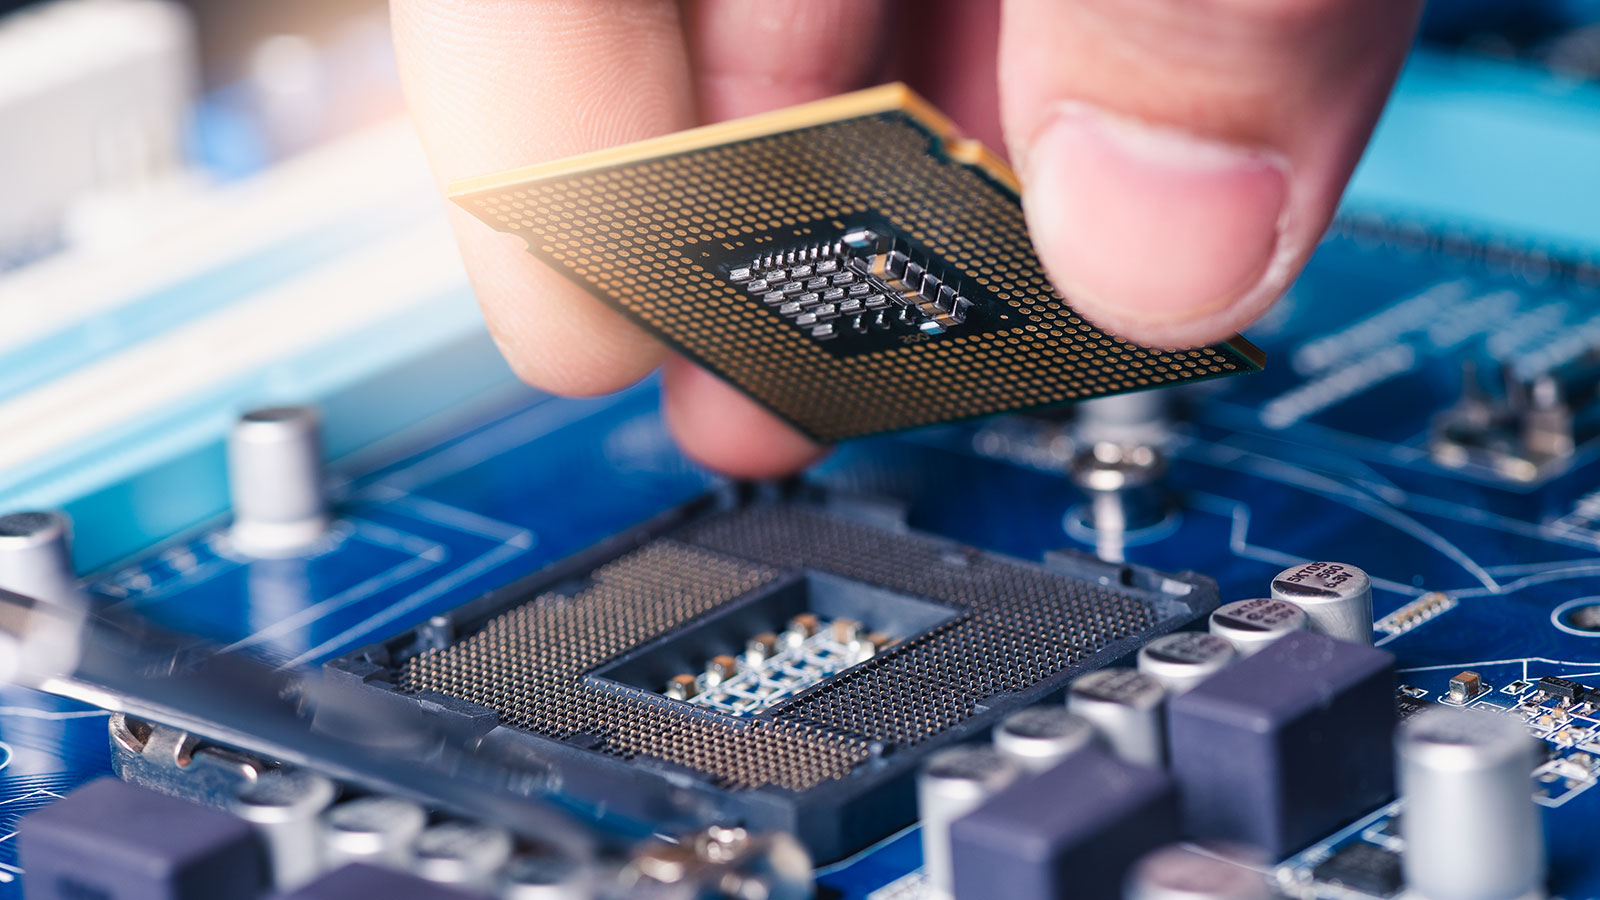
- Check the slot: The first thing you need to do is identify the type of expansion slot your motherboard has. Most modern GPUs use the PCIe (Peripheral Component Interconnect Express) slot. Verify if your motherboard has a PCIe x16 slot, as this is the most common slot for graphics cards.
- Check the power supply: GPUs require a certain amount of power to function properly. Take a look at your power supply unit (PSU) and ensure that it has enough wattage to handle the new GPU. If it doesn’t, you may need to upgrade your PSU.
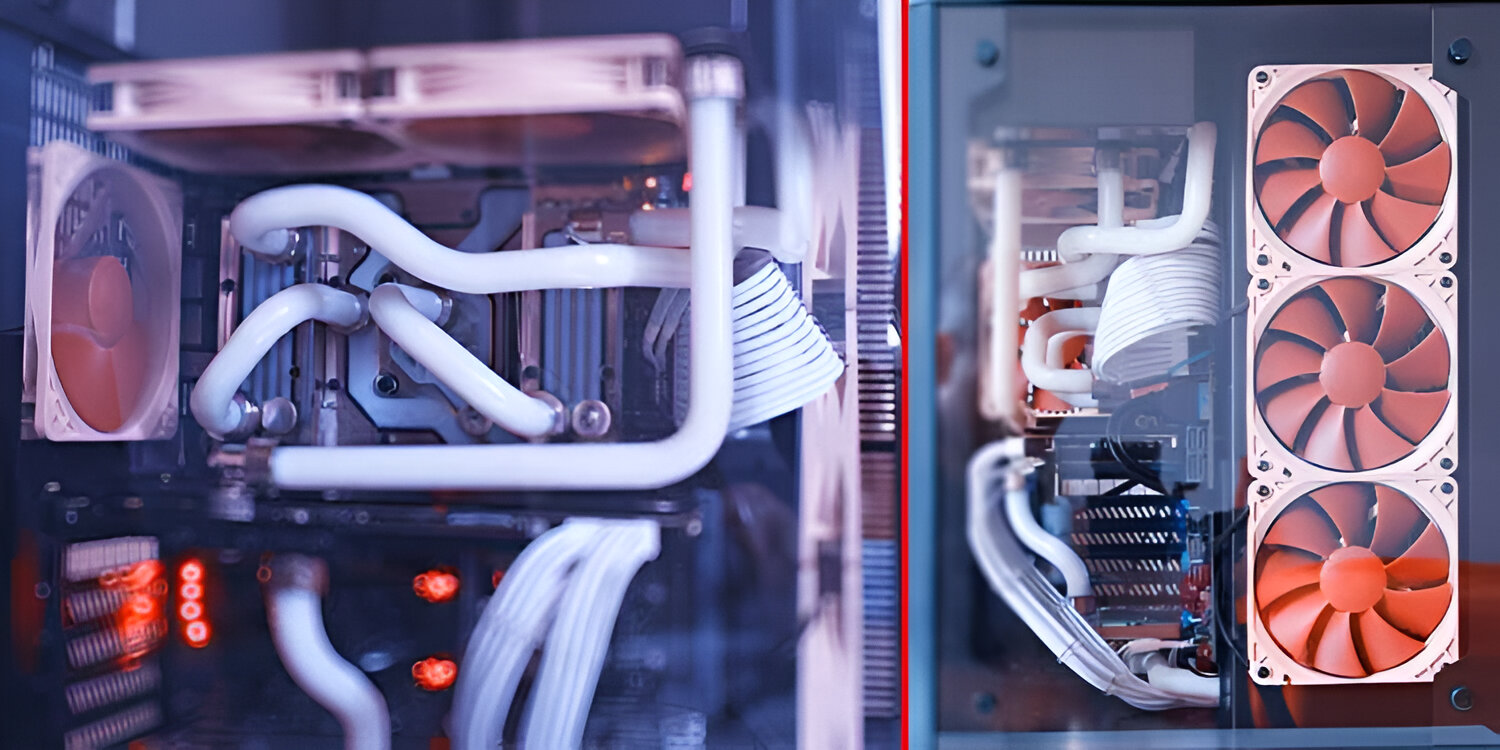
- Check the physical space: Measure the available space inside your computer case to make sure that the new GPU will fit without any issues. Some high-end GPUs can be quite large, so ensure that you have enough clearance for the card and its cooling solution.
- Check the operating system: Verify if your operating system is compatible with the new GPU. Most modern GPUs support Windows, macOS, and Linux, but double-check the manufacturer’s website for specific requirements.
- Check the driver compatibility: GPUs require specific drivers to work correctly. Visit the manufacturer’s website and check if they provide drivers for your operating system. Ensure that the drivers are up-to-date and compatible with your GPU model.
By following these steps, you can ensure that your new GPU is compatible with your computer system. This will save you from any potential issues or frustrations during the installation process. Remember, compatibility is the key to a successful GPU upgrade.
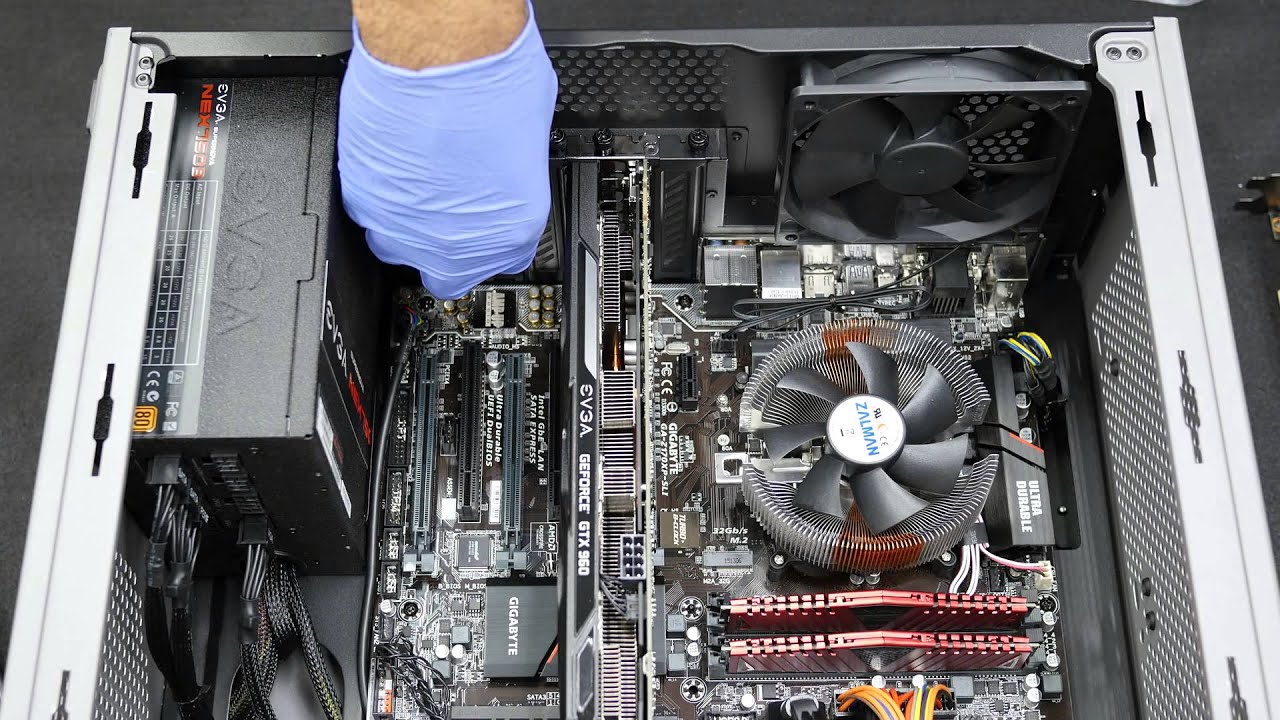
Preparing the Computer
Before installing a new GPU, it is essential to prepare your computer to ensure a smooth and hassle-free installation process. Follow these steps to get your computer ready:
- Power off the computer: Start by shutting down your computer and disconnecting the power cord from the back to ensure your safety.
- Gather necessary tools: Prepare the necessary tools such as a screwdriver, antistatic wrist strap, and thermal paste (if required). These tools will help you properly handle and install the new GPU.
- Clean the computer: It’s a good practice to clean the computer case and remove any dust or debris that may have accumulated over time. This will ensure proper airflow, preventing overheating issues with the new GPU.
- Ground yourself: Before handling the new GPU, it’s important to discharge any static electricity from your body. Use an antistatic wrist strap or touch a grounded metal object to avoid damaging any sensitive components.
- Remove side panel: Open the computer case by removing the side panel. This will give you access to the internal components, allowing for a smoother installation process.
- Locate the PCIe slot: Identify the PCIe slot on your motherboard where the new GPU will be installed. Refer to the motherboard manual for the exact location and any specific instructions.
- Remove existing connections: Carefully disconnect any cables or connectors attached to the existing GPU, such as display cables and power connectors. Keep them aside as you will need to reconnect them to the new GPU later.
- Prepare the GPU slot: If there is an existing GPU in the PCIe slot, gently release the retaining clip and pull out the old card. This will make room for the new GPU.
By taking these preparation steps, you can ensure that your computer is ready for the installation of the new GPU. This will help in avoiding any potential issues and speed up the overall process. Now that you have prepared your computer, it’s time to move on to the next step of removing the old GPU.
Removing the Old GPU
Before installing a new GPU in your computer, it is necessary to remove the existing GPU. Follow these steps to remove the old GPU safely:
- Disconnect power: Make sure your computer is turned off and disconnected from the power source. This ensures safety and prevents any electrical mishaps during the removal process.
- Remove cables: Carefully disconnect all cables connected to the old GPU, such as display cables and power connectors. Take note of their arrangement for reconnecting them to the new GPU.
- Release the retaining clip: Most GPUs are held in place by a retaining clip or latch. Gently release the clip by pushing it sideways or downwards, depending on the configuration. This will loosen the GPU in the slot.
- Gently remove the GPU: Hold the old GPU by its edges and gently pull it straight out of the PCIe slot. Avoid applying excessive force or rocking it back and forth to prevent damage to the slot or surrounding components.
- Set aside safely: Place the old GPU in an antistatic bag or on an antistatic mat to prevent any static electricity damage. If you plan to keep it as a backup or for future use, store it in a safe and dust-free environment.
- Clean the PCIe slot: Before installing the new GPU, inspect the PCIe slot for any dust or debris. Use a can of compressed air or a clean, dry cloth to remove any particles that might hinder the installation process.
By following these steps, you can safely remove the old GPU from your computer. Remember to handle the components with care and take precautions to avoid static electricity. With the old GPU out of the way, you are ready to proceed with the installation of the new GPU.
Installing the New GPU
Now that you have removed the old GPU, it’s time to install the new one. Follow these steps to ensure a successful installation:
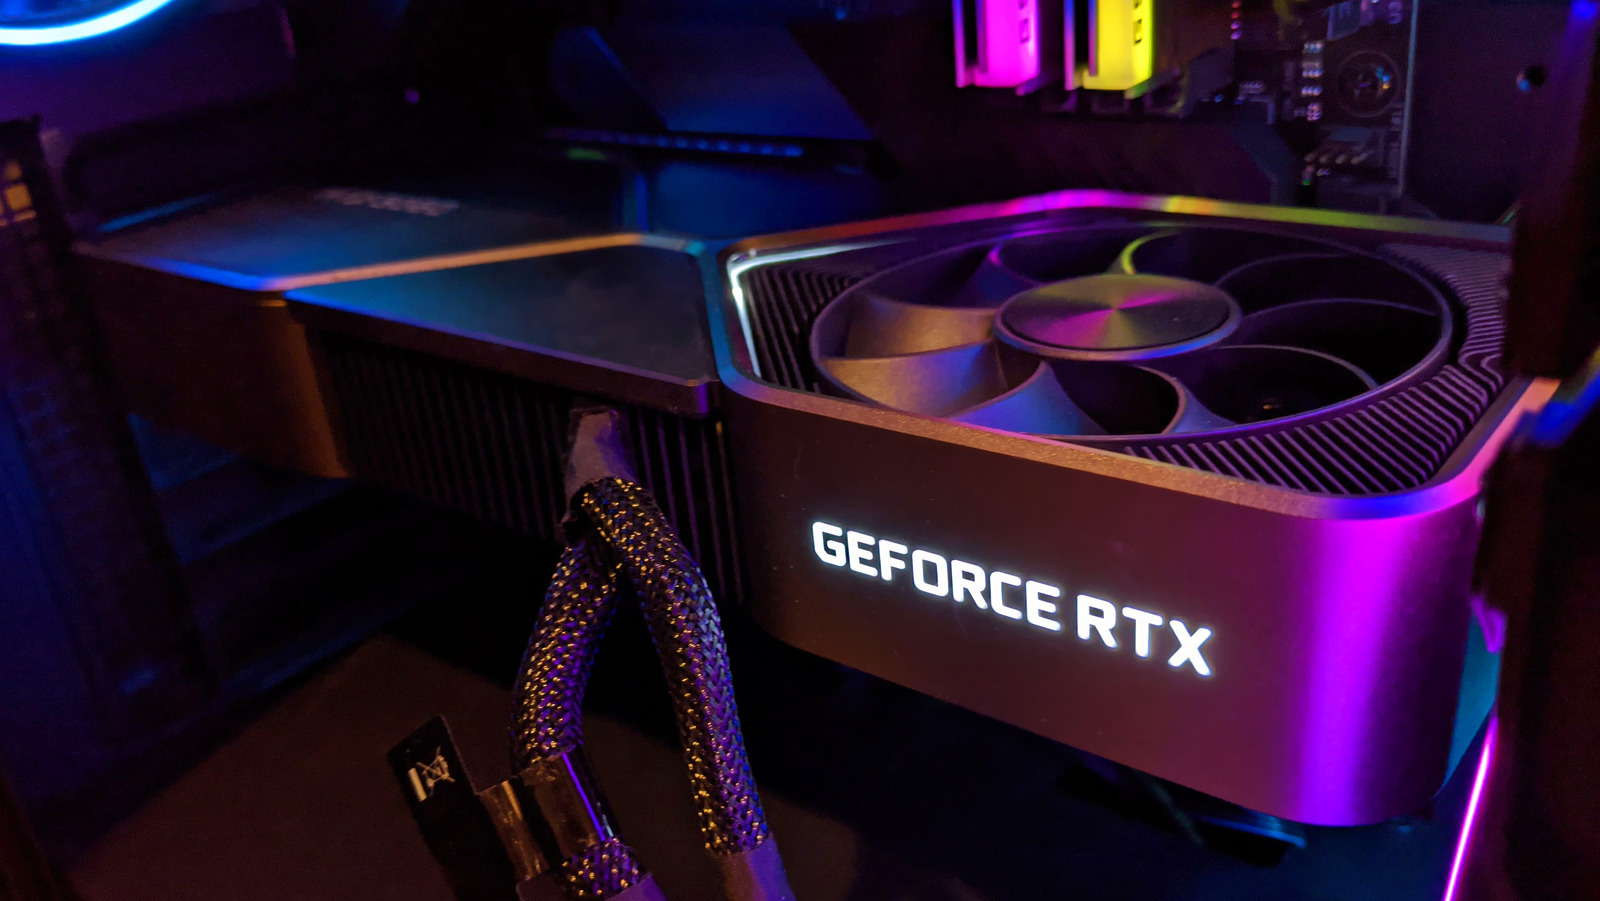
- Prepare the new GPU: Take the new GPU out of its packaging and handle it carefully by the edges. Avoid touching any electrical components or the GPU chip itself.
- Align the GPU: Locate the PCIe slot on the motherboard and align the connectors on the bottom of the GPU with the slot. Ensure that the GPU is oriented correctly. Some PCIe slots have a latch or retention mechanism, so make sure the card is securely placed.
- Insert the GPU: Gently insert the new GPU into the PCIe slot, applying even pressure. Avoid using excessive force or rocking the card. Once fully inserted, push down slightly to engage the retention mechanism, if applicable.
- Connect power: If your GPU requires additional power, connect the necessary power cables from the power supply to the GPU. Make sure the connections are secure and properly seated.
- Secure the GPU: If your computer case has screws or brackets to secure the GPU, carefully fasten them to ensure the GPU is firmly in place.
- Reconnect cables: Reconnect any cables that were disconnected from the old GPU, such as display cables and power connectors. Ensure that they are properly connected and secured.
- Replace side panel: Put the computer’s side panel back on and secure it with the screws. Ensure that it is properly aligned and fastened.
- Connect power and turn on: Reconnect the power cord to your computer and turn it on. The computer will detect the new GPU and should automatically adjust the display settings accordingly.
By following these steps, you can successfully install your new GPU. Remember to be patient and handle the components with care. Now that the new GPU is in place, the next step is to connect the necessary power to ensure proper performance.
Connecting Power
After installing the new GPU in your computer, it is crucial to connect the necessary power to ensure proper performance. Follow these steps to ensure a successful power connection:
- Check power requirements: Refer to the manufacturer’s specifications to determine the power requirements of your new GPU. This will help you identify the type and number of power connectors needed.
- Identify power connectors: Locate the power connectors on the GPU. Most modern GPUs require one or two PCIe power connectors, which come in 6-pin or 8-pin configurations.
- Connect power cables: Connect the appropriate power cables from your power supply unit (PSU) to the power connectors on the GPU. Ensure that the connections are secure and properly aligned.
- Secure cable connections: Use any available cable management features in your computer case to secure the power cables and prevent them from interfering with other components. This will improve airflow and maintain a tidy interior.
- Double-check connections: Take a moment to verify that all power connectors are securely connected and that no cables are loose or hanging. Loose connections can cause stability issues or even damage your GPU.
- Power on the computer: Reconnect the power cord to your computer and turn it on. The power supply should provide the necessary power to the GPU, allowing it to function properly.
- Monitor power usage: Keep an eye on your computer’s power consumption, especially if you have upgraded to a more powerful GPU. Ensure that your power supply unit can handle the increased power demands.
By following these steps, you can ensure that your new GPU receives the necessary power for optimal performance. It is important to connect the power properly to avoid any stability issues or potential damage. Once the power is connected, the next step is to update the drivers to ensure the GPU operates efficiently.
Updating Drivers
After installing a new GPU, it is essential to update the drivers to ensure optimal performance and compatibility with your operating system. Follow these steps to update the drivers for your new GPU:
- Identify the GPU model: Note down the exact model of your new GPU. This information is usually found on the GPU’s packaging or in the documentation provided by the manufacturer.
- Visit the manufacturer’s website: Go to the website of the GPU manufacturer, such as NVIDIA or AMD, and navigate to the drivers or support section.
- Choose the correct GPU model: Locate the driver download section and select your GPU model from the options provided. Make sure to choose the correct operating system version as well.
- Download and install the latest driver: Download the latest driver for your GPU and save it to a convenient location on your computer. Once downloaded, run the installer and follow the on-screen instructions to install the driver.
- Restart your computer: After the driver installation is complete, restart your computer to allow the changes to take effect.
- Verify driver installation: Once your computer is back up, open the GPU manufacturer’s control panel or settings software to confirm that the new driver version is installed. This will ensure that your GPU is using the most up-to-date drivers.
- Enable additional features: Depending on your GPU model and driver version, you may have access to additional features, such as overclocking options or performance settings. Explore the control panel or settings software to customize the GPU settings according to your preferences.
By updating the drivers for your new GPU, you can take full advantage of its capabilities and ensure smooth operation with your operating system. Regularly checking for driver updates is also important for staying up-to-date with bug fixes and performance optimizations released by the GPU manufacturer.
Testing the New GPU
After installing a new GPU and updating the drivers, it is crucial to test the GPU to ensure it is functioning properly and delivering the expected performance. Follow these steps to test your new GPU:
- Run benchmark software: Use benchmarking software, such as 3DMark or Unigine Heaven, to stress test your GPU and evaluate its performance. These programs can provide valuable insights into the GPU’s capabilities and compare its performance to similar systems.
- Monitor temperatures: Keep an eye on the GPU temperatures during the benchmark test. Use monitoring software like MSI Afterburner or GPU-Z to ensure that the GPU is running within safe temperature limits. High temperatures can indicate issues with cooling or inadequate airflow.
- Check for artifacts: Watch for any visual abnormalities or artifacts during the benchmark test. Artifacts can appear as screen flickering, distorted images, or strange patterns. If you notice any artifacts, it may indicate a problem with the GPU or its drivers.
- Test graphics-intensive applications: Run graphics-intensive applications or games that push the limits of your GPU. This will provide a real-world test and give you an idea of how your new GPU performs in different scenarios.
- Observe system stability: Pay attention to any system crashes, freezes, or unusual behavior while using the GPU-intensive applications. These issues could suggest compatibility problems, driver conflicts, or insufficient power supply.
- Compare performance improvement: If you upgraded from an older GPU, compare the performance of your new GPU to the previous one in terms of frame rates, load times, and overall responsiveness. This will help you appreciate the performance boost provided by the new GPU.
- Update drivers if necessary: If you encounter any issues or performance anomalies during testing, consider reinstalling or updating your GPU drivers. Sometimes, driver updates can resolve compatibility or performance-related problems.
By performing these tests, you can verify the functionality and performance of your new GPU. It is crucial to identify any issues early on so that you can address them promptly. If you encounter any persistent problems or unexpected behavior, it may be necessary to seek further assistance from the GPU manufacturer or technical support.
Troubleshooting Common Issues
While installing a new GPU, you may encounter some common issues that can affect its performance or functionality. Here are a few troubleshooting steps to help you address these issues:
- Driver installation failure: If you experience issues with driver installation, make sure you have downloaded the correct driver for your GPU model and operating system. Try reinstalling the driver, ensuring that you have administrative privileges and all previous drivers are properly removed.
- Display issues: If you encounter problems with your display, such as distorted or no output, ensure that the GPU is properly seated in the PCIe slot. Check the cable connections, ensuring they are secure and correctly plugged in. If needed, try using a different display cable or monitor.
- System instability or crashes: System instability or crashes can be caused by incompatible drivers, overheating, or insufficient power supply. Make sure you have the latest GPU drivers installed and monitor the GPU temperatures using software like MSI Afterburner. Ensure your power supply can handle the power demands of the new GPU.
- Artifacts or graphical glitches: Artifacts or graphical glitches can indicate issues with the GPU, drivers, or overheating. Check the GPU temperatures and ensure proper airflow in your system. If the problem persists, try reseating the GPU or reinstalling the drivers.
- Incompatible components: Some GPUs may have compatibility issues with certain motherboards, power supplies, or other components. Ensure that your motherboard’s BIOS is up to date and check for any firmware updates or compatibility issues with the GPU manufacturer’s website.
- Insufficient power supply: If your system experiences power-related issues, such as unexpected shutdowns or freezes, it may be due to an inadequate power supply unit (PSU). Consider upgrading to a higher wattage PSU to provide sufficient power for the new GPU.
Remember, troubleshooting can be a process of trial and error. If you encounter persistent issues that you cannot resolve, it is recommended to consult technical support from the GPU manufacturer or seek assistance from a professional. They can provide further guidance and help diagnose and address any underlying problems.
Final Thoughts and Recommendations
Installing a new GPU can greatly enhance your computer’s graphics performance and allow you to enjoy the latest games and applications. Here are some final thoughts and recommendations to consider:
1. Research and choose the right GPU: Take the time to research different GPU models, compare their performance, and consider your budget. Make sure the GPU you choose is compatible with your system and meets your specific needs.
2. Verify compatibility: Before purchasing a new GPU, double-check its compatibility with your motherboard’s PCIe slot, power supply, and operating system. This will ensure a smooth installation process and prevent any compatibility issues.
3. Follow proper installation procedures: Take precautions when handling computer components, such as wearing an antistatic wrist strap and grounding yourself. Follow the manufacturer’s instructions for removing the old GPU and installing the new one to avoid any damage or mishaps.
4. Update your drivers: After installing the new GPU, update your drivers to ensure optimal performance and compatibility with your operating system. Regularly check for driver updates to stay up to date with bug fixes and improvements.
5. Test and monitor: Run benchmark tests and monitor your GPU’s temperature and performance to ensure everything is functioning as expected. This will help identify any issues early on and allow you to address them promptly.
6. Consider upgrading other components: Upgrading your GPU may reveal potential bottlenecks in other components, such as the CPU or RAM. Assess your system’s overall performance and consider upgrading other components if necessary to fully leverage the capabilities of your new GPU.
7. Seek professional assistance if needed: If you encounter persistent issues or are unsure about the installation process, don’t hesitate to seek professional assistance. Consulting with a knowledgeable technician or contacting the GPU manufacturer’s support team can help resolve any complex problems.
With proper installation, adequate testing, and regular maintenance, your new GPU can provide a significant performance boost and enhance your overall computing experience. Enjoy the improved graphics, smoother gameplay, and increased productivity that a new GPU can bring to your system.