Introduction
Welcome to the world of gaming and high-performance graphics! A Graphics Processing Unit (GPU) is an essential component for anyone looking to enhance their gaming experience, improve multimedia editing capabilities, or tackle intensive graphical tasks. Upgrading your GPU can provide a significant boost to your system’s performance and open up a wide range of possibilities.
In this article, we will guide you through the process of upgrading your GPU, step by step. Whether you’re a seasoned gamer looking to stay on the cutting edge or a casual user wanting to improve your graphics capabilities, we’ve got you covered.
Before diving into the upgrade process, it’s crucial to understand your current GPU and assess whether it’s worth upgrading. Take a moment to find out which GPU you currently have installed and research its specifications. This will help you determine the performance gains you can expect from an upgrade and ensure compatibility with your system.
Once you have a clear understanding of your current GPU, it’s time to perform a compatibility check. Upgrading a GPU requires verifying whether your system’s power supply can handle the new GPU’s energy requirements. Additionally, you’ll want to ensure that your motherboard has an available PCIe slot and supports the new GPU.
After confirming compatibility, the next step is researching and choosing a new GPU. This involves considering factors such as your budget, intended usage, and performance requirements. There are various options available on the market, catering to different needs and preferences, so take the time to find the perfect fit for your computing requirements.
Before installing your new GPU, it’s essential to prepare your system to ensure a smooth transition. This includes backing up important data, uninstalling old GPU drivers, and ensuring necessary files and tools are readily available. Proper preparation can save you from potential headaches and ensure a seamless upgrade process.
Once your system is prepared, it’s time to install the new GPU. This process involves physically removing the old GPU, inserting the new one into the PCIe slot, and properly securing it. It’s important to follow manufacturer instructions and handle the hardware with care to avoid any damage.
Once the new GPU is installed, you’ll need to update the drivers and software to fully utilize its capabilities. This ensures optimal performance and compatibility with the latest games and applications. Keep in mind that driver updates can significantly impact GPU performance, so make sure to stay updated with the latest releases.
In some cases, you may encounter issues or experience suboptimal performance after upgrading your GPU. Troubleshooting and optimization techniques can help address these issues and maximize your GPU’s potential. We will cover some common problems and share tips for optimizing your system’s settings.
Upgrading your GPU can be an exciting endeavor, offering enhanced visuals, smoother gameplay, and improved productivity. By following the steps outlined in this article, you’ll be well on your way to experiencing the full power of your new GPU. So, without further ado, let’s get started on the journey of upgrading your GPU!
Understanding Your Current GPU
Before embarking on the journey of upgrading your GPU, it’s imperative to have a solid understanding of your current graphics card. By knowing the specifications of your existing GPU, you’ll be able to gauge its performance and make an informed decision about the upgrade.
Start by determining the model and brand of your current GPU. This information is typically displayed in your system’s Device Manager or can be found on the manufacturer’s website. Knowing the exact model will help you research its performance benchmarks and compare it to potential upgrades.
It’s also crucial to identify the architecture and memory capacity of your current GPU. The architecture refers to the underlying design and technology used in the GPU, with various architectural versions available on the market. Understanding the architecture will allow you to comprehend the capabilities and limitations of your current GPU.
The memory capacity of your GPU is another essential aspect to consider. This refers to the amount of dedicated video memory available on the graphics card. Higher memory capacity allows for smoother performance and better handling of graphics-intensive tasks, such as gaming or video editing.
Additionally, examine the core clock speed and shader units of your GPU. The core clock speed represents the frequency at which the GPU’s processor operates and can influence its overall performance. Shader units, on the other hand, are responsible for handling complex graphical calculations and can impact the GPU’s rendering capabilities.
Understanding the power requirements of your current GPU is vital for determining compatibility with potential upgrades. GPUs consume varying amounts of power, and you need to ensure that your system’s power supply can handle the power demands of a new GPU. Check the recommended power supply wattage for your current GPU and compare it to the power supply unit (PSU) installed in your system.
Lastly, consider the age of your current GPU. Technology advances rapidly, and newer GPUs offer significant performance improvements over older ones. If your current GPU is several years old, upgrading to a newer model can yield a noticeable performance boost, allowing you to enjoy the latest games and applications.
By thoroughly understanding the specifications and capabilities of your current GPU, you can make an informed decision about whether it’s worth upgrading. Consider the performance gains you can expect from an upgrade, and weigh them against the cost and effort involved in the process. Armed with this knowledge, you’ll be well-prepared to move on to the next step: checking compatibility and researching a new GPU.
Compatibility Check
Before proceeding with a GPU upgrade, it’s crucial to perform a compatibility check to ensure that the new graphics card will work seamlessly with your system. This involves assessing whether your power supply, motherboard, and other components can support the new GPU.
First and foremost, you need to verify that your power supply can handle the increased energy requirements of the new GPU. Graphics cards can consume a significant amount of power, especially high-end models. Check the recommended power supply wattage for the new GPU and compare it to the wattage of your current power supply. If your power supply falls short, you’ll need to upgrade it to ensure stable and reliable performance.
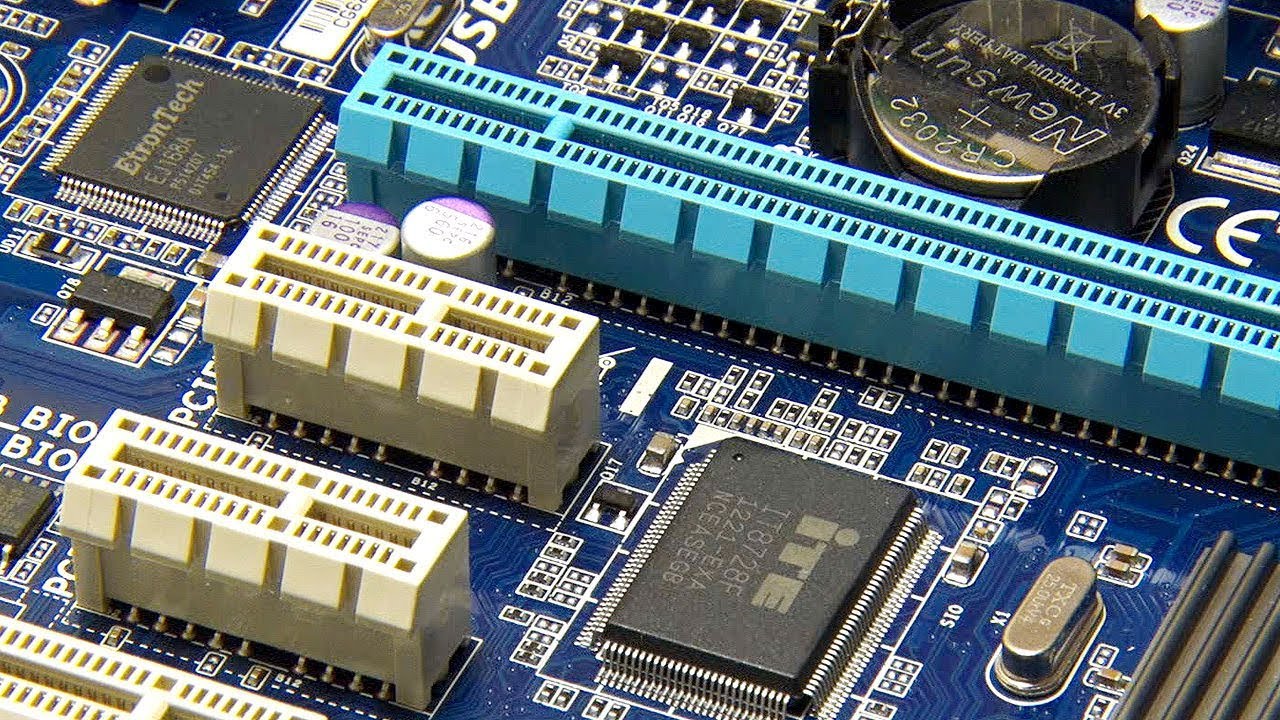
Next, determine whether your motherboard has an available PCIe (Peripheral Component Interconnect Express) slot for the new GPU. Most modern systems are equipped with PCIe slots, which are specifically designed for graphics cards. However, it’s essential to ensure that the slot is compatible with the new GPU, both in terms of physical fit and bandwidth support. Different GPUs may require different PCIe versions, such as PCIe 3.0 or PCIe 4.0, so double-check the specifications of both your motherboard and the new GPU.
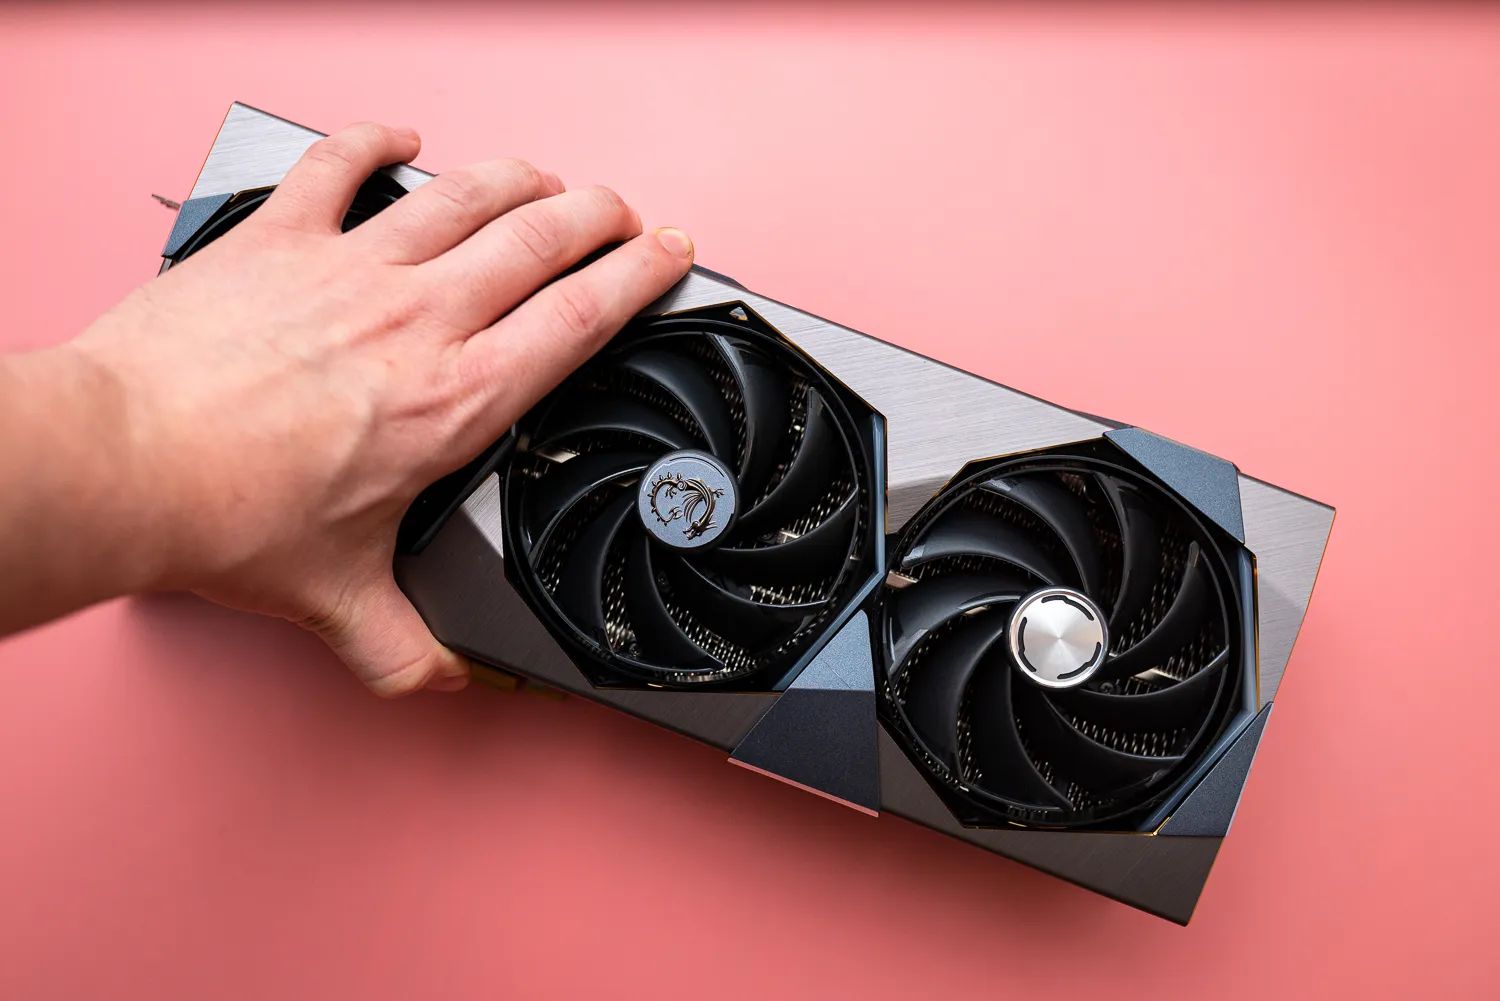
Another consideration is the size of the new GPU and its compatibility with your system’s chassis. Some high-performance graphics cards can be quite large, known as “dual-slot” or “triple-slot” designs, which may not fit in smaller cases. Before purchasing a new GPU, make sure to measure the available space in your case and check the maximum GPU length specified by the manufacturer. Additionally, confirm that there is adequate airflow around the GPU to prevent overheating.
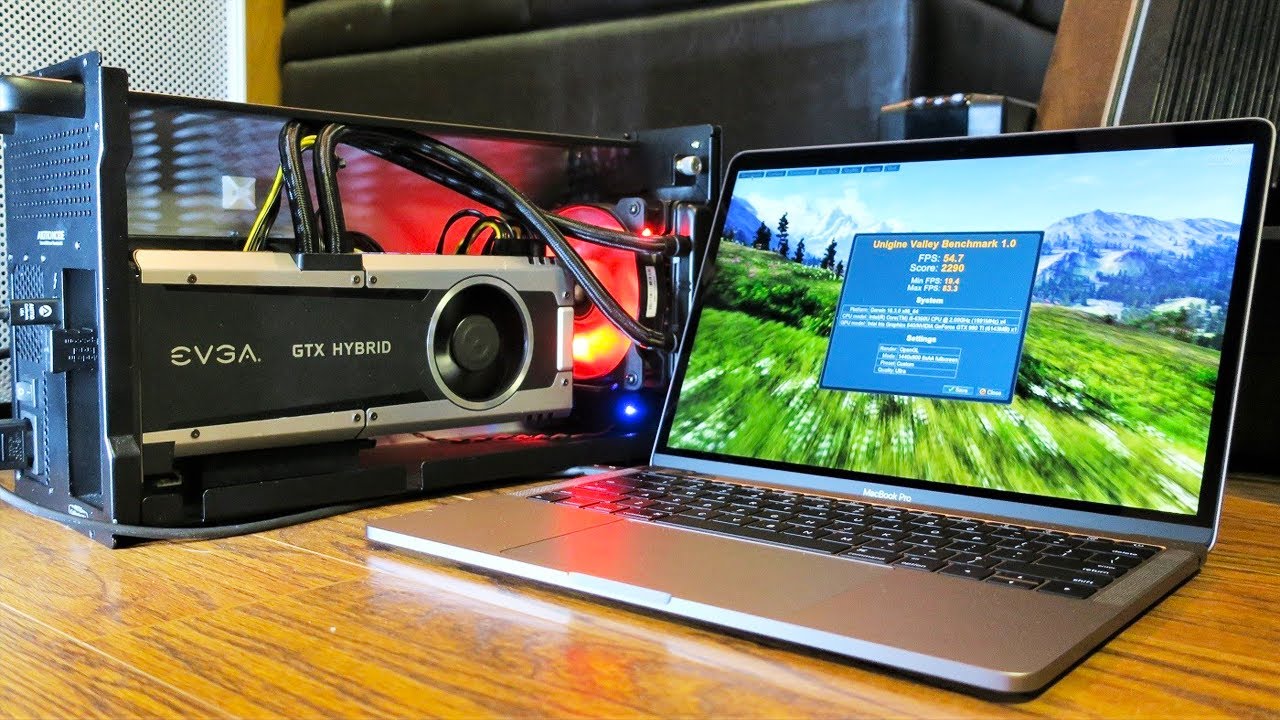
It’s also important to check that your system’s CPU and RAM are compatible with the new GPU. While CPU compatibility is generally not an issue, it’s worth verifying that your CPU can keep up with the performance of the new GPU to avoid potential bottlenecks. Additionally, ensure that your RAM meets the specifications recommended by the GPU manufacturer, as some high-performance GPUs may require a minimum amount of RAM or specific memory speed.
Lastly, consider the compatibility of the new GPU with your operating system. Most modern GPUs are compatible with popular operating systems such as Windows and macOS. However, it’s always a good idea to check the driver support for your specific operating system version. GPU manufacturers regularly release driver updates to improve compatibility and performance, so staying up to date with the latest drivers is essential.
By thoroughly performing a compatibility check, you can ensure that the new GPU will integrate seamlessly with your system and avoid any costly surprises. Now that you have confirmed compatibility, it’s time to move on to the exciting part: researching and choosing the perfect GPU for your needs.
Researching and Choosing a New GPU
With the compatibility check completed, it’s time to dive into the exciting task of researching and choosing a new GPU. The market offers a wide range of options, catering to various budgets, performance requirements, and preferences. Here are some key factors to consider during the research and selection process.
Performance: Determine the level of performance you require from your new GPU. Are you a hardcore gamer seeking maximum frame rates and graphical fidelity? Or are you a casual user looking for a reliable GPU to handle everyday tasks? Assess your needs and prioritize accordingly.
Budget: Establish a budget for your GPU upgrade. Prices can vary significantly, so it’s essential to consider the performance-to-price ratio. Determine the maximum amount you’re willing to spend and explore GPUs within that range.
Usage: Consider the primary purpose of your GPU. If gaming is your main focus, research GPUs optimized for gaming performance. Alternatively, if you’re into video editing or 3D rendering, look for GPUs with excellent computational capabilities.
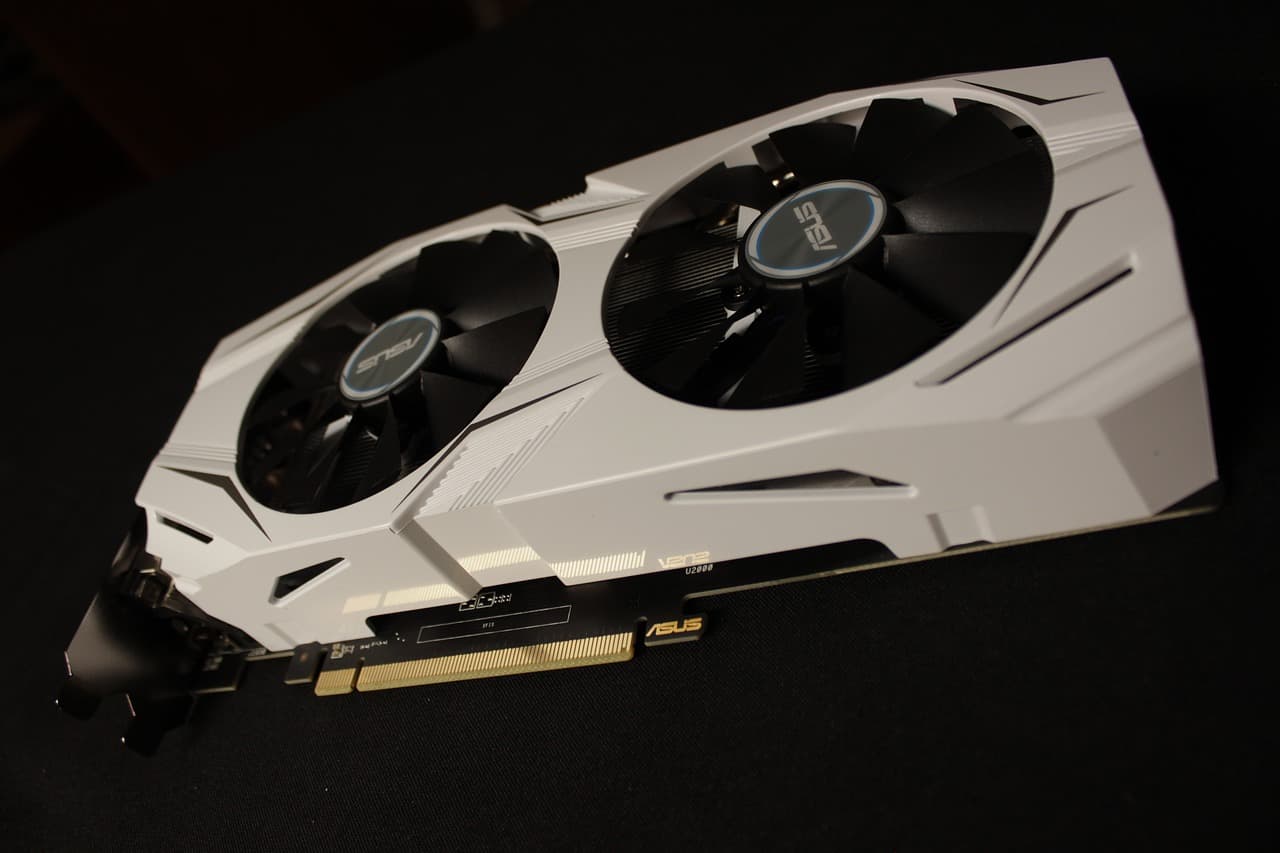
Brand and Model: Familiarize yourself with the various GPU brands available. Prominent manufacturers such as NVIDIA and AMD offer a wide range of models, each with its strengths and weaknesses. Check user reviews, professional benchmarks, and recommendations from reputable sources to find reliable and high-quality options.
Memory Capacity: Consider the amount of video memory (VRAM) you’ll need. Higher VRAM capacity allows for better performance at higher resolutions and in graphics-intensive applications. Assess your requirements by considering the resolutions you typically use and the complexity of tasks you perform.
Connectivity: Ensure that the new GPU has the necessary connectivity options to meet your needs. Common options include HDMI, DisplayPort, and DVI. Check the number and type of connectors available to ensure compatibility with your display setup.
Future-proofing: Consider the longevity of the new GPU. While it’s impossible to predict the future, choosing a GPU with up-to-date technology and features can help ensure that it remains relevant and capable for years to come.
Reviews and Recommendations: Read reviews from trusted sources and seek recommendations from experts. Websites, forums, and online communities dedicated to gaming and hardware enthusiasts often offer valuable insights and real-world experiences with different GPUs.
Warranty and Support: Check the warranty and customer support offered by the GPU manufacturer. A reliable warranty can provide peace of mind and protection against any potential defects or issues with the new GPU.
By thoroughly researching and considering these factors, you can narrow down your options and make an informed decision when choosing a new GPU. Remember to prioritize your needs, ensure compatibility with your system, and stay within your budget. Once you’ve selected the perfect GPU, it’s time to prepare your system for the upgrade process.
Preparing Your System
Before diving into the physical installation of your new GPU, it’s crucial to properly prepare your system to ensure a smooth and hassle-free upgrade process. Taking a few extra steps beforehand can help prevent issues and ensure a seamless transition. Here’s what you need to do:
Backup Your Data: It’s always a good practice to back up your important data before making any hardware changes. Whether it’s documents, photos, or game saves, ensure that your files are safely stored on an external hard drive, cloud storage, or any other backup solution of your choice.
Uninstall Old GPU Drivers: To avoid potential conflicts and performance issues, it’s essential to uninstall the drivers of your old GPU. Use a driver uninstaller tool or go to the manufacturer’s website to download the latest driver removal tool specific to your old GPU. Follow the provided instructions to ensure a clean uninstallation.
Gather Necessary Tools and Downloads: Before proceeding with the upgrade, gather all the necessary tools and downloads you may need. This may include a screwdriver, anti-static wristband (optional but recommended), the installation manual for your new GPU, and the latest drivers from the manufacturer’s website. Having these ready will save you time and make the process more efficient.
Verify System Requirements: Double-check the system requirements for the new GPU to ensure compatibility with your system. Confirm that your power supply meets the minimum power requirements, your motherboard has an available PCIe slot, and other hardware components (such as CPU and RAM) align with the recommendations specified by the GPU manufacturer.
Ensure Adequate Power and Cooling: High-performance GPUs often require sufficient power and cooling. Make sure your system’s power supply can deliver enough wattage to handle the new GPU’s requirements. Additionally, ensure that your system has proper airflow with functioning cooling fans or an adequate cooling solution to prevent overheating of components.
Create a Clean and Organized Workspace: Prepare a clean and organized workspace to perform the GPU upgrade. Clear out any clutter, static-prone materials, and ensure you have a grounded surface to work on. This will minimize the risk of damaging the components and make the process more efficient.
Review the Installation Manual: Carefully read the installation manual provided by the GPU manufacturer. Familiarize yourself with the installation steps, any specific instructions or precautions, and the recommended installation process. Understanding the process beforehand will help you avoid mistakes and complete the upgrade smoothly.
By following these preparation steps, you’ll be ready for the physical installation of your new GPU. Taking the time to properly prepare your system will ensure a smooth and trouble-free upgrade experience. Now that you’re ready, let’s move on to the exciting part – installing the new GPU in your system!
Installing the New GPU
Now that you’ve prepared your system, it’s time to proceed with the installation of your new GPU. Follow these step-by-step instructions to ensure a successful upgrade:
1. Power Down Your System: Start by shutting down your computer completely. Unplug the power cord and any other connected cables from the system unit.
2. Open the System Unit: Depending on your system’s design, you may need to remove the side panel or top cover to gain access to the internal components. Refer to the computer’s manual for specific instructions.
3. Locate the PCIe Slot: Identify the appropriate PCIe slot for installing the new GPU. This slot is longer than other slots on your motherboard and is usually located near the bottom of the motherboard. Remove any covers or brackets that may be covering the slot.
4. Ground Yourself: To prevent static discharge, wear an anti-static wristband or regularly touch a grounded object throughout the installation process. This will help protect your new GPU and other delicate components.
5. Remove the Old GPU (if applicable): If you are replacing an existing GPU, gently disconnect any power cables, unscrew the mounting bracket, and carefully remove the old GPU from the PCIe slot. Place it in an anti-static bag for safekeeping or dispose of it following appropriate electronic waste disposal guidelines.
6. Insert the New GPU: Align the new GPU with the PCIe slot and firmly insert it into the slot. Ensure that the graphics card is properly seated and that the gold contacts are fully inserted into the slot.
7. Secure the GPU: Use the screws provided with your new GPU (if necessary) to secure the graphics card to your system’s chassis. This helps ensure stability and prevent any accidental movement or damage to the GPU during use.
8. Connect Power Cables: If your new GPU requires additional power, connect the appropriate power cables from your power supply to the GPU’s power connectors. Refer to the GPU’s manual for the specific location of these connectors and any recommendations regarding power cable configurations.
9. Close the System Unit: Carefully reattach the side panel or top cover, ensuring that it is properly aligned and secured. This helps protect the internal components from dust and provides better airflow for cooling.
10. Reconnect Cables and Power On: Reconnect all cables that were disconnected earlier, including the power cord. Double-check that everything is securely connected. Power on your computer and wait for it to boot up. Congratulations! Your new GPU is now installed and ready to be configured.
Remember to consult the documentation provided by the GPU manufacturer for any specific instructions related to your GPU model. If you encounter any issues during installation, refer to the troubleshooting section or seek assistance from the manufacturer’s support team. Now that you’ve successfully installed your new GPU, the next step is to update the drivers and software for optimal performance.
Updating Drivers and Software
After installing your new GPU, it is essential to update the drivers and software to ensure optimal performance and compatibility with your system. Graphics drivers serve as a communication interface between your operating system and the GPU, enabling efficient utilization of its capabilities. Follow these steps to update your GPU drivers:
1. Identify Your GPU Model: Determine the specific model and brand of your new GPU. This information can typically be found in the product documentation or on the manufacturer’s website.
2. Visit the Manufacturer’s Website: Go to the website of the GPU manufacturer and navigate to the support or drivers section. Locate the drivers for your GPU model and select the appropriate operating system version.
3. Download and Install the Latest Drivers: Download the latest driver package for your GPU and save it to your computer. Once the download is complete, run the installer and follow the on-screen instructions to install the drivers. It is recommended to choose a custom installation, allowing you to select specific components and settings.
4. Restart Your Computer: After the driver installation is complete, restart your computer to apply the changes. This ensures that the new drivers are fully implemented and ready to optimize the performance of your GPU.
In addition to updating your GPU drivers, it’s also important to keep your other software up to date. This includes your operating system, games, and applications. Follow these steps to ensure your software is at its latest version:
1. Windows Update (Windows): Open the Windows Update settings and check for updates. Install any available updates, including critical system updates and recommended software updates.
2. Software Update (macOS): On macOS, open the App Store and click on the “Updates” tab. Install any available updates for your installed applications and the macOS operating system.
3. Game and Application Updates: Launch your games and applications and check for updates within their respective settings or preferences menus. Keeping your games and applications up to date ensures compatibility with the latest GPU drivers and improves overall stability and performance.
4. Optional Software: Consider installing software that can help optimize and monitor your GPU, such as GPU management utilities or performance monitoring tools. These programs can provide additional customization options and help you maximize the potential of your GPU.
Regularly checking for and installing driver and software updates is crucial for maintaining an optimized and stable system. It not only enhances the performance of your new GPU but also ensures compatibility with the latest games and applications. Stay proactive in keeping your system up to date to enjoy the best possible experience with your upgraded GPU.
Troubleshooting and Optimization
After upgrading your GPU, you may encounter issues or want to optimize your system to ensure the best performance. Here are some troubleshooting and optimization techniques to help you resolve any issues and get the most out of your new GPU:
1. Monitor Temperatures: Keep an eye on your GPU temperatures to ensure it is not overheating. High temperatures can lead to performance throttling and instability. Use monitoring software to track the GPU temperature and adjust your system’s cooling if necessary, such as ensuring proper airflow and cleaning dust from fans and heatsinks.
2. Update Drivers Regularly: Stay on top of GPU driver updates. Manufacturers release new drivers regularly that can address performance issues, improve stability, and provide compatibility fixes. Check for updates on the manufacturer’s website or use driver update software to keep your drivers up to date.
3. Adjust Graphics Settings: Fine-tune the in-game graphics settings to find the right balance between performance and visual quality. Lowering graphics settings can improve frame rates, while increasing them may showcase the full potential of your new GPU. Experiment with different settings to achieve the desired balance.
4. Resolve Compatibility Issues: In some cases, specific games or applications may encounter compatibility issues with certain GPUs. Check the support forums, official websites, or community discussions to see if there are any known compatibility issues for your GPU model. Updates or patches from developers can often resolve these issues.
5. Monitor System Performance: Use system monitoring software to track CPU usage, GPU usage, and memory usage. This can help identify any bottlenecks or performance issues that may be affecting your overall system performance. Addressing these issues, such as upgrading other components or closing unnecessary background processes, can optimize performance.
6. Overclocking (Advanced Users): If you have experience and are comfortable with it, you can consider overclocking your GPU. Overclocking involves increasing the clock speed and voltage of the GPU to achieve higher performance. However, be cautious, as improper overclocking can lead to instability or damage. Follow proper overclocking guides and use reliable software to ensure safe and stable overclocking.
7. Reinstall Software: If you encounter persistent issues, such as crashes or graphical glitches, consider reinstalling the affected games or applications. Sometimes, faulty installations or corrupted files can cause performance problems. Uninstall the software, clear any residual files, and then reinstall it using the latest version or a trusted source.
8. Seek Support: If you are unable to resolve any issues on your own, don’t hesitate to seek support from the GPU manufacturer’s official support channels or knowledgeable communities. They can provide specific troubleshooting advice tailored to your GPU model and help you diagnose and fix any problems you may encounter.
By employing these troubleshooting and optimization techniques, you can overcome any potential issues and ensure that your new GPU delivers optimal performance. Remember to stay proactive in maintaining your system, keeping drivers up to date, and regularly addressing any performance anomalies that may arise.
Conclusion
Congratulations! You have now reached the end of the journey to upgrade your GPU. By following the steps outlined in this article, you’ve learned how to understand your current GPU, perform compatibility checks, research and choose a new GPU, prepare your system, install the new GPU, update drivers and software, and troubleshoot and optimize your system. With your upgraded GPU, you can now enjoy improved gaming performance, enhanced visual experiences, and faster multimedia editing capabilities.
Remember, understanding your current GPU and assessing its performance allowed you to make an informed decision about upgrading. Performing compatibility checks ensured that your system is capable of handling the new GPU. Researching and choosing the right GPU based on your budget and performance requirements was crucial for a satisfying upgrade experience.
During the preparation phase, you backed up your data, uninstalled old GPU drivers, and gathered the necessary tools. The installation process involved carefully inserting the new GPU, connecting power cables, and securing the graphics card. Updating drivers and software ensured compatibility and optimized performance, while troubleshooting and optimization techniques helped resolve any issues and maximize your GPU’s potential.
Remember to stay proactive in keeping your system up to date by regularly checking for driver and software updates. Monitor temperatures, adjust graphics settings, and seek support when needed to maintain optimal performance. With a properly upgraded and optimized system, you can now enjoy a smooth and immersive computing experience.
Thank you for joining us on this GPU upgrade journey. We hope that this article has been informative and helpful in making the process smoother for you. So, power up your system, launch your favorite games, and revel in the enhanced graphics and performance that your new GPU brings!