Introduction
When it comes to optimizing your computer’s graphics performance, updating the GPU drivers is essential. However, sometimes the latest driver updates can cause compatibility issues or performance problems with certain software or hardware configurations. In such cases, reverting to a previous version of the GPU drivers can be a viable solution.
Reverting GPU drivers means rolling back to an older version of the driver software for your graphics card. This process involves uninstalling the current driver and installing the previous version that worked well for your system. It allows you to restore the functionality and stability of your graphics card, ensuring a smooth and reliable computing experience.
In this guide, we will walk you through the step-by-step process of reverting GPU drivers. We will cover everything from checking your current driver version to finding and downloading the previous version, uninstalling the current drivers, and installing the older drivers successfully.
Whether you have encountered performance issues, compatibility problems, or other complications after updating your GPU drivers, reverting to the previous version can help resolve these issues and ensure optimal functionality. By following the instructions provided in this guide, you will be able to safely and effectively revert your GPU drivers.
So, if you’re ready to roll back your GPU drivers and regain stability and performance, let’s dive into the process and get started on reverting your graphics card to the previous version of the drivers.
Why Revert GPU Drivers?
There are several reasons why you might want to revert your GPU drivers to a previous version:
- Compatibility Issues: The latest GPU driver updates may not be fully compatible with your specific hardware or software configurations. This can result in performance issues, crashes, or other compatibility problems. Reverting to a previous version can help restore compatibility and eliminate any issues.
- Performance Problems: Sometimes, the latest driver updates can inadvertently introduce performance problems, such as decreased frame rates or stuttering in games or video playback. By reverting to a previous version, you can potentially resolve these performance issues and regain smooth and optimal performance.
- Stability Issues: New driver releases may not be as stable as previous versions. If you are experiencing frequent crashes, system freezes, or other stability issues after updating your GPU drivers, reverting to the previous version can help restore stability and eliminate these problems.
- Bug Fixes: While updates often include bug fixes, they can also introduce new bugs or issues. If you encounter a specific bug or problem after updating your GPU drivers, reverting to a previous version that had already addressed that issue can help resolve it.
It’s important to note that reverting GPU drivers should be done with caution and as a troubleshooting step. It’s recommended to verify that the issues you are experiencing are indeed related to the latest driver update before proceeding with the revert process.
By reverting GPU drivers, you can effectively troubleshoot and address compatibility issues, performance problems, stability concerns, and specific bugs or issues that you may encounter after updating to the latest driver version. It allows you to regain control over your graphics card and ensure a seamless and optimal computing experience.
Now that we understand the reasons why reverting GPU drivers can be beneficial, let’s move on to the next section, where we will learn how to check the current GPU driver version installed on your system.
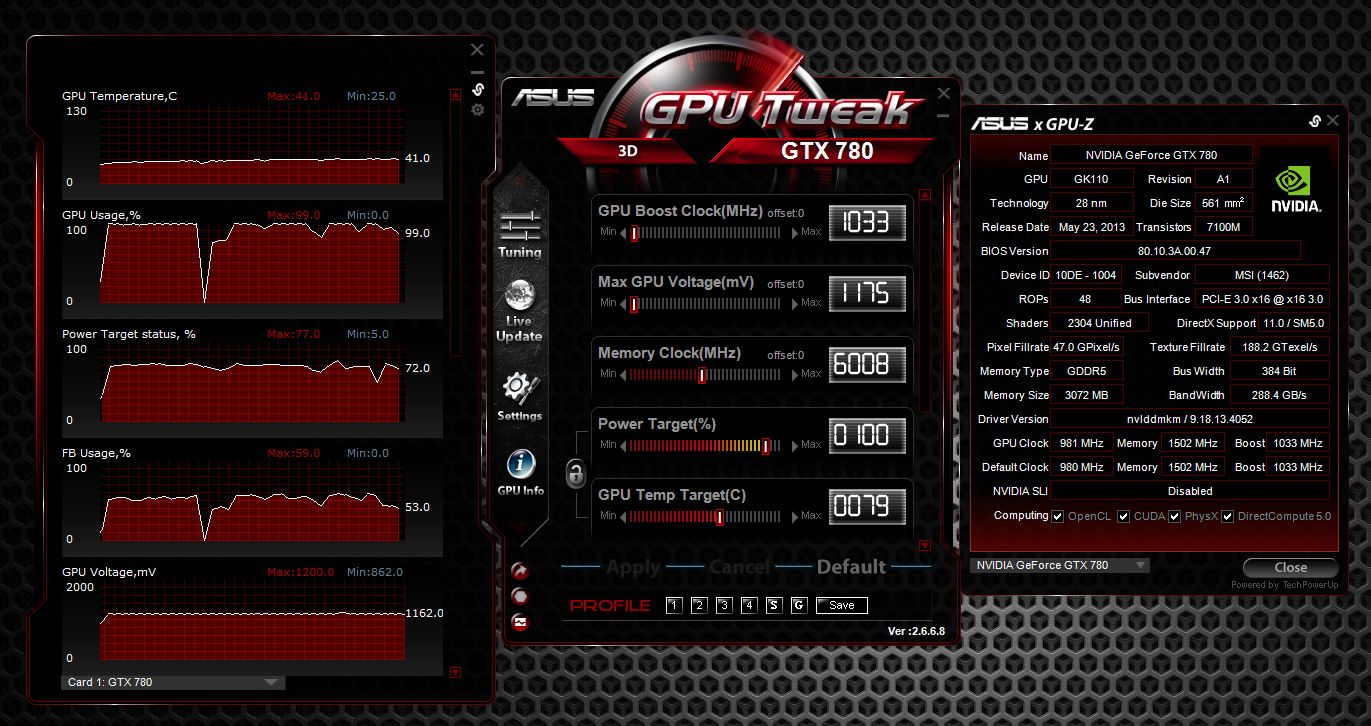
Checking Current GPU Driver Version
Before you can proceed with reverting your GPU drivers, it’s important to know the current driver version installed on your system. This information will help you identify the specific version to which you want to revert.
Here’s how you can check the current GPU driver version:
- Open the Start menu and search for “Device Manager.”
- Click on the Device Manager from the search results to open the application.
- In the Device Manager window, expand the category for Display Adapters.
- Right-click on your GPU (e.g., NVIDIA GeForce or AMD Radeon) and select Properties from the context menu.
- In the Properties window, go to the Driver tab.
- The Driver Version section will display the currently installed driver version.
By following these steps, you will be able to access the information about your current GPU driver version.
Make a note of the driver version displayed in the Properties window as you will need this information when searching for the previous version for the revert process.
Now that you know your current GPU driver version, let’s move on to the next section, where we will learn how to find and download the previous version of GPU drivers.
Finding the Previous Version of GPU Drivers
Once you have identified the current driver version installed on your system, the next step is to find and download the previous version of the GPU drivers. This can be done by following these steps:
- Visit the official website of your GPU manufacturer, such as NVIDIA or AMD.
- Navigate to the Support or Drivers section of the website.
- Locate the option to search for drivers based on your specific graphics card model and operating system.
- Enter the required information, including your GPU model and the version of your operating system.
- Look for a list of available driver versions for your GPU model.
- Find the previous version that corresponds to the one you noted down earlier.
- Click on the download link for the previous driver version to start the downloading process.
It’s important to download the correct driver version that matches your GPU model and operating system. Installing an incorrect driver version can lead to compatibility issues and result in further problems.
Once the download is complete, make sure to keep a copy of the driver installation file in a safe location so that you can access it later during the installation process.
Now that you have successfully found and downloaded the previous version of the GPU drivers, it’s time to proceed to the next section, where we will learn how to uninstall the current GPU drivers.
Downloading the Previous Version of GPU Drivers
After identifying and locating the previous version of GPU drivers that you want to revert to, the next step is to download the installation file for that specific driver version. Follow these steps to download the previous version of GPU drivers:
- Visit the official website of your GPU manufacturer, such as NVIDIA or AMD.
- Navigate to the Support or Drivers section of the website.
- Find the option to search for drivers based on your specific graphics card model and operating system.
- Enter the required information, including your GPU model and the version of your operating system.
- Locate the list of available driver versions for your GPU model.
- Find the previous version that matches the one you noted down earlier.
- Click on the download link for the previous driver version to begin the downloading process.
- Choose a location on your computer where you want to save the driver installation file.
- Wait for the download to complete.
Make sure to download the correct driver version that corresponds to your GPU model and operating system. Installing an incompatible driver version can lead to issues and may not work properly.
Once the download is finished, keep a copy of the driver installation file in a safe and easily accessible location. This file will be required in the next step when we uninstall the current GPU drivers.
Now that you have successfully downloaded the previous version of the GPU drivers, let’s proceed to the next section, where we will learn how to uninstall the current GPU drivers.
Uninstalling Current GPU Drivers
Before you can install the previous version of GPU drivers, it is important to uninstall the current drivers from your system. This ensures a clean installation without any conflicts or leftover files. Follow these steps to uninstall the current GPU drivers:
- Press the Windows key + X on your keyboard and select Device Manager from the menu.
- In the Device Manager window, expand the category for Display Adapters.
- Right-click on your GPU (e.g. NVIDIA GeForce or AMD Radeon) and select Uninstall device from the context menu.
- In the confirmation dialog box, select the checkbox for “Delete the driver software for this device” and click on Uninstall.
- Follow the on-screen prompts to complete the driver uninstallation process.
Once the uninstallation process is complete, your system will revert to using the generic display driver. This may result in lower resolution and limited graphics functionality temporarily.
After uninstalling the current GPU drivers, it is recommended to restart your computer to complete the driver removal process. This ensures that any remaining driver-related files or settings are cleared from the system.
Now that you have successfully uninstalled the current GPU drivers from your system, let’s move on to the next section, where we will learn how to install the previous version of GPU drivers.
Installing the Previous Version of GPU Drivers
After uninstalling the current GPU drivers, the next step is to install the previous version that you downloaded earlier. Follow these steps to install the previous version of GPU drivers:
- Locate the driver installation file that you downloaded for the previous GPU driver version.
- Double-click on the installation file to start the installation process.
- Follow the on-screen prompts and accept any license agreements or terms of use.
- Choose the installation options that suit your preferences. You can typically select a custom installation to modify the components installed or choose an express installation for a default setup.
- Wait for the installation to complete. This may take a few minutes.
- Once the installation is finished, restart your computer to apply the changes.
After restarting, your system should be using the previous version of GPU drivers that you installed. You can verify this by checking the GPU driver version in the Device Manager, as described earlier.
If the installation encounters any issues or prompts you with error messages, it is recommended to consult the documentation provided by your GPU manufacturer or seek support from their official website or technical support team.
Congratulations! You have successfully installed the previous version of GPU drivers on your system. Now you can experience the performance, stability, and compatibility that the older version offers.
In the next section, we will learn how to verify and ensure the successful installation of the previous GPU drivers.
Verifying the Successful Installation of Previous GPU Drivers
Once you have installed the previous version of GPU drivers on your system, it is crucial to verify that the installation was successful. This step ensures that your system is using the desired driver version and that the installation process was completed without any issues. Follow these steps to verify the successful installation of the previous GPU drivers:
- Press the Windows key + X on your keyboard and select Device Manager from the menu.
- In the Device Manager window, expand the category for Display Adapters.
- Right-click on your GPU (e.g., NVIDIA GeForce or AMD Radeon) and select Properties from the context menu.
- In the Properties window, go to the Driver tab.
- Check the Driver Version section to see if it matches the previous version you installed. If the driver version displayed is the same as the one you intended to revert to, then the installation was successful.
If the driver version matches the previous version you installed, then congratulations! You have successfully reverted to the desired GPU driver version.
It’s also a good idea to test your system’s performance and stability after installing the previous GPU drivers. Run graphic-intensive applications, games, or perform tasks that previously had compatibility or performance issues to ensure that the reverted drivers have resolved those problems.
If you encounter any issues or problems even after reverting to the previous version of GPU drivers, it’s recommended to check for any known issues or updated drivers on the GPU manufacturer’s website and consider updating to a newer version if necessary.
Now that you have verified the successful installation of the previous GPU drivers, you can enjoy an optimized, stable, and compatible graphics experience on your system.
In the next section, we will provide a brief summary of the steps discussed and conclude with some final thoughts.
Conclusion
Reverting GPU drivers can be a necessary step when experiencing compatibility issues, performance problems, or stability concerns after updating to the latest driver version. By following the step-by-step process outlined in this guide, you can successfully revert to a previous version of GPU drivers and restore optimal functionality to your graphics card.
In this guide, we covered the key steps involved in reverting GPU drivers:
- We started by understanding the reasons why reverting GPU drivers can be beneficial, such as compatibility issues, performance problems, stability concerns, and bug fixes.
- We then learned how to check the current GPU driver version installed on the system to determine the specific driver version to revert to.
- Next, we discussed how to find and download the previous version of GPU drivers from the official website of your GPU manufacturer.
- We proceeded by uninstalling the current GPU drivers from the system to ensure a clean installation.
- Finally, we covered the steps to install the previous version of GPU drivers and verify the successful installation.
It’s important to note that reverting GPU drivers should be approached as a troubleshooting step and performed with caution. Always ensure that the issues you are experiencing are indeed related to the latest driver update before proceeding with the revert process.
Remember to keep your GPU drivers updated regularly to ensure optimal performance and compatibility with the latest software and games. However, if you encounter any issues after updating, now you know how to revert to a previous version and restore stability to your system.
We hope this guide has helped you understand the process of reverting GPU drivers and has empowered you to take control of your graphics card’s functionality. Enjoy a seamless and optimized computing experience with the right GPU drivers installed!