Introduction
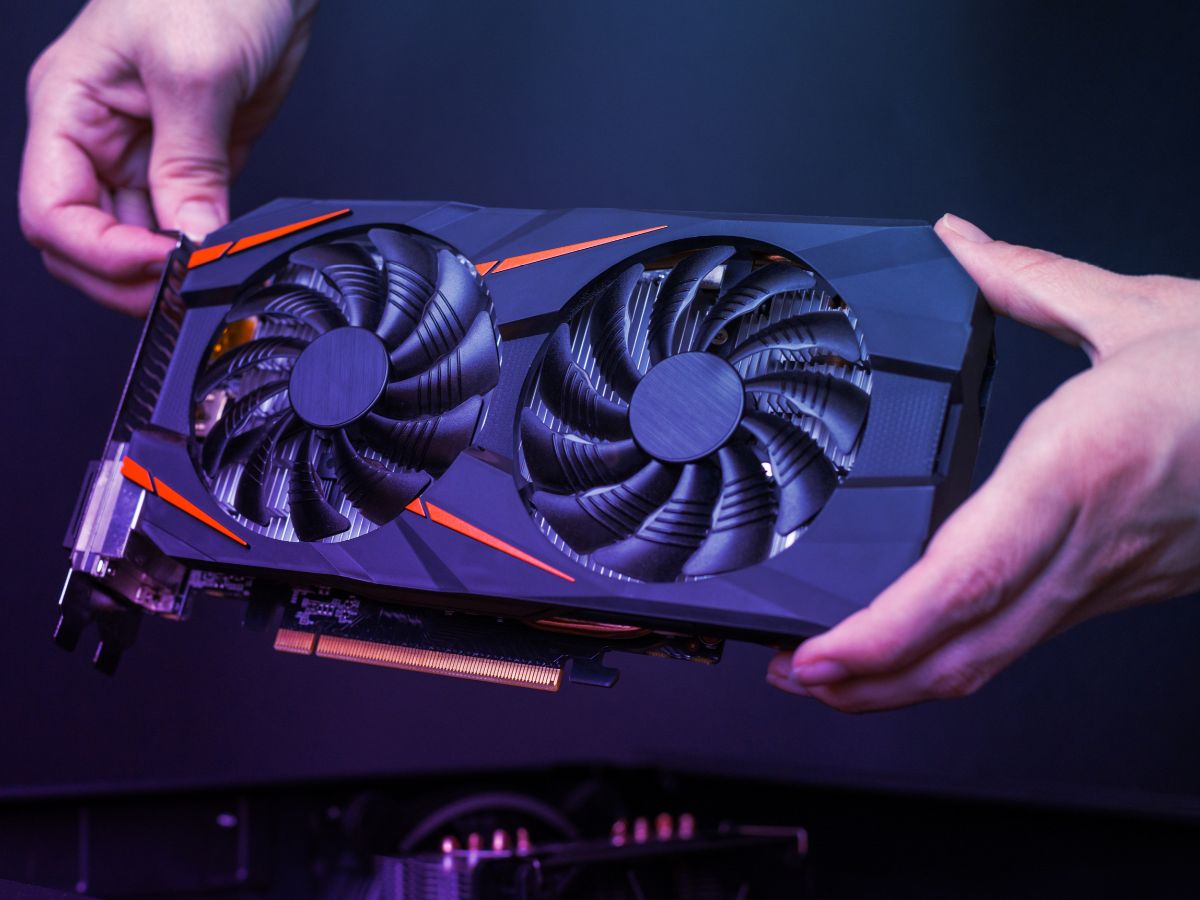
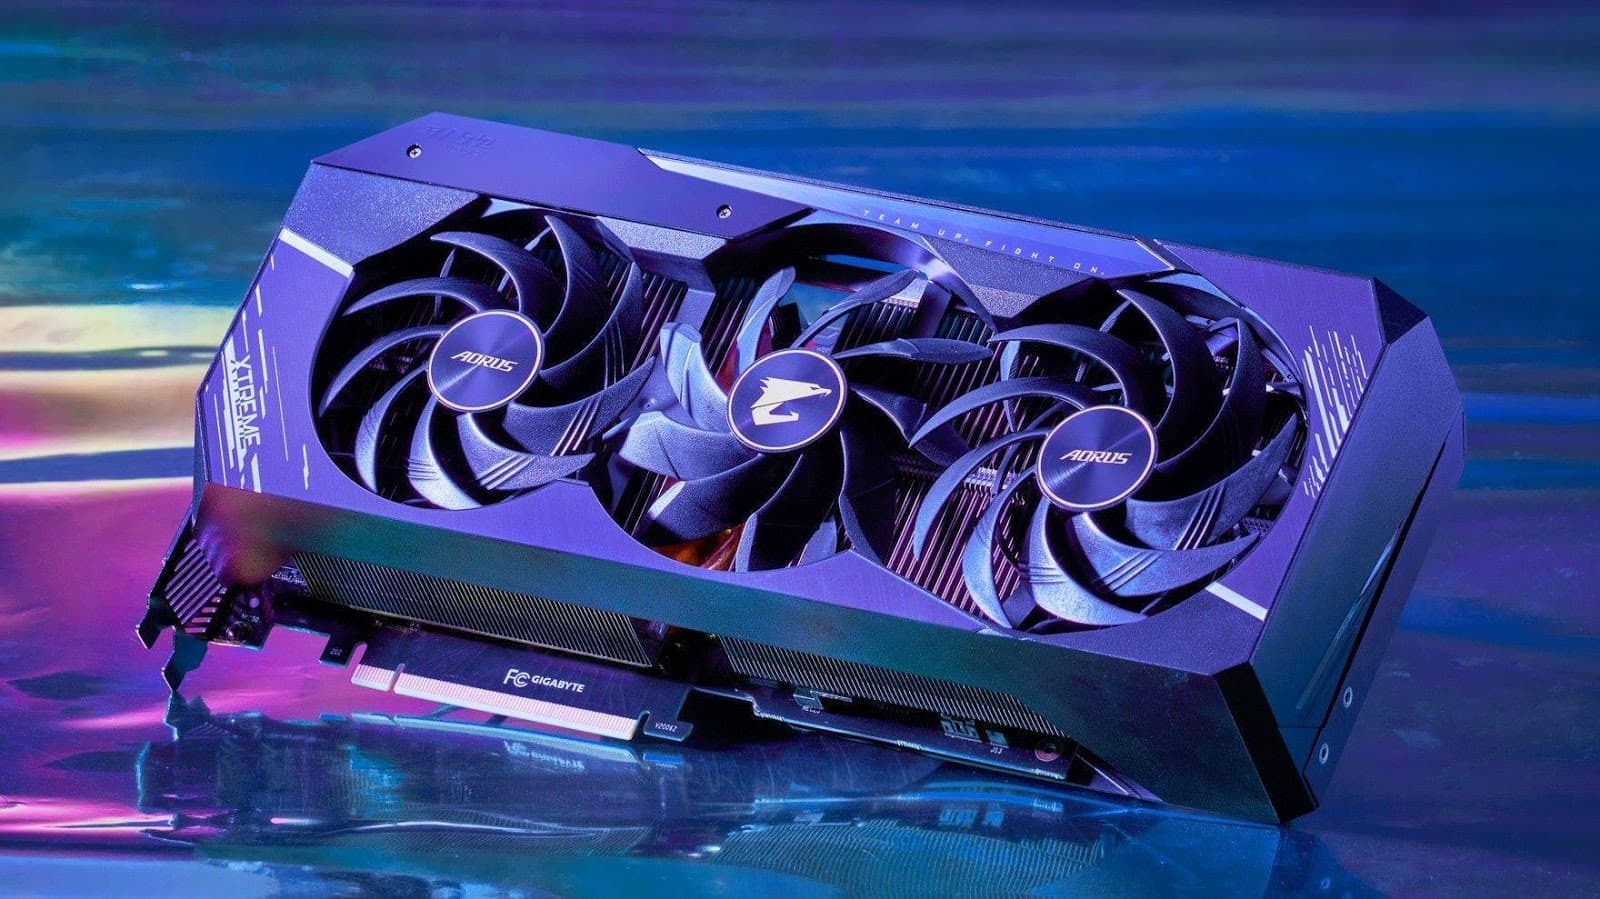
Welcome to the world of GPU overclocking! As technology advances, enthusiasts are constantly on the lookout for ways to push their hardware to its limits and achieve maximum performance. Overclocking a GPU, or Graphics Processing Unit, is a popular method for achieving higher speeds and better graphics rendering. By increasing the clock speed and voltage of the GPU, users can enjoy improved gaming experiences and more efficient video rendering.
However, there may come a time when you want or need to reset your GPU overclock to its default settings. This could be due to stability issues with your system, the need for troubleshooting, or simply because you want to start fresh and explore other overclocking options. Whatever the reason may be, resetting your GPU overclock is a relatively straightforward process that can be done on various operating systems, including Windows, Mac, and Linux.
In this article, we will guide you through the steps to reset your GPU overclock on different platforms. We will also highlight some precautions you should take before resetting and cover other considerations you should keep in mind.
So, if you’re ready to bring your GPU back to its default settings and start anew, let’s dive into the world of resetting overclocked GPUs!
What is Overclocking a GPU?
Overclocking a GPU refers to the process of increasing its operating speed beyond the manufacturer’s specified limits. GPUs are designed to run at standard clock speed and voltage settings to ensure optimal performance and stability. However, some users desire more power and higher frame rates, especially when it comes to gaming or graphics-intensive tasks.
By overclocking their GPUs, users can tap into the hidden potential of the hardware and achieve faster rendering speeds and improved graphics performance. By increasing the clock speed and voltage, the GPU can process data at a higher rate, resulting in smoother gameplay and quicker video rendering.
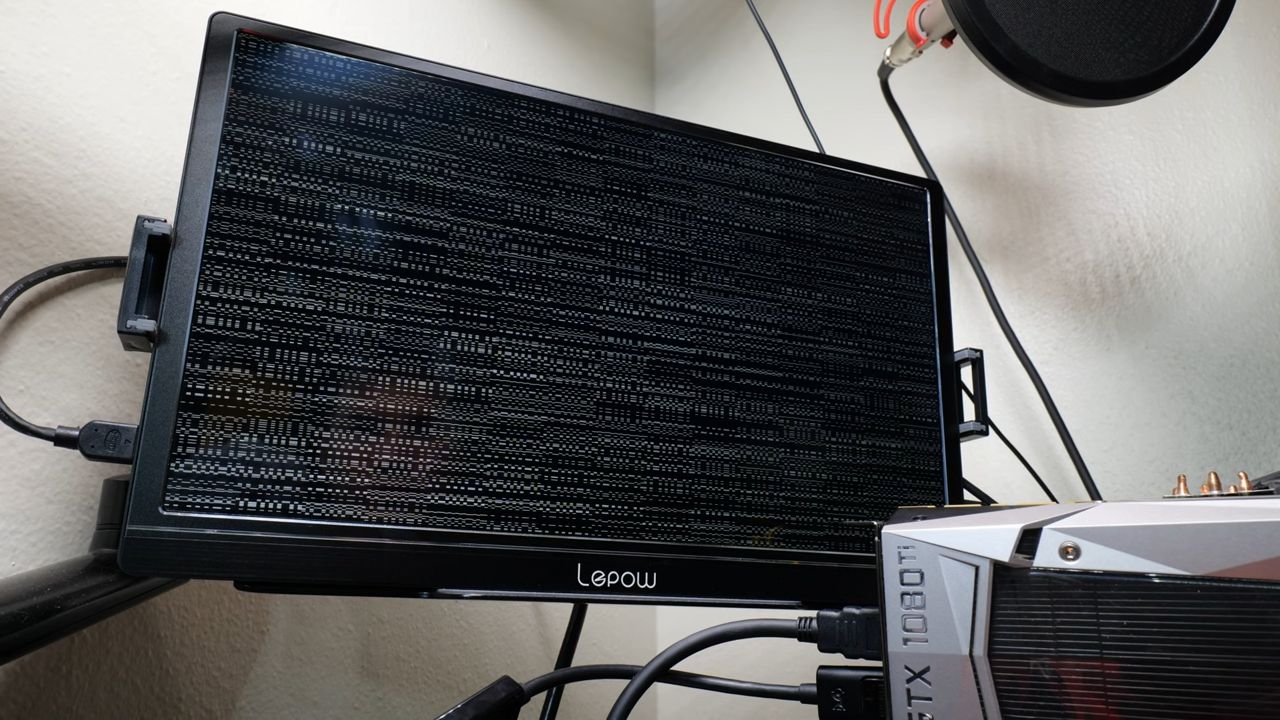
It is important to note that overclocking a GPU comes with some risks. The increased clock speed and voltage can generate more heat, potentially causing instability or even damaging the GPU. Therefore, it’s crucial to monitor temperatures and ensure proper cooling when overclocking. Additionally, overclocking may void the warranty on the GPU, so it’s essential to understand the potential consequences before proceeding.
Fortunately, most modern GPUs come equipped with features like Nvidia’s GPU Boost or AMD’s Auto Power Limit that enable automatic overclocking within predefined safe limits. This feature allows users to enjoy a boost in GPU performance without having to manually tweak settings. However, manual overclocking offers greater control and the possibility of achieving even higher speeds, albeit with more risk and effort.
Overall, overclocking a GPU can offer significant performance gains, but it should be approached with caution. It requires knowledge, patience, and careful monitoring to ensure stability and prevent damage. With that said, let’s explore why you might want to reset your GPU overclock and the precautions you should take before doing so.
Reasons to Reset Overclocking
While overclocking your GPU can provide numerous benefits, there are various reasons why you might want or need to reset your GPU overclock. Here are some common scenarios where resetting overclocking would be necessary:
- Stability Issues: One of the primary reasons to reset GPU overclocking is when you experience stability issues with your system. Overclocking pushes the GPU to operate at higher speeds and voltages, which can sometimes result in instability, crashes, or graphical glitches. Resetting the overclock can help troubleshoot and identify whether the instability is caused by the overclocked settings or other factors.
- Troubleshooting: When facing system-related problems, it’s crucial to start with a clean slate. If you suspect that the GPU overclock is causing issues, resetting it to default settings can help narrow down the problem and determine if other components or software are causing the trouble.
- Changing Overclocking Settings: Overclocking is an ongoing process and tweaking settings is a common practice. However, sometimes you may reach a point where you want to explore different overclocking options or experiment with new settings. Resetting the overclock allows you to start fresh and make adjustments from a clean slate.
- Selling or Lending the GPU: If you plan to sell your GPU or lend it to someone else, resetting the overclock is highly recommended. By doing so, you ensure that the GPU returns to its default, safe settings and prevent any potential issues or compatibility conflicts for the next user.
- System Upgrade or Reinstallation: When performing a major system upgrade or reinstalling the operating system, resetting the GPU overclock is a wise step. This ensures that the GPU operates with default settings on the new system configuration and minimizes the chances of compatibility issues or conflicts with the updated hardware or software.
These are just a few examples of why you may need to reset your GPU overclock. It is essential to understand that changing overclocking settings requires caution and careful consideration. Now that we have discussed some reasons to reset overclocking, let’s move on to the precautions you should take before resetting your GPU overclock.
Precautions before Resetting Overclock
Before resetting your GPU overclock, it’s important to take certain precautions to ensure a smooth transition and minimize any potential risks. Here are some key precautions you should consider:
- Backup Data: If you have any important documents, files, or game saves stored on your system, it’s always a good idea to back them up before making any changes to your GPU overclock. While resetting the overclock should not directly affect your data, it’s better to be safe than sorry.
- Save Your Overclocking Settings: If you have a stable overclock that you want to revert to in the future, make sure to note down or save your current overclocking settings before resetting. This way, you can easily reapply them if needed.
- Monitor GPU Temperatures: Overclocking increases the heat generated by the GPU, so it’s important to monitor temperatures during the overclocking process. Before resetting the overclock, ensure that your GPU temperatures are within safe limits. High temperatures can indicate poor cooling or other factors affecting stability.
- Check Voltage and Power Limit Settings: If you have manually adjusted voltage or power limit settings during overclocking, double-check that you have returned them to default values before resetting. Incorrect voltage or power limit settings can lead to instability or even permanent damage to your GPU.
- Update Drivers: Ensure that you have updated drivers installed for your GPU. Outdated or incompatible drivers can cause stability issues even when running at default settings. Updating to the latest drivers can help ensure optimal performance and stability.
- Read GPU Documentation: It’s always a good practice to consult the documentation provided by the GPU manufacturer. Each GPU may have specific instructions or recommendations on resetting overclocking settings. Make sure to familiarize yourself with these guidelines before proceeding.
By following these precautions, you can mitigate potential risks and have a smoother experience when resetting your GPU overclock. Now that we have covered the precautions, let’s delve into the step-by-step process of resetting overclocking for different operating systems, starting with Windows.
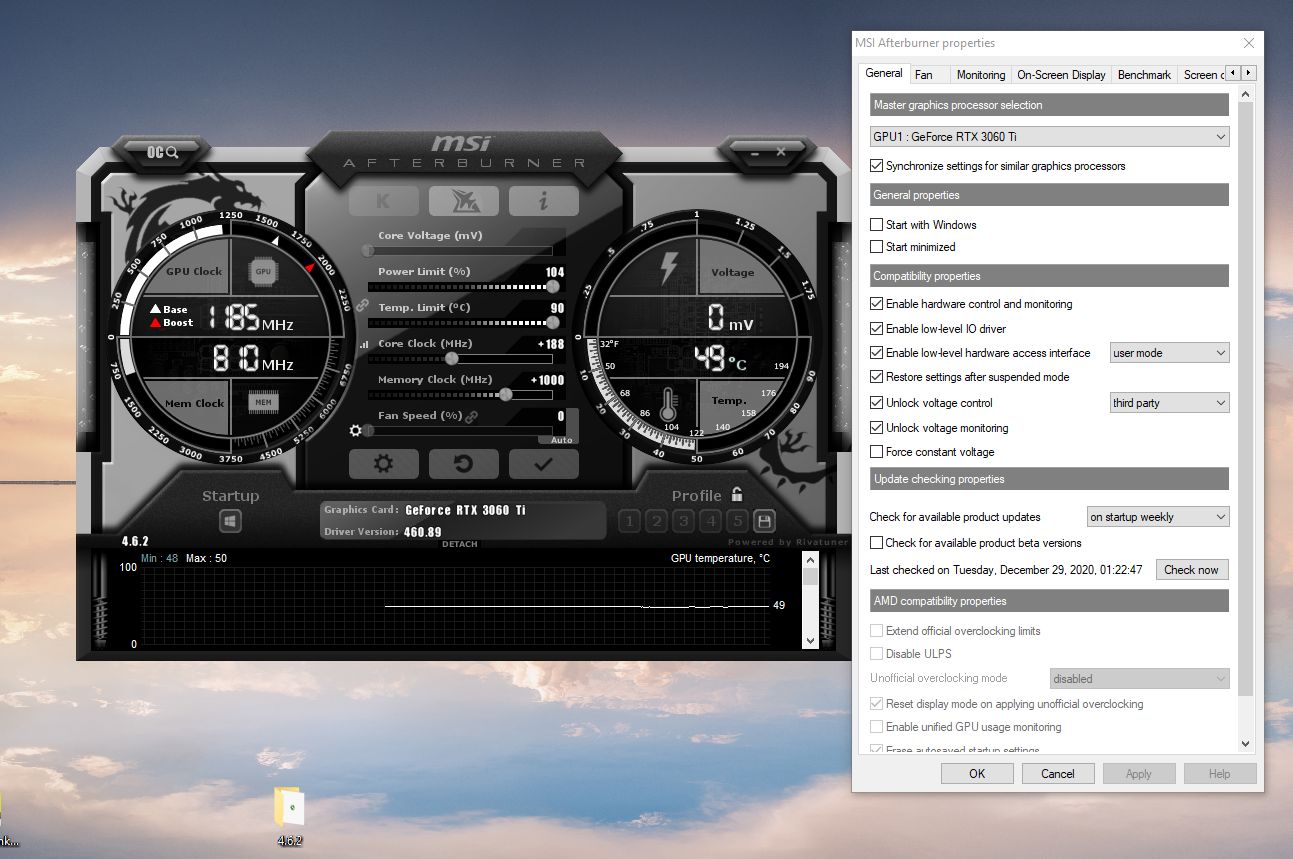
How to Reset Overclock on Windows
Resetting the GPU overclock on Windows is a fairly simple process. Follow the steps below to reset your GPU overclock to default settings:
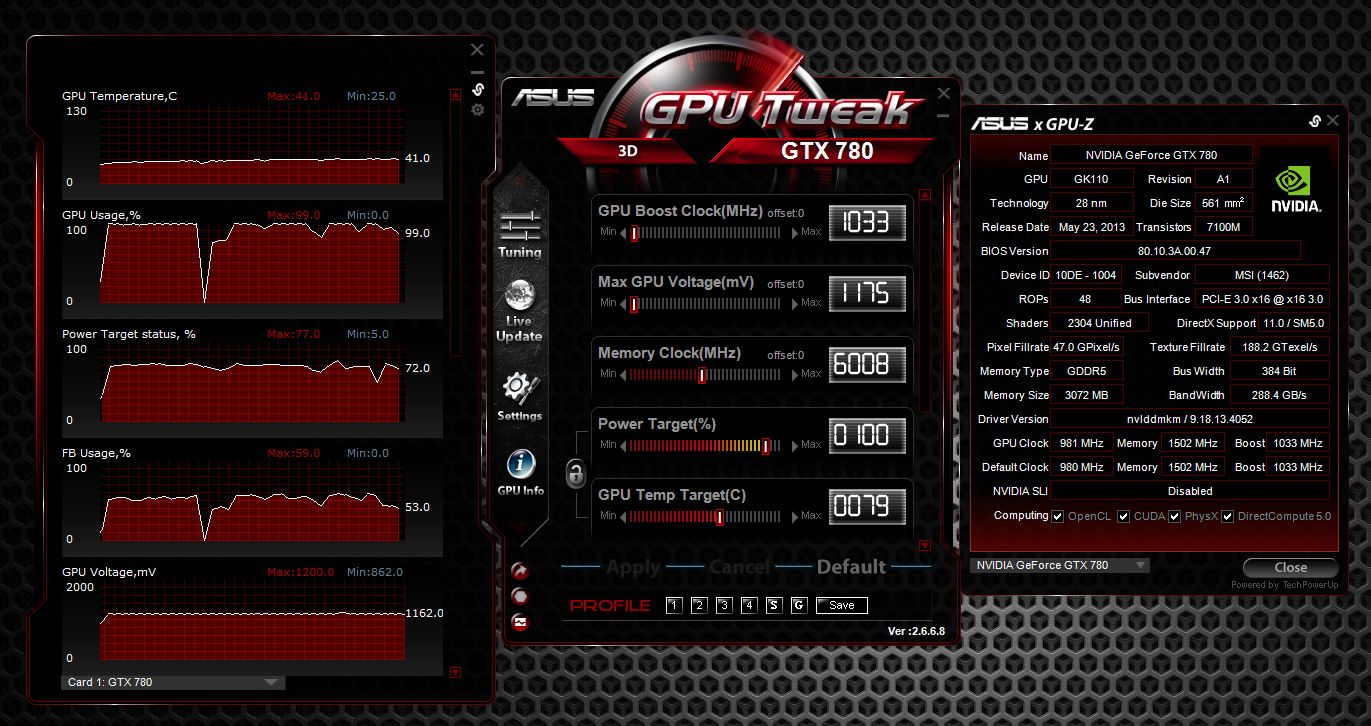
- Open the Graphics Control Panel: On your Windows desktop, right-click and select “Graphics Control Panel” or “NVIDIA Control Panel” (depending on your GPU brand).
- Navigate to the Overclocking Settings: In the control panel, locate the overclocking or performance settings. This may vary depending on your GPU brand and drivers. Look for options like “GPU Clock,” “Core Clock,” or “Overclocking.”
- Restore Default Settings: Within the overclocking settings, you should find an option to restore or reset to default settings. Click on this option to revert your GPU overclock to its factory defaults. Confirm any prompts or warnings that appear.
- Apply Changes and Restart: After resetting the overclock, apply the changes and restart your system. This ensures that the GPU operates with default settings upon reboot.
Once you have completed these steps, your GPU overclock settings should be reset to their default values on Windows. Remember to monitor the system for stability and ensure that temperatures are within acceptable limits.
Now that you know how to reset overclocking on Windows, let’s move on to the process of resetting GPU overclock on Mac.
How to Reset Overclock on Mac
If you’re using a Mac and want to reset the GPU overclock, follow the steps outlined below:
- Open System Preferences: Click on the Apple menu in the top-left corner of your screen and select “System Preferences” from the drop-down menu.
- Select Energy Saver: In the System Preferences window, locate and click on the “Energy Saver” icon.
- Click on the “Show” button: In the Energy Saver window, there is a button labeled “Show” next to the “Graphics” section. Click on this button to reveal additional options.
- Reset Graphics Options: You will see options related to Graphics options and Power. Look for a button or checkbox that allows you to reset the graphics settings or switch to default values. Click on this option to reset the GPU overclock to its default settings.
- Restart Your System: After resetting the GPU overclock, restart your Mac to apply the changes and ensure that the GPU is running at default settings upon reboot.
After following these steps, your GPU overclock settings should be reset to default on your Mac. Remember to keep an eye on temperatures and the system’s stability to ensure everything is functioning as intended.
Now that you know how to reset the GPU overclock on Mac, let’s move on to the process for Linux users.
How to Reset Overclock on Linux
Resetting the GPU overclock on Linux involves a different approach, depending on the tools and drivers you are using. Here is a general guide to help you reset the GPU overclock on Linux:
- Open your Terminal: Launch the Terminal application on your Linux distribution. You can usually find it in the “Utilities” or “Accessories” section of the application menu.
- Run ‘nvidia-settings’ Command: Type ‘nvidia-settings’ in the Terminal and press Enter to open the NVIDIA X Server Settings or AMD Catalyst Control Center, depending on your GPU brand.
- Navigate to Overclocking Settings: In the settings window, look for “PowerMizer” or “Performance” options. These will vary depending on your GPU brand and drivers. Open the overclocking or performance settings.
- Reset to Default: Within the overclocking settings, locate the option to reset or restore default settings. Click on this option to revert your GPU overclock to its factory defaults. Confirm any prompts or warnings that appear.
- Apply Changes and Restart: After resetting the overclock, apply the changes and restart your system. This ensures that the GPU runs at default settings upon reboot.
It’s important to note that the steps may differ depending on the graphics drivers and tools you are using on your Linux distribution. Consult the documentation or support resources specific to your GPU brand and Linux distribution for more detailed instructions, if needed.
Upon completion of these steps, your GPU overclock settings should be reset to their default values on Linux. Remember to monitor the system for stability and ensure that temperatures are within acceptable limits.
With that, we’ve covered the steps to reset GPU overclocking on different operating systems. Now, let’s discuss some other considerations you should keep in mind.
Other Considerations
When it comes to resetting GPU overclock, there are a few additional considerations that you should keep in mind:
- Experiment and Fine-tune: After resetting your GPU overclock, you might want to experiment with different settings to find the ideal balance between performance and stability. Take the time to fine-tune your overclocking settings and monitor the impact on temperatures, system stability, and overall performance.
- Use Reliable Software: When overclocking or resetting the overclock, make sure to use reputable and reliable software. This reduces the risk of errors, system instability, or damage to your GPU. Stick to official and well-known software provided by the GPU manufacturer or trusted third-party tools.
- Monitor GPU Temperatures: Overclocking can increase the heat generated by the GPU, so it’s crucial to monitor temperatures before and after resetting the overclock. High temperatures can affect system stability and the lifespan of your GPU. Consider using monitoring software to keep an eye on temperatures and make adjustments accordingly.
- Keep an Eye on Performance and Stability: After resetting the GPU overclock, pay attention to the performance and stability of your system. Benchmarking tools and stress tests can help you assess if your GPU is operating optimally and remaining stable under different scenarios.
- Learn from Your Experience: Over time, as you experiment with overclocking and resetting, you will gain valuable insights and knowledge about your specific GPU and its capabilities. Use this experience to optimize your settings and maximize performance while maintaining stability.
These considerations will help you make informed decisions when it comes to resetting GPU overclocking and getting the most out of your hardware. Remember, overclocking should always be done cautiously and with proper monitoring to ensure the longevity of your GPU.
Now that we have covered the important considerations, let’s wrap up this guide.
Conclusion
Resetting the overclock on your GPU can be necessary for various reasons, such as stability issues, troubleshooting, or exploring different overclocking options. Whether you’re using Windows, Mac, or Linux, the process of resetting the GPU overclock is relatively straightforward.
We discussed how overclocking a GPU can provide performance gains but also carries risks, such as increased heat and the potential voiding of warranties. It’s important to follow precautions before resetting the overclock, such as backing up data, saving overclocking settings, monitoring temperatures, and ensuring proper driver updates.
We provided step-by-step instructions for resetting overclocking on Windows, Mac, and Linux. The specific steps may vary depending on your operating system and GPU brand, so it’s always a good idea to consult the documentation or support resources specific to your setup.
Additionally, we highlighted other considerations, such as experimenting and fine-tuning overclocking settings, using reliable software, monitoring GPU temperatures, and keeping an eye on performance and stability.
By resetting your GPU overclock when necessary and approaching overclocking with caution, you can optimize the performance of your GPU while minimizing the risk of damage or stability issues.
Now armed with this knowledge, you can confidently reset your GPU overclock and explore the possibilities of achieving maximum performance from your graphics card. Remember to always prioritize stability, monitor temperatures, and enjoy the enhanced gaming and rendering experiences that overclocking can bring!