Introduction
Welcome to the world of GPU overclocking! If you’re looking to squeeze out some extra performance from your graphics card, you’ve come to the right place. In this article, we’ll guide you through the process of overclocking your GPU, helping you unlock its full potential and boost your gaming or rendering experience.
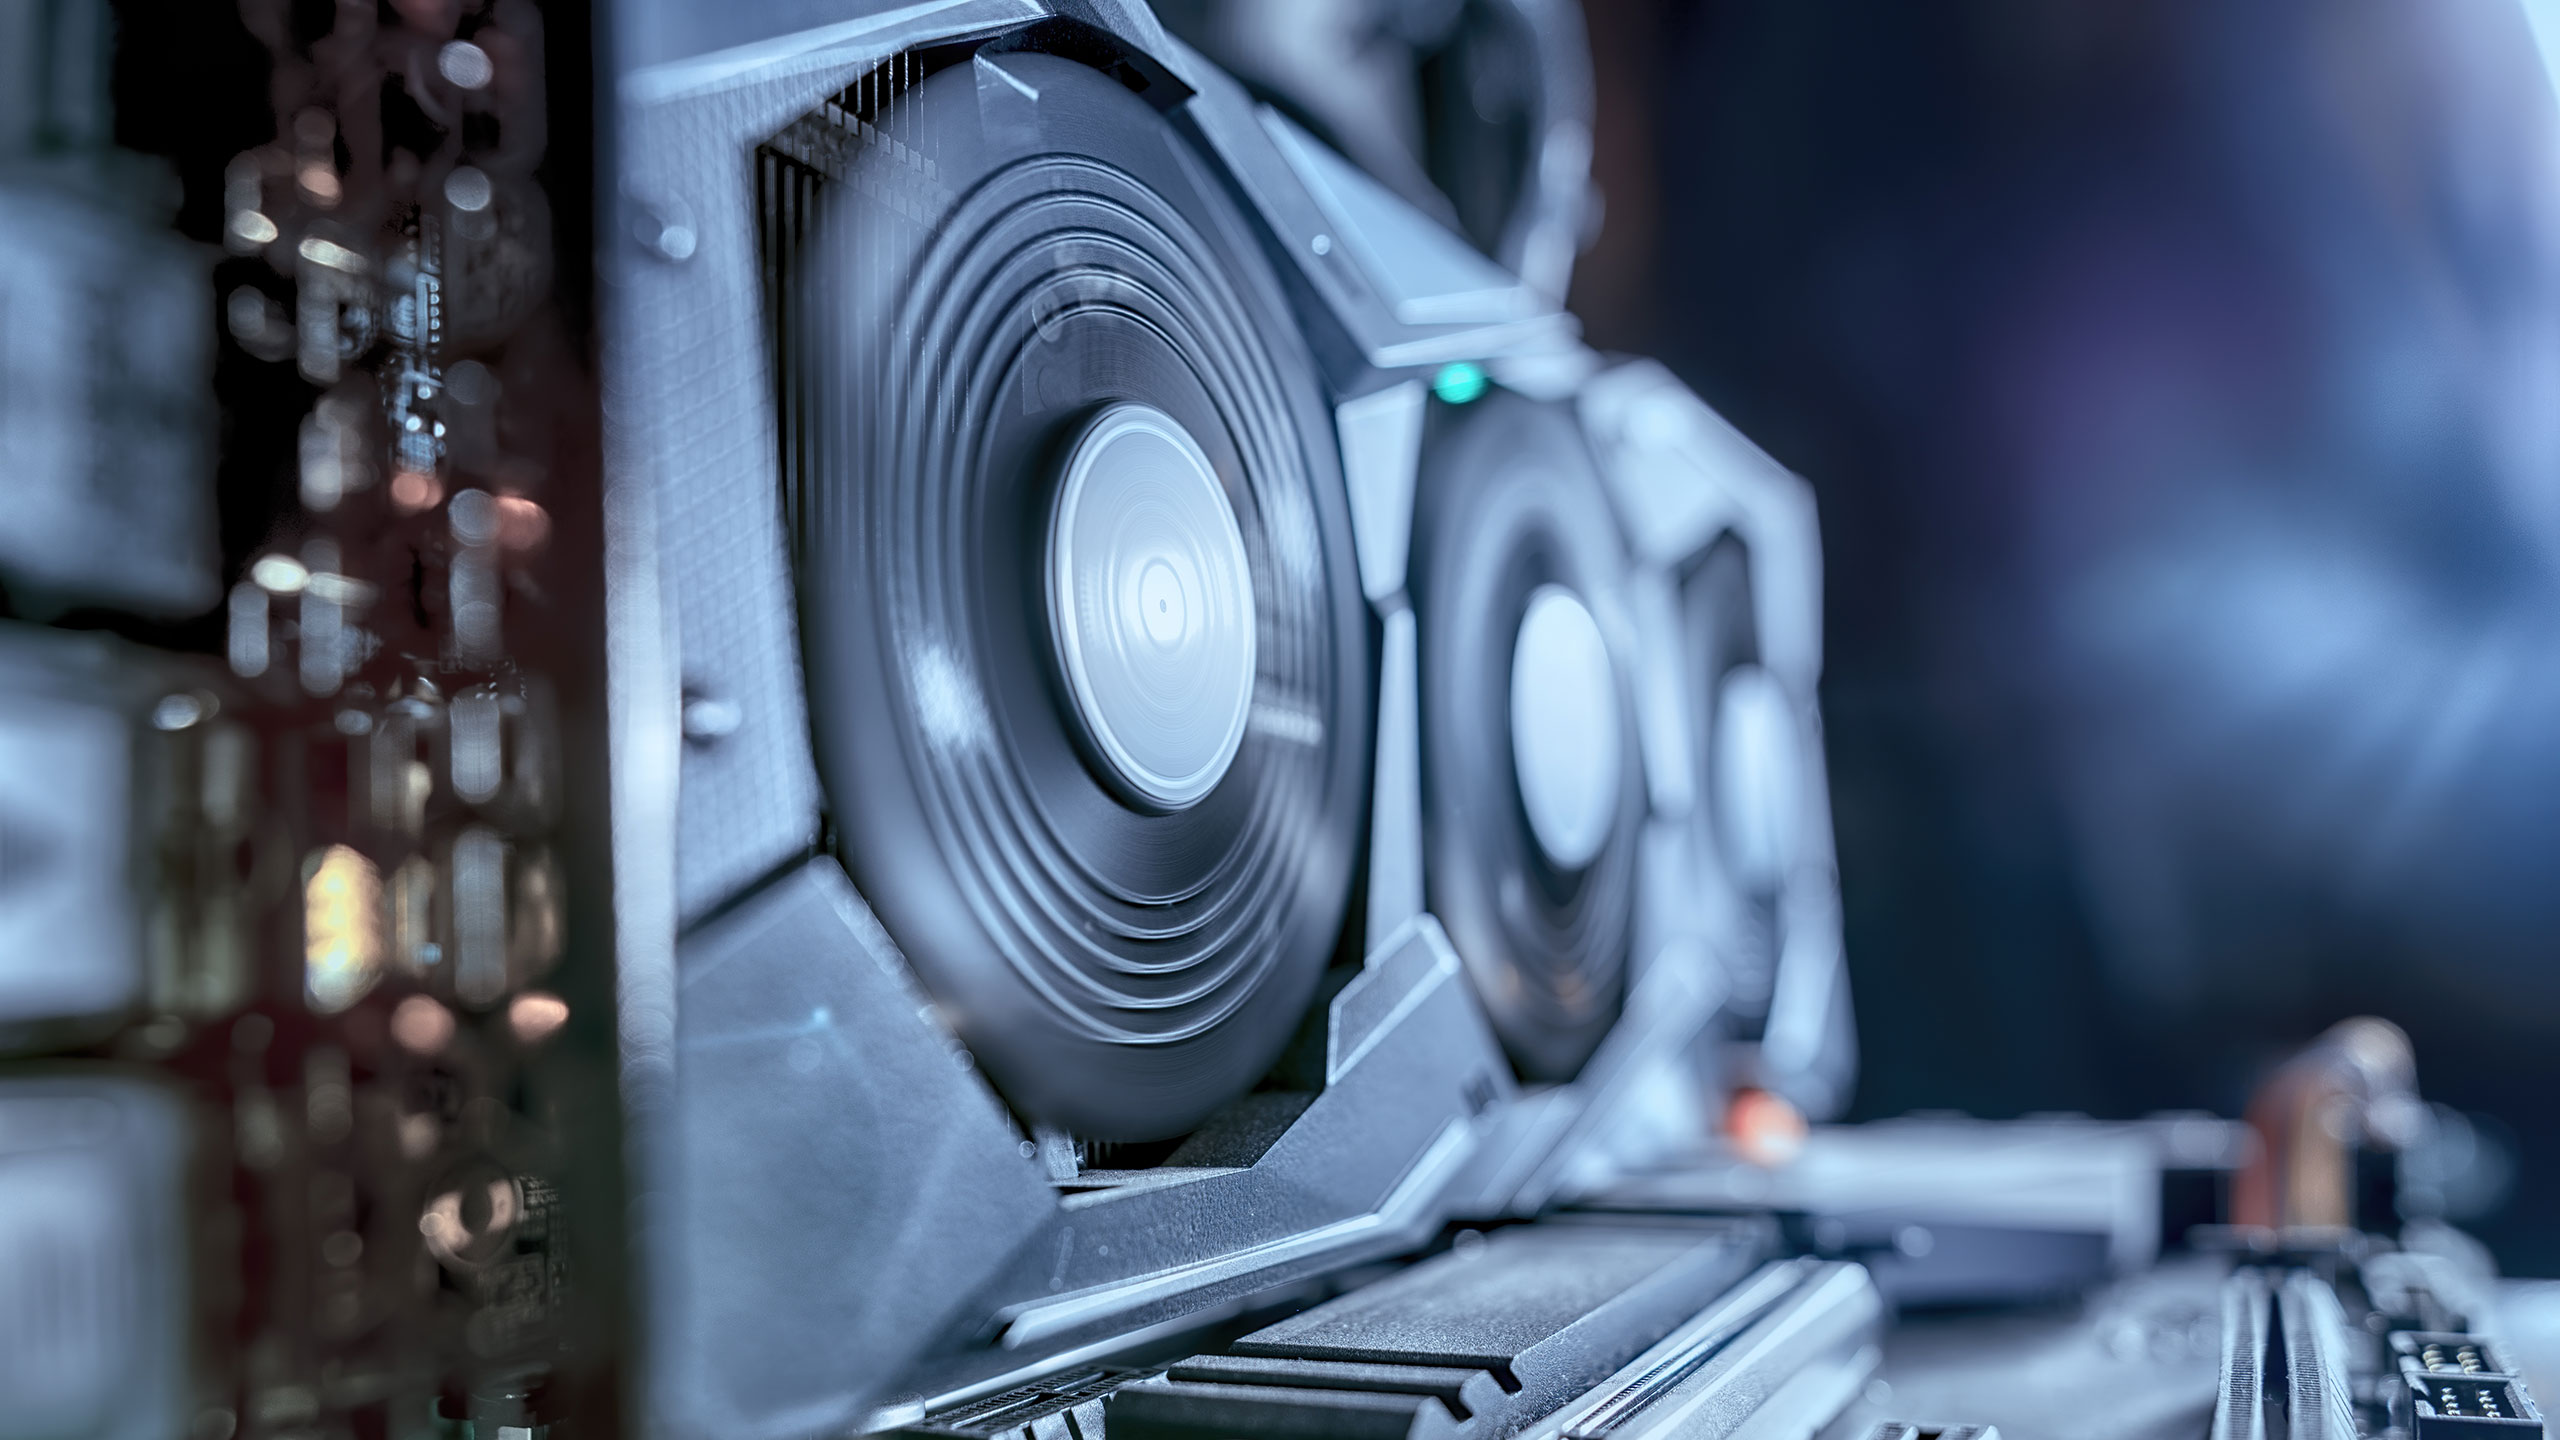
Overclocking is the act of pushing your GPU beyond its factory-set specifications to achieve higher clock speeds and, consequently, better performance. It allows you to maximize the capabilities of your graphics card, giving you smoother gameplay, faster rendering times, and increased frame rates.
Before diving into the details, it’s important to note that overclocking can be a double-edged sword. The benefits of overclocking are undeniable, but it also comes with potential risks. Pushing your GPU too far or not following the proper procedures can lead to instability, overheating, and even permanent damage. That’s why it’s crucial to approach overclocking with caution and always take the necessary precautions.
In this article, we’ll provide a step-by-step guide to overclocking a GPU, highlight important precautions, and discuss how to test and monitor your overclock. We’ll also address potential issues that may arise during the overclocking process and offer some final thoughts and tips to help you get the most out of your GPU.
Whether you’re a seasoned overclocker or a beginner looking to dip your toes into the world of GPU tweaking, this article will equip you with the knowledge and techniques needed to safely and effectively boost your GPU’s performance. Without further ado, let’s dive in and unleash the full power of your graphics card!
Understanding Overclocking
Before we delve into the practical aspects of overclocking, it’s essential to have a solid grasp of what overclocking really means and how it works. In simple terms, overclocking involves increasing the clock speed of your GPU, which controls how fast the graphics processor can perform calculations. By increasing this speed, you can boost the overall performance of your GPU.
It’s important to note that not all GPUs are created equal, and each has its own specific limitations. While some graphics cards may have more room for overclocking, others might have more restrictive headroom. The key is finding the right balance between performance gains and stability.
Every GPU comes with a base clock speed, which is the default speed set by the manufacturer. This speed is determined to ensure optimal performance and longevity of the graphics card. However, with adequate cooling and careful tweaking, you can often surpass these default settings and achieve higher clock speeds.
Overclocking your GPU can result in several benefits. Firstly, it can lead to improved gaming performance, allowing you to enjoy smoother gameplay, higher frame rates, and reduced input lag. Additionally, it can greatly benefit tasks that heavily rely on GPU performance, such as video editing, rendering, and 3D modeling. Overclocking can significantly decrease the time it takes to complete computationally intensive tasks, improving your overall productivity.
However, it’s important to keep in mind that overclocking is not without its risks. The most common concern when overclocking is the increased heat generated by the GPU. Higher clock speeds increase power consumption and heat output, so proper cooling is vital to maintain stability and prevent damage. Additionally, pushing your GPU beyond its capabilities can result in instability and crashes, potentially leading to data loss or hardware failure.
To mitigate these risks, it’s crucial to follow best practices and take necessary precautions when overclocking your GPU. In the next section, we’ll discuss these precautions in detail, ensuring that you approach overclocking in a safe and controlled manner.
Precautions Before Overclocking
Before you embark on the journey of overclocking your GPU, it’s essential to take certain precautions to ensure a safe and successful overclocking experience. By following these steps, you can minimize the risks associated with overclocking and maximize your chances of achieving a stable and effective overclock.
1. Research and Understand Your GPU: Before you start overclocking, take the time to research and understand the capabilities and limitations of your specific graphics card model. This information can often be found on the manufacturer’s website or in online forums and communities dedicated to overclocking. Knowing the recommended maximum voltage, suitable temperature ranges, and typical overclocking results for your GPU will help you set realistic expectations.
2. Invest in Proper Cooling: Overclocking generates additional heat, so ensuring adequate cooling is crucial. Consider investing in high-quality cooling solutions such as aftermarket GPU coolers, additional case fans, or liquid cooling systems. Maintaining optimal temperatures will not only improve stability but also prolong the lifespan of your GPU.
3. Update GPU Drivers: Keeping your GPU drivers up to date is essential for optimal performance and stability during overclocking. Visit the manufacturer’s website or use dedicated software to download and install the latest drivers for your graphics card.
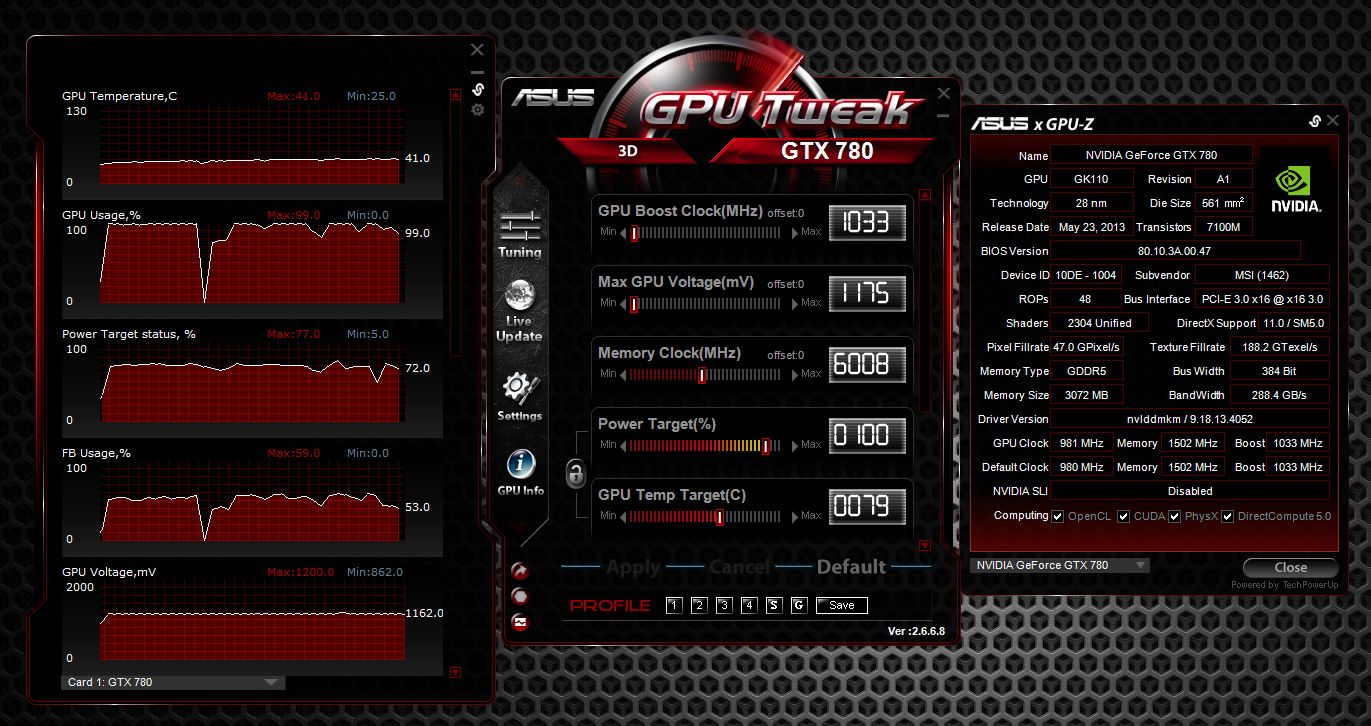
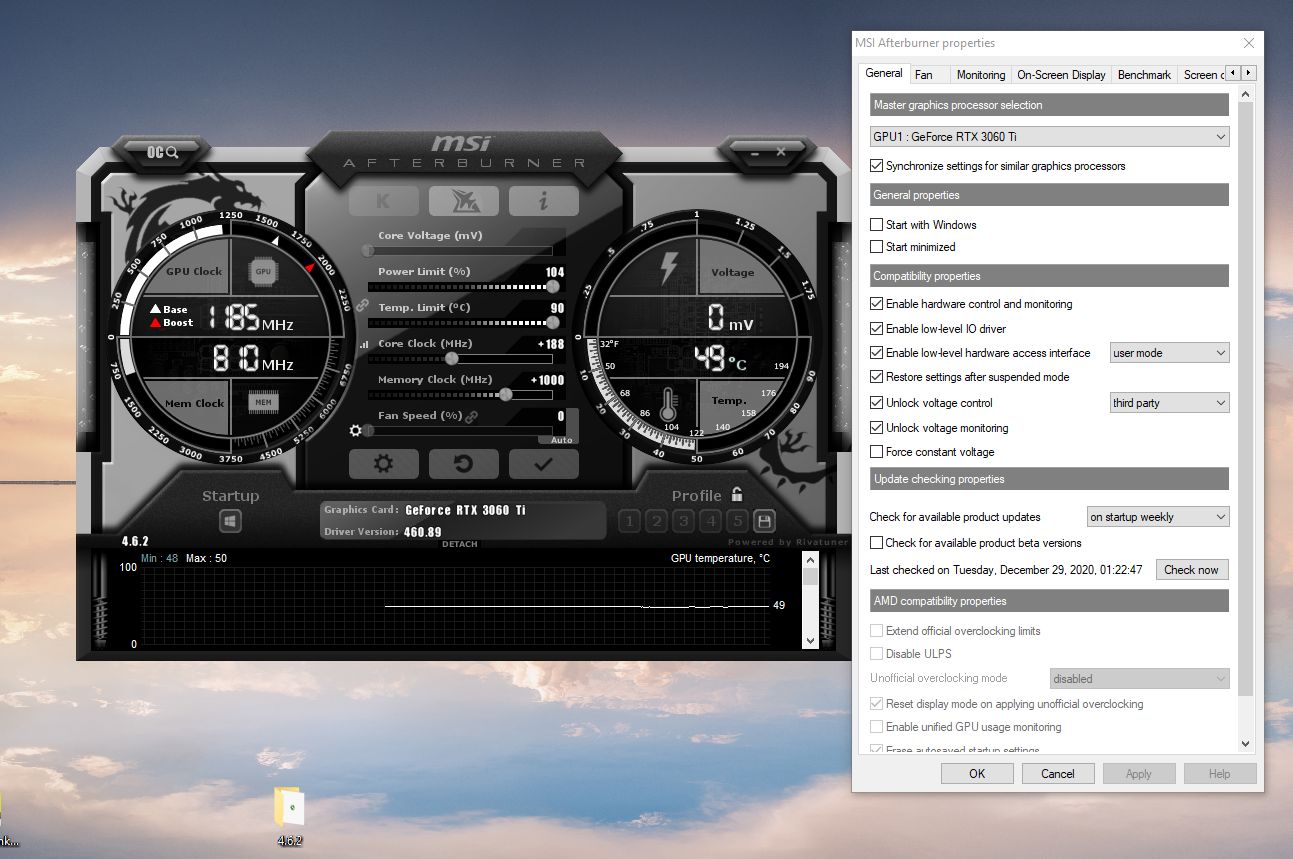
4. Use Monitoring Software: To keep an eye on the temperatures, voltages, and clock speeds of your GPU, use reputable monitoring software. Programs like MSI Afterburner or GPU-Z provide real-time data that will help you monitor the effects of your overclocking settings and detect any potential issues before they escalate.
5. Start with Conservative Overclocks: It’s always recommended to start with conservative overclocks rather than jumping straight to extreme settings. Incrementally increase the clock speeds and voltages, testing for stability and temperature thresholds along the way. Gradual overclocking will help you find the optimal settings for your GPU without pushing it too far and risking instability.
6. Stress Test and Benchmark: After each incremental overclock, perform stress tests and benchmarks to ensure stability and gauge performance improvements. Tools like FurMark or Heaven Benchmark can be used to stress test your GPU and identify any potential issues that may arise during heavy usage. This step ensures that your overclock remains stable and reliable.
7. Keep an Eye on Temperatures: Monitoring the temperature of your GPU is vital during overclocking. Use monitoring software to keep track of temperatures and make sure they stay within safe ranges. If temperatures rise too high, consider adjusting fan speeds, improving airflow, or backing off your overclock settings slightly.
By following these precautions, you’ll be well prepared to embark on your overclocking journey. Remember, taking the time to understand your GPU, investing in proper cooling, and proceeding with caution will help you achieve the best possible results while reducing the risk of damage to your graphics card.
Step-by-Step Guide to Overclocking a GPU
Ready to start overclocking your GPU? Follow this step-by-step guide to ensure a smooth and successful overclocking process:
1. Install Overclocking Software: Begin by downloading and installing a reliable overclocking utility such as MSI Afterburner, EVGA Precision X1, or ASUS GPU Tweak. These programs allow you to adjust various GPU settings, including clock speeds, voltages, and fan speeds.
2. Reset to Default Settings: Before making any changes, ensure that your GPU is running at its default settings. This is important to establish a stable baseline before proceeding with overclocking.
3. Increase Core Clock Speed: Start by increasing the core clock speed of your GPU in small increments, such as 10-20 MHz. Apply the changes and test for stability using benchmarking software or by running graphically demanding games or applications. If the system remains stable, continue increasing the core clock speed gradually.
4. Adjust Memory Clock Speed: After finding a stable core clock speed, move on to adjusting the memory clock speed. Increase it in small increments, similar to the core clock speed, and test for stability. Be cautious, as pushing the memory clock speed too high may cause artifacts or crashes.
5. Monitor Temperatures: Throughout the overclocking process, keep a close eye on the temperatures of your GPU. If temperatures rise to unsafe levels, consider adjusting your fan curves, improving airflow in your case, or lowering your overclock settings slightly.
6. Fine-tune Voltages (Optional): If you have experience and confidence in adjusting voltages, you can experiment with increasing the GPU voltage to achieve higher clock speeds. However, be aware that this process can significantly increase heat output, so proper cooling is crucial.
7. Test Stability: After each adjustment, thoroughly test the stability of your overclock using benchmarking software or by running graphically demanding applications for an extended period. If you encounter crashes, artifacts, or other stability issues, dial back the overclock settings until the system becomes stable again.
8. Document Your Settings: Once you reach a stable and satisfactory overclock, make sure to document your settings. This will make it easier to revert to stable settings if needed and provide a reference point for future overclocking sessions.
Remember, overclocking is an iterative process that requires patience and cautious adjustments. Take your time, test for stability at each step, and monitor temperatures closely to avoid any potential issues. With proper care and attention, you’ll be able to find the optimal overclock settings for your GPU and enjoy improved performance in your games and applications.
Testing and Monitoring Your Overclock
Once you have applied your overclock settings, it’s crucial to test and monitor the performance and stability of your GPU. This section will guide you on how to effectively test and monitor your overclock to ensure optimal performance and prevent any potential issues.
Stress Testing: Stress testing is an essential step in overclocking as it helps identify any stability issues. There are various stress testing tools available such as FurMark, MSI Kombustor, and 3DMark. These programs push your GPU to its limits, simulating heavy usage scenarios to check for stability, artifacts, or crashes. Run stress tests for extended periods to ensure your overclock is stable under prolonged load. If you encounter issues during stress tests, consider scaling back your overclock settings.
Benchmarking: Benchmarking software like Heaven Benchmark, Superposition, or 3DMark allows you to compare the performance of your GPU with others and monitor frame rates, temperatures, and overall system stability. Run benchmark tests before and after applying your overclock to measure the performance gains. This will help you determine the effectiveness of your overclock and make adjustments if needed.
Temperature Monitoring: Keeping an eye on your GPU temperatures is crucial during overclocking. Use monitoring tools like MSI Afterburner, GPU-Z, or HWMonitor to monitor temperature readings in real-time. Ensure that temperatures do not exceed the recommended limits specified by the GPU manufacturer. If temperatures are too high, consider adjusting fan speeds, improving airflow in your case, or dialing back your overclock settings slightly to maintain stability.
Frequency and Voltage Monitoring: Monitoring the clock speeds and voltages of your GPU is important to ensure stability and prevent overloading the graphics card. Use software like GPU-Z or MSI Afterburner to keep track of the core clock speed, memory clock speed, and voltage readings. Verify that your GPU is running at the desired frequencies and that voltages are within safe limits for your particular model.
Game and Application Testing: To further test the stability of your overclock, play graphically demanding games or run applications that put a heavy load on your GPU. Monitor for any crashes, artifacts, or unusual behavior during extended gaming sessions or rendering tasks. If you experience instability, consider scaling back your overclock settings until the system becomes stable.
Continued Monitoring: Even after successfully overclocking your GPU, it’s important to continue monitoring the temperatures, clock speeds, and voltages regularly. Monitoring software should be running in the background to ensure that your overclock remains stable and that temperatures stay within safe limits. This continued monitoring will help you detect any performance or stability issues that may arise over time.
By regularly testing and monitoring your overclock, you can maintain stable performance, prevent overheating, and quickly identify any potential issues. Remember to keep an eye on temperatures, utilize stress tests and benchmarking software, and monitor clock speeds and voltages to ensure your GPU’s longevity and maximum performance.
Dealing with Potential Issues
While overclocking your GPU can bring about numerous benefits, it is important to be prepared for potential issues that may arise. This section will address common problems that you may encounter during the overclocking process and provide strategies for resolving them.
Stability Issues: One of the most common issues when overclocking a GPU is instability. If you experience crashes, blue screens, or other system errors, it is likely due to an unstable overclock. To resolve this, reduce the clock speeds of your GPU incrementally until stability is regained. It may take a few iterations of testing and adjusting to find the optimal settings for your specific GPU.
Artifacts: Artifacts are graphical anomalies that appear during gaming or other GPU-intensive tasks when the overclock is pushing the GPU beyond its capabilities. These anomalies manifest as flickering textures, visible lines, or distorted images. To address this issue, either reduce the overclock settings or increase the voltage slightly to stabilize the GPU. It is important to strike a delicate balance to avoid overheating or damaging the graphics card.
Temperature Concerns: Overclocking increases the heat output of your GPU, which can lead to elevated temperatures. If you notice that your GPU temperatures are consistently reaching unsafe levels, there are several steps you can take to mitigate this issue. Improve airflow in your case by adding additional fans, clean out any dust buildup in the heatsinks or fans, reapply thermal paste, or consider upgrading to a more efficient cooling solution like an aftermarket GPU cooler or liquid cooling.
Power Limitations: Some GPUs have power limit restrictions that prevent them from reaching their full overclocking potential. If you find that you are hitting power limits and cannot achieve the desired overclock, you can increase the power limit in the overclocking software if the option is available. However, keep in mind that higher power limits will also increase power consumption and heat output, so monitor temperatures closely.
System Instability: Occasionally, an overclock can cause system-wide instability rather than just affecting the GPU. If you encounter freezing, crashing, or other issues beyond the GPU, it may be necessary to dial back your overclock or reset to default settings. You can also try adjusting other system settings, such as RAM timings or CPU frequencies, to achieve stability in conjunction with your GPU overclock.
Driver Incompatibility: In some cases, certain GPU overclock settings may not be fully compatible with specific driver versions. If you experience driver-related issues or crashes after overclocking, consider updating or rolling back your GPU drivers to ensure compatibility. It’s also beneficial to stay updated with the latest driver releases from the manufacturer to access bug fixes and optimizations.
Remember, overclocking is a process of trial and error. It is important to be patient, test your settings thoroughly, and monitor for any issues that may arise. By being vigilant and responsive to potential problems, you can achieve a stable and successful GPU overclock.
Final Thoughts and Tips
Congratulations! You’ve made it through the process of overclocking your GPU. Before we conclude, here are some final thoughts and tips to keep in mind:
Experiment and Find the Sweet Spot: Overclocking is not a one-size-fits-all process. Every GPU model is different, so experiment with various overclock settings to find the sweet spot that offers the best balance between performance and stability for your specific card.
Monitor Temperatures Regularly: Keep a close eye on your GPU temperatures, especially during intense gaming or rendering sessions. Excessive heat can cause instability and lead to premature hardware failure. Regularly monitor temperatures and make adjustments to your cooling solution if necessary.
Backup Your Stable Settings: Once you find stable overclock settings, be sure to back them up. Save your stable overclock profile within the overclocking software or write down the settings for future reference. This way, you can easily revert to a known stable configuration if needed.
Stay Updated: Keep up with updates and news from your GPU manufacturer. This includes driver updates, firmware updates, and any overclocking software updates. Staying current ensures that you have access to the latest optimizations and bug fixes.
Avoid Extreme Overclocking: While it may be tempting to push your GPU to its absolute limits for benchmarking purposes, extreme overclocking carries higher risks. It can lead to excessive heat and voltage, increasing the chances of damage to your graphics card. Stick to safe and stable overclocks for long-term usage.
Be Mindful of Warranty: Overclocking your GPU may void the warranty provided by the manufacturer. Before starting the overclocking process, familiarize yourself with the warranty terms and conditions. If you are unsure or concerned about potential warranty issues, it is best to consult with the manufacturer.
Enjoy the Performance Boost: Once you’ve successfully overclocked your GPU, sit back and enjoy the improved performance in your games and applications. Your hard work and dedication to fine-tuning your GPU will pay off with smoother gameplay, faster rendering times, and an overall enhanced computing experience.
Remember, overclocking is a journey that requires patience, experimentation, and vigilance. By following the steps and tips outlined in this guide, you can unlock the full potential of your GPU and elevate your computing experience to the next level. Happy overclocking!