Introduction
Welcome to the world of overclocking! If you are a gamer or a graphics enthusiast looking to squeeze out every last drop of performance from your Intel HD graphics card, you’ve come to the right place. Overclocking is the art of pushing your graphics card beyond its factory-set limits to achieve higher frame rates and better overall gaming performance.
In this guide, we will take you through the steps of overclocking your Intel HD graphics card, a process that can yield impressive results without the need for expensive hardware upgrades. By increasing the GPU clock speed and voltage, you can potentially unlock additional performance and enjoy a smoother gaming experience.
Before we dive into the nitty-gritty details, it’s essential to understand that overclocking comes with some risks. Pushing your graphics card too far can lead to instability, increased power consumption, and even damage in extreme cases. Therefore, it’s crucial to follow the instructions carefully and monitor your system closely during the process.
While overclocking has become more accessible in recent years, it’s worth noting that Intel HD graphics cards are not traditionally designed for heavy gaming or graphics-intensive tasks. However, with the right approach and proper monitoring, you can still get a substantial performance boost.
In the following sections, we will guide you through the steps of overclocking your Intel HD graphics card safely and effectively. We’ll touch on topics such as checking system requirements, updating drivers, monitoring GPU temperatures, adjusting clock speeds and voltages, testing for stability, and troubleshooting common issues.
So, if you’re ready to take your gaming experience to the next level, let’s get started with the first step: checking your system requirements!
Understanding Overclocking
Before we delve into the process of overclocking your Intel HD graphics card, it’s crucial to have a clear understanding of what overclocking entails and how it can affect your system.
Overclocking is the practice of increasing the clock speed of your graphics card, which refers to the speed at which the GPU (graphics processing unit) performs its calculations. By pushing the GPU beyond its official maximum limit, you can achieve higher frame rates and improved performance in games and other graphics-intensive applications.
However, it’s important to note that overclocking comes with several important considerations. First and foremost, overclocking can increase the power consumption and heat generation of your graphics card. This means that you may need to invest in additional cooling solutions to keep your system running efficiently and prevent overheating.
Furthermore, while overclocking can yield impressive performance gains, it’s essential to understand the limitations of your specific Intel HD graphics card. Not all cards are created equal, and each has its own maximum achievable clock speeds and voltage tolerances. Pushing your card too hard can result in system instability, crashes, or even permanent damage to your GPU.
To ensure a safe and successful overclocking experience, it’s crucial to research and understand the specific capabilities and limitations of your Intel HD graphics card model. Consult the manufacturer’s documentation, user forums, or online resources to gather information about the maximum achievable clock speeds, recommended voltage ranges, and potential risks associated with overclocking your particular card.
Additionally, keep in mind that overclocking your graphics card may void its warranty. Manufacturers typically do not support or endorse overclocking, as it involves altering the factory settings of the hardware. Therefore, proceed at your own risk and be aware of the potential consequences.
In the next section, we will discuss the importance of checking your system requirements before embarking on the overclocking process. This step is essential to ensure that your system has the necessary hardware and software support for a successful overclocking attempt without putting your components at risk.
Checking System Requirements
Before beginning the process of overclocking your Intel HD graphics card, it’s crucial to ensure that your system meets the necessary requirements for a successful overclock. Failing to meet these requirements can result in unstable performance, system crashes, or even damage to your hardware.
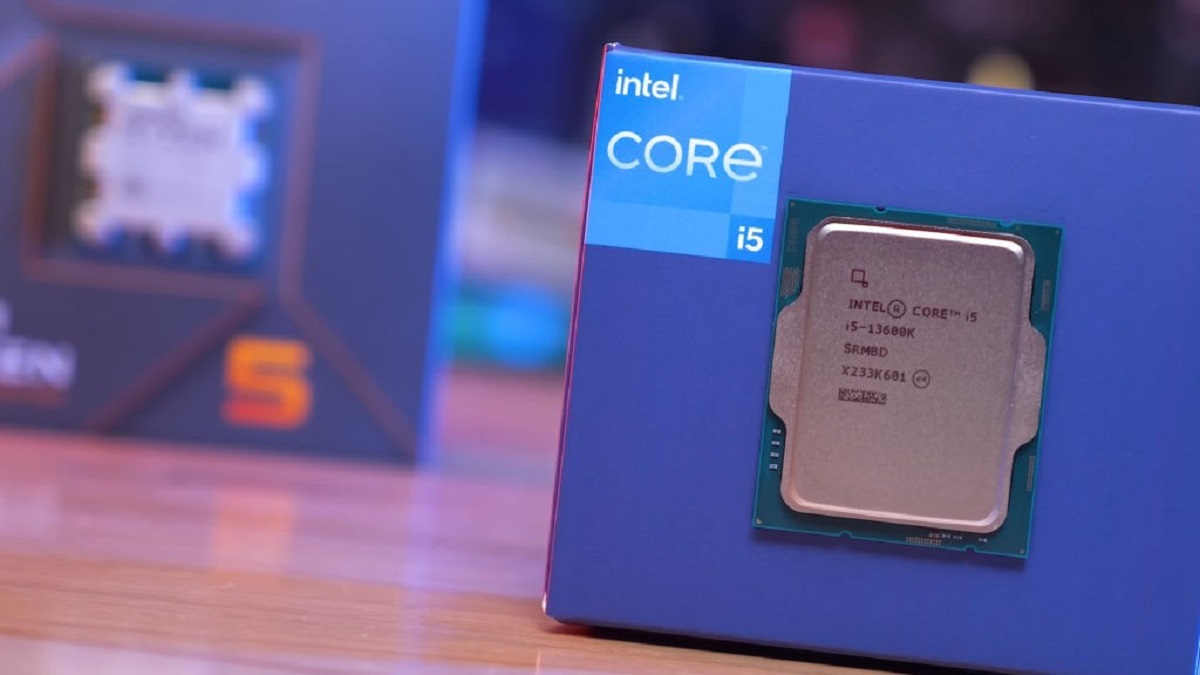
The first and most essential requirement is a compatible Intel HD graphics card. While Intel HD graphics are integrated into Intel processors, not all models support overclocking. Therefore, it’s important to confirm that your specific processor and graphics card combination are capable of being overclocked.
To determine whether your Intel HD graphics card is overclockable, check the specifications provided by Intel or refer to the documentation for your specific processor model. These resources will indicate whether overclocking is supported and the recommended maximum overclocking limits for your graphics card.
Next, it’s crucial to ensure that your system has sufficient power capabilities to handle the increased demands of overclocking. Overclocking requires additional power, so it’s important to have a quality power supply unit (PSU) with enough wattage to support the overclocked graphics card and the rest of your system components. Consult the documentation or the specifications of your PSU to verify that it meets the power requirements for overclocking.
In addition to the power supply, it’s recommended to have a well-ventilated system with adequate cooling to prevent overheating. Overclocking generates more heat, so ensuring proper airflow and cooling solutions, such as fans or liquid cooling, is essential. Insufficient cooling can lead to thermal throttling, where the graphics card reduces its performance to prevent overheating, ultimately negating the benefits of overclocking.
Lastly, it’s crucial to ensure that you have the necessary software tools to overclock your Intel HD graphics card. There are several reliable overclocking software applications available, such as MSI Afterburner or EVGA Precision X, which provide a user-friendly interface for adjusting clock speeds, voltages, and other settings. Be sure to download and install the appropriate software for your graphics card model.
By checking and ensuring that your system meets these requirements, you can proceed with confidence to the next steps of updating drivers, monitoring GPU temperatures, and adjusting clock speeds to overclock your Intel HD graphics card effectively.
Updating Drivers
One of the crucial steps in preparing your system for overclocking your Intel HD graphics card is to ensure that you have the latest drivers installed. Graphics card drivers are software packages that enable communication between your graphics card and the operating system. Updated drivers not only improve compatibility with software and games but can also provide performance optimizations and bug fixes.
There are two primary ways to update your graphics card drivers: manually or using automatic driver update software.
If you prefer to update your drivers manually, you can visit the official website of your graphics card manufacturer. Intel provides a dedicated Downloads and Drivers page where you can search for the latest drivers specific to your Intel HD graphics card model. Simply download the appropriate driver package, run the installer, and follow the on-screen instructions to complete the installation process. It’s crucial to select the correct driver version for your specific graphics card model and the operating system you are using.
Alternatively, you can use automatic driver update software to simplify the process. Applications like Driver Booster, DriverMax, or NVIDIA GeForce Experience can scan your system, detect outdated drivers, and automatically download and install the latest versions for you. These tools can save you time and ensure that you have the most up-to-date drivers installed.
Regardless of the method you choose, it’s essential to keep your graphics card drivers regularly updated, especially when overclocking. Newer driver versions often include performance optimizations or stability improvements that can enhance the overclocking experience and maximize the potential of your Intel HD graphics card.
After updating your graphics card drivers, it’s important to restart your system to ensure that any changes take effect properly. Once your system is rebooted, you can proceed to monitor GPU temperatures, adjust clock speeds, and voltage to begin the overclocking process.
Monitoring GPU Temperatures
When overclocking your Intel HD graphics card, keeping an eye on GPU temperatures is crucial to ensure the stability and longevity of your hardware. Overclocking increases the workload on your graphics card, leading to higher heat generation. Monitoring GPU temperatures allows you to identify potential overheating issues and take appropriate measures to prevent damage.
There are several software tools available that enable real-time monitoring of GPU temperatures. These tools provide insights into the current temperature, as well as additional information such as fan speeds, clock speeds, and voltage levels.
One popular software choice for GPU temperature monitoring is MSI Afterburner. This tool allows you to not only monitor temperatures but also customize fan profiles to help keep the graphics card cool during intense overclocking sessions. Other options include GPU-Z, HWMonitor, and EVGA Precision X, which provide similar functionality.
When monitoring GPU temperatures, it’s important to establish safe temperature ranges for your specific Intel HD graphics card. While these ranges may vary depending on the model and manufacturer, a general rule of thumb is to keep the GPU temperature below 85 degrees Celsius under load. Exceeding this temperature may result in thermal throttling, reduced performance, or even damage to the graphics card.
During the overclocking process, it’s essential to monitor GPU temperatures continuously. Run stress tests or benchmarking tools, such as FurMark or 3DMark, to put your graphics card under heavy load and observe the temperatures. This allows you to gauge the impact of your overclocking settings on temperature and make adjustments if necessary.
If you notice that your GPU temperatures are reaching unsafe levels, steps can be taken to improve cooling. Ensure that your computer case has sufficient airflow by removing any obstructions and organizing cables to optimize airflow. Additional cooling solutions, such as aftermarket GPU coolers, case fans, or liquid cooling systems, can also be considered to keep temperatures in check.
By diligently monitoring GPU temperatures throughout the overclocking process, you can maintain a stable and safe operating environment for your Intel HD graphics card. Now that you understand the importance of temperature monitoring, it’s time to explore the next steps in overclocking: adjusting GPU clock speed and voltage.
Adjusting GPU Clock Speed and Voltage
Adjusting the GPU clock speed and voltage is the core of the overclocking process. By increasing these parameters, you can push your Intel HD graphics card beyond its factory-set limits and potentially achieve higher performance and smoother gameplay.
Before proceeding, it’s important to understand that every graphics card has its own limits when it comes to clock speeds and voltage. Pushing your GPU too far can result in instability, crashes, or even hardware damage. Therefore, it’s essential to proceed cautiously and make gradual adjustments.
The first step is to open the overclocking software application you installed earlier, such as MSI Afterburner or EVGA Precision X. These tools provide a user-friendly interface for adjusting GPU settings.
Besides the GPU clock speed and voltage, you may also come across other settings such as memory clock speed, power limit, and fan speed. Focus primarily on adjusting the GPU clock speed and voltage, as they have the most significant impact on performance.
GPU Clock Speed: Increasing the GPU clock speed allows your graphics card to perform calculations at a faster rate, resulting in higher frame rates and better overall performance. However, it’s important to find the right balance. Start by making small increments, typically between 10-25 MHz, and test for stability using benchmarking tools or running games. If the system remains stable, continue increasing the clock speed gradually. If you encounter crashes or artifacts, revert to the previous stable setting.
GPU Voltage: Increasing the GPU voltage provides additional power to the graphics card, which can help stabilize higher clock speeds. However, be cautious when adjusting the voltage, as excessive levels can generate excessive heat or even damage the GPU. Increase the voltage incrementally and combine it with small adjustments to the clock speed. Monitor the temperatures closely and ensure they remain within safe limits.
Remember, stability is key when it comes to overclocking. Don’t rush the process – take your time and thoroughly test each adjustment for stability before moving on to the next one. Run stress tests, benchmarking tools, and play games for extended periods to ensure that your overclocked settings are stable and reliable.
It’s worth noting that not all Intel HD graphics cards will have as much headroom for overclocking as dedicated graphics cards. However, even modest overclocking can yield noticeable improvements in performance, so don’t be discouraged if you can’t achieve extreme overclocking results.
Now that you have a solid understanding of adjusting GPU clock speed and voltage, it’s time to move on to the next section: testing and ensuring system stability to validate the effectiveness of your overclock.
Testing and Stability
After adjusting the GPU clock speed and voltage, it’s crucial to thoroughly test the stability of your overclocked Intel HD graphics card. Stability testing helps ensure that your system can handle the increased performance without crashes or instability during intense gaming sessions or resource-demanding tasks.
Several tools can assist you in testing the stability of your overclocked graphics card. One of the most commonly used programs is FurMark, which stresses the GPU with a highly demanding 3D rendering test. This stress test helps identify any potential instability or overheating issues that may arise during extended gaming sessions.
Another popular option is running demanding games or benchmarks that push the graphics card to its limits. Games like Battlefield, The Witcher, or Shadow of the Tomb Raider, along with benchmarking tools such as 3DMark or Unigine Heaven, can help gauge the stability of your overclocked settings in real-world scenarios.
When conducting stability tests, pay close attention to any signs of instability such as crashes, artifacts (visual anomalies), or system freezes. If you encounter any of these issues, it’s important to revisit your overclocking settings and make adjustments accordingly.
During stability testing, monitoring GPU temperatures and observing their behavior is crucial. If the temperatures are reaching unsafe levels or if thermal throttling occurs, you may need to modify your overclocked settings to achieve a better balance between performance and temperature.
It’s important to note that stability testing should not be a one-time process. Ensure that you test your overclocked settings for an extended period to ensure long-term stability. The duration can vary depending on individual preferences, but leaving the stability test running for several hours or even overnight is recommended.
Remember, stability is the ultimate goal of overclocking. It’s better to have a slightly lower overclock that is stable than trying to push for higher clock speeds and voltage levels that result in crashes or instability.
If you encounter any issues during stability testing, don’t get discouraged. Overclocking can be a trial-and-error process, and it may take some time to find the optimal settings for your specific Intel HD graphics card.
With thorough testing and adjustments, you should be able to find a stable and reliable overclock that unlocks the full potential of your Intel HD graphics card, providing improved performance and an enhanced gaming experience.
Now that you have successfully tested the stability of your overclocked settings, it’s time to address any potential issues that may arise and explore troubleshooting techniques in the next section.
Troubleshooting Common Issues
While overclocking your Intel HD graphics card can yield impressive performance gains, it’s not uncommon to encounter certain issues along the way. However, with some troubleshooting techniques, you can address common problems that may arise during the overclocking process.
Here are some of the most common issues you may encounter and suggestions on how to troubleshoot them:
1. System Crashes: If your system crashes or becomes unstable after overclocking, the first step is to lower your GPU clock speed and voltage settings. Start by reducing them in small increments until stability is regained. Test the system thoroughly after each adjustment to ensure stability.
2. Artifacts: Artifacts are visual anomalies that can occur as a result of unstable overclocking settings. If you notice flickering pixels, screen tearing, or other graphical glitches, it’s likely that your settings need adjustment. Lower the GPU clock speed or increase the voltage slightly until the artifacts disappear.
3. High Temperatures: Overclocking can lead to higher GPU temperatures. If you find that your temperatures are reaching unsafe levels, make sure your system has proper airflow and cooling. Consider installing additional case fans, cleaning dust buildup, or upgrading to an aftermarket GPU cooler for improved heat dissipation.
4. Driver Incompatibilities: Sometimes, overclocking can cause conflicts with certain drivers, resulting in instability or crashes. Ensure that you have the latest drivers installed for your graphics card and consider updating other system drivers, such as chipset or motherboard drivers, to enhance compatibility.
5. Power Limitations: Overclocking can increase the power consumption of your graphics card. If you notice power-related issues such as system shutdowns during heavy loads, it may indicate that your power supply unit (PSU) is unable to handle the increased power demands. Consider upgrading to a higher wattage PSU to provide sufficient power for your overclocked GPU.
6. Limited Overclocking Headroom: Intel HD graphics cards may have limited overclocking potential compared to dedicated graphics cards. If you find that your overclocking attempts are not yielding significant improvements or stability, it may indicate that your specific GPU model has limited headroom for overclocking.
Remember, overclocking is not without risks, and it’s important to proceed with caution. Ensure that you have adequate knowledge, monitor your system closely, and make gradual adjustments. Should you encounter persistent issues or feel uncomfortable with the overclocking process, it’s always an option to revert to the default settings and seek professional assistance or advice.
By troubleshooting common issues and persistently fine-tuning your overclocked settings, you can maximize the performance of your Intel HD graphics card and enjoy an enhanced gaming experience.
Now that you are equipped with troubleshooting techniques, let’s conclude our guide with a summary of the key points covered.
Conclusion
Congratulations! You have successfully learned the ins and outs of overclocking your Intel HD graphics card. By following the steps outlined in this guide, you can unlock additional performance and enhance your gaming experience without the need for expensive hardware upgrades.
Throughout this process, we covered various important aspects of overclocking, including understanding the concept of overclocking, checking system requirements, updating drivers, monitoring GPU temperatures, adjusting GPU clock speed and voltage, testing for stability, and troubleshooting common issues.
Remember, overclocking is not without risks, and it’s crucial to exercise caution and proceed gradually. The stability and temperature of your graphics card should always be monitored to prevent any potential damage or system instability.
Furthermore, keep in mind that overclocking results can vary depending on your specific Intel HD graphics card model. While dedicated graphics cards typically have more overclocking headroom, even modest overclocking of your Intel HD graphics card can still yield noticeable improvements in performance.
If at any point you encounter issues or concerns during the overclocking process, don’t hesitate to refer to the troubleshooting section. Troubleshooting common problems can help you identify and address any challenges that may arise along the way.
Lastly, always stay up to date with the latest drivers and consider seeking professional advice if you encounter persistent difficulties.
With the knowledge gained from this guide, you are well-equipped to embark on your overclocking journey and unleash the full potential of your Intel HD graphics card. So, grab your favorite games, push the boundaries of performance, and enjoy an immersive and enhanced gaming experience!