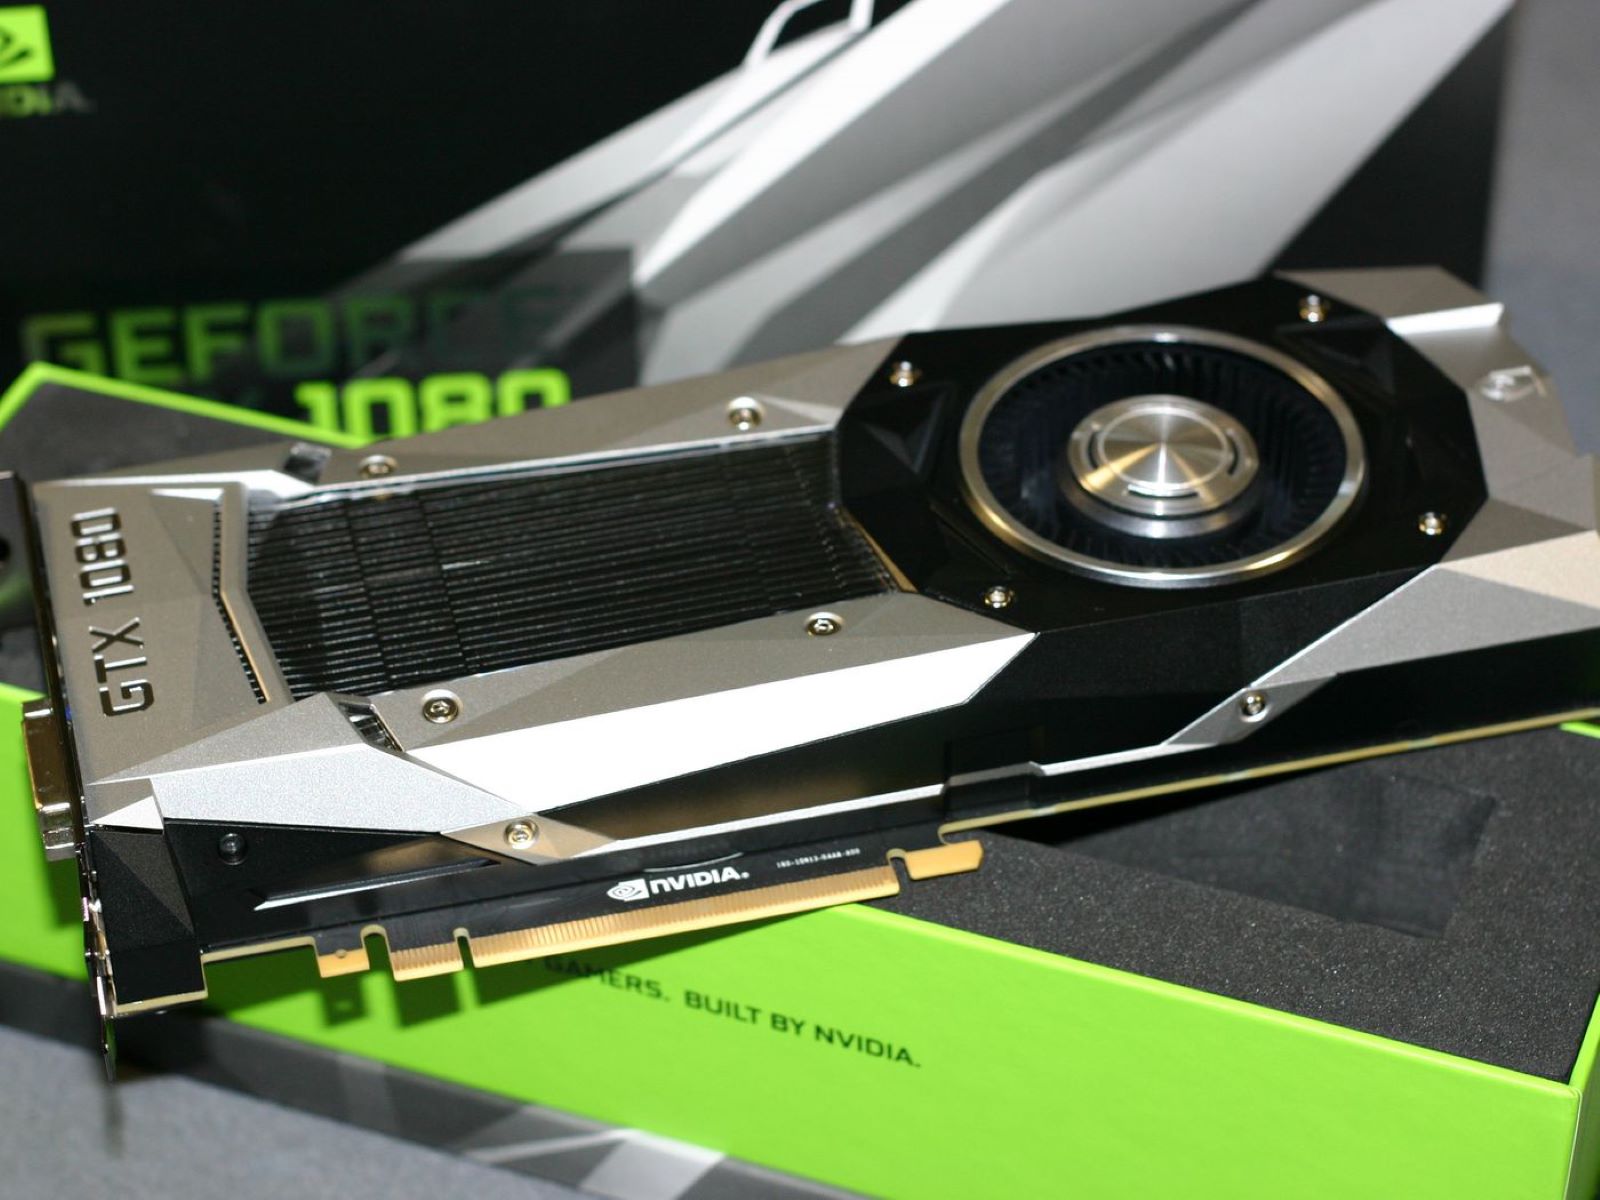
Symptoms of a Dying Graphics Card
Your graphics card plays a crucial role in rendering high-quality graphics and providing smooth performance for your computer. However, just like any other hardware component, graphics cards can deteriorate over time and exhibit signs of failure. If you notice any of the following symptoms, it may be an indication that your graphics card is dying:
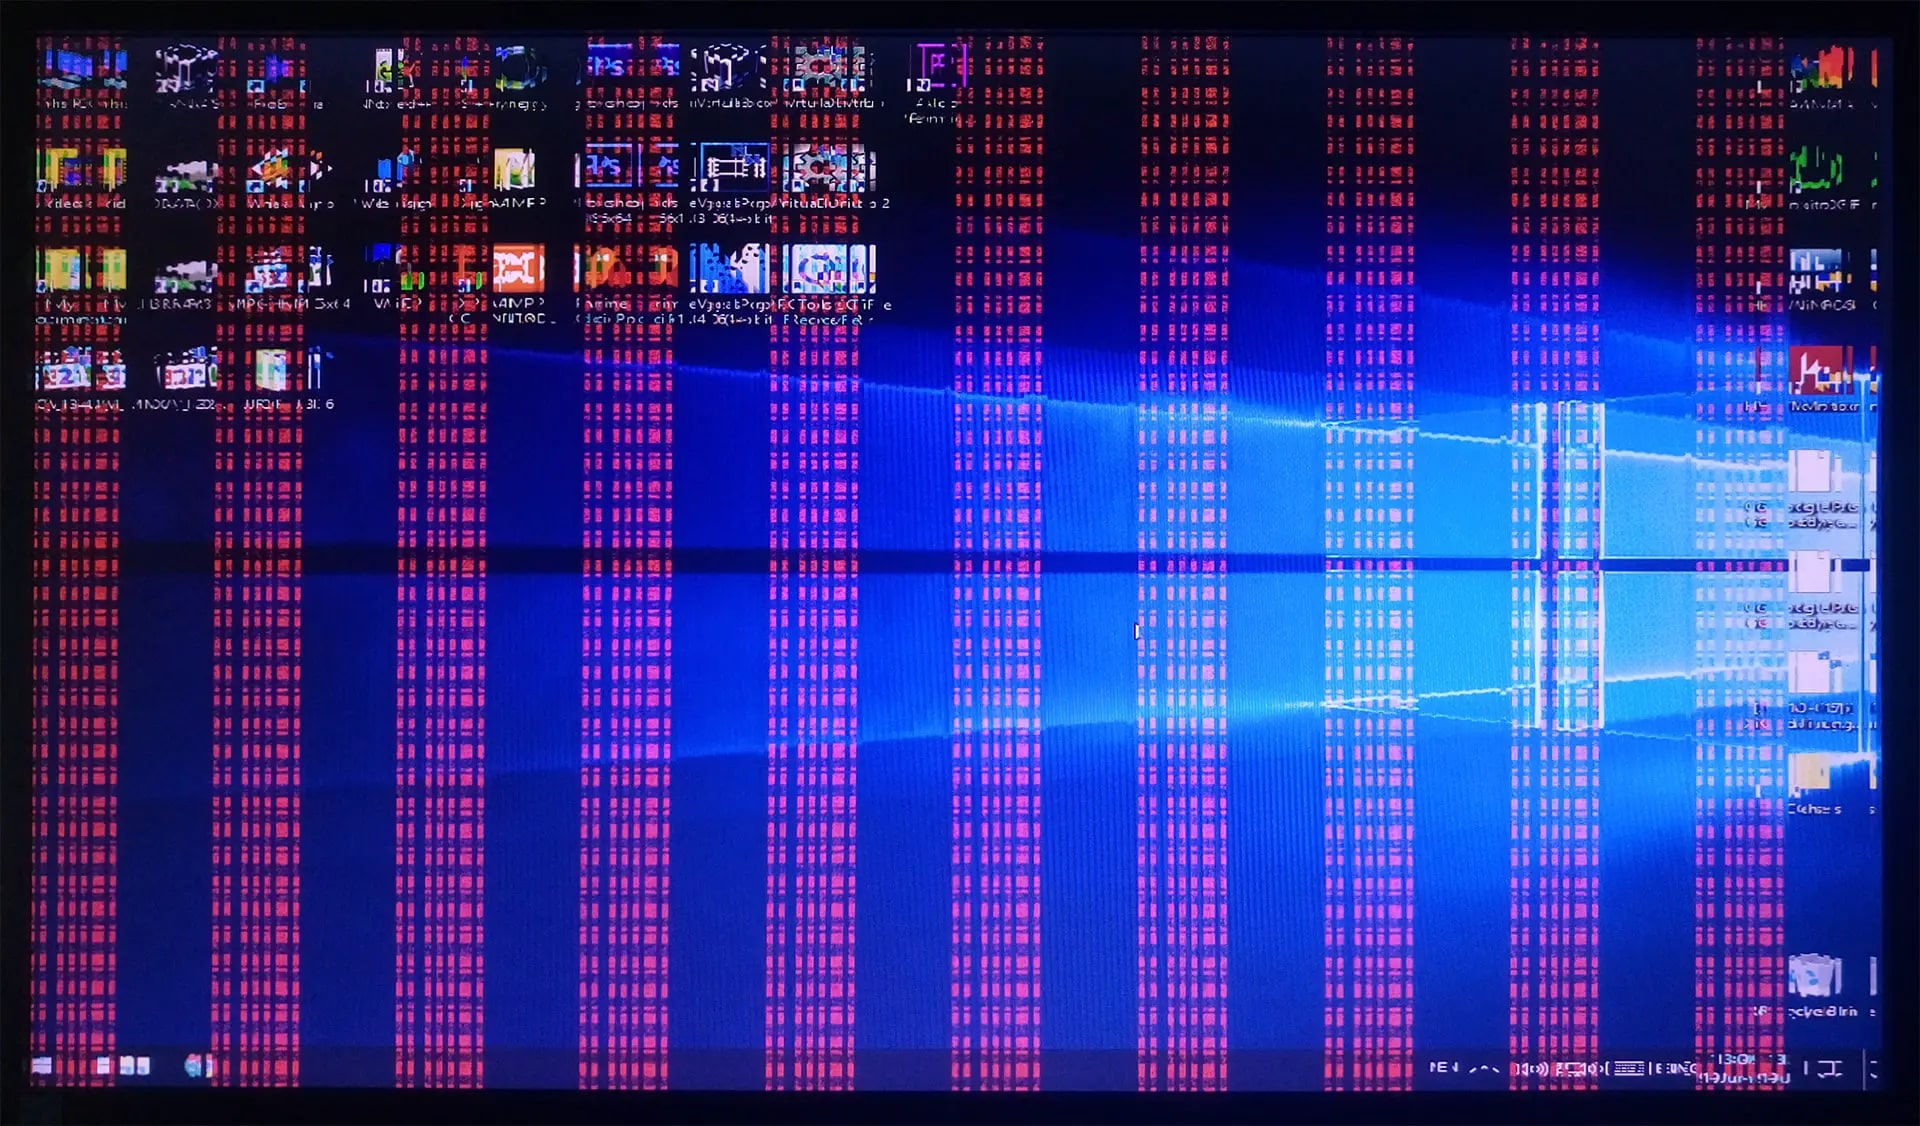
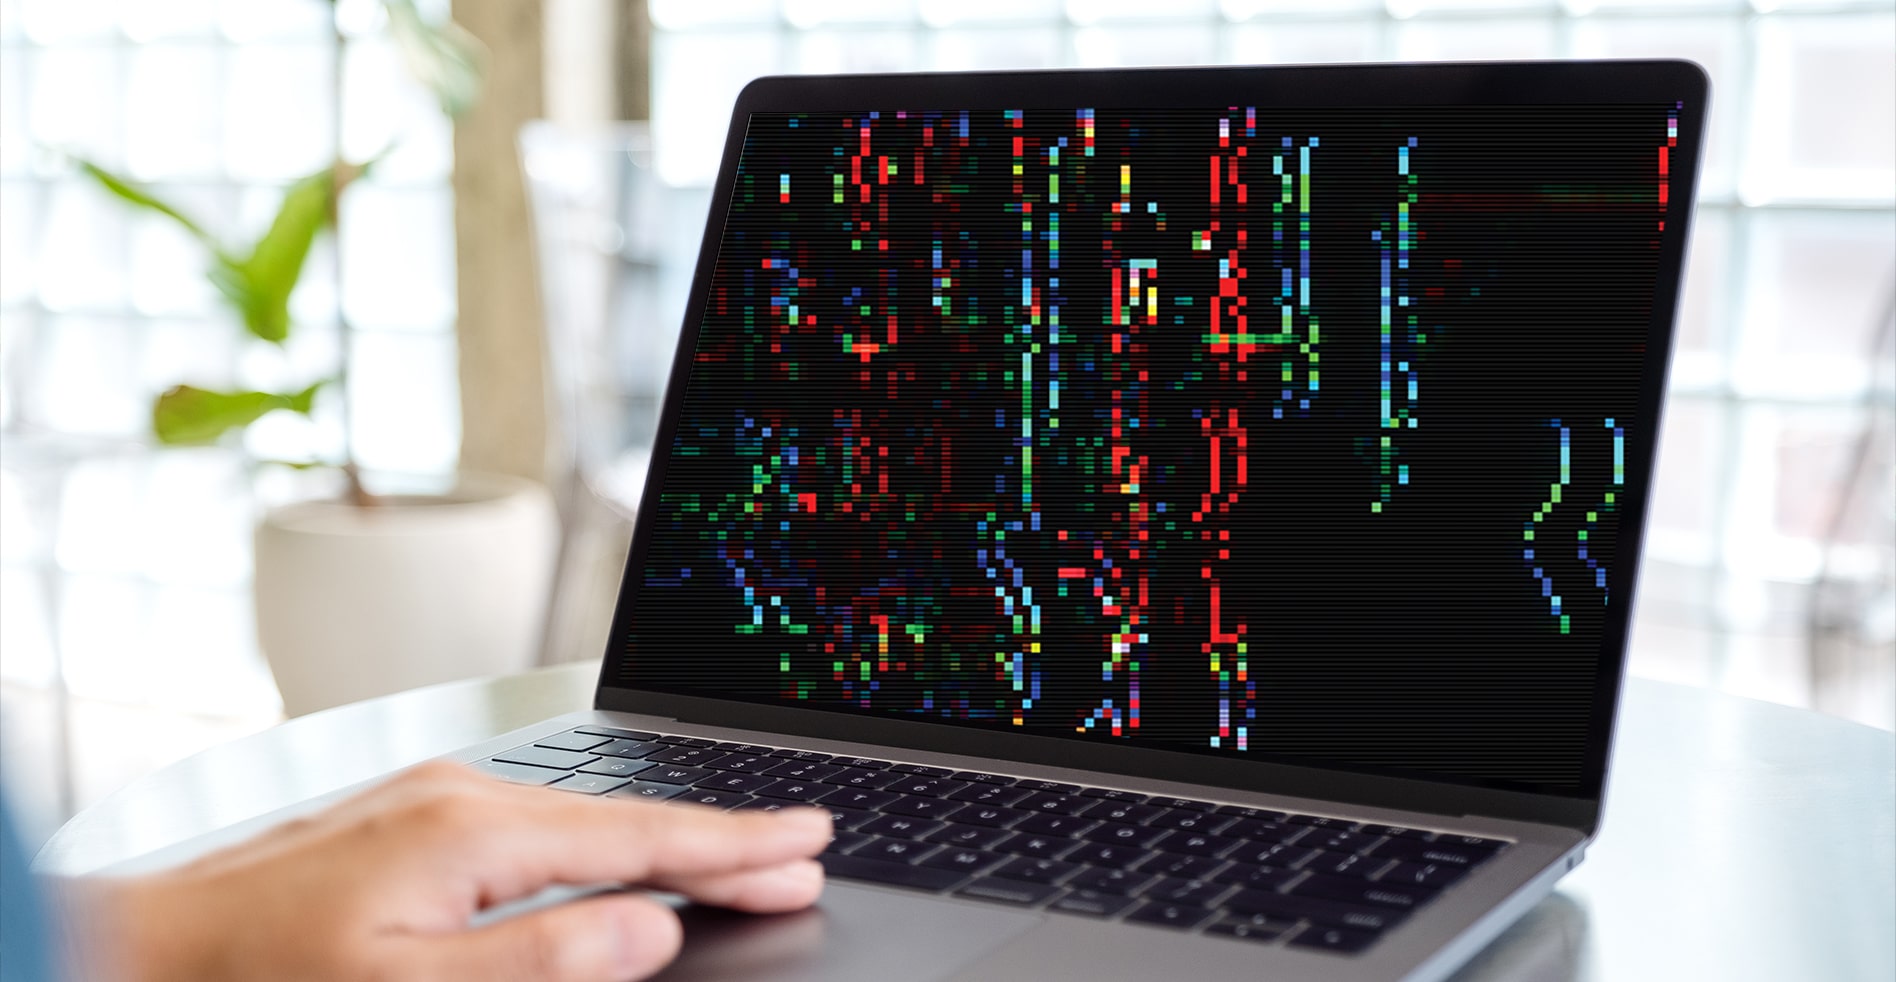
- Image distortion: One of the most common signs of a failing graphics card is experiencing image distortion on your screen. These distortions can manifest as random pixels, flickering lines, or screen tearing.
- Artifacts: Another indication of a dying graphics card is the presence of graphical artifacts. These artifacts often appear as unusual shapes or patterns on the screen and can be seen while performing graphic-intensive tasks such as gaming or video editing.
- System crashes: If your computer frequently crashes during graphics-intensive operations or while running applications that heavily rely on your GPU, it could be a sign that your graphics card is failing.
- Overheating: Graphics cards generate heat while under heavy load, and if the cooling system is unable to dissipate the heat efficiently, it can lead to overheating. Overheating can not only affect the performance of your graphics card but can also cause permanent damage.
- Unusual noise: If you notice unusual noise, such as rattling or buzzing, coming from your graphics card, it could indicate a faulty fan or other hardware issues.
It is important to note that these symptoms could also be caused by other factors such as outdated drivers, software conflicts, or insufficient power supply. Therefore, it is recommended to rule out other possible causes before concluding that your graphics card is indeed failing.
In the next sections, we will explore how to check the temperature of your graphics card, run stress tests, analyze artifacts, and perform other diagnostic methods to further assess the health of your graphics card.
How to Check your Graphics Card Temperature
Monitoring the temperature of your graphics card is essential in identifying any potential overheating issues that can affect its performance and longevity. Here are a few methods to check your graphics card temperature:
1. Use GPU Monitoring Software: Many graphics card manufacturers provide dedicated software utilities that allow you to monitor the temperature and other vital statistics of your GPU. Examples include MSI Afterburner, EVGA Precision X, and ASUS GPU Tweak. These software tools provide real-time temperature readings and often come with customizable fan controls to help keep your graphics card cool.
2. Check BIOS/UEFI Settings: Some motherboard BIOS or UEFI setups offer temperature monitoring options that can display the temperature of your graphics card. Access the BIOS/UEFI settings by restarting your computer and pressing the respective key (e.g., Delete, F2, or F10) during the startup process. Navigate to the hardware status or monitoring section to find the GPU temperature.
3. Third-Party Monitoring Software: There are various third-party software applications available that can monitor the temperature of your graphics card. Examples include GPU-Z, HWMonitor, and SpeedFan. These programs provide detailed temperature information, as well as other hardware monitoring features.
4. Hardware Monitor/Thermal Sensors: Some graphics cards come with built-in temperature sensors. These sensors can often be accessed through the manufacturer’s software utility or third-party software tools mentioned earlier. Additionally, some PC cases come with integrated hardware monitors that can display temperature readings for various components, including the GPU.
When checking your graphics card temperature, it’s important to understand the typical temperature range for your specific GPU model. Different graphics cards have different baseline temperatures, and factors such as ambient temperature, overclocking, and load levels can influence the readings. If your graphics card consistently reaches high temperatures above the recommended range, it may be a sign of poor cooling or other hardware issues that require attention.
Regularly monitoring the temperature of your graphics card and ensuring it stays within appropriate limits can help prevent overheating-related problems and prolong the lifespan of your GPU.
Running Stress Tests to Detect Issues
Stress testing your graphics card is an effective way to evaluate its stability, performance, and overall health. By subjecting your GPU to intense workloads, stress tests can help identify potential issues such as overheating, graphical artifacts, or system crashes. Here’s how you can run stress tests on your graphics card:
1. FurMark: FurMark is a popular stress testing tool specifically designed for graphics cards. It pushes your GPU to its limits by rendering a highly demanding 3D scene. During the test, monitor the GPU temperature and watch out for any graphical artifacts or abnormal behavior. FurMark is available for free and can be downloaded from the official website.
2. 3DMark: 3DMark is a comprehensive benchmarking software that includes stress tests for your graphics card. It provides different test scenarios that stress different aspects of your GPU, such as graphical rendering, physics simulation, and overall system performance. The results provide valuable insights into the stability and capability of your graphics card. 3DMark offers a free version with limited features and a paid version with more advanced testing options.
3. Unigine Heaven: Unigine Heaven is a visually stunning benchmarking and stress testing tool that pushes your GPU to its limits. It features a detailed and immersive 3D environment to stress test your graphics card. Pay attention to the GPU temperature, frame rates, and any visual anomalies. Unigine Heaven offers a free version that can be downloaded from their official website.
4. Real-world Applications: Running graphics-intensive applications and games can also serve as stress tests for your GPU. Task your graphics card with running the most demanding games or software you have. Monitor the temperature, watch for any graphical glitches, and ensure that your system remains stable under heavy load. Be mindful of any crashes or performance issues that may indicate problems with your graphics card.
When running stress tests, it is crucial to closely monitor the temperature of your graphics card. Excessive heat can cause instability and potentially damage the GPU. Make sure that your cooling system is adequate and that your GPU stays within safe temperature limits.
Running stress tests periodically can help you detect early signs of hardware issues and ensure the optimal performance and longevity of your graphics card.
Analyzing Graphics Card Artifacts
Graphics card artifacts are visual anomalies that occur when there are issues with your graphics card. These artifacts can manifest as unusual shapes, colors, or lines appearing on your screen while performing graphic-intensive tasks such as gaming or video editing. Analyzing these artifacts can help you determine if your graphics card is experiencing hardware problems. Here are some steps to follow:
1. Identify the Type of Artifacts: Start by identifying the specific type of artifacts you are experiencing. Common types of artifacts include screen flickering, pixelated images, horizontal or vertical lines, or distorted textures. Pay attention to when and how often these artifacts occur, as this information can help in diagnosing the problem.
2. Check Connections and Cables: Sometimes, artifacts can be caused by loose or faulty connections. Make sure that your graphics card is properly seated in its slot and that all cables, including the HDMI or DisplayPort cable, are securely connected. If you have multiple monitors or cables, try switching them to see if the artifacts persist.
3. Update Graphics Drivers: Outdated or incompatible graphics drivers can also cause artifacts. Ensure that you have the latest drivers installed for your graphics card. Visit the manufacturer’s website or use their dedicated software utility to download and install the appropriate drivers. After updating, restart your computer and check if the artifacts still occur.
4. Adjust Graphics Settings: In some cases, artifacts can be related to improper graphics settings. Experiment with reducing the graphics settings in your games or software to lower the strain on your graphics card. This can help determine if the artifacts are related to an overloaded GPU.
5. Monitor Temperature and Overclocking: Overheating and overclocking can also cause artifacts. Ensure that your graphics card is running within the recommended temperature range by monitoring its temperature using software tools such as MSI Afterburner or GPU-Z. If you have overclocked your graphics card, consider reverting it to its default settings to see if the artifacts disappear.
6. Test on Different System: If possible, test your graphics card on a different system to see if the artifacts persist. This can help determine if the issue is isolated to your graphics card or if there are other factors, such as a faulty motherboard or power supply, contributing to the problem.
7. Consult a Professional: If the artifacts continue to occur despite troubleshooting, it may be necessary to consult a professional technician or contact the graphics card manufacturer’s support for further assistance. They can provide additional guidance and diagnostics to determine the cause of the artifacts and recommend potential solutions.
Remember that the presence of artifacts does not always mean your graphics card is dying. Artifacts can sometimes be caused by software conflicts, drivers, or other hardware issues. However, it’s important to address the problem promptly and appropriately to prevent any further damage to your graphics card.
Checking for Driver Crashes
Driver crashes can be a common issue that affects the stability and performance of your graphics card. When a driver crashes, it often leads to system instability, application freezes, or even blue screen errors. Here are some steps you can take to check for driver crashes and address any related problems:
1. Check Event Viewer: The Windows Event Viewer is a built-in tool that logs system events, including driver crashes. To access it, press the Windows key + R, type “eventvwr.msc,” and hit Enter. In the Event Viewer, navigate to “Windows Logs” ➜ “System” and look for any error messages or warnings related to your graphics card. Identify the specific driver that caused the crash, which will help determine potential solutions.
2. Update Graphics Drivers: Outdated or incompatible graphics drivers can often cause crashes. Visit the manufacturer’s website or use their dedicated software utility to download and install the latest drivers for your graphics card. It’s recommended to perform a clean driver installation, which involves uninstalling the existing drivers first and then installing the updated ones. This can help resolve any driver-related issues and improve overall stability.
3. Use Driver Management Software: Driver management software, such as Driver Booster or Driver Talent, can automatically scan your system for outdated or problematic drivers. These tools can automatically update your graphics card drivers to the latest versions, ensuring optimal compatibility and stability. However, exercise caution when using third-party driver management software and choose reputable and trusted options.
4. Disable Overclocking: Overclocking your graphics card can result in instability and driver crashes. If you have overclocked your GPU, consider reverting it to its default settings or reducing the overclock to see if the crashes cease. Overclocking should only be performed if you have experience and the necessary cooling system to handle the increased load on your graphics card.
5. Check for Conflicting Software: Conflicts with other software or utilities can also cause driver crashes. Disable or uninstall any recently installed programs that may be interfering with your graphics card. Additionally, ensure that you have compatible and up-to-date software and utilities installed to avoid conflicts.
6. Test with a Different Graphics Driver Version: If you continue to experience driver crashes after updating to the latest version, you may want to try a different driver version. Visit the manufacturer’s website and check for older driver versions for your graphics card. Sometimes, certain driver versions can offer better stability and performance for specific hardware configurations.
7. Seek Technical Assistance: If you have exhausted all troubleshooting steps and are still encountering driver crashes, it may be necessary to seek technical assistance. Contact the graphics card manufacturer’s support or consult a professional technician who can provide specific guidance based on your system configuration and diagnose any underlying hardware issues.
By following these steps, you can identify driver crashes, fix software-related issues, and ensure the smooth and stable operation of your graphics card.
Running Benchmark Tests
Benchmark tests are useful tools for assessing the performance capabilities of your graphics card. These tests help measure your graphics card’s ability to handle different workloads and provide valuable insights into its overall performance. By running benchmark tests, you can identify any performance bottlenecks, compare your graphics card’s performance to others, and make informed decisions regarding upgrades or optimizations. Here’s how you can run benchmark tests:
1. 3DMark: 3DMark is a popular benchmarking software that provides a comprehensive suite of tests designed to evaluate the performance of your graphics card. It offers different test scenarios that stress various aspects of your GPU, including graphical rendering, physics simulation, and overall system performance. 3DMark provides detailed results and scores that can be compared to other systems to gauge performance levels.
2. Heaven Benchmark: Heaven Benchmark is a visually stunning benchmarking tool that evaluates the capabilities of your graphics card in handling intense 3D scenes. It provides a detailed and immersive environment to test your GPU’s performance. Heaven Benchmark measures the frame rates, GPU temperature, and other parameters to assess the stability and performance of your graphics card.
3. Superposition Benchmark: Superposition Benchmark, developed by Unigine, is another demanding benchmarking tool. It focuses on providing realistic rendering of virtual worlds, evaluating your graphics card’s capability to handle advanced graphical effects. Superposition Benchmark offers different preset modes with varying levels of stress to determine your GPU’s performance and stability.
4. UserBenchmark: UserBenchmark is a popular online benchmarking platform that offers a quick and easy way to assess the performance of your graphics card. It provides a comprehensive score based on various system components, including the GPU. UserBenchmark’s user-friendly interface allows you to compare your system’s performance with others, providing insights into how your graphics card stacks up against similar hardware configurations.
5. Game-specific Benchmarks: Many games come with built-in benchmarking tools that evaluate the performance of your graphics card in that specific game. These benchmarks provide a real-world scenario and can give you an idea of how well your graphics card handles that particular game. Look for benchmarking options within the game’s settings or documentation to access these tests.
Running benchmark tests periodically provides a baseline understanding of your graphics card’s performance and helps you gauge its capability to handle the latest games and applications. While benchmark scores can be helpful, it’s important to remember that real-world performance can vary depending on factors like driver optimizations, game/application optimizations, and system configuration.
Keep in mind that benchmark tests can put a significant load on your graphics card and may generate high temperatures. Ensure that your cooling system is adequate and monitor the temperature of your GPU during the tests to avoid any potential overheating issues.
By running benchmark tests, you can accurately evaluate the performance of your graphics card and make informed decisions regarding system upgrades or optimizations to enhance your overall computing experience.
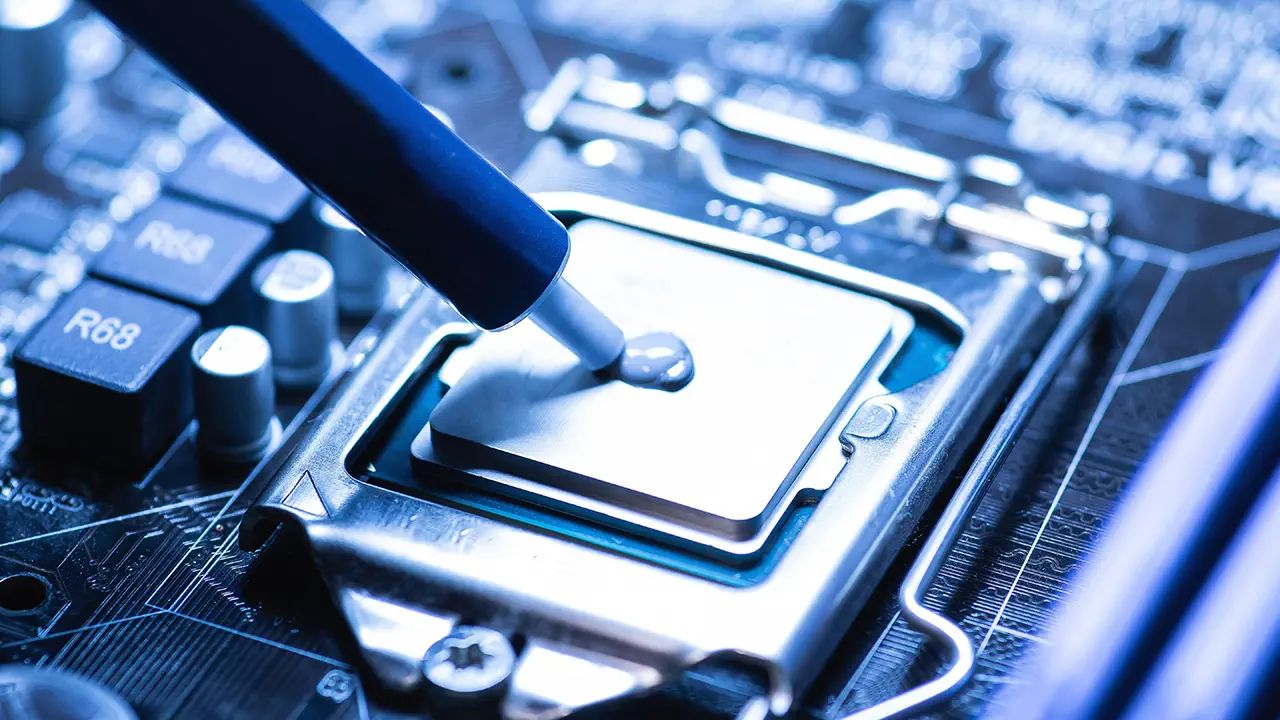
Overclocking and Stability Issues
Overclocking your graphics card can be an enticing way to boost its performance and squeeze out extra horsepower. However, pushing your GPU beyond its designated specifications can lead to stability issues and potential long-term damage. It’s important to understand the risks associated with overclocking and take necessary precautions. Here’s what you need to know:
The Concept of Overclocking: Overclocking involves increasing the clock speed and/or voltage of your graphics card to achieve higher performance. This can result in faster rendering times, smoother gameplay, and improved frame rates. However, it also increases the heat output and power consumption of the GPU, which can lead to stability issues if not managed properly.
Stability Testing: After overclocking your graphics card, it’s crucial to conduct stability tests to ensure its reliability. Stress testing tools like FurMark or 3DMark can help you evaluate the stability of your overclocked GPU by running it at full load for an extended period. If your system experiences crashes, artifacts, or overheating during the tests, it indicates that your overclock is not stable.
Heat Management: Overclocking generates more heat, so proper cooling is essential to maintain the stability and longevity of your GPU. Ensure that your computer case has adequate airflow and that the GPU has a well-functioning cooling solution, such as fans or liquid cooling. Monitor the temperature of your graphics card using software tools like MSI Afterburner or GPU-Z and avoid letting it exceed the manufacturer’s specified temperature limits.
Power Supply Considerations: Overclocking increases the power demands of your graphics card. Therefore, it’s essential to have a reliable power supply that can deliver enough power to sustain the overclocked GPU. A subpar power supply can result in instability, crashes, and potential damage to your components. Make sure to use a power supply unit (PSU) that meets or exceeds the recommended wattage for your system and graphics card.
Clocking in Offsets: Rather than overclocking your GPU with fixed values, utilizing clocking in offsets allows your card to adapt its clock speed and voltage dynamically based on workload. This can help maintain stability while still providing a performance boost. Many GPU tweaking tools offer this feature, allowing you to set higher clock and voltage offsets to achieve better performance without compromising stability.
Backup BIOS and Reset Options: In case your overclocking attempts result in system instability or failure to boot, having a backup BIOS or being familiar with GPU reset options can be invaluable. Some graphics cards have dual BIOS options that allow you to switch to a stable, factory-default BIOS if needed. Others come with GPU reset buttons or software tools to revert to default settings. Familiarize yourself with these features to safeguard against any potential issues.
Warranty and Risks: It’s essential to note that overclocking your GPU can void its warranty, as manufacturers generally do not cover damages caused by overclocking. Understand the risks involved and exercise caution when proceeding with overclocking. Consider the potential benefits and drawbacks before deciding to overclock.
Overall, while overclocking can provide performance gains, it comes with risks and must be approached with care. Proper heat management, stability testing, and understanding the limits of your graphics card are essential for a successful and safe overclocking experience.