Introduction
Welcome to the world of graphics card performance testing! Whether you’re a gamer looking to optimize your gaming experience or a professional involved in graphic-intensive tasks such as 3D rendering or video editing, understanding and evaluating your graphics card’s performance is crucial.
A graphics card, also known as a GPU (Graphics Processing Unit), plays a vital role in rendering images and videos on your computer screen. Its performance directly affects the graphical quality and smoothness of your applications and games. Testing your graphics card performance allows you to gauge its capabilities and identify any potential issues.
In this article, we will delve into the importance of testing your graphics card performance and explore various methods to do so effectively. By the end, you’ll have a solid understanding of how to evaluate your graphics card’s performance and make informed decisions related to its optimization.
However, before we dive into the testing process, it’s essential to understand the significance of evaluating your graphics card performance.
Without further ado, let’s begin!
What is graphics card performance?
Graphics card performance refers to the ability of a graphics card to handle and display graphics-intensive tasks effectively. It is measured by various factors such as rendering speed, frame rate, image quality, and overall graphical performance.
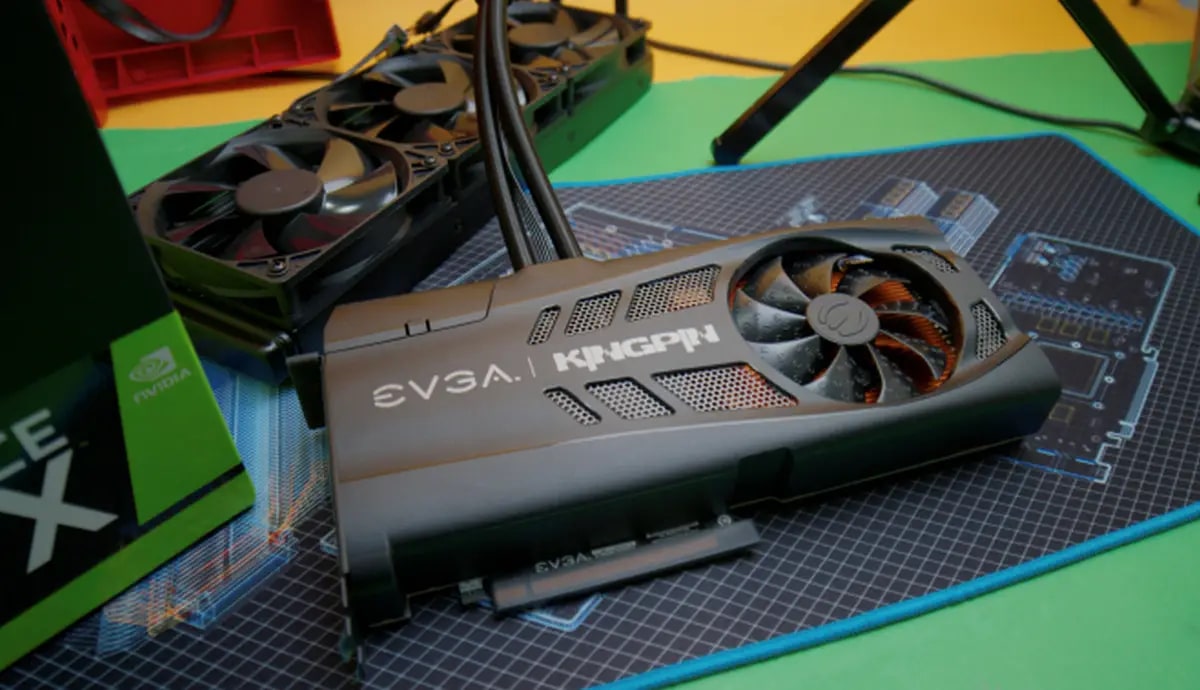
A graphics card consists of numerous components, including a GPU, VRAM (Video Random Access Memory), and various specialized processors. These components work together to process and render images, videos, and other graphical elements on your computer screen.
The performance of a graphics card is crucial for tasks that require heavy graphical processing, such as gaming, 3D modeling, video editing, and virtual reality. The better the performance, the smoother and more realistic the graphics will be. Factors that contribute to graphics card performance include the clock speed of the GPU, the number of cores, memory bandwidth, and the amount of VRAM.
When it comes to gaming, graphics card performance directly affects the visual quality, frame rate, and smoothness of gameplay. A high-performing graphics card ensures that games run smoothly without graphical glitches or lag, allowing players to enjoy a seamless experience with lifelike visuals.
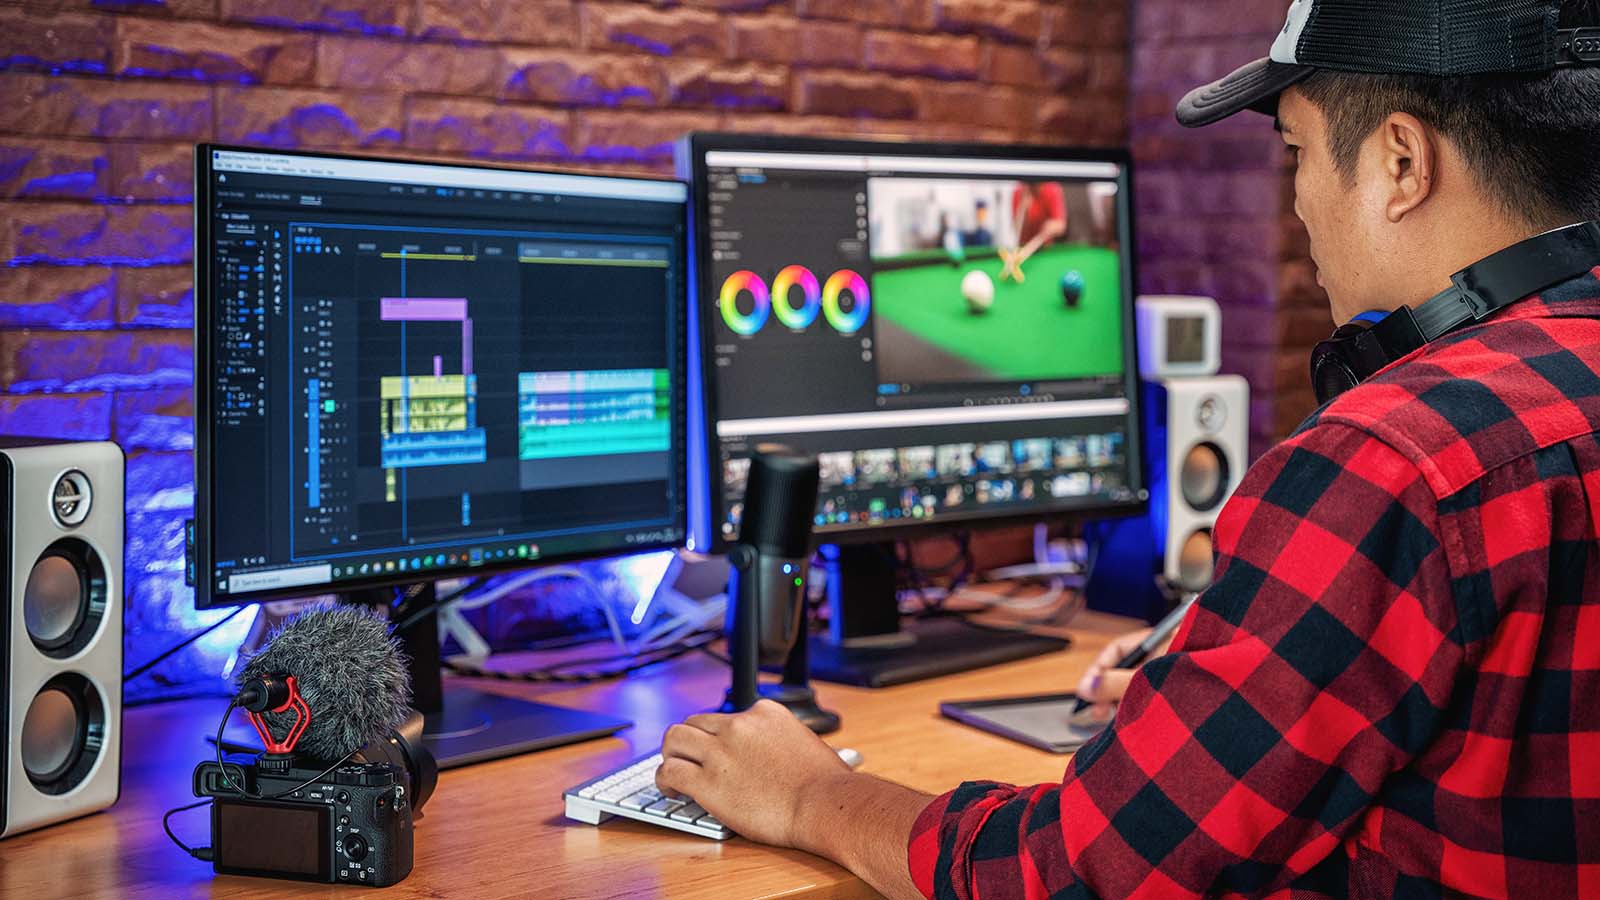
For professionals using graphic-intensive applications such as 3D modeling or video editing software, a powerful graphics card is essential for faster rendering and improved workflow efficiency. It enables quick and accurate previews, reduces rendering times, and facilitates the handling of complex graphical tasks.
By understanding your graphics card’s performance, you can determine whether it meets the requirements of your specific tasks or games. It also helps you identify any bottlenecks or issues that may be limiting the card’s capabilities, allowing you to make informed decisions regarding upgrades or optimizations.
Now that we have a clearer understanding of what graphics card performance entails, let’s explore why it is important to test your graphics card’s performance.
Why should you test your graphics card performance?
Testing your graphics card performance is essential for several important reasons. Let’s explore why it’s crucial to evaluate the capabilities of your graphics card:
1. Determine suitability: Testing your graphics card performance allows you to assess whether it meets the requirements of your intended applications or games. This helps you determine if your current card is capable of delivering the desired graphical quality and performance.
2. Identify bottlenecks: By benchmarking your graphics card, you can identify any performance bottlenecks in your system. This helps you pinpoint whether the graphics card or other components such as the CPU or RAM are limiting overall system performance.
3. Optimize settings: Testing your graphics card enables you to find the optimal graphics settings for your games. By adjusting settings such as resolution, texture quality, and anti-aliasing, you can strike a balance between visual quality and performance, ensuring a smooth gaming experience.
4. Troubleshoot issues: If you are experiencing graphical glitches, artifacts, or performance drops in games or applications, testing your graphics card can help identify potential issues. By analyzing benchmark results, you can determine whether the card is faulty or if there are other hardware or software factors causing the problem.
5. Overclocking potential: Graphics card performance testing allows you to explore the overclocking capabilities of your card. Overclocking involves boosting the clock speeds of the GPU and memory to enhance performance. By stress testing and stability testing your card, you can gauge its overclocking potential while ensuring stability during heavy workloads or demanding gaming sessions.
6. Future upgrades: Understanding your graphics card’s performance helps you make informed decisions when it comes to upgrading your system. By knowing the limitations of your current card, you can identify when it’s time for an upgrade and select a graphics card that will meet or exceed your performance expectations.
In summary, testing your graphics card performance is crucial for determining suitability, identifying bottlenecks, optimizing settings, troubleshooting issues, exploring overclocking potential, and planning future upgrades. It empowers you to make informed decisions and ensures that you’re getting the most out of your graphics card for your specific needs.
Things to consider before testing
Before you embark on testing your graphics card performance, there are a few important considerations to keep in mind. These considerations will help you ensure accurate and meaningful results from your tests:
1. System stability: It’s crucial to ensure that your system is stable and free from any hardware or software issues before conducting performance tests. Update your drivers, check for any pending system updates, and scan for malware or viruses to ensure a stable testing environment.
2. Cooling and power: Graphics cards can generate significant heat during intense tasks, so it’s important to have proper cooling in place to prevent overheating. Ensure that your graphics card has sufficient airflow and that your system’s power supply can provide adequate power to support the card’s maximum performance.
3. Testing software: Choose a reliable and reputable benchmarking software to conduct your performance tests. Popular options include 3DMark, FurMark, and Unigine Heaven. Research and select the software that best suits your needs and supports accurate and standardized testing.
4. Test conditions: Maintain consistent test conditions for accurate and comparable results. Close any unnecessary background processes or applications that may interfere with the testing process. Run the tests on the same monitor and ensure that your system is set to the desired resolution and refresh rate for accurate comparisons.
5. Multiple tests: To gather a comprehensive understanding of your graphics card’s performance, perform multiple tests with different benchmarking tools and game scenarios. This helps minimize any outliers or inconsistencies in the results, providing a more accurate representation of your card’s capabilities.
6. Comparisons and reference: When analyzing your results, it’s beneficial to compare them to reference benchmarks of similar graphics cards. This allows you to gauge your card’s performance in relation to others in the market and identify potential areas for improvement or optimization.
7. Future considerations: Keep in mind that graphics card performance can also be influenced by future driver updates or optimizations. Revisit tests periodically to assess any improvements or changes in performance that may result from these updates.
By considering these factors before testing your graphics card performance, you can ensure that you have a stable testing environment, accurate results, and meaningful comparisons. This will enable you to make informed decisions regarding optimizations, troubleshooting, or potential upgrades based on your specific needs and requirements.
Test 1: Benchmarking software
Benchmarking software is a popular and effective way to test the performance of your graphics card. These specialized tools push your graphics card to its limits, measuring its performance in various scenarios and providing you with valuable data for analysis.
Here are the steps to conduct a benchmark test using benchmarking software:
1. Research and select a benchmarking software: There is a wide range of benchmarking software available, each offering different features and test scenarios. Take some time to research and choose a software that aligns with your needs and requirements.
2. Set up the benchmarking software: Install the selected benchmarking software on your computer and ensure that it is up to date. Familiarize yourself with the software’s settings and customization options, as they may influence the test results.
3. Select the benchmark: Most benchmarking software offers a variety of tests or benchmarks to choose from. These benchmarks may focus on different aspects of graphics card performance, such as 3D rendering, physics simulations, or real-time gaming scenarios. Select the benchmark that best suits your requirements.
4. Run the benchmark: Once you have chosen the benchmark, run the test. The benchmarking software will simulate demanding scenarios and measure your graphics card’s performance. It will record metrics such as average frame rate, frame time, and performance index.
5. Analyze the results: After the benchmark test is complete, review the results provided by the software. Pay attention to crucial metrics such as average frame rate and graphical performance index to assess your graphics card’s performance. Compare the results with reference benchmarks or previous test results to gain further insights.
6. Repeat for accuracy: To ensure accuracy and reliability of the results, consider running the benchmark test multiple times. This helps minimize any slight variations or inconsistencies in performance and provides a more accurate representation of your graphics card’s capabilities.
7. Consider optimizations: If the benchmark results reveal that your graphics card is underperforming or not meeting your expectations, you can explore optimization strategies. This may include adjusting graphics settings, updating drivers, or even overclocking your card (if supported). However, exercise caution when overclocking and ensure proper cooling to avoid potential stability issues.
By utilizing benchmarking software, you can obtain a comprehensive assessment of your graphics card’s performance. This information can guide you in making decisions regarding optimizations, upgrades, or adjustments to ensure optimal graphical performance based on your specific needs.
Test 2: Game performance testing
Another effective way to test your graphics card performance is through game performance testing. This method provides a real-world assessment of how your graphics card performs in actual gaming scenarios, giving you a better understanding of its capabilities in the games you play.
Here are the steps to conduct game performance testing:
1. Select games for testing: Choose a selection of games that you frequently play or intend to play in the future. It’s a good idea to include different genres and graphical demands to get a well-rounded assessment. Keep in mind that some games may have built-in benchmarking tools that can provide detailed performance metrics.
2. Customize graphics settings: Adjust the graphics settings of the selected games to various levels, ranging from minimum to maximum. This allows you to see how your graphics card performs under different graphical loads. Ensure that you keep track of the changes made to the settings for accurate comparisons.
3. Run the games: Start playing the selected games and pay close attention to the performance, including frames per second (FPS), smoothness of gameplay, and graphical quality. Take note of any visual glitches, stutters, or lag that you may encounter during gameplay.
4. Monitor performance: While playing the games, use tools like FPS counters or overlays provided by the game itself or third-party software to monitor the performance metrics in real-time. This includes frame rate, frame time, and GPU usage. Capture or log this information for later analysis.
5. Compare and analyze results: After playing each game, compare the performance metrics and visual quality across the different graphics settings. Look for patterns and trends to determine the optimal settings for achieving a balance between performance and visual fidelity. Consider reference benchmarks or previous test results to assess your graphics card’s performance in relation to others in the same games.
6. Repeat for accuracy: To ensure accurate results, repeat the game performance tests multiple times for each game and graphics setting. This helps ensure consistency and minimizes any variations that may occur during gameplay.
7. Optimization and adjustments: Based on the results of the game performance tests, you can optimize the graphics settings of the games to achieve the desired performance and visual quality. This may involve adjusting individual settings or using pre-configured graphics presets provided by the game.
Game performance testing provides valuable insights into how your graphics card handles real-world gaming scenarios. It allows you to optimize your gaming experience by finding the optimal balance between graphical quality and performance. By analyzing the results and making appropriate adjustments, you can enhance your gaming experience and ensure the best possible performance from your graphics card.
Test 3: Overclocking and Stability Testing
Overclocking refers to increasing the clock speeds of your graphics card, pushing it beyond its default settings to achieve higher performance. However, before delving into overclocking, it is essential to conduct stability testing to ensure that your card can handle the increased speeds without encountering stability issues or crashes.
Here are the steps to perform overclocking and stability testing:
1. Understand the risks: Overclocking your graphics card carries the risk of potential instability, overheating, and voiding the warranty (in some cases). Ensure that you are familiar with the risks involved and proceed with caution.
2. Research your graphics card: Before overclocking, research your specific graphics card model to understand its overclocking potential and any associated limitations. Consult online forums, user reviews, and guides specific to your card for valuable insights and recommendations.
3. Utilize overclocking software: Use a reliable and reputable overclocking software that is compatible with your graphics card. Popular options include MSI Afterburner, EVGA Precision X, or ASUS GPU Tweak. These software tools allow you to adjust core clock, memory clock, and voltage settings for your graphics card.
4. Gradually increase clock speeds: Begin by slightly increasing the core clock speed of your graphics card. Keep the changes conservative and gradually increase the clock speeds while monitoring the stability of your system. Use benchmarking software or stress testing tools to check for any signs of instability, such as artifacts, crashes, or high temperatures.
5. Monitor temperatures: Overclocking can generate more heat, which may lead to overheating if not properly managed. Monitor your graphics card’s temperature using monitoring software and ensure that it stays within safe operating limits. Consider adjusting fan speeds or using custom cooling solutions if necessary.
6. Stability testing: To confirm the stability of your overclocked graphics card, run stability tests such as FurMark or Heaven Benchmark for an extended period. These stress tests will push your card to its limits, giving you a clear indication of the stability and performance under heavy workloads.
7. Assess stability and make adjustments: Analyze the results of your stability testing and assess if your overclocked settings are stable and reliable. If any instability, crashes, or excessive heat is observed, consider revising your overclocking settings or reverting to the default values to maintain system stability.
Remember that not all graphics cards and systems are capable of significant overclocking. The results will vary depending on your card’s model, cooling capabilities, and other hardware factors. Always prioritize stability and be cautious when pushing your graphics card beyond its default settings.
By performing overclocking and stability testing, you can unleash the full potential of your graphics card and optimize its performance. However, ensure that you educate yourself, proceed with caution, and prioritize the long-term stability of your system to avoid any potential risks or damage to your hardware.
Analyzing the Results
Once you have completed the benchmarking and testing process for your graphics card, it’s time to analyze the results. This step is crucial as it provides valuable insights into the overall performance and capabilities of your card. Here are some key points to consider when analyzing the results:
1. Compare benchmark scores: If you conducted benchmark tests, compare the scores obtained with reference benchmarks or previous test results for similar graphics cards. This helps you understand how your card performs in relation to others and identify any areas for improvement.
2. Consider performance metrics: Pay attention to performance metrics such as average frame rate, frame time, and graphical index. These metrics provide a quantitative assessment of your graphics card’s performance and can help you identify any performance bottlenecks or areas where optimizations may be needed.
3. Evaluate game performance: If you performed game performance testing, evaluate the performance of your graphics card in the specific games you tested. Look for smooth gameplay, consistent frame rates, and visually pleasing graphics. Compare the performance across different graphics settings to determine the optimal balance between performance and visual quality.
4. Assess overclocking results: If you overclocked your graphics card, analyze the stability testing results. Determine if the overclocked settings provided a noticeable performance boost without compromising system stability. Assess the temperatures, stability, and any signs of artifacts or crashes during the stability testing phase.
5. Identify areas for improvement: Based on the results, identify areas where your graphics card may be underperforming or where optimizations can be made. This could involve adjusting graphics settings, updating drivers, or investing in additional cooling solutions to enhance performance and stability.
6. Consider other factors: Keep in mind that graphics card performance is not solely dependent on the card itself. Other factors such as CPU, RAM, and storage also contribute to overall system performance. Evaluate the results in conjunction with the performance of other components to gain a holistic understanding of your system’s capabilities.
7. Future considerations: Take note of any future considerations or upgrades that may be necessary. This could involve planning for a graphics card upgrade, monitoring for driver updates that may provide performance improvements, or monitoring technological advancements in the graphics card market.
By carefully analyzing the results of your graphics card testing, you can gain valuable insights into its performance and capabilities. This information empowers you to make informed decisions regarding optimizations, upgrades, and adjustments to maximize the potential of your graphics card and enhance your overall computing or gaming experience.
Troubleshooting and Common Issues
While testing and evaluating your graphics card performance, you may come across certain issues or challenges that require troubleshooting. Understanding common problems and their potential solutions can help you overcome these hurdles and optimize your graphics card performance. Here are some common issues and troubleshooting tips:
1. Driver-related issues: Outdated or incompatible graphics card drivers can cause performance problems. Ensure that you have the latest drivers installed from the manufacturer’s website. If you encounter issues after updating drivers, consider rolling back to a previous version or performing a clean reinstall.
2. Overheating: Overheating can lead to performance drops, instability, or even system shutdowns. Ensure that your graphics card has adequate cooling, such as proper airflow in the case, clean fans, and, if necessary, consider adding extra cooling solutions like aftermarket GPU coolers or liquid cooling systems.
3. Power supply limitations: Insufficient power supply can cause instability and performance issues. Ensure that your power supply unit (PSU) is capable of providing sufficient power to support your graphics card’s requirements. Consider upgrading your PSU if needed.
4. Compatibility issues: Compatibility issues can arise when combining different hardware components or running certain applications or games. Check for compatibility between your graphics card, motherboard, and other components. Research community forums or contact the manufacturer for compatibility guidance if needed.
5. Artifacts and visual glitches: Artifacts, flickering, or visual glitches during gameplay can indicate issues with overclocking, overheating, or hardware problems. Revert any overclocking settings to default values and ensure the system is adequately cooled. If the issues persist, consider troubleshooting the hardware components or contacting the manufacturer for assistance.
6. System crashes and freezes: If your system experiences crashes or freezes during intensive tasks or games, it could indicate a stability issue. Ensure that your system is running within safe operating temperatures and voltages, and check for any conflicts between software or hardware components. Stress test your graphics card to identify any instability issues.
7. Malfunctioning or faulty hardware: In rare cases, hardware failures or defects can cause performance issues. If you’ve conducted thorough troubleshooting and the problems persist, contact the manufacturer for assistance or consider replacing the faulty hardware component.
Remember to consult the manufacturer’s documentation or support resources for specific troubleshooting steps related to your graphics card model. Utilize online communities and forums for additional guidance and insights from experienced users who may have encountered similar issues.
By addressing common issues and troubleshooting effectively, you can overcome obstacles and optimize your graphics card performance for a smoother and more enhanced computing or gaming experience.
Conclusion
Testing your graphics card performance is a crucial step in understanding its capabilities, optimizing its settings, and ensuring a smooth computing or gaming experience. By benchmarking your card, performing game performance tests, and exploring overclocking options, you gain valuable insights into its performance metrics and potential for improvement.
Throughout the testing process, it’s important to consider factors such as system stability, cooling, choice of benchmarking software, and proper test conditions. These considerations contribute to accurate and reliable results, enabling you to make informed decisions when optimizing your graphics card’s performance.
By analyzing the results, comparing benchmark scores, evaluating game performance, assessing stability, and troubleshooting common issues, you can overcome challenges and enhance the performance of your graphics card. This can result in smoother gameplay, improved graphics quality, and overall better performance in graphics-intensive tasks.
Remember that every graphics card and system is unique, and the results may vary based on hardware configurations, software compatibility, and personal preferences. Regularly monitor your graphics card’s performance and consider future upgrades or optimizations to keep up with evolving technology and ensure the best possible performance.
Whether you’re a gamer, a professional in graphic-intensive industries, or simply an enthusiast, testing your graphics card performance is an essential step to stay at the forefront of technology and make the most out of your hardware investment.
So, take the time to test and evaluate your graphics card’s performance, unleash its full potential, and enjoy a visually stunning and efficient computing experience.


