Introduction
Welcome to our guide on how to change a graphics card! Whether you’re an avid gamer looking to upgrade your gaming experience or a professional graphic designer in need of better performance, swapping out your graphics card can significantly enhance your computer’s visual capabilities. In this step-by-step tutorial, we will walk you through the process of changing a graphics card, from gathering the necessary tools to testing your computer after the installation. So, let’s dive in and get started!
Your graphics card, also known as a GPU (Graphics Processing Unit), is responsible for rendering images, videos, and animations on your computer screen. Over time, advancements in technology lead to better and more powerful graphics cards, making it worthwhile to upgrade your existing one. Whether you have a dedicated graphics card or an integrated one, replacing it can offer improved performance, enhanced graphics, and compatibility with the latest software and games. However, keep in mind that this process requires some technical knowledge and careful handling of computer components.
Before we begin, it’s worth noting that graphics card compatibility is crucial when selecting a new one. You need to ensure that the new graphics card is compatible with your computer’s hardware and power supply. Additionally, double-check the dimensions of the graphics card to ensure it will fit in your computer’s case. Once you have selected a compatible graphics card and gathered the necessary tools, you’re ready to embark on this exciting journey of upgrading your computer’s graphics capabilities!
In the following steps, we will guide you through the process of changing a graphics card, highlighting the key points to keep in mind along the way. From preparing your computer for the graphics card change to installing and connecting the new card, we will cover everything you need to know. So, without further ado, let’s move on to step one: gathering the necessary tools and resources!
Step 1: Gather the necessary tools and resources
Before you start the process of changing your graphics card, it’s essential to gather all the tools and resources you’ll need. Here is a list of items you should have on hand:
1. Screwdriver: A Phillips head screwdriver will be required to open your computer case and remove the screws securing the graphics card.
2. Anti-static wrist strap (optional): While not necessary, an anti-static wrist strap can prevent any static electricity from damaging delicate electronic components during the installation process. If you don’t have a wrist strap, ensure you touch a grounded metal object before handling any components.
3. Thermal paste: If you’re installing a new graphics card, you may need thermal paste to ensure proper heat transfer between the GPU and the cooler. Check the manufacturer’s instructions to determine if thermal paste is necessary.
4. User manual: It’s always a good idea to have the user manual or installation guide for your new graphics card handy. Each model may have specific installation instructions, so having the manual readily available can be helpful.
5. Power cables: Depending on your graphics card, you may need additional power cables to connect it to the power supply unit (PSU). Check the power requirements of your specific graphics card and have the appropriate cables ready.
6. Driver installation disc or USB: In some cases, you may need to install specific drivers for your new graphics card after the physical installation. Check the manufacturer’s website to see if the drivers can be downloaded or if they are included in the package.
7. Compressed air or soft brush: It’s always a good idea to clean the inside of your computer case before installing a new graphics card. Dust and debris can hinder the performance and cooling of the GPU, so use compressed air or a soft brush to remove any buildup.
By gathering these tools and resources beforehand, you’ll be well-prepared and equipped to tackle the process of changing your graphics card. With everything ready to go, it’s time to move on to the next step: preparing your computer for the graphics card change.
Step 2: Prepare your computer for the graphics card change
Now that you have gathered all the necessary tools and resources, it’s time to prepare your computer for the graphics card change. Follow these steps to ensure a smooth and successful installation:
1. Power down your computer: Before you begin any hardware modifications, it’s crucial to shut down your computer and disconnect the power cord. This will prevent any accidental damage to your components and ensure your safety.
2. Ground yourself: To avoid static electricity discharge that can damage sensitive components, ground yourself by touching a grounded metal object or wearing an anti-static wrist strap.
3. Open your computer case: Use the screwdriver to remove the screws securing the side panel of your computer case. Gently slide the side panel off, exposing the internal components.
4. Locate the current graphics card: Identify the current graphics card installed in your computer. It should be inserted into a PCIe slot on the motherboard, typically located towards the back of the case.
5. Disconnect any power connections: If your current graphics card requires additional power connections from the power supply unit (PSU), disconnect them. These power connectors are usually located on the side or top of the card. Gently press on the clip or latch securing the connector and carefully pull it out.
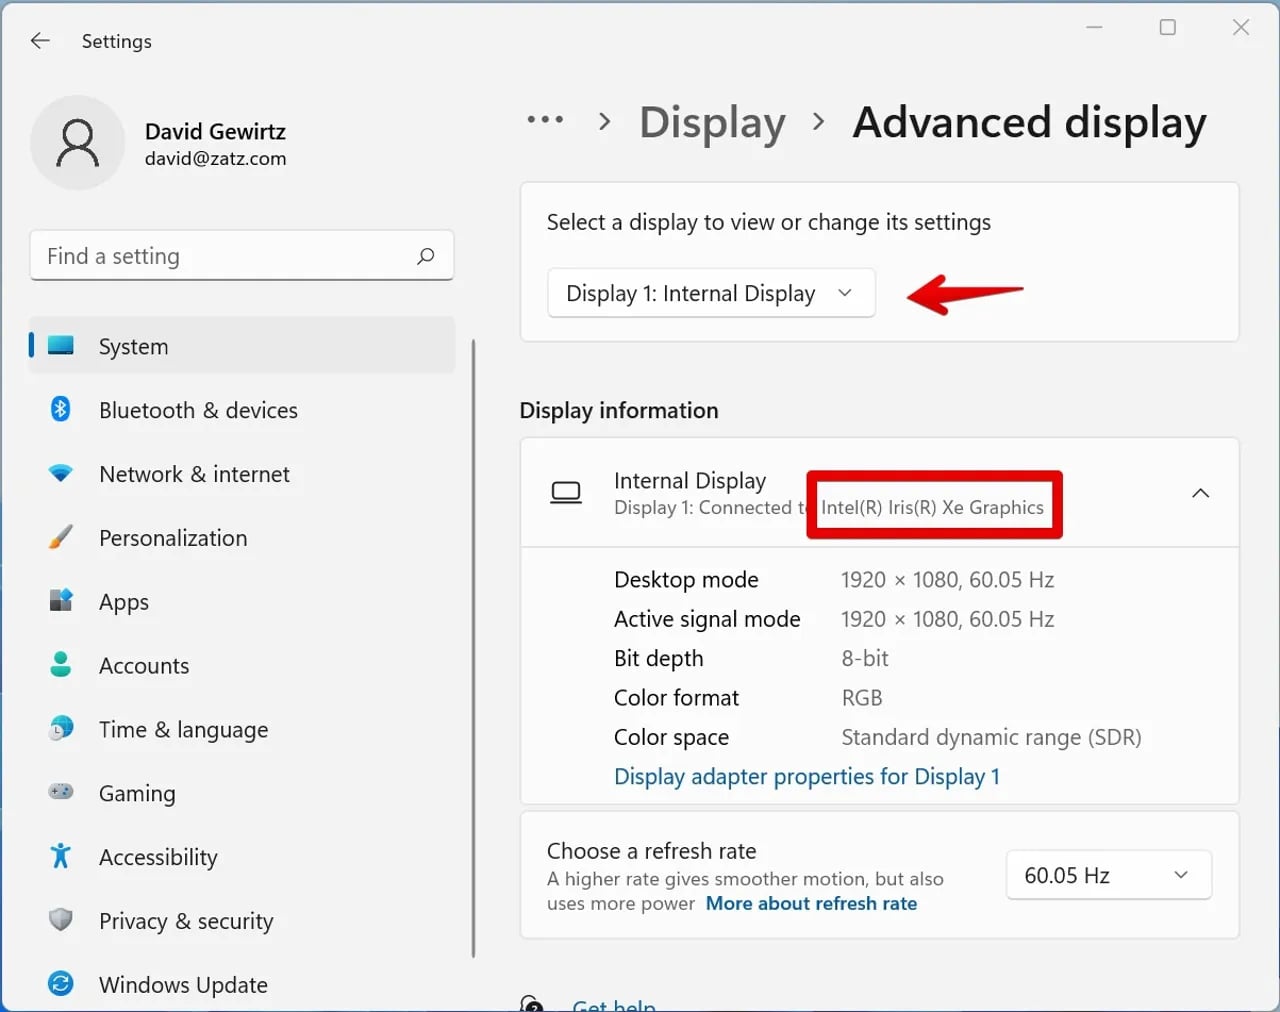
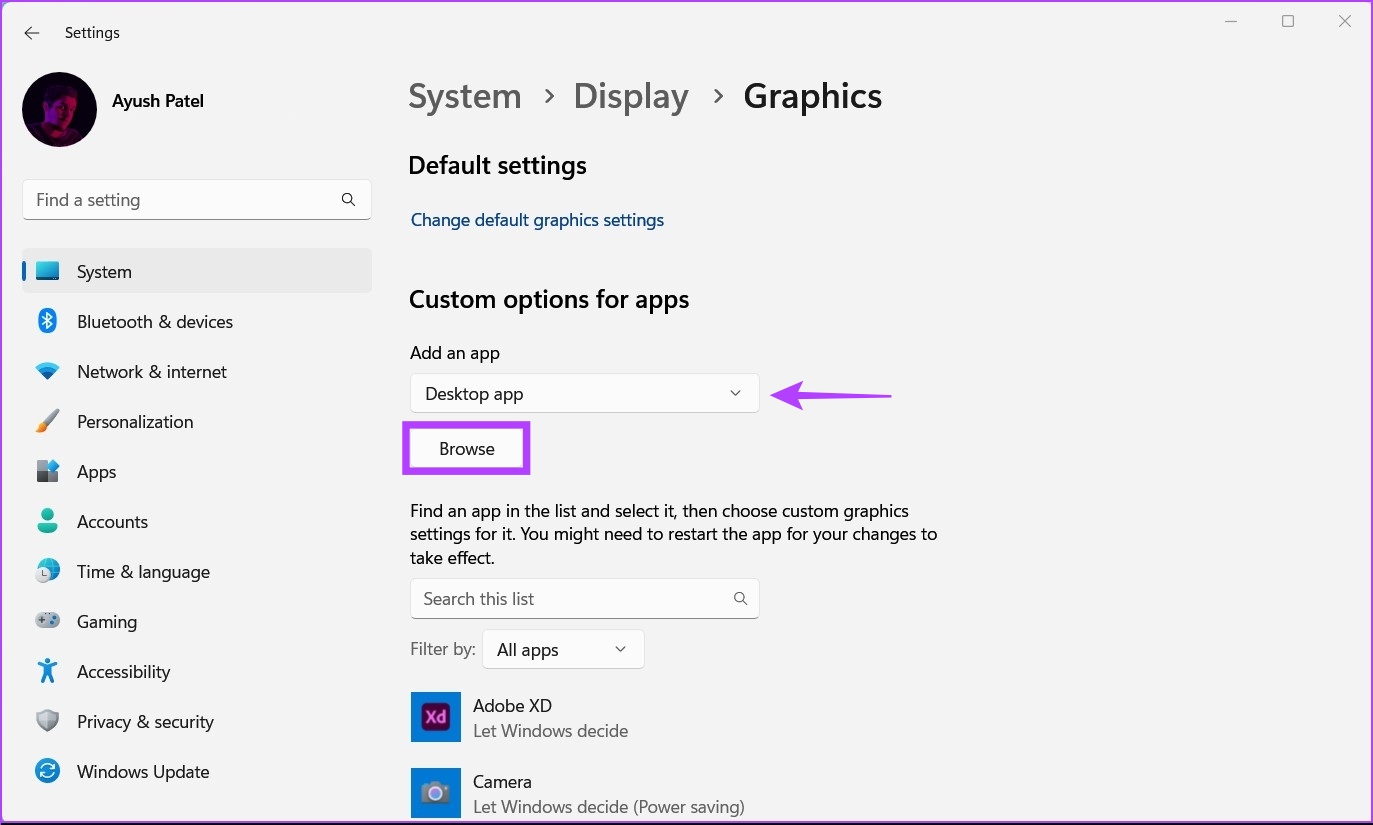
6. Uninstall current drivers (if necessary): If you’re replacing an existing graphics card, it’s recommended to uninstall the current drivers from your system. This can be done through the device manager or using specialized software provided by the graphics card manufacturer.
7. Remove the current graphics card: If your graphics card is secured with screws or a latch, remove them carefully. Hold the card by the edges and gently pull it straight out of the PCIe slot. Set it aside in a safe place.
By following these steps, you’ve successfully prepared your computer for the graphics card change. Next, we’ll move on to step three: disconnecting and removing the old graphics card from the PCIe slot.
Step 3: Disconnect and remove the old graphics card
Now that your computer is prepared, it’s time to disconnect and remove the old graphics card. Follow these steps carefully to ensure a smooth removal process:
1. Locate the PCIe slot: The PCIe slot is where your graphics card is inserted on your motherboard. It is usually located towards the back of the case and will have a latch or screws holding the card in place.
2. Release the latch or remove the screws: Depending on your motherboard’s design, your graphics card may be secured with a latch or screws. If it’s a latch, gently push it downwards to release the graphics card. If screws are used, carefully remove them using a screwdriver.
3. Disconnect any remaining power connections: Check for any additional power connectors attached to the old graphics card. Gently press the latch or clip securing the connector and carefully pull it out.
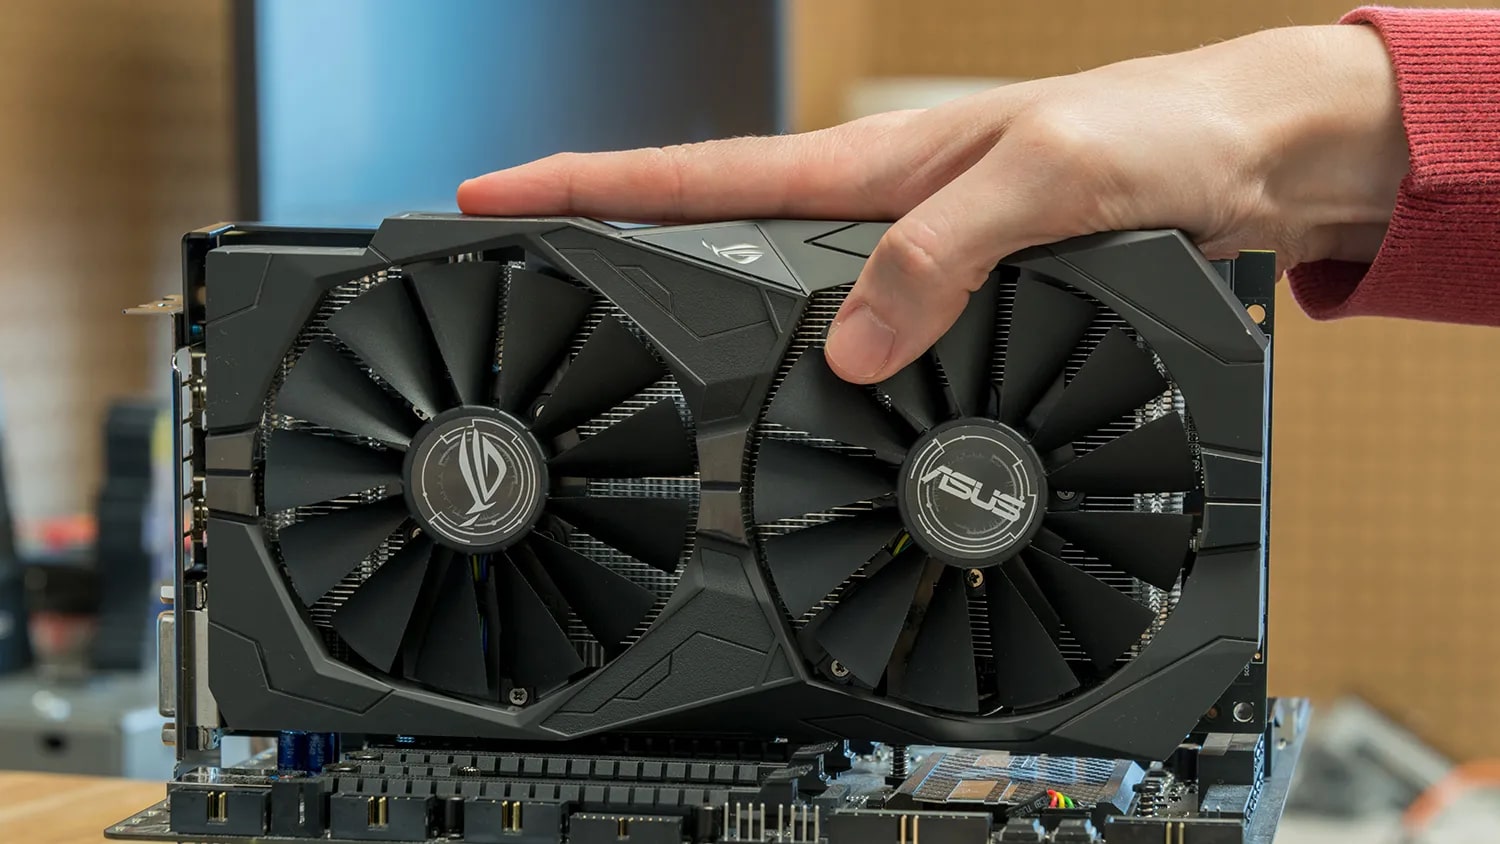
4. Hold the graphics card by the edges: To avoid static electricity discharge, hold the old graphics card by the edges. Avoid touching the circuitry or any components on the card.
5. Pull the graphics card straight out: Firmly grip the graphics card and gently pull it straight out of the PCIe slot. Be cautious not to apply excessive force or bend the card.
6. Set aside the old graphics card: Once removed, place the old graphics card in an anti-static bag or a safe location away from your workspace.
By following these steps, you’ve successfully disconnected and removed the old graphics card from your computer. In the next step, we’ll guide you through the process of installing the new graphics card and optimizing it for performance.
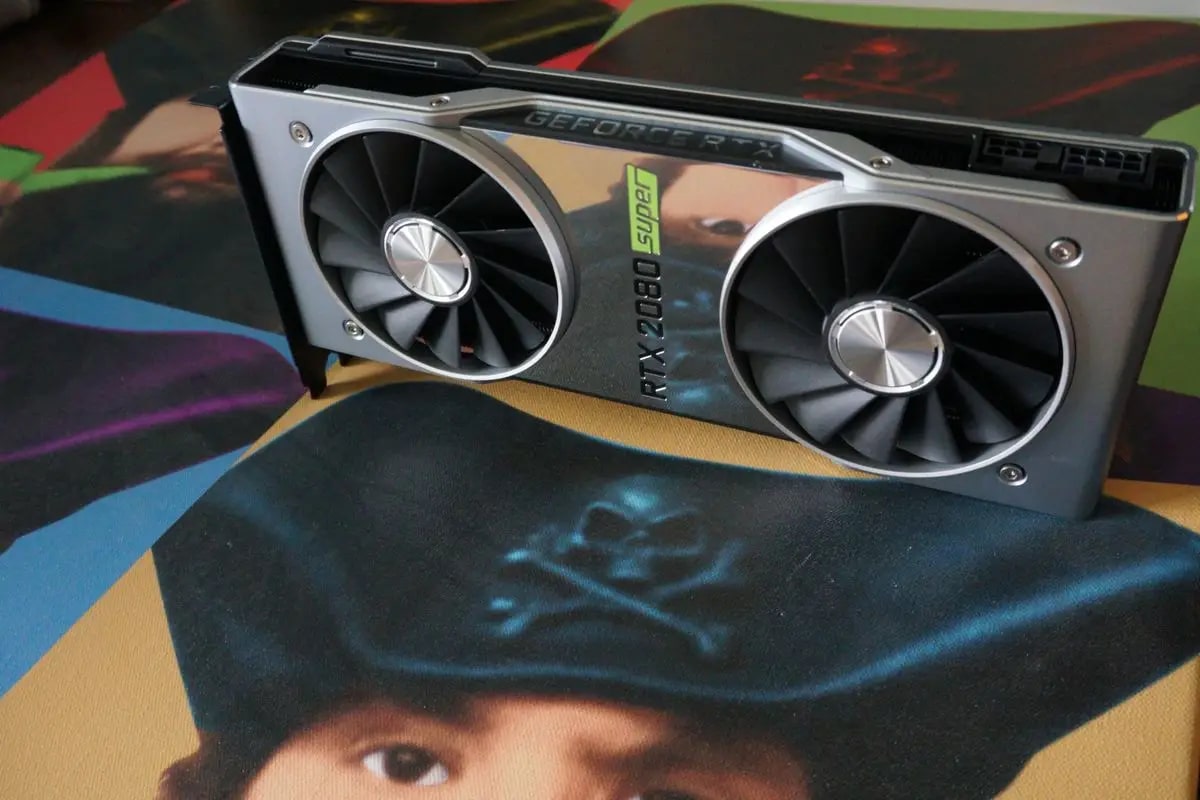
Step 4: Install the new graphics card
Now that you’ve successfully removed the old graphics card, it’s time to install the new one. Follow these steps carefully to ensure a proper installation:
1. Locate the PCIe slot: Identify the PCIe slot on your motherboard where you will be inserting the new graphics card. It will be the same slot from which you removed the old card.
2. Prepare the PCIe slot: Before inserting the new graphics card, check for any dust or debris in the PCIe slot. Use compressed air or a soft brush to clean the slot if necessary, ensuring a secure connection.
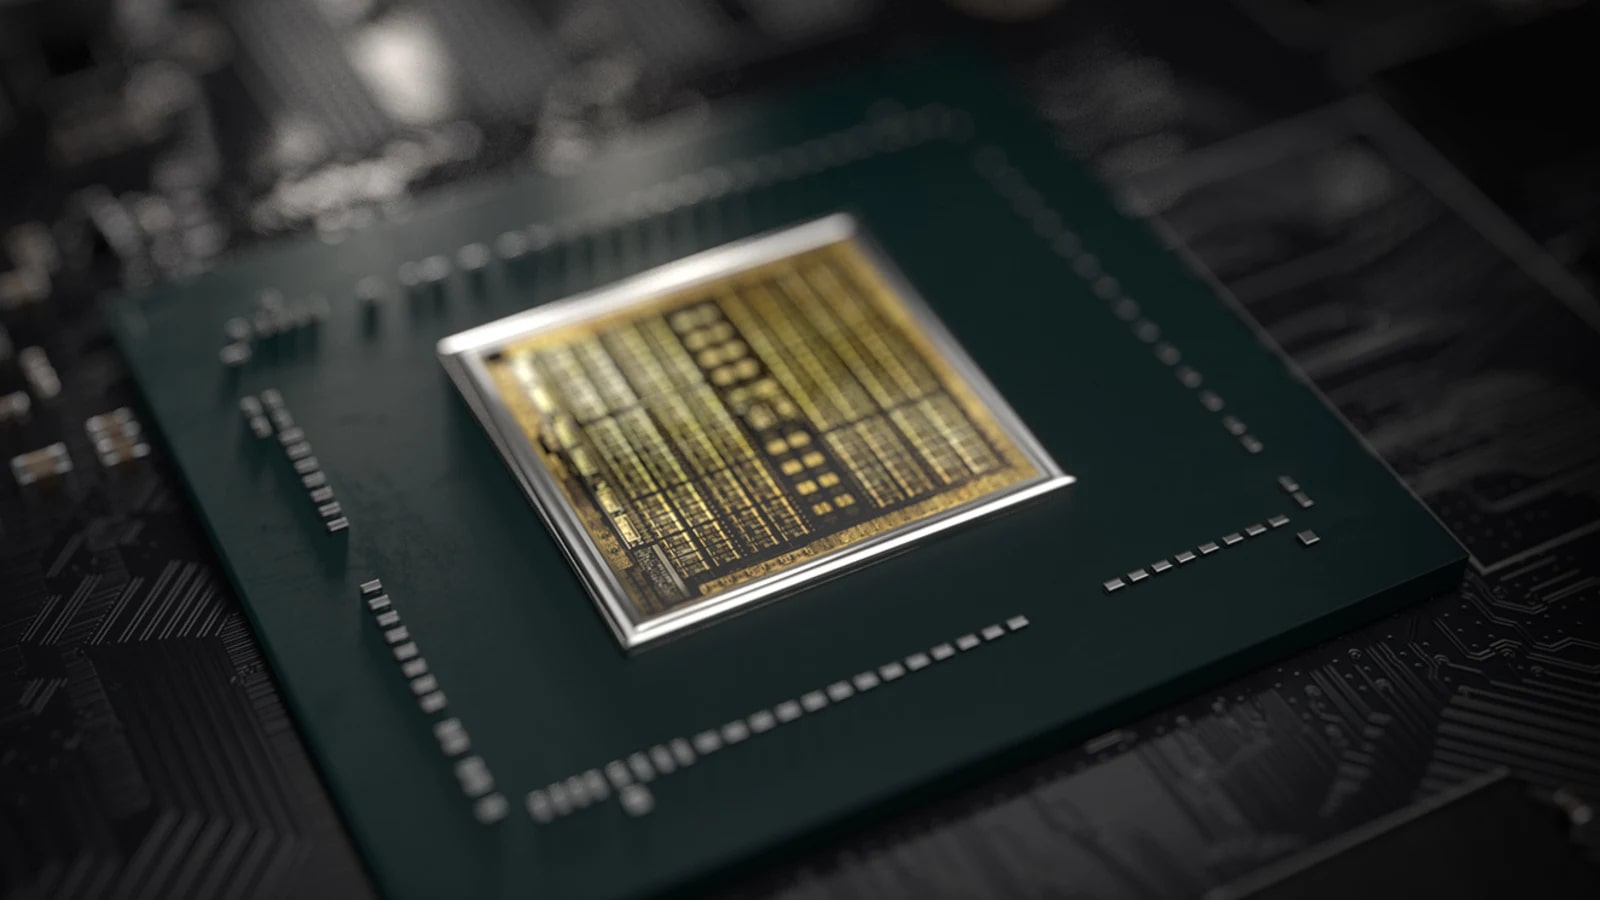
3. Align the graphics card: Hold the new graphics card by the edges, being careful not to touch the connectors or circuitry. Align the gold contacts on the bottom of the card with the PCIe slot.
4. Insert the new graphics card: Gently and firmly push the new graphics card into the PCIe slot. Ensure that the card is seated evenly and fully inserted. The latch or screws should align with the slot’s securing mechanism.
5. Secure the graphics card: If your graphics card requires screws for securing, insert and tighten them using a screwdriver. If a latch is present, push it upward to secure the graphics card in place. Double-check that the card is properly secured and doesn’t wiggle or move when touched.
6. Connect power cables (if necessary): If your new graphics card requires additional power connections, locate the appropriate ports on the card. Connect the power cables from the power supply unit (PSU) to the graphics card, ensuring a secure fit. Be mindful of any specific power requirements mentioned in the user manual.
7. Verify installation: Once the new graphics card is securely installed and connected, take a moment to visually inspect the connection points and cables to ensure everything is in place. Close the computer case by replacing the side panel and securing it with screws.
By following these steps, you’ve successfully installed the new graphics card in your computer. In the next step, we’ll guide you through connecting and securely fastening the new graphics card, completing the installation process.
Step 5: Connect and secure the new graphics card
With the new graphics card installed in your computer, it’s time to connect and secure it properly. Follow these steps to ensure a secure and stable connection:
1. Connect the display cable: Locate the display ports on the new graphics card, such as HDMI, DisplayPort, or DVI ports. Connect your monitor’s cable to the appropriate port. Ensure that the cable is inserted fully and securely.
2. Secure the graphics card brackets (if applicable): Some graphics cards come with brackets or support arms that help secure the card and prevent sagging. If your new graphics card has brackets, attach or adjust them according to the manufacturer’s instructions to provide additional support.
3. Check for cable management options: Depending on your computer case, there may be cable management options available. Use cable ties or clips to organize and secure the cables connected to the new graphics card, ensuring they don’t obstruct airflow or come loose during use.
4. Verify power connections: Double-check that any power cables connected to the new graphics card are secure. Ensure they are firmly plugged into the graphics card’s power ports and the power supply unit (PSU) output, providing adequate power to the card.
5. Close the computer case: Once all the necessary connections are made and secured, carefully close the computer case by reattaching the side panel. Ensure it is properly aligned and tightly screwed to provide optimal protection for your components.
6. Reconnect power and turn on your computer: Reconnect the power cord to your computer and other peripherals, such as your monitor and keyboard. Press the power button to turn on your computer and wait for it to boot up. If everything is properly connected, you should see the display on your monitor powered by the new graphics card.
By following these steps, you have successfully connected and securely fastened the new graphics card in your computer. In the next step, we’ll guide you through reassembling and testing your computer to ensure everything is functioning correctly.
Step 6: Reassemble and test your computer
With the new graphics card installed and connected, it’s time to reassemble your computer and test its functionality. Follow these steps to ensure everything is working correctly:
1. Double-check all connections: Before closing the computer case completely, go through all the connections again. Make sure the power cables, display cable, and other peripheral connections are secure and properly attached.
2. Secure the computer case: Once you’ve confirmed all the connections, carefully place the side panel back onto the computer case. Use the screws or latches to secure it in place, ensuring a tight fit.
3. Connect peripherals: Reconnect any peripherals, such as your mouse, keyboard, external drives, and other devices, to their respective ports on your computer.
4. Power on your computer: Plug the power cord back into your computer and other peripherals. Press the power button to turn on your computer and monitor.
5. Check for visual output: If the installation was successful, you should see a display on your monitor powered by the new graphics card. Check for any abnormal artifacts, distortions, or issues with the graphics output.
6. Install graphics card drivers: Depending on your operating system, you may need to install the latest graphics card drivers. Visit the manufacturer’s website and download the appropriate drivers for your new graphics card. Follow the installation instructions provided by the manufacturer to complete the driver installation process.
7. Test graphics performance: To ensure the new graphics card is performing optimally, run graphics-intensive applications or games. Monitor the performance and stability of the graphics card, ensuring smooth gameplay, high-quality visuals, and no overheating issues.
By following these steps, you’ve successfully reassembled your computer and tested its functionality with the new graphics card. If everything is working as expected, congratulations! You’ve completed the process of changing your graphics card. Enjoy the improved visuals and enhanced performance in your computer-related tasks!
Conclusion
Congratulations on successfully changing your graphics card! By following the step-by-step guide outlined in this article, you have upgraded your computer’s visual capabilities and opened up new possibilities in terms of gaming, graphic design, and multimedia tasks.
We started by gathering the necessary tools and resources, ensuring that you had everything you needed to safely and effectively complete the graphics card change. Then, we guided you through the process of preparing your computer, disconnecting and removing the old graphics card, installing the new one, and connecting and securing it properly.
After reassembling your computer, we emphasized the importance of testing its functionality. By connecting your peripherals and powering up your system, you were able to ensure that the new graphics card was working correctly. Installing the latest graphics card drivers and testing the performance in graphics-intensive applications or games further validated the successful installation.
Remember, when changing a graphics card, it’s essential to consider compatibility with your computer’s hardware and power supply. Additionally, proper handling of computer components and adherence to safety precautions, such as grounding yourself and disconnecting the power, are crucial steps to prevent any damage.
With your new graphics card in place, you can now enjoy improved graphics, smoother gameplay, and enhanced performance in various activities. Stay updated with the latest drivers and periodically check for software updates to optimize your graphics card’s performance.
Thank you for following our guide on how to change a graphics card. We hope this information has been helpful and that you’re now able to unlock the full potential of your computer’s visual capabilities. Happy computing and enjoy your enhanced graphics experience!