Introduction
When it comes to upgrading or replacing the components of your computer, disconnecting a graphics card can be an essential task. Whether you’re looking to upgrade to a more powerful GPU or troubleshooting a hardware issue, properly disconnecting your graphics card is crucial to avoid potential damage to both the card and your computer.
Disconnecting a graphics card may seem intimidating, especially if you’re not familiar with the internal components of your computer. However, with the right tools and a step-by-step guide, you can safely disconnect your graphics card and prepare it for removal or replacement.
This article will provide a detailed walkthrough of the process, outlining the necessary steps and tools required to disconnect your graphics card effectively. Whether you’re a beginner or an experienced user, you’ll find this guide helpful in navigating the disconnection process smoothly.
Before we dive into the steps, it is worth mentioning that disconnecting a graphics card should only be done when the computer is powered off and unplugged from the electrical outlet. This ensures your safety and prevents any potential damage to the components.
Tools needed
Before you begin the process of disconnecting your graphics card, it is important to gather the necessary tools. Having these tools on hand will make the disconnection process smoother and more efficient. Here are the tools you will need:
- Screwdriver: Depending on the computer case, you may need a Philips or flathead screwdriver to remove the side panel.
- Anti-static wrist strap: This strap helps to prevent static electricity from damaging the sensitive components of your computer. It is recommended to wear an anti-static wrist strap throughout the disconnection process.
- Cable ties: These small plastic or nylon ties are helpful for securing cables and preventing them from interfering with the disconnection process.
- Compressed air or a soft brush: To remove any dust or debris that may have accumulated around the graphics card or the computer case.
Having these tools ready will ensure that you have everything you need to safely disconnect your graphics card. Additionally, it is always a good idea to refer to your computer’s user manual or online documentation for specific instructions or tools that may be required for your particular model.
Now that you have gathered the necessary tools, let’s move on to the step-by-step process of disconnecting your graphics card.
Step 1: Shutting down the computer
The first step in disconnecting your graphics card is to ensure that your computer is fully powered off. This will prevent any potential electrical damage during the disconnection process. Here’s how to shut down your computer properly:
- Save your work: Make sure to save any open documents or files you are working on to avoid losing any unsaved changes.
- Close all applications: Close any running applications or programs to ensure a smooth shutdown.
- Click on the Start button: In the bottom left corner of the screen, click on the Start button. From the menu, choose “Shutdown” or “Power off” option.
- Wait for the computer to shut down: Give your computer some time to finish shutting down completely. You can monitor the power lights on your computer to ensure it is powered off.
- Unplug the power cord: Once the computer has completely shut down, unplug the power cord from the electrical outlet. This will prevent any potential electrical currents from entering the system during the disconnection process.
Ensure that you follow these steps precisely to ensure a safe shutdown of your computer. Once you have fully shut down your computer and disconnected the power cord, you are ready to move on to the next step of preparing your workspace.
Step 2: Preparing the workspace
Before you begin the process of disconnecting your graphics card, it is important to prepare your workspace to ensure a smooth and organized disconnection process. Here are the steps to prepare your workspace properly:
- Clean and clear workspace: Clear any clutter from your workspace to ensure that you have enough room to work comfortably. Remove any unnecessary objects from the area to prevent accidental damage to your computer or graphics card.
- Ground yourself: Before handling any computer components, it is important to ground yourself to prevent static electricity from damaging sensitive electronics. You can do this by touching a grounded metal object or wearing an anti-static wrist strap.
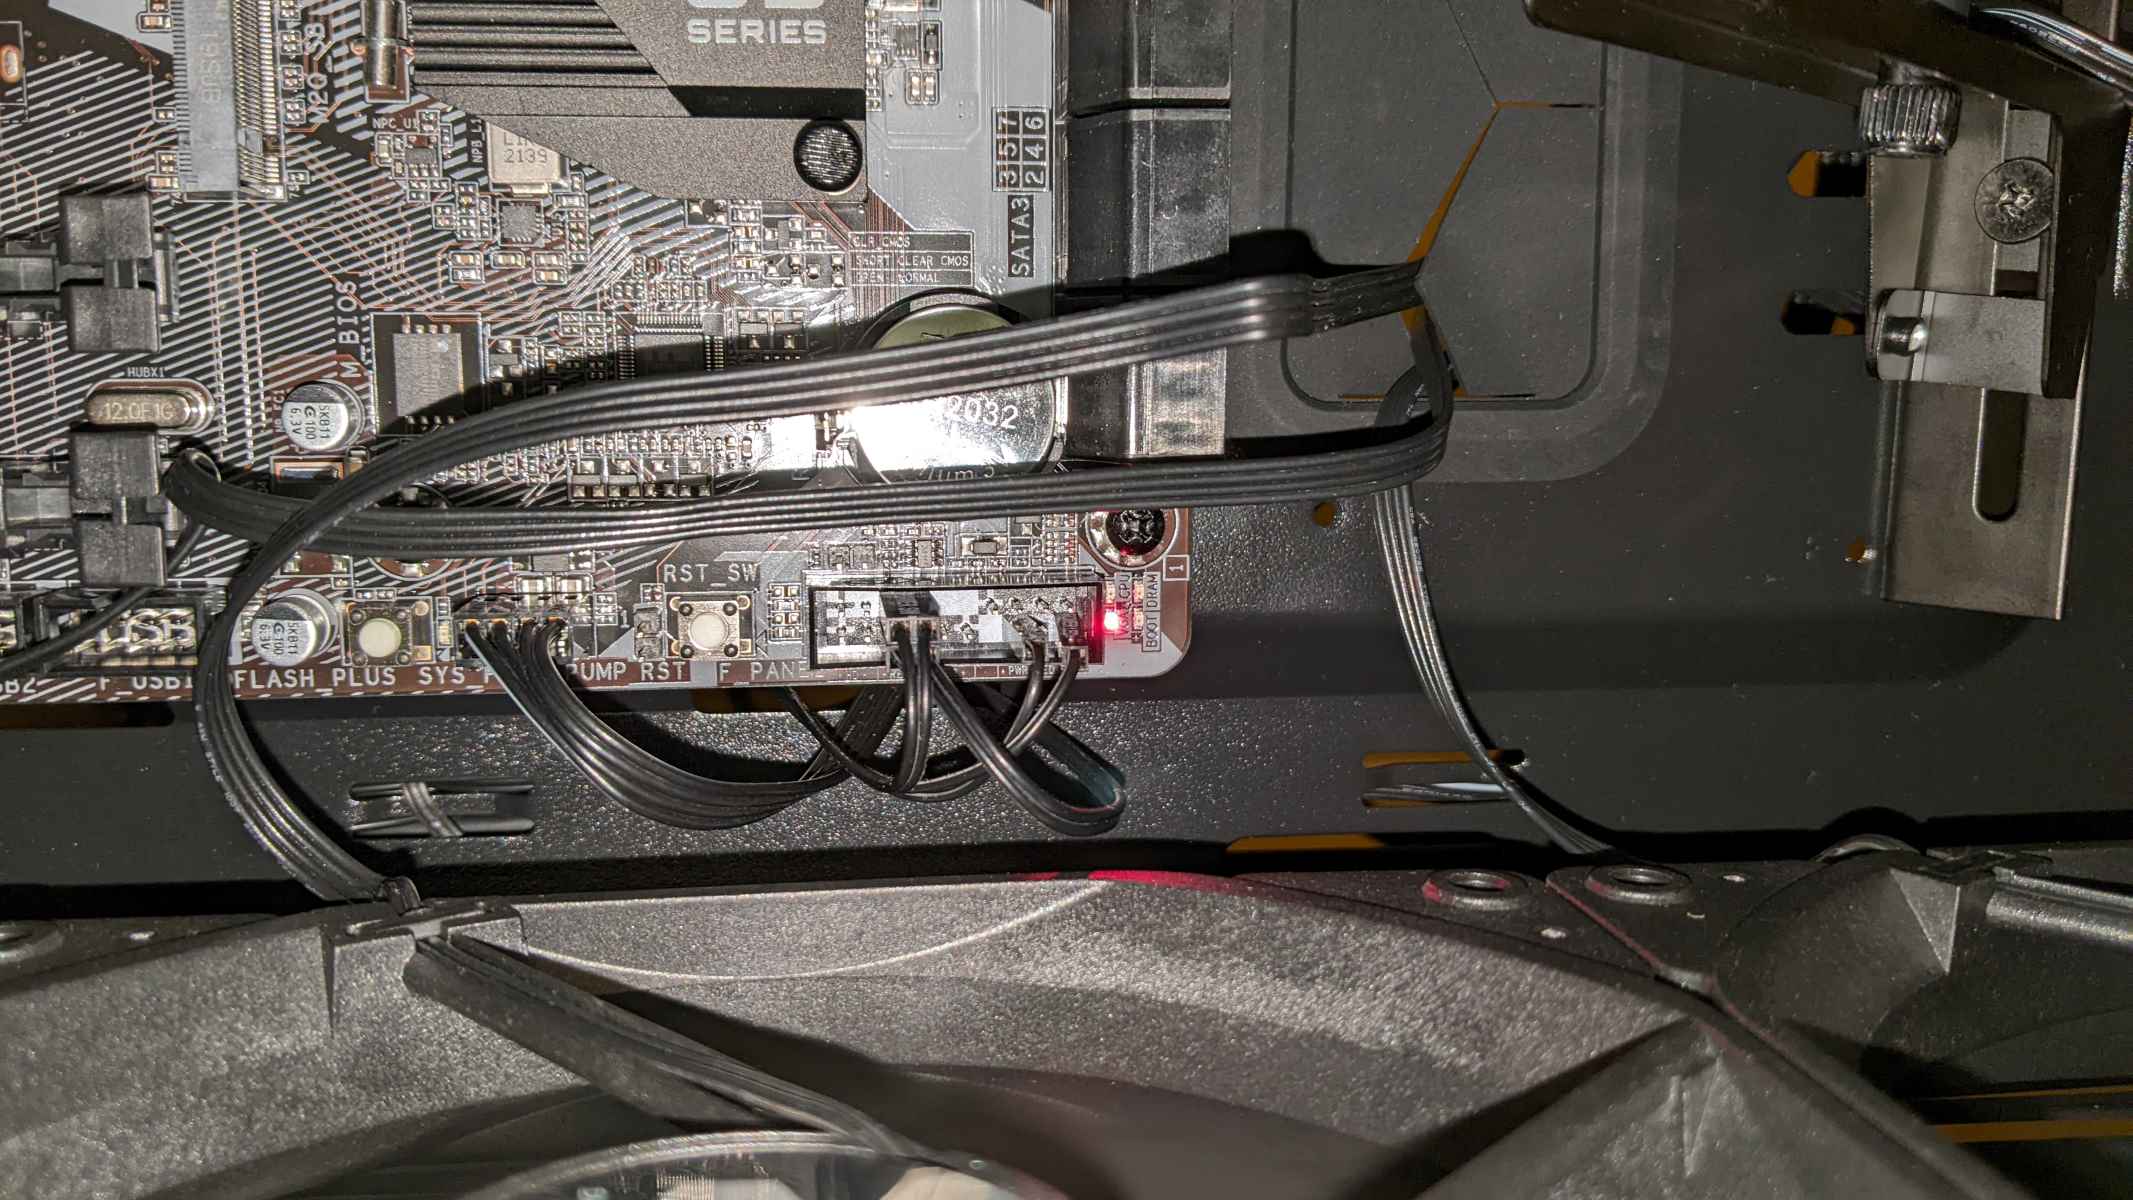
- Tidy cables: Take a moment to arrange and tidy the cables inside your computer case. Using cable ties or Velcro straps, secure any loose cables and ensure they are out of the way during the disconnection process. This will make it easier to access and disconnect the graphics card.
- Ensure proper lighting: Make sure your workspace is well-lit to allow for clear visibility of the internal components of your computer. A desk lamp or overhead lighting can help in illuminating the area.
- Have a clean, static-free surface: Place a static-free surface, such as an anti-static mat or a clean, non-static surface like a wooden table, on which you can rest your computer case. This will prevent static electricity from building up and potentially damaging the components.
By preparing your workspace before proceeding with the disconnection process, you create a safe and organized environment for working with your computer’s internal components. With your workspace ready, let’s move on to the next step of removing the computer case.
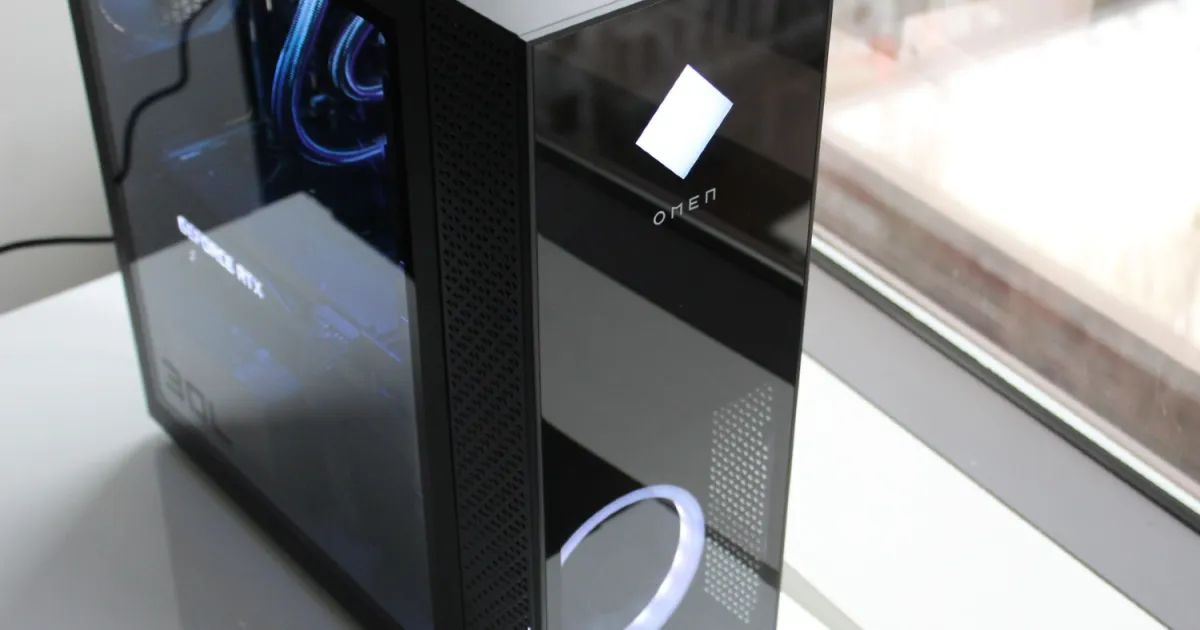
Step 3: Removing the computer case
Now that you have shut down your computer and prepared your workspace, the next step is to remove the computer case. Removing the case will give you access to the internal components, including the graphics card. Here’s how you can remove the computer case:
- Identify the case panels: Most computer cases have two side panels – a left panel and a right panel. Identify which panel needs to be removed to access the internal components. In most cases, it is the left panel.
- Locate the screws: Look for the screws that secure the side panel to the case. These screws are usually located at the back of the case. Use a screwdriver (typically a Phillips screwdriver) to remove these screws.
- Slide or lift the panel: Once the screws are removed, gently slide or lift the side panel off of the case. Some cases may have a latch or clip that needs to be released before the panel can be removed.
- Set aside the panel: Carefully set aside the removed panel in a safe place where it won’t get damaged. You may need to reinstall it later, so it’s important to keep it in good condition.
With the computer case open, you have now gained access to the internal components of your computer, including the graphics card. In the next step, we will guide you through locating the graphics card within your system.
Step 4: Locating the graphics card
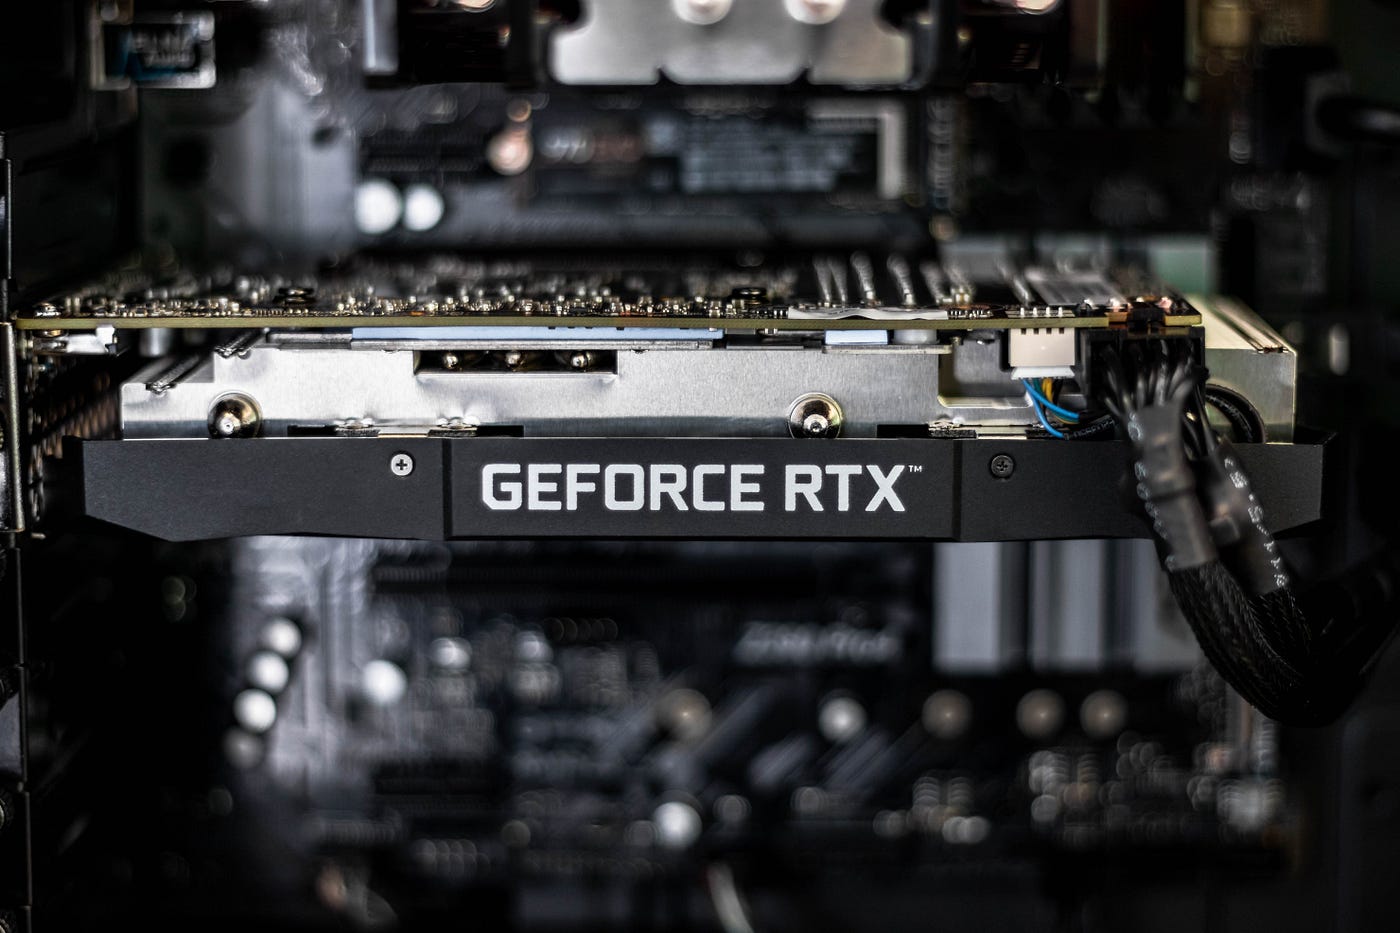
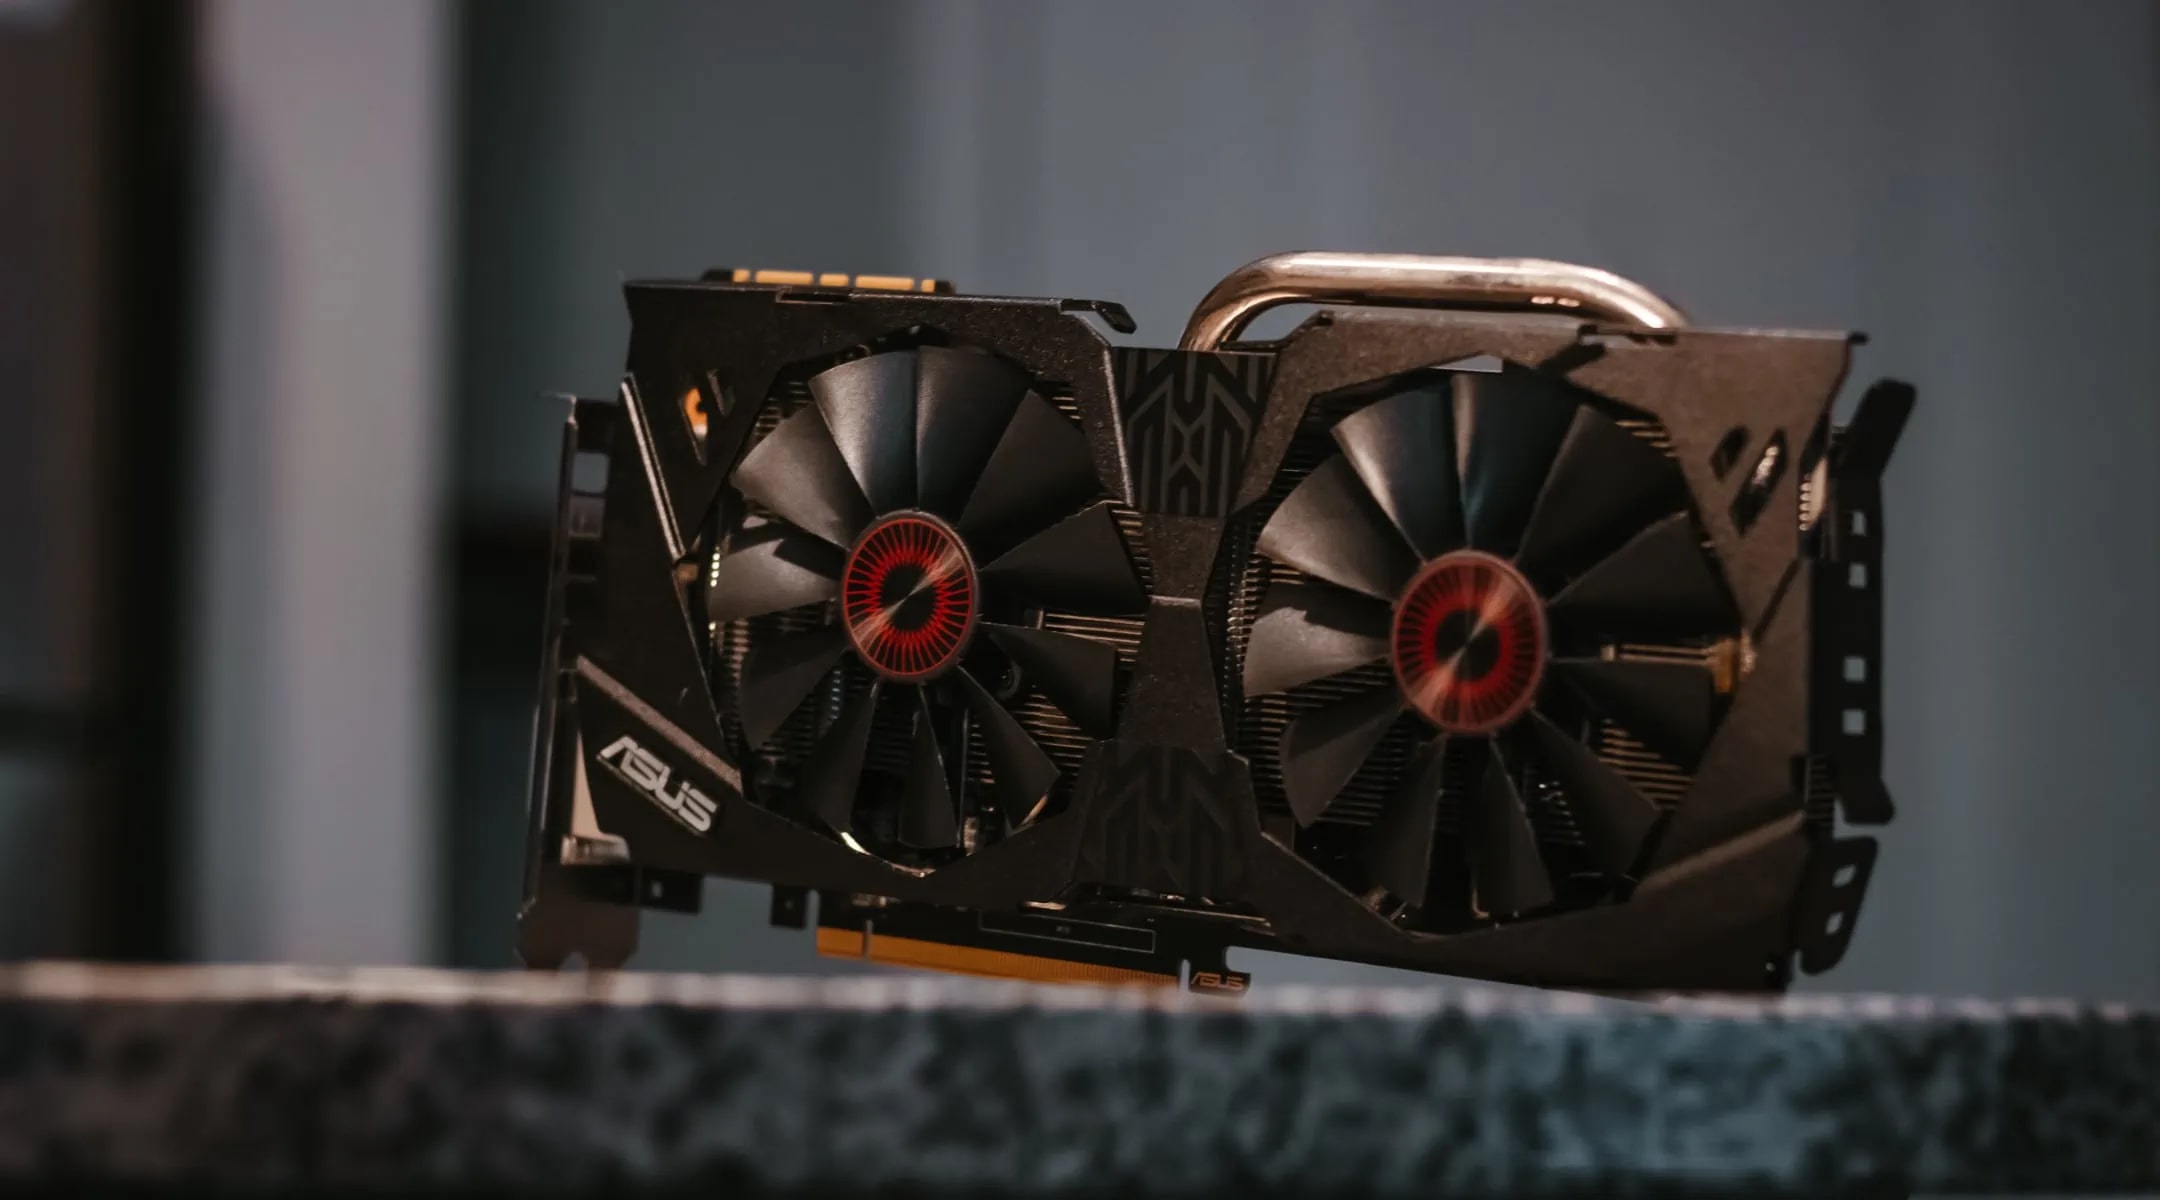
Now that you have removed the computer case, it’s time to locate the graphics card within your system. The graphics card is typically a large rectangular component, often located in one of the expansion slots on the motherboard. Follow these steps to locate the graphics card:
- Visually inspect the motherboard: Take a look at the motherboard and locate the slots where the expansion cards are inserted. These slots are usually towards the bottom of the motherboard and are longer in size compared to other slots.
- Identify the graphics card: Among the expansion cards that may be present, search for the graphics card. It will have a large heatsink/fan assembly on one side and multiple video output ports on the metal bracket located on the back of the case.
- Take note of any attachments: Pay attention to any additional power connectors that are connected to the graphics card. These connectors provide extra power to ensure optimal performance. Make sure to disconnect these cables in the next steps.
It’s important to note that the exact location of the graphics card and its attachment method can vary depending on the computer model and motherboard configuration. If you’re having trouble locating your graphics card, consult your computer’s user manual or the manufacturer’s website for detailed information.
Now that you have identified the graphics card within your system, we will move on to the next step of disconnecting the power connectors.
Step 5: Detaching the power connectors
After locating the graphics card, the next step is to detach the power connectors. Graphics cards require additional power to function properly, and these power connectors need to be disconnected before removing the card from the slot. Follow these steps to detach the power connectors from the graphics card:
- Identify the power connectors: Take a look at the graphics card and locate the power connectors. These connectors are usually located on the side or top edge of the card and are labeled as “PCIe power” or “GPU power”.
- Determine the type of power connectors: Graphics cards typically use one of two types of power connectors – 6-pin or 8-pin. Depending on your card, you may have one or two of these connectors. Consult your graphics card manual or manufacturer’s specifications to confirm the type of connectors needed.
- Disconnect the power connectors: Gently grasp the plug of the power connector and pull it straight out of the socket on the graphics card. Take care not to yank or twist the connector, as this could potentially damage the card or the connector itself.
- Repeat for additional connectors: If your graphics card has multiple power connectors, repeat the same process for each connector until all the power connectors are detached.
Once you have detached all the power connectors from the graphics card, make sure to set the connectors aside in a safe place. These connectors will be reused if you decide to reinstall the same graphics card or connect a new one. With the power connectors detached, we can now proceed to the next step of disconnecting the display connectors.
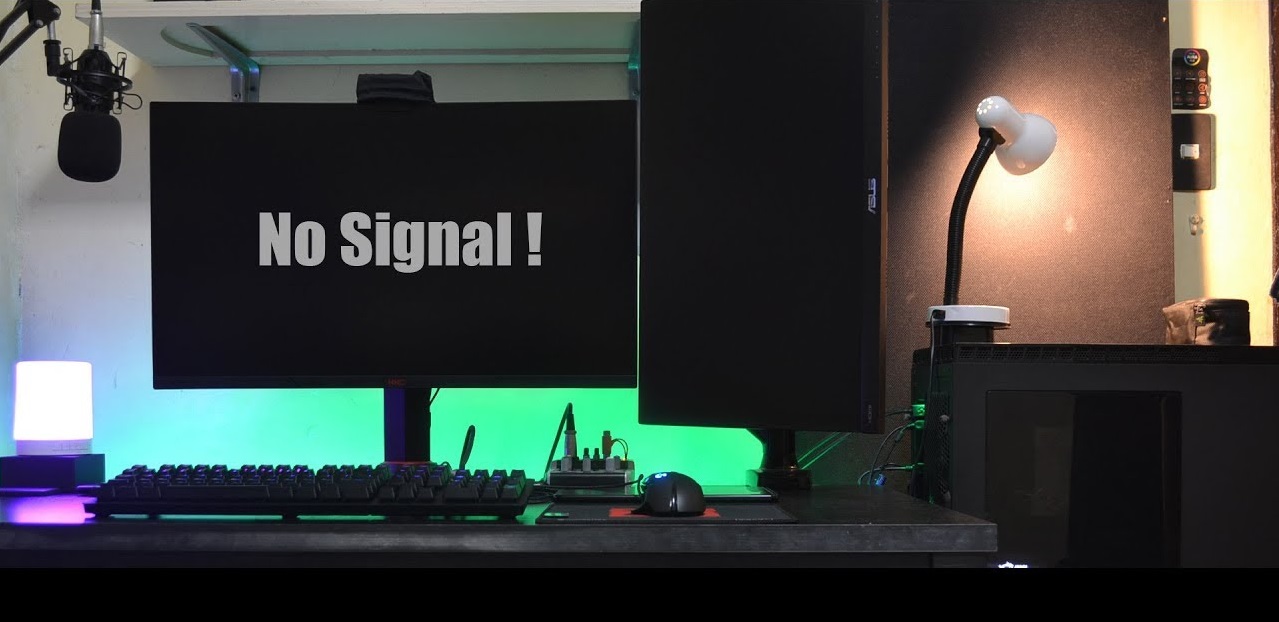
Step 6: Disconnecting the display connectors
Now that you have detached the power connectors, it’s time to disconnect the display connectors. These connectors are responsible for transferring the video signal from the graphics card to your monitor. Follow these steps to disconnect the display connectors:
- Identify the display connectors: Take a look at the back of the graphics card and locate the display connectors. These connectors are usually located on the metal bracket and can include ports such as HDMI, DisplayPort, DVI, or VGA.
- Determine the type of connectors: Depending on your monitor and the available ports on your graphics card, identify the type of display connectors you are currently using. This will help you determine the appropriate steps to disconnect them.
- Release any latches or screws: Some display connectors may have latches or screws that need to be released before they can be detached. Check the connectors for any locking mechanisms and follow the proper steps to release them.
- Disconnect the connectors: Gently grip the connector and carefully pull it straight out from the graphics card. Avoid applying excessive force or twisting the connector, as this could damage the card or the connector itself.
- Repeat for additional connectors: If you have multiple display connectors connected to the graphics card, repeat the same process for each connector until all display connectors are disconnected.
After disconnecting the display connectors, set them aside in a safe place. Ensure that the connectors are not bent or damaged during this process, as they will be reused if you choose to reinstall the same graphics card or connect a new one. With the display connectors disconnected, we can now move on to the next step of removing the graphics card from the slot.
Step 7: Removing the graphics card from the slot
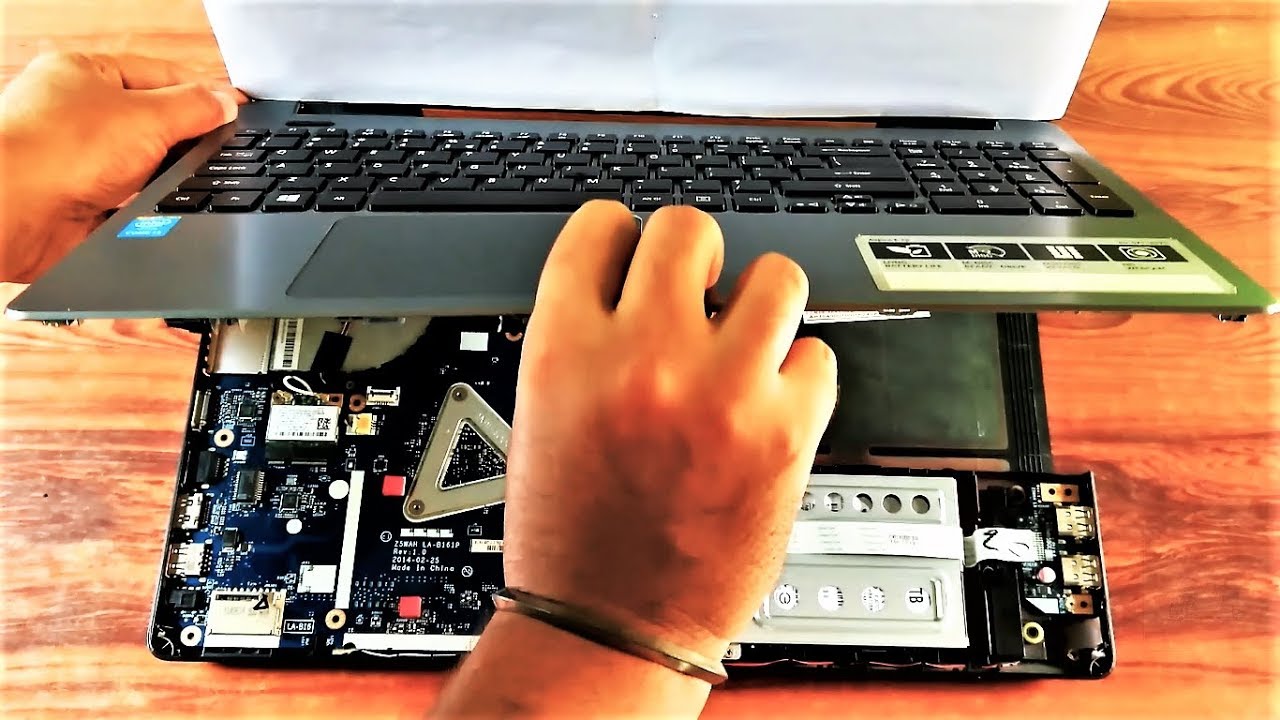
Now that you have disconnected the power and display connectors, it’s time to remove the graphics card from its slot. Removing the card requires careful handling to avoid any damage. Follow these steps to safely remove the graphics card:
- Identify the retention mechanism: Look for the retention mechanism that secures the graphics card in its slot. This mechanism can vary depending on the motherboard and case, but it usually involves a latch, screw, or release lever.
- Release the retention mechanism: If there is a latch or release lever, gently press or flip it to release the graphics card from the slot. If there is a screw, use a screwdriver to carefully loosen and remove it.
- Hold the graphics card securely: With the retention mechanism released, support the graphics card by holding its edges with both hands. Take care not to touch any of the components or contacts on the card.
- Remove the graphics card: Slowly and evenly pull the graphics card straight up from the slot. Avoid any tilting or twisting motions, as this can cause damage to the card or the slot.
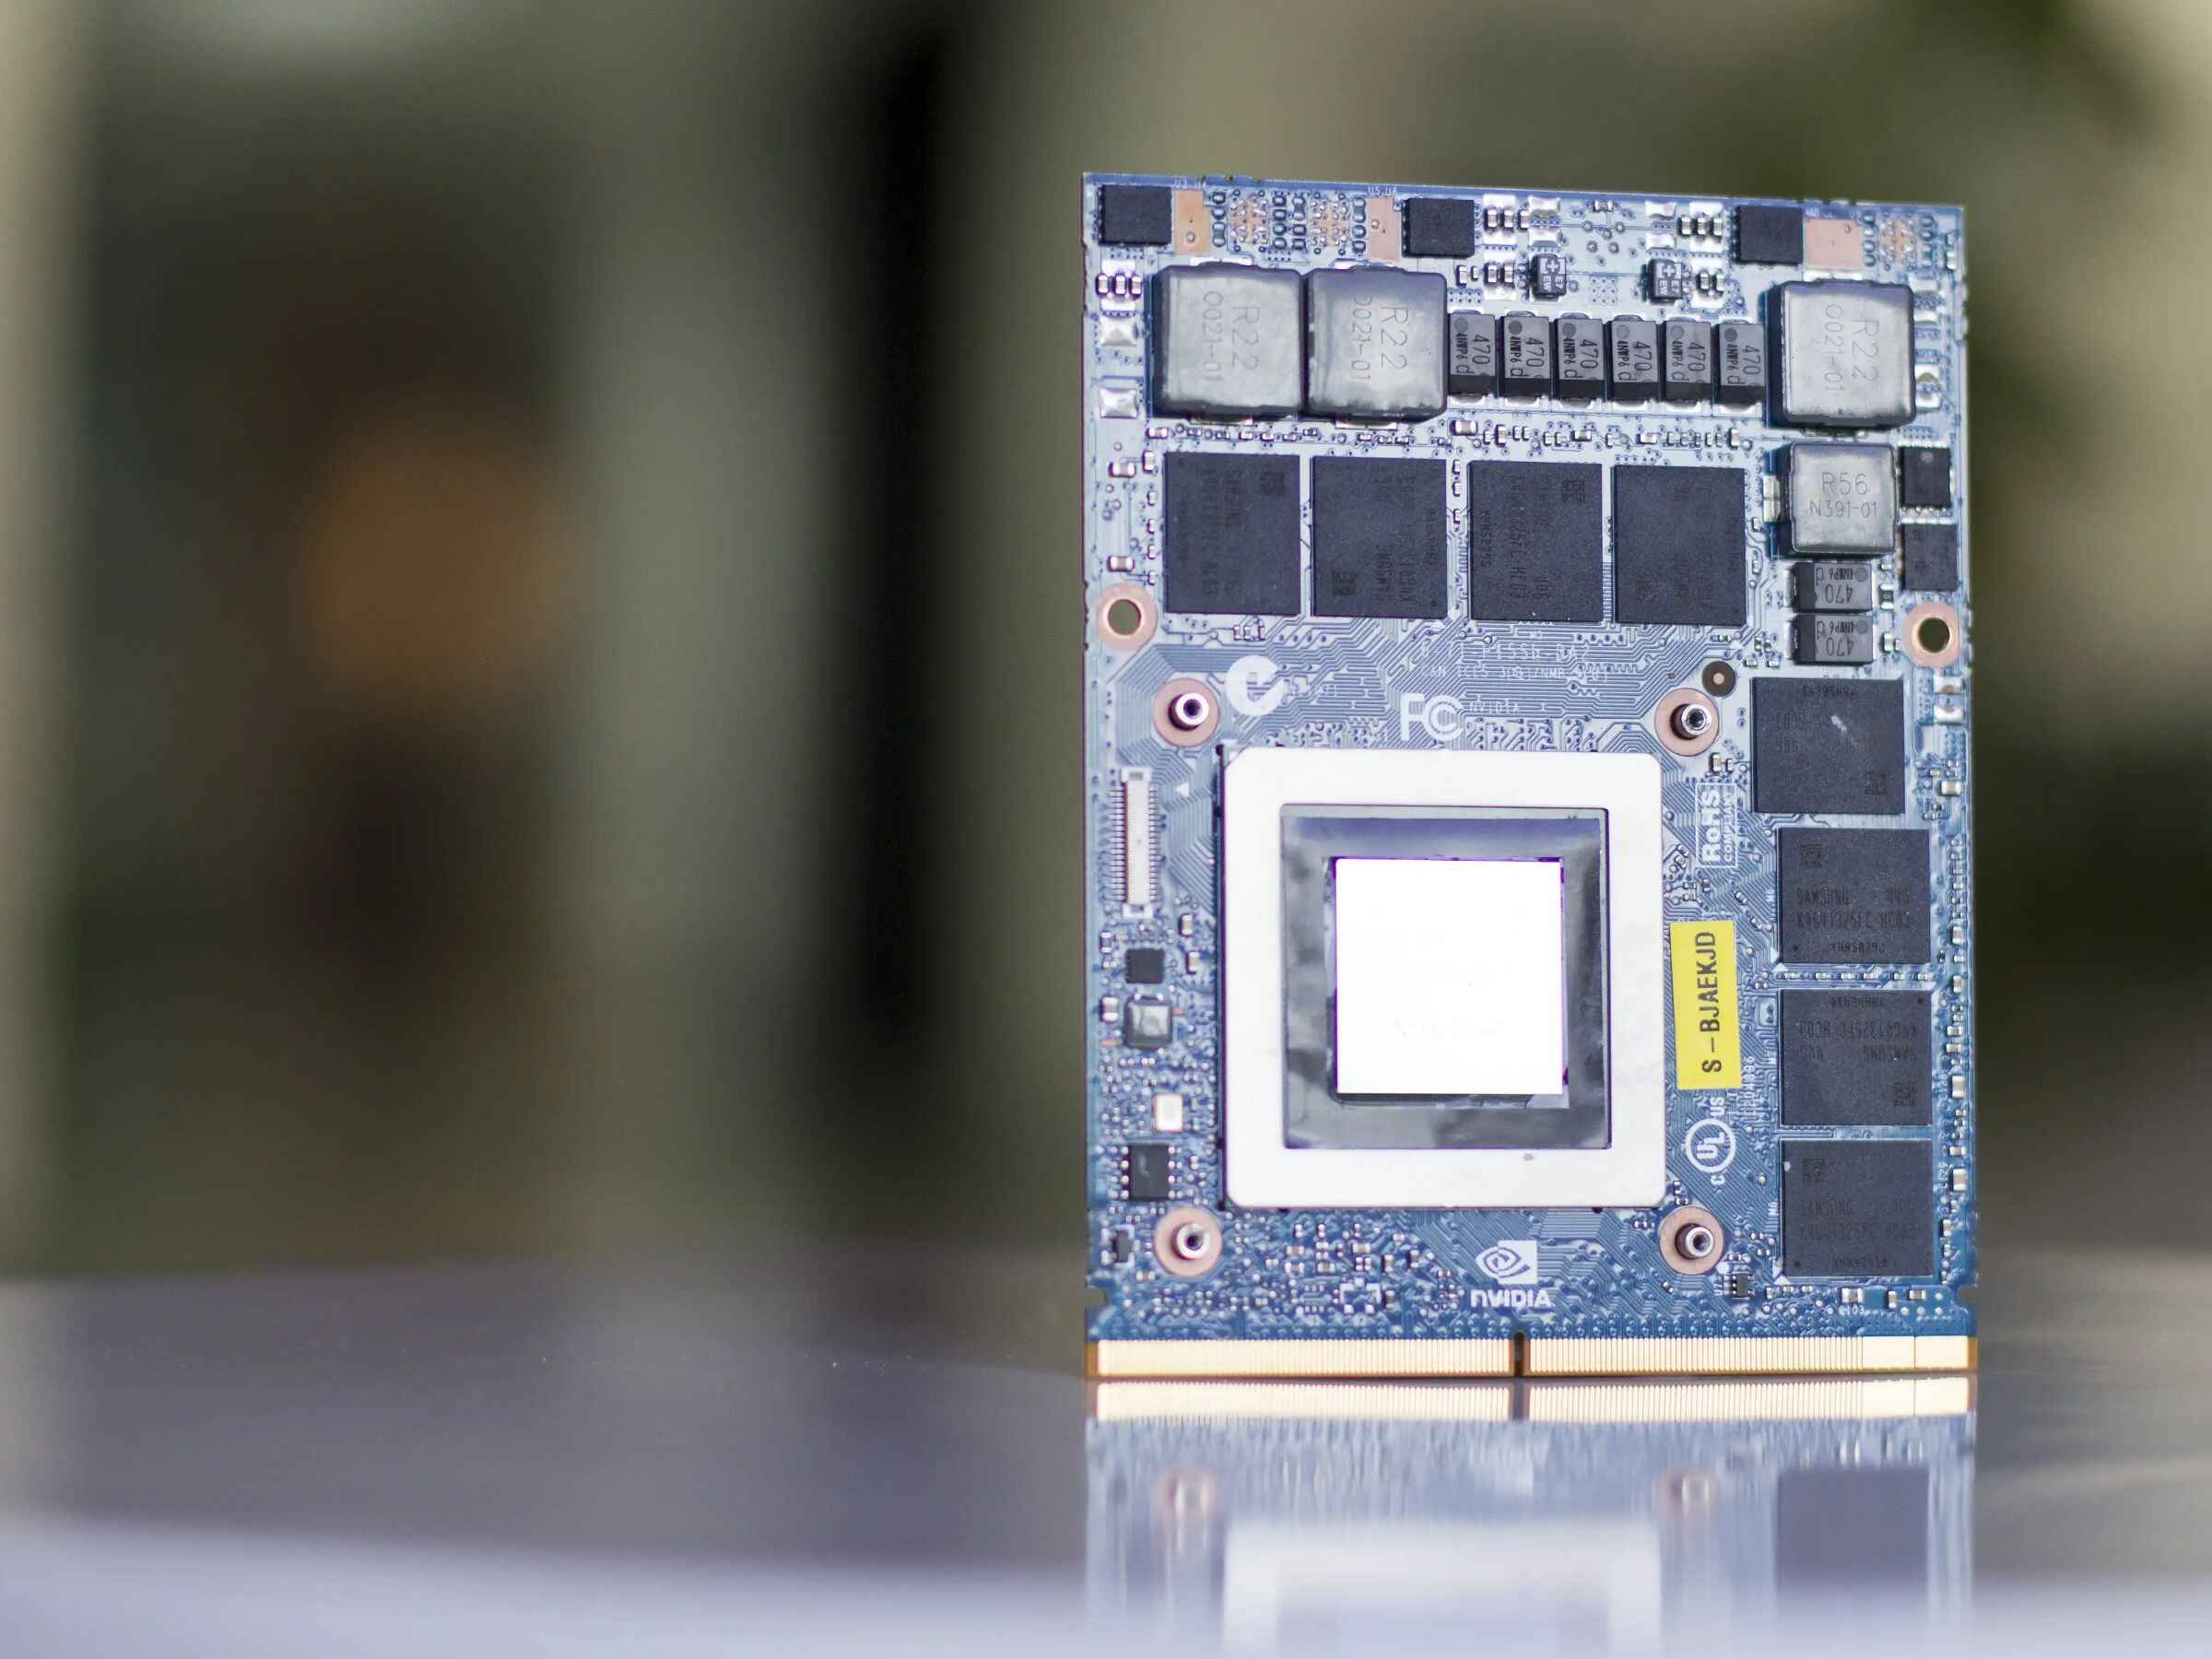
- Inspect the card and slot: After removing the graphics card, take a moment to visually inspect both the card and the slot. Check for any dust, debris, or visible damage. If necessary, use compressed air or a soft brush to remove any particles.
Once the graphics card is safely removed from the slot, place it in an anti-static bag or on an anti-static surface. This will help protect the card from electrostatic discharge while it is not in use. Remember to handle the graphics card with care throughout this process to avoid any mishaps or damage.
With the graphics card successfully removed, you can now choose to install a new graphics card (if desired) or proceed with the reinstallation process. The choice is yours!
Step 8: Installing a new graphics card (optional)
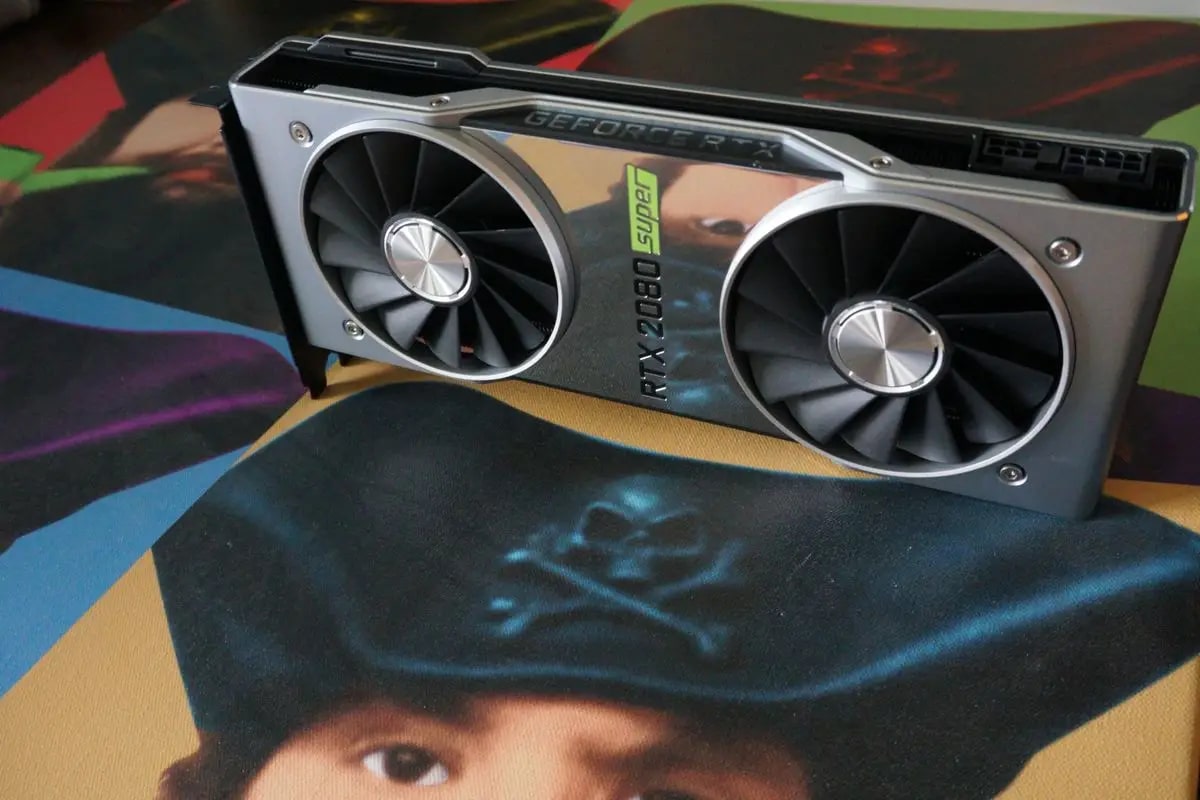
If you have chosen to upgrade or replace your graphics card, you can follow this optional step to install the new card. Installing a new graphics card can provide enhanced gaming performance, improved graphics capabilities, or additional monitor support. Here’s how you can install a new graphics card:
- Choose a compatible graphics card: Ensure that the new card you have selected is compatible with your computer’s specifications, power supply, and available expansion slots. Refer to the graphics card’s documentation or the manufacturer’s website for compatibility information.
- Prepare the computer: Follow Steps 1 to 5 in reverse order to shut down the computer, prepare the workspace, detach the power and display connectors, and remove any existing graphics card from the slot.
- Align the new card: Hold the new graphics card by its edges and align it with the appropriate expansion slot on the motherboard. Make sure the card is facing the correct direction, with the ports facing towards the rear of the case.
- Insert the new card: Gently and firmly press the graphics card into the slot until it is fully seated. You may hear a clicking sound or feel resistance as the card locks into place. Make sure the card is secure and properly aligned with the slot.
- Secure the new card: If necessary, use screws or any retention mechanism provided with the case to secure the new graphics card in place. This will help prevent any accidental dislodging or movement of the card.
- Connect power and display connectors: Reconnect the power connectors and display connectors to the new graphics card, following the same steps outlined in Steps 5 and 6. Ensure that the connectors are properly seated and securely connected.
- Close the computer case: Carefully align the side panel of the computer case with the slots on the case and slide or lift it into place. Secure the panel with the appropriate screws or latches to close the case.
- Power on and test: Plug in the power cord, power on your computer, and check if the new graphics card is recognized. Install the necessary drivers and software provided by the graphics card manufacturer to ensure optimal performance.
By following these steps, you can successfully install a new graphics card in your computer, unlocking its full potential and enjoying enhanced graphical capabilities. Remember to consult the documentation provided with your new graphics card for any specific installation instructions or additional steps required.
Congratulations! You have now completed the process of disconnecting a graphics card and, if desired, installing a new one. Always remember to take necessary precautions and handle computer components with care to avoid any damage. With these skills, you can confidently upgrade or troubleshoot your graphics card whenever needed.
Conclusion
Disconnecting a graphics card may seem daunting at first, but with the right tools and knowledge, it can be a smooth and straightforward process. By carefully following each step outlined in this guide, you can safely disconnect your graphics card without causing any damage to your computer or components.
Remember to shut down your computer properly, prepare your workspace, and remove the computer case to gain access to the graphics card. Locate the graphics card on the motherboard and disconnect the power and display connectors with caution. Finally, remove the graphics card from its slot, inspect it for any damage, and store it safely if needed.
If you choose to install a new graphics card, make sure it is compatible with your system and follow the correct installation steps. Align the new card, insert it into the appropriate expansion slot, secure it if necessary, and reconnect the power and display connectors. Close the computer case, power on your system, and install the necessary drivers and software.
By successfully disconnecting and potentially installing a new graphics card, you can enhance your computer’s performance and enjoy improved graphics capabilities for gaming, creative work, or everyday tasks. If at any point you feel unsure or uncomfortable with the process, consult your computer’s user manual or seek assistance from a professional.
Remember, patience and attention to detail are key throughout the entire process. By following these steps, you can confidently disconnect and handle a graphics card, allowing you to upgrade, troubleshoot, or maintain your computer’s hardware with ease.