Introduction
Removing a graphics card from a motherboard is a straightforward process that may be necessary for various reasons. Whether you’re upgrading to a newer model, troubleshooting issues, or performing general maintenance, knowing how to safely remove a graphics card is essential. In this guide, we will take you through the step-by-step process to ensure a smooth removal without causing any damage to your motherboard or other components.
A graphics card, also known as a GPU (Graphics Processing Unit), is responsible for rendering images, videos, and other graphical elements on your computer. Over time, you may need to replace or upgrade your graphics card to keep up with the demands of modern software and games. By removing the existing graphics card, you open up the possibility of installing a newer, more powerful card that can enhance your computer’s performance and visual capabilities.
Before you begin the removal process, it’s essential to prepare your workspace. Ensure that you have enough room to work comfortably and that you have all the necessary tools. It’s always a good idea to read through the instructions provided by the manufacturer of your specific graphics card, as they may have specific steps or guidelines for removal.
In the following sections, we will guide you through the step-by-step process of removing a graphics card from your motherboard. By following these instructions carefully, you can safely remove your graphics card and avoid any potential issues or damage.
Step 1: Prepare the Workspace
Before you begin the process of removing a graphics card from your motherboard, it’s crucial to prepare your workspace. This will help you work efficiently and prevent any accidental damage to your computer or its components. Follow these steps to ensure a safe and organized workspace:
1. Find a spacious area: Make sure you have enough room to comfortably work around your computer tower. Clear any clutter or obstructions on your desk or work surface to create an open and tidy workspace.
2. Gather the necessary tools: You will need a few tools to safely remove the graphics card. These commonly include a screwdriver (check the type needed for your specific case screws), an anti-static wrist strap or mat, a flashlight (if needed for better visibility), and a container or tray to keep track of screws and small parts.
3. Power down your computer: Shut down your computer completely and unplug it from the power source. This is essential to prevent any electrical accidents or damage to your hardware.
4. Ground yourself: Before working on your computer’s internal components, it’s crucial to discharge any static electricity from your body. You can do this by wearing an anti-static wrist strap attached to a grounded surface or by touching a grounded metal object regularly.
5. Prepare proper lighting: Ensure you have adequate lighting in your workspace to clearly see the components inside your computer tower. This will make it easier to identify screws, connectors, and any potential issues during the removal process.
By following these steps and preparing your workspace properly, you set yourself up for a successful and safe removal process. Once you have everything set up, you can move on to the next step: shutting down your computer and disconnecting the power.
Step 2: Shut Down the Computer and Disconnect Power
Before you begin removing the graphics card, it’s crucial to shut down your computer properly and disconnect the power source. This step is essential to ensure your safety and avoid any accidental damage to your system. Follow these instructions carefully:
1. Save your work and close all applications: Before shutting down your computer, save any unsaved work and close all open applications. This will prevent the loss of any important data and ensure a smooth shutdown process.
2. Shut down the computer: Click on the Start menu and select the “Shut Down” option. Allow the computer to complete the shutdown process before proceeding further.
3. Unplug the power source: Once your computer is completely shut down, locate the power cord at the back of your computer tower. Carefully unplug it from the wall outlet or surge protector. This step ensures that there is no electrical power flowing through your system during the removal process.
4. Press the power button: After disconnecting the power source, press the power button on your computer tower for a few seconds. This helps discharge any residual power remaining in the system.
5. Ground yourself: Remember to ground yourself again before proceeding. If you’re wearing an anti-static wrist strap, make sure it is securely fastened. This will prevent any static electricity discharge that could potentially damage your computer components.
By taking the time to shut down your computer properly and disconnect the power, you ensure a safe working environment for the removal of the graphics card. Once you have completed this step, you are ready to move on to the next stage: locating and removing the GPU cover.
Step 3: Locate and Remove the GPU Cover
With the computer properly shut down and the power disconnected, the next step is to locate and remove the GPU cover. The GPU cover is a protective casing that houses the graphics card and keeps it secure. Follow these steps to locate and remove the GPU cover:
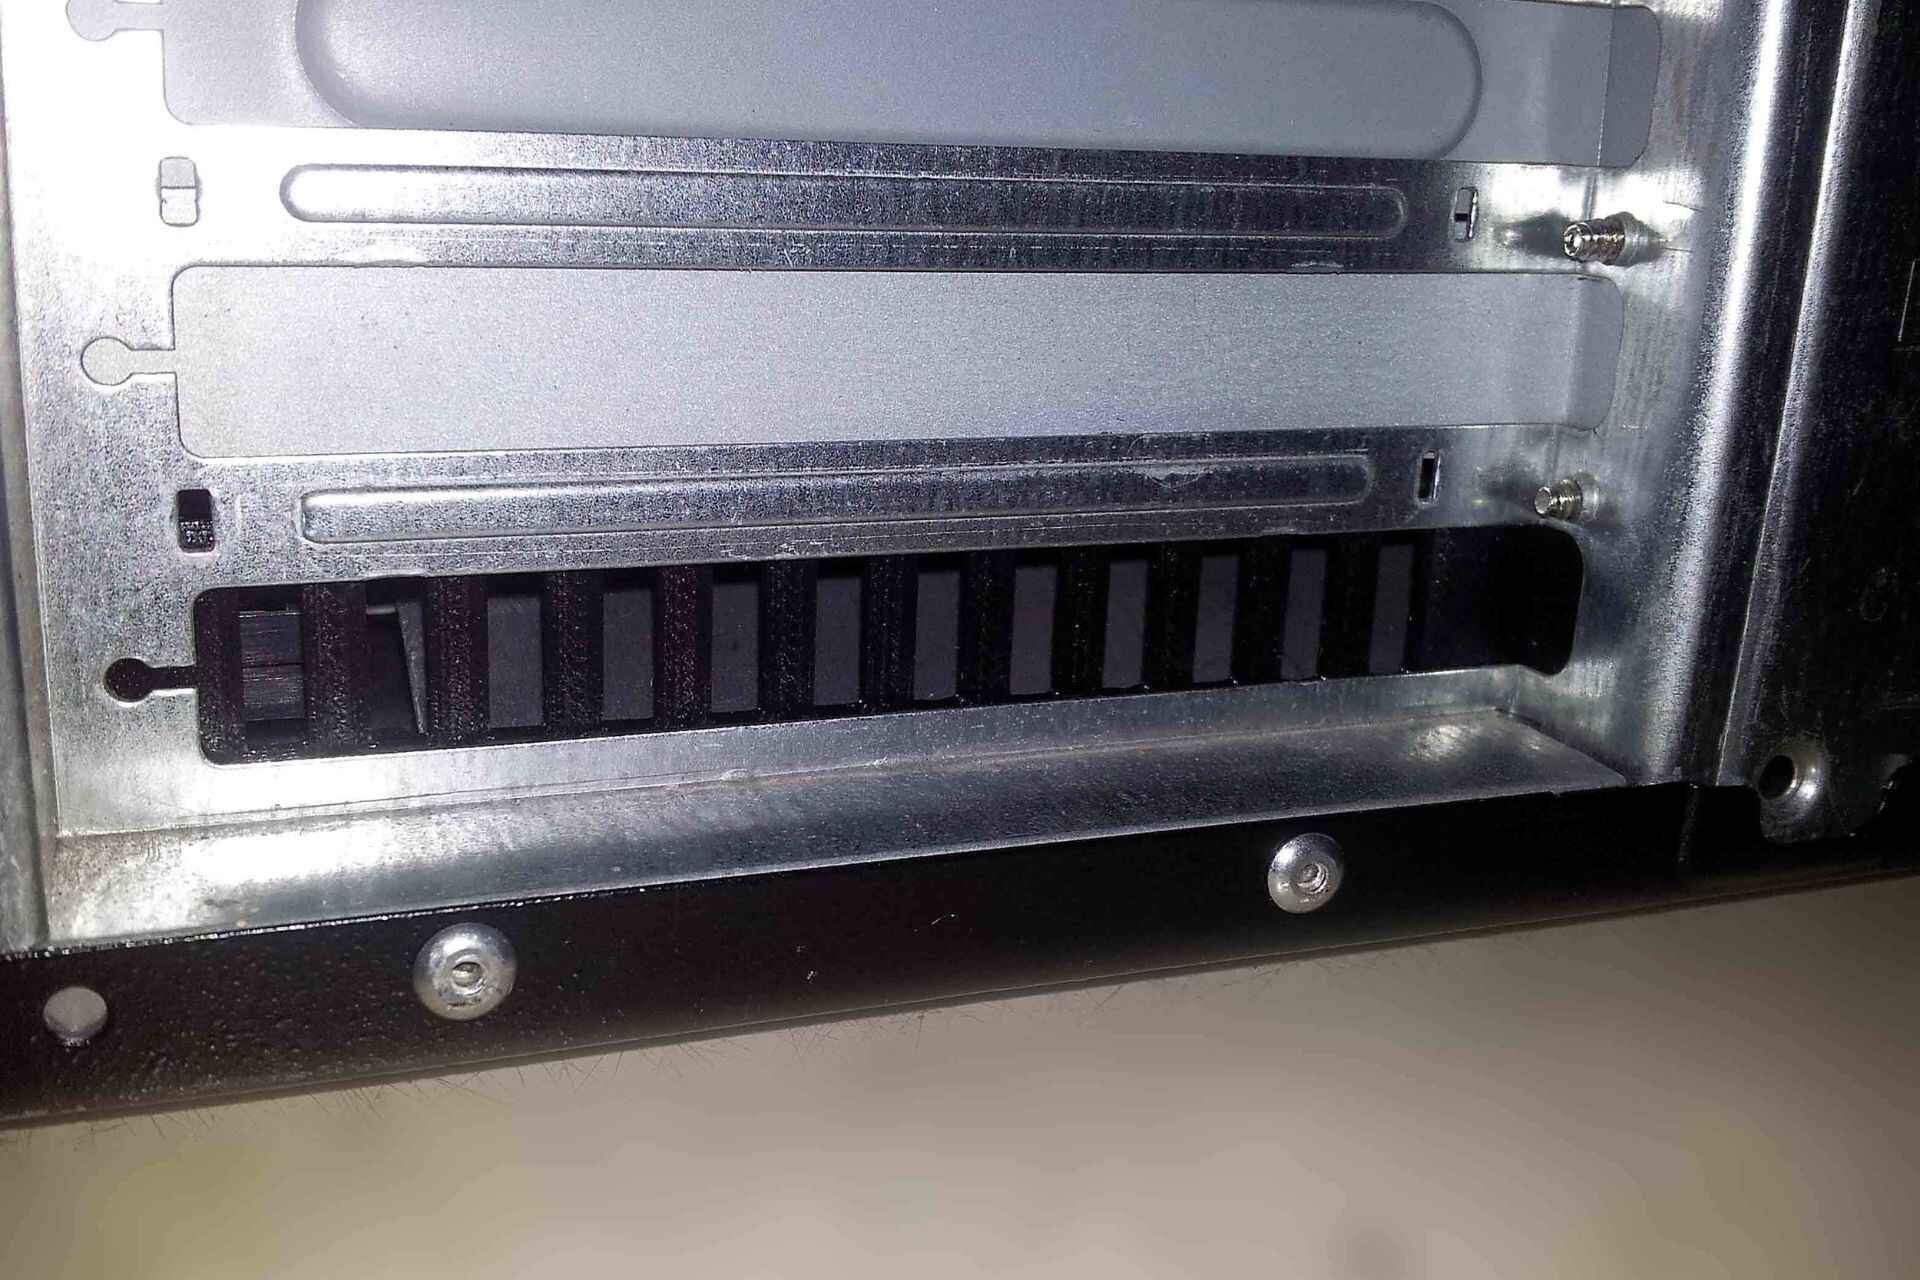
1. Identify the GPU cover: The GPU cover is typically located on the side or back of your computer tower. It may have screws or clips securing it in place. Look for any markings or indications that point to the location of the graphics card.
2. Remove the screws or clips: If the GPU cover is held in place by screws, use a screwdriver that matches the screw head type to remove them. Place the screws in a safe container or tray to avoid misplacing them. If the cover is secured with clips, gently press or release the clips to loosen the cover.
3. Slide or remove the GPU cover: Once the screws or clips are removed, carefully slide or remove the GPU cover from its position. Some covers may require you to lift or twist them slightly to release them. Take caution to avoid any excessive force and ensure a smooth removal.
4. Set aside the GPU cover: Place the removed GPU cover in a secure location where it won’t get damaged. You may need to reinstall it later, depending on your situation.
5. Inspect the interior: With the GPU cover removed, take a moment to inspect the interior of your computer tower. Check for any dust or debris that may have accumulated, as this can affect the performance and cooling of your graphics card. If needed, use compressed air or an anti-static brush to clean the area before proceeding.
By locating and removing the GPU cover, you have successfully gained access to the graphics card. Now you’re ready to move on to the next step: disconnecting the power cables from the graphics card.
Step 4: Disconnect Power Cables from the Graphics Card
With the GPU cover removed, the next step is to disconnect the power cables from the graphics card. Graphics cards require a power supply to function properly, and these cables need to be disconnected before removing the card. Follow these steps to safely disconnect the power cables:
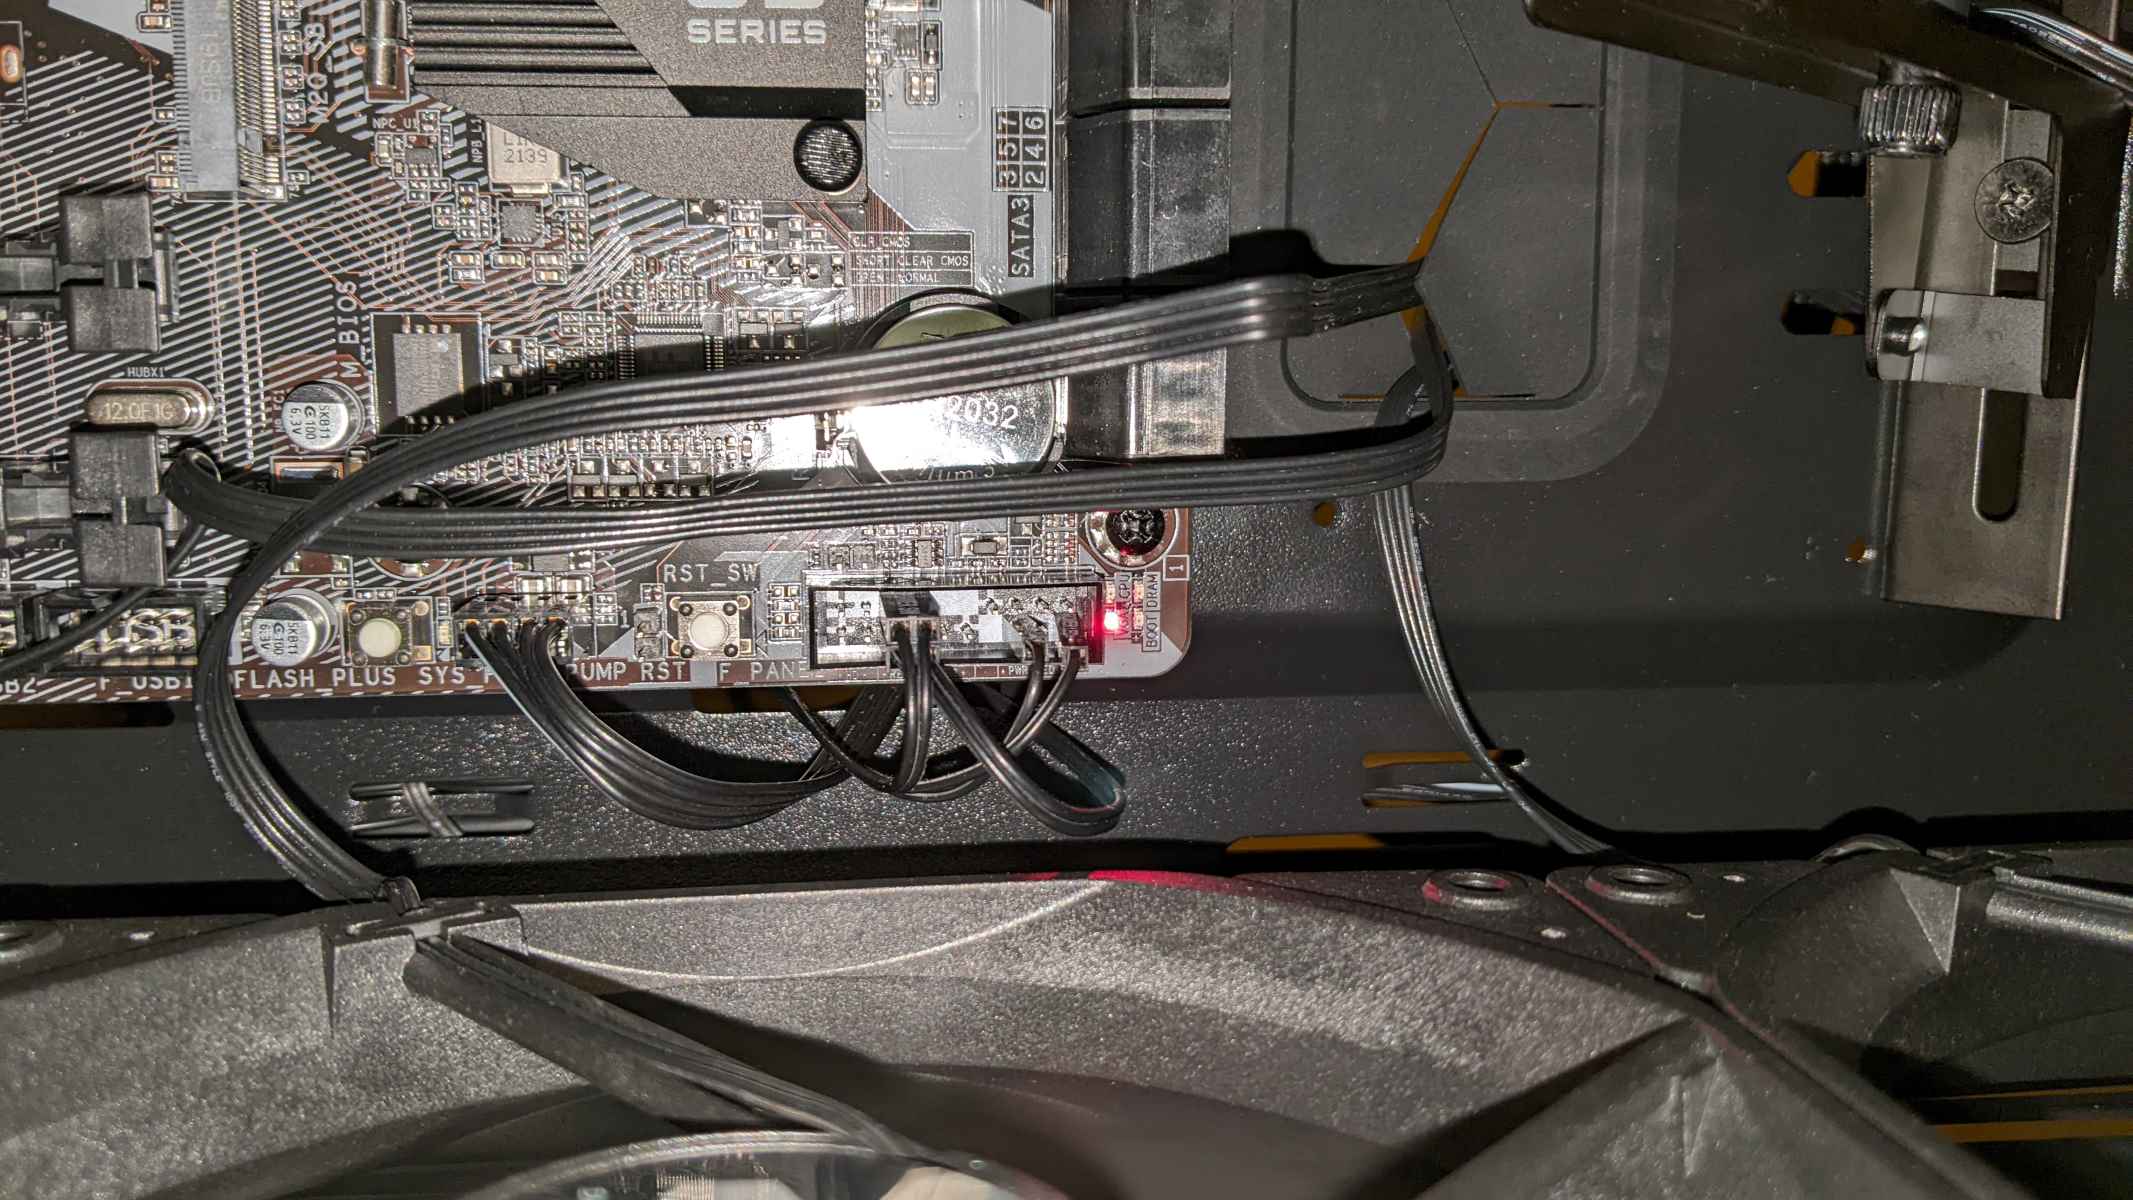
1. Identify the power cables: Look for the power cables connected to your graphics card. Most modern graphics cards require both a 6-pin and/or 8-pin power connector. These connectors are typically located on the top or side of the graphics card.
2. Disconnect the power cables: Gently grasp the power cable connectors and firmly pull them straight out of the graphics card. Be careful not to bend or force the connectors as this may damage them. Some power connectors may have clips or locks that need to be released before removing the cables.
3. Set aside the power cables: Once the power cables are disconnected, set them aside in a safe place. Keep them organized and avoid tangling the cables, as you may need to reconnect them later or use them with a new graphics card.
4. Avoid pulling on the cables: It’s important to note that you should never pull directly on the cables to remove them. Pulling on the cables can put stress on the connectors and potentially damage them. Always grip the connectors firmly and pull them straight out of the graphics card.
5. Repeat if necessary: Some graphics cards may require multiple power connectors. If your graphics card has more than one power connector, repeat the steps mentioned above to disconnect all the necessary cables.
By disconnecting the power cables, you have successfully severed the power supply to your graphics card, ensuring a safe removal process. Now you can proceed to the next step: removing any additional attachments present on the graphics card.
Step 5: Remove Any Additional Attachments
After disconnecting the power cables from the graphics card, it’s important to check for any additional attachments that may be connected to it. These attachments could include things like HDMI or DisplayPort cables, SLI bridges, or any other connections specific to your graphics card model. Follow these steps to remove any additional attachments:
1. Identify the additional attachments: Inspect the graphics card for any cables, connectors, or bridges that are attached to it. Look for any obvious connections or cables that may need to be disconnected.
2. Disconnect the attachments: Gently remove any cables or connectors that are connected to the graphics card. For cables like HDMI or DisplayPort, grip the connector and gently pull it straight out of the graphics card port. If there are any bridges or connectors, release any locks or clips and then carefully slide out or detach the component.
3. Set aside the attachments: Once the attachments are disconnected, place them aside in a safe location. Keep them organized and avoid mixing them with other components or cables to prevent confusion when reassembling the system later on.
4. Inspect for any hidden attachments: Sometimes, there may be smaller attachments or cables that are hidden or not immediately visible. Take a closer look around the graphics card area to ensure that all attachments have been removed. If you find any additional connections, follow the same steps to disconnect them.
5. Keep the attachments organized: To avoid misplacing or damaging any attachments, it is recommended to store them in a small container or bag. Labeling the container or bag can help you easily identify the specific attachments when needed in the future.
By removing any additional attachments from the graphics card, you ensure a clean and unobstructed removal process. Now that all the necessary components have been disconnected, you can move on to the next step: releasing the graphics card latch or screws.
Step 6: Release the Graphics Card Latch or Screws
After removing any additional attachments, the next step is to release the graphics card latch or screws. These secure the graphics card in the PCIe slot on the motherboard. Follow these steps to safely release the latch or screws:
1. Identify the latch or screws: Locate the latch or screws that are holding the graphics card in place. The latch is commonly found at the rear end of the PCIe slot, while screws may be present on both sides of the graphics card or at the rear end.
2. Release the latch: If your graphics card is secured with a latch, gently press or pull the latch to release it. Some latches may have a small lever that needs to be flipped up or down to unlock the graphics card. Make sure to release the latch fully to allow the graphics card to be removed smoothly.
3. Unscrew if necessary: If your graphics card is secured with screws, use a screwdriver that matches the screw heads and carefully unscrew them. Turn the screws counterclockwise until they are completely loosened. Avoid overtightening the screws or using excessive force, as this can damage the graphics card or the motherboard.
4. Keep screws organized: As you remove screws from the graphics card, place them in a secure container or tray to avoid misplacing them. It’s recommended to keep screws from different components separate to prevent confusion when reassembling your system.
5. Handle the graphics card with care: Once the latch is released or the screws are removed, carefully hold the graphics card by its edges. Avoid touching the exposed electrical contacts or the delicate components on the card to prevent any damage from static electricity or physical contact.
By releasing the graphics card latch or screws, you have unlocked the graphics card and can now proceed to the next step: gently removing the graphics card from the PCIe slot.
Step 7: Gently Remove the Graphics Card from the PCIe Slot
With the latch released or screws removed, it’s time to gently remove the graphics card from the PCIe slot on the motherboard. Follow these steps to ensure a smooth and safe removal:
1. Locate the PCIe slot: Identify the PCIe slot where the graphics card is installed. It is usually located towards the rear end of the motherboard and will have a long slot with a latch or screws on either side.
2. Hold the graphics card firmly: Grasp the graphics card firmly by the edges, ensuring that your fingers do not touch the electrical contacts or any delicate components. It’s essential to have a secure grip on the card to prevent accidental dropping or mishandling.
3. Gently lift the graphics card: Slowly lift the graphics card straight up out of the PCIe slot. Use gentle and even pressure to prevent any bending or damage to the card or motherboard. If the graphics card feels stuck, double-check to ensure that the latch or screws have been fully released.
4. Avoid excessive force: It’s crucial not to use excessive force or twist the graphics card while removing it. If you encounter any resistance, carefully inspect the PCIe slot and ensure that there are no obstructions or loose screws that could interfere with the removal process.
5. Place the graphics card in a safe location: Once the graphics card is fully removed from the PCIe slot, set it down on an anti-static surface or place it in an anti-static bag. Keep it in a safe location away from any potential sources of damage or static electricity.
By gently and securely removing the graphics card from the PCIe slot, you have successfully completed the removal process. Now, you can move on to the next step, which involves cleaning the PCIe slot if necessary or preparing to install a new graphics card if desired.
Step 8: Clean the PCIe Slot if Necessary
After removing the graphics card from the PCIe slot, it’s a good idea to clean the slot if you notice any dust or debris. This will ensure optimal performance and prevent any potential issues when installing a new graphics card. Follow these steps to clean the PCIe slot:
1. Prepare compressed air or anti-static brush: To clean the PCIe slot, you can either use compressed air or an anti-static brush. Compressed air can help dislodge any loose dust particles, while an anti-static brush can gently remove stubborn debris.
2. Hold the can of compressed air upright: If using compressed air, hold the can upright and follow the manufacturer’s instructions for proper usage. Direct short bursts of compressed air into the PCIe slot, targeting areas where dust may have accumulated. This will help blow away any loose particles.
3. Gently brush away debris: If using an anti-static brush, lightly brush along the edges and inside the PCIe slot to remove any remaining dust or debris. Be careful not to apply too much pressure or force, as this could potentially damage the metal contacts in the slot.
4. Inspect for remaining debris: After using compressed air or an anti-static brush, visually inspect the PCIe slot for any remaining debris. If necessary, repeat the cleaning process until the slot appears clean and free from any obstructions.
5. Avoid using liquids: It’s crucial to note that you should never use liquid cleaners or solvents to clean the PCIe slot. Liquids can potentially damage the electrical contacts or other components on the motherboard. Stick to using compressed air or anti-static brushes for safe and effective cleaning.
By cleaning the PCIe slot, you ensure optimal performance and prevent any potential issues caused by dust or debris. Now you can either proceed to the next step—installing a new graphics card—or conclude the process if you have completed the necessary maintenance or troubleshooting tasks.
Step 9: Insert the New Graphics Card (Optional)
If you are upgrading to a new graphics card or replacing the old one, this step guides you through the process of installing the new graphics card into the PCIe slot. Before proceeding, ensure that you have the correct graphics card for your system and have read the manufacturer’s instructions for installation. Follow these steps to insert the new graphics card:
1. Prepare the new graphics card: Take the new graphics card out of its packaging and verify that all necessary components, such as power cables or additional attachments, are included.
2. Locate the PCIe slot: Identify the PCIe slot on your motherboard where the new graphics card will be inserted. Ensure the slot is free from any obstructions or debris from the previous card.
3. Align the graphics card: Hold the new graphics card by its edges and align it carefully with the PCIe slot. The PCIe slot has a specific configuration and an open end that matches the connector on the graphics card. Ensure a proper alignment before proceeding.
4. Insert the graphics card: Gently push the graphics card straight into the PCIe slot. Apply even pressure to ensure a snug fit while taking care not to force or bend the card. The card should slide into place smoothly. Once fully inserted, the connectors on the graphics card should align with any available power connectors on the motherboard.
5. Secure the graphics card: If your graphics card uses screws, refer to the manufacturer’s instructions to locate the screw holes on the graphics card bracket. Align the graphics card bracket with the corresponding screw holes on the back of the computer case and use the appropriate screws to secure it in place. Do not overtighten the screws.
6. Reconnect power cables: If necessary, reconnect any power cables to the new graphics card. Ensure that the power cables are securely connected and that any locks or clips are engaged properly.
By following these steps, you have successfully inserted the new graphics card into the PCIe slot. You can now proceed to the final step of reestablishing the power connection and closing the GPU cover.
Step 10: Reconnect Power Cables and Close the GPU Cover
In the final step of the graphics card installation process, you will need to reconnect the power cables and close the GPU cover. This step ensures that the graphics card has the necessary power supply and is securely enclosed. Follow these steps to complete the installation:
1. Locate the power connectors: Identify the appropriate power connectors on the graphics card and ensure that they match the available power cables from your power supply unit. Common power connectors are 6-pin and 8-pin connectors.
2. Reconnect the power cables: Align the power connectors on the graphics card with the available power cables. Gently push the connectors into place until you feel them snap or lock securely. Take care to avoid any bending or forcing of the connectors.
3. Close the GPU cover: Align the GPU cover with the corresponding slots or tabs on the computer case. Ensure that the cover fits properly and does not apply any pressure to the graphics card. Once aligned, secure the cover by tightening any screws or locking mechanisms, if applicable.
4. Double-check all connections: Take a moment to review all the connections you have made. Ensure that the power cables are securely connected and that the GPU cover is properly closed. Additionally, check for any loose screws or components that may require tightening or adjustment.
5. Power on your computer: Once you have completed all the necessary connections and secured the GPU cover, you can proceed to power on your computer. Plug in the power cable, press the power button, and allow the computer to boot up. Verify that the new graphics card is detected and functioning correctly in your system.
Congratulations! You have successfully reconnected the power cables and closed the GPU cover. Your new graphics card is now installed and ready for use. Ensure that you install the latest drivers and software for optimal performance and enjoy your enhanced graphics capabilities!
Conclusion
Removing and installing a graphics card from a motherboard may seem like a daunting task, but by following the step-by-step guide outlined in this article, you can successfully complete the process. Whether you are upgrading to a newer model, troubleshooting issues, or performing general maintenance, having the knowledge and skills to safely handle a graphics card is essential.
Throughout the process, we emphasized the importance of preparation, including creating a proper workspace, shutting down the computer, and disconnecting the power. Taking these precautions ensures a safe working environment and protects your computer and its components from any potential damage caused by static electricity or electrical accidents.
We also provided detailed instructions for each step, including locating and removing the GPU cover, disconnecting the power cables, removing any additional attachments, releasing the graphics card latch or screws, gently removing the graphics card from the PCIe slot, cleaning the PCIe slot if necessary, and inserting a new graphics card if desired.
By following these steps diligently, you can safely remove and install a graphics card, and if needed, clean the PCIe slot for optimal performance. Remember, it’s important to handle your graphics card with care, avoid applying excessive force, and take necessary precautions to protect against static electricity.
It’s always recommended to consult the manufacturer’s instructions specific to your graphics card model and consult any supplementary documentation, as they may provide additional guidelines or precautions. Additionally, if you are uncomfortable with performing these tasks yourself, it’s advisable to seek professional assistance from an experienced technician.
With the knowledge gained from this guide, you can confidently upgrade or replace your graphics card, enhancing your computer’s performance and unlocking new graphical capabilities. Whether you’re a gamer, designer, or someone who relies on graphics-intensive applications, a properly installed and functioning graphics card can make a significant difference in your computing experience.
Remember to keep your graphics card drivers up to date and regularly maintain your system to ensure optimal performance. By following the steps outlined in this guide and exercising caution and care, you can successfully remove and install a graphics card, giving your system the power and visual prowess it deserves.