Introduction
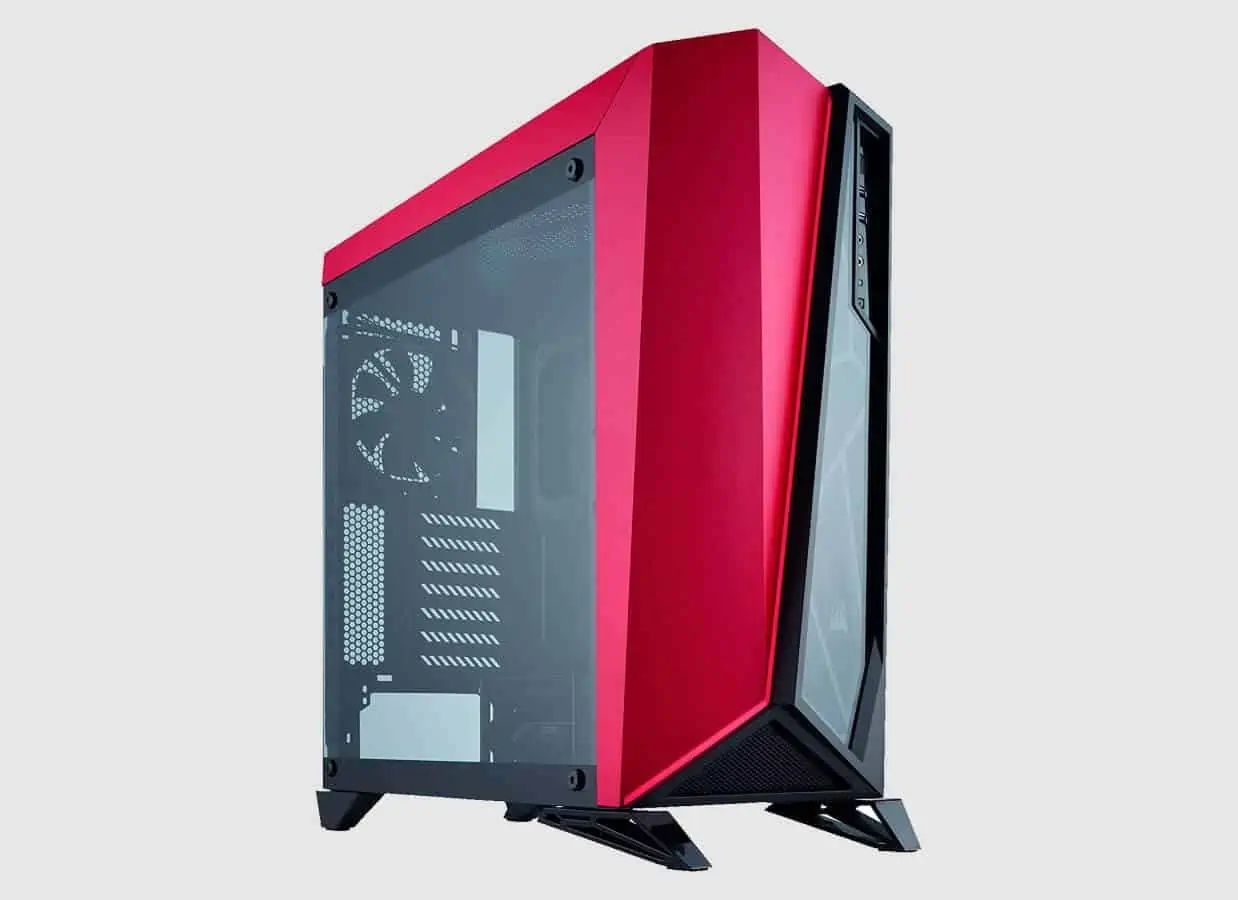
Welcome to the world of motherboards! These complex pieces of hardware are the backbone of any computer system, connecting all the crucial components that make your computer run. While motherboards generally work silently behind the scenes, you may occasionally come across a situation where a small yet conspicuous red light appears on your motherboard. But what does it mean? Should you be worried? In this article, we will dive into the world of red lights on motherboards, exploring their significance and possible causes.
Motherboards are the central hub that connects various components like the CPU, RAM, storage devices, and peripherals. They also host the BIOS (Basic Input/Output System) that initializes the system and manages basic operations. When everything is running smoothly, you won’t usually see any indication lights on the motherboard. However, the appearance of a red light can be a cause for concern.
The red light on a motherboard is an indicator that something may be wrong with your system. It serves as a warning signal that notifies you of potential issues. The problem could be as minor as a loose cable connection or as serious as a failure of a crucial component. It’s essential to understand the possible causes behind the red light so that you can take appropriate steps to diagnose and resolve the problem.
In the following sections, we will explore some common reasons for the appearance of a red light on a motherboard. We will discuss overheating, faulty components, power supply issues, and boot failure as potential culprits. Additionally, we will provide steps for troubleshooting these problems, giving you the knowledge necessary to resolve the issue and get your system back up and running smoothly.
What is the Red Light on a Motherboard?
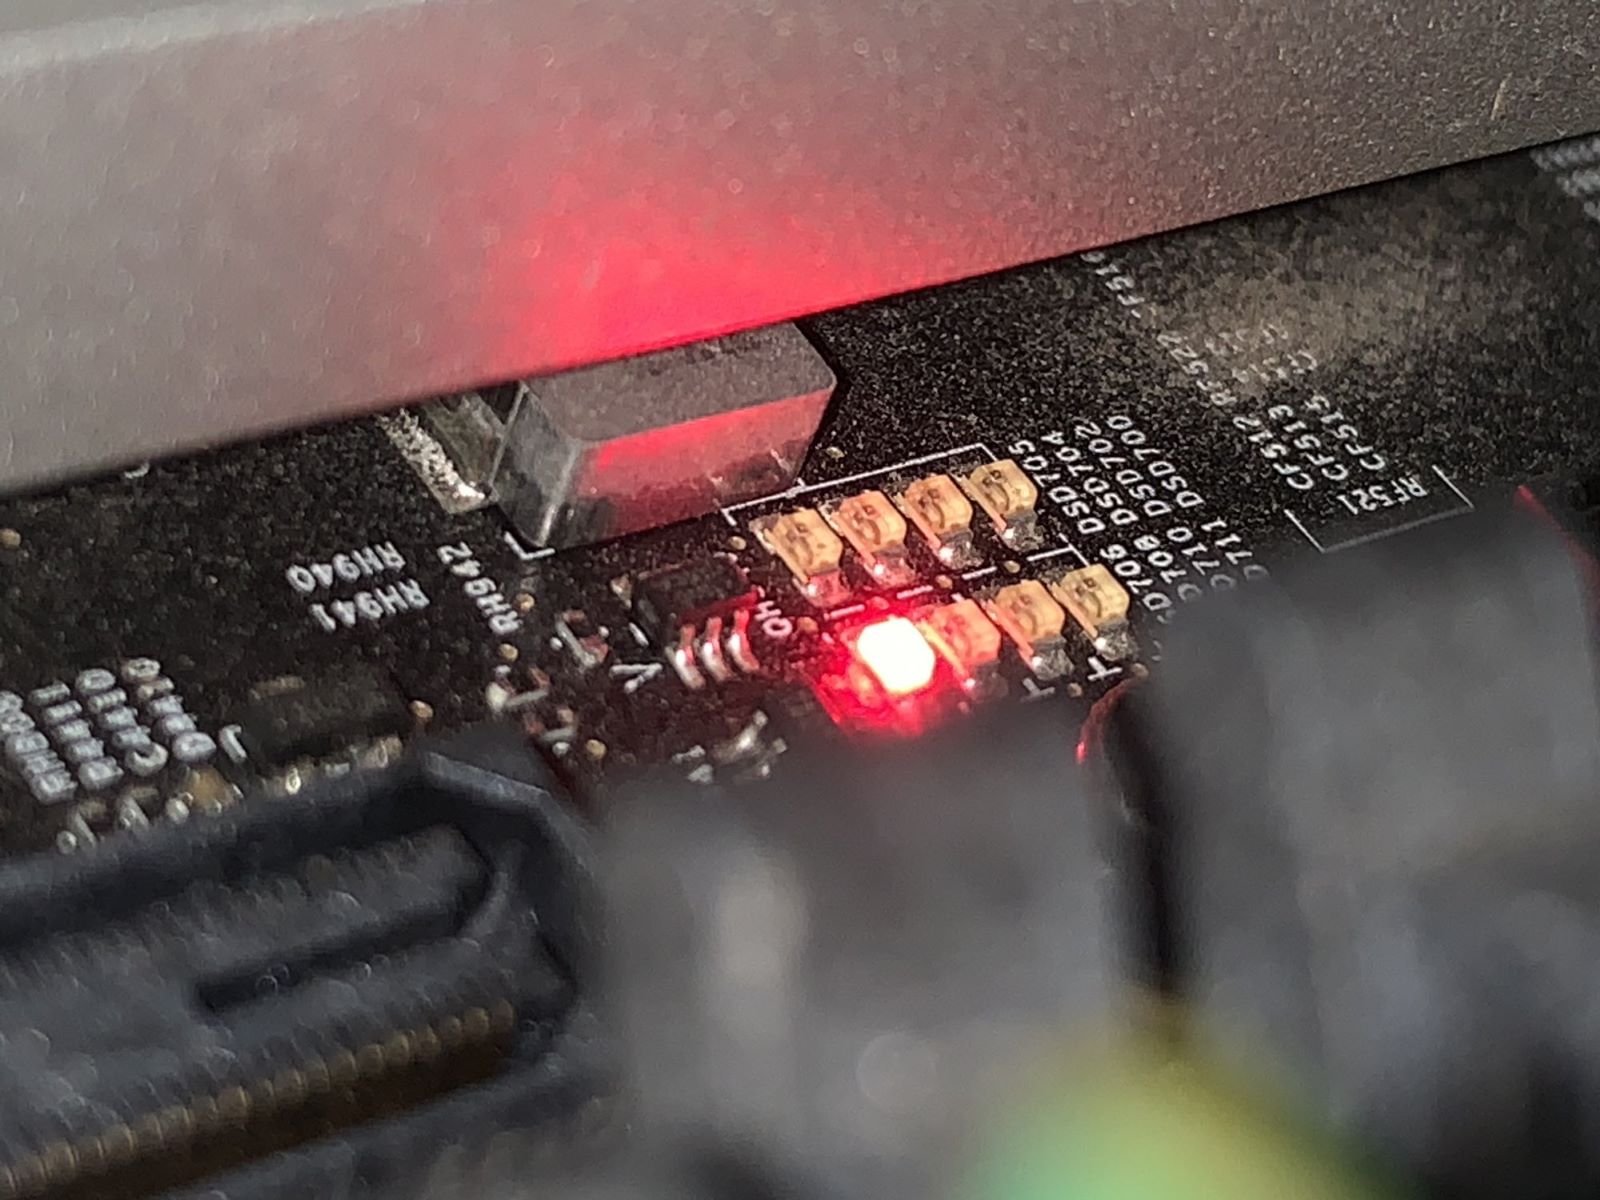
The red light on a motherboard, often referred to as a “debug” or “status” LED, is a small indicator light that illuminates in case of certain hardware issues. It is typically located near the CPU socket or near the motherboard’s edge, depending on the manufacturer. The purpose of this light is to provide visual feedback to users and technicians regarding system health and potential problems.
When the motherboard detects a problem, such as an error in the hardware or a failure to initialize a critical component, it activates the red light. Different motherboard models may have specific meanings associated with the red light, indicated by specific patterns or codes. These patterns can vary between manufacturers, so it’s essential to consult the motherboard’s user manual or manufacturer’s website for accurate information.
The red light serves as an early warning system, alerting users that something is amiss with their hardware. It’s worth noting that the red light alone doesn’t precisely pinpoint the exact issue; rather, it guides users towards further investigation to identify and resolve the underlying problem. It’s the first step in troubleshooting and identifying potential hardware failures that require attention.
The red light can indicate a wide range of issues, including overheating, faulty components, power supply problems, and boot failures. By paying attention to this small yet significant indicator, users can get a glimpse into the health of their system and take the necessary steps to diagnose and fix the problem. In the following sections, we will explore these common causes in more detail and discuss troubleshooting steps to resolve them.
Common Causes of a Red Light on a Motherboard
The appearance of a red light on a motherboard can be attributed to several common causes. By understanding these causes, you can better diagnose and resolve the issue. Here are the most frequent culprits behind a red light on a motherboard:
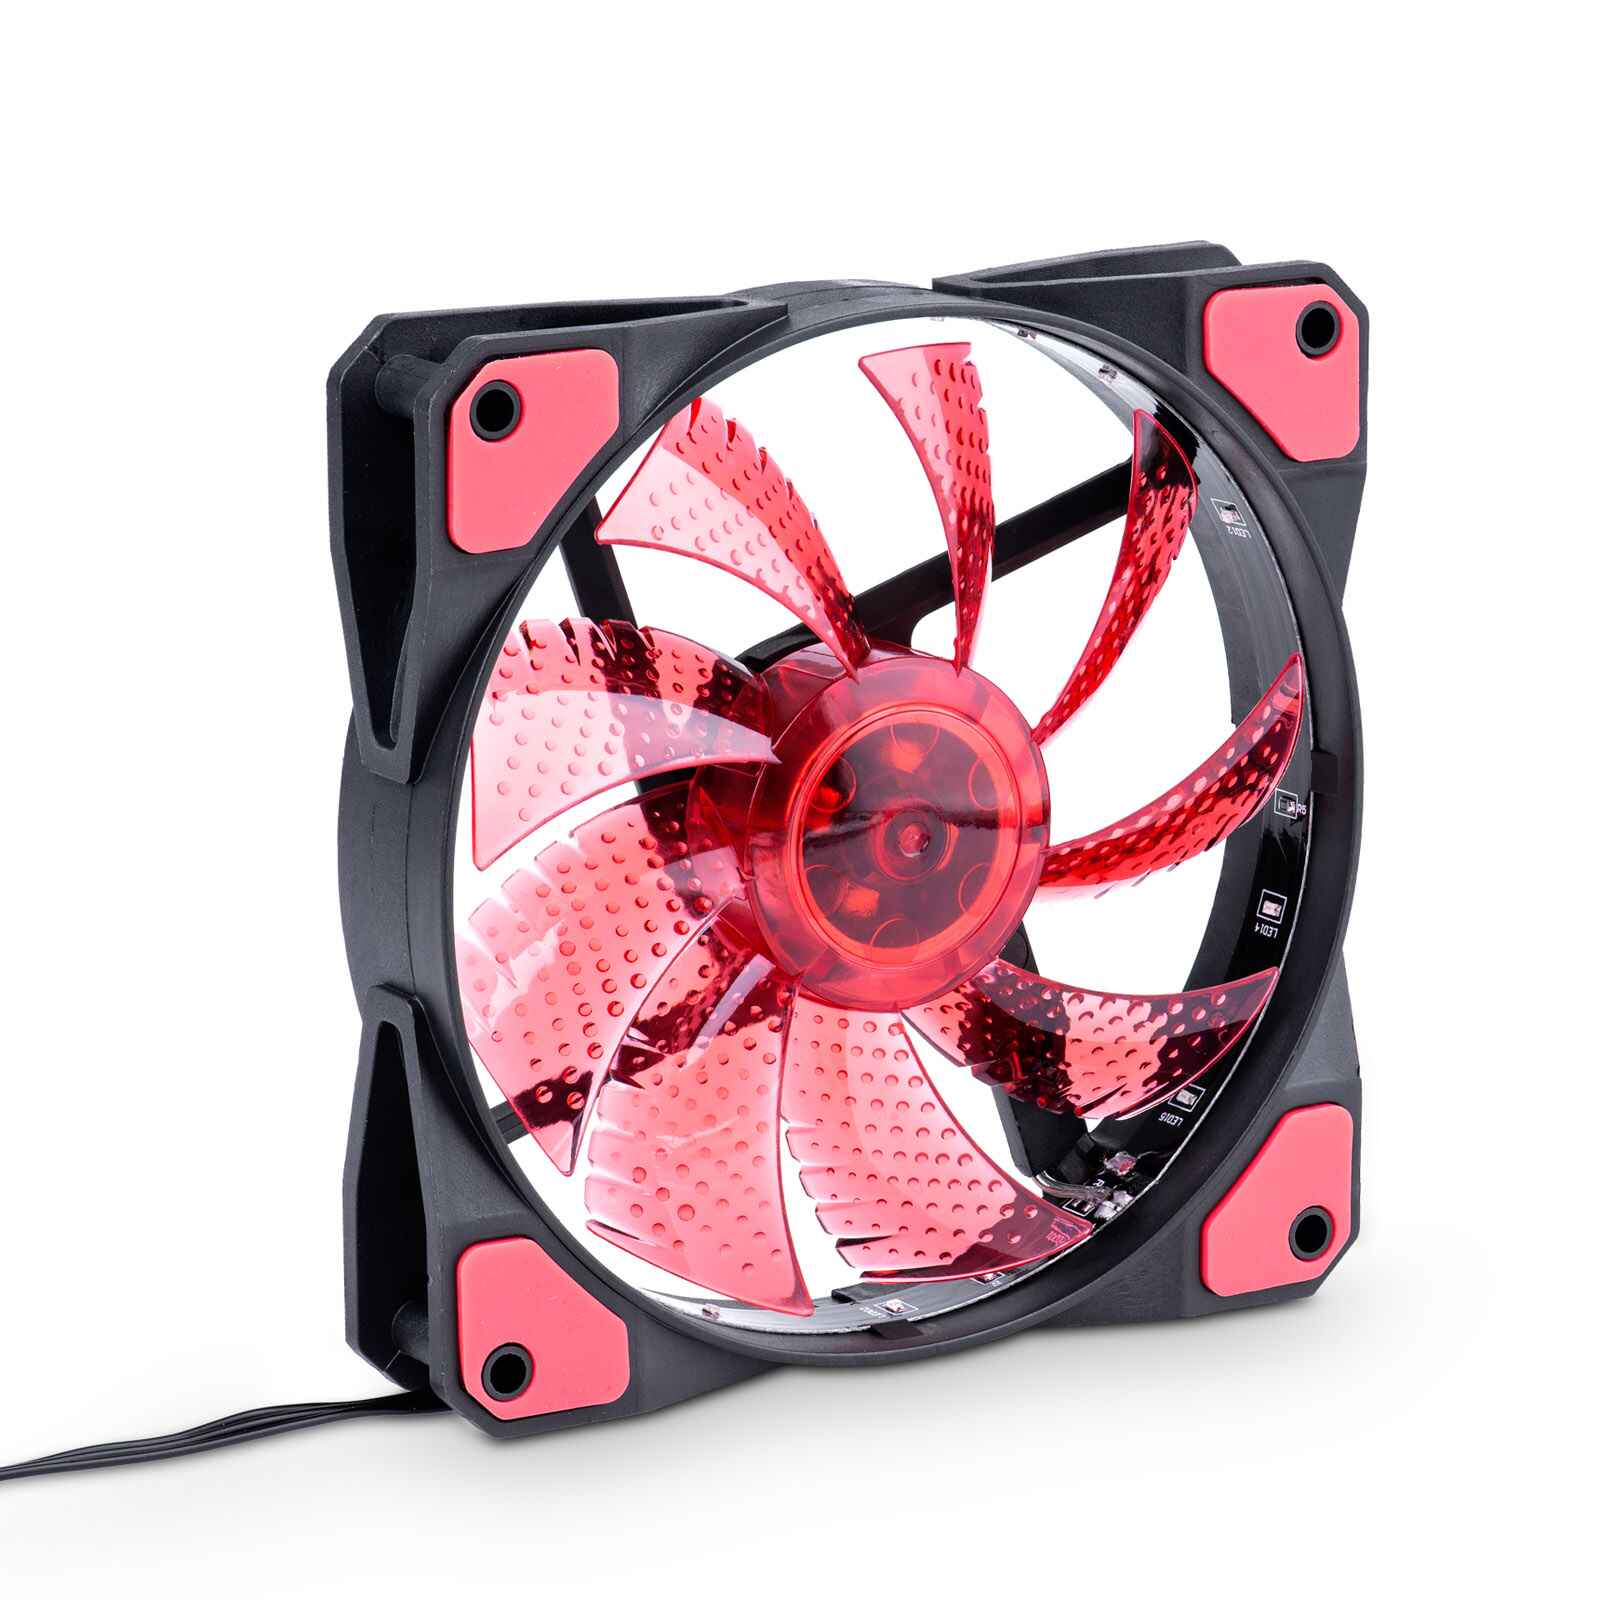
- Overheating: Excessive heat can trigger a red light on the motherboard. Over time, dust accumulation, insufficient cooling, or a malfunctioning CPU fan can lead to overheating, causing the system to shut down or trigger the red light as a protective measure.
- Faulty components: The red light may indicate that one or more components, such as RAM modules, graphics cards, or the CPU itself, are faulty or improperly installed. These issues can result in system instability, boot failures, or even complete system shutdown.
- Power supply issues: A malfunctioning or insufficient power supply can cause the motherboard to activate the red light. Inadequate power delivery or fluctuating voltages can lead to system instability and potential damage to the hardware.
- Boot failure: If the motherboard fails to initialize the boot process successfully, it may trigger the red light. This can be caused by various factors, including incompatible hardware, corrupted BIOS, or incorrect configuration settings.
Identifying the root cause behind the red light is crucial to resolving the issue. In the following sections, we will discuss troubleshooting steps to help you pinpoint and address the specific cause of the red light on your motherboard. Remember, while the red light is an indicator of an issue, it doesn’t provide detailed information about the exact problem, requiring further investigation.
Overheating
One of the common causes behind a red light on a motherboard is overheating. Computers generate a significant amount of heat during operation, and if it’s not properly dissipated, it can lead to system instability, damage to components, and trigger the red light. There are several factors that can contribute to overheating:
- Dust accumulation: Over time, dust and debris can accumulate inside the computer case, blocking the ventilation and preventing proper airflow. This can cause components, especially the CPU and graphics card, to overheat.
- Inadequate cooling: If the cooling system, such as fans or heatsinks, on the CPU or graphics card is not functioning correctly or not sufficient for the hardware’s power requirements, it can result in overheating.
- Malfunctioning CPU fan: The CPU fan plays a crucial role in cooling the processor. If the fan is not spinning at the proper speed, it may fail to cool the CPU effectively, leading to overheating.
To address the issue of overheating and resolve the red light on the motherboard, follow these steps:
- Check for dust: Open up the computer case and carefully remove any dust or debris using compressed air or a soft brush. Pay extra attention to CPU heatsinks, fans, and vents to ensure proper airflow.
- Inspect cooling components: Check the fans on the CPU and graphics card to ensure they are spinning properly. If any fans are not functioning correctly, replace them with compatible ones.
- Monitor temperatures: Use software utilities to monitor the temperatures of your CPU and graphics card. If the temperatures are consistently high even after cleaning and ensuring proper cooling, it may be worth considering upgrading your cooling solution.
Remember, preventing overheating is crucial for the long-term health and stability of your system. Regular cleaning, proper cooling, and monitoring temperatures can greatly reduce the risk of overheating and help you avoid the appearance of the red light on your motherboard.
Faulty Components
Another possible cause of a red light on a motherboard is the presence of faulty components. If one or more hardware components are not functioning properly or are improperly installed, it can trigger the red light and lead to system instability. Here are some common examples of faulty components:
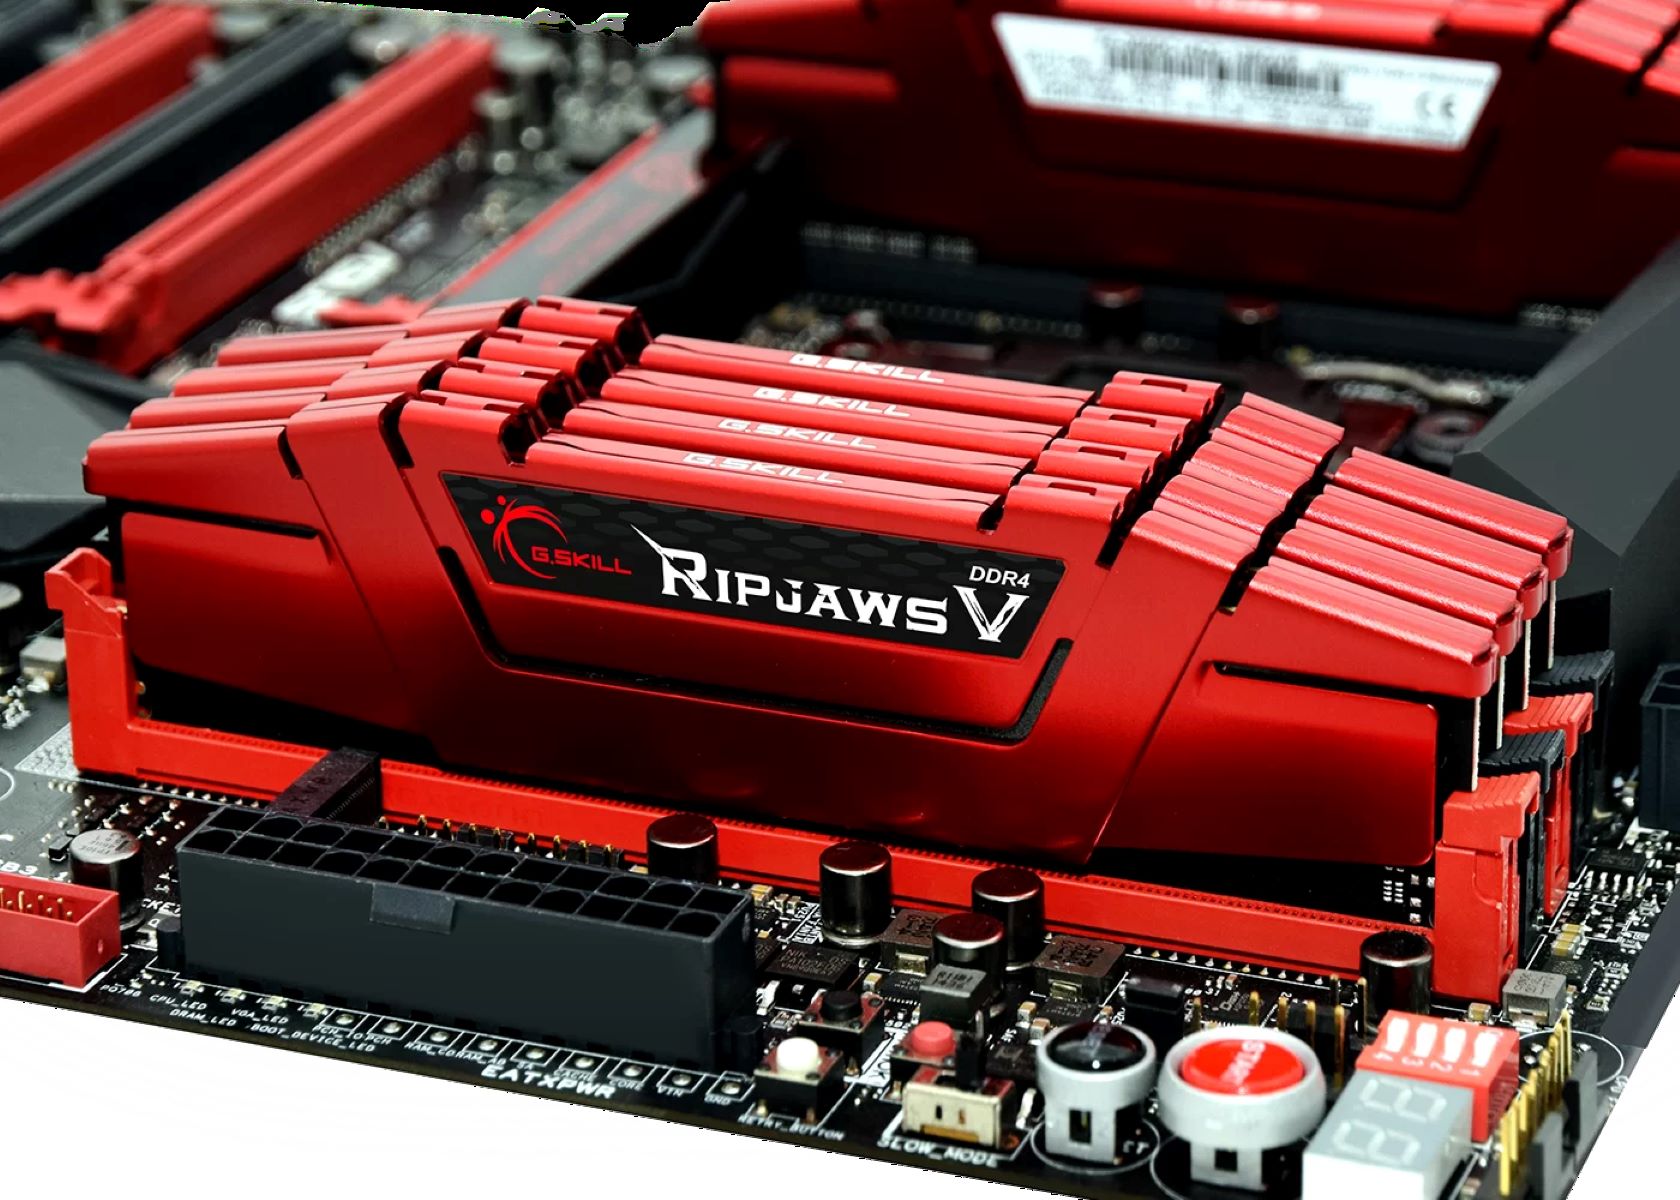
- RAM modules: Faulty or incompatible RAM modules can cause system crashes, freezes, and trigger the red light on the motherboard. It’s important to ensure that the RAM modules are seated correctly and compatible with the motherboard.
- Graphics card: A faulty or poorly installed graphics card can result in display issues, system crashes, and the activation of the red light. Ensure that the graphics card is firmly inserted into the PCI-E slot and that it is properly connected to the power supply, if required.
- CPU: If the CPU is damaged, not properly installed, or incompatible with the motherboard, it can cause various system issues, including the red light. It’s important to ensure that the CPU is correctly seated in the socket and that no pins are bent or damaged.
- Other components: Other components like power supply units, storage drives, and peripheral devices can also contribute to system issues and trigger the red light. It’s important to check their functionality and compatibility with the motherboard.
To troubleshoot faulty components and resolve the red light issue on the motherboard, follow these steps:
- Test the RAM: Remove and reseat the RAM modules one by one to determine if any of them are causing the issue. If the system works fine with one of the RAM modules removed, then that module may be faulty and should be replaced.
- Check the graphics card: Ensure that the graphics card is properly inserted into the PCI-E slot and firmly connected to the power supply, if required. If possible, try using a different graphics card to see if the issue persists.
- Inspect the CPU: Remove the CPU and check for any damage or bent pins. Clean the CPU and socket, apply thermal paste, and reseat it properly. If the issue persists, consider testing with a different CPU to identify if the problem lies with the CPU itself.
- Validate other components: Check the power supply unit, storage drives, and peripheral devices for any signs of damage or compatibility issues. Replace or upgrade them if necessary.
By systematically examining and addressing faulty components, you can resolve the red light issue on the motherboard and restore stability to your system.
Power Supply Issues
Problems with the power supply can also be a common cause of the red light on a motherboard. The power supply unit (PSU) is responsible for delivering stable and sufficient power to all the components in the system. If the power supply is malfunctioning or unable to meet the power demands of the hardware, it can trigger the red light and result in system instability. Here are some possible power supply issues to consider:
- Insufficient power rating: If the power supply unit does not have a sufficient wattage rating to support the hardware components, it can lead to power shortages and trigger the red light on the motherboard.
- Fluctuating voltages: Inconsistent or fluctuating voltages from the power supply can cause system instability, crashes, and trigger the red light. This can occur due to a faulty power supply or problems with electrical outlets.
- Malfunctioning power supply: A defective power supply unit can cause a range of issues, including the activation of the red light, random shutdowns, or failure to power on the system.
To troubleshoot power supply issues and resolve the red light on the motherboard, follow these steps:
- Inspect the power supply: Check the power supply unit for any visible signs of damage or bloated capacitors. If you suspect it is faulty, consider replacing it with a new unit.
- Check power ratings: Ensure that the power supply unit has a sufficient wattage rating to support your hardware components. Calculate the power requirements or consult the specifications of your components to ensure compatibility.
- Test with a different power supply: If possible, try using a different power supply to see if the issue persists. This can help determine if the problem lies with the power supply itself.
- Inspect electrical connections: Ensure that all power connections from the power supply to the motherboard and other components are secure and properly seated. Loose connections can cause power shortages and trigger the red light.
Addressing power supply issues is crucial for maintaining a stable and reliable system. By carefully examining and resolving these issues, you can eliminate the red light on the motherboard and ensure that your hardware receives the necessary power to operate effectively.
Boot Failure
Boot failure is another common cause of the red light on a motherboard. The boot process is the initial sequence of operations that occur when the computer is powered on, including the loading of the operating system. If the motherboard fails to successfully initialize the boot process, it can trigger the red light and prevent the system from starting up. Here are some possible factors that can contribute to boot failure:
- Incompatible hardware: If there is incompatible hardware installed or connected to the motherboard, it can prevent the system from booting properly and trigger the red light.
- Corrupted BIOS: Issues with the BIOS, such as corruption or incorrect settings, can cause boot failures. The BIOS is responsible for initializing the hardware and starting the boot process.
- Incorrect configuration: Incorrect settings in the BIOS, such as incorrect boot order or disabled components, can prevent the system from booting successfully and result in the red light.
- Hardware conflicts: Conflicts between hardware components, such as conflicting memory or I/O addresses, can cause boot failures and activate the red light on the motherboard.
To troubleshoot boot failure and resolve the red light issue on the motherboard, follow these steps:
- Check hardware compatibility: Ensure that all hardware components, including the CPU, RAM, and peripherals, are compatible with the motherboard. Refer to the motherboard’s documentation for a compatibility list.
- Reset BIOS settings: Enter the BIOS setup and reset the settings to their default values. This can help resolve any incorrect settings or corrupted configurations that may be causing the boot failure.
- Update the BIOS: Visit the manufacturer’s website and check for any available BIOS updates. Updating the BIOS can fix bugs, improve compatibility, and resolve boot-related issues.
- Disconnect unnecessary peripherals: Disconnect any unnecessary peripherals or external devices and attempt to boot the system with only essential components connected.
By troubleshooting the boot failure and addressing the root cause of the issue, you can successfully eliminate the red light on the motherboard and restore the proper startup of your system.
Troubleshooting Steps
When encountering a red light on a motherboard, it’s crucial to follow specific troubleshooting steps to identify and resolve the underlying issue. Whether it’s caused by overheating, faulty components, power supply problems, or boot failure, these general steps can help pinpoint the problem and guide you towards a solution. Here are the troubleshooting steps to consider:
- Check connections: Ensure that all cables and connectors, such as power cables, SATA data cables, and RAM modules, are securely and properly connected to their respective slots and ports. Loose connections can be a common cause of the red light.
- Inspect the power supply: Verify that the power supply unit is functioning correctly and delivering sufficient power to the components. Check for any signs of damage or overheating and consider testing with a different power supply unit if you suspect it to be faulty.
- Test the RAM: Remove and reseat the RAM modules one by one to check if any of them are defective. If the red light disappears when a particular RAM module is removed, it indicates a faulty module that should be replaced.
- Remove and reseat components: Take out and reseat crucial components like the CPU, graphics card, and storage drives. This ensures that they are properly inserted and making a secure connection with the motherboard.
- Update BIOS: Check the motherboard manufacturer’s website for any available BIOS updates. Updating the BIOS can improve compatibility, resolve bugs, and address boot-related issues that may be triggering the red light.
Remember to consult the user manual or the manufacturer’s website for specific troubleshooting steps related to your motherboard model. These steps provide a general framework for addressing common issues, but each motherboard may have unique requirements or features that must be considered.
If the red light on the motherboard persists after attempting these troubleshooting steps, it may be necessary to seek professional assistance from a qualified technician or contact the motherboard manufacturer’s support for further guidance.
Check Connections
One of the first troubleshooting steps to consider when faced with a red light on a motherboard is to check all connections. Loose or improperly connected cables and components can cause various issues, including the activation of the red light. By ensuring that all connections are secure and properly seated, you can eliminate potential sources of the problem. Here’s how to check connections effectively:
- Power connections: Verify that all power cables, including the main motherboard power cable (usually a 24-pin or 20+4-pin connector) and the CPU power cable (usually a 4-pin or 8-pin connector), are securely connected. Make sure they are inserted fully into their respective sockets.
- Data connections: Check the SATA data cables that connect the storage drives (such as SSDs or HDDs) to the motherboard. Ensure that they are firmly connected at both ends, including the motherboard and the storage drive. Similarly, confirm that any other necessary data cables are securely attached.
- RAM modules: Remove the RAM modules one by one and reseat them firmly into their slots. Ensure that they are correctly aligned and properly locked into place. This helps eliminate any potential issues arising from loose or poorly seated memory modules.
- Expansion cards: Confirm that any expansion cards, such as graphics cards or sound cards, are securely inserted into their respective slots. Check that the retaining clip on the slot locks the card in place. If necessary, remove and reseat the card to ensure a proper connection.
- Front panel connectors: Review the connections of the front panel connectors, which include the power switch, reset switch, power LED, and HDD LED. Make certain that they are connected to the correct pins on the motherboard according to the manufacturer’s instructions.
Taking the time to systematically check and secure all connections can often resolve issues related to the red light on a motherboard. Even a small misalignment or loose cable can cause problems, so it’s essential to be thorough during the inspection process.
If the red light persists after confirming all connections, move on to the next troubleshooting steps to further diagnose and resolve the underlying issue.
Inspect the Power Supply
The power supply unit (PSU) is a crucial component in a computer system, and issues with it can often result in the activation of a red light on the motherboard. An inadequate or faulty power supply can cause various problems, including system instability and the inability to power on. Here’s how to inspect the power supply and ensure it is functioning correctly:
- Visual inspection: Start by visually inspecting the power supply unit for any visible signs of damage, such as burns, bulges, or leaking capacitors. If you notice any physical damage, it may indicate a faulty power supply that needs to be replaced.
- Checking the fan: Observe the power supply fan while the computer is running. The fan should be spinning smoothly and without any unusual noises. If the fan is not functioning properly, it can lead to overheating and power supply failure.
- Testing voltages: Use a multimeter to check the voltages provided by the power supply. Refer to the manufacturer’s specifications for the expected values on each rail (+12V, +5V, +3.3V). If the voltages are significantly outside the acceptable range, it may indicate a faulty power supply.
- Power supply tester: Consider using a power supply tester, which is a specialized tool designed to diagnose power supply issues. It can help determine if the power supply is capable of providing sufficient power to all the components.
- Replacement test: If possible, test the system with a different and known-working power supply. This will help verify whether the issue lies with the current power supply or another component.
If you suspect the power supply is faulty after conducting these inspections, it is recommended to replace it with a new unit that matches the power requirements of your system. It’s crucial to choose a reliable and high-quality power supply to ensure stable power delivery to all the components.
By properly inspecting and addressing any issues with the power supply, you can eliminate potential sources of the red light on the motherboard and help restore normal functionality to your computer system.
Test the RAM
One of the potential causes of a red light on a motherboard is faulty or incompatible RAM modules. RAM, or random access memory, plays a critical role in storing data that the computer’s processor needs to access quickly. Issues with the RAM can result in system instability and trigger the red light. To determine if the RAM is causing the problem, you can perform some tests and troubleshooting steps. Here’s how to test the RAM effectively:
- Remove and reseat: Start by powering off your computer and unplugging it from the power source. Open the case and carefully remove each RAM module from its slot. Then, reseat each module firmly, ensuring they are properly aligned and locked into place.
- Test one at a time: After reseating the RAM, try booting up the computer with only one RAM module installed at a time. If the red light disappears or the system is stable with a specific module, it may indicate that one of the RAM modules is faulty. Test each module individually to identify the problematic one.
- Memtest86: Consider running memory diagnostic software like Memtest86, which is designed to test RAM for errors. Create a bootable USB or CD with Memtest86, and then boot your computer from that device. Run the test, which will scan the RAM for any potential errors or faults.
- Replace or upgrade: If Memtest86 or similar software detects errors in your RAM modules, it is recommended to replace the faulty module with a new one that is compatible with your motherboard. If you have an older system, you might consider upgrading to faster or higher-capacity RAM for improved performance.
By properly testing the RAM modules and identifying any potential faults, you can resolve issues related to the red light on the motherboard. Remember to follow proper handling procedures for RAM modules and ensure they are compatible with your motherboard before making any replacements or upgrades.
If the red light persists or you are unable to identify a faulty RAM module, it may be necessary to seek professional assistance or contact the manufacturer for further guidance.
Remove and Reseat Components
Another troubleshooting step to consider when confronted with a red light on a motherboard is to remove and reseat crucial components. Over time, components such as the CPU, graphics card, and storage drives can become loose due to vibrations or improper connections. By removing and reseating these components, you can ensure that they are properly inserted and making a secure connection with the motherboard. Here’s how to remove and reseat components effectively:
- Power off and unplug: Turn off your computer and disconnect it from the power source. This is crucial to prevent any accidental damage and ensure your safety during the process.
- Remove the CPU: Carefully remove the CPU cooler (if applicable) and unlock the CPU socket. Gently lift the CPU straight out of the socket and place it on an anti-static surface. Examine the CPU socket for any bent pins or debris, and if necessary, clean it using compressed air or a soft brush.
- Reseat the CPU: Align the CPU with the socket and carefully lower it into place, ensuring that it sits flat. Do not apply excessive force. Once inserted, lock the CPU socket using the lever or retention mechanism.
- Graphics card: If you have a dedicated graphics card, remove it from the PCI-E slot by pressing down on the release latch. Inspect the slot for any dust or debris. Then, reinsert the graphics card firmly into the slot, ensuring it clicks into place and reconnect any necessary power cables.
- Storage drives and memory modules: Check that your storage drives (such as SSDs or HDDs) and memory modules (RAM) are properly seated in their respective slots. Remove and reattach them if necessary, ensuring they are firmly connected and locked into place.
By removing and reseating these crucial components, you can eliminate any potential issues arising from loose connections or poor contacts. This simple troubleshooting step can often resolve problems related to the red light on the motherboard.
If the red light persists after performing these reseating procedures, it may indicate a different underlying issue. Move on to other troubleshooting steps to further diagnose and resolve the problem or seek professional assistance if needed.
Update BIOS
Another troubleshooting step to consider when dealing with a red light on a motherboard is updating the BIOS (Basic Input/Output System). The BIOS is responsible for initializing the hardware and starting the boot process. Outdated or corrupted BIOS firmware can lead to various issues, including the activation of the red light. Updating the BIOS can not only fix bugs and improve system stability but also address boot-related problems. Here’s how to update the BIOS effectively:
- Identify the motherboard model: Determine the exact model of your motherboard, as the BIOS update process and files will be specific to the manufacturer and model.
- Download the latest BIOS version: Visit the manufacturer’s website and locate the support or downloads section. Look for the latest BIOS version available for your motherboard model. Download the appropriate BIOS file, ensuring it matches your motherboard’s model number and revision.
- Create a backup: Before proceeding with the BIOS update, it is recommended to create a backup of your current BIOS settings. Most motherboards have an option to save the existing BIOS settings to a USB drive. This backup will be useful in case any issues arise during the update process.
- Flash the BIOS: Follow the manufacturer’s instructions to update the BIOS. Some motherboards have a built-in utility that allows you to update the BIOS from within the BIOS settings. Others may require using a utility provided by the manufacturer or flashing the BIOS using a USB drive. It is essential to follow the instructions carefully to avoid any potential issues.
- Monitor the update process: During the BIOS update, the system may restart multiple times. It is crucial to allow the update process to complete uninterrupted. Avoid turning off or restarting the computer during this time.
- Verify the update: After the BIOS update is complete, restart the computer and enter the BIOS settings to verify that the update was successful. Check for any new options or settings related to system stability or boot-related configurations.
Updating the BIOS can be a delicate process, so it is important to carefully follow the manufacturer’s instructions and take precautions to avoid any issues. Remember to download the BIOS update from the official manufacturer’s website to ensure its authenticity and compatibility with your motherboard.
If the red light on the motherboard persists even after updating the BIOS, it may be necessary to explore other troubleshooting steps or consult with the motherboard manufacturer’s support team for further assistance.
Conclusion
The appearance of a red light on a motherboard can be concerning, indicating potential hardware issues or system failures. Understanding the common causes of a red light, such as overheating, faulty components, power supply problems, or boot failure, is essential for effective troubleshooting and resolution.
By following the appropriate steps, such as checking connections, inspecting the power supply, testing the RAM, removing and reseating components, or updating the BIOS, you can diagnose and address the underlying issue causing the red light on the motherboard.
It’s important to approach troubleshooting with patience and care, as misdiagnosing or mishandling components can cause further damage. Consult the user manual or the manufacturer’s website for specific instructions and ensure compatibility when performing any replacements or upgrades.
If your efforts to resolve the red light issue on the motherboard are unsuccessful, it may be necessary to seek professional assistance or contact the motherboard manufacturer’s support team for further guidance.
Remember, prevention is always better than a cure. Regular maintenance, such as cleaning dust, ensuring proper ventilation, and updating drivers and firmware, can help prevent issues that trigger the red light on the motherboard and keep your system running smoothly.
By diligently following troubleshooting steps and taking appropriate action, you can resolve the red light on the motherboard and restore your computer’s stability and performance.