Introduction
Welcome to our guide on how to remove your graphics card. Whether you’re upgrading your GPU or troubleshooting an issue, removing a graphics card is a relatively simple process that anyone can do with the right tools and knowledge. By following this step-by-step guide, you’ll be able to safely remove your graphics card and make any necessary changes to your computer’s hardware.
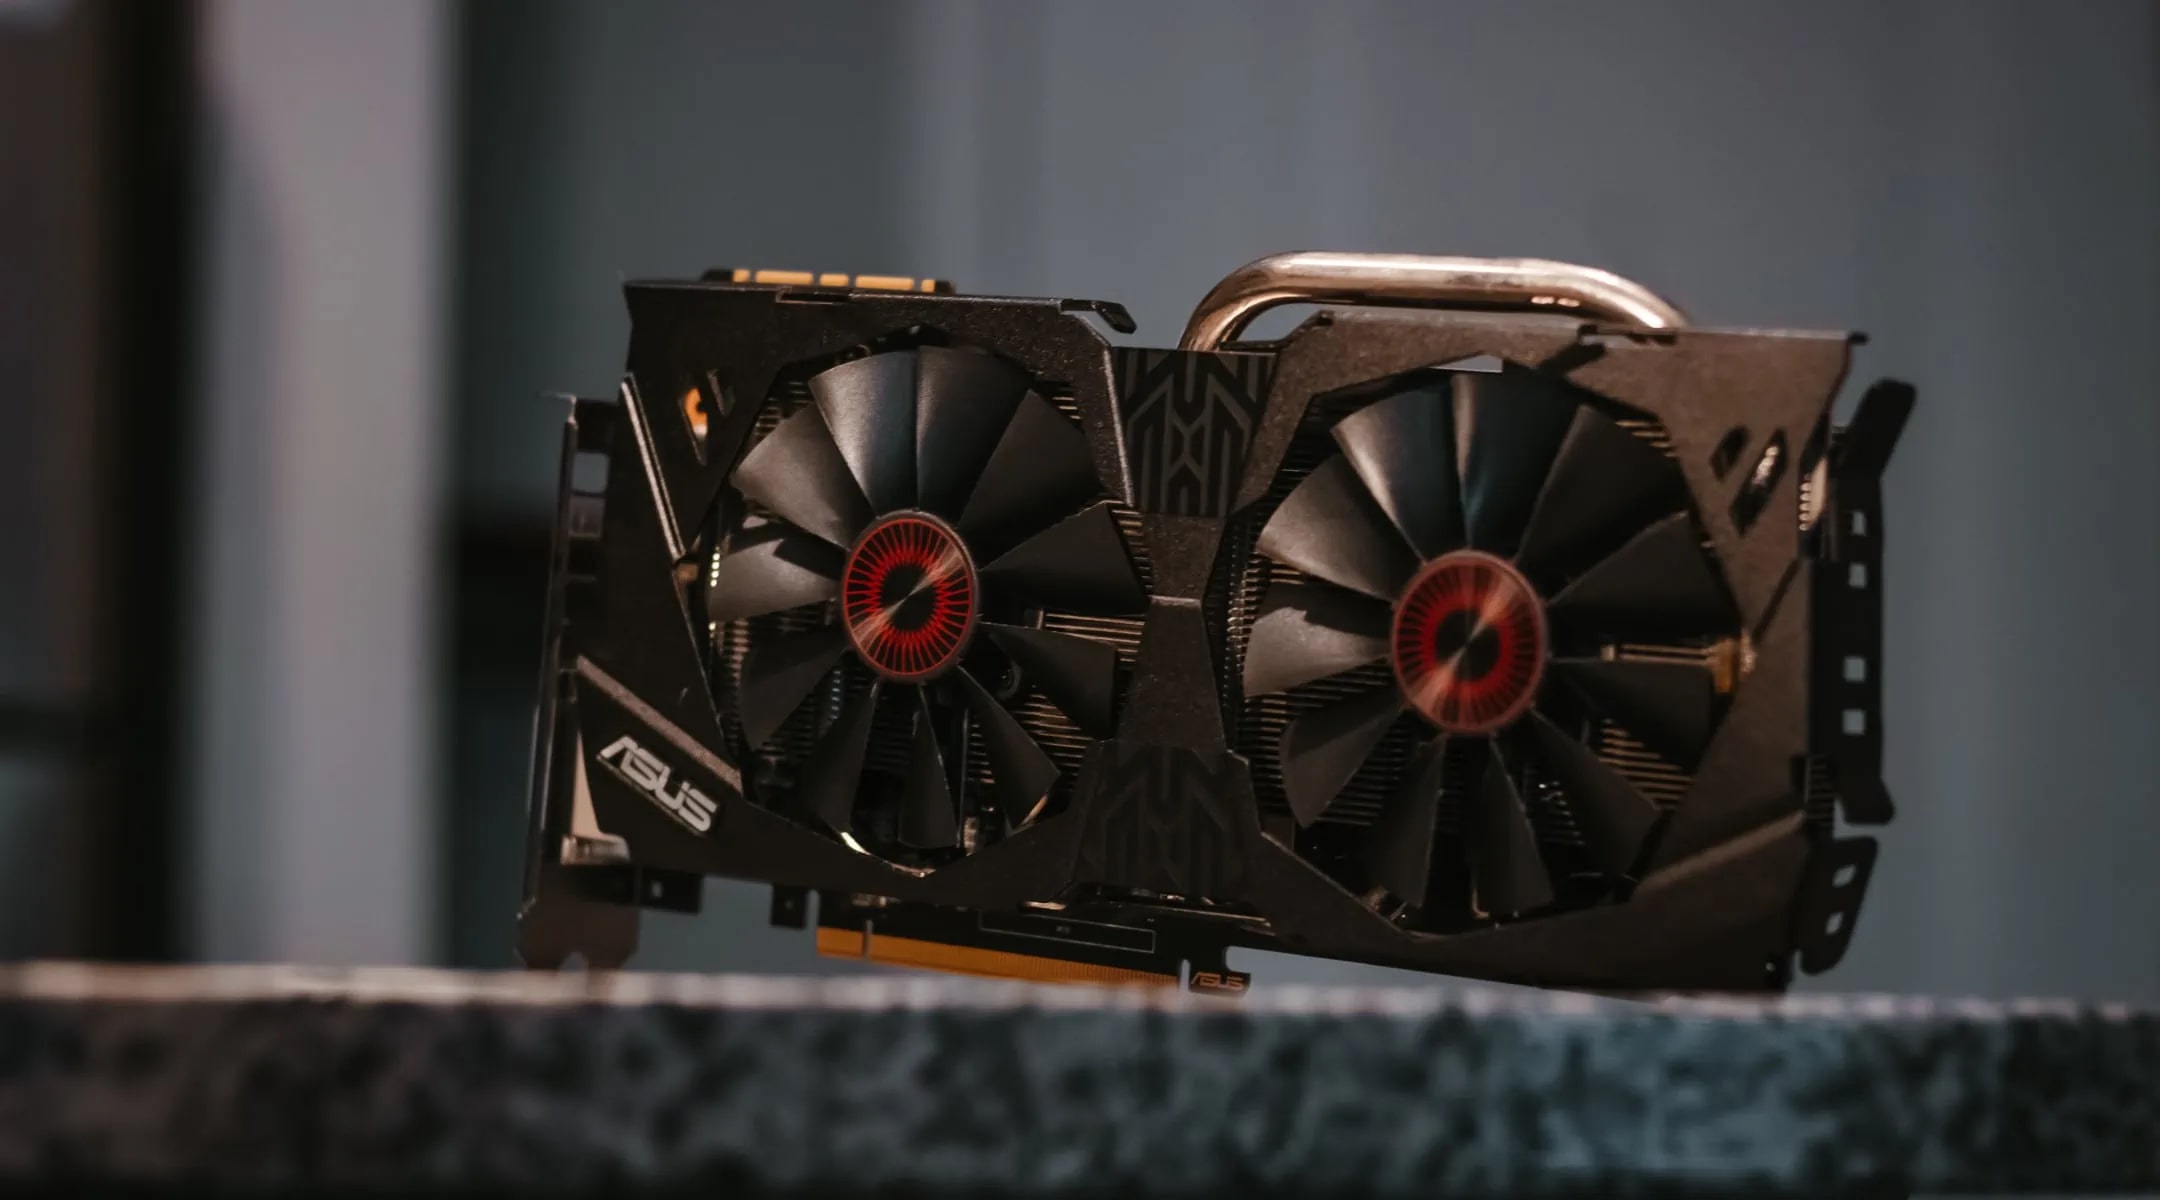
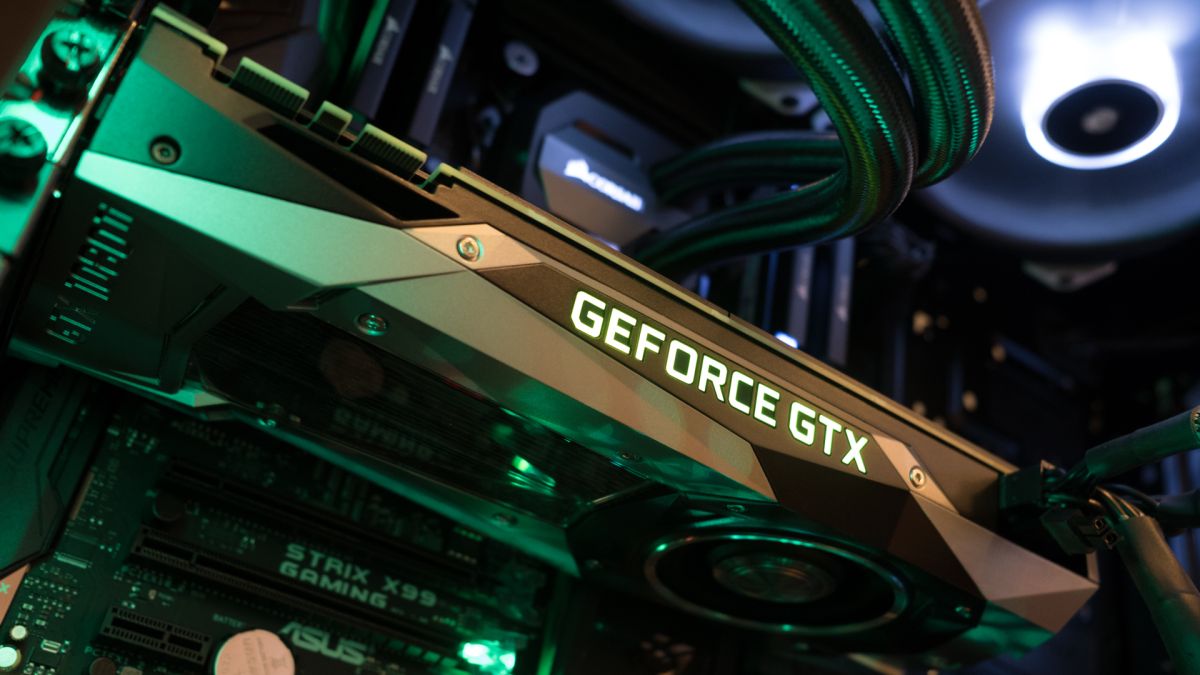
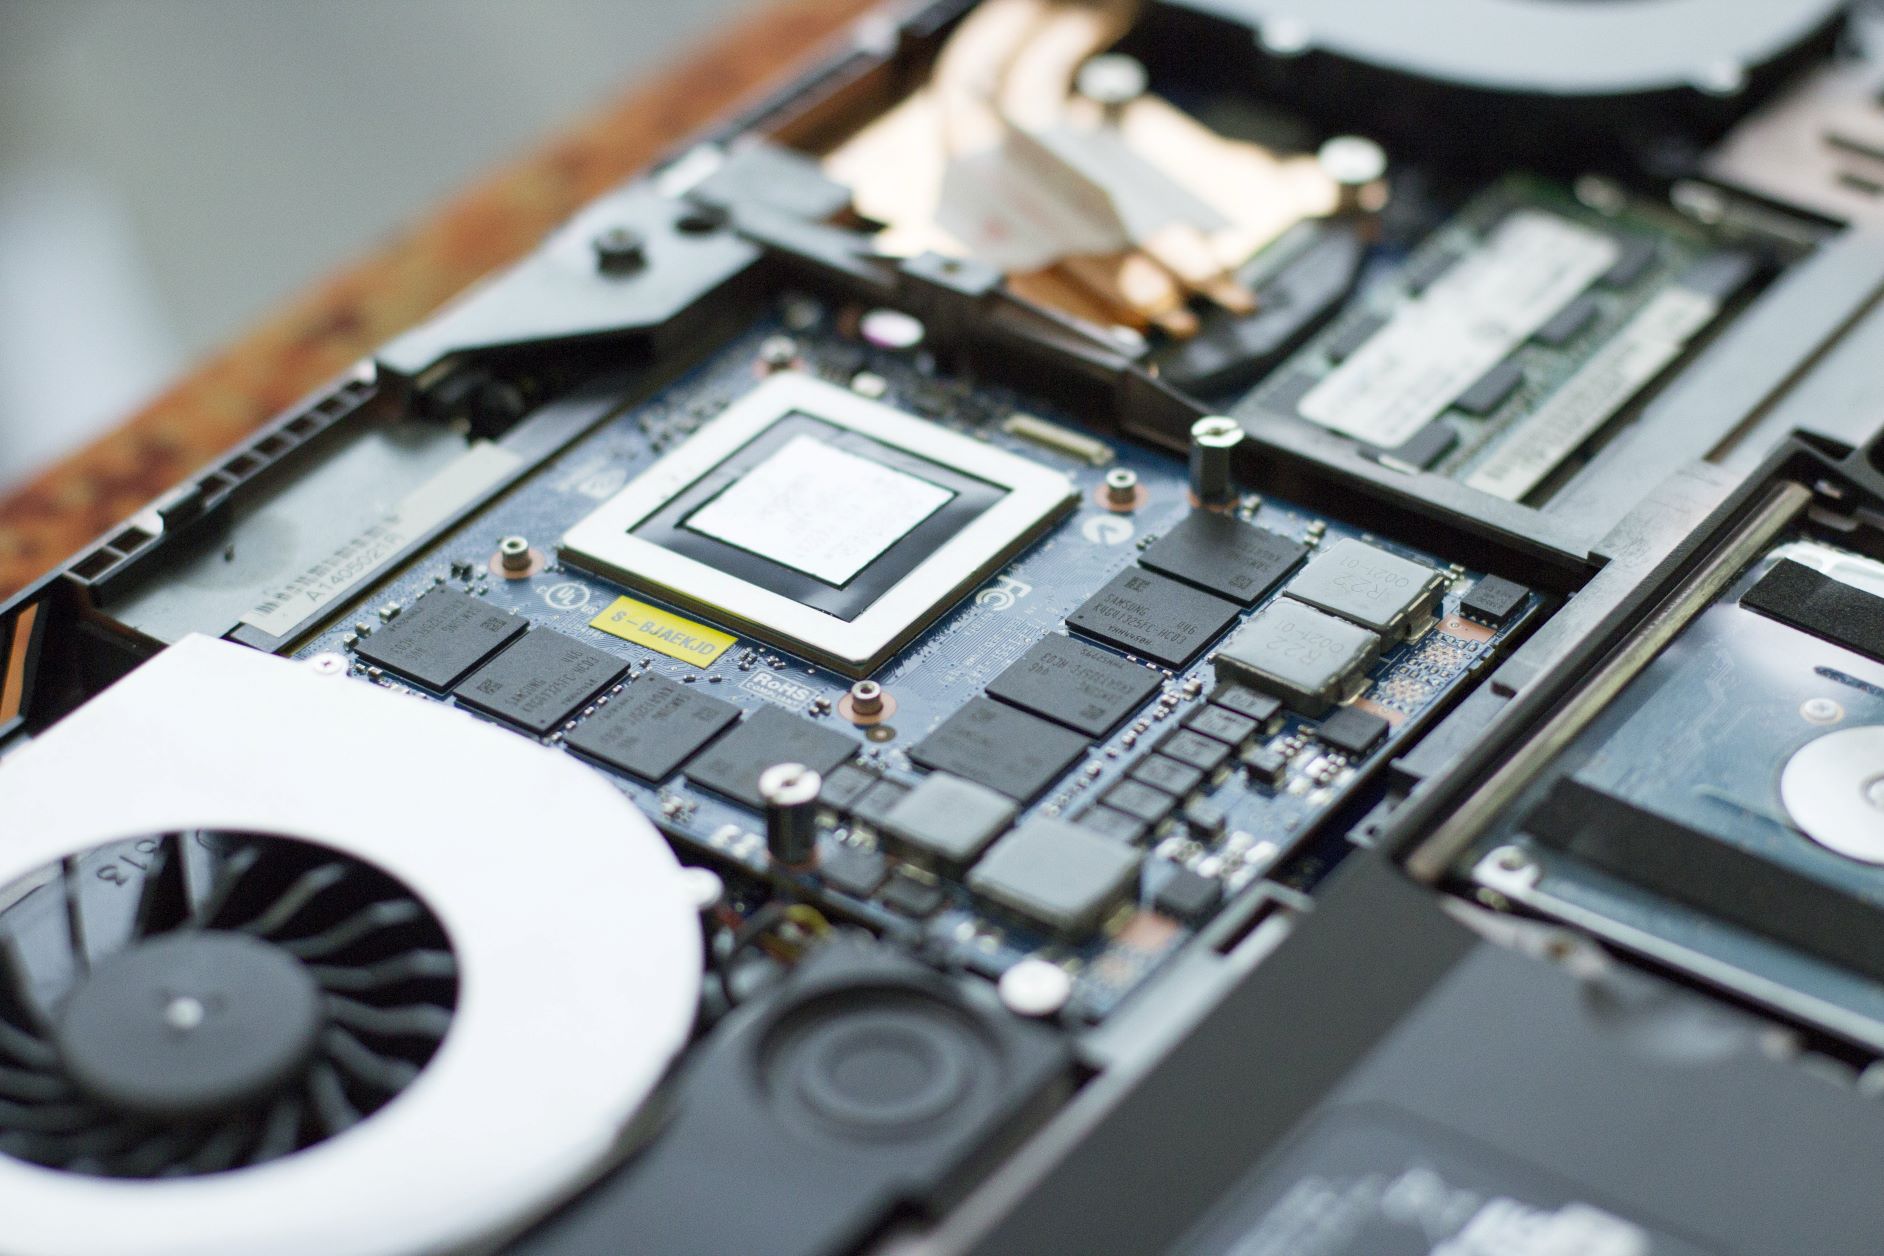
Your graphics card, also known as a GPU (Graphics Processing Unit), is an essential component that handles the rendering of images and videos on your computer. Over time, you may need to upgrade your graphics card to improve performance or take advantage of newer technologies. Additionally, if you’re experiencing graphics-related issues or need to clean your computer, removing the graphics card is often the first step.
Before you begin, it’s important to note that removing a graphics card may void your warranty if you’re not careful or follow the manufacturer’s guidelines. If you’re unsure about the process or have any concerns, it’s recommended to consult your computer’s manufacturer or seek the assistance of a professional technician.
In this guide, we will walk you through the step-by-step process of safely removing your graphics card. We will also provide optional steps for installing a new graphics card in case you’re planning to upgrade. So, let’s get started with the tools and materials you’ll need for this procedure.
Tools and Materials Needed
Before you begin the process of removing your graphics card, make sure you have the following tools and materials handy:
- Screwdriver: You’ll need a Phillips or flat-head screwdriver, depending on the type of screws used to secure your graphics card.
- Antistatic wrist strap: This will help prevent damage to sensitive electronic components by grounding you and dissipating any static electricity.
- Clean cloth or compressed air: It’s a good idea to have a clean cloth or can of compressed air to remove any dust or debris that may have accumulated around the graphics card or in the expansion slot.
- Optional: New graphics card (if you’re planning to upgrade)
When selecting a new graphics card, make sure it is compatible with your computer’s motherboard and power supply. Check the manufacturer’s specifications and requirements to ensure a smooth installation process.
Additionally, it’s important to work on a stable surface, such as a desk or table, with adequate lighting. Make sure to power down your computer and unplug it from the power source before proceeding. Safety should always be a priority when working with computer hardware.
Now that you have the necessary tools and materials, let’s move on to the step-by-step process of removing your graphics card.
Step 1: Power down and unplug your computer
The first step in removing your graphics card is to ensure that your computer is powered down and unplugged. This is crucial for your safety and to avoid any potential damage to your computer’s hardware.
Start by shutting down your computer through the operating system. Make sure to save any open files or applications before proceeding with the shutdown process. Once your computer has powered off, locate the power switch on the back of your computer’s tower or on the power supply unit (PSU).
Before you proceed any further, it’s important to unplug your computer from the power source. This will prevent any electrical currents from flowing through the system and reduces the risk of electric shock. Simply disconnect the power cord from the wall outlet or surge protector.
After you have unplugged your computer, you can press the power button to discharge any residual electricity in the system. This step is especially important if you’re wearing an anti-static wrist strap, as it helps dissipate any static charge that may have built up.
Once you have completed these steps, double-check that there are no lights or fans running on your computer. This will confirm that the system is powered down and properly disconnected from the power source.
Now that your computer is completely powered off and unplugged, you’re ready to move on to the next step: removing the side panel of your computer.
Step 2: Remove the side panel of your computer
With your computer properly powered down and unplugged, the next step is to remove the side panel of your computer’s case. This will give you access to the internal components, including the graphics card.
Begin by placing your computer on a stable surface, such as a desk or table, with ample workspace and lighting. Make sure you have a clear view of the side panel.
The method for removing the side panel may vary depending on the design of your computer case. In most cases, you’ll find a series of screws or a latch mechanism on the back or side of the case. Consult your computer’s manual or manufacturer’s instructions for guidance specific to your model.
If your case has screws, locate them on the back of the case and use a Phillips screwdriver or the appropriate tool to remove them. Set the screws aside in a safe place where they won’t be lost.
If your case has a latch mechanism, look for a release switch or latch on the back or side. Pull or push the latch to unlock the panel, and then slide it off the case.
Once the screws have been removed or the latch has been released, gently slide or lift the side panel away from the case. Be cautious not to apply excessive force or damage any components inside.
Set the side panel aside in a safe location where it won’t be damaged or accidentally tripped over. With the side panel removed, you should now have a clear view of the internal components, including the graphics card.
Now that you’ve successfully removed the side panel, you’re ready to proceed with the next steps of removing the graphics card. Continue on to the next section to locate the graphics card in your computer.
Step 3: Locate the graphics card
After removing the side panel of your computer case, the next step is to locate the graphics card. The graphics card is typically installed in one of the expansion slots on the motherboard.
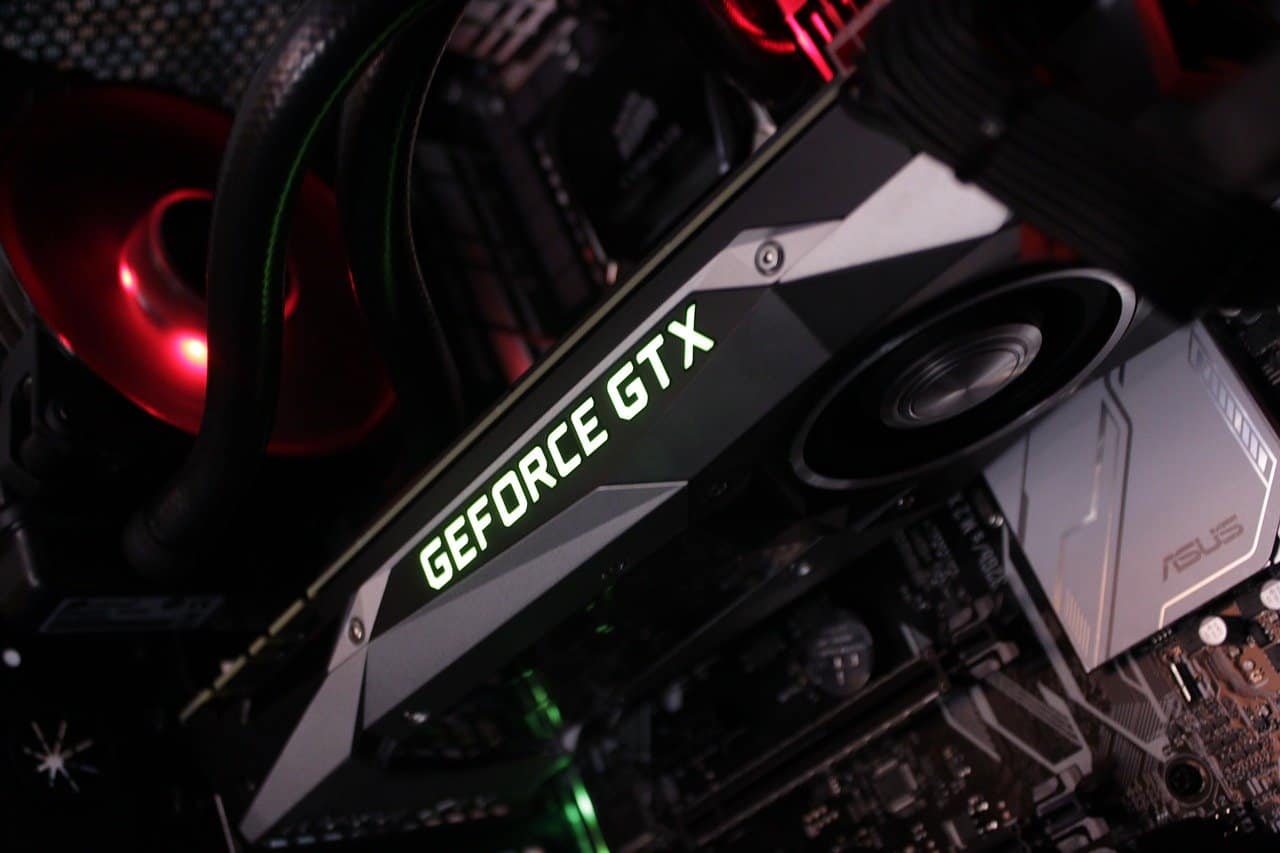
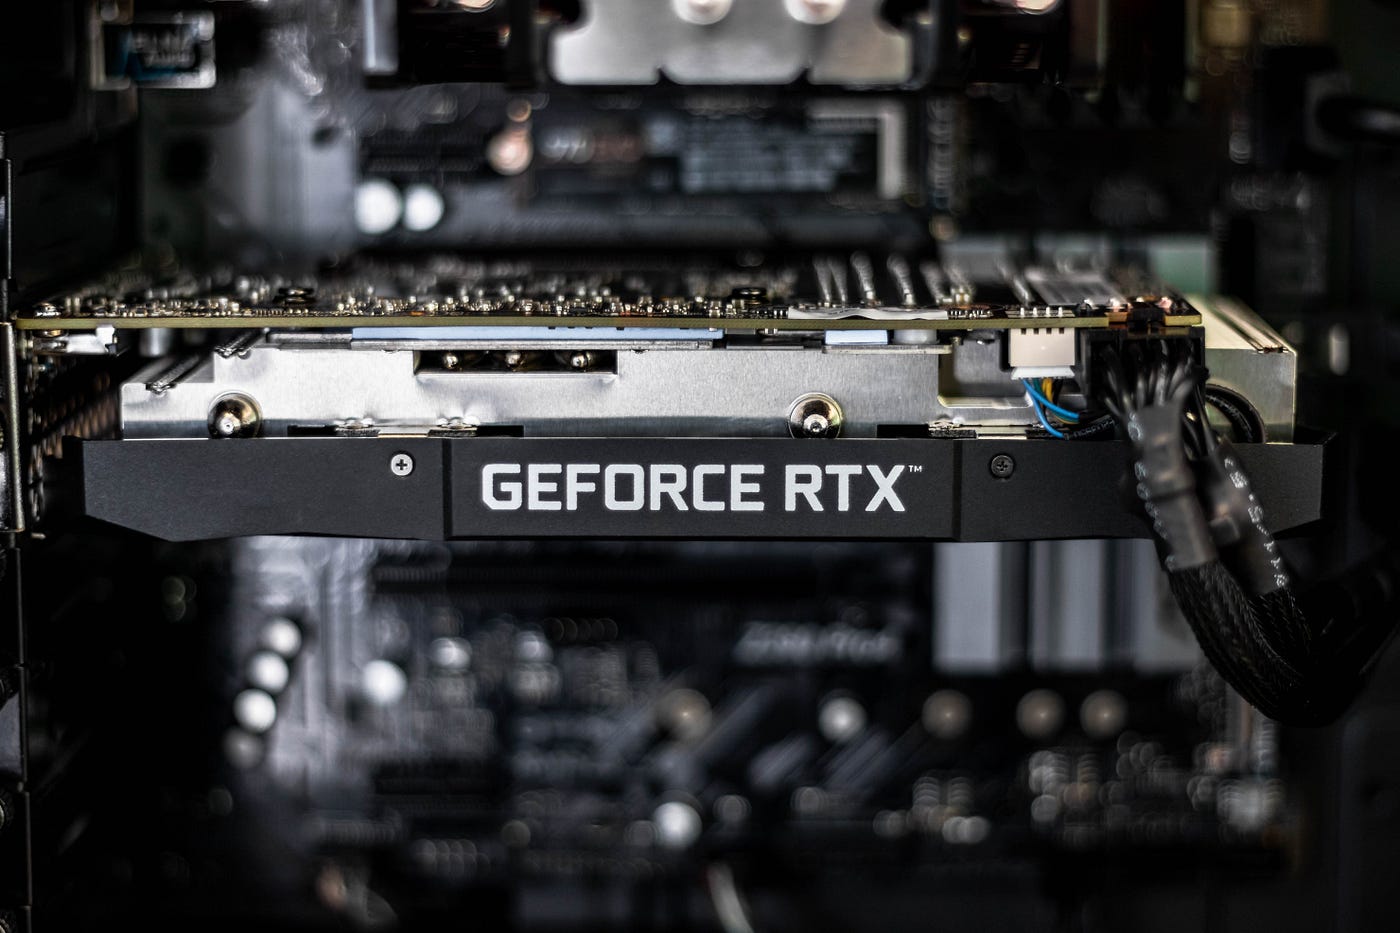
Take a moment to familiarize yourself with the layout of your computer’s motherboard and identify the slot where the graphics card is inserted. The graphics card is usually one of the largest cards in your system, with multiple connectors and a metal heatsink or fan attached.
Look for the PCIe (Peripheral Component Interconnect Express) slots on the motherboard. These slots are long, narrow, and usually located towards the bottom of the motherboard. Graphics cards are commonly installed in PCIe x16 slots, but it’s important to confirm the specific slot used in your computer.
If you have multiple graphics cards installed in your system, locate the specific graphics card you want to remove. It may be helpful to refer to the model number or any labeling on the card to ensure you’re working with the correct one.
Once you have identified the graphics card, take note of any power connectors attached to it. Graphics cards often require additional power from the power supply unit (PSU) to function properly. These power connectors are typically located on the side or back of the card and may be in the form of 6-pin or 8-pin connectors.
By locating the graphics card and identifying any power connectors, you have completed the third step of removing your graphics card. In the next step, we will learn how to disconnect the power connectors from the graphics card.
Step 4: Disconnect the power connectors
Now that you have located the graphics card and identified any power connectors attached to it, the next step is to disconnect these power connectors. This ensures that the graphics card is no longer receiving power and can be safely removed.
Start by carefully examining the power connectors on the graphics card. Determine whether it has one or multiple power connectors, and whether they are 6-pin or 8-pin connectors. You may need to gently trace the cables from the power supply unit (PSU) to the graphics card to locate the connectors.
If the power connectors are secured with locking mechanisms, gently press or squeeze the tabs or buttons on the connectors to unlock them. Then, while holding the connector firmly, gently pull it straight out of the graphics card. Avoid applying excessive force or bending the connectors to prevent damage.
If the power connectors do not have locking mechanisms, they may be friction-fit connectors. In this case, hold the connector firmly and wiggle it gently as you pull it straight out of the graphics card.
Continue disconnecting all the power connectors attached to the graphics card. If there are multiple connectors, ensure that all of them are disconnected before proceeding to the next step.
Once all the power connectors are detached, it’s important to set them aside in a safe place where they won’t be misplaced or damaged. You may want to label the connectors or take a picture for future reference if needed.
By disconnecting the power connectors, you have successfully completed the fourth step of removing your graphics card. In the next step, we will learn how to remove the screws that secure the graphics card in place.
Step 5: Remove the screws holding the graphics card in place
With the power connectors disconnected, the next step is to remove the screws that secure the graphics card in its slot. These screws help hold the graphics card in place and prevent it from moving or becoming loose.
Take a close look at the graphics card and locate the screws that hold it in position. Depending on your computer case and graphics card design, there may be one or more screws securing the card.
Using a Phillips screwdriver or the appropriate tool, carefully loosen and remove each screw one at a time. Make sure to keep track of the screws and place them in a safe location where they won’t be lost.
As you remove the screws, note that some graphics cards may have a retention bracket or lever that also needs to be disengaged. If your graphics card has this feature, follow the manufacturer’s instructions on how to release the bracket or lever before attempting to remove the card.
Once all the screws and retention mechanisms have been removed, the graphics card should be free to move within its expansion slot. However, it may still be secured with a latch or clip holding it in place.
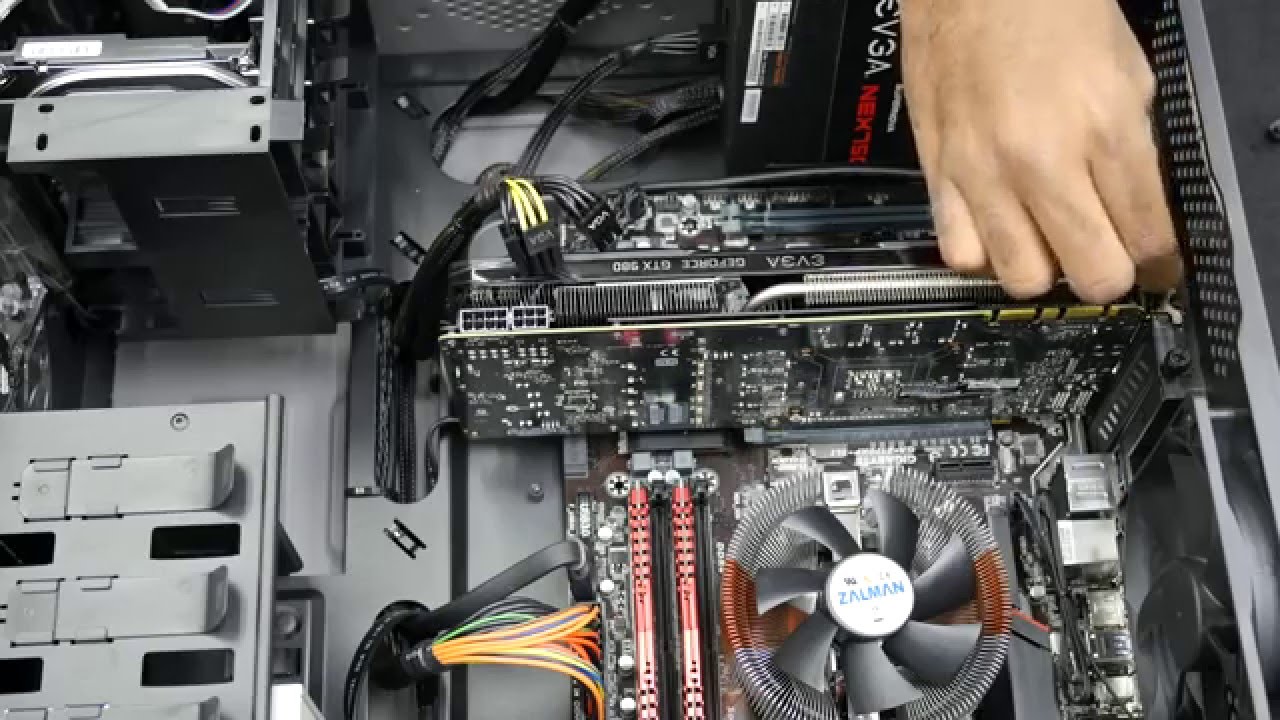
Gently grasp the graphics card by its edges and give it a slight pull to disengage it from the slot. Be careful not to twist or put excessive force on the card, as this can cause damage to both the graphics card and the motherboard.
If the graphics card doesn’t easily come out, double-check for any remaining screws or retention mechanisms that may still be attached. Ensure that all screws and mechanisms are removed before attempting to remove the card again.
Once the graphics card is successfully removed from the slot, place it in an anti-static bag or on an anti-static surface for safekeeping. This will help protect the card from any potential damage caused by static electricity.
By removing the screws and disengaging any retention mechanisms, you have completed the fifth step of removing your graphics card. In the next step, we will guide you through the process of carefully removing the graphics card from the slot.
Step 6: Carefully remove the graphics card from the slot
Now that the screws and retention mechanisms have been removed, it’s time to carefully remove the graphics card from its slot. This step requires a gentle touch to ensure that both the graphics card and the motherboard are not damaged.
Start by firmly grasping the edges of the graphics card with your fingers. Avoid touching the metal contacts or any sensitive components on the card.
Once you have a firm grip, gently and evenly pull the graphics card straight out of the slot. Do not twist or angle the card during removal, as this can cause damage to the card or the slot.
If you encounter any resistance while removing the graphics card, stop immediately and double-check for any remaining screws, retention mechanisms, or latch clips. Ensure that all obstacles are fully disengaged before attempting to remove the card again.
It’s important to handle the graphics card with care, especially if it’s large or has a bulky heatsink or fan attached. Keep it steady and avoid any sudden movements or dropping the card.
Once the graphics card is completely removed from the slot, place it in the anti-static bag or on an anti-static surface for safekeeping. Storing the graphics card in an anti-static environment helps prevent any potential damage from static electricity.
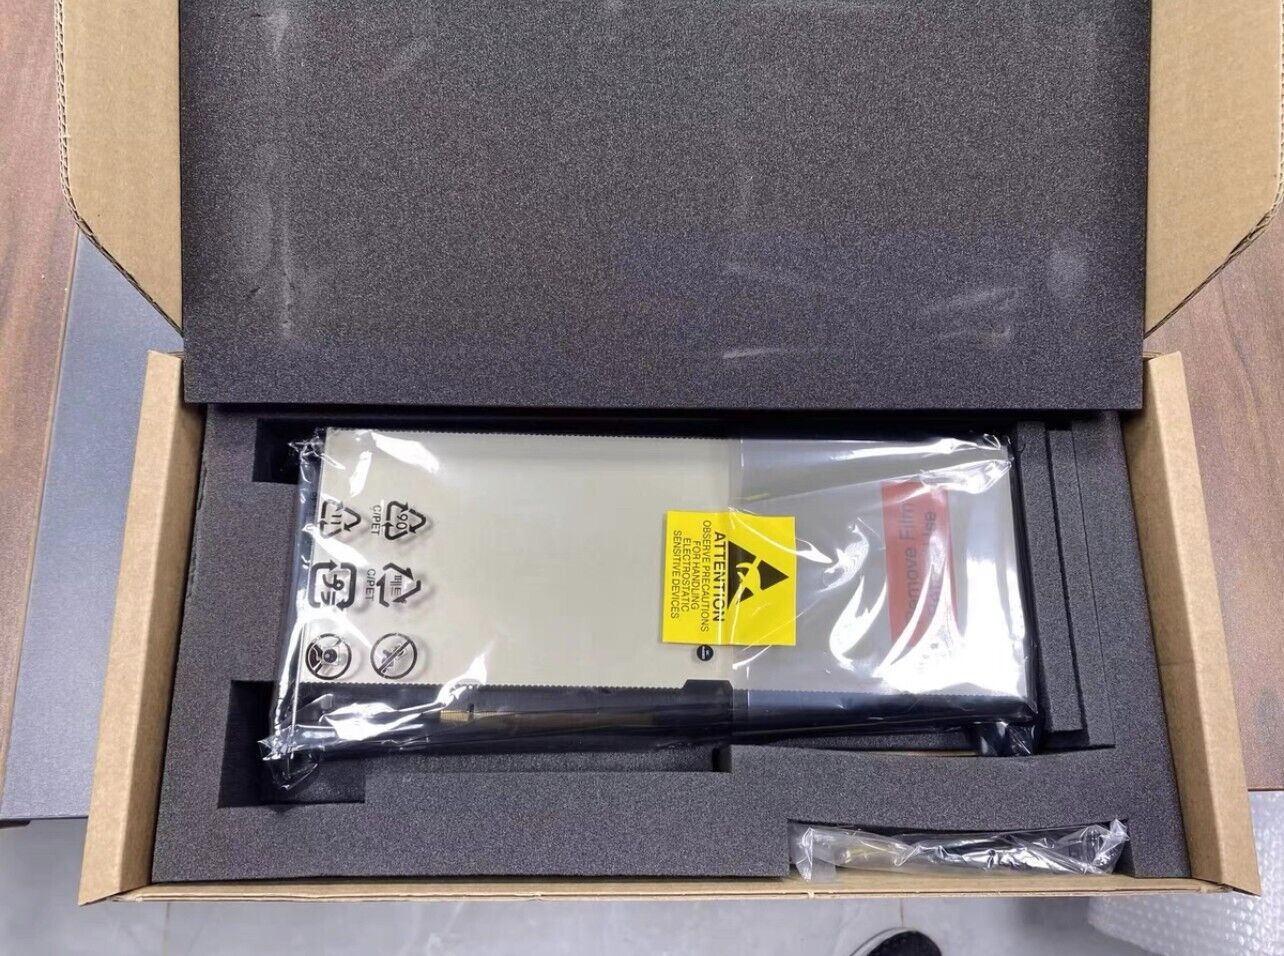
If you’re planning to reuse the graphics card in the future or intend to sell it, it’s recommended to store it in its original packaging or an appropriate protective case to shield it from dust and physical damage.
By carefully removing the graphics card from its slot, you have successfully completed the sixth step of removing your graphics card. In the next steps, we will provide optional instructions for installing a new graphics card and securing it in place.
Step 7: Install the new graphics card (optional)
If you’re planning to upgrade your graphics card or replace the existing one, this step will guide you through the process of installing the new graphics card. Follow these instructions carefully to ensure a successful installation.
Before proceeding, make sure you have a compatible graphics card that meets the requirements of your computer’s motherboard and power supply unit (PSU). Verify the specifications, compatibility, and any additional power requirements of the new graphics card.
Begin by carefully removing the new graphics card from its packaging or protective case. Hold the card by its edges and avoid touching the metal contacts or any sensitive components.
Next, locate the PCIe (Peripheral Component Interconnect Express) slot on the motherboard where the new graphics card will be inserted. Align the graphics card’s connector with the PCIe slot and ensure that the card is oriented correctly.
Gently and evenly insert the graphics card into the PCIe slot, applying even pressure until it is fully seated. Be cautious not to force the card into the slot or bend any components along the way.
If the graphics card has a retention mechanism, latching bracket, or lever, follow the manufacturer’s instructions to secure the card in place. Engage the retention mechanism or lock the bracket/lever to ensure a secure fit.
After installing the graphics card, use the appropriate screws or retention mechanisms to secure it to the computer case. Make sure to tighten the screws enough to hold the card firmly, but avoid over-tightening which could damage the card or the motherboard.
If the new graphics card requires additional power, connect the necessary power cables from the power supply unit (PSU) to the graphics card. Refer to the manufacturer’s instructions for the specific power connections needed for your card.
Finally, double-check that all connections, screws, and retention mechanisms are secure. Ensure that the graphics card is properly seated in the slot, and that all power connections are snugly fitted.
With the new graphics card installed, you’re ready to move on to the next step – securing the card in place (if necessary). Follow the instructions in the next section if you need to ensure that the graphics card doesn’t move or become loose within the computer case.
Step 8: Secure the new graphics card in place (optional)
If you have installed a new graphics card and want to ensure that it remains securely in place within your computer case, this step will guide you through the process of securing the card.
Start by visually inspecting the new graphics card to identify any screw holes or mounting points. These are typically located near the back of the card, close to the computer case.
If your computer case has corresponding screw holes or mounting points, locate them and align them with the graphics card. It’s important to ensure that the card is properly aligned and fits snugly against the case.
Using the appropriate screws or mounting brackets, secure the graphics card to the case. Insert the screws into the screw holes or attach the mounting brackets according to the manufacturer’s instructions.
When tightening the screws, be careful not to overtighten as this can cause damage to the graphics card or the case. Use a screwdriver or the appropriate tool to tighten the screws until they are snug, but do not apply excessive force.
Verify that the graphics card is securely fastened by gently shaking the case. The card should not move or wiggle within the case. If you notice any looseness, double-check that all screws are properly tightened.
Additionally, if your graphics card has a bulky heatsink or fan, ensure that it does not obstruct any other components or interfere with airflow within the case. Proper airflow is crucial for maintaining optimal system temperatures.
By securing the new graphics card in place, you have completed the eighth step of the process. In the next step, we will guide you through reconnecting the power connectors to the new graphics card (if applicable).
Step 9: Reconnect the power connectors
If you have installed a new graphics card or disconnected the power connectors during the removal process, this step will guide you through reconnecting the power connectors to ensure proper power supply to the graphics card.
Start by identifying the power connectors on the graphics card. They are typically located on the side or back of the card and may be in the form of 6-pin or 8-pin connectors.
Next, locate the corresponding power cables from the power supply unit (PSU) that will supply power to the graphics card. Depending on your PSU, these cables may have 6-pin or 8-pin connectors that match those on the graphics card.
Gently insert the power connectors into the appropriate slots on the graphics card. The connectors should fit snugly and align with the corresponding slots.
If the power connectors have locking mechanisms, make sure to engage the locks to ensure a secure connection. Some connectors may require a slight twist or push to fully engage the lock.
Double-check that all power connectors are securely connected and properly seated in their respective slots. The connectors should fit firmly and not come loose with gentle tugs or movements.
Once you have ensured that all power connectors are correctly attached, tidy up any excess cables inside the computer case. Use cable management techniques such as zip ties or Velcro straps to secure and organize the cables, reducing clutter and improving airflow.
Before proceeding, make sure that all other components and cables inside the computer case are properly connected and secured. Take a moment to inspect the overall setup and ensure that everything is in order.
With the power connectors reconnected and the cables organized, you have completed the ninth step of the process. In the final step, we will guide you through replacing the side panel of your computer case to complete the process.
Step 10: Replace the Side Panel of Your Computer
With all the necessary hardware installations completed, the final step is to replace the side panel of your computer case. This step ensures that the internal components are properly protected and the computer is ready to be powered on.
Begin by carefully aligning the side panel with the case. Take into consideration any hooks, tabs, or notches that secure the panel in place.
Gently slide or push the side panel back onto the computer case. Ensure that it is aligned properly and fits snugly into place. There should be no gaps or loose edges between the panel and the case.
If there are screws used to secure the side panel, insert them into the appropriate holes and use a Phillips screwdriver or the appropriate tool to tighten them. Make sure not to overtighten the screws, as this can damage the case or the screws themselves.
Once the side panel is securely in place, give it a gentle shake to ensure it is firmly attached and doesn’t move around. If it feels stable and there are no rattling noises, then the side panel is properly secured.
Before powering on your computer, double-check that all external cables are properly connected, such as the monitor, keyboard, and mouse. Verify that the power cable is securely plugged into the power supply unit (PSU) and the wall outlet.
Finally, turn on your computer and monitor to make sure everything is functioning properly. Listen for any unusual noises or beeping sounds during the boot-up process. If there are no issues, you can proceed with using your computer as usual.
Congratulations! You have successfully completed the process of removing and replacing your graphics card. Whether you were upgrading the card or troubleshooting an issue, you can now enjoy the benefits of your new hardware or investigate further to resolve any problems you were experiencing.
Remember, if you encounter any difficulties or are unsure about any step of the process, it is always recommended to consult your computer’s manual or seek assistance from a professional technician.
Conclusion
Removing and replacing a graphics card may seem like a daunting task, but with the right tools and knowledge, it can be a relatively straightforward process. By following the step-by-step guide outlined in this article, you have learned how to safely remove your graphics card, install a new one if desired, and securely reconnect all necessary components.
Remember to always prioritize safety by powering down and unplugging your computer before starting any hardware-related procedures. Take your time and handle the components with care to avoid any damage or mishaps.
Whether you were upgrading your graphics card to enhance your computer’s performance or troubleshooting an issue, this process allows you to explore the possibilities and optimize your computing experience.
If you encounter any difficulties or are unsure about any step of the process, it’s always recommended to consult your computer’s manual or seek the assistance of a professional technician. They can provide guidance specific to your computer model and ensure that the task is completed accurately.
We hope this guide has been helpful in guiding you through the process of removing and replacing your graphics card. By following these steps, you can confidently make changes to your computer’s hardware and enjoy the benefits of a properly installed graphics card.
Remember to take proper precautions and follow best practices to ensure the longevity and functionality of your computer components. With your newly installed or replaced graphics card, you can now experience improved graphics performance, higher resolutions, and smoother gameplay.
Now that you have successfully completed the process, take a moment to appreciate your accomplishment and enjoy the enhanced capabilities of your computer system. Happy computing!


