Introduction
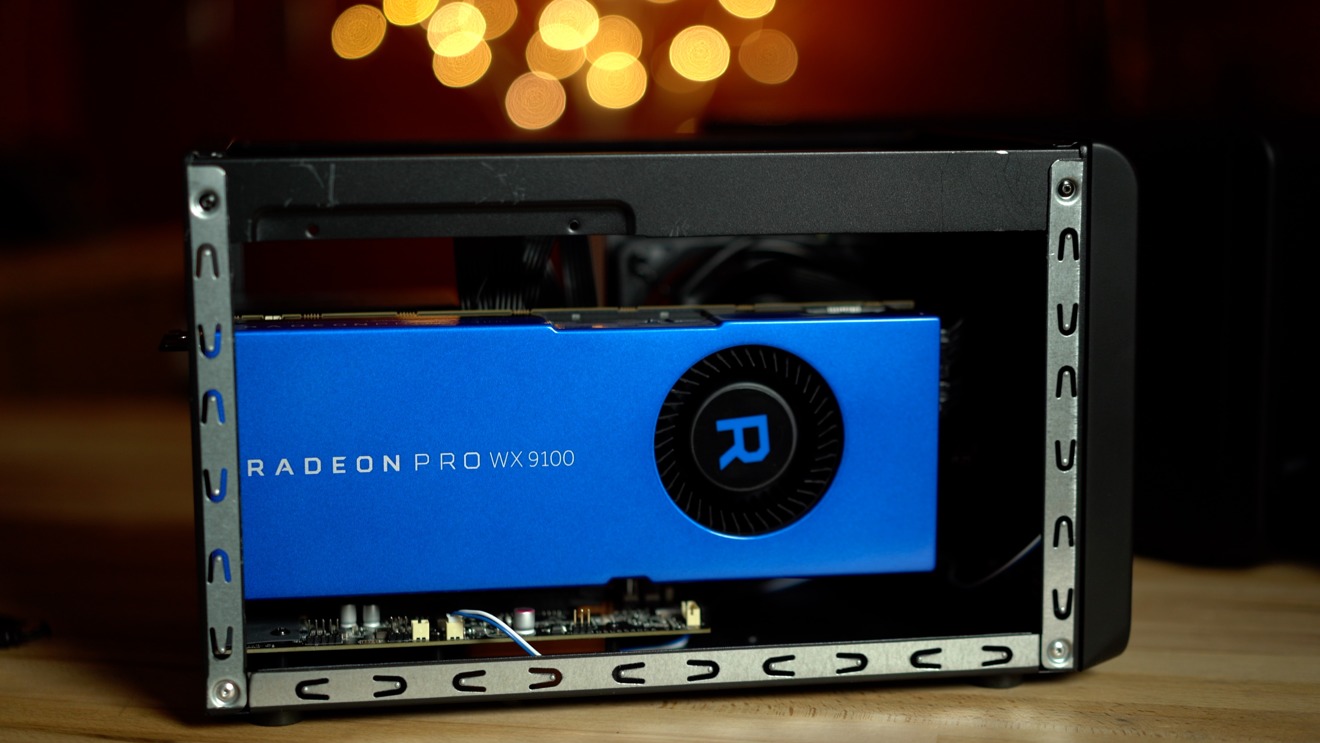
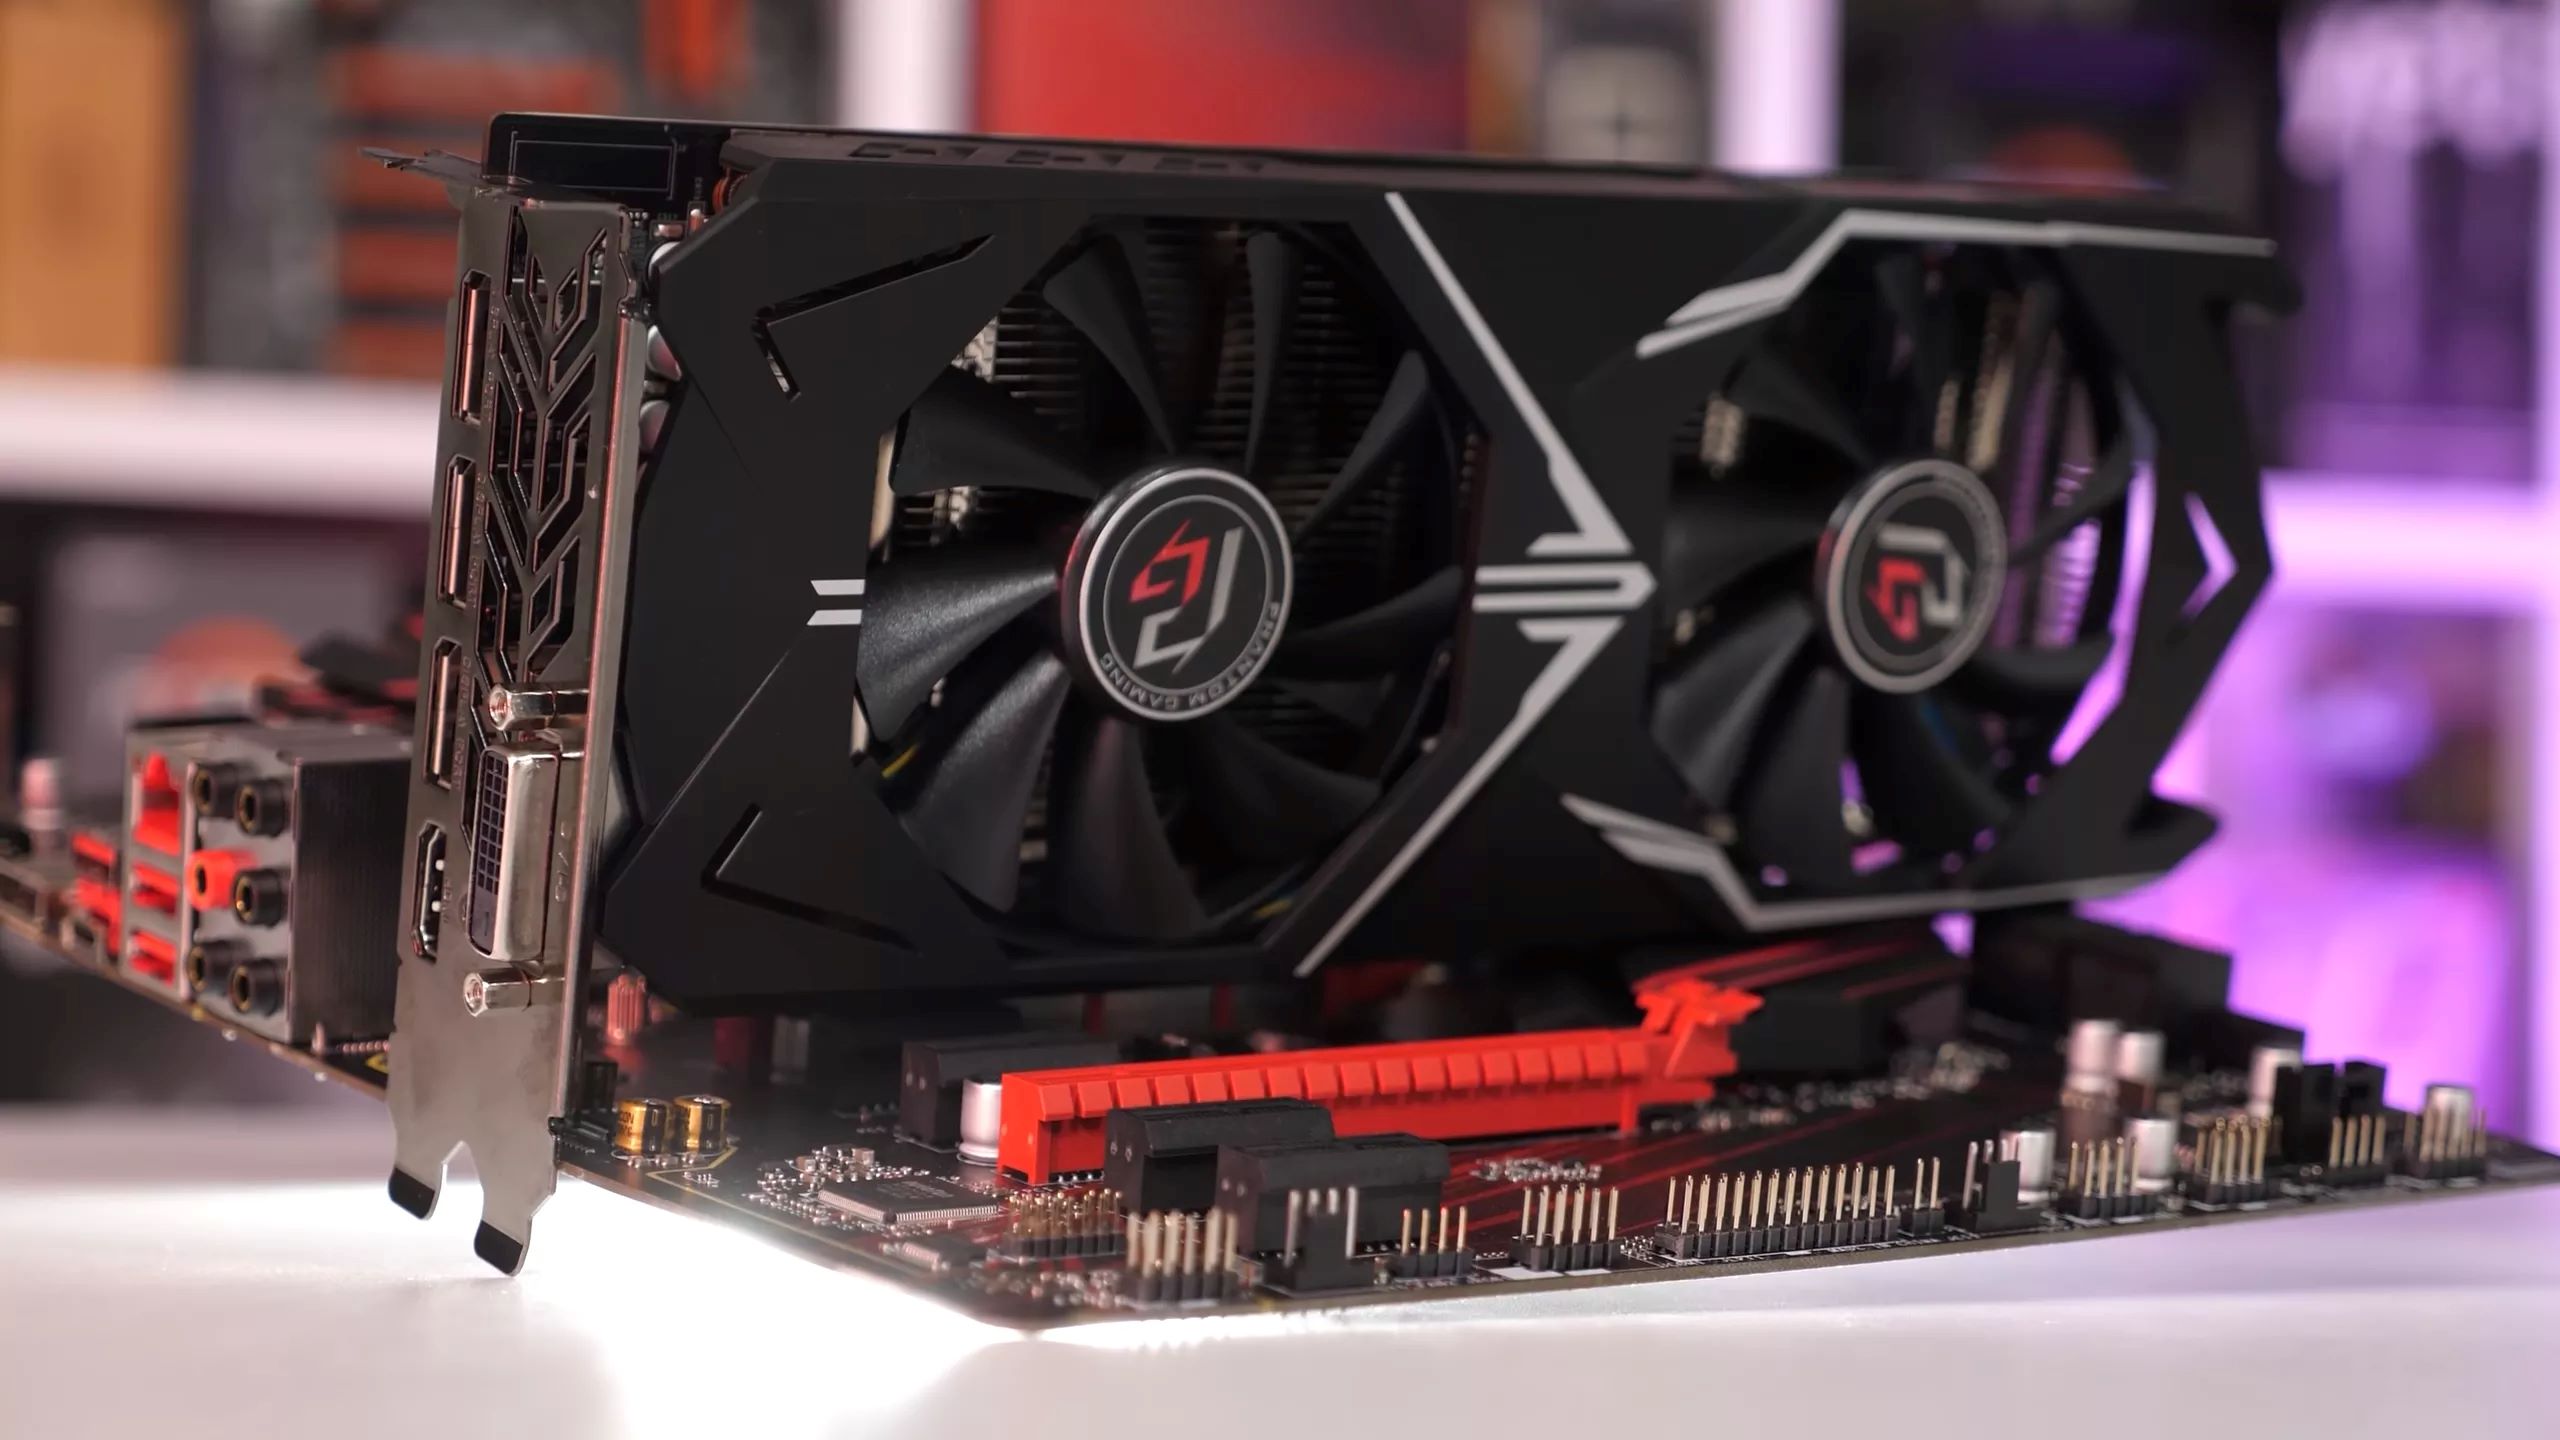
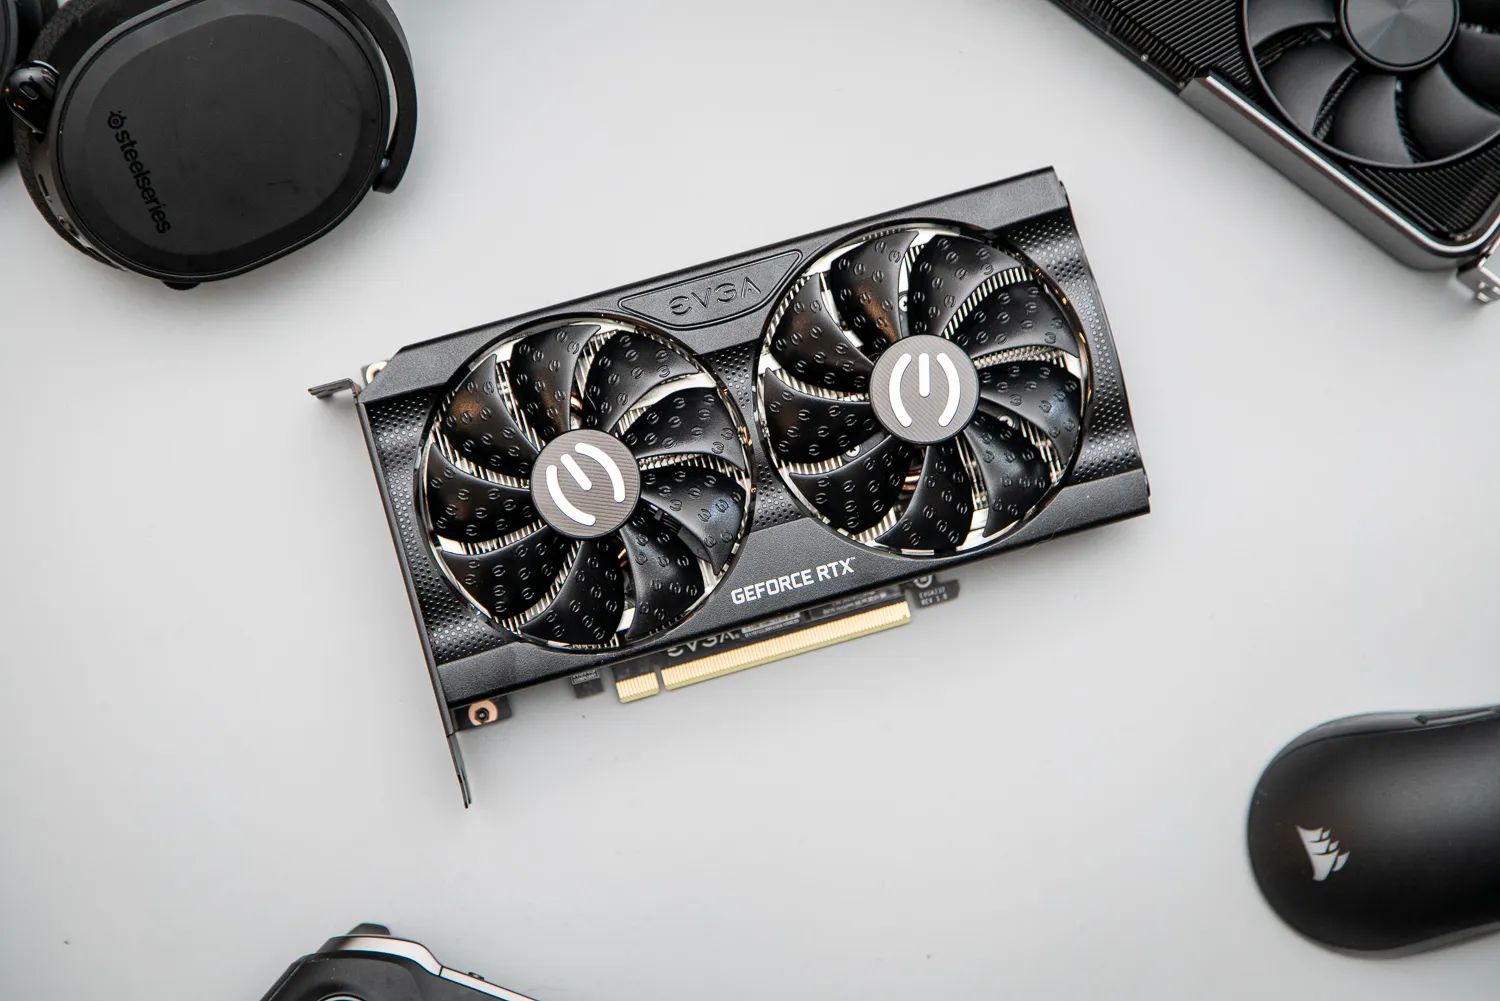
Welcome to the world of graphics cards – where stunning visuals and impressive performance come together to deliver an unparalleled gaming experience. Whether you are a passionate gamer, a graphic designer, or a video editor, your graphics card is undoubtedly a cherished and valuable component of your computer setup.
However, when it comes to shipping or transporting a graphics card, extra care must be taken to ensure its safety and protection. Improper packaging can lead to damage, malfunction, or even render your graphics card useless. To avoid such unfortunate scenarios, it is crucial to understand how to package a graphics card properly.
In this article, we will guide you through the step-by-step process of packaging a graphics card for shipping or transportation. From removing the graphics card from your PC to choosing the right packaging materials and precautions to take, we will cover everything you need to know to keep your valuable graphics card safe and secure throughout the journey.
Whether you are selling or transferring your graphics card, or simply need to transport it to a different location, following these packaging guidelines will give you peace of mind and ensure that your graphics card arrives in perfect condition.
Why Proper Packaging is Important
Proper packaging is of utmost importance when it comes to shipping or transporting a graphics card. Here are some key reasons why:
- Protection from Physical Damage: Graphics cards are delicate electronic devices with sensitive components. Proper packaging safeguards them from physical damage due to impacts, vibrations, or rough handling during transit.
- Prevention of Static Electricity: Static electricity can severely damage graphics cards. Proper packaging helps prevent the build-up and discharge of static electricity, ensuring the card remains safe and functional.
- Shielding from Dust and Moisture: Dust and moisture can corrode the contacts and circuits of your graphics card, leading to malfunctions or even complete failure. Correct packaging provides a protective barrier against these elements.
- Safe Transportation: A well-packaged graphics card is less vulnerable to accidents and mishaps during transportation. It reduces the chances of it getting jostled, dropped, or exposed to extreme temperatures.
- Extended Lifespan: Proper packaging can significantly prolong the lifespan of your graphics card. By minimizing the risks of damage from shipping or transportation, you can enjoy its high-performance capabilities for years to come.
By understanding the importance of proper packaging for a graphics card, you can ensure that your valuable component remains in pristine condition throughout its journey. Now, let’s dive into the step-by-step process of packaging a graphics card to ensure its safety during shipping or transportation.
Materials Needed
Before you begin packaging your graphics card, make sure you have the following materials ready:
- Antistatic Packaging Material: This includes antistatic bags or foam sheets to protect the graphics card from static electricity.
- Bubble Wrap or Foam Padding: These materials provide cushioning and shock absorption to safeguard the graphics card from physical damage.
- Cardboard Box: Choose a sturdy cardboard box that is slightly larger than the size of the graphics card. This will allow space for additional padding while ensuring a snug fit.
- Packing Peanuts or Crumpled Paper: These materials can be used to fill any empty space inside the box to prevent movement and minimize the risk of damage.
- Tape: Use strong packing tape to secure the box and ensure it stays sealed during transportation.
- Marker or Labels: Have a marker or pre-printed labels ready to indicate the contents, destination, and handling instructions on the package.
By having these materials readily available, you can efficiently and effectively package your graphics card for safe shipping or transportation. Now let’s move on to the step-by-step process of packaging your graphics card in the next section.
Step 1: Remove the Graphics Card from the PC
The first step in packaging a graphics card for shipping or transportation is to safely remove it from your computer. Follow these guidelines:
- Power off your PC: Shut down your computer properly and make sure it is turned off.
- Disconnect all cables: Unplug all the cables connected to your PC, including the power cord, display cables, and any other peripherals.
- Open your PC case: Depending on your computer case design, remove the side panel or any other access panels to gain access to the internal components.
- Locate the graphics card: Identify the graphics card inside your PC. It is usually inserted into a PCIe slot on the motherboard and secured by screws or clips.
- Unplug power connections: If your graphics card has any additional power connectors, carefully unplug them from the card.
- Unfasten the card: Remove any screws or clips securing the graphics card to the case or motherboard. Gently rock the card back and forth to ease it out of the PCIe slot.
- Handle with care: Once removed, hold the graphics card by its edges and avoid touching the sensitive components or gold contacts.
By following these steps, you can safely detach the graphics card from your PC without causing any damage. Handling the graphics card with care is crucial to prevent static electricity or physical harm. Now that you have successfully removed the graphics card, let’s move on to the next step of the packaging process.
Step 2: Cleaning the Graphics Card
Once you have safely removed the graphics card from your PC, it is important to clean it before proceeding with the packaging. Cleaning the graphics card helps remove any dust or debris that may have accumulated on its surface. Here’s how you can clean the graphics card:
- Use compressed air: Utilize a can of compressed air to blow away any loose dust or particles from the graphics card. Hold the can upright and use short bursts of air to avoid any liquid residue.
- Inspect for stubborn dirt: Carefully examine the graphics card for any stubborn dirt or grime that may not be removed by compressed air alone.
- Use isopropyl alcohol: Moisten a lint-free cloth or cotton swab with isopropyl alcohol (70% or higher concentration). Gently wipe the surface of the graphics card to remove any remaining dirt or residue.
- Focus on connectors: Pay extra attention to cleaning the connectors on the graphics card, as they need to be free from any contaminants for proper functioning.
- Allow to dry: Let the graphics card air dry for a few minutes before proceeding with the packaging process. Ensure that there is no moisture remaining before packaging.
Remember, cleaning the graphics card is an essential step to maintain its performance and prevent any potential issues. By removing dust and dirt, you enhance the card’s reliability and longevity. Now that your graphics card is clean and dry, it is time to move on to the next step: choosing the right packaging materials.
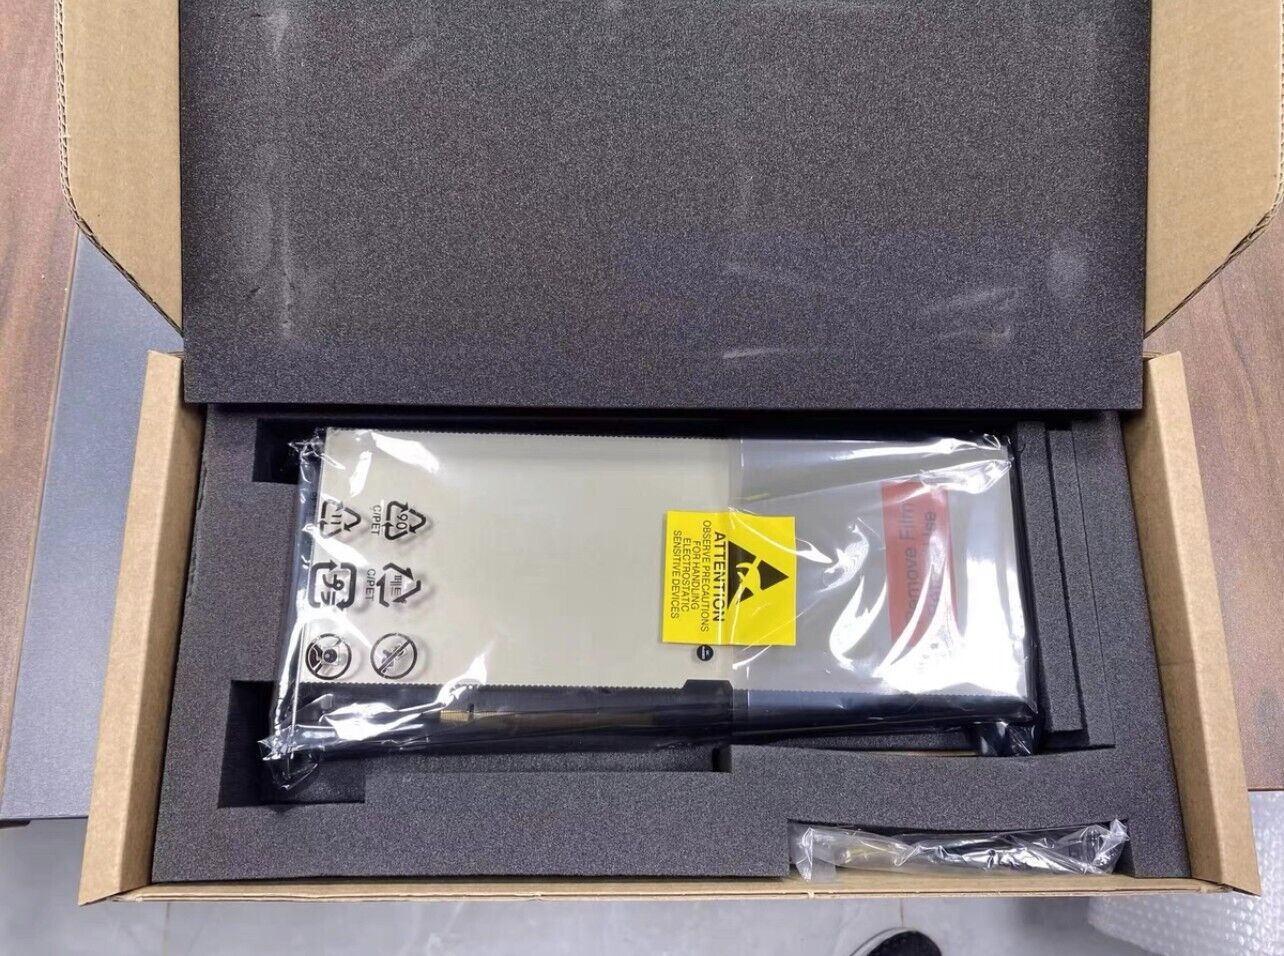
Step 3: Choosing the Right Packaging Materials
Choosing the right packaging materials is crucial to ensure the safety and protection of your graphics card during shipping or transportation. Here are the key factors to consider when selecting your packaging materials:
- Antistatic Bags or Foam Sheets: To protect your graphics card from static electricity, use antistatic bags or foam sheets. These materials help prevent static discharge and safeguard the sensitive components of the card.
- Bubble Wrap or Foam Padding: To provide cushioning and shock absorption, wrap your graphics card in bubble wrap or use foam padding. This extra layer of protection helps absorb any shocks or impacts that may occur during transit.
- Cardboard Box: Choose a sturdy cardboard box that is slightly larger than the size of your graphics card. This ensures there is enough space for additional padding while still providing a snug fit. Make sure the box is in good condition and can withstand the rigors of shipping.
- Packing Peanuts or Crumpled Paper: Fill any empty space inside the box with packing peanuts or crumpled paper. This prevents the graphics card from moving around during transit and minimizes the risk of damage.
- Tape: Use strong packing tape to securely seal the box. Ensure that all seams and openings are tightly sealed to prevent the box from accidentally opening during shipping.
- Marker or Labels: Use a marker or pre-printed labels to clearly indicate the contents, destination address, and any handling instructions on the package. This helps ensure proper handling and delivery of the graphics card.
By carefully choosing the right packaging materials, you can provide optimal protection for your graphics card and minimize the risk of damage during transportation. Now that you have the necessary materials ready, let’s move on to the next step: taking anti-static precautions.
Step 4: Anti-Static Precautions
When packaging a graphics card, it is crucial to take anti-static precautions to prevent any damage caused by static electricity. Static discharge can harm the sensitive components of the card. Follow these steps to ensure you’re taking the necessary anti-static measures:
- Work in an ESD-safe environment: Ideally, you should package the graphics card in an electrostatic discharge (ESD)-safe environment. This can be a static-free workstation or a surface covered with an ESD mat.
- Wear an anti-static wrist strap: Put on an anti-static wrist strap that is properly grounded. This helps to dissipate any static charge from your body and prevents it from reaching the graphics card.
- Avoid static-generating materials: Keep away from materials that generate static electricity, such as wool, synthetic fabrics, and plastic bags. These can potentially transfer static charge to the graphics card.
- Only handle the card by the edges: When touching the graphics card, make sure to hold it by the edges to minimize any direct contact with the sensitive components or gold contacts.
- Use antistatic bags or foam sheets: Place the graphics card in an antistatic bag or wrap it with antistatic foam sheets before placing it in the box. These materials provide additional protection against static electricity.
By taking these anti-static precautions, you significantly reduce the risk of damaging your graphics card due to static discharge. Remember, static electricity can be particularly problematic during the packaging process, so it is important to remain diligent in minimizing its effects. With the anti-static measures in place, you can proceed to the next step: wrapping the graphics card.
Step 5: Wrapping the Graphics Card
Properly wrapping the graphics card is essential to provide an additional layer of protection during shipping or transportation. Follow these steps to wrap your graphics card securely:
- Place the graphics card on an antistatic surface: Start by placing the graphics card on an antistatic surface, such as an antistatic mat or the antistatic bag it came in.
- Wrap the graphics card with an antistatic bag or foam sheets: Carefully wrap the graphics card with an antistatic bag, ensuring that all sides of the card are covered. Alternatively, you can use antistatic foam sheets to envelop the card, providing additional cushioning.
- Secure the wrap: Use tape or secure the edges of the antistatic bag or foam sheets to make sure they stay in place and do not unwrap during transit.
- Avoid excessive pressure: While wrapping the graphics card, avoid applying excessive pressure that could potentially damage the components. Ensure that the card is snugly wrapped without putting undue stress on it.
By following these steps, you can ensure that your graphics card is securely wrapped and protected from any external damage. The antistatic wrap helps prevent static electricity from accumulating and harming the card. With the graphics card securely wrapped, it is time to move on to the next step: placing it in a box.
Step 6: Placing the Graphics Card in a Box
After properly wrapping your graphics card, it’s time to carefully place it in a sturdy cardboard box for safe shipping or transportation. Follow these steps to ensure the graphics card is correctly positioned in the box:
- Select an appropriate box: Choose a sturdy cardboard box that is slightly larger than the dimensions of the graphics card. This allows for additional padding while ensuring a snug fit.
- Prepare the box: Remove any old labels or markings from the box. Seal any openings or tears using strong packing tape to ensure the box is secure.
- Add cushioning: Place a layer of crumpled paper or packing peanuts at the bottom of the box to provide cushioning and minimize any shocks or impacts during transit.
- Position the graphics card: Carefully place the wrapped graphics card in the center of the box. Ensure that it is placed upright and does not touch any sides or corners of the box.
- Add more cushioning: Fill any empty spaces around the graphics card with additional crumpled paper or packing peanuts to prevent movement and provide extra protection.
When placing the graphics card in the box, it’s important to protect it from any potential damage caused by shifting or impact. By following these steps, you can ensure that the graphics card is securely positioned and cushioned within the box. Once the graphics card is in place, it’s time to move on to the next step: filling any empty space in the box.
Step 7: Filling Any Empty Space in the Box
After placing the graphics card in the box, it’s crucial to fill any empty space to prevent movement and provide additional protection. Follow these steps to effectively fill the empty space:
- Assess the empty space: Take a look at the box and identify any gaps or empty areas around the graphics card.
- Additional padding: Use crumpled paper, bubble wrap, or packing peanuts to fill the gaps around the graphics card. These materials will help absorb shocks and minimize movement during transit.
- Ensure stability: Gently shake the box to check if the graphics card and additional padding stay in place. If there is any movement, add more padding until the contents are stable.
- Don’t overstuff: The goal is to provide sufficient padding without overstuffing the box, which could potentially damage the graphics card or the box itself.
By filling any empty spaces in the box, you create a secure environment for the graphics card during shipping or transportation. The additional padding helps absorb any shocks or impacts that may occur during transit, ensuring the safety of the graphics card. With the empty spaces filled, it’s time to move on to the next step: sealing the box securely.
Step 8: Sealing the Box Securely
Once you have placed the graphics card in the box and filled any empty spaces, it’s time to seal the box securely to ensure it stays closed during transit. Follow these steps to seal the box effectively:
- Use sturdy packing tape: Use high-quality packing tape to securely seal the openings of the box. Make sure to choose tape that is strong and durable.
- Tape all seams: Start by taping the bottom seams of the box to ensure it is sturdy and won’t split open under the weight of the graphics card.
- Seal the edges: Run strips of tape along the edges of the box to reinforce the seal and prevent any accidental openings during transit.
- Inspect the seal: Once the box is taped, give it a gentle shake to check if the seal holds. If there are any areas that feel loose, reinforce them with additional tape.
- Label the box: Use a marker or pre-printed labels to indicate the contents, destination address, and any special handling instructions on the box. This ensures proper identification and handling by the shipping carrier.
By sealing the box securely, you ensure that the graphics card is protected and that the contents won’t be exposed during transit. A strong seal helps minimize the risk of accidental openings or damage to the graphics card. With the box securely sealed, it’s time to move on to the next step: labeling the box.
Step 9: Labeling the Box
Labeling the box is an important step in ensuring proper handling and delivery of the packaged graphics card. Follow these guidelines to label the box effectively:
- Include the contents: Clearly indicate that the box contains a graphics card to ensure proper identification by the shipping carrier and any personnel who handle the package.
- Destination address: Write the complete destination address, including the recipient’s name, street address, city, state, and zip code. Make sure the label is legible and easy to read.
- Handling instructions: If there are any specific handling instructions for the package, such as “Fragile” or “Handle with Care,” clearly label the box to alert the shipping carrier and minimize the risk of mishandling.
- Return address: Include your own return address on the label. This allows the package to be returned to you in case of any delivery issues or if it cannot be delivered to the recipient.
- Attach the label securely: Use clear tape to affix the label to the box, ensuring that it is securely attached and won’t come off during transit.
By properly labeling the box, you provide crucial information for the shipping carrier and minimize the risk of mishandling. Clear labeling helps ensure that the package reaches its destination safely and as intended. With the box labeled, you’re ready for the final step: selecting the appropriate shipping method.
Step 10: Choosing the Shipping Method
Choosing the right shipping method is crucial to ensure that your packaged graphics card reaches its destination safely and in a timely manner. Consider the following factors when selecting a shipping method:
- Reliability: Choose a reputable shipping carrier known for their reliable delivery services. Research customer reviews and ratings to ensure their track record aligns with your expectations.
- Insurance: Check if the shipping carrier offers insurance for your package. It is wise to opt for insurance coverage to protect against any possible damage or loss during transit.
- Tracking: Look for a shipping method that provides reliable tracking services. Being able to track your package in real-time allows you to monitor its progress and ensure it is on the right path.
- Delivery Speed: Consider the urgency of the delivery and choose a shipping method that meets your timeframe requirements. Express or expedited shipping options are often available for faster delivery.
- Special Handling Options: If your graphics card requires special handling due to its fragile nature, inquire about any additional services or precautions the shipping carrier can provide.
- Shipping Cost: Finally, consider the shipping cost and ensure it aligns with your budget. Compare prices from different carriers and balance the cost with the level of service and reliability they offer.
By carefully considering these factors, you can select a shipping method that best suits your needs and provides peace of mind knowing your graphics card is in good hands. Once you have chosen the shipping method, follow their instructions for packaging and drop-off or schedule a pickup based on their guidelines.
With the shipping method chosen and your packaged graphics card ready to go, all that’s left to do is send it off on its journey. Have confidence in the packaging and precautions you’ve taken, knowing that you have done everything possible to ensure a safe and secure delivery.
Conclusion
Properly packaging a graphics card for shipping or transportation is essential to ensure its safety and protection. By following the step-by-step process outlined in this guide, you can package your graphics card with confidence and minimize the risk of damage during transit.
From removing the graphics card from your PC to choosing the right packaging materials, taking anti-static precautions, wrapping the card securely, and filling any empty space in the box, each step plays a crucial role in ensuring the safe transportation of your valuable component.
Remember to choose a sturdy cardboard box, use antistatic bags or foam sheets, and fill any remaining gaps with padding materials to prevent movement and provide cushioning. Seal the box securely with strong packing tape and label it clearly with the contents, destination address, and any handling instructions.
When it comes to shipping, choose a reliable carrier that offers insurance, tracking, and optional special handling services. Consider factors such as delivery speed, cost, and the carrier’s reputation to make an informed decision.
By following these guidelines, you can have peace of mind knowing that your graphics card is well-protected and secure during its journey. Proper packaging ensures the card arrives in perfect condition, ready to deliver stunning visuals and exceptional performance once again.
So, whether you are sending your graphics card to a buyer, transferring it to a new location, or simply need to store it safely, ensure its protection by packaging it the right way. Safe travels for your graphics card!