Introduction:
Welcome to our guide on how to RMA a graphics card. Graphics cards are essential components in any computer or gaming setup, responsible for rendering stunning visuals and optimizing performance. However, just like any other electronic device, graphics cards may sometimes encounter issues or fail to meet user expectations.
RMA, which stands for Return Merchandise Authorization, is a process that allows consumers to return faulty products to the manufacturer or retailer for repair or replacement. In the case of graphics cards, an RMA ensures that you are able to resolve any issues and receive a functioning or new replacement.
In this guide, we will walk you through the steps involved in the RMA process for a graphics card. From checking warranty coverage to packaging and shipping the faulty unit, we will cover everything you need to know to ensure a smooth RMA experience.
Whether you are experiencing crashes, artifacts, or other graphical anomalies, or you simply want to upgrade your current graphics card, understanding how to navigate the RMA process is crucial. By following the steps outlined in this guide, you can easily request a replacement graphics card and have it in your hands as quickly as possible.
Let’s dive in and explore the world of RMAing graphics cards, empowering you with the knowledge to resolve any issues and enjoy the optimal performance that a graphics card can deliver.
What is RMA?
RMA, short for Return Merchandise Authorization, is a process that allows consumers to return or replace faulty products to the manufacturer or retailer for repair or replacement. It is a way for customers to seek resolution for issues they encounter with a product, ensuring that they receive a functioning or new replacement.
The RMA process typically involves contacting the manufacturer or retailer, providing necessary information about the product and the issue faced, and following specific instructions for returning the product. Once the faulty product is received, the manufacturer or retailer will assess the issue and either repair it or provide a replacement, depending on the warranty coverage and the nature of the problem.
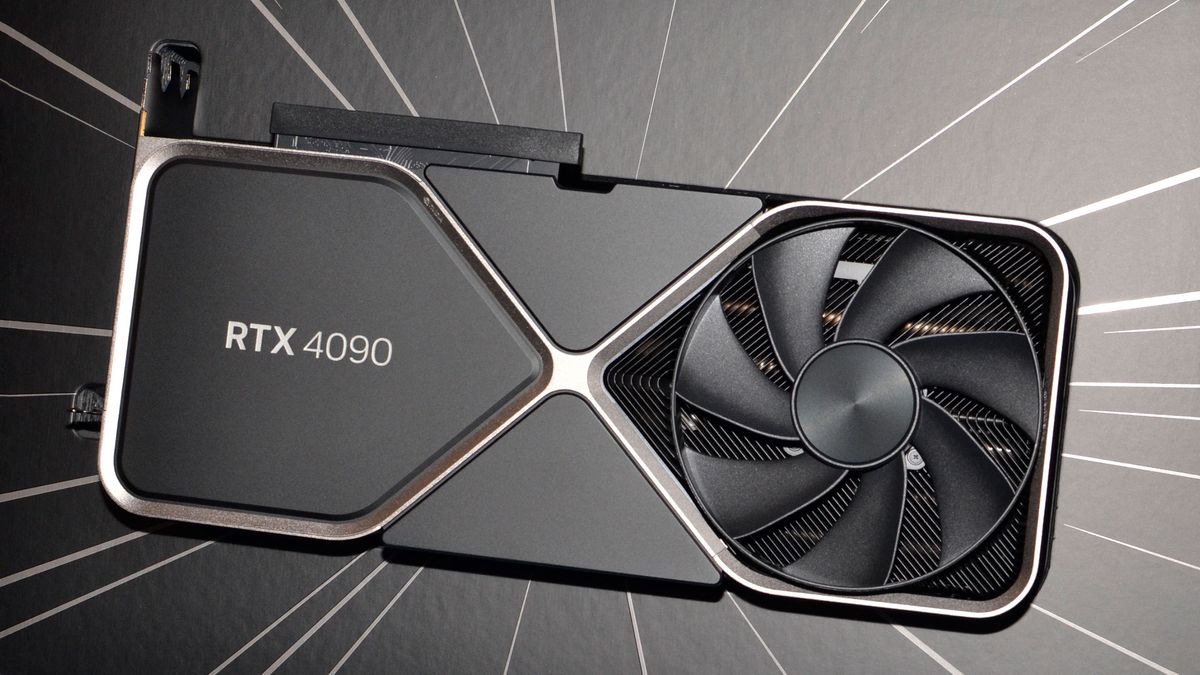
When it comes to graphics cards, an RMA can be necessary for various reasons. Graphics cards are complex electronic devices that can experience failures or compatibility issues. Common problems include crashes, artifacts (visual distortions or anomalies), overheating, or underperformance. In some cases, users may want to RMA a graphics card to upgrade to a higher-performing model or to resolve issues arising from a faulty unit.
It is important to note that the RMA process and its terms and conditions can vary between manufacturers and retailers. It is essential to understand the warranty coverage, any associated costs or fees, and the specific procedures for returning the product. Manufacturers often provide a limited warranty period during which the product can be returned without additional charges, while extended warranties or additional services may be available for an extra cost.
Overall, the RMA process provides consumers with a way to resolve issues with their graphics card and ensure they receive a fully functioning replacement or repair. It is a vital aspect of customer support and ensures that users can enjoy the full benefits of their graphics card investment.
Reasons to RMA a Graphics Card
There are several reasons why you might need to RMA a graphics card. Graphics cards, despite being crucial components in a computer, can sometimes experience issues or fail to meet your expectations. Here are some common reasons why you might consider initiating the RMA process:
- Hardware Failure: Graphics cards can experience various hardware failures, such as random crashes, artifacts (visual distortions), or complete system freezes. These issues can be caused by faulty components, inadequate cooling, or manufacturing defects. If your graphics card consistently exhibits these problems, it might be worth considering an RMA to get a replacement unit.
- Upgrade or Downgrade: Sometimes, you may decide to upgrade or downgrade your graphics card to better meet your needs. Whether you require more power for demanding gaming or rendering tasks or you find that your current card is overkill for your usage, an RMA can facilitate the exchange of your current graphics card for a more suitable model.
- Incompatibility: Occasionally, a graphics card might be incompatible with your system or specific software. This can result in instability, driver conflicts, or performance issues. If you have exhausted all other troubleshooting methods and determined that the card is the cause of the problem, an RMA might be the solution to acquire a more compatible graphics card.
- Overheating or Cooling Issues: Graphics cards generate significant heat during operation, and adequate cooling is crucial for their optimal performance and longevity. If your graphics card consistently overheats or exhibits cooling-related issues, such as loud fan noises or inadequate cooling performance, it might be necessary to RMA the card for a replacement that functions within acceptable temperature ranges.
- Defective Product: Sometimes, a graphics card may arrive with manufacturing defects or arrive in a non-functional state. This can include issues like dead pixels, damaged connectors, or faulty VRAM. If you notice these problems immediately upon receiving your graphics card, it is essential to contact the manufacturer or retailer for an RMA to receive a replacement unit.
Remember, while these are common reasons to RMA a graphics card, it is crucial to consult the manufacturer’s warranty policies to ensure that your specific issue is covered and to familiarize yourself with any associated fees or requirements. By understanding the reasons for an RMA, you can make an informed decision and ensure that your graphics card performs optimally.
Checking Warranty and Coverage
Before initiating the RMA process for your graphics card, it is crucial to determine whether your card is still within the warranty period and what type of coverage you have. This information will help you understand what options are available to you and any associated costs or requirements. Here are the steps to check your warranty and coverage:
- Read the Documentation: Start by referring to the documentation that came with your graphics card. Look for information regarding the warranty period, terms, and conditions. Familiarize yourself with the specific coverage provided by the manufacturer, as it can vary based on the card model and region.
- Visit the Manufacturer’s Website: Head over to the manufacturer’s website and look for their support or customer service section. Manufacturers often provide an online warranty check tool where you can enter your graphics card’s serial or product number to verify the warranty status.
- Contact Customer Support: If you couldn’t find the necessary information online, reach out to the manufacturer’s customer support. They will be able to assist you in determining the warranty coverage for your graphics card. Have your card’s serial number or proof of purchase ready, as they might require this information to assist you effectively.
- Check Retailer Policies: If you purchased the graphics card from a retailer, they may have their own return or exchange policies. Visit their website or contact their customer support to understand the options available to you.
Knowing your warranty coverage is essential as it determines whether your RMA will be handled by the manufacturer or the retailer. Additionally, it allows you to understand if there are any costs involved in the RMA process, such as shipping fees or any out-of-warranty service charges.
Keep in mind that warranties typically have a limited timeframe, often ranging from one to three years, depending on the manufacturer and product. If your graphics card is no longer covered by the warranty, you may still be able to pursue repairs or replacements, but it might involve additional costs.
By checking the warranty and coverage of your graphics card, you can be prepared for the RMA process and have a clear understanding of what options are available to you. This knowledge will help you navigate the next steps with confidence and efficiency.
Contacting the Manufacturer
Once you have determined that your graphics card is eligible for an RMA based on the warranty and coverage, the next step is to contact the manufacturer. Contacting the manufacturer directly ensures that you get accurate information and instructions specific to your situation. Here are the steps to follow when contacting the manufacturer:
- Gather Necessary Information: Before reaching out to the manufacturer, gather all the necessary information about your graphics card, such as the model name, serial number, and proof of purchase. Having this information readily available will help expedite the process and assist the customer support representative in assisting you effectively.
- Visit the Manufacturer’s Website: Start by visiting the manufacturer’s website and navigating to the support or customer service section. Look for a dedicated RMA page or contact information for RMA inquiries. Many manufacturers provide specific instructions and contact details for initiating an RMA request.
- Call or Email Customer Support: Depending on the manufacturer’s contact options, you can either call their customer support hotline or send them an email. Be prepared to provide all the necessary information about your graphics card, as well as a detailed description of the issue you are facing. Remember to keep a record of your communication, including any ticket numbers or reference numbers provided.
- Explain the Issue Clearly: When contacting the manufacturer, clearly describe the problem you are experiencing with your graphics card. Be specific about any error messages, artifacts, or other issues you have encountered. This will help the customer support representative understand the problem and provide appropriate guidance for the RMA process.
- Follow the Manufacturer’s Instructions: Once you have explained the issue to the customer support representative, they will provide you with instructions on how to proceed with the RMA. They may ask for additional details, such as photographs or videos demonstrating the problem, or they might ask you to fill out an online RMA form. Follow their instructions carefully to ensure a smooth RMA process.
When contacting the manufacturer, it is essential to maintain a polite and professional demeanor. Remember that the customer support representative is there to assist you, and being cooperative and communicative will facilitate the process.
By reaching out to the manufacturer, you ensure that you receive accurate information and clear instructions on how to proceed with the RMA process. Their expertise and guidance will help you navigate the next steps effectively and ensure a successful resolution to your graphics card issue.
Gathering Required Information
Before initiating the RMA process for your graphics card, it is crucial to gather all the necessary information to ensure a smooth and efficient process. Having the required information readily available will not only expedite the RMA request but also help the manufacturer or retailer accurately assess and resolve the issue. Here are the essential pieces of information you should gather:
- Proof of Purchase: Locate your proof of purchase, such as an invoice or receipt, as it serves as evidence of your ownership and warranty eligibility. The document should clearly state the purchase date, the store or website from which you bought the graphics card, and the card’s model and serial number.
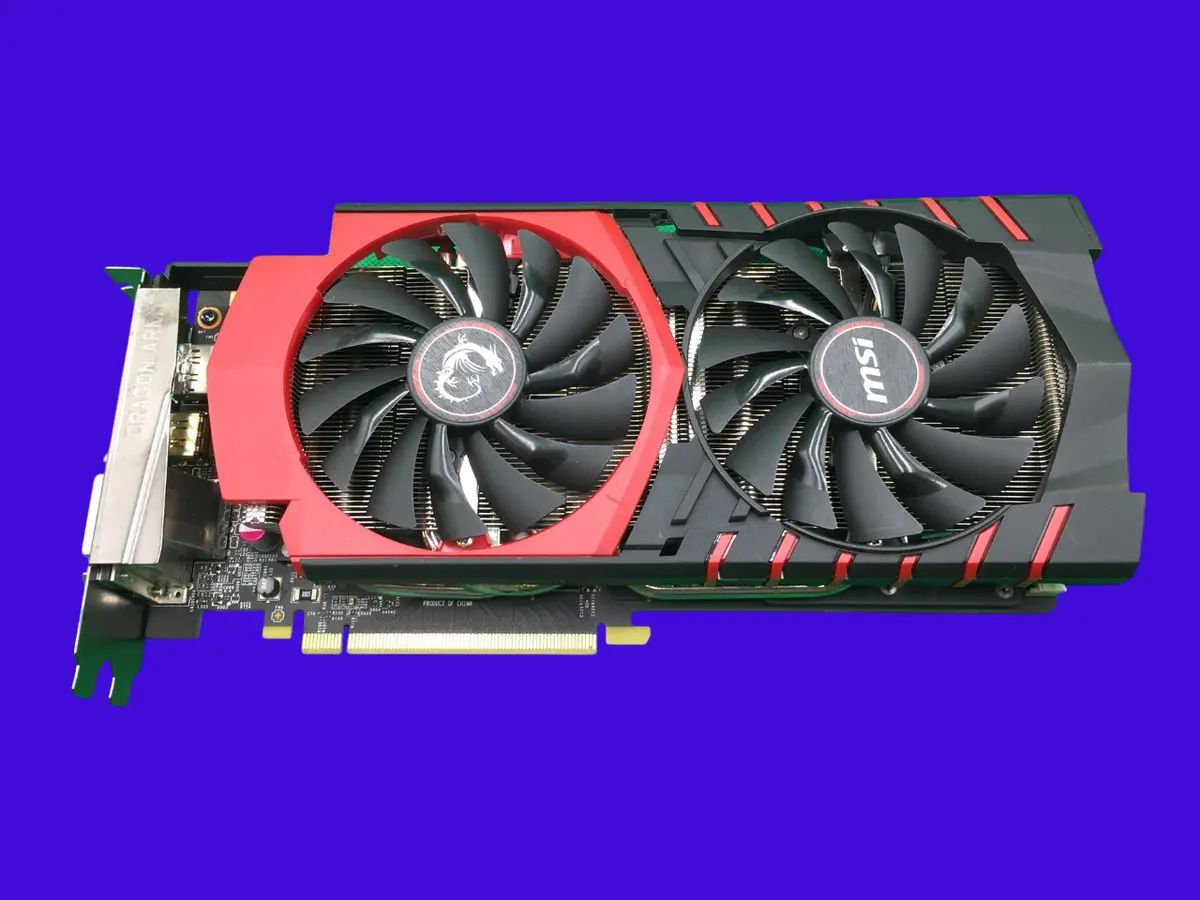
- Graphics Card Model and Serial Number: Note down the graphics card’s model name and serial number. This information is usually printed on a sticker affixed to the card itself. The model name enables the manufacturer to identify the specific card variant, while the serial number uniquely identifies your unit.
- Description of the Issue: Prepare a detailed description of the issue you are experiencing with the graphics card. Include any error messages, artifacts, crashes, or other symptoms you have encountered. Be as specific as possible, as this will help the manufacturer or retailer understand the problem and provide an appropriate resolution.
- Photographs or Videos (if applicable): If the issue you are facing is visually apparent, such as physical damage or artifacts on the screen, consider taking photographs or recording videos to document the problem. Visual evidence can support your RMA request and provide clarity to the manufacturer or retailer.
- Backup and Removal of Personal Data: Before sending your graphics card for an RMA, make sure to back up any important data stored on your computer. In some cases, the manufacturer or retailer may request that you remove the graphics card and send it in without any accessories or cables. Follow their instructions accordingly and keep your personal data secure.
By gathering the required information upfront, you avoid potential delays or miscommunication during the RMA process. It demonstrates your readiness to provide accurate details and cooperate with the manufacturer or retailer, streamlining the resolution of your graphics card issue.
Remember to keep a record of all the information you gather, such as serial numbers, descriptions, and any communication with the manufacturer or retailer. This documentation will serve as a reference and can be helpful in case of any follow-up inquiries or for tracking the progress of your RMA.
By being prepared and organized, you increase the chances of a successful RMA experience, ultimately leading to a timely resolution and the enjoyment of a fully functional graphics card.
Packaging and Shipping the Graphics Card
Once you have received the RMA instructions from the manufacturer or retailer, the next step is to properly package and ship your graphics card. It’s crucial to handle the card with care and ensure its safe transit to avoid any further damage. Here’s a step-by-step guide on how to package and ship your graphics card for an RMA:
- Prepare Anti-Static Packaging: Locate an anti-static bag or wrap to protect the graphics card from electrostatic discharge. If you no longer have the original anti-static bag, you can purchase an anti-static bag or wrap from a local electronics store or online.
- Remove Additional Components: If the manufacturer or retailer has requested that you send only the graphics card without any accessories or cables, carefully detach any additional components, such as power cables or SLI bridges. Keep these components in a separate bag or box for safekeeping.
- Wrap the Graphics Card: Place the graphics card in the anti-static bag or wrap it securely, ensuring that all edges and components are adequately protected. The anti-static bag prevents static electricity from damaging the sensitive electronic components of the card during transit.
- Choose a Sturdy Shipping Box: Select an appropriate shipping box that is sturdy and slightly larger than the graphics card when wrapped in anti-static material. Make sure the box provides enough space to add additional padding to protect the card during shipment.
- Add Cushioning Material: Place enough cushioning material, such as packing peanuts or bubble wrap, at the bottom of the shipping box to provide a protective layer. Carefully place the wrapped graphics card on top of the cushioning material, ensuring that it is centered and surrounded by enough padding.
- Add Additional Protection: Fill any remaining space in the box with additional cushioning material to prevent the graphics card from moving or shifting during transit. This will help absorb any potential impacts and minimize the risk of damage.
- Seal and Label the Package: Seal the shipping box securely using packing tape to ensure it remains closed throughout the shipping process. Label the package appropriately, following the instructions provided by the manufacturer or retailer. Include your return address and any specific RMA numbers or reference information as instructed.
- Choose a Reliable Shipping Method: Select a reputable shipping carrier that offers tracking and insurance options. This will allow you to monitor the package’s progress and protect its value in case of loss or damage during transit. Remember to keep the tracking number and any shipping receipts for reference.
Always follow the specific instructions provided by the manufacturer or retailer for packaging and shipping your graphics card. Different companies may have varying requirements or preferences regarding packaging materials and shipping carriers.
By properly packaging and shipping your graphics card, you ensure that it arrives safely at the designated location for evaluation and repair or replacement. It minimizes the risk of further damage and increases the likelihood of a successful RMA resolution.
Tracking and Monitoring the RMA Process
Once you have shipped your graphics card for an RMA, it’s important to track and monitor the progress of the process. Doing so allows you to stay informed about the status of your RMA and ensure that everything is proceeding smoothly. Here are some steps to track and monitor the RMA process:
- Retrieve the Tracking Number: Locate the tracking number provided by the shipping carrier when you shipped your graphics card. This number allows you to track the progress of the package as it makes its way to the manufacturer or retailer’s facility.
- Visit the Shipping Carrier’s Website: Go to the website of the shipping carrier you used and look for their tracking page. Enter your tracking number in the designated field, and you will be able to view the current status and location of your package.
- Set Up Automatic Notifications: Some shipping carriers offer the option to set up automatic notifications via email or text message. By enabling this feature, you will receive updates whenever there is a change in the status of your package, such as when it is out for delivery or has been delivered. This keeps you informed without having to actively check the tracking page.
- Check the RMA Status: Alongside tracking the shipping progress, periodically check the manufacturer or retailer’s website for updates on the RMA status or timeline. They may have a dedicated RMA portal or a customer service section where you can input your RMA number or other identifying information to retrieve the latest information about your RMA request.
- Contact Customer Support: If there are any delays or issues with the RMA process or if you have specific questions, don’t hesitate to reach out to the manufacturer or retailer’s customer support. They will be able to provide you with the most up-to-date information and address any concerns you may have.
- Keep Records of Communication: Maintain a record of any communication you have with the manufacturer or retailer regarding the RMA process. This includes any emails, chat transcripts, or support tickets. These records can be valuable for reference or any potential follow-up inquiries.
By actively tracking and monitoring the RMA process, you stay informed about the status of your graphics card and ensure that it is being handled promptly. If there are any unexpected delays or issues, you can take appropriate action or contact customer support for assistance.
Remember that the timing of the RMA process can vary depending on factors such as the manufacturer’s or retailer’s workload, shipping transit times, and the nature of the graphics card issue. Patience is key during this phase, but actively monitoring the progress gives you peace of mind and enables you to take any necessary steps to ensure a smooth resolution.
Receiving the Replacement Graphics Card
After completing the RMA process and waiting for the necessary repairs or replacement, you can anticipate receiving the replacement graphics card. Here are the steps to follow when receiving the replacement:
- Monitor the RMA Status: Keep an eye on the RMA status or tracking information provided by the manufacturer or retailer. Once the replacement graphics card has been dispatched, you can track its progress using the provided tracking number.
- Ensure Availability: Make sure you or someone responsible is available at the designated delivery address during the expected delivery timeframe. This helps avoid missed deliveries or delays in receiving the replacement graphics card.
- Inspect the Package: When the replacement graphics card arrives, carefully inspect the package for any signs of damage during transit. Look for dents, tears, or other visible external damage. If you notice any damage to the packaging, take photographs as evidence before opening the package.
- Open the Package: Open the package and inspect the replacement graphics card itself for any visible damage or defects. Check for any physical damage, loose components, or signs of mishandling. If you encounter any issues, document them with photographs or videos to support your claim.
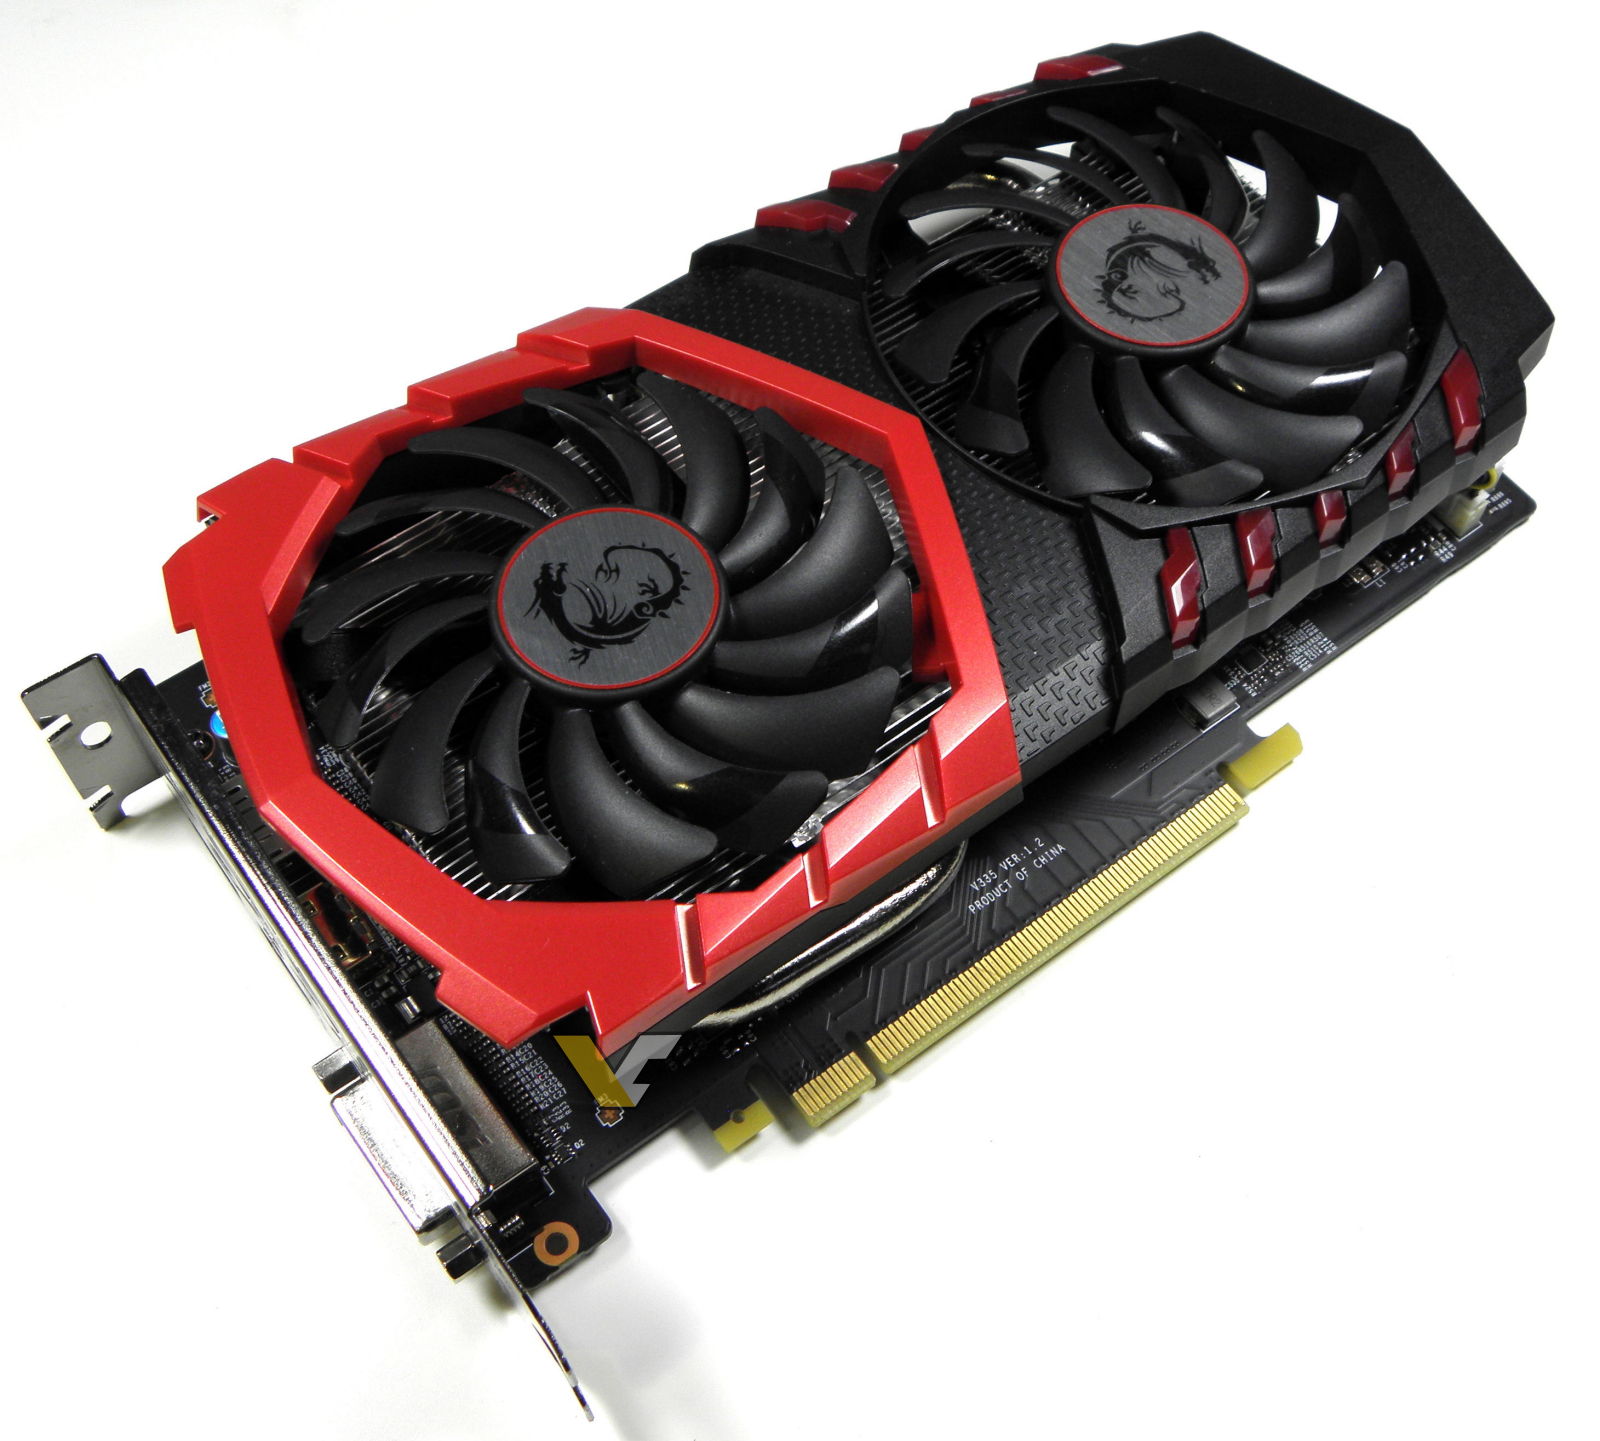
- Compare Serial Numbers: Check the serial number of the replacement graphics card to ensure it matches the one provided to you by the manufacturer or retailer. This verification step ensures that you have received the correct replacement and not a different unit or model.
- Test the Replacement Graphics Card: Insert the replacement graphics card into your computer and power it on. Test it thoroughly to ensure that it functions properly and addresses the issues you experienced with the original card. Run benchmark tests, check for stability, and monitor temperatures to ensure optimal performance.
- Contact Customer Support (if necessary): If you encounter any problems with the replacement graphics card or have concerns about its functionality, reach out to the manufacturer or retailer’s customer support. Provide them with the relevant details and work with them to address the issue.
By following these steps, you can ensure a smooth transition to the replacement graphics card. By inspecting and testing the card upon arrival, you can catch any potential issues early on and address them promptly with the manufacturer or retailer’s support team.
Remember to retain all the documentation, such as the shipping labels, tracking information, and any communication regarding the replacement process. These records can be valuable in case of any follow-up inquiries and for future reference.
Receiving the replacement graphics card marks the final step of the RMA process. With proper inspection and testing, you can confirm that the replacement meets your expectations and enjoy a functional and optimized graphics card for your computer or gaming setup.
Testing and Installing the Replacement Graphics Card
Once you have received the replacement graphics card, the final step is to test it and install it properly in your computer. Testing the replacement ensures that it functions correctly and meets your expectations, while proper installation ensures optimal performance. Follow these steps to test and install the replacement graphics card:
- Prepare Your System: Shut down your computer and disconnect the power cord from the electrical outlet. Make sure you are working in a static-free environment and take necessary precautions, such as grounding yourself, to avoid static electricity damage to the components.
- Remove the Old Graphics Card: If you still have the old graphics card installed in your system, carefully remove it by unplugging any power cables and gently releasing any securing mechanisms, such as screws or latches. Keep the old card in a safe place as a backup or for other purposes, if desired.
- Install the Replacement Graphics Card: Carefully align the new graphics card with the appropriate slot on your motherboard. Gently push the card into place until it is fully seated and the securing mechanism, such as a latch or screw, clicks or tightens into position. Ensure that the card is firmly and evenly installed.
- Connect Power Cables: Depending on the requirements of your new graphics card, connect any necessary power cables from your power supply unit to the card. The card may require PCIe power connectors or additional power cables, so consult the manufacturer’s documentation for the specific requirements.
- Reassemble Your System: Reconnect any other cables you had disconnected and ensure all connections are secure. Double-check that all components, such as RAM modules and storage drives, are properly seated and connected.
- Power On Your Computer: Reconnect the power cord to the electrical outlet and power on your computer. Your operating system should recognize the new graphics card, but if it doesn’t, you may need to install the latest drivers provided by the manufacturer.
- Test the Replacement Graphics Card: Once your system is powered on, run benchmark tests and perform tasks that were previously affected by the issues with your original graphics card. Monitor the performance, stability, and temperature of the replacement card to ensure it is functioning optimally and addressing any previous problems.
- Adjust Settings and Enjoy: Once you have confirmed that the replacement graphics card is working properly, you can adjust any necessary settings, such as resolution or graphics quality, to your preference. Enjoy the improved performance and graphics capabilities that the replacement card provides.
By following these steps, you can ensure a smooth installation of the replacement graphics card and properly assess its functionality. Testing the card thoroughly allows you to verify its performance and address any potential issues promptly.
If you encounter any problems or have concerns about the replacement graphics card, reach out to the manufacturer’s customer support for guidance. They can provide assistance and work with you to resolve any issues you may face.
With the replacement graphics card properly installed and tested, you can now enjoy improved performance, enhanced graphics, and a smooth computing experience.
Conclusion
RMAing a graphics card can be a daunting task, but with the right knowledge and steps, you can navigate the process smoothly. By following the guidelines in this guide, you can effectively RMA your graphics card and resolve any issues you might encounter.
We started by understanding what RMA is and why it is important. Recognizing the reasons for RMAing a graphics card, such as hardware failure, incompatibility, or the desire to upgrade or downgrade, helps you determine if an RMA is necessary.
Checking the warranty and coverage of your graphics card is crucial before initiating the RMA process. Familiarize yourself with the warranty period, terms, and conditions provided by the manufacturer or retailer. This ensures that you understand what is covered and any associated fees or requirements.
Contacting the manufacturer and gathering the necessary information are essential steps in the RMA process. Reach out to the manufacturer’s customer support, provide accurate details about the issue, and follow their instructions for initiating the RMA.
When packaging and shipping the graphics card, take care to protect it from damage during transit. Use anti-static packaging, choose a sturdy shipping box, and add sufficient cushioning material to ensure the safe arrival of the card to the manufacturer or retailer.
Tracking and monitoring the RMA process allows you to stay informed about the status of your RMA request. Keep an eye on the shipping progress of your graphics card and regularly check the manufacturer or retailer’s website for updates. Reach out to customer support if you have any concerns or questions.
Once you receive the replacement graphics card, thoroughly inspect and test it to ensure that it functions correctly. Install the card properly in your computer, connect any necessary power cables, and perform tests to confirm its performance and address any previous issues.
By following these steps, you can successfully RMA your graphics card and obtain a replacement that meets your expectations. Remember to keep records of all documentation, communications, and tracking information for future reference.
We hope this guide has provided you with valuable insights on how to RMA a graphics card. By understanding the process and following the necessary steps, you can resolve any graphics card issues and continue enjoying an optimal computing or gaming experience.