Checking System Requirements
Before attempting to fix an unsupported graphics card, it is important to ensure that your system meets the necessary requirements. Incompatibility issues can arise if your graphics card does not meet the minimum specifications for the software or game you are trying to run. Here are the steps to check your system requirements:
- Identify the software or game: Determine the specific software or game that you are experiencing compatibility issues with. This information is usually available on the product’s website or in the documentation.
- Minimum requirements: Check the minimum system requirements specified by the software or game developer. These requirements typically include specifications for the graphics card, CPU, RAM, and operating system.
- Compare with your system specs: Review your computer’s hardware specifications, including the graphics card model, CPU, RAM, and operating system version. You can find this information by accessing the System Information tool on Windows or the “About This Mac” section on macOS.
- Check for compatibility: Compare your system specifications with the minimum requirements. If your graphics card falls short, it may not be supported by the software or game.
If your graphics card does not meet the minimum requirements, you might consider upgrading to a supported graphics card. However, if your graphics card does meet the requirements, it’s possible that other factors may be causing the compatibility issue. In such cases, additional troubleshooting steps will be necessary.
By ensuring your system meets the necessary requirements, you can eliminate any potential compatibility issues caused by an unsupported graphics card. It is always recommended to check the system requirements before installing any software or games to avoid encountering compatibility problems.
Updating Drivers
Outdated graphics card drivers can often be the culprit behind compatibility issues. Updating your graphics card drivers can potentially resolve the unsupported graphics card problem. Here’s how you can update your drivers:
- Identify your graphics card: Determine the make and model of your graphics card. This information can usually be found in the Device Manager on Windows or the About This Mac section on macOS.
- Visit the manufacturer’s website: Go to the website of your graphics card manufacturer, such as NVIDIA, AMD, or Intel.
- Download the latest drivers: Look for the drivers section on the manufacturer’s website, enter the details of your graphics card model, and download the latest driver available.
- Uninstall previous drivers: Before installing the new drivers, it is recommended to uninstall the previous drivers from your system. You can do this by accessing the Device Manager on Windows, locating the graphics card under Display Adapters, right-clicking on it, and selecting Uninstall.
- Install the new drivers: Once the previous drivers are uninstalled, run the installer for the new drivers that you downloaded. Follow the on-screen instructions to complete the installation process.
- Restart your computer: After installing the updated drivers, restart your computer to ensure the changes take effect.
Updating your graphics card drivers can provide bug fixes, performance improvements, and enhanced compatibility with software and games. By keeping your drivers up to date, you increase the chances of resolving any unsupported graphics card issues you might encounter.
It’s worth noting that some graphics card manufacturers offer driver update utility software that can automate the driver update process. These utilities can scan your system, detect outdated drivers, and download and install the latest versions for you.
If updating your drivers does not resolve the unsupported graphics card problem, there may be other factors contributing to the issue. In such cases, further troubleshooting or professional assistance may be required.
Installing Graphics Card Manufacturer’s Software
Installing the software provided by your graphics card manufacturer can play a crucial role in ensuring compatibility and optimal performance. This software often includes essential drivers, utilities, and features specific to your graphics card. Here’s how you can install the graphics card manufacturer’s software:
- Visit the manufacturer’s website: Go to the website of your graphics card manufacturer, such as NVIDIA, AMD, or Intel.
- Locate the support or downloads section: Look for the support or downloads section on the manufacturer’s website.
- Enter your graphics card details: Enter the details of your graphics card model, such as the series and specific model number.
- Download the software: Find the software or driver package specifically designed for your graphics card model and download it to your computer.
- Run the installer: Once the download is complete, locate the installer file and double-click on it to run the installation process.
- Follow the on-screen instructions: The installation process may vary depending on the manufacturer’s software. Follow the on-screen prompts to complete the installation.
- Restart your computer: After the installation is complete, it is recommended to restart your computer to ensure all changes take effect.
The graphics card manufacturer’s software provides several benefits beyond just updating drivers. It often includes additional features, performance optimizations, and control panels that allow you to customize graphics settings. By installing this software, you can ensure that your graphics card is fully supported and take advantage of its full capabilities.
It’s important to note that some graphics card manufacturers may have separate software for specific functionalities, such as overclocking or capturing gameplay footage. If you require these features, explore the manufacturer’s website or documentation for additional software options.
If you have already installed the manufacturer’s software but are still experiencing compatibility issues, it’s recommended to check for updates or reinstall the software to ensure you have the latest version. In some cases, conflicts with other software or applications may also cause compatibility issues, so it’s worth investigating if any conflicting software needs to be addressed.
Checking BIOS Settings
The BIOS (Basic Input/Output System) is responsible for configuring and controlling various hardware components, including the graphics card, on your computer. Incorrect or incompatible BIOS settings can result in an unsupported graphics card issue. Here’s how you can check and adjust the BIOS settings:
- Access the BIOS: Restart your computer and press the specified key during the boot process to enter the BIOS setup. The specific key varies depending on the computer manufacturer, but commonly used keys include F2, Del, Esc, or F12.
- Navigate to the graphics settings: Once in the BIOS setup, look for the section related to graphics or display settings. The exact location and naming may differ depending on the BIOS version and manufacturer.
- Verify compatibility options: Check if there are any specific options related to graphics card compatibility. Some settings may need to be enabled or disabled to ensure compatibility with certain graphics cards.
- Check for firmware updates: In some cases, BIOS updates may be available that provide improved compatibility with newer graphics card models. Check the manufacturer’s website for any available BIOS updates and follow their instructions to install them.
- Save and exit the BIOS: After making any necessary changes, save the settings and exit the BIOS setup. The computer will restart with the updated BIOS settings in effect.
It is essential to exercise caution while making changes in the BIOS as incorrect settings can potentially cause system instability or other issues. If you are uncertain about specific options or unsure of the changes to make, it’s advisable to consult the BIOS documentation or seek assistance from a technical professional.
Keep in mind that adjusting BIOS settings may not always resolve compatibility issues, especially if the graphics card is significantly outdated or incompatible with your system. In such cases, it may be necessary to consider upgrading to a supported graphics card or seeking further professional guidance.
Remember to document any changes made to the BIOS settings to easily revert them if needed. Additionally, periodically check for any updated BIOS versions or patches that may address compatibility issues. Keeping your BIOS up to date can help maintain compatibility with the latest graphics cards and other hardware.
Installing the Latest Version of DirectX
DirectX is a collection of application programming interfaces (APIs) developed by Microsoft that allow software, including games, to communicate with hardware components such as the graphics card. Outdated or missing DirectX files can potentially lead to compatibility issues with your graphics card. To resolve this, you can install the latest version of DirectX. Here’s how:
- Identify the current version of DirectX: Press the Windows key + R, type “dxdiag” in the Run dialog box, and press Enter. The DirectX Diagnostic Tool will open, displaying the current DirectX version installed on your system.
- Check for the latest DirectX version: Visit the official Microsoft DirectX website to ensure you have the most up-to-date version available.
- Download the installer: Locate and download the DirectX installer that corresponds to your operating system.
- Run the installer: Double-click on the downloaded installer file and follow the on-screen instructions to begin the installation process.
- Accept the terms: Read and accept the license agreement and terms of use before proceeding with the installation.
- Complete the installation: Once the installation is complete, restart your computer to allow the changes to take effect.
By installing the latest version of DirectX, you ensure that your system has the necessary components and updates for optimal graphics card compatibility and performance. DirectX updates often include bug fixes, performance enhancements, and improved compatibility with newer graphics card models.
It’s worth noting that newer versions of Windows typically come with the latest DirectX version preinstalled. However, it’s still beneficial to check for updates as new versions are periodically released to address emerging graphics technologies and enhance compatibility.
If you have already installed the latest version of DirectX but are still encountering unsupported graphics card issues, it’s important to consider other factors that may be contributing to the problem. These factors could include hardware limitations, software conflicts, or the need for a graphics card upgrade.
Lastly, it’s a good practice to regularly check for DirectX updates and install them as they become available. This can help ensure ongoing compatibility with the latest graphics card technologies and provide the best possible experience when running graphics-intensive software.
Adjusting Power Settings
Power settings can have a significant impact on the performance and compatibility of your graphics card. In some cases, certain power settings may restrict the capabilities of the graphics card, resulting in unsupported graphics card issues. To address this, you can adjust the power settings to ensure optimal performance. Here’s how:
- Access the Power Options: On Windows, navigate to the Control Panel and search for “Power Options.” Click on the Power Options link to open the Power Options settings.
- Select a power plan: Choose the power plan that is currently active. Typically, the Balanced or High Performance power plan provides the best performance for your graphics card.
- Change advanced power settings: Click on the “Change plan settings” link next to the active power plan. Then, click on the “Change advanced power settings” link.
- Navigate to the graphics card settings: Locate the “Display” or “Graphics Card” section within the advanced power settings menu.
- Adjust power settings: Expand the graphics card settings and look for options related to power management. Depending on your system, you may have options such as “Power saving mode” or “Maximum performance.” Choose the option that allows your graphics card to operate at its maximum potential.
- Save and apply changes: Once you have made the desired power settings adjustments, click “OK” or “Apply” to save the changes.
By adjusting the power settings to maximize the performance of your graphics card, you can potentially resolve compatibility issues related to unsupported graphics cards. However, it’s important to note that higher power settings may lead to increased energy consumption and heat generation. Therefore, it’s recommended to monitor your system’s temperature and ensure proper cooling to prevent overheating.
If you have already adjusted the power settings but continue to experience compatibility issues, it’s advisable to explore other troubleshooting steps such as updating drivers, checking for software conflicts, or seeking professional assistance.
Additionally, keep in mind that power settings may vary depending on your operating system and hardware configuration. It’s recommended to consult the documentation specific to your operating system or graphics card manufacturer for detailed guidance on adjusting power settings.
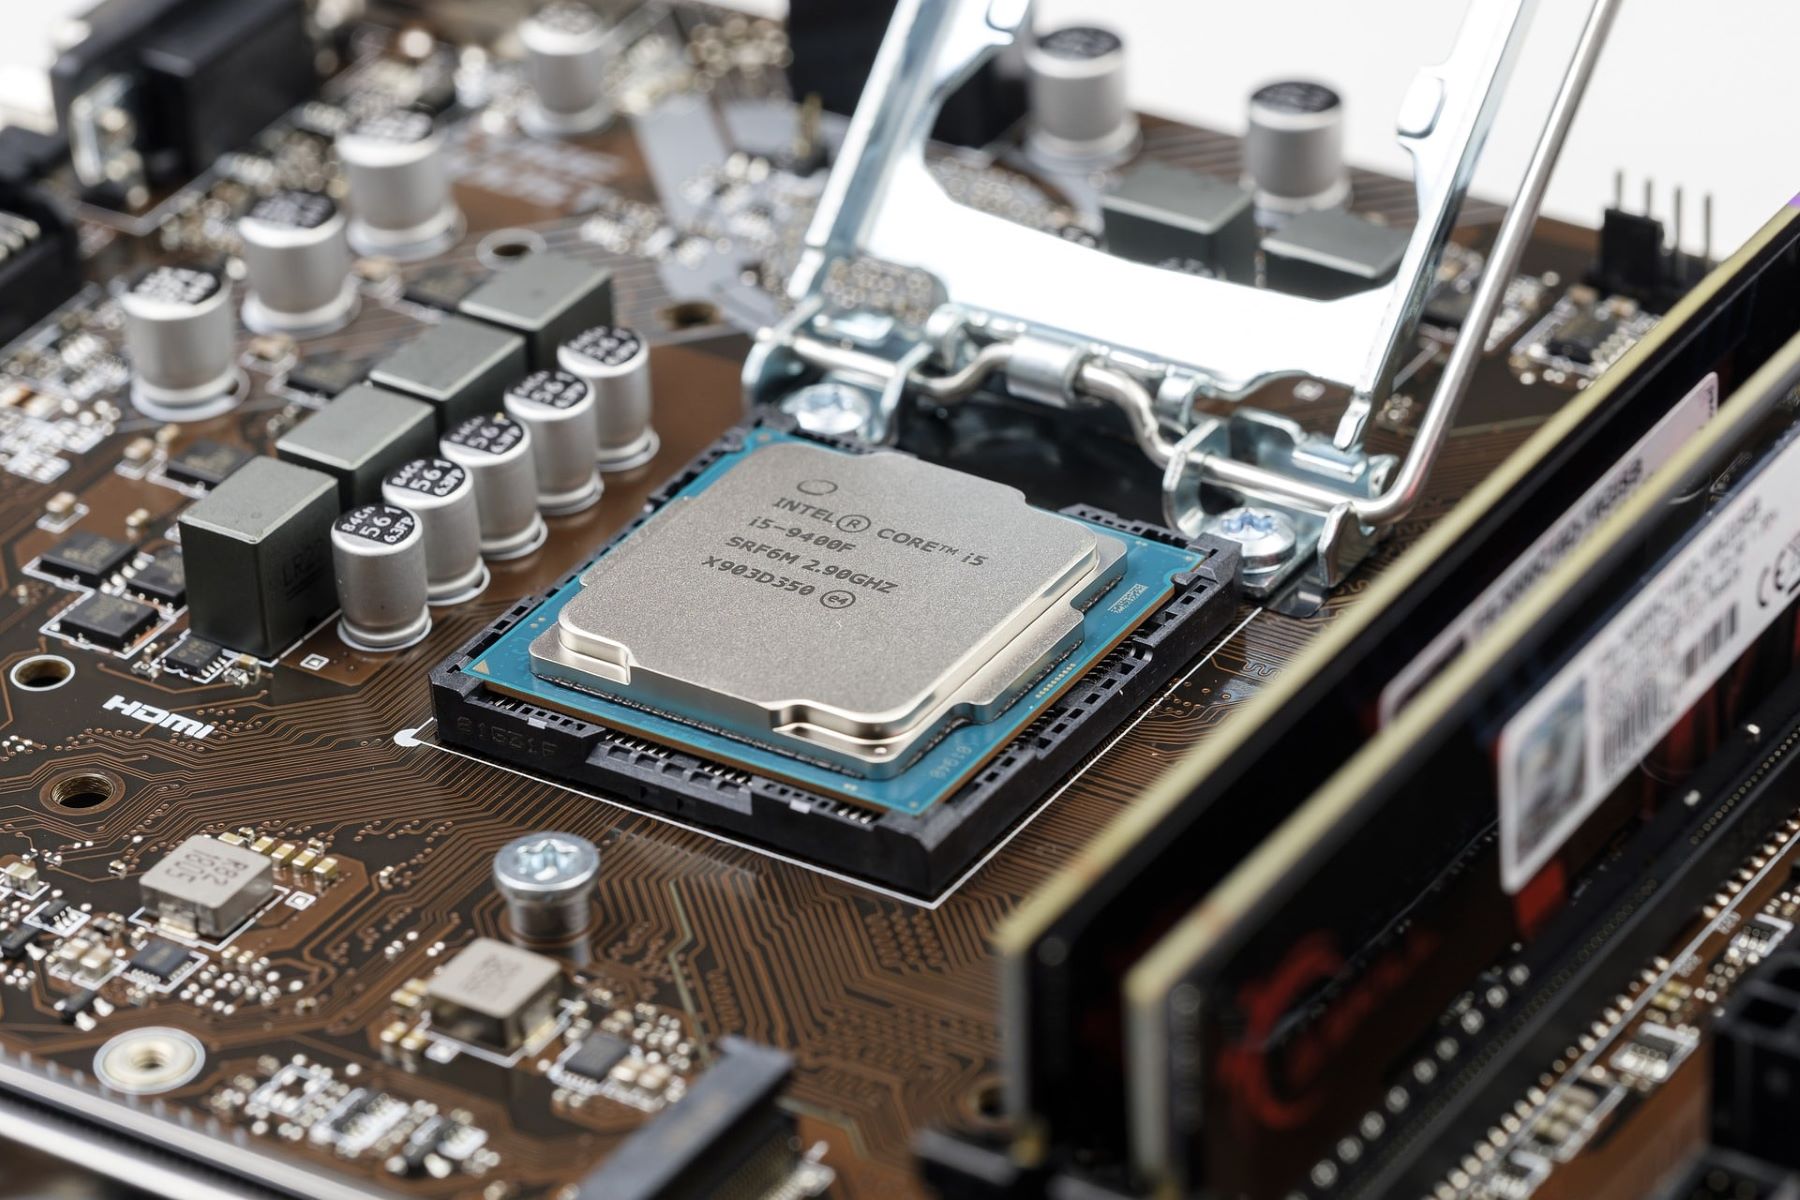
Reinstalling Graphics Card
If you are still encountering unsupported graphics card issues despite trying other troubleshooting methods, reinstalling the graphics card may help resolve the problem. Reinstalling the graphics card can refresh system configurations and ensure proper communication between the hardware and software. Here’s a step-by-step guide on how to reinstall your graphics card:
- Backup important data: Before proceeding with any hardware changes, it’s crucial to back up important files and data to prevent potential data loss.
- Power off your computer: Shut down your computer and disconnect the power cable from the wall outlet. Make sure the computer is completely powered off.
- Access the interior of your computer: Open the computer case following the manufacturer’s instructions or by removing the side panel. Depending on your computer, you may need a screwdriver to remove the panel.
- Locate the graphics card: Find the graphics card inside your computer. It is usually inserted in the PCI Express slot and secured with screws or a retention clip.
- Remove the graphics card: Carefully unscrew any screws or release the retention clip holding the graphics card in place. Gently pull the graphics card straight out from the slot.
- Clean the slot and contacts: Inspect the PCI Express slot for any debris or dust. Use a can of compressed air or a soft brush to clean the slot. Additionally, check the contacts on the graphics card for any dust or dirt and gently clean them if necessary.
- Install the graphics card: Align the new or existing graphics card with the PCI Express slot and firmly push it into place. Secure the graphics card using screws or the retention clip.
- Close the computer case: Put the side panel back onto the computer case and secure it using the appropriate screws. Ensure that all connections are properly reconnected.
- Power on your computer: Reconnect the power cable and any other peripherals. Start your computer and allow it to boot up. It may take a moment to detect the newly installed graphics card.
- Install drivers and software: Once your computer has booted up, install the latest drivers and software specific to your graphics card. Visit the manufacturer’s website to download the necessary drivers and follow the installation instructions.
Reinstalling the graphics card can often resolve compatibility issues and restore proper functionality. However, if the issue persists even after reinstalling the graphics card, it may be necessary to seek professional help or consider upgrading to a supported graphics card.
Always handle computer hardware with care and follow proper safety precautions when working inside the computer case. If you are uncomfortable performing these steps on your own, it’s recommended to consult a professional technician for assistance.
Checking for Hardware Issues
If you have tried various software-related solutions and are still experiencing unsupported graphics card issues, it’s essential to investigate possible hardware-related causes. Hardware issues can interfere with the proper functioning of your graphics card and result in compatibility problems. Here are some steps to check for hardware issues:
- Visually inspect the graphics card: Open your computer case and inspect the graphics card for any visible signs of damage or loose connections. Check for bent pins, dislodged cables, or signs of overheating, such as burn marks or bulging capacitors.
- Test the graphics card in another system: If possible, try installing the graphics card in another compatible computer to see if the issue persists. If the graphics card functions correctly in a different system, this suggests that the problem lies elsewhere in your computer.
- Verify power supply connections: Ensure that all power connectors to the graphics card are securely connected. Loose or improperly connected power cables may result in insufficient power delivery to the graphics card.
- Test with a different power supply: If you suspect power supply issues, substitute your current power supply with a known working one and observe if the unsupported graphics card issue resolves.
- Check for overheating: Monitor the temperature of your graphics card during operation using software tools or utilities. Excessive heat can cause performance issues or unexpected shutdowns. Make sure the graphics card’s cooling system, such as fans or heat sinks, is clean and functioning properly.
- Run hardware diagnostics: Use diagnostic tools to assess the overall health of your computer hardware. Many manufacturers provide specialized diagnostic software that can help identify potential issues with the graphics card or other components.
- Consider professional assistance: If you are unsure or uncomfortable performing hardware checks yourself, consider seeking professional assistance from a qualified technician or contacting the graphics card manufacturer’s support team for guidance.
It’s important to thoroughly investigate hardware-related factors, as they can greatly impact the compatibility and proper functioning of your graphics card. In case hardware issues are identified, appropriate repairs, replacements, or upgrades may be necessary to address the problem and ensure a compatible and functioning graphics card.
Remember to always follow safety protocols when working with computer hardware and consult professional help if needed. A professional technician can provide expert guidance and support in diagnosing and resolving hardware-related issues with your graphics card.
Seeking Professional Help
If you have exhausted all possible troubleshooting solutions and are still grappling with unsupported graphics card issues, it may be time to seek professional assistance. A qualified technician or support team can provide expertise and guidance in diagnosing and resolving complex compatibility problems. Here’s what you can do when seeking professional help:
- Contact the graphics card manufacturer: Reach out to the graphics card manufacturer’s technical support team. They have extensive knowledge about their products and can provide valuable insights and troubleshooting advice based on specific compatibility issues.
- Consult a computer repair service: Consider taking your computer to a professional computer repair service. Skilled technicians can thoroughly examine your system, identify the root cause of the problem, and suggest effective solutions tailored to your setup.
- Visit a local computer store: If you prefer face-to-face assistance, visit a local computer store or electronics retailer. In-store professionals can evaluate your hardware, diagnose the compatibility issue, and recommend appropriate actions or hardware upgrades.
- Join online forums and communities: Engage with knowledgeable experts or enthusiasts in online forums and communities dedicated to computer hardware. Seek advice, share your experiences, and benefit from the collective knowledge of experienced users who may have encountered similar issues.
- Hire a professional consultant: In more complex scenarios, you may consider hiring a professional consultant specializing in computer hardware and troubleshooting. These individuals possess in-depth knowledge and experience to address intricate compatibility issues.
When seeking professional help, ensure that you provide detailed information about your computer configuration, including the model and specifications of your graphics card, operating system, and any troubleshooting steps you have already taken. This information can help technicians or experts better understand your situation and provide appropriate solutions.
Keep in mind that seeking professional help may incur additional costs, but it can save you time, effort, and frustration in effectively resolving the unsupported graphics card issue. Prioritize trusted and reputable service providers or sources to ensure accurate diagnosis and reliable support.
Remember to maintain open communication with the professionals or experts you consult. Ask questions, seek explanations, and request updates throughout the troubleshooting process. This proactive approach can help you better understand the problem and any proposed solutions.
When considering professional assistance, it’s important to weigh the costs and benefits. If your graphics card is outdated or incompatible with your system, professionals may recommend upgrading to a supported graphics card for a long-term solution.