Introduction
Having your GPU not being detected can be a frustrating experience, especially if you rely on your graphics card for gaming, rendering, or other GPU-intensive tasks. When your computer fails to recognize the GPU, it can result in poor performance, limited functionality, or even a complete inability to use the graphics card altogether.
There are several possible reasons why your GPU may not be detected by your system. It could be due to outdated or incompatible drivers, incorrect BIOS settings, a faulty GPU or PCIe slot, power supply issues, or even incompatibility with your operating system. Understanding these common causes will help you troubleshoot the issue effectively and get your GPU up and running again.
In this article, we will explore the common reasons why your GPU may not be detected by your computer and provide simple troubleshooting steps to resolve the issue. Whether you are a seasoned PC gamer, a professional graphic designer, or a casual user, this guide will help you overcome this frustrating problem and ensure your GPU is recognized by your system.
Common Reasons for GPU Not Being Detected
When your GPU is not being detected by your system, it can be attributed to various factors. Let’s take a closer look at the most common reasons behind this issue:
- Outdated or Incompatible Drivers: One of the primary reasons for your GPU not being detected is outdated or incompatible drivers. Graphics drivers act as a bridge between your operating system and the GPU, allowing them to communicate effectively. If your drivers are outdated or incompatible, your system may not recognize the GPU.
- Incorrect BIOS Settings: The BIOS (Basic Input/Output System) settings in your computer’s motherboard control the hardware settings, including the GPU. If the BIOS settings are incorrect or misconfigured, it can prevent your GPU from being detected by the system.
- Faulty GPU or PCIe Slot: Sometimes, the issue lies with the GPU itself or the PCIe slot it is connected to. A faulty GPU or a defective PCIe slot can result in the GPU not being recognized by the system. This can be due to physical damage, loose connections, or other hardware-related issues.
- Power Supply Issues: Insufficient power supply or faulty power connections can also cause your GPU to go undetected by the system. If your power supply does not provide enough power or if the power cables connected to the GPU are loose or damaged, it can result in the GPU not being recognized.
- Operating System Compatibility: Certain GPUs may not be compatible with specific operating systems. If you are using an outdated or unsupported operating system, it may not have the necessary drivers or support for your GPU, leading to detection issues.
Understanding these common reasons behind GPU detection issues will enable you to tackle the problem with confidence. In the next section, we will discuss troubleshooting steps to resolve the GPU detection problem effectively.
Outdated or Incompatible Drivers
Outdated or incompatible graphics drivers are a common culprit when it comes to your GPU not being detected by your system. Graphics drivers act as a communication link between your operating system and the graphics card, ensuring smooth and efficient functioning. When these drivers are outdated or not compatible with your GPU model, it can result in detection issues.
To resolve this problem, it is essential to keep your graphics drivers up to date. Follow these steps to update your GPU drivers:
- 1. Identify Your GPU: Determine the make and model of your graphics card. You can usually find this information in your computer’s manual or by checking the label on the GPU itself.
- 2. Visit the Manufacturer’s Website: Go to the official website of the GPU manufacturer (such as NVIDIA, AMD, or Intel) and navigate to the driver download section.
- 3. Download the Latest Driver: Locate the driver compatible with your GPU and download it to your computer.
- 4. Install the Driver: Run the downloaded driver file and follow the installation instructions. It is recommended to select the “Clean Install” option if it is available, as this will remove any previous driver configurations that might cause conflicts.
After the installation is complete, restart your computer and check if the GPU is now being detected by your system. If the issue persists, move on to the next troubleshooting step.
Additionally, it is important to uninstall any previous or incompatible graphics drivers from your system. This can be done through the Device Manager in the Windows Control Panel. Simply locate the GPU under the “Display Adapters” section, right-click on it, and select “Uninstall.” Once the driver is uninstalled, restart your computer and proceed with the installation of the updated driver.
By keeping your graphics drivers up to date and ensuring compatibility with your GPU, you can eliminate one of the most common reasons for your GPU not being detected. In the next section, we will address another potential cause – incorrect BIOS settings.
Incorrect BIOS Settings
Your computer’s BIOS (Basic Input/Output System) settings play a crucial role in hardware configuration, including the detection and initialization of your GPU. Incorrect or misconfigured BIOS settings can prevent your GPU from being recognized by the system. Here’s what you can do to check and rectify any potential issues.
To access the BIOS settings, restart your computer and look for the key or combination of keys displayed on the screen during the boot process. Typically, it is the “Delete” key or a combination like “F2” or “F12.” Once you are in the BIOS settings, navigate to the section related to graphics or display settings. The specific location and labeling may vary depending on your motherboard manufacturer.
Ensure that the “PCIe” or “PCI Express” option is selected as the primary graphics device. This setting ensures that the system prioritizes the GPU for display output. If the option is set to “Auto” or “Onboard,” it means the system is prioritizing the integrated graphics instead.
Check if there are any other settings that may affect the GPU detection or PCI Express configuration. Refer to your motherboard’s manual or online documentation for guidance on the correct settings for your specific model.
Once you have made the necessary changes, save the BIOS settings and exit. Your computer will restart, and you can check if the GPU is now being detected by the system. If the issue persists, proceed to the next troubleshooting step.
It’s important to note that modifying BIOS settings can have a significant impact on your computer’s functionality. Any incorrect changes can cause system instability or other issues. Therefore, exercise caution and only modify settings if you are confident in your understanding of the changes you are making.
In the next section, we will address another potential cause for your GPU not being detected by your system – faulty GPU or PCIe slot.
Faulty GPU or PCIe Slot
If your GPU is not being detected by your system, it may be due to a faulty graphics card or a problem with the PCIe slot it is inserted into. These hardware-related issues can prevent your GPU from being recognized and functioning properly. Here are some steps to diagnose and potentially resolve this problem.
1. Check GPU Connections: Start by making sure that the GPU is properly connected to the PCIe slot. Turn off your computer and unplug it from the power source. Open the computer case and locate the PCIe slot where your GPU is installed. Carefully remove the GPU from the slot and then reinsert it, ensuring that it is securely seated. Make sure to tighten any securing brackets or screws to prevent any movement.
2. Test with Another Slot: If your motherboard has multiple PCIe slots, try inserting your GPU into a different slot to see if it gets detected. This can help determine if the issue lies with the GPU or the specific slot where it was initially installed.
3. Test with Another GPU: If possible, test your GPU in another computer to see if it gets detected. Similarly, try using a different GPU in your computer to check if it gets recognized. This swap can help determine whether the problem lies with the GPU or the PCIe slot.
4. Inspect for Physical Damage: Examine the GPU and PCIe slot for any signs of physical damage, such as bent pins or burn marks. If you notice any visible damage, it may indicate a hardware problem that requires professional repair or replacement.
If you determine that the issue lies with a faulty GPU or PCIe slot, you may need to replace the defective component. Consider seeking professional assistance if you are not comfortable performing the replacement yourself.
In some cases, a simple reseating of the GPU or using a different PCIe slot can resolve the detection issue. However, if none of these troubleshooting steps solve the problem, it’s time to explore other potential causes, such as power supply issues, as we will discuss in the next section.
Power Supply Issues
Power supply problems can also cause your GPU to go undetected by your system. Insufficient power or faulty power connections can prevent your GPU from receiving the necessary power to function properly. Here are some steps to diagnose and resolve potential power supply issues.
1. Check Power Connections: Start by ensuring that all power connections to your GPU are secure. Make sure that the power cables from your power supply are firmly connected to the GPU. It is also important to check if the cables are in good condition and not damaged.
2. Verify Power Supply Capacity: Check if your power supply has enough wattage to support your GPU. Graphics cards typically have specific power requirements, and if your power supply does not meet these requirements, it can lead to detection issues. Refer to your GPU manufacturer’s specifications for the recommended power supply wattage.
3. Consider Upgrading Your Power Supply: If your power supply is underpowered or borderline, it may be worth considering upgrading to a higher wattage power supply. This will ensure that your GPU receives adequate power for optimal performance and stability.
4. Test with a Known Good Power Supply: If possible, test your GPU with a different power supply that you know to be working. This can help determine if the issue lies with the power supply or with the GPU itself.
It is important to note that power supply issues can be complex, and it is advisable to consult a professional if you are unsure about the steps involved or if further troubleshooting is needed.
By addressing power supply problems, you can eliminate this potential cause for your GPU not being detected. If the issue is still unresolved, continue to the next section, where we will explore another potential cause – operating system compatibility.
Operating System Compatibility
Operating system compatibility can also play a role in your GPU not being detected by your system. Certain GPUs may not be fully compatible with specific operating systems, especially if you are using outdated or unsupported versions. Here are some steps to address potential operating system compatibility issues.
1. Check GPU Compatibility: Start by verifying if your GPU is compatible with your operating system. Visit the manufacturer’s website and check their specifications or support documentation to ensure that your GPU is supported on your particular operating system.
2. Update Your Operating System: If you are running an outdated or unsupported operating system, consider updating to a newer version that is compatible with your GPU. Check for updates using the built-in update function in your operating system or visit the official website of your operating system provider for the latest version.
3. Driver Support: Ensure that your operating system has the necessary driver support for your GPU. Visit the GPU manufacturer’s website and download the correct driver version for your operating system. Install the driver and restart your computer to see if your GPU is now detected.
4. Compatibility Mode: If your GPU is not supported natively on your operating system, you can try running it in compatibility mode. Right-click on the driver installer and select “Properties.” In the Compatibility tab, check the box for “Run this program in compatibility mode for” and select the recommended operating system from the drop-down menu. Proceed with the installation and check if the GPU is now recognized by your system.
If the compatibility issues persist, it may be necessary to consider upgrading your operating system or seeking alternative solutions. Compatibility problems can be complex, and consulting the GPU manufacturer’s support or a technical professional may be beneficial.
In the next section, we will discuss troubleshooting steps to further diagnose and address the issue of your GPU not being detected by your system.
Troubleshooting Steps for GPU Not Being Detected
If your GPU is still not being detected by your system despite checking and addressing the common causes we discussed earlier, here are some additional troubleshooting steps to help resolve the issue.
1. Update BIOS: Ensure that your computer’s BIOS is up to date. Visit the manufacturer’s website for your motherboard and download the latest BIOS update. Follow the instructions provided by the manufacturer to install the update, as outdated BIOS versions can sometimes cause hardware detection issues.
2. Test the GPU in a Different System: If possible, try installing your GPU in a different computer to see if it is detected. This helps determine if the issue is with the GPU itself or with your particular system configuration.
3. Reset CMOS: Clearing the CMOS (Complementary Metal-Oxide-Semiconductor) settings can help reset any potential configuration issues that may be causing the detection problem. Refer to your motherboard’s manual or the manufacturer’s website for instructions on how to reset the CMOS.
4. Check for Software Conflicts: In some cases, conflicts with other software or programs can interfere with GPU detection. Try temporarily disabling or uninstalling any recently installed software or drivers that may be causing conflicts with your GPU.
5. Seek Professional Help: If all else fails, and you have exhausted all possible troubleshooting steps, it may be time to seek assistance from a professional technician or the customer support service of your GPU manufacturer. They can provide specific guidance and help diagnose and resolve any hardware or software-related issues.
Remember, when troubleshooting your GPU detection problems, it is essential to create backups of your important files and data and proceed with caution to avoid any potential data loss or system damage.
By following these troubleshooting steps, you can increase the chances of resolving the issue and getting your GPU detected by your system. In the final section, we will recap the key points discussed in this article.
Update Graphics Drivers
Updating your graphics drivers is one of the first steps you should take when your GPU is not being detected by your system. Outdated or incompatible drivers can prevent proper communication between your operating system and the graphics card, leading to detection issues. Here’s how you can update your graphics drivers:
- Identify Your Graphics Card: Determine the make and model of your graphics card. You can usually find this information in your computer’s manual or by checking the label on the graphics card itself.
- Visit the Manufacturer’s Website: Go to the official website of your graphics card manufacturer, such as NVIDIA, AMD, or Intel.
- Locate the Driver Download Section: Navigate to the driver download section of the website. This section is usually labeled as “Support” or “Drivers.”
- Select the Correct Driver: Locate the driver that corresponds to your graphics card and operating system. Be sure to download the latest version of the driver.
- Download and Install the Driver: Click on the download link to initiate the driver download. Once the download is completed, run the driver installer and follow the on-screen instructions to install the driver on your system.
After the driver installation is complete, restart your computer to allow the changes to take effect. Check if your GPU is now being detected by your system. If the problem persists, you may need to try other troubleshooting steps.
It is worth noting that some graphics card manufacturers provide specialized driver update software, such as NVIDIA GeForce Experience or AMD Radeon Software, which can automatically detect and install the latest drivers for your GPU. Consider using such software for a more convenient and streamlined driver update process.
By keeping your graphics drivers up to date, you ensure optimal performance, compatibility, and stability for your GPU. This step can often resolve GPU detection issues and improve overall system functionality.
In the next section, we will discuss the steps to verify and update your BIOS settings, which can also affect GPU detection.
Verify BIOS Settings
Incorrect BIOS (Basic Input/Output System) settings can be a common cause of your GPU not being detected. The BIOS settings control various hardware configurations, including the detection and initialization of your graphics card. Here’s how you can verify and adjust your BIOS settings to ensure proper GPU detection:
- Access BIOS Menu: Restart your computer and look for the key or combination of keys displayed on the screen during the boot process. Common keys to access the BIOS include “Delete,” “F2,” or “F12.” Press the appropriate key(s) to enter the BIOS settings.
- Navigate to Graphics Settings: Once you are in the BIOS menu, look for a section related to graphics settings or PCI/PCIe configuration. The exact location and labels may vary depending on your motherboard manufacturer.
- Ensure Proper GPU Setting: Check if the primary graphics device is set to the PCIe slot where your GPU is installed. This option is typically labeled as “Primary Display,” “Init Display First,” or similar. Make sure it is set to the appropriate PCIe slot where your graphics card is inserted.
- Save Changes and Exit: Save any modifications you made to the BIOS settings and exit the menu. Confirm your selection if prompted.
After exiting the BIOS, your computer will restart. Check if your GPU is now being detected by your system. If not, try the next troubleshooting step.
It’s important to note that changing BIOS settings can affect the stability and functionality of your system. Be cautious when modifying BIOS settings, and if you are uncertain about a particular setting, consult your motherboard’s manual or seek assistance from the manufacturer or a knowledgeable professional.
In some cases, updating your BIOS to the latest version can also resolve GPU detection issues. Visit your motherboard manufacturer’s website and download the latest BIOS update, if available. Follow the instructions provided by the manufacturer to update your BIOS.
By verifying and adjusting your BIOS settings, you ensure that your GPU is recognized and utilized properly by your system. In the next section, we will explore troubleshooting steps related to checking GPU connections and reseating the graphics card.
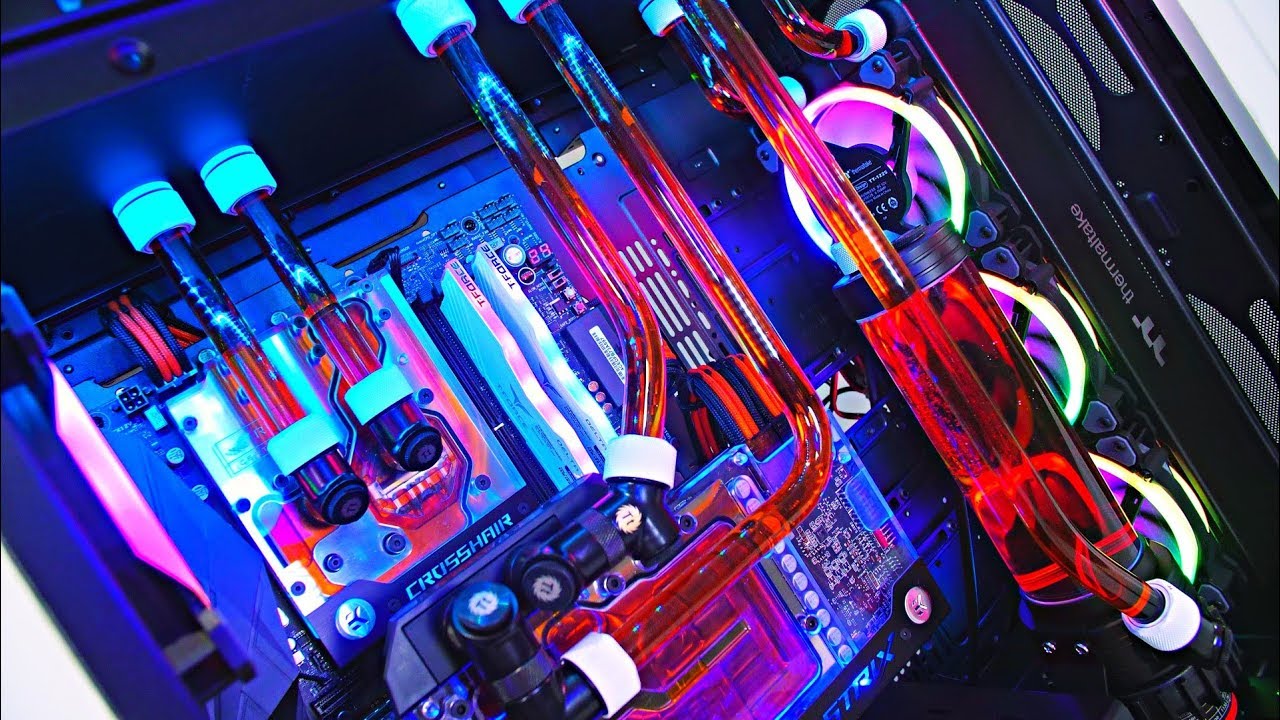
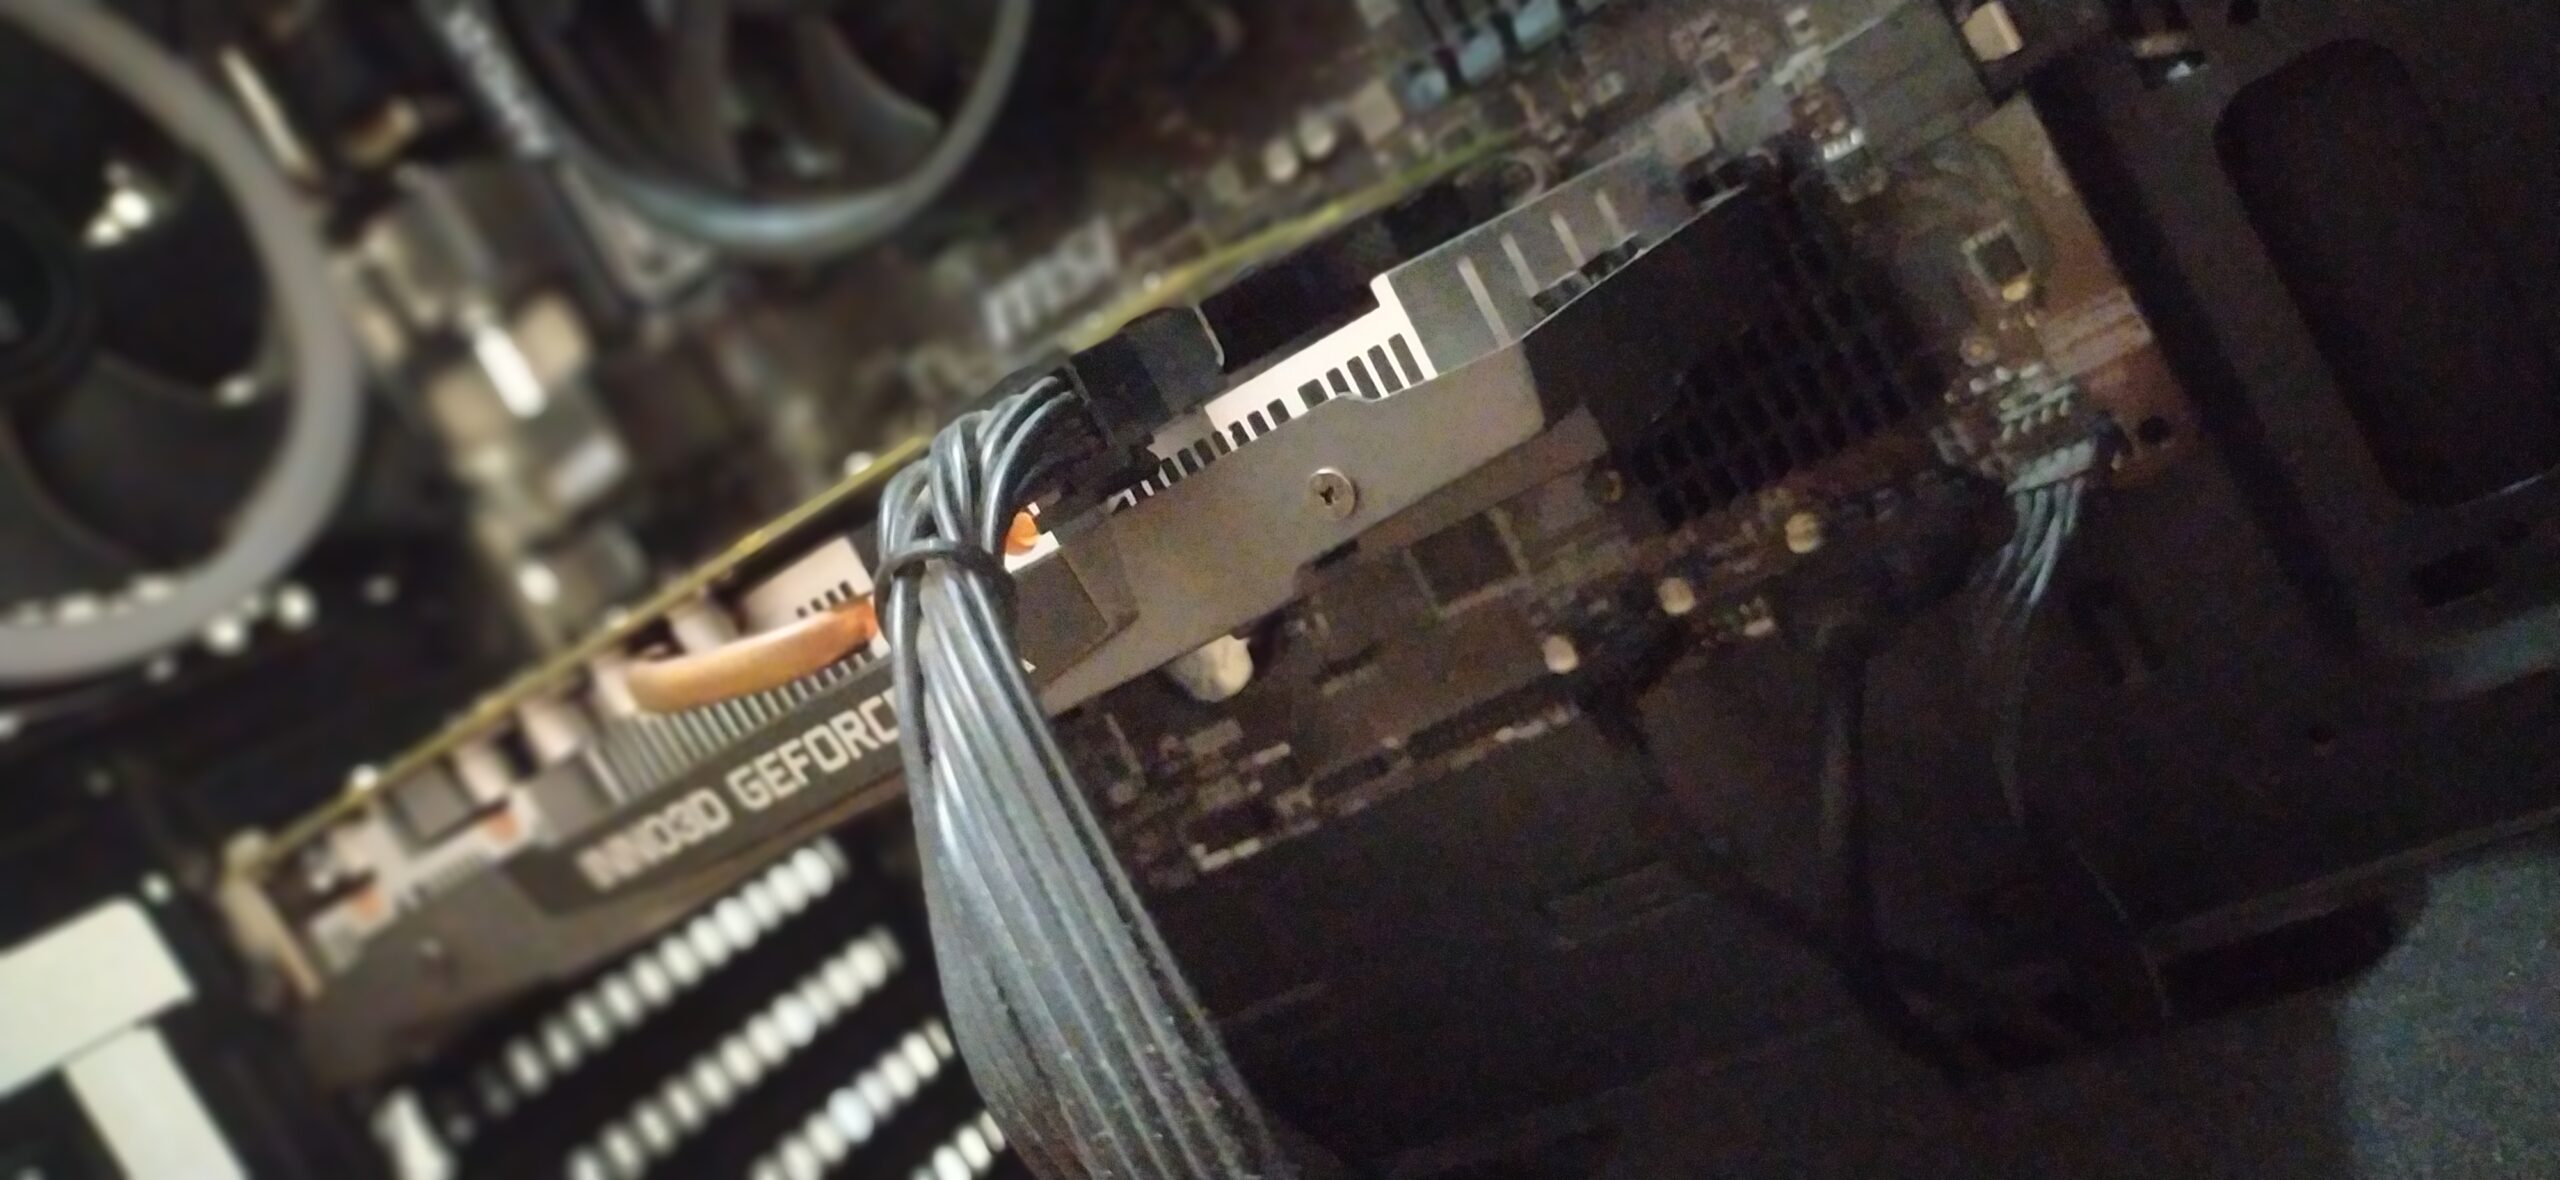
Check GPU Connections and Reseat
When your GPU is not being detected by your system, it is essential to check the connections and ensure that the graphics card is properly seated in the PCIe slot. Loose connections or improper installation can result in the GPU not being recognized. Follow these steps to check the GPU connections and reseat the graphics card if necessary:
- Turn Off and Unplug Your Computer: Before working on the internal components of your computer, shut it down completely and unplug it from the power source.
- Open the Computer Case: Carefully remove the side panel of your computer case to gain access to the internal components.
- Locate the GPU: Identify the PCIe slot where your graphics card is installed. It is usually one of the longest slots on the motherboard, commonly located near the CPU.
- Check the Connections: Ensure that all power connections to the graphics card are secure. These connections include any power cables from the power supply that are connected to the GPU. Verify that the cables are firmly attached and not loose.
- Remove and Reseat the GPU: If the connections seem secure, remove the graphics card from the PCIe slot. Carefully grip the sides of the card and gently lift it straight up. Then, realign the card with the PCIe slot and firmly press it back into place, ensuring that it is properly seated. Make sure any securing brackets or screws are tightened to prevent movement.
Once you have checked the connections and reseated the GPU, close the computer case, plug in your computer, and power it on. Check if the GPU is now being detected by your system. If the problem persists, move on to the next troubleshooting step.
It is important to handle the graphics card with care and avoid applying excessive force. Be cautious not to touch any sensitive electronic components or circuitry on the card to prevent damage.
In the next section, we will address potential power supply issues that can contribute to a GPU not being detected.
Check Power Supply Connections
One potential reason for your GPU not being detected by your system is power supply issues. Improper power supply connections or insufficient power can prevent the graphics card from functioning properly. To address this, follow these steps to check the power supply connections:
- Turn off your computer and unplug it from the power source.
- Open the computer case to access the internal components.
- Locate the power connectors on your graphics card. Most modern GPUs require extra power from the power supply unit (PSU) and have dedicated power connectors.
- Ensure that the power cables coming from the PSU are firmly connected to the appropriate power connectors on the GPU. Check both ends of the cable to make sure they are securely plugged in.
- If your GPU requires multiple power connections, ensure that all the necessary power connectors are connected to the proper ports on the graphics card.
- Verify that the power cables are not damaged or frayed. If you find any signs of damage, replace the cables with new ones.
Once you have checked and ensured that all power supply connections are secure and in good condition, close the computer case, plug in your computer, and power it on. Check if the GPU is now being detected by your system. If the issue persists, move on to the next troubleshooting step.
It’s worth noting that inadequate power supply wattage may also be a cause for GPU detection problems. Make sure that your power supply has enough wattage to support your graphics card and the rest of your system’s components. Refer to the manufacturer’s specifications for your GPU and ensure that your power supply meets the recommended wattage.
If you suspect that the power supply is faulty or insufficient, replacing it with a higher wattage power supply can potentially resolve the issue. However, it’s important to exercise caution when working with the power supply unit to avoid electrical hazards.
In the next section, we will explore using the Device Manager to detect your GPU and potentially resolve detection issues.
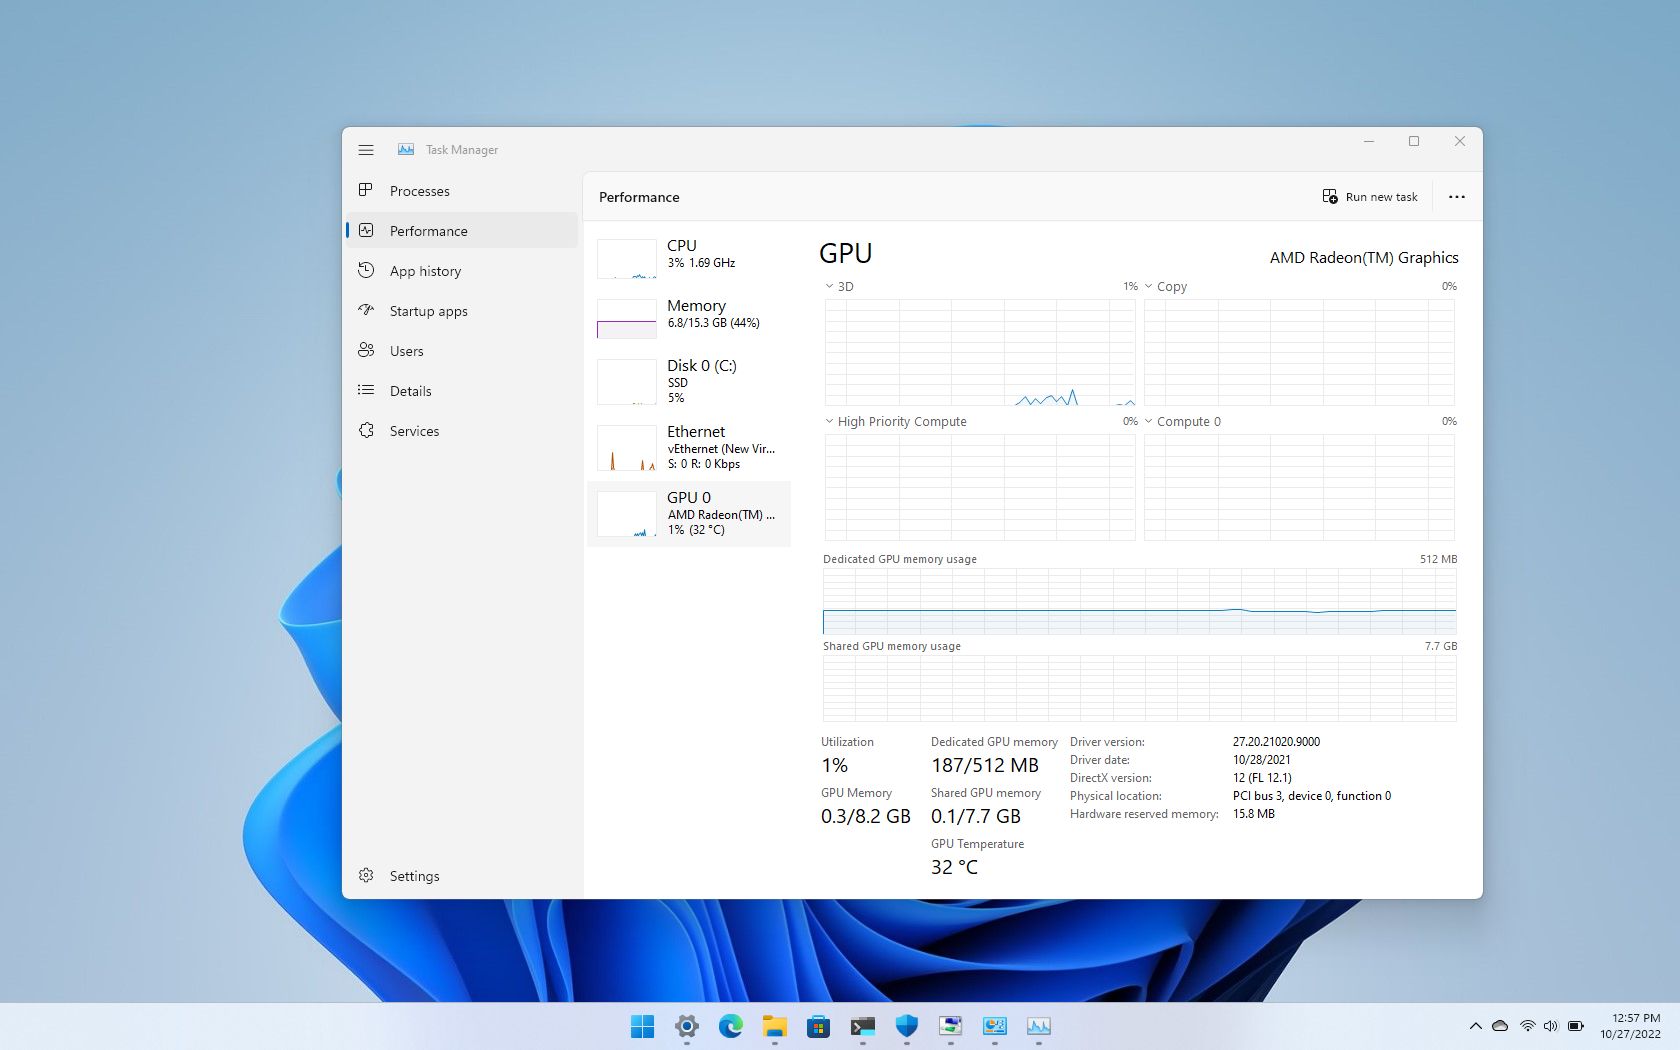
Use Device Manager to Detect GPU
If your GPU is still not being detected by your system, you can use the Device Manager in Windows to check for and potentially resolve the issue. The Device Manager allows you to manage and update device drivers, including those for your graphics card. Follow these steps to use the Device Manager to detect your GPU:
- Press the Windows key + R on your keyboard to open the Run dialog box. Type “devmgmt.msc” and press Enter. This will open the Device Manager.
- In the Device Manager window, expand the “Display adapters” category.
- Look for your graphics card in the list. It should be listed by the name of the manufacturer or the model of the GPU.
- If you see a yellow exclamation mark or a red “X” symbol next to the graphics card entry, it indicates that there is an issue with the driver or the device.
- Right-click on the graphics card entry and select “Update driver” from the context menu. Follow the on-screen prompts to search for and install the latest driver updates for your GPU.
- Once the driver update is complete, restart your computer and check if your GPU is now being detected by your system.
If updating the driver through the Device Manager does not resolve the issue, you may consider uninstalling the graphics card driver altogether. Right-click on the graphics card entry in the Device Manager, select “Uninstall device,” and follow the instructions to remove the driver. Then, restart your computer and reinstall the latest driver from the manufacturer’s website.
Using the Device Manager to manage and update your graphics card driver can often resolve GPU detection issues, as it ensures you have the latest drivers installed for proper functionality and compatibility.
If the problem persists even after updating or reinstalling the driver, it may be necessary to explore further troubleshooting steps or seek professional assistance.
In the next section, we will provide a summary of the troubleshooting steps discussed in this article to help you overcome GPU detection issues.
Conclusion
Having your GPU not being detected by your system can be frustrating, but with the right troubleshooting steps, you can overcome this issue. We have explored the common reasons why your GPU may not be detected, including outdated or incompatible drivers, incorrect BIOS settings, faulty GPU or PCIe slots, power supply issues, and operating system compatibility.
To troubleshoot GPU detection issues, we discussed several steps. These include updating graphics drivers, verifying BIOS settings, checking GPU connections and reseating, checking power supply connections, using the Device Manager to detect the GPU, and seeking professional assistance if necessary.
It is important to remember to maintain backups of your important files and data and exercise caution when working with internal components or modifying BIOS settings. Additionally, be mindful of electrical hazards and handle your GPU and computer components with care.
By following these troubleshooting steps, you can increase the chances of resolving the GPU detection issue and ensuring that your graphics card is recognized by your system. Remember, each computer case may have unique configurations, so adapt the troubleshooting steps to suit your specific situation.
If you have exhausted all available troubleshooting options and the issue remains unresolved, it may be necessary to consult with a professional technician or the customer support service of your GPU manufacturer. They can provide specific guidance and assistance tailored to your specific needs.
Thank you for reading this guide, and we hope that you have found it helpful in resolving your GPU detection problem. may your GPU be recognized, and may you enjoy optimal performance and functionality in all your graphics-intensive tasks!