Introduction
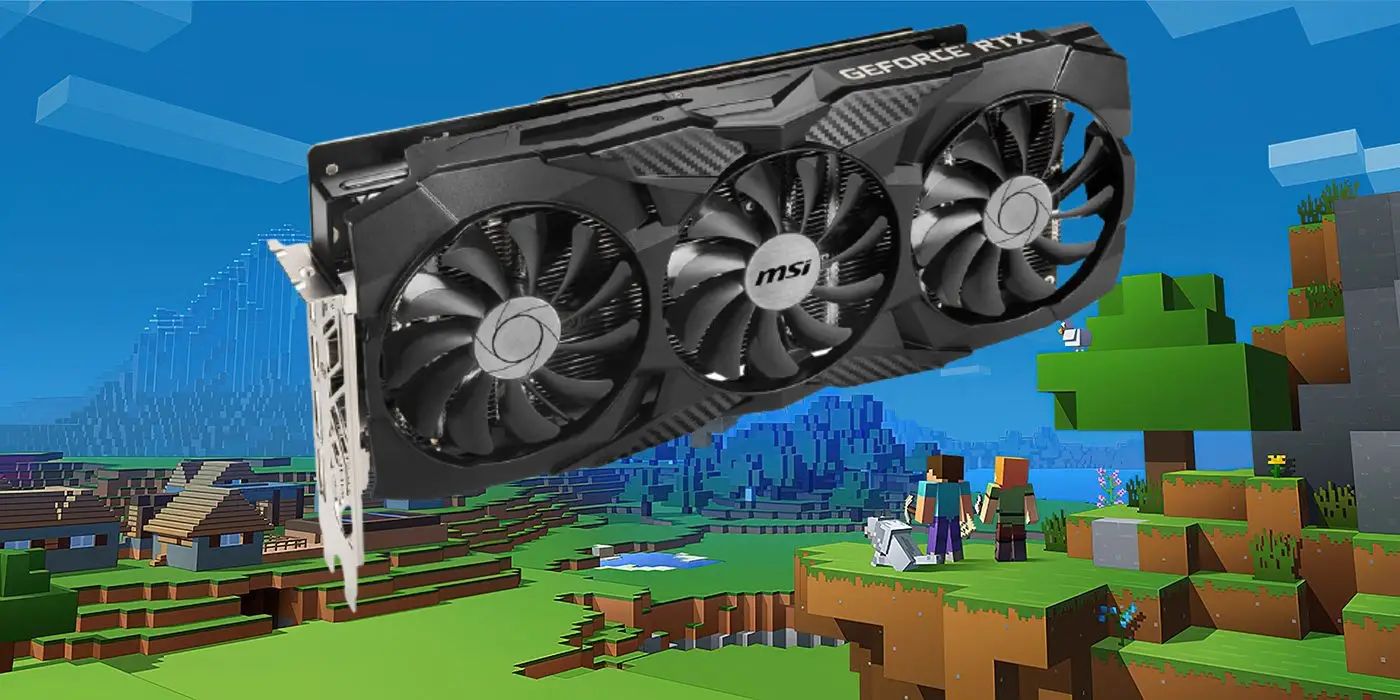
Avid Minecraft players understand the importance of a smooth and immersive gaming experience. While Minecraft is known for its simplistic graphics, the game can still benefit greatly from utilizing the power of your computer’s graphics processing unit (GPU). In this article, we will explore how you can make Minecraft use your GPU to enhance performance and overall gameplay.
Minecraft is a sandbox-style game where players can build and explore virtual worlds made up of textured cubes. Despite its seemingly low-demanding graphics, Minecraft can still benefit from leveraging the capabilities of modern GPUs. When Minecraft utilizes your GPU, it offloads the processing power from the CPU, resulting in smoother gameplay, higher frame rates, and improved graphical quality.
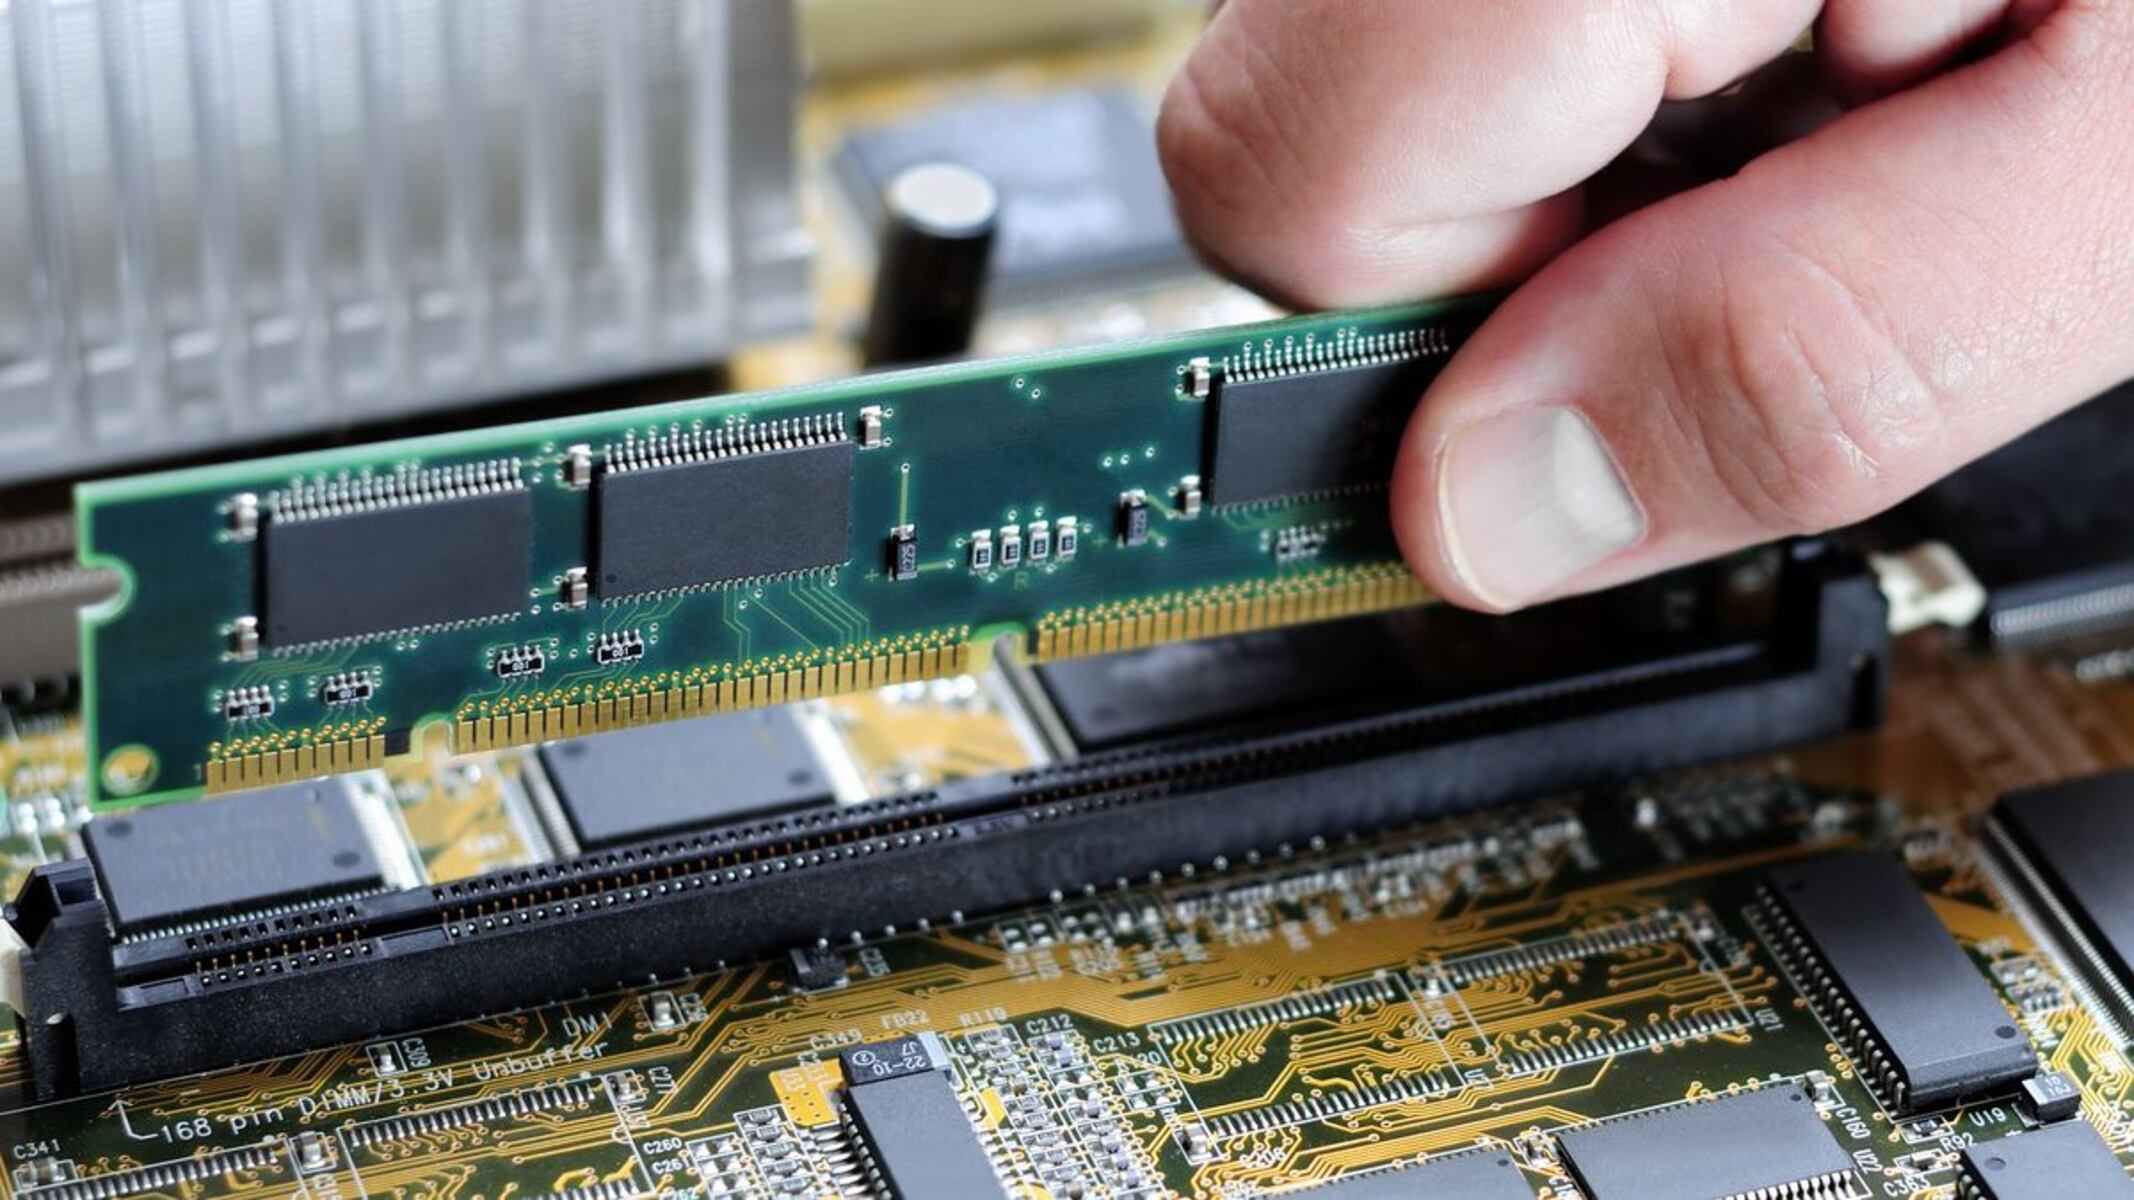
Before we dive into the steps of making Minecraft utilize your GPU, it is crucial to check if your computer has a compatible GPU. Most modern computers come with dedicated GPUs, but if you are unsure about your system’s specifications, this article will guide you through the process of checking if your GPU meets the requirements.
Once you have confirmed that your GPU is compatible, the next step is ensuring that you have the latest GPU drivers installed. GPU drivers act as a bridge between your operating system and the GPU, enabling proper communication and functionality. We will discuss how to update your GPU drivers to ensure the best performance for Minecraft.
Configuring Minecraft to utilize your GPU involves adjusting the game’s settings. Minecraft offers several options that allow you to allocate resources to the GPU and optimize gameplay. We will walk you through the necessary steps to configure Minecraft so that it actively utilizes your GPU to its full potential.
Monitoring and optimizing GPU performance in Minecraft is crucial to maintaining a smooth gaming experience. We will discuss tools and techniques that can help you keep an eye on your GPU’s performance and troubleshoot any issues that may arise.
If you encounter any problems along the way, our troubleshooting section will provide solutions to common issues relating to GPU usage in Minecraft. From performance hiccups to graphical glitches, we have you covered.
By the end of this article, you will have the knowledge and tools necessary to make Minecraft unleash the full potential of your GPU, resulting in an enhanced gaming experience that will leave you immersed in the blocky world of Minecraft.
Understanding GPU and why it is important for Minecraft
Before we delve into the steps of optimizing Minecraft to utilize your GPU, let’s take a moment to understand what a GPU is and why it is crucial for enhancing your Minecraft experience.
GPU, short for Graphics Processing Unit, is a specialized microchip designed to handle complex rendering tasks and accelerate graphics processing. Unlike your computer’s central processing unit (CPU), which handles general-purpose tasks, the GPU is specifically tailored to handle graphics-intensive applications like video games.
Minecraft, although known for its pixelated aesthetic, can benefit from harnessing the power of a GPU. By utilizing the GPU’s high-speed memory and parallel processing capabilities, Minecraft can produce smoother frame rates, render complex environments more efficiently, and enhance the overall visual quality of the game.
When Minecraft utilizes your GPU, it offloads the graphics processing tasks from the CPU, which can significantly impact the overall performance of the game. Properly utilizing the GPU allows for faster rendering of objects, improved lighting and shading effects, and increased draw distances, resulting in a more immersive and visually appealing gaming experience.
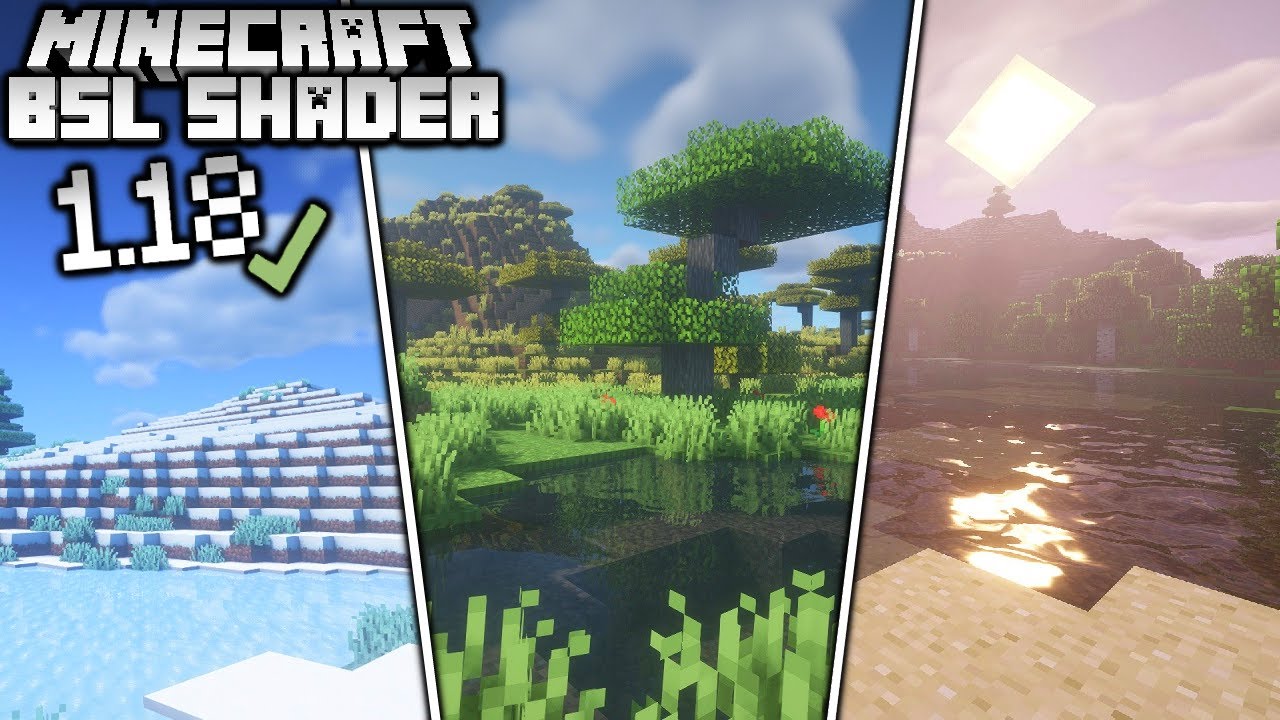
Furthermore, Minecraft’s modding community has developed several resource packs and shaders that can dramatically enhance the game’s graphics. These resource packs and shaders rely heavily on the GPU’s capabilities to deliver stunning visual effects such as dynamic lighting, realistic shadows, and detailed textures. Without a capable GPU, the full potential of these enhancements may not be realized.
It is important to note that not all computers come equipped with a dedicated GPU, as some systems rely solely on integrated graphics processors embedded within the CPU. Integrated graphics processors are generally less powerful compared to dedicated GPUs, which can result in lower frame rates and reduced graphical fidelity in Minecraft.
By ensuring your computer has a compatible GPU and optimizing Minecraft to utilize it efficiently, you can unleash the full potential of your system. Whether you’re exploring vast landscapes, building intricate structures, or engaging in action-packed battles, a capable GPU can greatly enhance your Minecraft gameplay and provide you with a more enjoyable gaming experience.
Checking if your computer has a compatible GPU
Before delving into optimizing Minecraft to utilize your GPU, it’s important to confirm whether your computer has a compatible GPU. Here are a few ways to check:
- Check your system specifications: Start by checking your computer’s specifications. On Windows, you can right-click on the “This PC” or “My Computer” icon, select “Properties,” and navigate to the “Device Specifications” section. Look for information about your GPU or graphics card. On macOS, click the Apple logo on the top left, select “About This Mac,” and go to the “System Report” tab. Look for the details under “Graphics/Displays.”
- Device Manager (Windows): Open the Windows search bar, type “Device Manager,” and open the application. Expand the “Display adapters” section to view your GPU. If you see the name of a dedicated graphics card or a higher-end integrated graphics processor, you have a compatible GPU.
- System Profiler (macOS): Open the “Applications” folder, go to “Utilities,” and open “System Information” or “System Profiler.” In the left sidebar, under “Hardware,” navigate to “Graphics/Displays.” The GPU information should be displayed on the right pane.
- Third-party software: Alternatively, you can use third-party software like CPU-Z or GPU-Z on Windows, or iStat Menus on macOS, to provide detailed information about your system’s graphics hardware.
If you find that your computer has a dedicated graphics card, you’re all set. Minecraft will be able to utilize it to its full potential. However, if you only have an integrated graphics processor, don’t worry. Minecraft can still run, but you may need to adjust the game’s settings to ensure optimal performance.
It’s worth noting that Minecraft is a relatively lightweight game, meaning it can run on a variety of hardware configurations. If you have a newer integrated GPU, such as Intel’s HD Graphics, AMD’s Vega Graphics, or NVIDIA’s GeForce MX series, you may still be able to enjoy a satisfactory Minecraft experience with moderate settings.
In the next sections, we will explore how to update your GPU drivers and configure Minecraft to make the most of your GPU’s capabilities, whether you have a dedicated graphics card or an integrated graphics processor.
Updating your GPU drivers
Keeping your GPU drivers up to date is essential for ensuring optimal performance and compatibility with Minecraft. Here are the steps to update your GPU drivers:
- Identify your GPU manufacturer: Determine whether your GPU is manufactured by NVIDIA, AMD, or Intel. You can refer to the system specifications or use the methods mentioned in the previous section to confirm the manufacturer.
- NVIDIA: If you have an NVIDIA GPU, visit the NVIDIA website (https://www.nvidia.com/Download/index.aspx) or use the NVIDIA GeForce Experience software to automatically detect and install the latest drivers for your GPU. Follow the on-screen instructions to complete the installation process.
- AMD: For AMD GPUs, go to the AMD website (https://www.amd.com/en/support) and use the “Download Now” option to automatically detect your GPU and download the appropriate drivers. Follow the prompts to install the updated drivers.
- Intel: If you have an Intel integrated graphics processor, visit the Intel website (https://downloadcenter.intel.com/) and use the “Auto-Detect & Install” option to scan your system and download the latest drivers for your GPU. Once downloaded, run the installer to update the drivers.
- Manual driver installation: If you prefer to manually install the drivers, you can find the latest driver packages on the respective manufacturer’s website. Download the appropriate driver package for your GPU model and operating system. Run the installer and follow the provided instructions to update your drivers.
After installing the updated GPU drivers, it is recommended to restart your computer to ensure that the changes take effect.
Regularly updating your GPU drivers not only ensures compatibility with Minecraft but also provides performance optimizations and bug fixes for other games and applications that rely on your GPU. It is a good practice to periodically check for driver updates, especially when experiencing performance issues or compatibility problems.
In the next sections, we will explore how to configure Minecraft to actively utilize your GPU and make the necessary adjustments to optimize performance.
Configuring Minecraft to utilize your GPU
Once you have confirmed that your computer has a compatible GPU and updated the GPU drivers, the next step is to configure Minecraft to actively utilize your GPU. Here are the necessary steps:
- Launch Minecraft: Open the Minecraft Launcher and log in to your Minecraft account.
- Open Minecraft settings: Click on “Settings” in the top-right corner of the Launcher.
- Select Video Settings: In the Settings menu, click on “Video Settings.”
- Adjust Render Distance: Set the “Render Distance” option to an appropriate value. Increasing the render distance allows you to see objects further away but requires more GPU power. Start with a moderate setting and adjust it based on your system’s capabilities.
- Enable Advanced OpenGL: Scroll down to find “Advanced OpenGL” and ensure it is enabled. This setting optimizes the game’s rendering performance by offloading some of the graphics processing to your GPU.
- Allocate more RAM: In the same Video Settings menu, you can allocate more RAM to Minecraft. Find the “VRAM Usage” option and increase the value to allocate more memory to the game. This can help with loading and rendering large worlds, especially when using resource packs or mods.
- Adjust Graphics settings: Depending on your GPU’s capabilities and performance preferences, you can adjust other graphics settings such as “Graphics Quality,” “Smooth Lighting,” and “Particles.” Experiment with different settings to find the right balance between visual quality and performance.
- Save settings: Once you have made the necessary adjustments, click on “Done” or “Save” to apply the changes.
Configuring Minecraft to use your GPU effectively can significantly improve performance and enhance your gaming experience. Remember to balance the graphics settings based on your system’s capabilities to ensure smooth gameplay without sacrificing visual quality.
In the next section, we will explore how to monitor and optimize GPU performance in Minecraft, allowing you to fine-tune your settings for the best possible experience.
Adjusting Minecraft settings for optimal GPU usage
To ensure optimal GPU usage and maximize performance in Minecraft, it’s essential to fine-tune the game settings. Here are some adjustments you can make:
- Lower render distance: Set the “Render Distance” option to the lowest value that still provides an acceptable gaming experience. Reducing the render distance decreases the amount of GPU power required to render the game world, resulting in improved performance.
- Disable fancy graphics: In the video settings, choose “Graphics” and select “Fast” instead of “Fancy.” This disables advanced graphical effects, such as dynamic lighting and shadows, which can significantly impact GPU usage.
- Turn off smooth lighting: Smooth lighting, while visually appealing, can strain your GPU. In the video settings, choose “Smooth Lighting” and select “Off” or choose a lower setting to reduce GPU workload.
- Reduce particle effects: Minecraft has various particle effects, such as smoke, rain, and fireworks, which can impact GPU performance. In the video settings, decrease the “Particles” option to a lower setting or turn it off entirely to reduce GPU load.
- Disable Vsync: Vertical Sync (Vsync) can limit your GPU’s performance. In the video settings, find the Vsync option and disable it to allow your GPU to render frames more quickly.
- Lower texture pack resolution: If you are using a higher-resolution texture pack, consider switching to a lower resolution. Higher-resolution textures require more GPU power to render, so using a lower-resolution pack can improve performance.
- Optimize advanced settings: Minecraft offers various advanced settings, such as mipmaps, anisotropic filtering, and antialiasing. Experiment with these settings to find the right balance between visual quality and performance for your system.
By making these adjustments, you can optimize Minecraft’s GPU usage and improve overall performance. Keep in mind that every computer is different, and the optimal settings may vary. It’s recommended to test different configurations and monitor the impact on performance to find the ideal balance for your system.
In the next section, we will explore how to monitor and optimize GPU performance in Minecraft, allowing you to fine-tune your settings further and troubleshoot any issues that may arise.
Monitoring and optimizing GPU performance in Minecraft
Monitoring and optimizing GPU performance in Minecraft can help you identify any bottlenecks or issues that may be affecting your gameplay experience. Here are some strategies to monitor and optimize GPU performance:
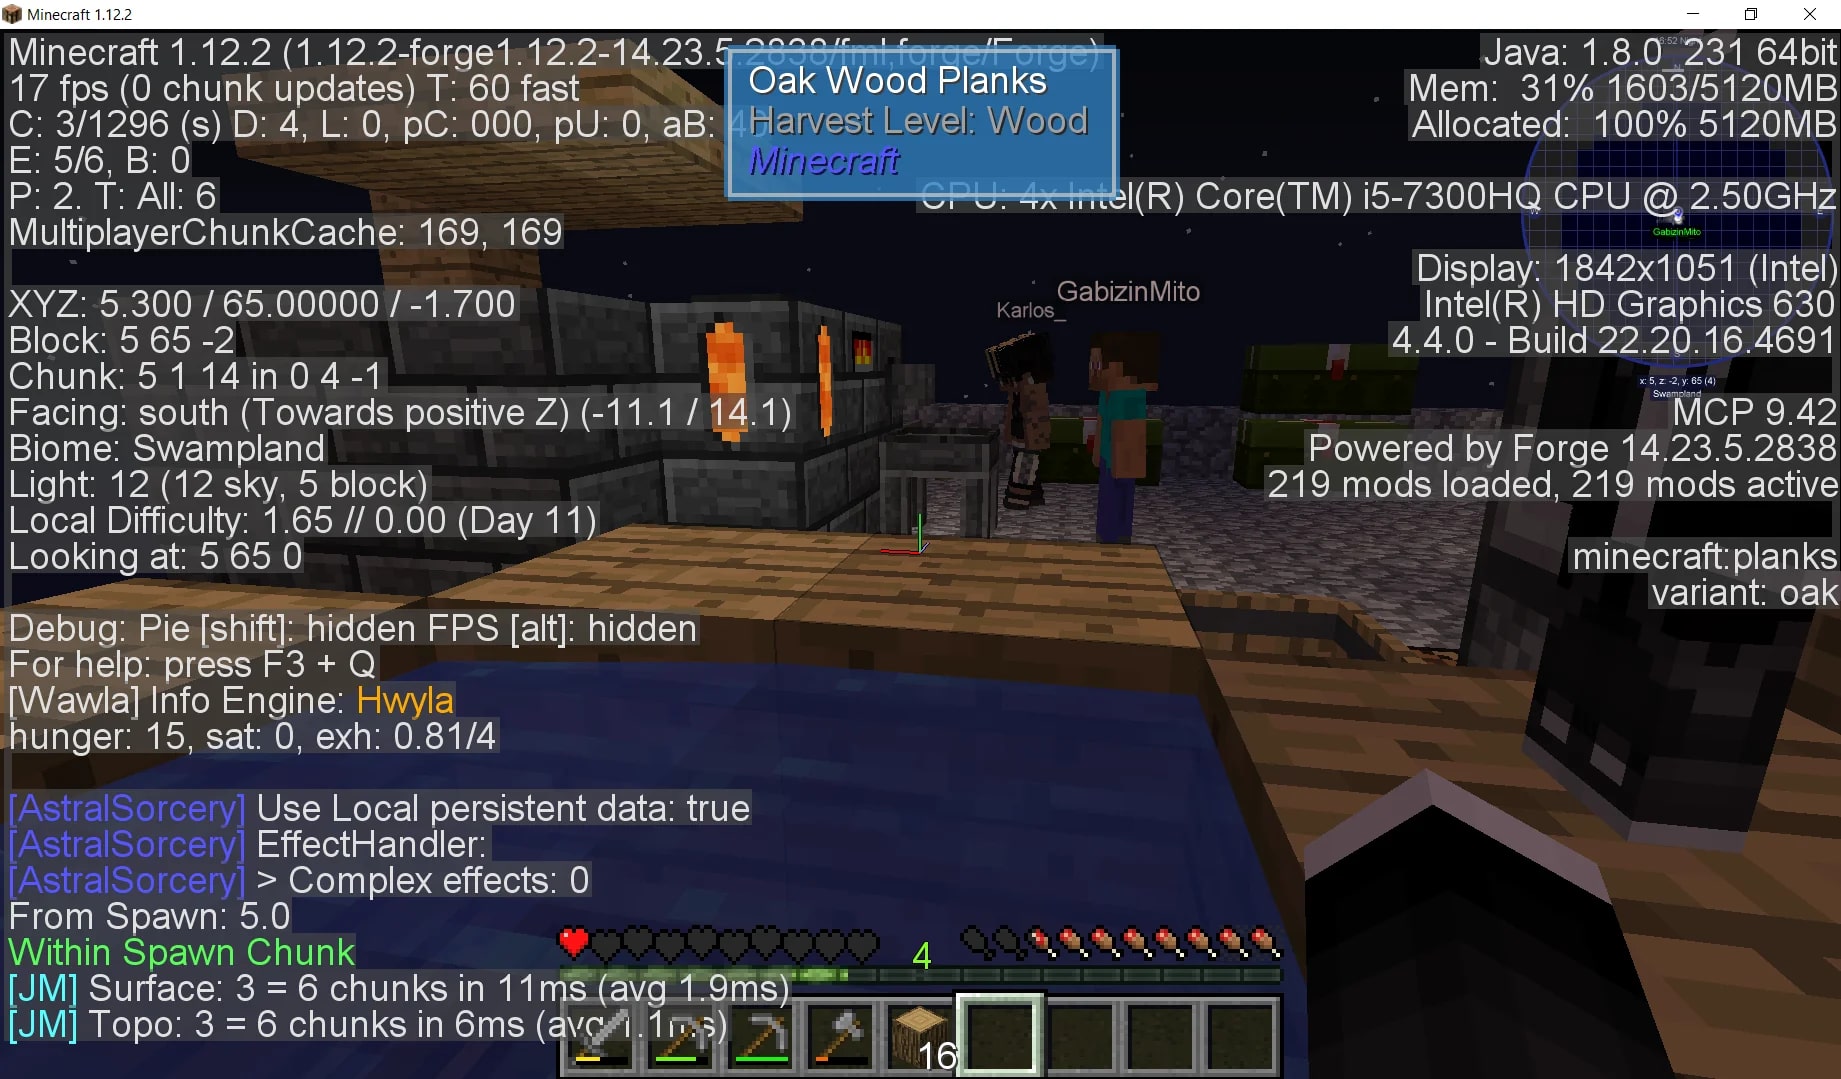
- Use FPS counters: Enable the display of Frames Per Second (FPS) in Minecraft. This can be done through in-game settings or by using third-party software. Monitoring the FPS will give you an idea of how well your GPU is keeping up with the demands of the game.
- Use GPU monitoring software: Install GPU monitoring software, such as MSI Afterburner or HWMonitor, to monitor your GPU’s temperature, usage, and clock speeds while playing Minecraft. This information can help you identify any potential performance issues or overheating problems.
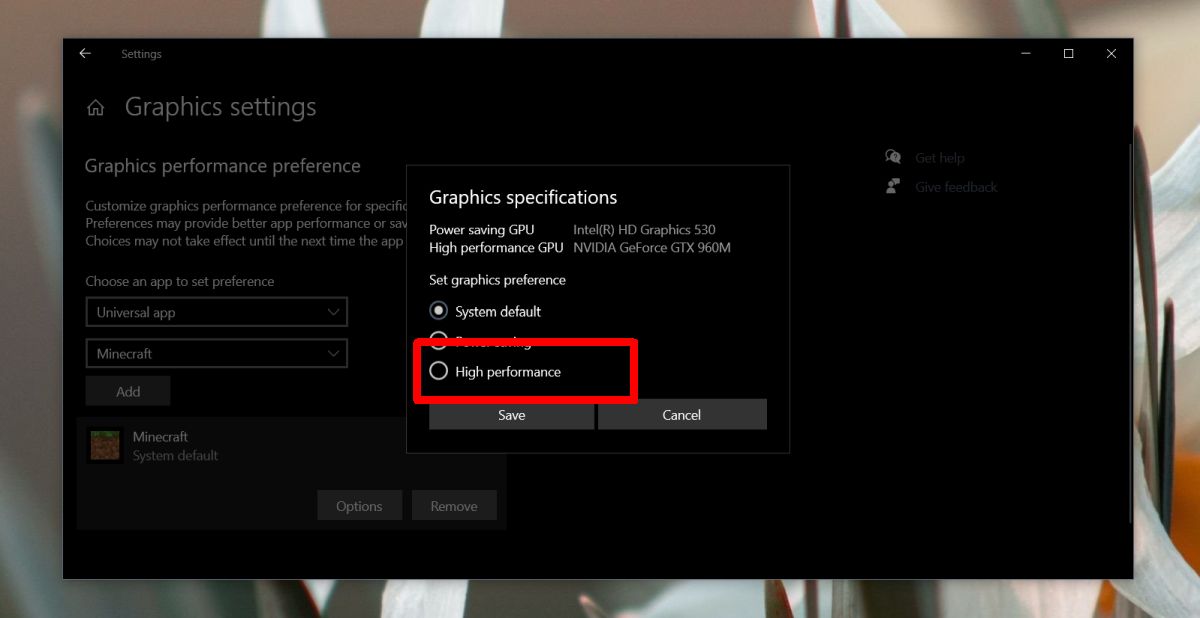
- Optimize power settings: Check your computer’s power settings and ensure that it is set to “High Performance” or a similar mode. This setting ensures that your GPU operates at its maximum potential, providing optimal performance for Minecraft.
- Close unnecessary background processes: Before launching Minecraft, close any unnecessary programs running in the background. These programs can consume system resources, including GPU power, and potentially impact Minecraft’s performance.
- Monitor GPU temperature: Keep an eye on your GPU’s temperature while playing Minecraft. If you notice that it is consistently reaching high temperatures, consider improving hardware cooling solutions or reducing graphical settings to alleviate the strain on the GPU.
- Update Java: Minecraft runs on Java, so make sure you have the latest version of Java installed on your computer. Updated Java versions often come with optimizations and performance improvements, which can positively impact Minecraft’s GPU usage.
- Consider overclocking: If you are comfortable with advanced hardware tweaking, you may consider overclocking your GPU. Overclocking can boost the GPU’s performance, but it requires caution and proper knowledge to avoid damaging your hardware.
- Troubleshoot graphical glitches: If you encounter graphical glitches or anomalies in Minecraft, updating the GPU drivers or adjusting the graphical settings may help resolve the issue. Experiment with different settings to find the optimal configuration for stable and glitch-free gameplay.
By monitoring and optimizing GPU performance in Minecraft, you can ensure that your system is running at its best. Monitoring tools provide valuable insights into GPU usage and temperature, while optimization techniques can enhance the overall gaming experience. Experiment with different settings and configurations to find the optimal balance between performance and visual quality.
In the next section, we will address common issues with GPU usage in Minecraft and provide troubleshooting steps to resolve them.
Troubleshooting common issues with GPU usage in Minecraft
While optimizing GPU usage in Minecraft, you may encounter some common issues that affect performance or stability. Here are troubleshooting steps to resolve these issues:
- Check for driver updates: Ensure that you have the latest GPU drivers installed. Outdated drivers can cause compatibility issues or performance glitches. Visit the manufacturer’s website to download and install the latest drivers for your GPU.
- Reset video settings: If you are experiencing graphical issues or performance problems, resetting Minecraft’s video settings to their default values can often resolve the issue. In the Minecraft Launcher, go to “Settings,” then “Video Settings,” and click on “Defaults” to reset the settings.
- Disable conflicting software: Some background applications, such as screen recorders, overlays, or other GPU-intensive games, can conflict with Minecraft’s GPU usage. Temporarily disable or close any such software to see if it improves Minecraft’s performance.
- Allocate more RAM: If you notice frequent stuttering or lag, increasing the amount of RAM allocated to Minecraft can help. In the Minecraft Launcher, go to “Settings,” then “Java Settings,” and adjust the “Allocated Memory” slider to a higher value.
- Optimize Java arguments: Minecraft allows you to specify custom Java arguments to optimize performance. Research recommended Java arguments for Minecraft based on your system configuration and apply them using the Minecraft Launcher’s “Launch Options” feature.
- Disable resource packs and mods: If you are using resource packs or mods, they may impact GPU performance. Disable them temporarily to see if it improves gameplay. If the performance improves, consider using lighter resource packs or fewer mods.
- Update Minecraft: Ensure that you have the latest version of Minecraft installed. Updates often include bug fixes and optimizations that can improve GPU usage. Use the Minecraft Launcher’s update feature or check for updates on the official Minecraft website.
- Lower game settings: If Minecraft is not running smoothly, reducing the graphical settings can help. Lower the render distance, disable advanced features like smooth lighting or fancy graphics, and decrease particles to relieve GPU load.
- Check system resources: Insufficient system resources like CPU or RAM can impact GPU performance. Close unnecessary programs and processes running in the background to free up resources for Minecraft. Ensure that Minecraft is the focus of your system’s attention.
- Monitor system temperature: Overheating can lead to performance issues. Monitor the temperature of your GPU using monitoring software and ensure that it stays within safe limits. Clean any dust or debris from your computer’s cooling system to prevent overheating.
By following these troubleshooting steps, you can identify and resolve common GPU usage issues in Minecraft. It may require a combination of different solutions depending on the specific problem you encounter.
Remember to test these solutions one at a time and monitor the impact on performance to determine the effectiveness of each troubleshooting step.
Now that we have addressed common issues with GPU usage in Minecraft, you are equipped to optimize your gaming experience and enjoy Minecraft to its fullest potential.
Conclusion
Optimizing Minecraft to utilize your GPU can greatly enhance your gaming experience. By offloading graphics processing tasks to the GPU, Minecraft can run smoother, achieve higher frame rates, and deliver improved graphical quality. In this article, we explored the importance of GPU usage in Minecraft and provided a comprehensive guide on how to make Minecraft utilize your GPU effectively.
We started by understanding what a GPU is and why it is essential for enhancing Minecraft’s performance. We then walked through the process of checking if your computer has a compatible GPU and updating the GPU drivers to ensure optimal functionality. Configuring Minecraft to utilize your GPU involved adjusting various in-game settings, such as render distance, graphics quality, and allocating more RAM.
In addition, we discussed monitoring and optimizing GPU performance in Minecraft through FPS counters, GPU monitoring software, and other techniques. Troubleshooting common issues that may arise, such as outdated drivers, conflicting software, or system resource limitations, was also covered in detail.
By following the steps outlined in this article, you can maximize your GPU’s potential and enjoy Minecraft with enhanced visuals and smoother gameplay. It’s important to remember that every computer is unique, and what works best for one system may not be optimal for another. It’s recommended to experiment with different settings and monitor the impact on performance to find the perfect balance for your specific hardware configuration.
Now armed with the knowledge and strategies outlined in this article, you are ready to embark on an immersive journey in the blocky world of Minecraft, powered by the full potential of your GPU.