Introduction
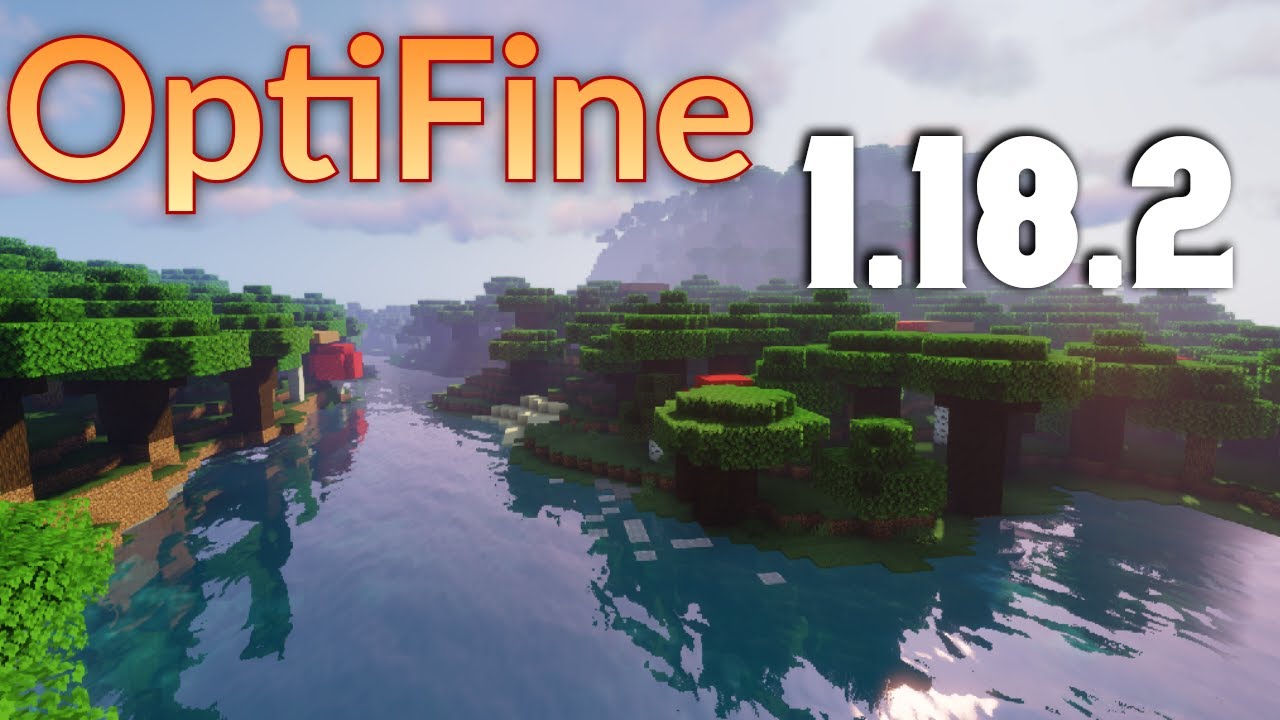
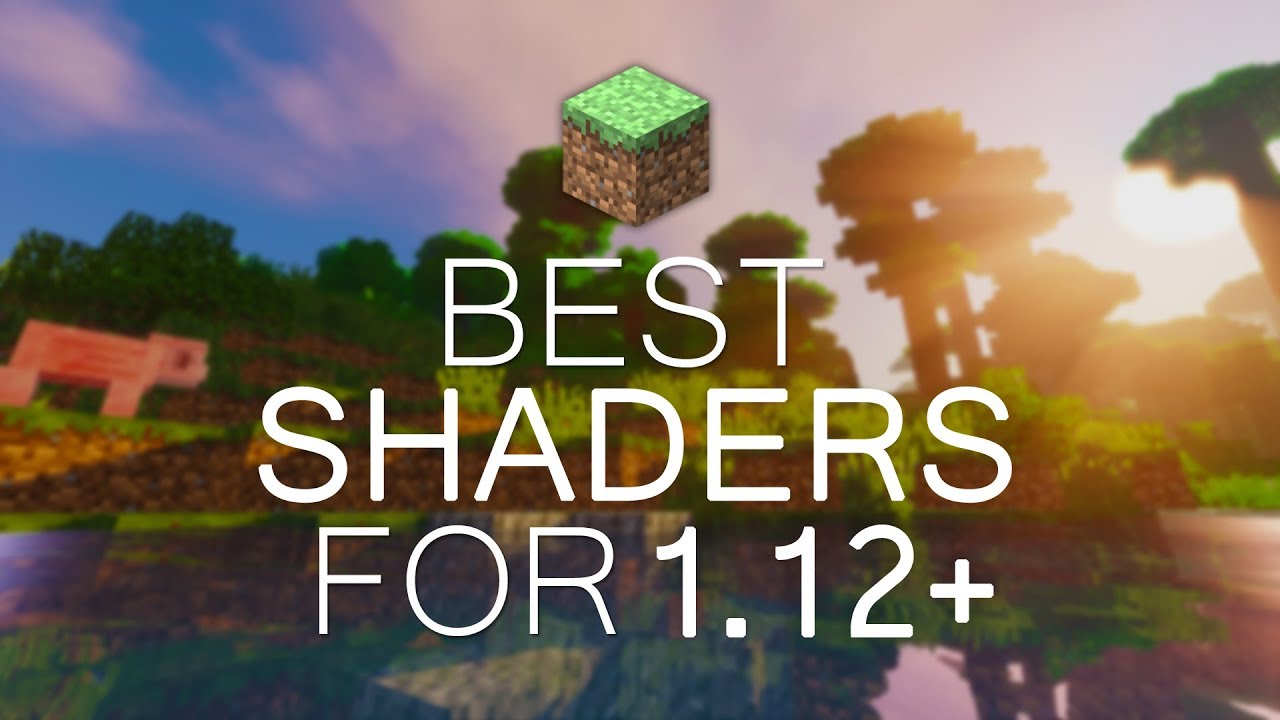
Welcome to the wonderful world of Minecraft! Whether you’re a seasoned player or new to the game, you’ve probably heard of shaders. Shaders are a popular modification that can completely transform the visual experience of Minecraft. They add stunning graphics, vibrant colors, realistic lighting, and dynamic shadows to create a more immersive and realistic environment. In this guide, we will walk you through the process of how to download shaders for Minecraft 1.18.2, the latest version of the game.
Before we dive into the steps, let’s take a closer look at what shaders actually are. In simple terms, shaders are customizations that change the way Minecraft’s graphics are rendered. They utilize advanced techniques such as lighting calculations, texture enhancements, and post-processing effects to elevate Minecraft’s visual appeal. Shaders allow you to adorn your Minecraft world with breathtaking sunsets, lifelike water reflections, waving grass, and much more. With the right combination of shaders, you can create a stunning virtual world that goes beyond the limitations of Minecraft’s default graphics.
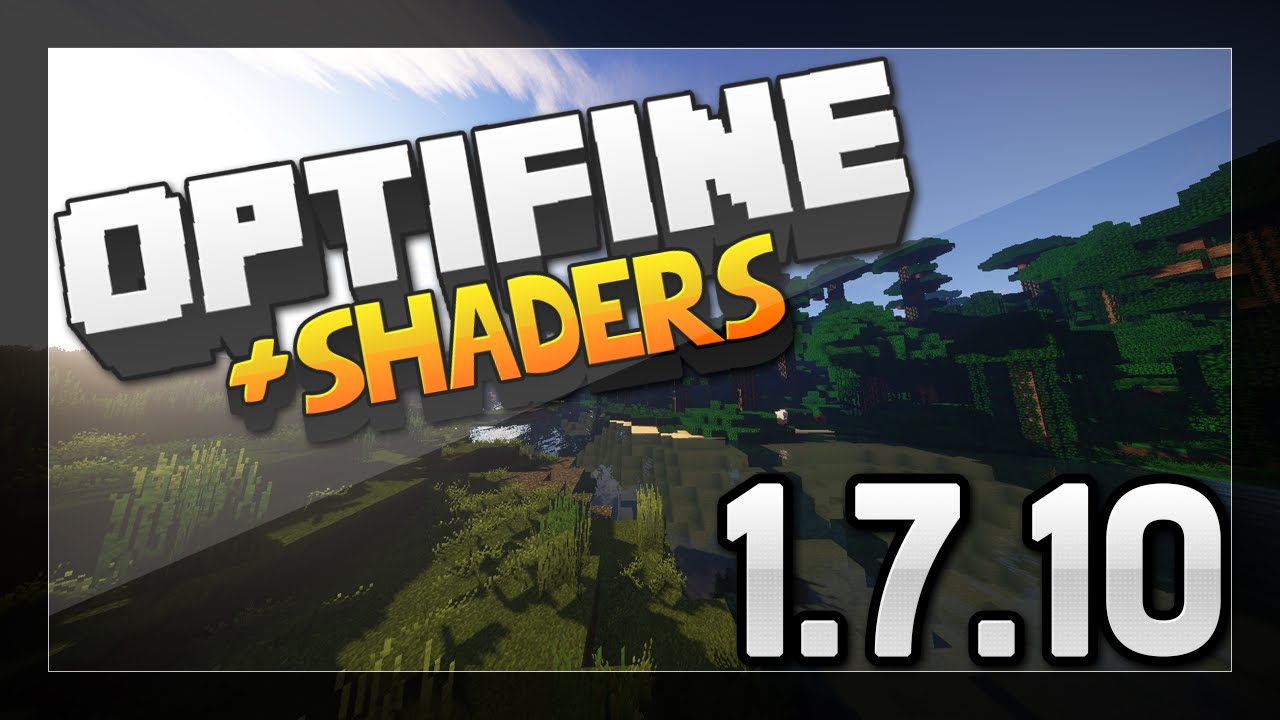
To get started with shaders, there are a few essential steps you need to follow. First and foremost, you’ll need to select the right shaders that are compatible with Minecraft 1.18.2. This ensures optimal performance and compatibility. Additionally, you’ll need to download Optifine, a popular mod that enhances Minecraft’s performance and enables shader functionality. Once you have Optifine installed, you can proceed to install shaders and configure them to suit your preferences.
This guide will provide detailed instructions for each step, guiding you through the process of downloading shaders for Minecraft 1.18.2. By the end of this guide, you’ll be able to enjoy the stunning visuals and immersive atmosphere that shaders bring to Minecraft.
What are Shaders?
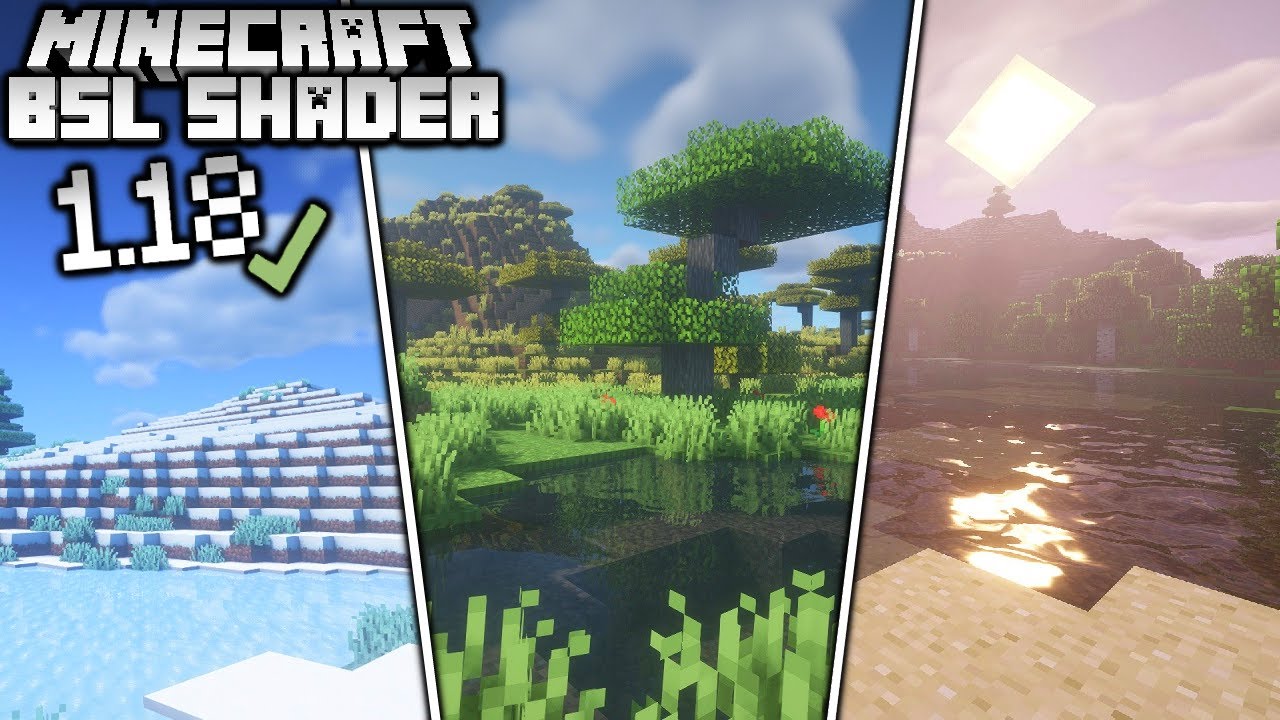
If you’re unfamiliar with shaders, you may be wondering what they actually are and how they enhance the Minecraft experience. In simple terms, shaders are modifiable graphics configurations that alter the rendering of Minecraft’s visuals. They introduce advanced effects, lighting techniques, textures, and post-processing filters to create stunning and realistic graphics. Shaders can transform your Minecraft world into a visually captivating environment, elevating the overall gameplay experience.
One of the primary features of shaders is their ability to enhance lighting in Minecraft. Shaders introduce dynamic lighting effects, including realistic shadows, vibrant sunrises and sunsets, and atmospheric lighting. This can significantly improve the immersion and overall visual quality of the game. Instead of the static lighting present in the default Minecraft, shaders allow for more dynamic and lifelike lighting conditions.
Moreover, shaders can also improve the textures and visual details of various elements in Minecraft. They can add depth and realism to blocks, water, foliage, and other environmental features. Textures become more detailed and visually appealing, giving the game a more polished and immersive look. With shaders, every aspect of the Minecraft world can be enhanced, from the smallest blade of grass to the grandest mountain peak.
Additionally, shaders introduce post-processing effects to Minecraft’s visuals. These effects include bloom, motion blur, depth of field, and ambient occlusion, among others. These effects simulate real-world camera effects and add depth and realism to the game’s graphics. Post-processing effects can greatly enhance the overall atmosphere and mood of your Minecraft world, allowing for a more cinematic and immersive experience.
It’s important to mention that shaders require adequate hardware resources to function properly. Due to the increased visual demands, shaders can put a strain on your computer’s GPU (Graphics Processing Unit) and CPU (Central Processing Unit). It’s advisable to ensure that your computer meets the minimum system requirements before diving into the world of shaders. This will ensure a smooth and enjoyable Minecraft experience with shaders enabled.
Now that you have an understanding of what shaders are and how they enhance Minecraft, let’s move on to the steps involved in downloading shaders for Minecraft 1.18.2. By following these steps, you’ll be able to unlock a world of stunning visuals and immerse yourself in the breathtaking beauty of Minecraft.
Step 1: Choosing the Right Shaders for Minecraft 1.18.2
Before you can download shaders for Minecraft 1.18.2, it’s important to choose the right shaders that are compatible with this specific version of the game. Shaders are created and updated by different developers, and not all shaders are compatible with every Minecraft version. It’s crucial to select shaders that are specifically designed for Minecraft 1.18.2 to ensure optimal performance and compatibility.
When choosing shaders, there are a few factors to consider. First, take into account the visual style you prefer for your Minecraft experience. Shaders come in various styles, ranging from realistic and immersive to more stylized and artistic. Some shaders prioritize realistic lighting and textures, while others focus on vibrant colors and unique visual effects. Determine the visual aesthetic that appeals to you the most and search for shaders that align with your preference.
Next, consider the performance impact of shaders. Some shaders are more demanding on your computer’s resources and may require a more powerful GPU to run smoothly. If you have a lower-end or older computer, it’s recommended to choose shaders that are optimized for performance. These shaders are designed to provide a visually pleasing experience while minimizing the impact on your computer’s performance, allowing you to enjoy shaders even with limited hardware capabilities.
Another important aspect to consider is the popularity and reputation of the shaders you’re considering. Shaders that have been tested and reviewed by a large community of players are often more reliable and trustworthy. They are more likely to be regularly updated and maintained, ensuring compatibility with the latest versions of Minecraft. Look for shaders with positive ratings and feedback from other players to ensure a smooth and enjoyable experience.
There are various websites and forums where you can find shaders for Minecraft 1.18.2. Popular platforms like CurseForge and Planet Minecraft offer a wide selection of shaders, along with detailed descriptions, screenshots, and user reviews. These platforms provide a reliable source for downloading shaders from reputable developers.
Once you’ve identified the shaders that meet your criteria, it’s time to move onto the next step: downloading Optifine. Optifine is a mod that is essential for enabling shader functionality in Minecraft. It also provides performance optimizations and additional customization options. In the next step, we will guide you through the process of downloading and installing Optifine for Minecraft 1.18.2.
Step 2: Downloading Optifine
To enable shader functionality and enhance Minecraft’s performance, you’ll need to download and install Optifine. Optifine is a widely-used mod that provides various optimizations, graphical enhancements, and customization options for Minecraft.
The first step in downloading Optifine is to visit the official Optifine website. Open your preferred web browser and search for “Optifine official website.” Once you’ve accessed the website, make sure to download Optifine for the correct Minecraft version, which in this case is 1.18.2. It’s essential to download the version that matches your Minecraft version to ensure compatibility.
On the Optifine downloads page, you’ll find different versions of Optifine listed. Look for the version that corresponds to Minecraft 1.18.2. There may be multiple options available, such as the Ultra, Standard, or Light versions of Optifine. The Ultra version includes all the features and customization options, while the Standard and Light versions provide a more streamlined experience with fewer features.
Click on the download link for the preferred version of Optifine. This will initiate the download process, and the Optifine installer file (.jar file) will be saved to your computer. Once the download is complete, locate the downloaded .jar file and double-click on it to run the installer.
The Optifine installer window will open, presenting you with the installation options. Ensure that the “Install” option is selected, and click on the “Install” button. The installer will automatically install and integrate Optifine into your Minecraft installation.
After the installation is complete, open the Minecraft launcher. In the launcher, click on the “Installations” tab. You will now see a new installation profile named “Optifine.” Select this profile and click on the “Play” button to launch Minecraft with Optifine enabled.
Once Minecraft is launched, you can verify that Optifine is successfully installed by going to the “Options” menu. In the options menu, you should see a new “Video Settings” option that includes various Optifine-specific settings and configurations.
Congratulations! You have successfully downloaded and installed Optifine for Minecraft 1.18.2. In the next step, we will guide you through finding reliable sources for downloading shaders that are compatible with Optifine.
Step 3: Finding Reliable Sources for Shaders
Now that you have Optifine installed, it’s time to find reliable sources for downloading shaders that are compatible with Minecraft 1.18.2 and Optifine. With numerous websites and forums offering shaders, it’s important to ensure you download from trustworthy sources to avoid any potential risks.
One of the most popular and reputable platforms for downloading shaders is CurseForge. CurseForge has a vast collection of shaders, along with detailed descriptions, screenshots, and user reviews. It’s a reliable source as shaders on CurseForge are thoroughly tested and regularly updated by a dedicated community of developers.
Another reliable platform is Planet Minecraft, which also offers a wide selection of shaders. Similar to CurseForge, Planet Minecraft provides detailed information and user ratings for shaders. You can browse through the different shaders, read reviews, and choose the ones that suit your preferences.
In addition to these platforms, Minecraft forums can also be a great source for finding shaders. The official Minecraft forum and other Minecraft-related forums often have dedicated threads and sections for shader downloads. These forums can provide insights, recommendations, and direct links to trusted shader sources.
When downloading shaders, it’s crucial to pay attention to the compatibility information provided by the developers. Make sure the shader you choose explicitly states that it is compatible with Minecraft 1.18.2 and Optifine. Reading user reviews and comments can also help verify compatibility and ensure a smooth installation process.
Be cautious when downloading shaders from unofficial or unknown sources. These sources may offer outdated or incompatible shaders that can cause issues with your Minecraft installation. It’s recommended to stick to well-known platforms and sources to minimize any potential risks.
Once you’ve found the shaders you want to download, look for a download link or button on the respective page. Click on the download link, and the shader file (usually a .zip file) will be saved to your computer.
With the shaders downloaded, you’re now ready to proceed to the next step: installing shaders and configuring them for optimal performance. In the following step, we will guide you through the process of installing shaders into your Minecraft game.
Step 4: Installing Shaders
Now that you have downloaded shaders for Minecraft 1.18.2, it’s time to install them into your game. Installing shaders is a relatively simple process, and with Optifine already installed, you’re just a few steps away from enjoying the beautiful visuals they provide.
First, locate the downloaded shader file on your computer. It is usually in the form of a .zip file. Ensure that you have a file archiving software, such as WinRAR or 7-Zip, installed on your computer.
Next, open the Minecraft launcher and select the Optifine installation profile you previously created. Launch Minecraft with the Optifine profile.
Once Minecraft is launched, click on the “Options” button on the main menu. In the options menu, click on “Video Settings”. Then, find and click on “Shaders” to access the shader options.
Inside the shader options, you will find a “Shaders Folder” button. Clicking on this button will open the shaders folder on your computer.
Now, back to the downloaded shader file. Extract the contents of the .zip file using your file archiving software. You should now have a folder containing the shader files.
Copy or cut the extracted shader folder and navigate to the shaders folder on your computer (the folder that opened when you clicked on the “Shaders Folder” button in Minecraft). Paste the shader folder into the shaders folder.
Once you have successfully placed the shader files into the shaders folder, you can close the file explorer and return to the Minecraft game.
To enable the shader, go back to the “Video Settings” menu and click on “Shaders”. In the shader options, you should now see the name of the shader pack you installed. Click on its name to select and activate it.
After selecting the shader pack, you will notice that Minecraft’s graphics will instantly change, reflecting the new shader effects. You can further customize the shader settings by clicking on “Shader Options”. Here, you can adjust specific parameters to fine-tune the visual experience according to your preferences.
With the shaders installed and enabled, you can now explore your Minecraft world with stunning visual enhancements. Enjoy the new lighting, vibrant colors, and realistic effects that the shaders bring to the game. Experiment with different shaders and their settings to find the perfect visual style for your Minecraft experience.
Now that the shaders are installed, it’s time to ensure that they are configured for optimal performance. In the next step, we will guide you through the process of configuring shaders to ensure a smooth and enjoyable gameplay experience.
Step 5: Configuring Shaders for Optimal Performance
The installation of shaders is complete, but to ensure a smooth and enjoyable gameplay experience, it’s essential to configure the shaders for optimal performance. Configuring shaders allows you to strike a balance between visual quality and system performance, ensuring that your Minecraft game runs smoothly with the shaders enabled.
To begin configuring shaders, open the Minecraft game and go to the main menu. Click on “Options” and then select “Video Settings”. Within the video settings, you will find the “Shaders” option. Click on it to access the shader options.
Within the shader options, you’ll have various settings you can adjust to optimize performance. Here are a few key settings to consider:
- Shadow Quality: Shadows can significantly impact performance. If you notice a drop in frame rate, consider reducing the shadow quality or disabling shadows altogether.
- Render Quality: This setting determines the overall level of detail in the shaders. A higher render quality will result in more detailed visuals but may impact performance. Adjust this setting based on your hardware capabilities.
- Anti-Aliasing: Anti-aliasing smooths out jagged edges in the graphics. Enabling anti-aliasing can enhance visual quality but may have a performance impact. You can experiment with different anti-aliasing levels to find the balance between quality and performance.
- Render Distance: Shaders can add a lot of visual detail, and increasing the render distance can further enhance the experience. However, a higher render distance may require additional system resources. Adjust this setting based on your hardware capabilities.
- Post-Processing Effects: Post-processing effects like bloom, motion blur, and depth of field add visual flair to the game but also have an impact on performance. Adjust these settings based on your preference and hardware capabilities.
Make adjustments to these settings and observe their impact on the performance of your Minecraft game. It’s important to find the right balance between visual quality and performance to ensure an enjoyable gameplay experience. If you find that certain settings cause significant lag or frame rate drops, consider reducing or disabling them.
Additionally, keep in mind that the performance impact of shaders can vary depending on your computer’s hardware specifications. If you have a lower-end system, you may need to make more significant adjustments to optimize performance. Conversely, if you have a high-end system, you may be able to increase certain settings without compromising performance.
Remember to regularly update your graphics card drivers and Optifine to ensure compatibility and access any performance improvements or bug fixes that may be available.
By configuring shaders for optimal performance, you can enjoy the stunning visuals and immersive atmosphere of Minecraft while maintaining a smooth and seamless gameplay experience.
Now that you’ve successfully installed and configured shaders, you’re ready to embark on your Minecraft adventures with a whole new level of visual enhancements.
Step 6: Enjoying Your Shaders in Minecraft 1.18.2
Congratulations! You have completed all the necessary steps to download, install, and configure shaders for Minecraft 1.18.2. Now, it’s time to sit back, relax, and enjoy the stunning visuals and immersive atmosphere that shaders bring to your Minecraft world.
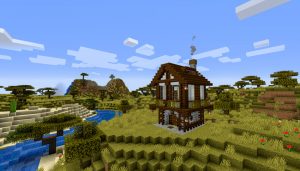
With the shaders enabled, you will notice a significant visual transformation in your Minecraft experience. The vibrant colors, realistic lighting, dynamic shadows, and enhanced textures will breathe new life into your gameplay. Explore breathtaking landscapes, marvel at the beauty of the sunset, and immerse yourself in the realistic environments created by the shaders.
Take the time to roam through your Minecraft world and appreciate the smallest details that shaders bring to life. Notice the mesmerizing water reflections, the subtle sway of the grass, and the soft shadows cast by the sunlight. Each aspect of the game has been elevated to deliver a more immersive and visually stunning experience.
Experiment with different shader packs and their settings to find the perfect combination that suits your taste. Dive into the shaders options menu and tweak parameters to your liking. You can adjust lighting, shadow intensity, color saturation, and many other settings to create a custom visual style that resonates with you.
Remember to explore different biomes, structures, and environments in Minecraft to fully appreciate the impact shaders have on the game. From serene forests to towering mountains, from vast oceans to mysterious caves, every location in Minecraft becomes a masterpiece with the enhanced visuals provided by the shaders.
Share your experiences and screenshots with the Minecraft community! Show off the breathtaking vistas, unique landscapes, and artistic creations that the shaders have allowed you to capture. Engage with other players, exchange tips, and discover new shader packs that you may not have encountered during your installation process.
Lastly, keep in mind that shaders can have a performance impact on your computer. If you experience any frame rate drops or lag, consider tweaking the shader settings or adjusting other graphical options within Minecraft to optimize performance. Finding the right balance between visual quality and performance will ensure a smooth and enjoyable gameplay experience.
Now, it’s time to embrace the beauty of the Minecraft world in a whole new light. Enjoy your adventures, thriving in the immersive and visually stunning environment that shaders have unlocked in Minecraft 1.18.2!
Conclusion
Congratulations on successfully downloading and installing shaders for Minecraft 1.18.2! By following the steps in this guide, you have unlocked a world of stunning visuals and immersive experiences in your Minecraft gameplay.
Shaders have the power to transform Minecraft from a blocky world into a visually captivating masterpiece. With realistic lighting, vibrant colors, dynamic shadows, and enhanced textures, shaders breathe new life into every corner of your Minecraft world. Whether you’re exploring vast landscapes, building intricate structures, or engaging in thrilling adventures, shaders elevate your gameplay to a whole new level.
Remember to choose shaders that are compatible with Minecraft 1.18.2, as this ensures optimal performance and compatibility. Utilize reliable sources such as CurseForge and Planet Minecraft for downloading shaders, and always check for user reviews and ratings to ensure a smooth installation process.
Optifine plays a crucial role in enabling shader functionality and improving Minecraft’s performance. Be sure to download and install the correct version of Optifine for Minecraft 1.18.2, following the instructions provided in this guide.
Configuring shaders for optimal performance is equally important. Adjusting settings such as shadow quality, render distance, and post-processing effects can help strike a balance between visual quality and smooth gameplay. Regularly update your graphics card drivers and Optifine to access any performance enhancements and bug fixes that may be available.
Once everything is set up, it’s time to enjoy the breathtaking visuals and immerse yourself in the stunning atmosphere created by shaders. Explore, build, and admire the intricate details that shaders bring to your Minecraft world. Share your experiences and screenshots with the Minecraft community and engage with fellow players to discover new shader packs and customizations.
Now that you have the knowledge and tools to download, install, and configure shaders, go forth and embark on extraordinary adventures in the visually enhanced Minecraft world. Let your creativity and imagination soar as you witness the beauty and immersive atmosphere created by shaders in Minecraft 1.18.2.