Introduction
Welcome to the world of Minecraft shaders! If you’re an avid player looking to enhance your gaming experience with stunning visuals, then shaders are the perfect solution for you. In this guide, we will walk you through the process of downloading and installing shaders to give your Minecraft world a whole new look.
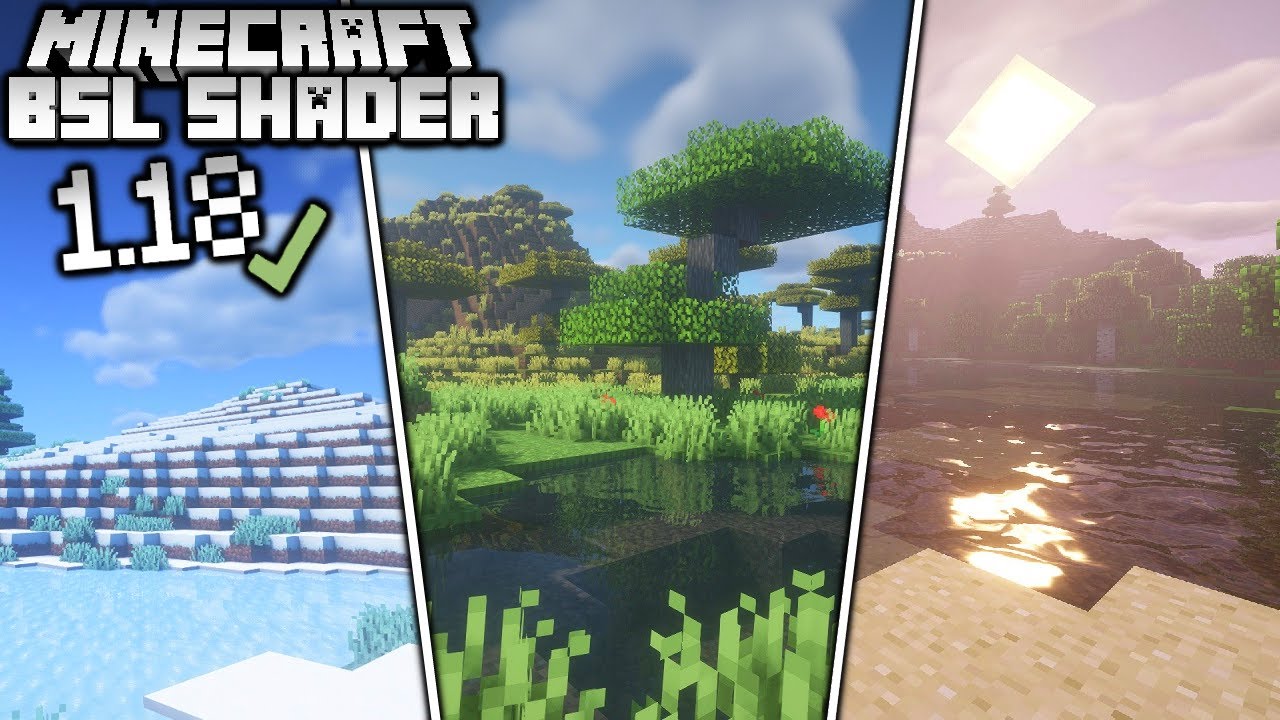
So, what exactly are shaders? Shaders are graphical modifications that improve the lighting, shadows, textures, and overall visual effects in the game. With the help of shaders, you can transform the blocky landscapes of Minecraft into breathtaking scenes that resemble realistic environments or create otherworldly atmospheres.
Before diving into the step-by-step guide, it’s important to note that shaders require a specific mod called OptiFine to function properly. OptiFine is a popular optimization mod for Minecraft that not only improves the performance of the game but also enables the use of shaders. So make sure to have OptiFine installed before proceeding with the rest of the steps.
Now that you have a brief overview of what shaders are and the necessary mod to use them, let’s get started with the process of downloading and installing shaders in Minecraft. Whether you’re a beginner or an experienced player, this guide will provide you with all the information you need to bring your Minecraft world to life with stunning shaders.
What are shaders?
Shaders are graphical modifications that add new visual effects to Minecraft. They completely transform the game’s appearance by enhancing lighting, shadows, reflections, and other graphical elements. With shaders, you can take your Minecraft experience to a whole new level by creating realistic environments or adding unique artistic styles to your world.
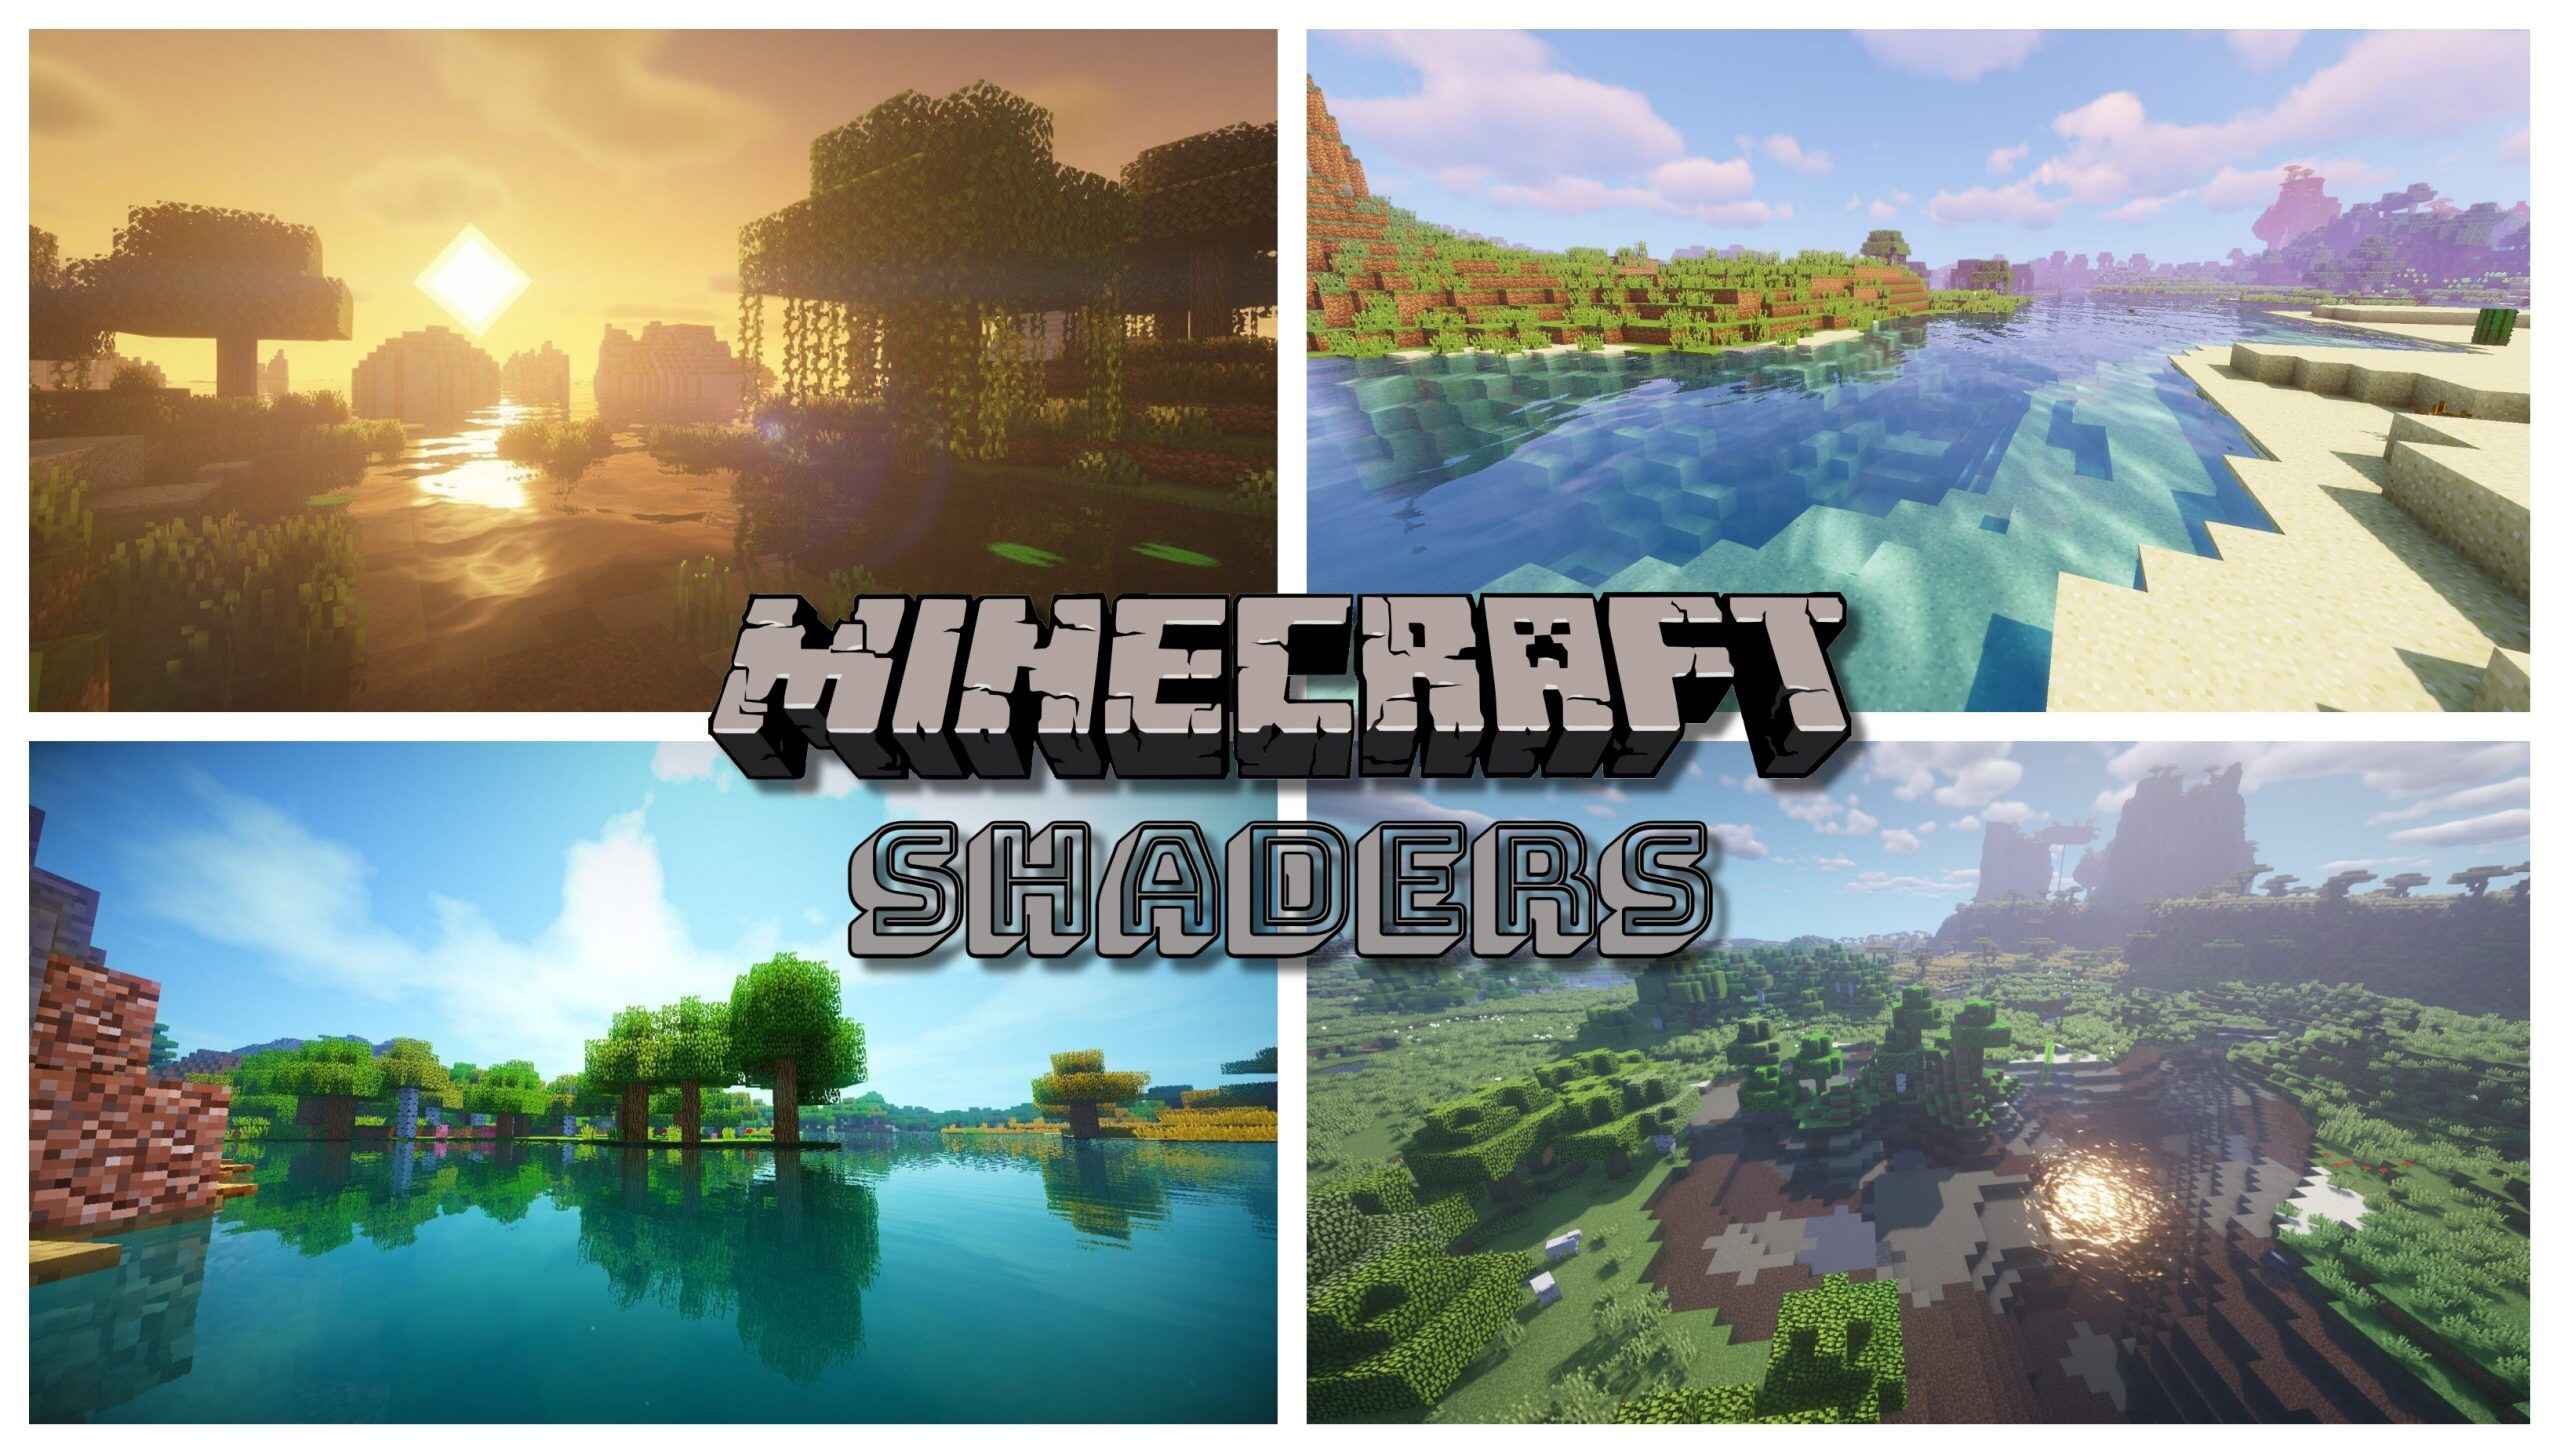
One of the main advantages of shaders is the improvement in lighting effects. In default Minecraft, the lighting is simplistic and uniform, but shaders bring dynamic lighting that reacts realistically to the environment. This means that light sources, such as the sun or torches, cast shadows and create more immersive lighting scenarios. The shadows are softer, the sunsets and sunrises become more stunning, and the overall atmosphere feels more lifelike.
In addition to lighting, shaders also enhance the textures in Minecraft. The blocks and objects become more detailed and realistic, with improved reflections and depth. Water, in particular, undergoes a dramatic transformation with waving ripples, realistic reflections, and even underwater effects. Shaders also add motion blur, depth of field, and ambient occlusion, further enhancing the overall visual fidelity.
Shaders also offer various artistic styles that can completely change the look and feel of the game. From vibrant and colorful cartoon-like visuals to desaturated and atmospheric cinematic effects, there are shaders available to suit every player’s taste. Some shaders even include unique features like cel-shading, which gives the game a hand-drawn, comic book-like appearance.
While shaders greatly enhance the visual quality of Minecraft, it’s important to note that they do require a more powerful computer to run smoothly. The additional graphical effects and increased processing power needed for shaders may result in decreased performance on lower-end systems. However, many shader packs offer different performance options, allowing you to adjust the settings according to your computer’s capabilities.
Now that you have an understanding of what shaders are and the visual enhancements they bring to Minecraft, let’s move on to the step-by-step process of downloading and installing shaders to transform your Minecraft world.
Step 1: Find a trusted source for shaders
The first step in downloading shaders for Minecraft is to find a trusted source where you can safely download shader packs. With the popularity of Minecraft, there are numerous websites and forums offering shaders, but it’s essential to choose a reliable and reputable source to avoid any potential risks.
When searching for a trusted source, consider the following factors:
1. Official Minecraft forums: The official Minecraft forums are a great place to start your search for shaders. The forums usually have a dedicated section for shaders where you can find recommendations, discussions, and download links from experienced members of the Minecraft community. These reputable sources often provide safe and regularly updated shader packs.
2. Minecraft shader websites: There are several websites specifically created to host and distribute Minecraft shader packs. These websites curate a collection of shaders, making it easy to browse through different options and find the perfect pack for your desired visual style. However, make sure to choose trusted websites with positive user reviews and reliable download links.
3. Community recommendations: Reach out to the Minecraft community for recommendations on trusted sources for shaders. Join Minecraft forums, Discord servers, or social media groups dedicated to Minecraft and ask for suggestions. Community members can provide valuable insights and point you in the right direction towards reputable sources for shaders.
When selecting a source for shaders, be cautious of websites that prompt you to download additional files or ask for personal information. These websites may not be trustworthy and could potentially contain harmful files or malware. Stick to sources that are well-known within the Minecraft community and have a positive reputation.
Once you have found a trusted source for shaders, you are ready to move on to the next step: downloading and installing OptiFine, the mod required to use shaders in Minecraft. OptiFine enhances the game’s performance and adds compatibility for shader packs, allowing you to enjoy the full benefits of shaders in Minecraft.
Step 2: Download and install OptiFine
OptiFine is a mod that not only optimizes Minecraft’s performance but also enables the use of shaders. It enhances graphics, improves FPS (frames per second), and provides additional customization options. Before you can start using shaders in Minecraft, you need to download and install OptiFine. Here’s how:
1. Visit the official OptiFine website: Start by accessing the official OptiFine website. Make sure to download OptiFine from the official source to ensure it is safe and reliable. The website provides different versions of OptiFine, so choose the one that matches your Minecraft version. If you are unsure about your Minecraft version, you can find it on the Minecraft launcher.
2. Download OptiFine: Once you have selected the correct version, click on the download link to start the download. OptiFine is available as a .jar file, which is compatible with most operating systems.
3. Install OptiFine: To install OptiFine, simply double-click on the downloaded .jar file. This will open the OptiFine installer. Follow the on-screen instructions and select the “Install” option. OptiFine will automatically install and integrate with your Minecraft game.
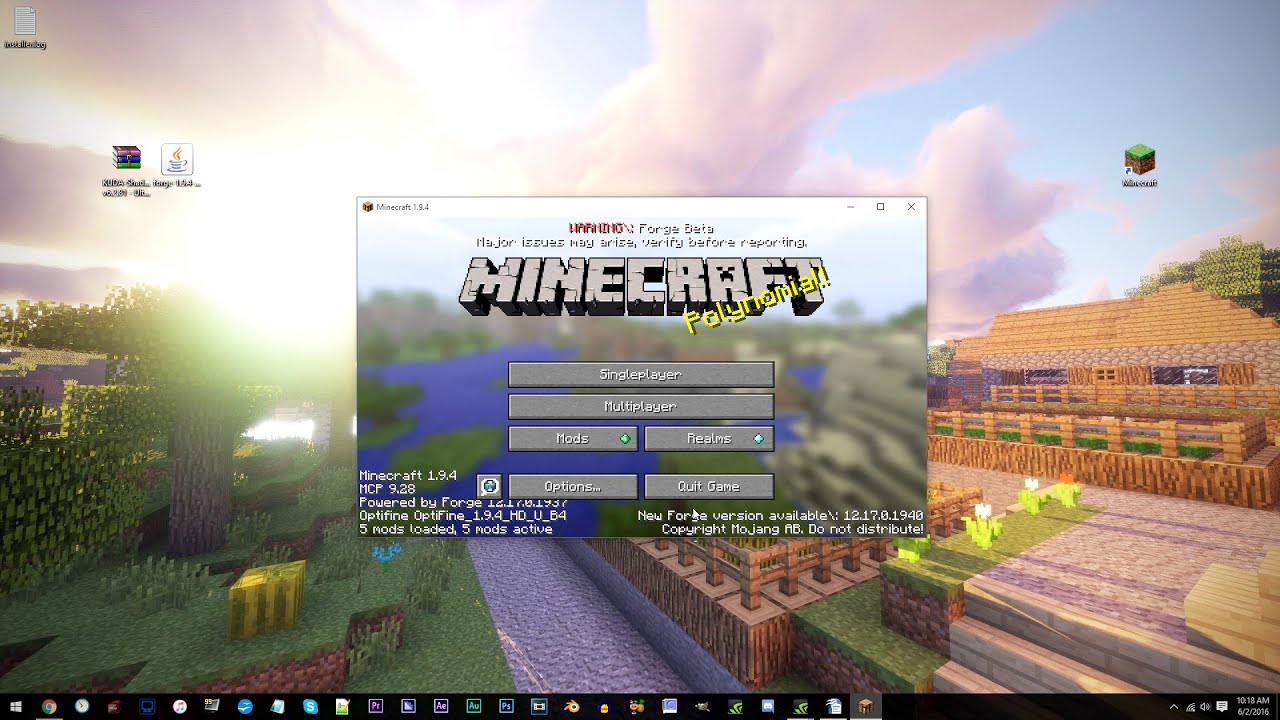
4. Launch Minecraft with OptiFine: After the installation is complete, launch the Minecraft launcher. In the lower-left corner of the launcher, click on the dropdown arrow next to the “Play” button. From the dropdown menu, select the installed OptiFine version. Click “Play” to start Minecraft with OptiFine.
5. Confirm OptiFine installation: Once Minecraft launches, you can verify that OptiFine is installed by accessing the Options menu. Go to the “Video Settings” tab and look for the additional customization options provided by OptiFine. These options include graphics enhancements, performance settings, and shader-related settings.
That’s it! You have successfully downloaded and installed OptiFine. Now you are ready to proceed to the next step, where we will discuss how to choose a shader pack to enhance your Minecraft visuals.
Step 3: Choose a shader pack
Now that you have OptiFine installed, it’s time to choose a shader pack that suits your desired visual style. There are numerous shader packs available, each offering unique effects and aesthetics. Here’s how you can choose the perfect shader pack for your Minecraft experience:
1. Consider your preferences: Think about the type of visuals you want in Minecraft. Do you prefer realistic graphics, vibrant and colorful environments, or perhaps a more stylized and artistic look? Knowing your preferences will narrow down your search and help you find a shader pack that aligns with your vision.
2. Research different shader packs: Take some time to explore different shader packs. Visit shader websites or online forums dedicated to Minecraft to discover the variety of options available. Look for screenshots or videos that showcase the shader pack in action, so you can get a better idea of what it will look like in your Minecraft world.
3. Read user reviews and recommendations: Pay attention to user reviews and recommendations for different shader packs. These reviews can provide valuable insights into the performance, compatibility, and overall quality of the pack. You can find user reviews on shader websites or through discussions in Minecraft forums or social media groups.
4. Consider your computer’s capabilities: Keep in mind the capabilities of your computer when choosing a shader pack. Some shader packs are more demanding and may require a powerful computer to run smoothly. If your computer has lower specifications, look for shader packs that offer performance options or lightweight versions specifically designed for lower-end systems.
5. Compatibility with Minecraft version: Ensure that the shader pack you choose is compatible with your Minecraft version. This information is usually provided along with the shader pack on websites or forums. Using a shader pack that is not compatible with your Minecraft version can cause issues and may not work as intended.
Ultimately, the choice of a shader pack is subjective, and it’s important to find one that resonates with your personal preferences. Take your time to explore and experiment with different shaders until you find the perfect one for your Minecraft world.
Once you have decided on a shader pack, you’re ready to proceed to the next step: downloading the shader pack and preparing it for installation. In the following section, we’ll guide you through the process of downloading the shader pack of your choice.
Step 4: Download the shader pack
After selecting the perfect shader pack for your Minecraft experience, the next step is to download the shader pack onto your computer. Here are the steps to download a shader pack:
1. Locate a trusted source: Ensure that you download the shader pack from a reliable and reputable source. As mentioned earlier, official Minecraft forums, dedicated shader websites, and community recommendations are great places to find trusted sources for shader packs. This will help ensure that you are getting a safe and authentic download.
2. Access the download link: Once you have found a trusted source for the shader pack, locate the download link for the specific pack you have chosen. The download link is usually provided on the webpage dedicated to the shader pack or within a forum post. Click on the download link to start the download process.
3. Save the shader pack: When prompted, choose a location on your computer where you want to save the shader pack. It is recommended to save it in a location that you can easily remember, such as your desktop or a dedicated folder. This will make it easier to access the shader pack during the installation process.
4. Check the file format: Shader packs are typically downloaded as compressed files with the format “.zip” or “.rar”. Ensure that the downloaded file has the correct file format. If the file is in a different format, you may need to extract the content using file archiving software such as WinRAR or 7-Zip.
5. Do not extract the shader pack: Unlike resource packs in Minecraft, shader packs should not be extracted. The shader pack needs to remain in its compressed format (.zip or .rar) for installation. If you accidentally extract the shader pack, simply re-compress it back into the original file format.
Once you have successfully downloaded the shader pack and confirmed its file format, you’re now ready to move on to the next step: installing the shader pack in Minecraft. In the following section, we’ll guide you through the process of installing the shader pack to bring your desired visual enhancements to your Minecraft world.
Step 5: Install the shader pack
Now that you have downloaded the shader pack, it’s time to install it in Minecraft. Follow the steps below to install the shader pack and prepare it for use:
1. Launch Minecraft: Start by launching the Minecraft game with OptiFine installed. Once Minecraft is open, go to the main menu.
2. Access the “Options” menu: From the main menu, click on the “Options” button to access the options menu. In the options menu, select the “Video Settings” button.
3. Open the “Shader Options” menu: Inside the “Video Settings” menu, there will be a button labeled “Shaders.” Click on this button to access the “Shader Options” menu.
4. Open the “Shader Packs” folder: Within the “Shader Options” menu, there will be a button labeled “Open Shaderpacks Folder.” Click on this button to open the folder where the shader packs are stored.
5. Move the shader pack file: In the shader packs folder, locate the downloaded shader pack file that you saved on your computer. Drag and drop the shader pack file into the shader packs folder.
6. Select the shader pack: Close the folder after moving the shader pack file into it. In the “Shader Options” menu, click on the dropdown menu labeled “Shader Packs.” The downloaded shader pack should now appear in the list of available packs. Select the desired shader pack from the dropdown menu.
7. Apply the shader pack: After selecting the shader pack, click on the “Done” button to apply the changes and exit the “Shader Options” menu.
Congratulations! You have successfully installed the shader pack in Minecraft. The next step is to launch Minecraft with the shader pack enabled and explore your visually enhanced world. In the following step, we will guide you through launching Minecraft with shaders and adjusting the shader settings.
Step 6: Launch Minecraft with shaders
Now that you have installed the shader pack in Minecraft, it’s time to launch the game and experience the visual enhancements. Follow the steps below to launch Minecraft with shaders:
1. Open the Minecraft launcher: Start by opening the Minecraft launcher on your computer. You can find the Minecraft launcher icon on your desktop or in your system’s applications folder.
2. Select the OptiFine profile: In the Minecraft launcher, look for the dropdown menu located in the lower-left corner. Click on the dropdown menu and select the OptiFine profile you installed earlier. This profile should have the same Minecraft version as the installed shader pack.
3. Click the “Play” button: After selecting the OptiFine profile, click on the green “Play” button located in the bottom-right corner of the launcher. This will launch Minecraft with the shader pack enabled.
4. Enjoy the visually enhanced world: Once Minecraft launches, you will notice the visual enhancements brought by the shader pack. The lighting, shadows, textures, and other graphical elements will be transformed, creating a new and immersive experience. Take some time to explore and admire your visually enhanced world.
It’s important to note that using shaders may require more processing power from your computer, which could impact game performance. If you experience any lag or performance issues while playing with shaders, you may need to adjust the shader settings or use a lower-performance shader pack.
Now that you have successfully launched Minecraft with shaders, you can further customize and adjust the shader settings to suit your preferences.
In the next section, we will guide you through the process of adjusting shader settings in Minecraft to fine-tune the visual enhancements provided by the shader pack.
Step 7: Adjust shader settings (if desired)
After launching Minecraft with shaders, you have the option to customize and adjust the shader settings according to your preferences. The shader settings allow you to fine-tune the visual enhancements provided by the shader pack. Here’s how you can adjust the shader settings:
1. Access the shader settings: While in-game, press the Esc key on your keyboard to open the main menu. From the main menu, select the “Options” button and then choose “Video Settings.”
2. Modify shader options: Inside the “Video Settings” menu, you will find a section labeled “Shaders.” Click on this section to access the shader options. Here, you can make adjustments to various settings offered by the shader pack.
3. Experiment with different settings: Adjust the shader settings to your liking. Each shader pack may offer different customization options, such as brightness, motion blur, depth of field, or water reflections. Play around with the settings and see what works best for your preferences and computer performance.
4. Preview the changes: As you modify the shader options, you will be able to see a real-time preview of the changes in the small preview window. This allows you to assess the visual impact of each adjustment before applying the changes.
5. Apply and save the changes: Once you are satisfied with the customizations, click on the “Done” button to apply the changes to the shader settings. The changes will be saved automatically, and you can now enjoy the game with your personalized shader settings.
It’s important to note that adjusting shader settings may impact game performance, especially on lower-end systems. If you experience lag or performance issues after modifying the shader settings, consider lowering certain settings or using a less demanding shader pack.
Remember that the shader settings are highly dependent on personal preference, and what works for one person may not work for another. Take your time to experiment with different settings and find the perfect balance of visual enhancements and performance for your Minecraft gameplay experience.
With the shader settings adjusted to your liking, you are now ready to fully immerse yourself in the visually breathtaking world of Minecraft with shaders.
Conclusion
Congratulations! You have successfully learned how to download and install shaders in Minecraft. By following the step-by-step guide outlined in this article, you now have the ability to enhance your Minecraft world with stunning visual effects.
Shaders bring a whole new level of immersion and realism to Minecraft, transforming the blocky landscapes into visually captivating environments. Through the use of lighting enhancements, improved textures, and unique graphical effects, shaders allow you to customize the look and feel of your Minecraft experience.
Remember, the process starts with finding a trusted source for shaders and downloading the necessary mod, OptiFine, which optimizes Minecraft and enables the use of shaders. Next, you should choose a shader pack based on your preferences and computer capabilities. After downloading the shader pack, you’ll need to install it and launch Minecraft with OptiFine enabled.
Once in the game, take some time to explore and appreciate the visually enhanced world. If desired, you can further adjust the shader settings to fine-tune the visual effects according to your liking. Experiment with different settings and find the perfect balance between visual enhancements and performance for an optimal gaming experience.
Keep in mind that shaders are resource-intensive and may require a more powerful computer to run smoothly. If you encounter any lag or performance issues, consider adjusting the shader settings or using a lighter shader pack designed for lower-end systems.
Now, armed with the knowledge and understanding of shaders, you can step into Minecraft and showcase your visually enhanced creations to impress friends and fellow players. Enjoy the breathtaking visuals, immerse yourself in the dynamic lighting effects, and experience Minecraft in a whole new way!
So, don’t hesitate any longer. It’s time to unleash the full potential of Minecraft shaders and embark on an incredible visual journey in your very own blocky world. Happy gaming!