How to Add Shaders to Minecraft 1.14: Enhance Your Gaming Experience
Gaming enthusiasts are always looking for ways to enhance their Minecraft gameplay. One popular method is by adding shaders to the game, which can drastically improve the graphics and visual effects. If you’re wondering how to add shaders to Minecraft 1.14, you’ve come to the right place. In this blog post, we will guide you through the process step by step, ensuring that you can enjoy a more immersive gaming experience.
Key Takeaways:
- Shaders can greatly enhance the visuals and ambiance of your Minecraft gameplay.
- Adding shaders to Minecraft 1.14 requires a few simple steps.
Step 1: Install Optifine
The first step in adding shaders to Minecraft 1.14 is to install a mod called Optifine. Optifine is a popular mod that improves Minecraft’s performance and allows for the installation of shaders. Follow these steps to install Optifine:
- Visit the official Optifine website at https://optifine.net/.
- Download the appropriate Optifine version for Minecraft 1.14.
- Open the Optifine installer and click “Install” to integrate it with Minecraft.
Step 2: Download Shaders
Once you have Optifine installed, it’s time to choose and download the shaders you want to use. There are numerous shader packs available, each offering unique visual effects and styles. Here’s how to download shaders:
- Search for a reliable Minecraft shader resource website, such as CurseForge or Planet Minecraft.
- Browse through the various shader packs and choose one that catches your eye.
- Download the shader pack as a .zip file.
Step 3: Install Shaders
Now that you have both Optifine and the shader pack downloaded, it’s time to install the shaders. Follow these steps to install shaders in Minecraft 1.14:
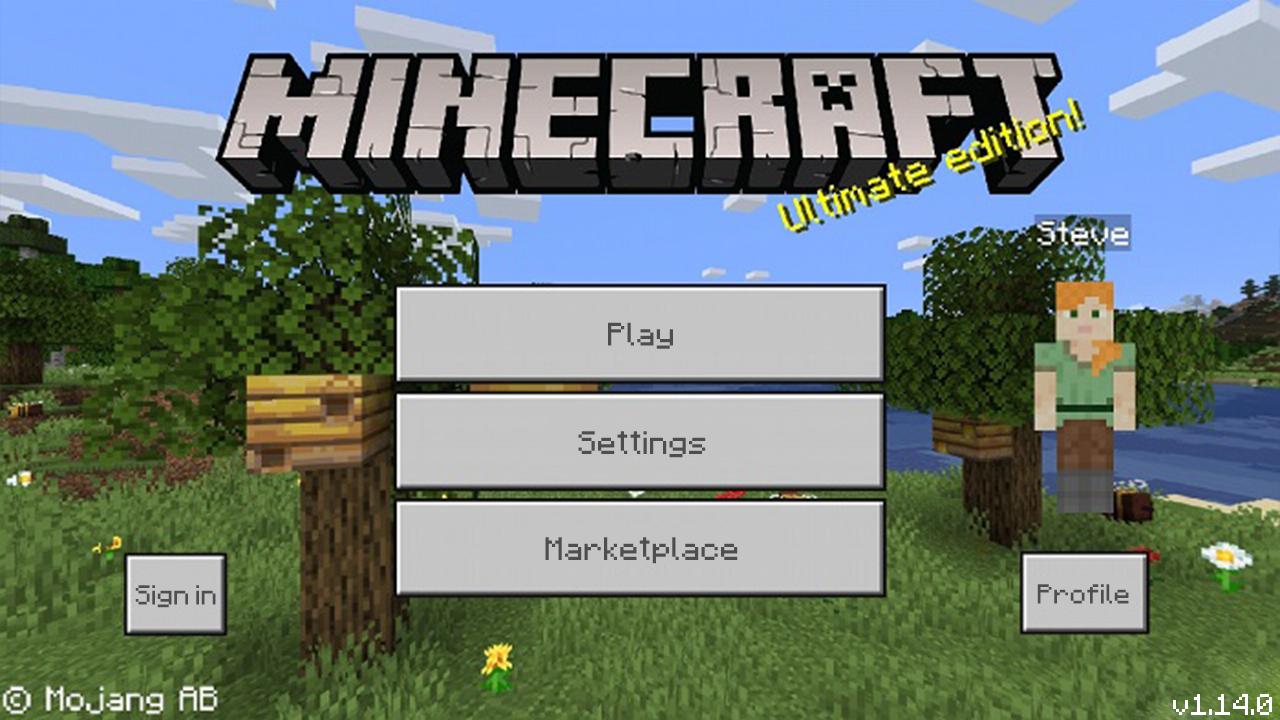
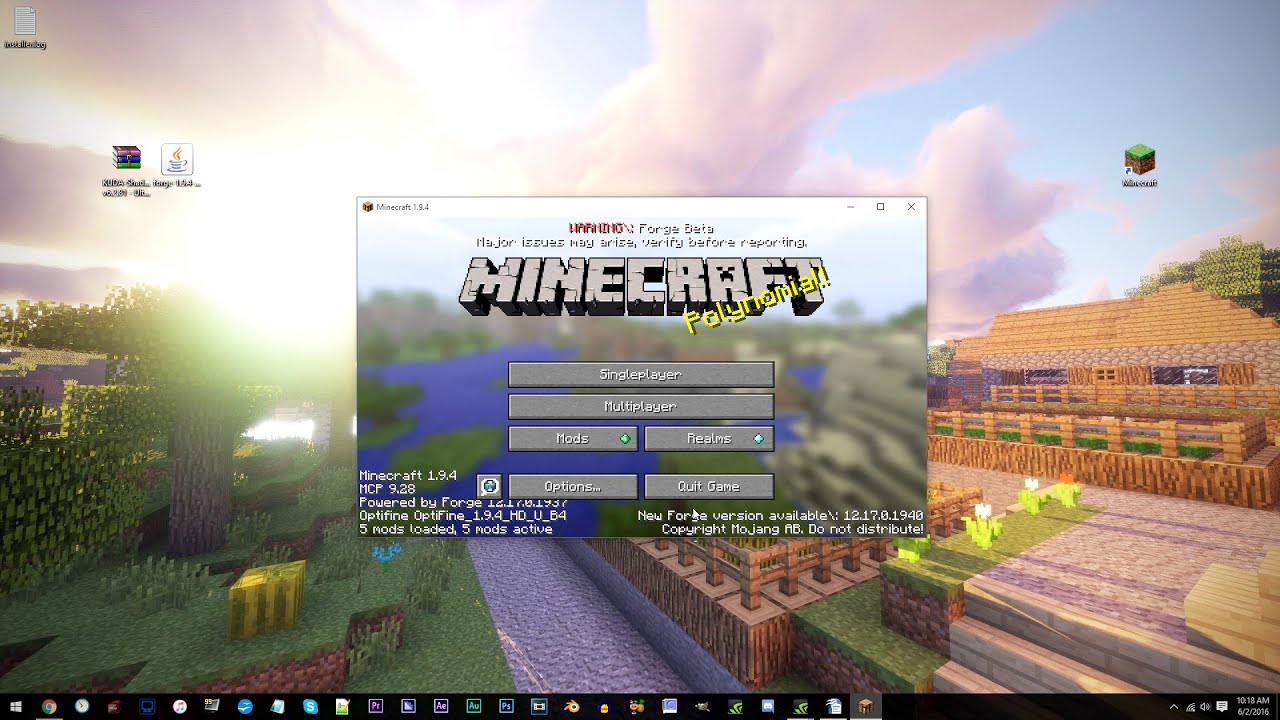
- Launch Minecraft with the Optifine profile. You can select the Optifine profile from the Minecraft launcher.
- Go to the Options menu and click on “Video Settings.”
- Click on “Shaders” and then select “Shaders Folder.”
- Open the folder where you downloaded your shader pack.
- Move the downloaded shader pack (.zip file) into the Shaders folder.
- Close the folder and select the shader pack from the Shaders menu in Minecraft.
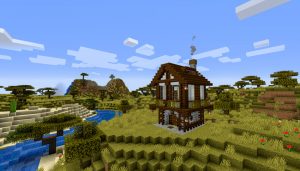
And that’s it! You have successfully added shaders to Minecraft 1.14. Enjoy the enhanced visuals and immerse yourself in a more realistic and stunning gaming experience.
Remember, adding shaders to Minecraft 1.14 is a personal preference. Experiment with different shader packs to find the one that best suits your gaming style and preferences. Additionally, ensure that your computer meets the recommended system requirements for optimal performance.
So, why wait? Take your Minecraft gaming experience to the next level and turn your world into a visually breathtaking masterpiece by adding shaders to Minecraft 1.14 today!