How To Add Shaders To Minecraft: Elevate Your Gaming Experience
Are you a Minecraft enthusiast looking to take your gaming experience to the next level? Look no further! In this article, we will show you how to add shaders to Minecraft and immerse yourself in stunning visual effects that will leave you captivated and in awe. Whether you’re new to shaders or just looking for a step-by-step guide, we’ve got you covered!
Key Takeaways:
- Shaders are modifications that enhance the graphics of Minecraft, adding realistic lighting, shadows, and other visual effects.
- Adding shaders to Minecraft requires the installation of both OptiFine and shader packs.
So, what exactly are shaders?
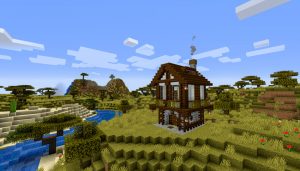
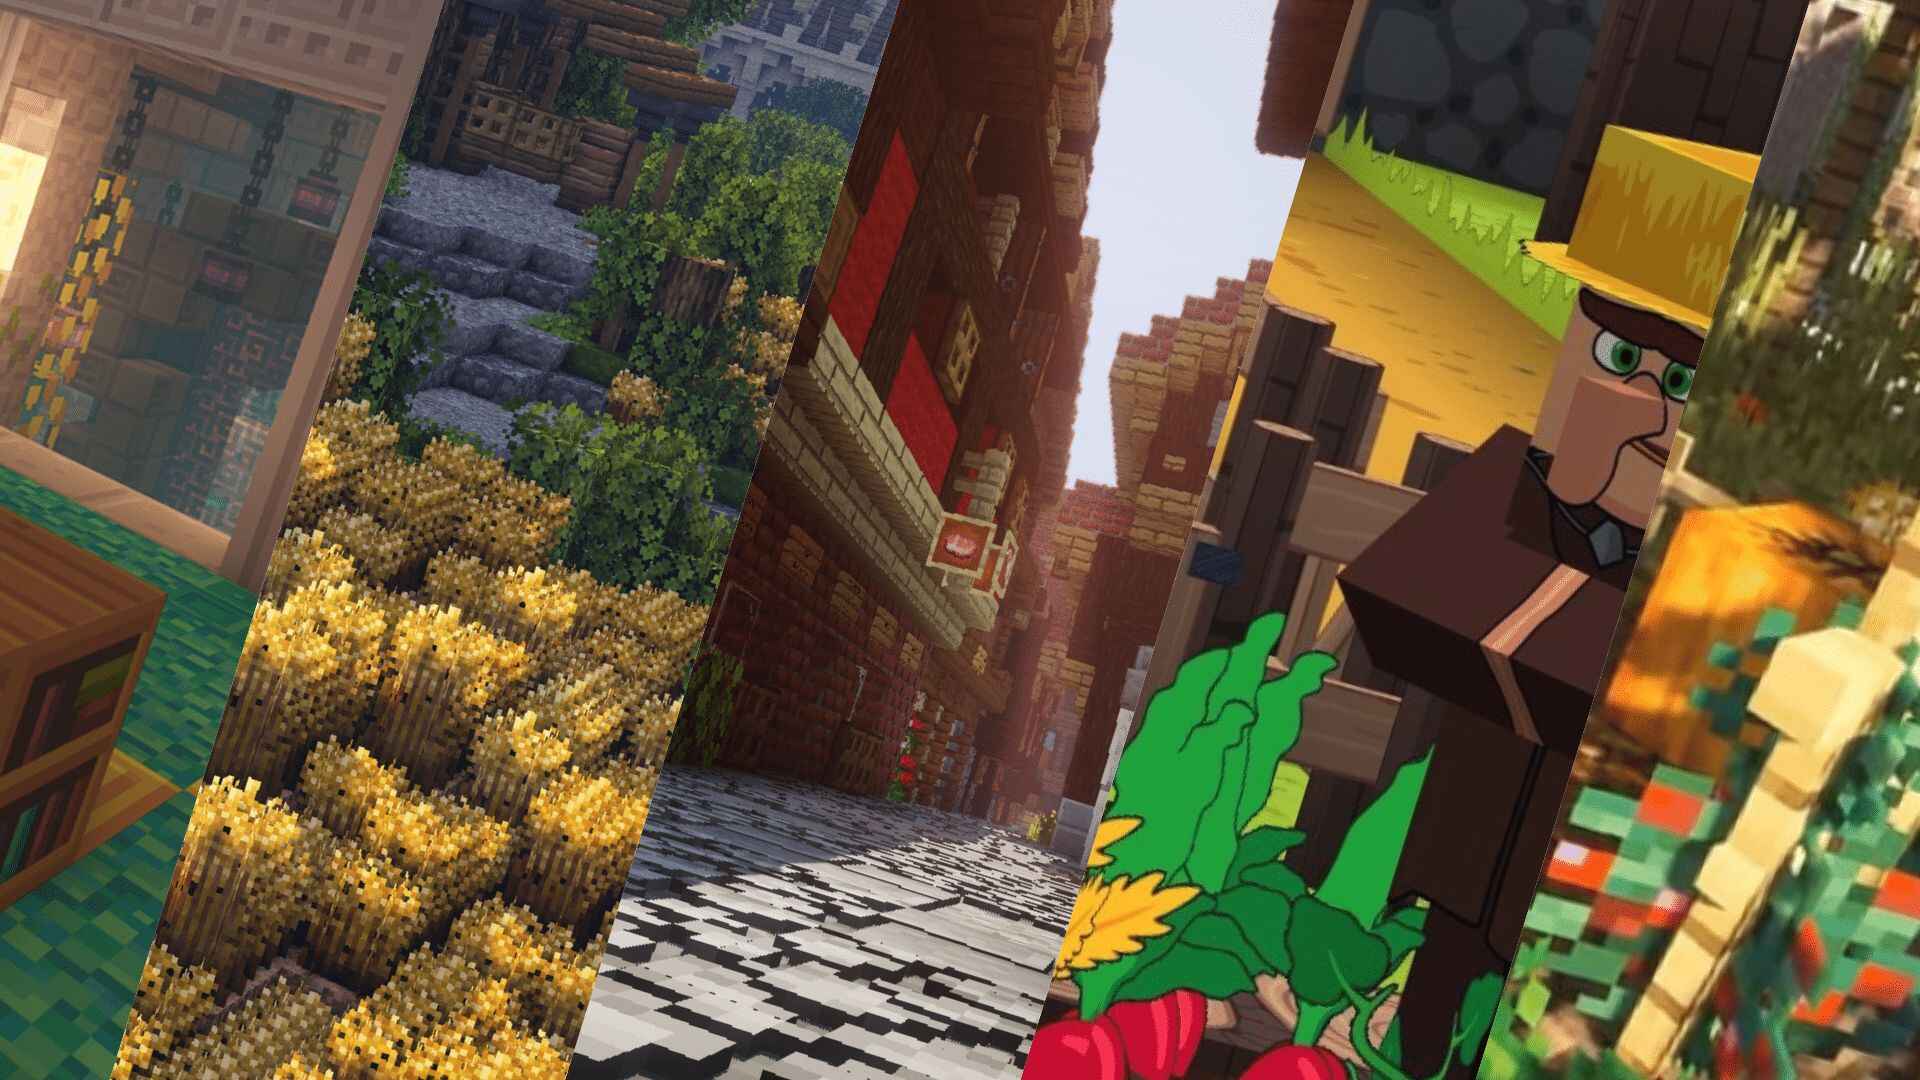
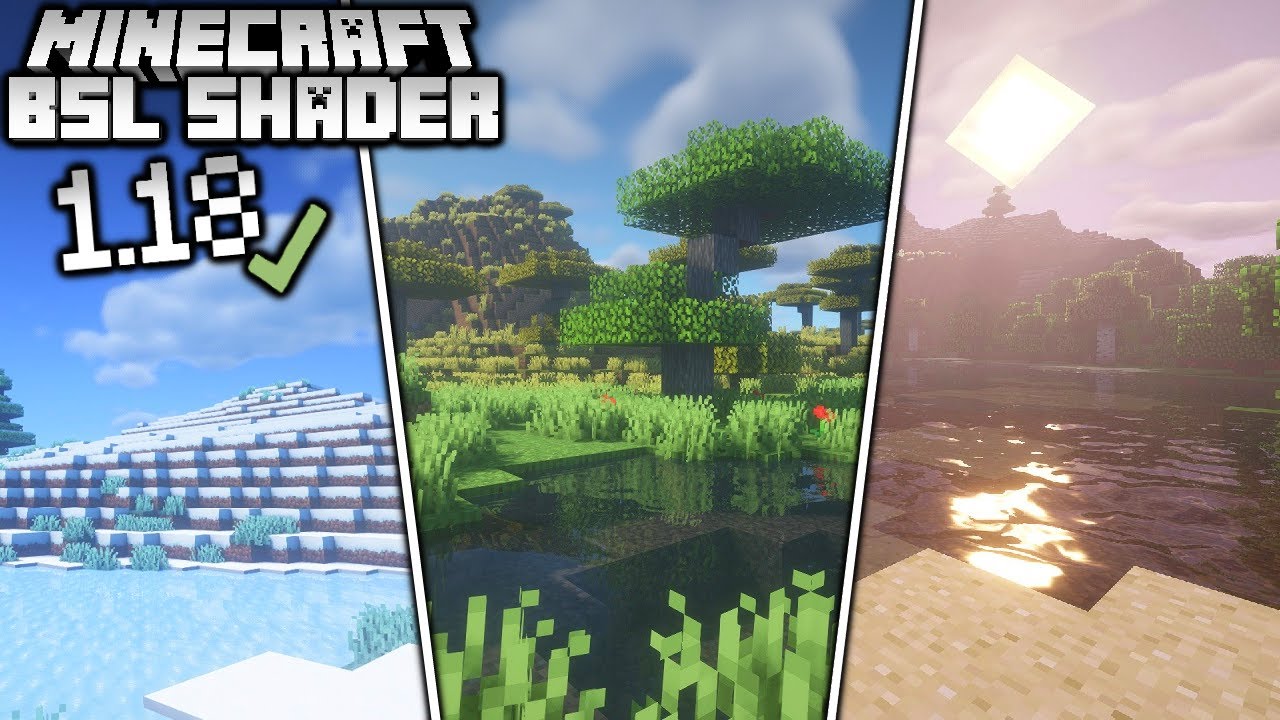
Shaders are modifications that enhance the graphics of Minecraft, transforming the familiar blocky world into a visually stunning masterpiece. By adding realistic lighting, shadows, dynamic weather effects, and other visual enhancements, shaders can take your Minecraft gameplay to a whole new level of realism and immersion.
How to Add Shaders to Minecraft:
Follow these simple steps to add shaders to your Minecraft game:
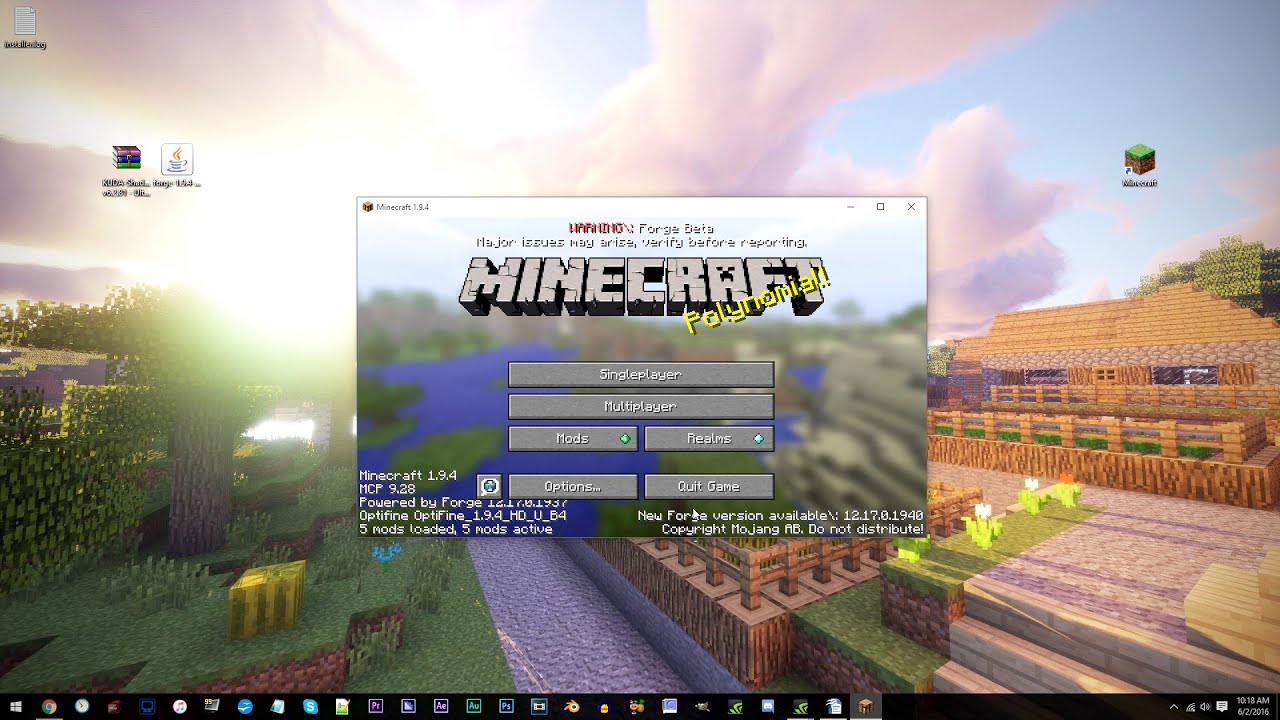
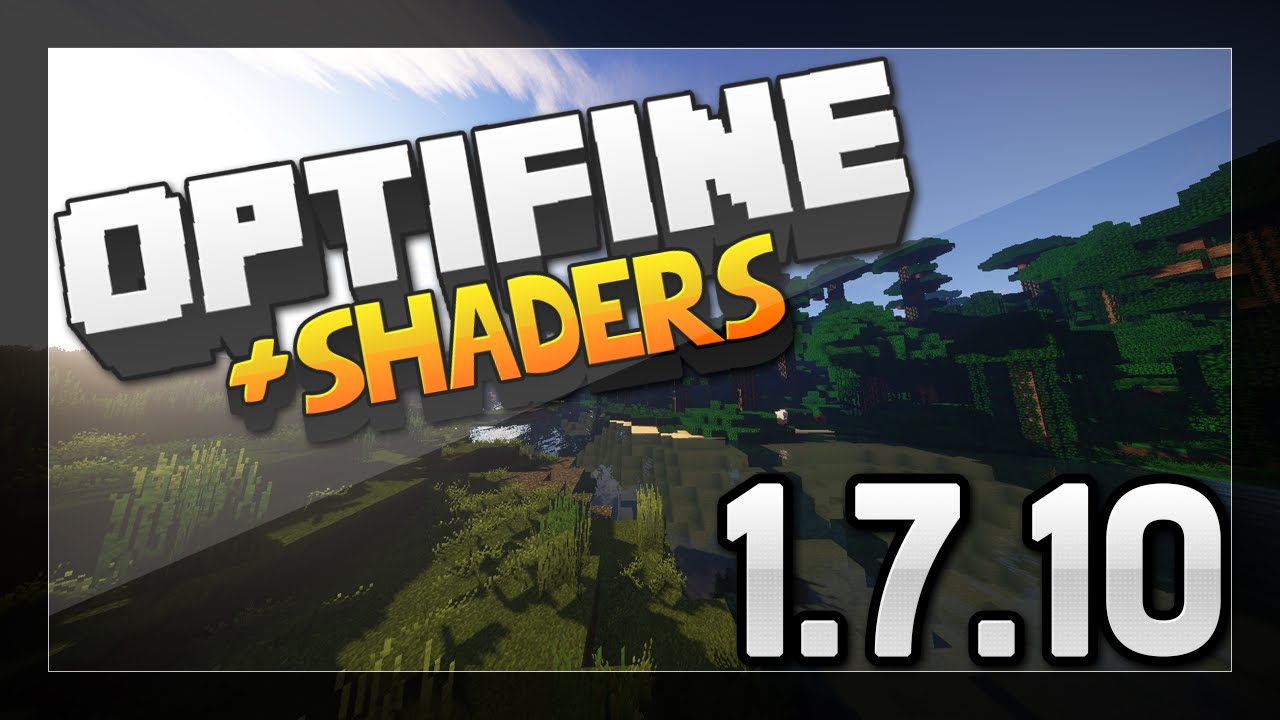
- Install OptiFine: Start by installing OptiFine, which is a mod that optimizes Minecraft’s performance and allows for the addition of shaders. Visit the official OptiFine website and download the compatible version for your Minecraft edition.
- Launch Minecraft with OptiFine: After successfully installing OptiFine, launch the Minecraft Launcher. Click on the “Installations” tab and select the OptiFine version from the dropdown menu. Click “Play” to launch Minecraft with OptiFine.
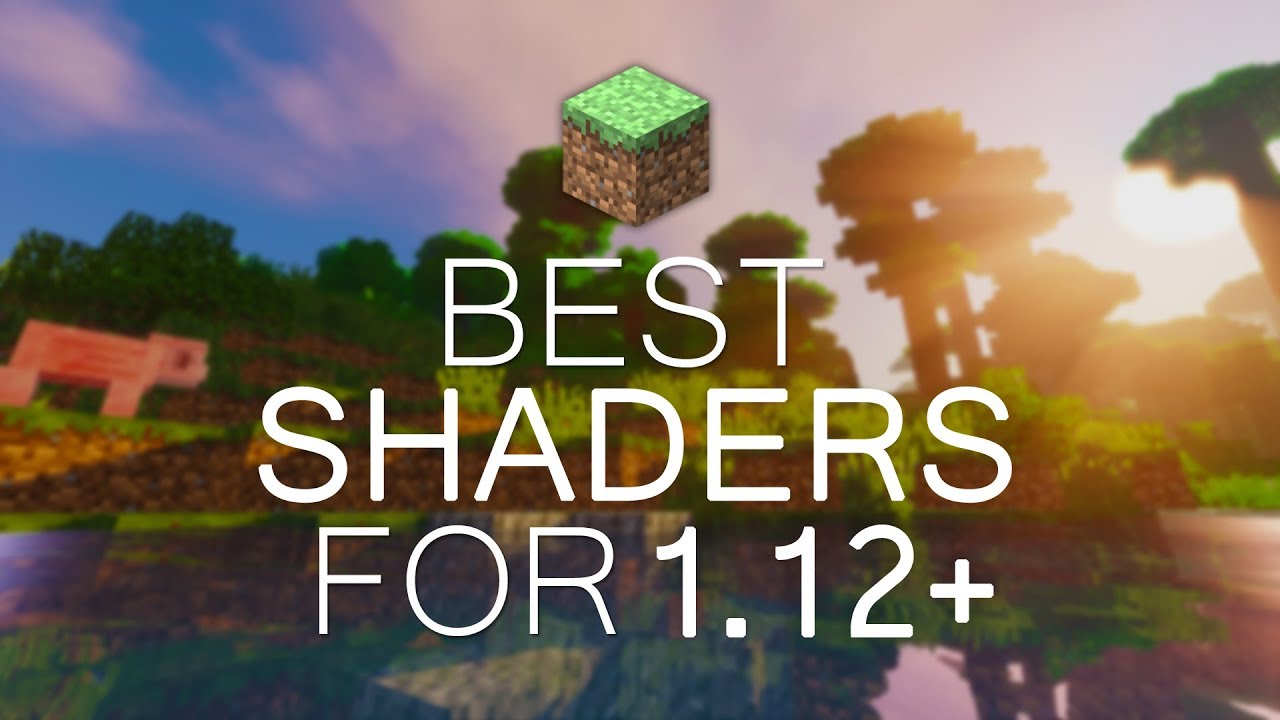
- Find and Install Shader Packs: Now it’s time to find and install the shader packs that will provide the visual effects you desire. There are numerous websites and communities dedicated to Minecraft shaders, offering a wide variety of options. Download your preferred shader pack(s) and make sure they are compatible with your OptiFine version.
- Access Minecraft’s Shaders Folder: Open Minecraft and navigate to the Options menu. From there, select “Video Settings” and then click on “Shaders.” This will open the shaders folder where you need to place your downloaded shader pack files.
- Add Shader Packs: Simply drag and drop the downloaded shader pack files into the shaders folder. Make sure to close Minecraft completely before proceeding to the next step.
- Select and Apply Shader: After adding the shader pack files, reopen Minecraft and go back to the shaders folder in the Video Settings. You should now see the shader packs you added. Select and apply the desired shader by clicking on its name.
- Enjoy the Visual Masterpiece: Congratulations! You have successfully added shaders to your Minecraft game. Explore your blocky world anew and marvel at the breathtaking visuals and immersive effects.
Remember, experimenting with different shader packs can help you find your perfect visual atmosphere. Don’t hesitate to try out multiple shaders and select the one that suits your preferences best. Each pack can create a unique and stunning experience, so feel free to delve into the enchanting realms of the Minecraft shader world!
Now that you know how to add shaders to Minecraft, it’s time to embark on a visually enticing gaming adventure. Elevate your Minecraft experience, immerse yourself in a world of stunning graphics, and let your creativity soar. Happy gaming!
Key Takeaways:
- Shaders are modifications that enhance the graphics of Minecraft, adding realistic lighting, shadows, and other visual effects.
- Adding shaders to Minecraft requires the installation of both OptiFine and shader packs.