Introduction
Welcome to the world of Minecraft Bedrock! Whether you are a veteran player or new to the game, you may have noticed that the graphics in the default Minecraft Bedrock edition are charming but can sometimes feel a little plain. That’s where shaders come in! Shaders can completely transform the look and feel of your Minecraft worlds by adding stunning visual effects such as realistic lighting, atmospheric fog, dynamic shadows, and much more.
But what exactly are shaders? In simple terms, shaders are special scripts or programs that modify how the graphics are rendered in Minecraft. They work by altering the game’s lighting and rendering engine to create beautiful visual effects that enhance the overall immersion and realism of the game.
In this guide, we will walk you through the process of downloading and installing shaders in Minecraft Bedrock edition. Whether you are playing on PC, console, or mobile, we’ve got you covered. So, if you’re ready to take your Minecraft experience to the next level, let’s dive in!
What are Shaders?
Before we delve into the world of shaders, let’s take a moment to understand what they actually are. As mentioned earlier, shaders are scripts or programs that modify how the graphics are rendered in Minecraft. They add visual effects and enhancements to the game, making it more visually stunning and immersive.
Shaders work by manipulating the lighting and rendering engine of Minecraft. They can change the way light interacts with objects, create realistic shadows, add reflections, and even simulate natural phenomena such as water ripples and waving foliage. These effects greatly enhance the atmosphere and realism of the game, giving your Minecraft worlds a whole new level of beauty.
There are various types of shaders available, each offering a unique visual experience. Some shaders focus on enhancing the lighting and shadows, while others prioritize vibrant colors and dynamic weather effects. With the constantly evolving Minecraft modding community, new shaders are being developed and released regularly, catering to different preferences and hardware capabilities.
It’s important to note that shaders can be quite resource-intensive, especially if you’re using complex shader packs. This means that you may need a relatively powerful computer or device to run them smoothly. However, there are lighter options available that can still provide a significant visual upgrade without putting too much strain on your system.
Overall, shaders are a fantastic way to enhance your Minecraft experience and personalize the visual style of your worlds. Whether you’re aiming for a realistic aesthetic or a more artistic look, shaders offer an incredible amount of customization and immersion.
Why Use Shaders in Minecraft Bedrock?
Minecraft Bedrock edition is already a visually appealing game with its pixelated art style and vibrant colors. However, using shaders can take the visuals to a whole new level. Here are some reasons why you should consider using shaders in Minecraft Bedrock:
Enhanced Immersion: Shaders add stunning visual effects that make your Minecraft world feel more realistic and immersive. From realistic lighting and shadows to dynamic weather and atmospheric fog, shaders create a more immersive gameplay experience.
Personalization: Shaders allow you to personalize the visual style of your game. Whether you prefer a realistic, fantasy, or artistic aesthetic, there are plenty of shader packs available to suit your taste. You can create unique visual experiences that reflect your own creative vision.
Showcasing Builds: If you enjoy building impressive structures and showcasing them to the Minecraft community, shaders can help elevate the presentation of your builds. The enhanced lighting and visual effects can make your creations even more breathtaking, allowing you to capture stunning screenshots or videos to share with others.
Exploration and Adventure: Shaders add a new level of depth and beauty to the Minecraft world, making exploration and adventuring even more exciting. Discovering new landscapes, caves, and structures becomes a visual treat as shaders enhance the natural beauty of the game’s environment.
Cinematic and Roleplaying Experiences: Shaders are perfect for creating cinematic scenes or immersive roleplaying experiences within Minecraft. You can use shaders to set the mood, create dramatic lighting effects, and bring your stories to life through visually stunning visuals.
Community and Multiplayer: Many shader packs have been developed and shared by the Minecraft community, allowing you to experience the creations and recommendations of other players. Joining multiplayer servers that support shaders can offer a shared visual experience among players and provide an opportunity to collaborate and explore together.
Overall, using shaders in Minecraft Bedrock enhances the visual appeal, immersive nature, and personalization of the game. With the plethora of shader options available, you can create a unique and visually stunning Minecraft experience that is tailored to your preferences and style.
Step 1: Check Your Device and Game Version
Before diving into the world of shaders, the first step is to ensure that your device meets the system requirements and that you have the correct version of Minecraft Bedrock installed. Here’s what you need to do:
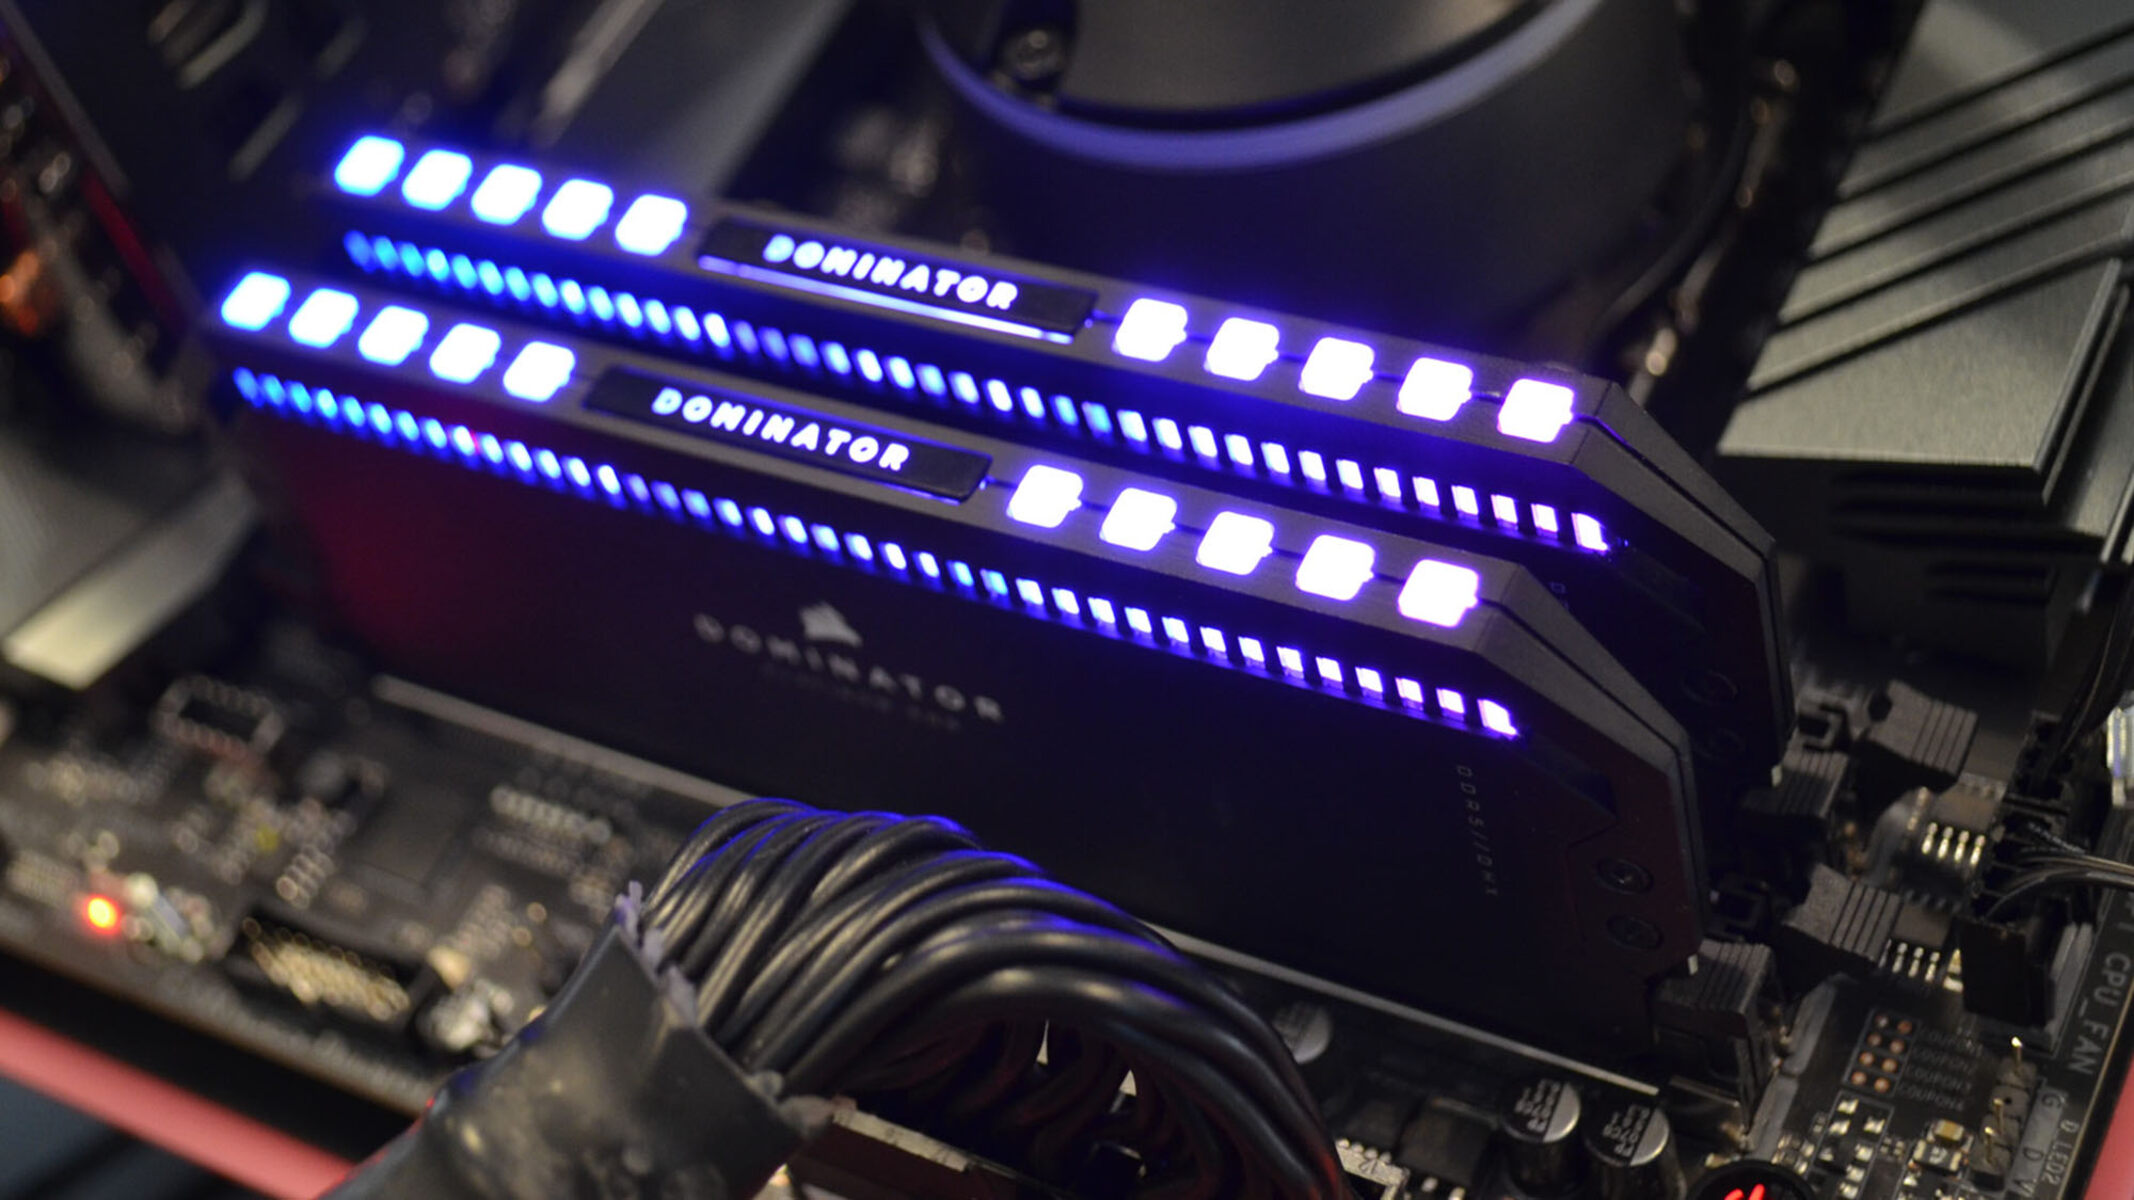
1. Check Device Compatibility: Shaders can be resource-intensive, so it’s crucial to verify that your device can handle them. Check the minimum system requirements for running shaders and ensure that your device meets or exceeds them. You may need a relatively powerful computer or device with a dedicated graphics card for the best shader performance.
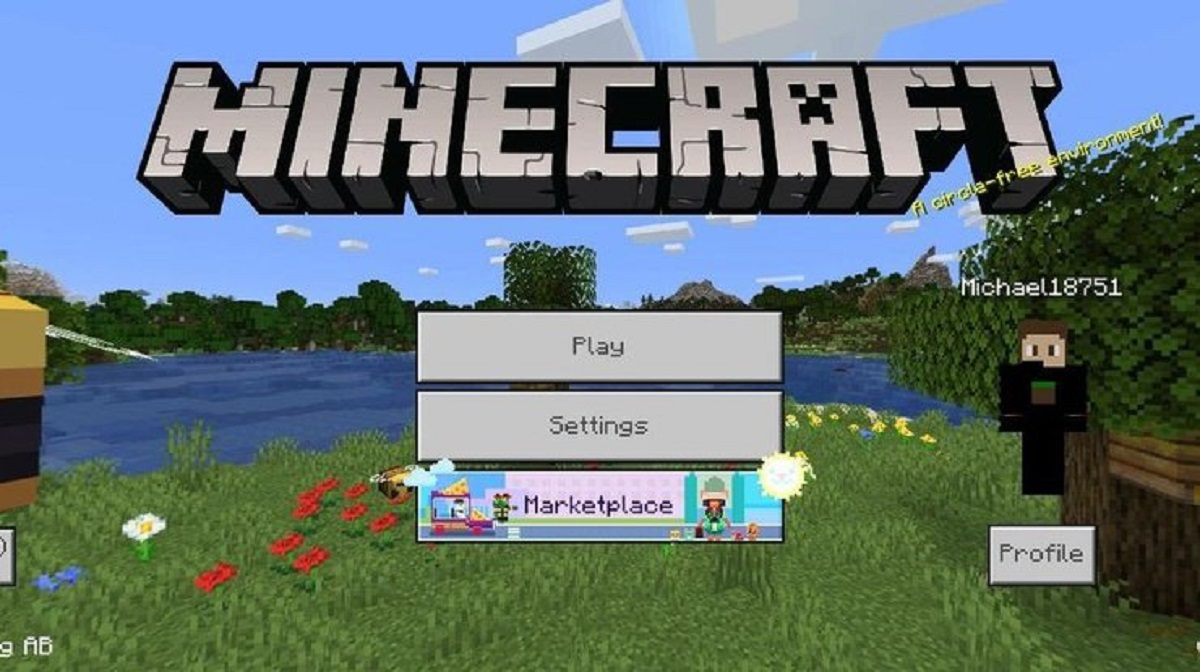
2. Verify Game Version: Shaders are designed for specific versions of Minecraft Bedrock. Ensure that you have the correct game version to avoid compatibility issues. You can check the version of Minecraft Bedrock you’re currently running by launching the game and looking for the version number in the main menu or settings.
3. Update Minecraft Bedrock: If you’re not running the latest version of Minecraft Bedrock, it’s recommended to update the game before proceeding. This ensures that you have access to the latest features, bug fixes, and shader compatibility updates.
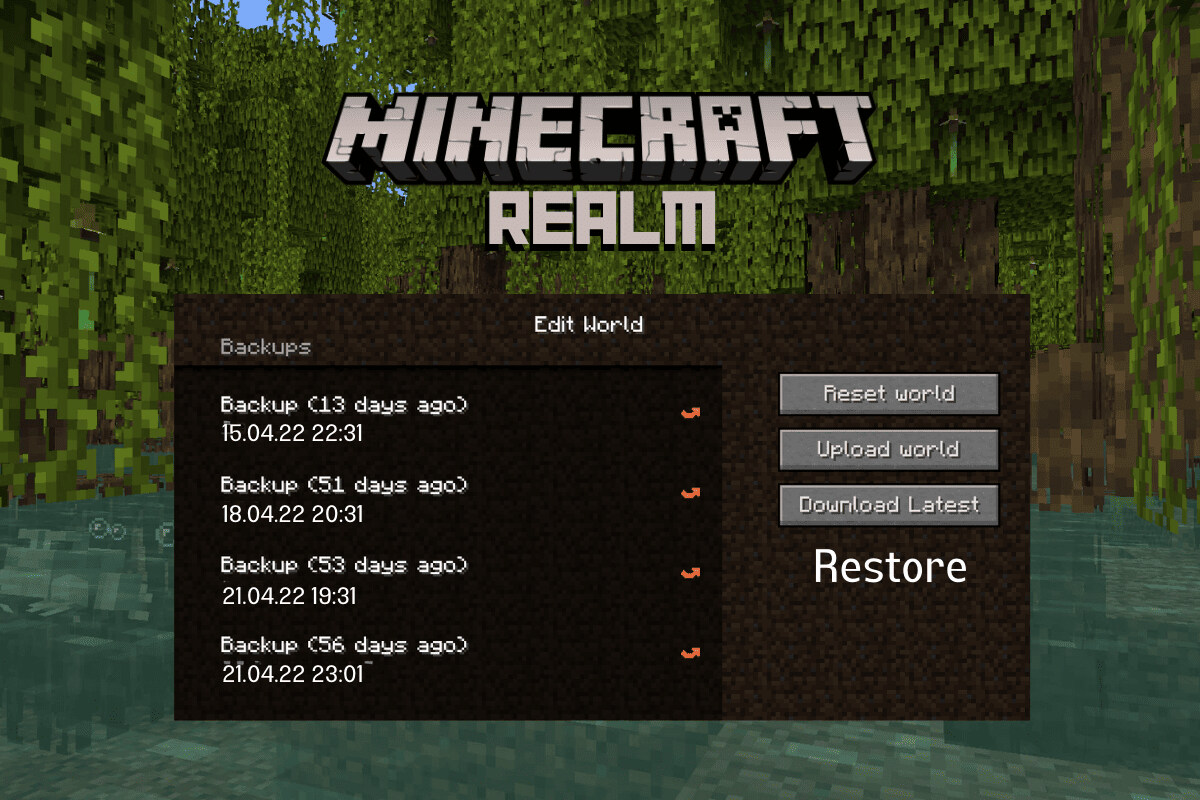
4. Backup Your Worlds: Installing shaders can sometimes cause issues with existing worlds or game files. To avoid losing progress or encountering any problems, it’s always a good idea to create a backup of your Minecraft worlds and game files before proceeding with the installation process.
5. Gather Required Information: Take note of the device specifications and Minecraft Bedrock version you’re using. This information will be helpful when searching for compatible shader packs and installation instructions.
By following these steps, you’ll ensure that your device is ready for installing shaders and that you have the correct version of Minecraft Bedrock to support them. Now that you’ve checked your device and game version, you’re ready to move on to the next step: installing the required software.
Step 2: Install the Required Software
Before you can start using shaders in Minecraft Bedrock, you’ll need to install some additional software to enable shader functionality. Here’s what you need to do:
1. Optifine: Optifine is a widely used mod that enhances Minecraft’s performance and adds features like shader support. Visit the official Optifine website (optifine.net) and download the appropriate version for your Minecraft Bedrock edition and game version. Make sure to download the mod from the official source to avoid malware or compatibility issues. Once downloaded, double-click the installation file and follow the prompts to install Optifine.
2. Minecraft Forge (PC only): If you’re playing Minecraft Bedrock on a PC, you may need to install Minecraft Forge as well. Minecraft Forge is a modding platform that allows for easier installation and management of mods, including Optifine. Visit the official Minecraft Forge website (files.minecraftforge.net) and download the recommended version for your Minecraft Bedrock edition and game version. Similar to Optifine, double-click the installation file and follow the instructions to install Minecraft Forge.
3. Verify Installation: After installing Optifine and, if necessary, Minecraft Forge, launch Minecraft Bedrock and check the installation options. Look for a new “Mods” or “Options” menu where you can verify that Optifine and Minecraft Forge (if applicable) are properly installed and enabled. This step is important to ensure that the required software is functioning correctly and ready to support shaders.
4. Test Performance: Once the required software is installed, it’s a good idea to test the performance of Minecraft Bedrock with Optifine enabled. Load up a world and check if the game runs smoothly without any noticeable lag or performance issues. If you experience any problems, you may need to adjust the Optifine settings or consider using a lighter shader pack.
By following these steps, you’ll have the necessary software installed to enable shader functionality in Minecraft Bedrock. Now it’s time to move on to the next step: finding a shader pack that suits your visual preferences.
Step 3: Find a Shader Pack
Now that you have the required software installed, it’s time to find a shader pack that suits your visual preferences. There are numerous shader packs available, each offering a unique set of visual enhancements. Here’s how you can find a shader pack:
1. Minecraft Forums: The Minecraft Forums (minecraftforum.net) are a great place to start your search for shader packs. Browse through the “Mods” or “Resource Packs” section and look for threads dedicated to shader packs. Many shader creators share their work on these forums, complete with screenshots and download links.
2. Planet Minecraft: Planet Minecraft (planetminecraft.com) is another popular platform where Minecraft users share their creations, including shader packs. Explore the “Texture Packs” or “Mods” section and use the search filters to find shader packs specifically. You can sort the results by popularity, rating, or date to find the most recently updated packs.
3. Shader Pack Websites: Some creators have dedicated websites or blogs where they showcase and distribute their shader packs. These websites often provide detailed information about the pack’s features, compatibility, and installation instructions. Use your preferred search engine and look for websites or blogs related to shader packs.
4. YouTube and Twitch: Many Minecraft content creators on platforms like YouTube and Twitch showcase their gameplay with specific shader packs. Watching gameplay videos or live streams can give you a better idea of how the shader pack looks in action. You can ask the content creator for the name of the shader pack they are using or search online using keywords from the video.
5. Recommendations and Reviews: Seek recommendations from fellow Minecraft players, friends, or online communities. Check out reviews and discussions on forums, social media platforms, or dedicated Minecraft communities to get suggestions for popular shader packs. Platforms like Reddit can be a valuable source for finding highly recommended shader packs.
Remember to consider your device’s capabilities when choosing a shader pack. Some packs are more resource-intensive and may require a powerful device to run smoothly. It’s also a good idea to read reviews and comments from other users to ensure compatibility and verify the pack’s stability.
By following these steps, you’ll be able to find a shader pack that aligns with your visual preferences and device capabilities. Now it’s time to move on to the next step: downloading the shader pack of your choice.
Step 4: Download the Shader Pack
Once you have identified a shader pack that you would like to use, the next step is to download the pack onto your device. Here’s how you can download a shader pack:
1. Locate the Download Link: Visit the website or forum post where the shader pack is hosted. Look for a download link or button associated with the pack. Depending on the platform, the download link may be a clickable text, an image, or a file attachment.
2. Verify Compatibility: Before downloading, ensure that the shader pack is compatible with your Minecraft Bedrock edition and game version. The website or forum post should provide this information. Ideally, look for a pack that explicitly states compatibility with both your Minecraft Bedrock edition and game version.
3. Click the Download Link: Once you have verified compatibility, click the download link to start the download process. Depending on your browser settings, you may be prompted to choose a location to save the file or the download may begin automatically. If the download does not start, try right-clicking the link and selecting “Save link as” or “Download linked file.”
4. Wait for the Download to Complete: The download time may vary depending on factors such as the size of the shader pack and your internet connection speed. Be patient and allow the download to complete before moving on to the next step.
5. Save the Shader Pack: Once the download is complete, make sure to save the shader pack file in a location where you can easily find it later. It’s recommended to create a dedicated folder for shader packs to keep them organized.
It’s important to note that some shader packs may come in a compressed (ZIP) format. If this is the case, you will need to extract the contents of the ZIP file before proceeding to the next step.
By following these steps, you can successfully download the shader pack onto your device. Now you’re ready to move on to the next step: installing the shader pack in Minecraft Bedrock.
Step 5: Install the Shader Pack
Now that you have downloaded the shader pack onto your device, it’s time to install it in Minecraft Bedrock. Here’s how you can install the shader pack:
1. Locate the Shader Pack Folder: Open your Minecraft Bedrock installation folder. The location of this folder depends on your device and operating system. For example, on a Windows computer, the folder can typically be found at %appdata%/.minecraft/. Look for a subfolder named “shaderpacks” or “shaders” within the Minecraft installation folder.
2. Copy the Shader Pack: In the downloaded shader pack’s folder, you will find the shader pack file (usually with a .zip or .mcpack extension). Copy this file to the “shaderpacks” or “shaders” folder in your Minecraft Bedrock installation folder. If the shader pack came in a compressed (ZIP) format, make sure to extract the contents of the ZIP file before copying.
3. Verify Installation: Once you have copied the shader pack to the correct folder, launch Minecraft Bedrock. Go to the game’s settings and navigate to the “Global Resources” or “Resource Packs” section. You should see the shader pack listed among the available options. Select the shader pack to activate it.
Note: Depending on the shader pack, it may have additional settings or customization options that you can access through the shader’s settings menu in the game. Make sure to explore these settings to adjust the shader pack to your desired visual preferences.
4. Restart Minecraft Bedrock: After activating the shader pack, it’s recommended to restart Minecraft Bedrock for the changes to take effect. Save and exit any open worlds, then close and relaunch Minecraft Bedrock.
By following these steps, you can successfully install the shader pack in Minecraft Bedrock. Now it’s time to move on to the final step: activating the shader pack in your Minecraft worlds.
Step 6: Activate the Shader Pack in Minecraft
With the shader pack successfully installed in Minecraft Bedrock, it’s time to activate it and enjoy the enhanced visuals. Here’s how you can activate the shader pack in your Minecraft worlds:
1. Create or Load a World: Start by creating a new world or loading an existing one in Minecraft Bedrock. You can select any world, whether it’s a survival, creative, or adventure mode world.
2. Open the Settings: Once you’re inside the world, open the settings menu. On most devices, you can access the settings by pressing the Esc key (PC) or tapping the pause button (mobile/console).
3. Navigate to Video or Graphics Settings: Look for the “Video Settings” or “Graphics Settings” option in the settings menu. The exact terminology may vary depending on the device and Minecraft version you’re using.
4. Enable the Shader Pack: In the video or graphics settings, locate the “Shader” or “Shader Options” section. You should see the shader pack you installed listed among the available options. Select the shader pack to activate it. You may need to click or tap on the checkbox next to the shader pack’s name to enable it.
Note: Some shader packs may have different versions or variations that you can select within the shader options. If this is the case, choose the desired variation that best suits your visual preferences.
5. Apply Changes: After enabling the shader pack, apply the changes by clicking or tapping the “Done” or “Apply” button in the settings menu. The game will reload with the shader pack activated, and you’ll be able to experience the enhanced visuals in your Minecraft world.
6. Enjoy the Visual Enhancements: Once the changes are applied, take a moment to appreciate the visual enhancements provided by the shader pack. Notice the changes in lighting, shadows, and other effects that the shader pack has brought to your Minecraft world.
By following these steps, you can easily activate the shader pack in Minecraft Bedrock and enjoy the improved visuals in your gameplay. Now you’re ready to explore and immerse yourself in your beautifully enhanced Minecraft worlds.
Conclusion
Congratulations! You have successfully learned how to download and install shaders for Minecraft Bedrock. By following the steps outlined in this guide, you can now transform the visuals of your Minecraft worlds and take your gameplay to a whole new level of immersion and beauty.
Shaders add stunning visual effects such as realistic lighting, dynamic shadows, and atmospheric enhancements to create a more realistic and captivating experience. They allow you to customize the visual style of your Minecraft worlds, whether you prefer a realistic, fantasy, or artistic aesthetic.
Remember to always check your device’s compatibility and ensure that you have the correct game version installed before attempting to use shaders. Finding a shader pack that suits your preferences is made easier by exploring forums, websites, and content creator recommendations. Once you have downloaded and installed your chosen shader pack, you can activate it in Minecraft Bedrock and witness the visual enhancements in action.
Keep in mind that some shaders may be more resource-intensive, so be mindful of your device’s capabilities and adjust settings if necessary. Additionally, regularly check for updates to both the shader pack and Minecraft Bedrock to ensure compatibility and access the latest features and improvements.
With shaders, your Minecraft experience will become even more immersive, visually striking, and tailored to your creative vision. So, embrace the power of shaders and unlock the full potential of your Minecraft Bedrock worlds!