How to Put Shaders on Minecraft: A Step-by-Step Guide
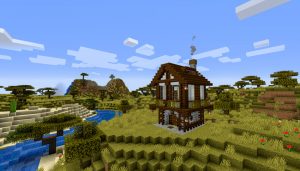
Gaming enthusiasts all over the world are constantly seeking new ways to enhance their Minecraft experience. One popular method of achieving this is by adding shaders to the game. These shaders can transform the visuals of Minecraft, giving it a more realistic and immersive look. But how exactly do you put shaders on Minecraft? In this comprehensive guide, we will walk you through the step-by-step process of adding shaders to your Minecraft game.
Key Takeaways:
- Shaders can enhance the visual experience in Minecraft, making it more realistic and immersive.
- Installing shaders requires the use of a shader mod and compatible shaders.
Step 1: Install Optifine
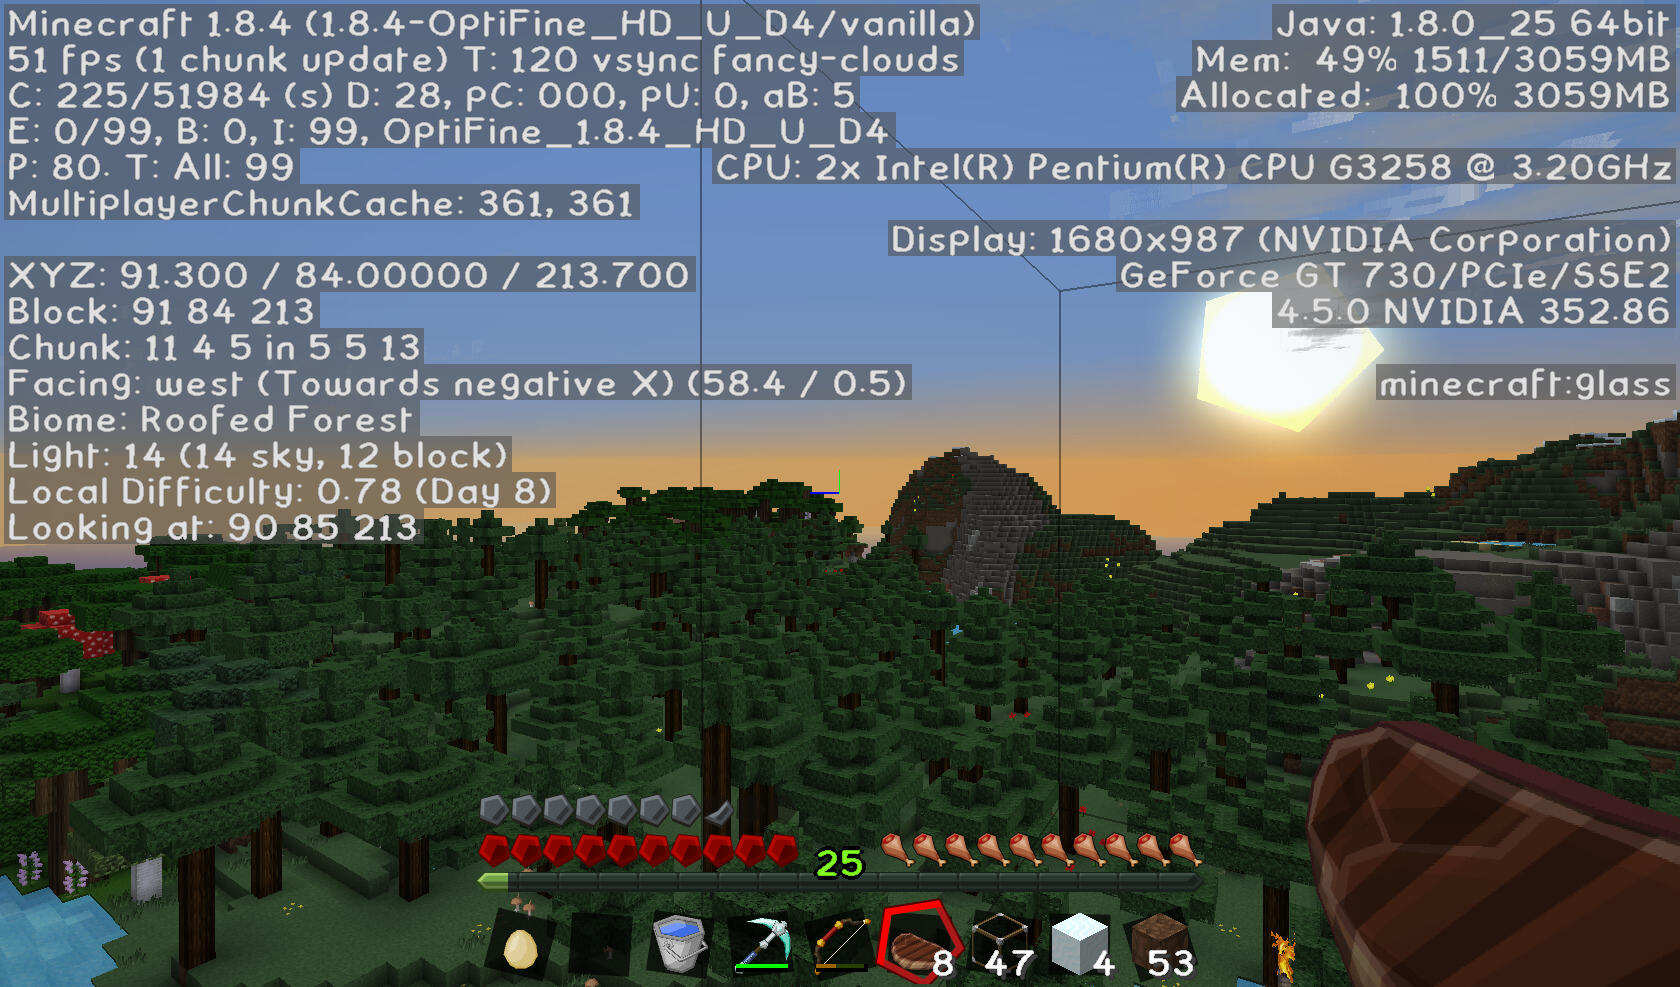
The first step to putting shaders on Minecraft is to install Optifine. Optifine is a Minecraft mod that improves performance and adds several customization options, including support for shaders. To install Optifine:
- Visit the official Optifine website, which can be found at https://optifine.net.
- Download the appropriate version of Optifine for your Minecraft version.
- Once downloaded, double-click on the Optifine file to start the installation process.
- Click ‘Install’ and wait for the process to complete.
Step 2: Download Shaders
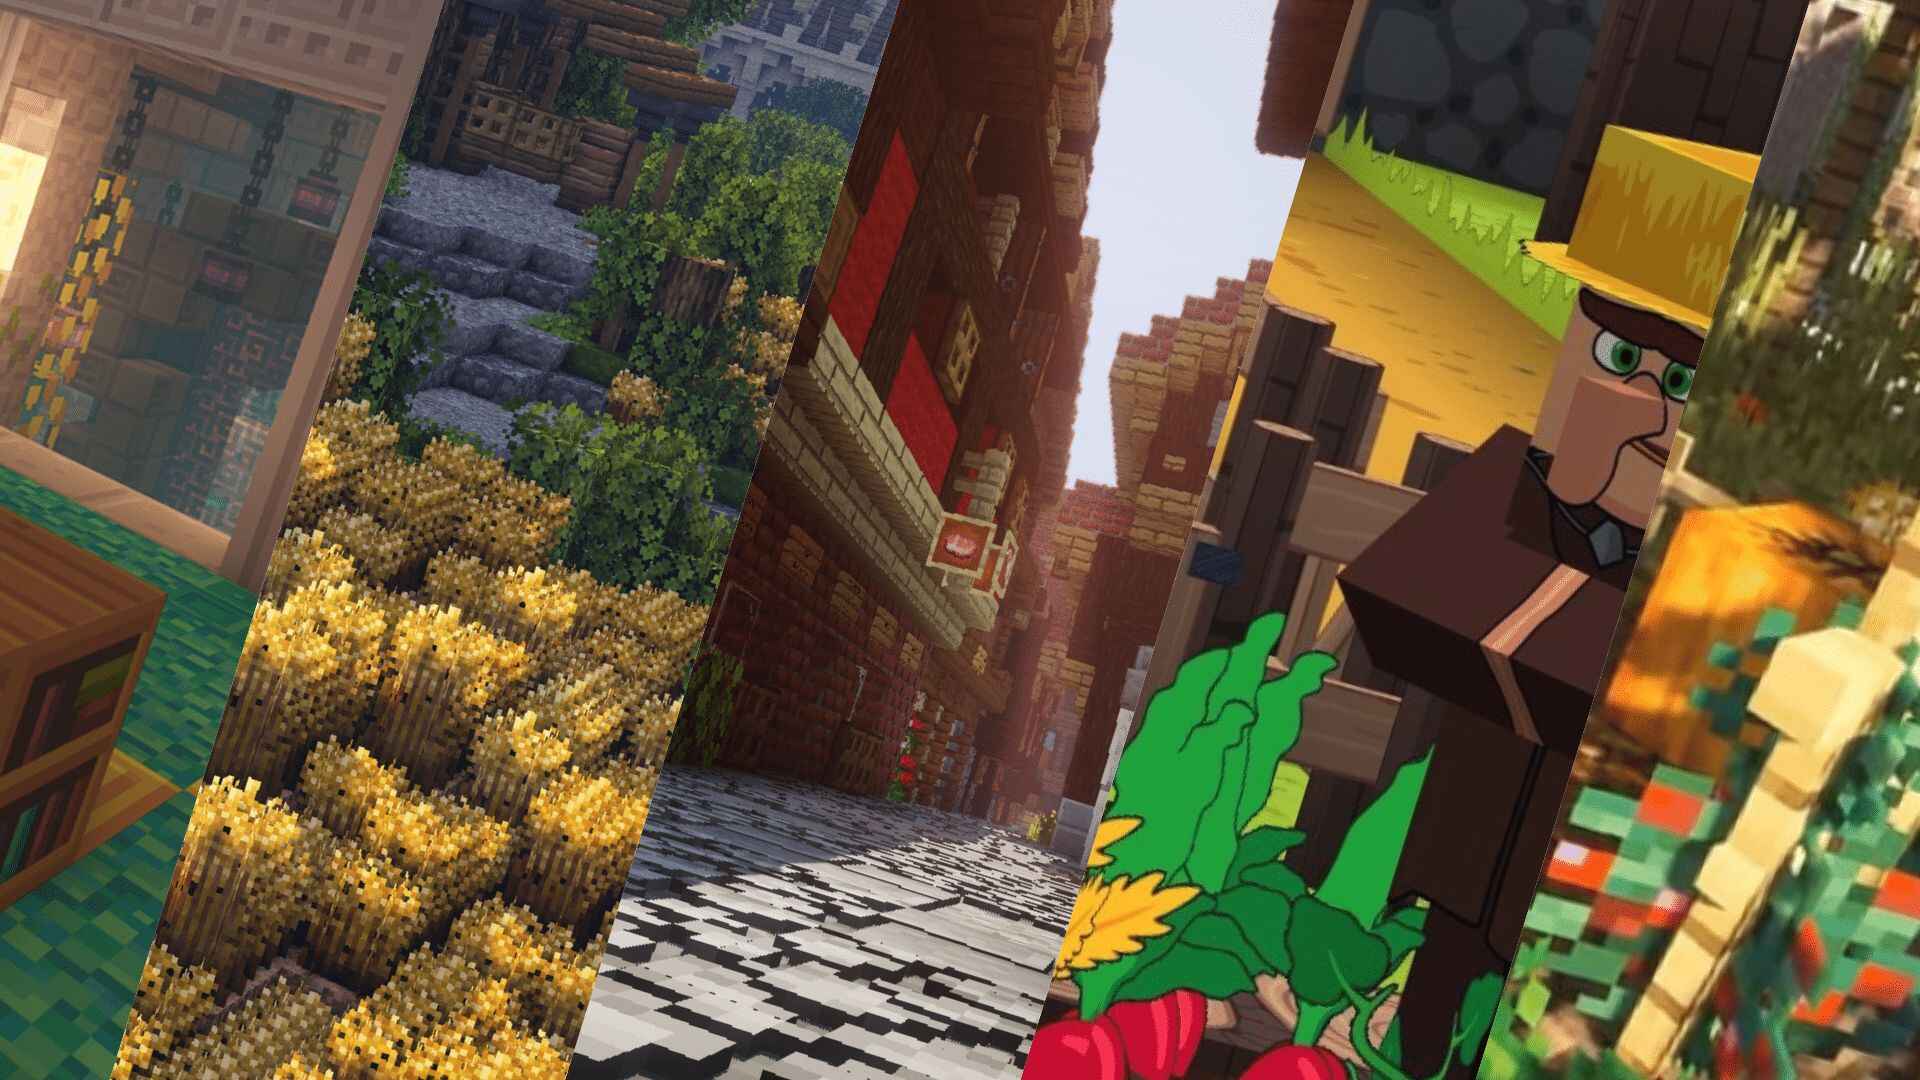
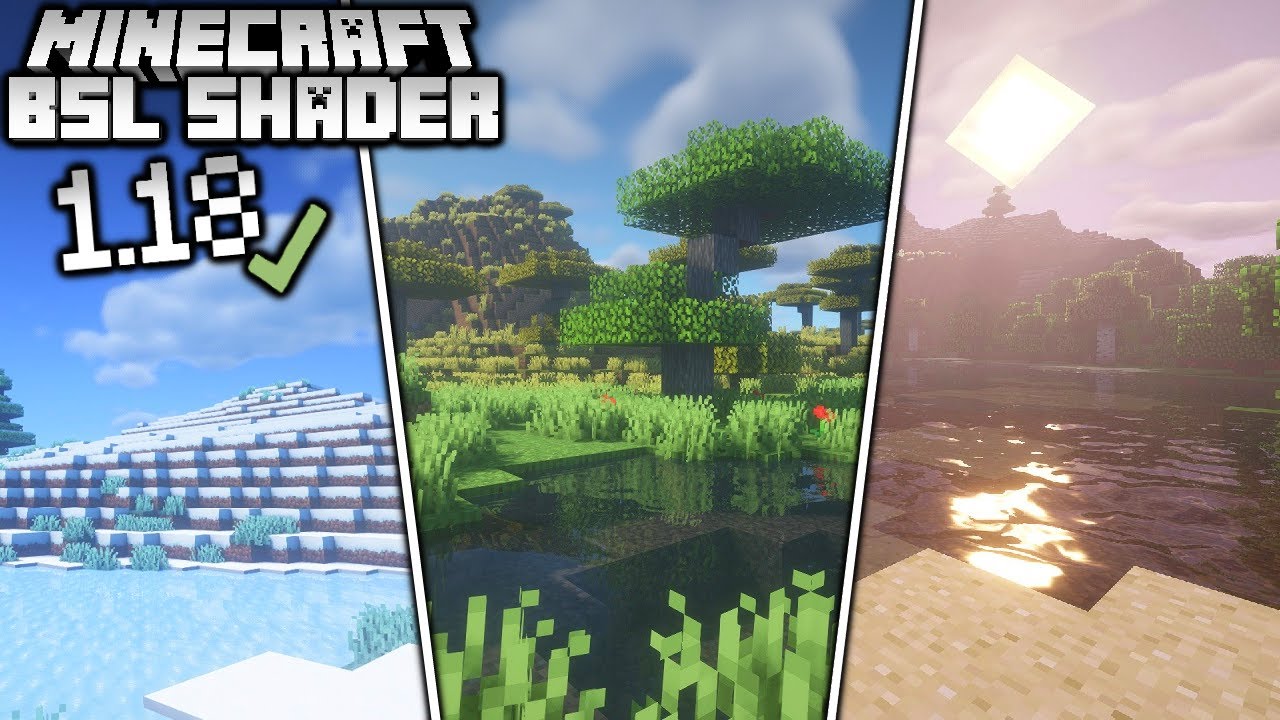
After successfully installing Optifine, the next step is to download shaders. Shaders are visual effects packs that can be applied to Minecraft to change the lighting, shadows, and overall appearance of the game. Here’s how to download shaders:
- Search for shader packs on reputable Minecraft modding websites or forums.
- Choose a shader pack that suits your preferences. Consider factors such as performance impact and compatibility with your Minecraft version.
- Download the shader pack as a .zip file.
Step 3: Install Shaders
Now that you have the shader pack downloaded, it’s time to install it in Minecraft:
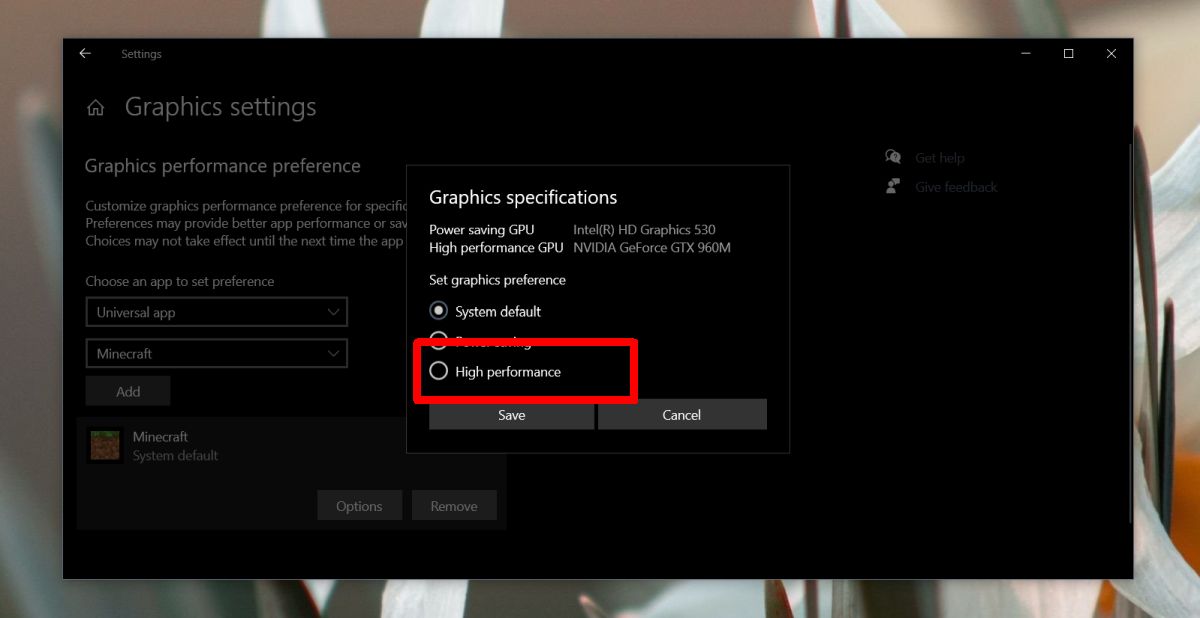
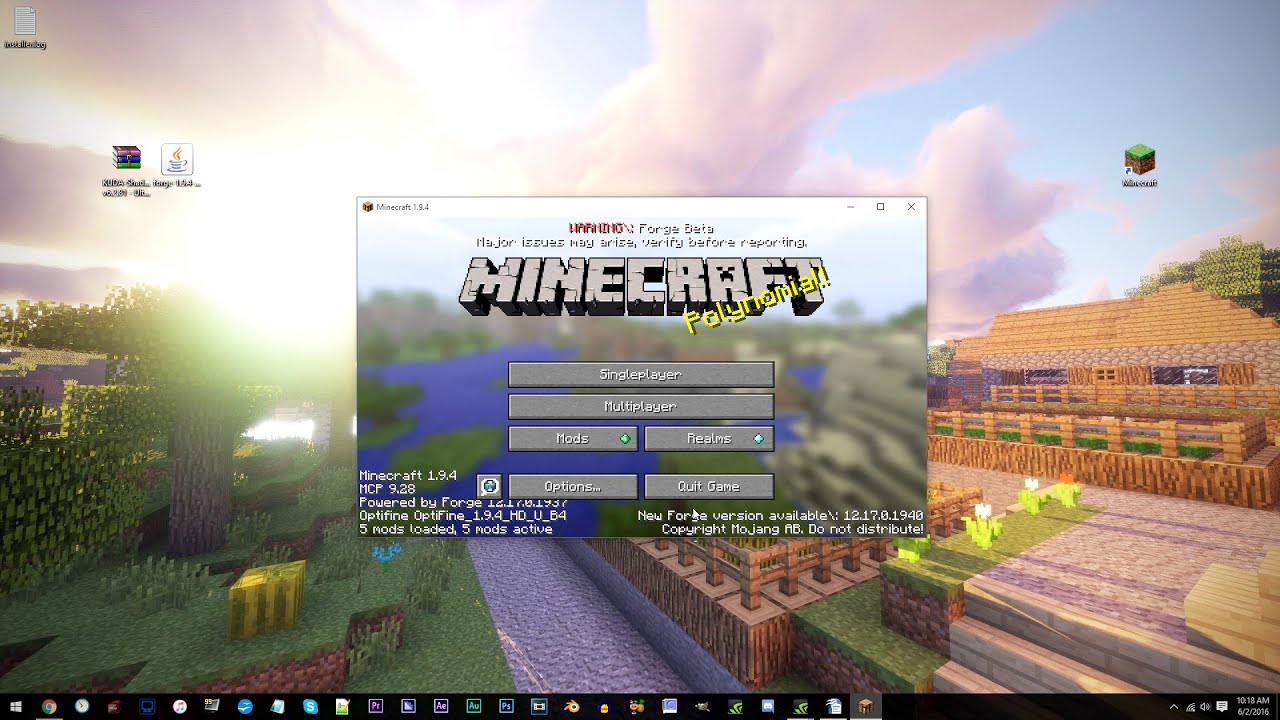
- Open your Minecraft launcher and make sure you have the Optifine profile selected.
- Click on ‘Options,’ then ‘Video Settings.’
- In the ‘Shaders’ section, click on ‘Shaders Folder.’
- A window will open, showing the shaderpacks folder.
- Move the downloaded shader pack (.zip file) to the shaderpacks folder.
- Close and reopen the ‘Video Settings’ menu in Minecraft.
- Click on ‘Shaders’ and select the shader pack you just installed.
- Click ‘Done’ to apply the shader pack.
Congratulations! You have successfully installed shaders on Minecraft. Now you can enjoy the enhanced visuals and immersive experience that they bring to the game. Remember, you can always experiment with different shader packs to find the perfect one for your preferences.
Key Takeaways:
- Shaders can enhance the visual experience in Minecraft, making it more realistic and immersive.
- Installing shaders requires the use of a shader mod and compatible shaders.
We hope this step-by-step guide has been helpful in showing you how to put shaders on Minecraft. By following these instructions, you can take your Minecraft gaming experience to a whole new level. Just remember to choose shaders that are compatible with your Minecraft version and consider their performance impact on your system. So, what are you waiting for? Start exploring the amazing world of shaders and transform your Minecraft gameplay today!