Introduction
Welcome to the fascinating world of GPU water cooling! If you’re a serious enthusiast or a hardcore gamer looking to push your graphics card to its limits, then water cooling is the way to go. Unlike traditional air cooling, water cooling provides superior thermal performance, allowing you to achieve higher overclocks and keep your GPU temperatures under control.
In this guide, we will take you through the process of water cooling your GPU step by step. We will cover everything from the basics of water cooling to selecting the right components, removing the stock cooling, installing a water block, setting up the radiator and fans, filling the loop, and testing for leaks. By the end of this guide, you’ll have a comprehensive understanding of how to water cool your GPU and unleash its full potential.
Why would you want to water cool your GPU in the first place, you might ask? Well, there are several compelling reasons. First and foremost, water cooling offers superior cooling performance compared to air cooling. Traditional air coolers rely on fans to dissipate heat, which can be limited by the size and efficiency of the heatsink. On the other hand, water cooling utilizes liquid coolant that can absorb and dissipate heat more effectively, resulting in lower temperatures and increased performance.
Additionally, water cooling also helps to reduce noise levels. Since water-cooled systems can dissipate heat more efficiently, fans can run at lower speeds, resulting in a quieter overall system. This is especially important if you’re building a high-end gaming rig or a workstation where noise reduction is a priority.
Furthermore, water cooling allows for greater flexibility in terms of customization and aesthetics. With a variety of water blocks, radiators, and tubing options available, you can create a unique and visually stunning system that showcases your personal style. Whether you prefer a sleek and minimalist look or a vibrant and eye-catching design, water cooling opens up a world of possibilities.
Now that we’ve covered the basics of why water cooling your GPU is beneficial, let’s dive into the details of how to get started with this exciting journey. Strap in, because we’re about to embark on a thrilling adventure into the realm of GPU water cooling!
Why Water Cooling a GPU?
Water cooling a GPU offers a range of advantages over traditional air cooling methods. Let’s explore why you might want to consider water cooling your graphics card.
Enhanced Cooling Performance: One of the primary reasons for water cooling a GPU is the superior cooling performance it provides. Air cooling relies on fans and heatsinks to dissipate heat, which can be limited by factors such as airflow restrictions or the size of the heatsink. In contrast, water cooling uses liquid coolant to absorb heat directly from the GPU, providing more efficient heat transfer and allowing for lower temperatures. This results in improved performance and stability, especially during demanding tasks like gaming or rendering.
Overclocking Potential: Water cooling can unlock the full overclocking potential of your GPU. Overclocking refers to increasing the clock speed and voltage of a graphics card to achieve higher performance. As GPUs generate more heat when overclocked, water cooling becomes crucial for maintaining stable temperatures under heavy loads. With water cooling, you can push your GPU to its limits, achieving higher clock speeds and increased performance without compromising on thermal safety.
Noise Reduction: Air coolers often require high fan speeds to maintain optimal cooling, leading to increased noise levels. In contrast, water cooling allows for quieter operation. By dissipating heat more efficiently, water-cooled systems can run with lower fan speeds or even opt for passive cooling setups. This results in a quieter overall system, offering a more pleasant and immersive experience, especially during intense gaming or when working in a noise-sensitive environment.
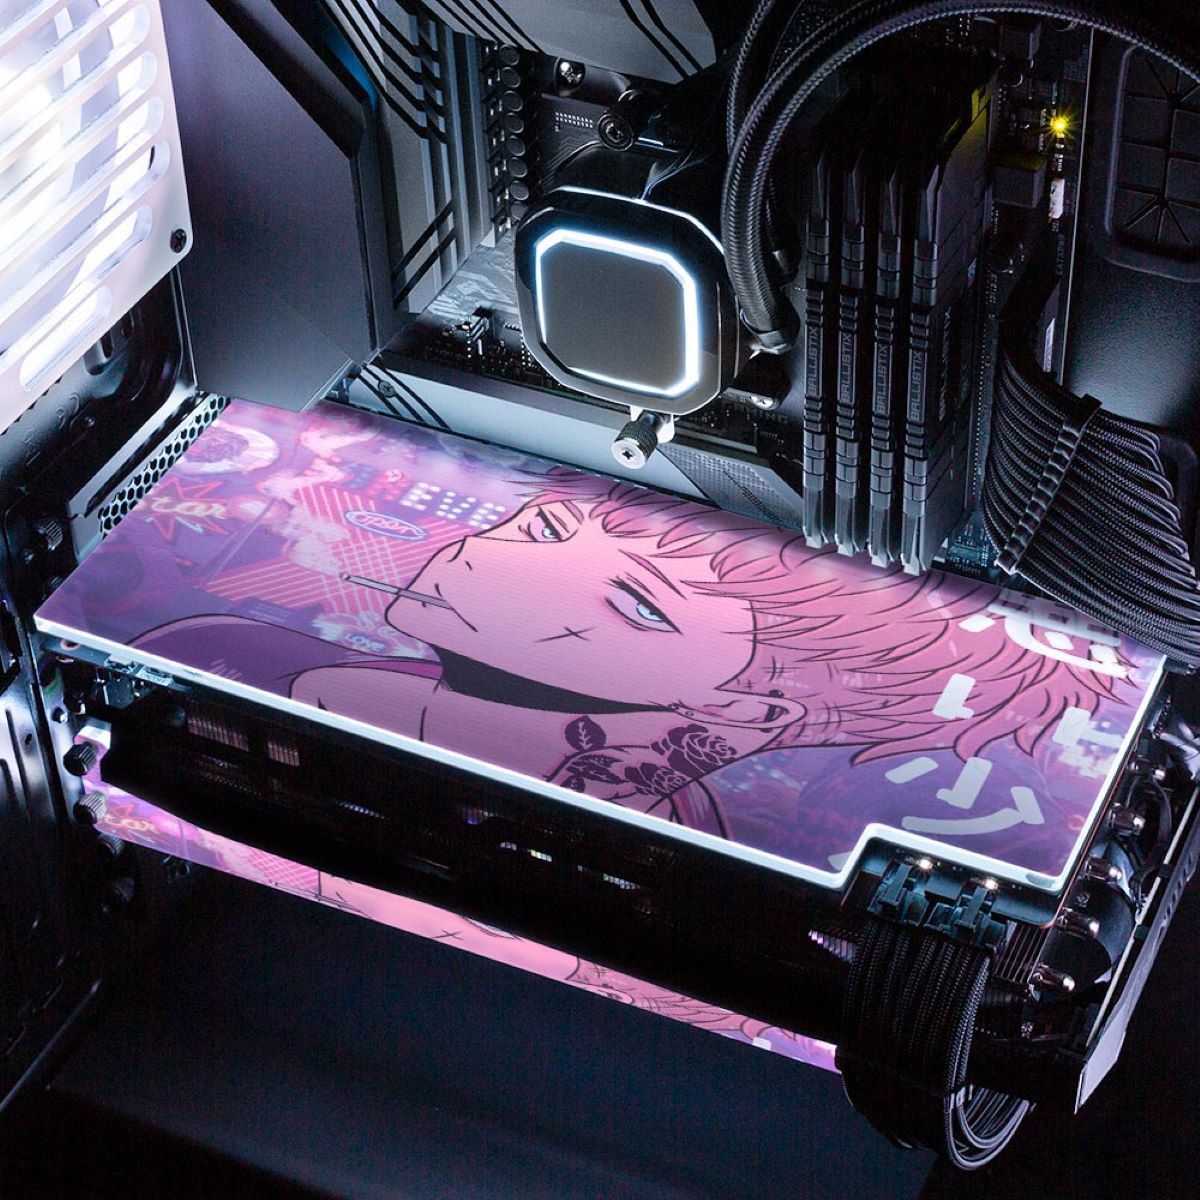
Aesthetic Customization: Water cooling offers the opportunity to personalize the look of your GPU and overall system. Custom water cooling loops allow you to select unique and visually appealing components, including water blocks, radiators, reservoirs, and coolant colors. This degree of customization allows you to design a system that matches your personal style and preferences. Whether you want a clean and minimalist look or a bold and vibrant build, water cooling gives you the freedom to create a visually stunning setup.
Longevity and Protection: Excessive heat can shorten the lifespan of your GPU and other components. By using water cooling, you can maintain lower temperatures, reducing the risk of thermal damage and increasing the longevity of your GPU. Water cooling also provides an additional layer of protection through features like temperature monitoring, which can help prevent overheating and potential hardware failures.
With these advantages in mind, it’s clear why water cooling has become so popular among PC enthusiasts and gamers. It offers superior cooling performance, enhances overclocking potential, reduces noise levels, allows for aesthetic customization, and provides added protection for your GPU. Now that we understand the benefits, let’s delve into the basics of water cooling.
The Basics of Water Cooling
Water cooling is a method of cooling computer components, such as GPUs, by using liquid coolant instead of traditional air cooling. This innovative solution offers several advantages over air cooling, including better thermal performance, noise reduction, and system aesthetics. Let’s dive into the basics of water cooling to understand how it works.
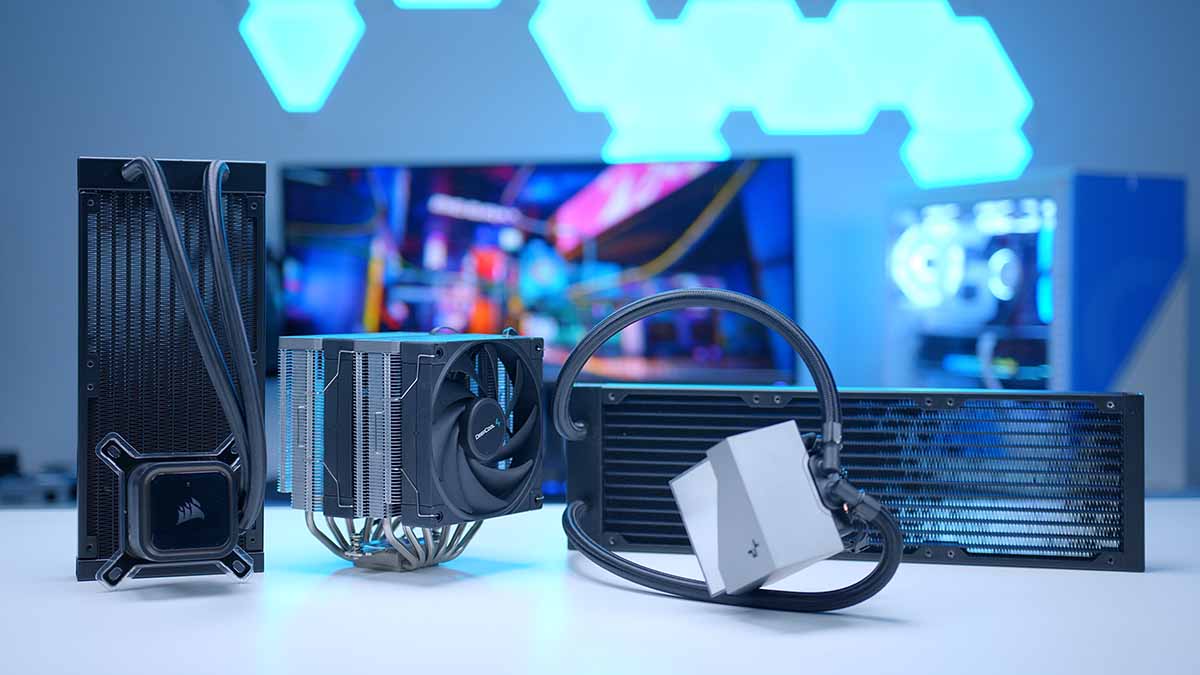
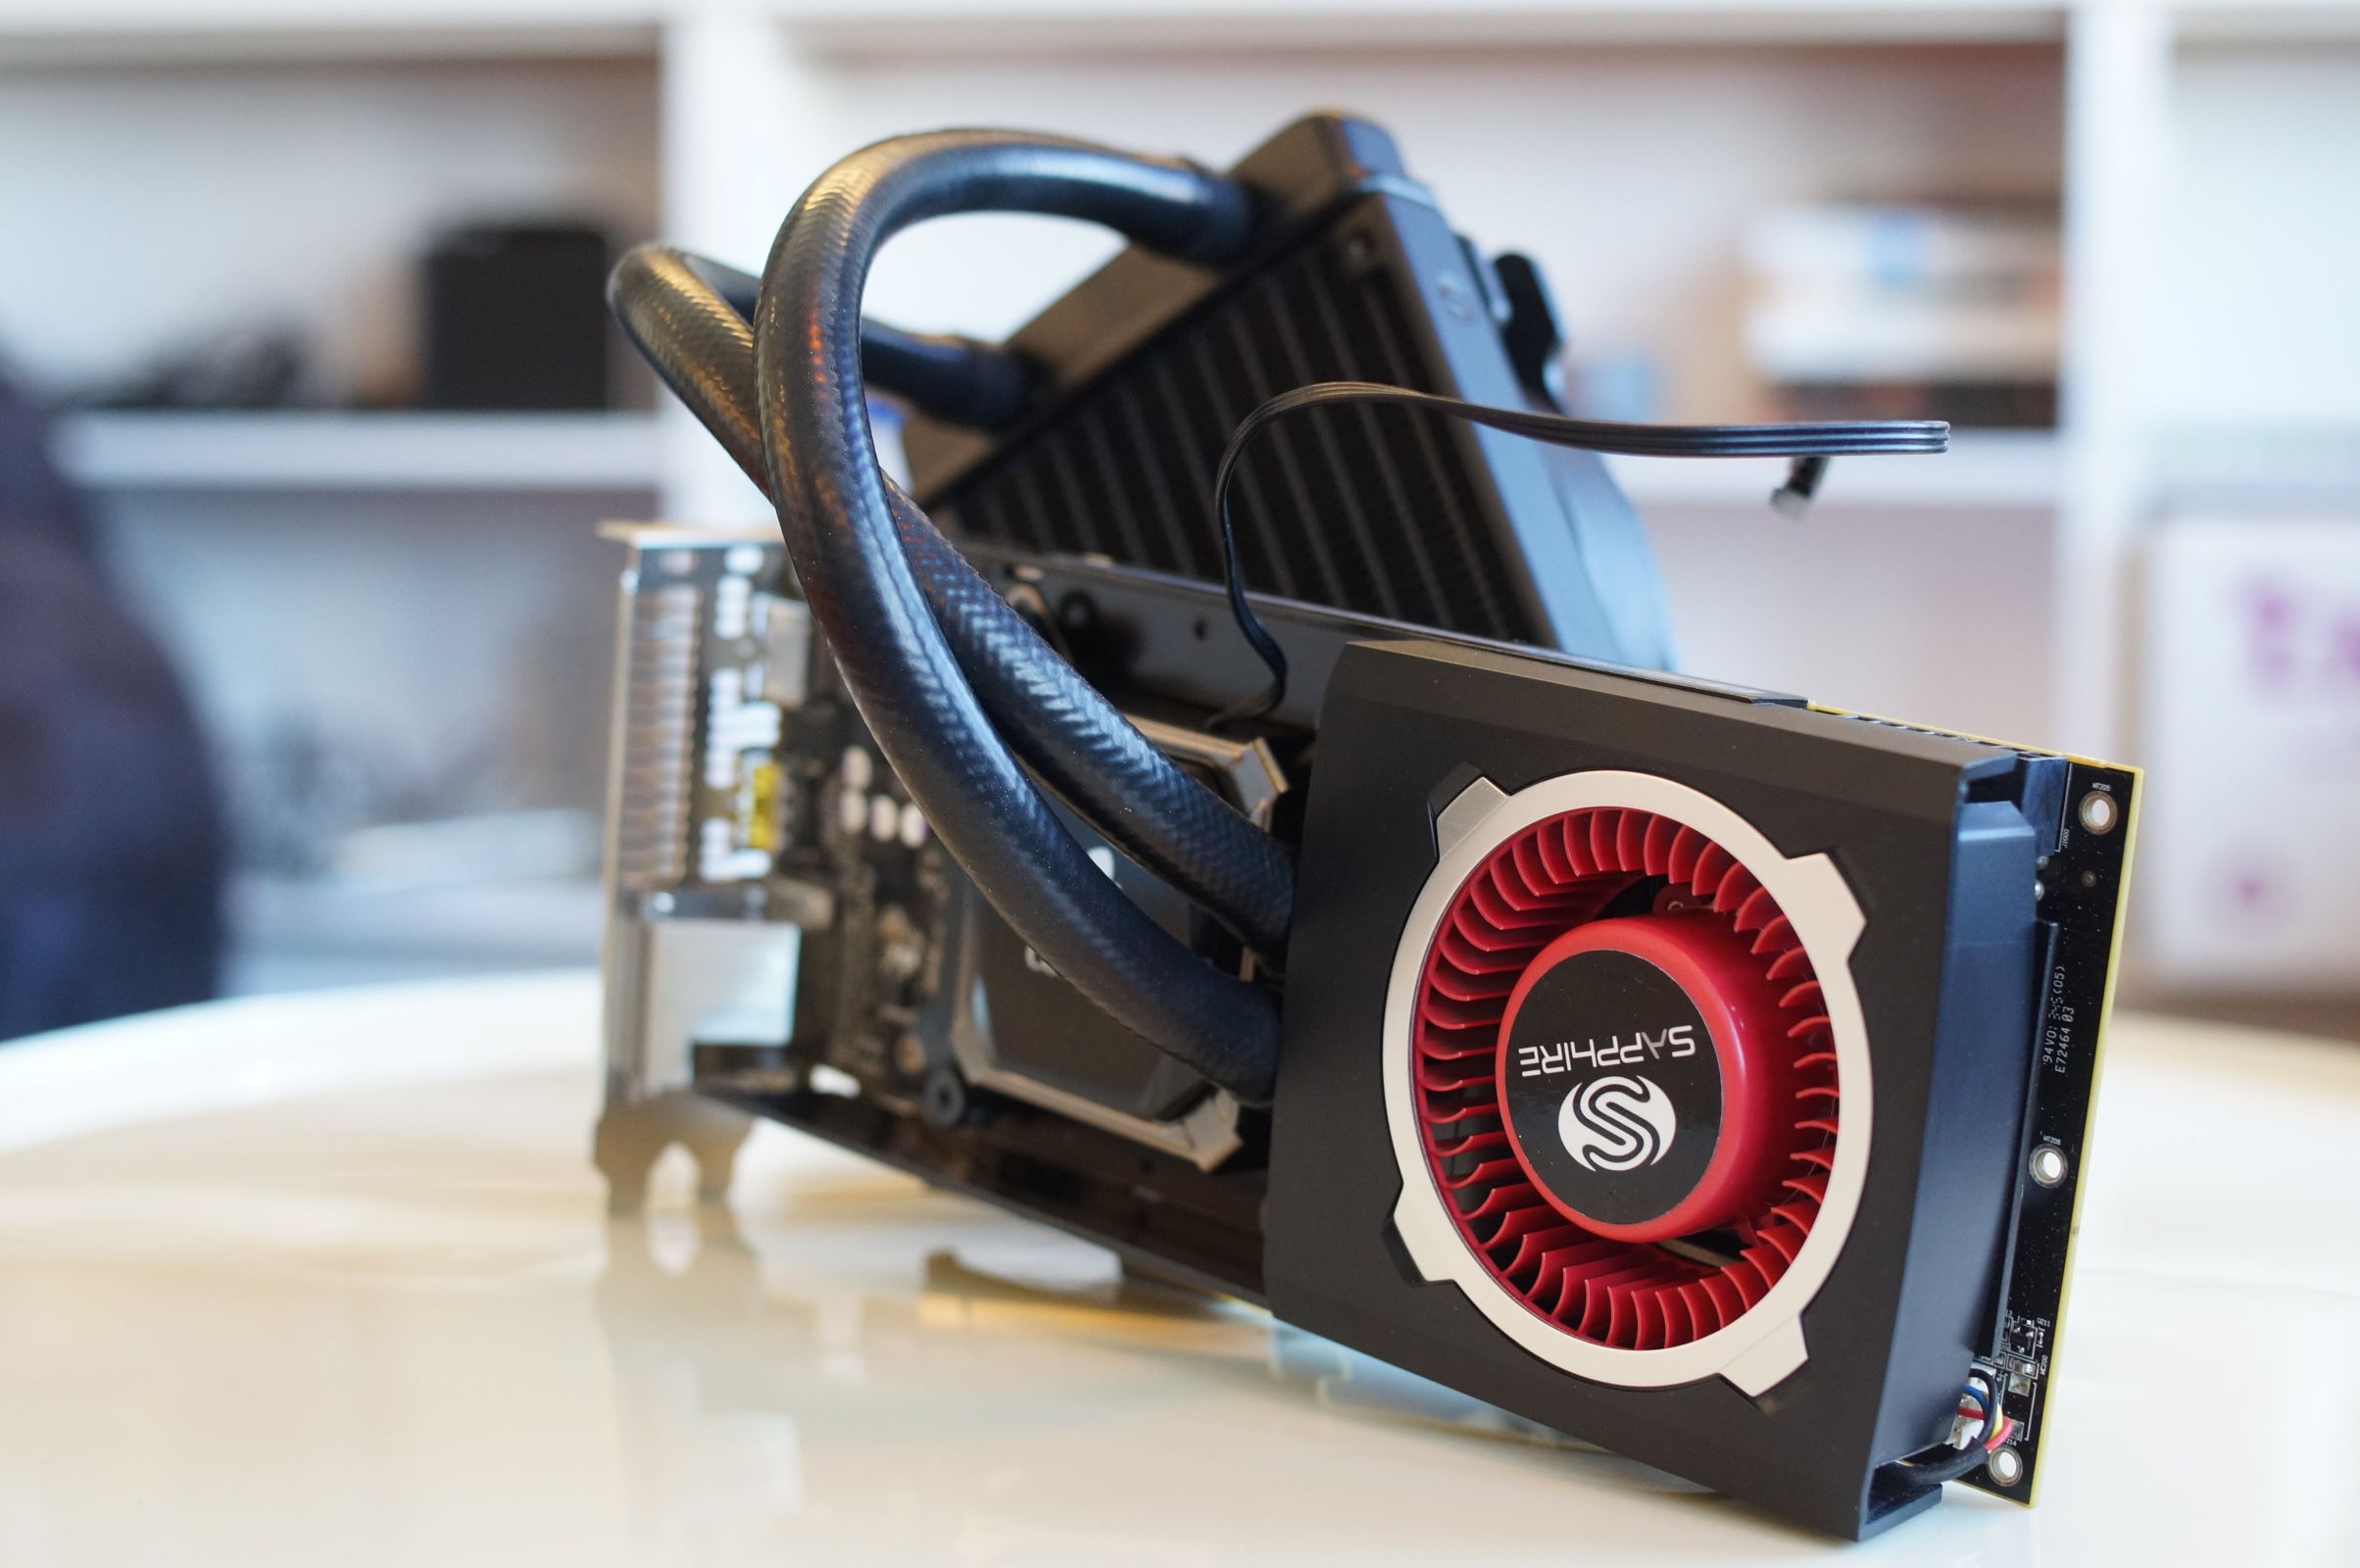
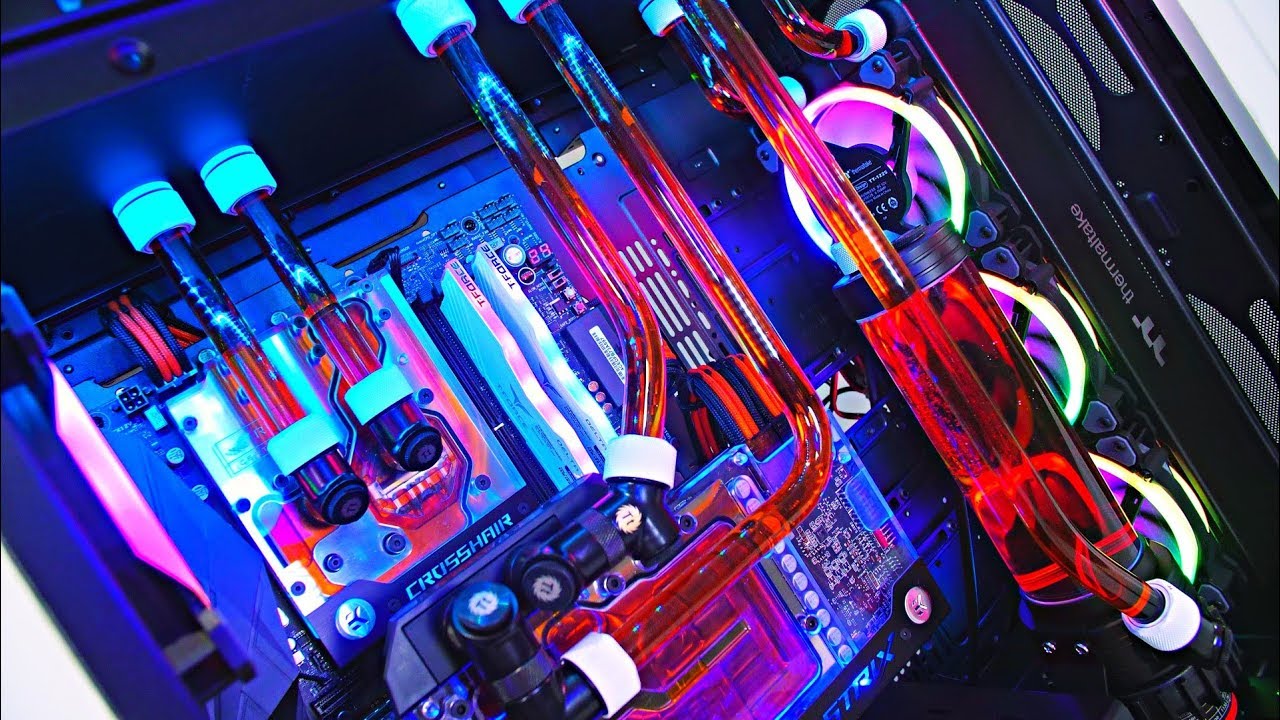
The Water Cooling Loop: At the heart of water cooling is the cooling loop, which consists of various components that work together to dissipate heat. The loop typically comprises a water block, a pump, tubing, a radiator, fans, and a reservoir. The water block is responsible for transferring heat from the GPU to the coolant. The pump circulates the coolant through the loop, allowing the heat to be transferred to the radiator. The radiator, equipped with fans, then dissipates the heat into the surrounding air, while the reservoir stores and replenishes the coolant.
Coolant Selection: The coolant used in water cooling systems is a vital component. It needs to have good thermal properties, low electrical conductivity, low corrosiveness, and effective anti-microbial properties to prevent the growth of algae or bacteria. There are various coolant options available, including pre-mixed solutions or DIY options where you mix distilled water with specialized additives.
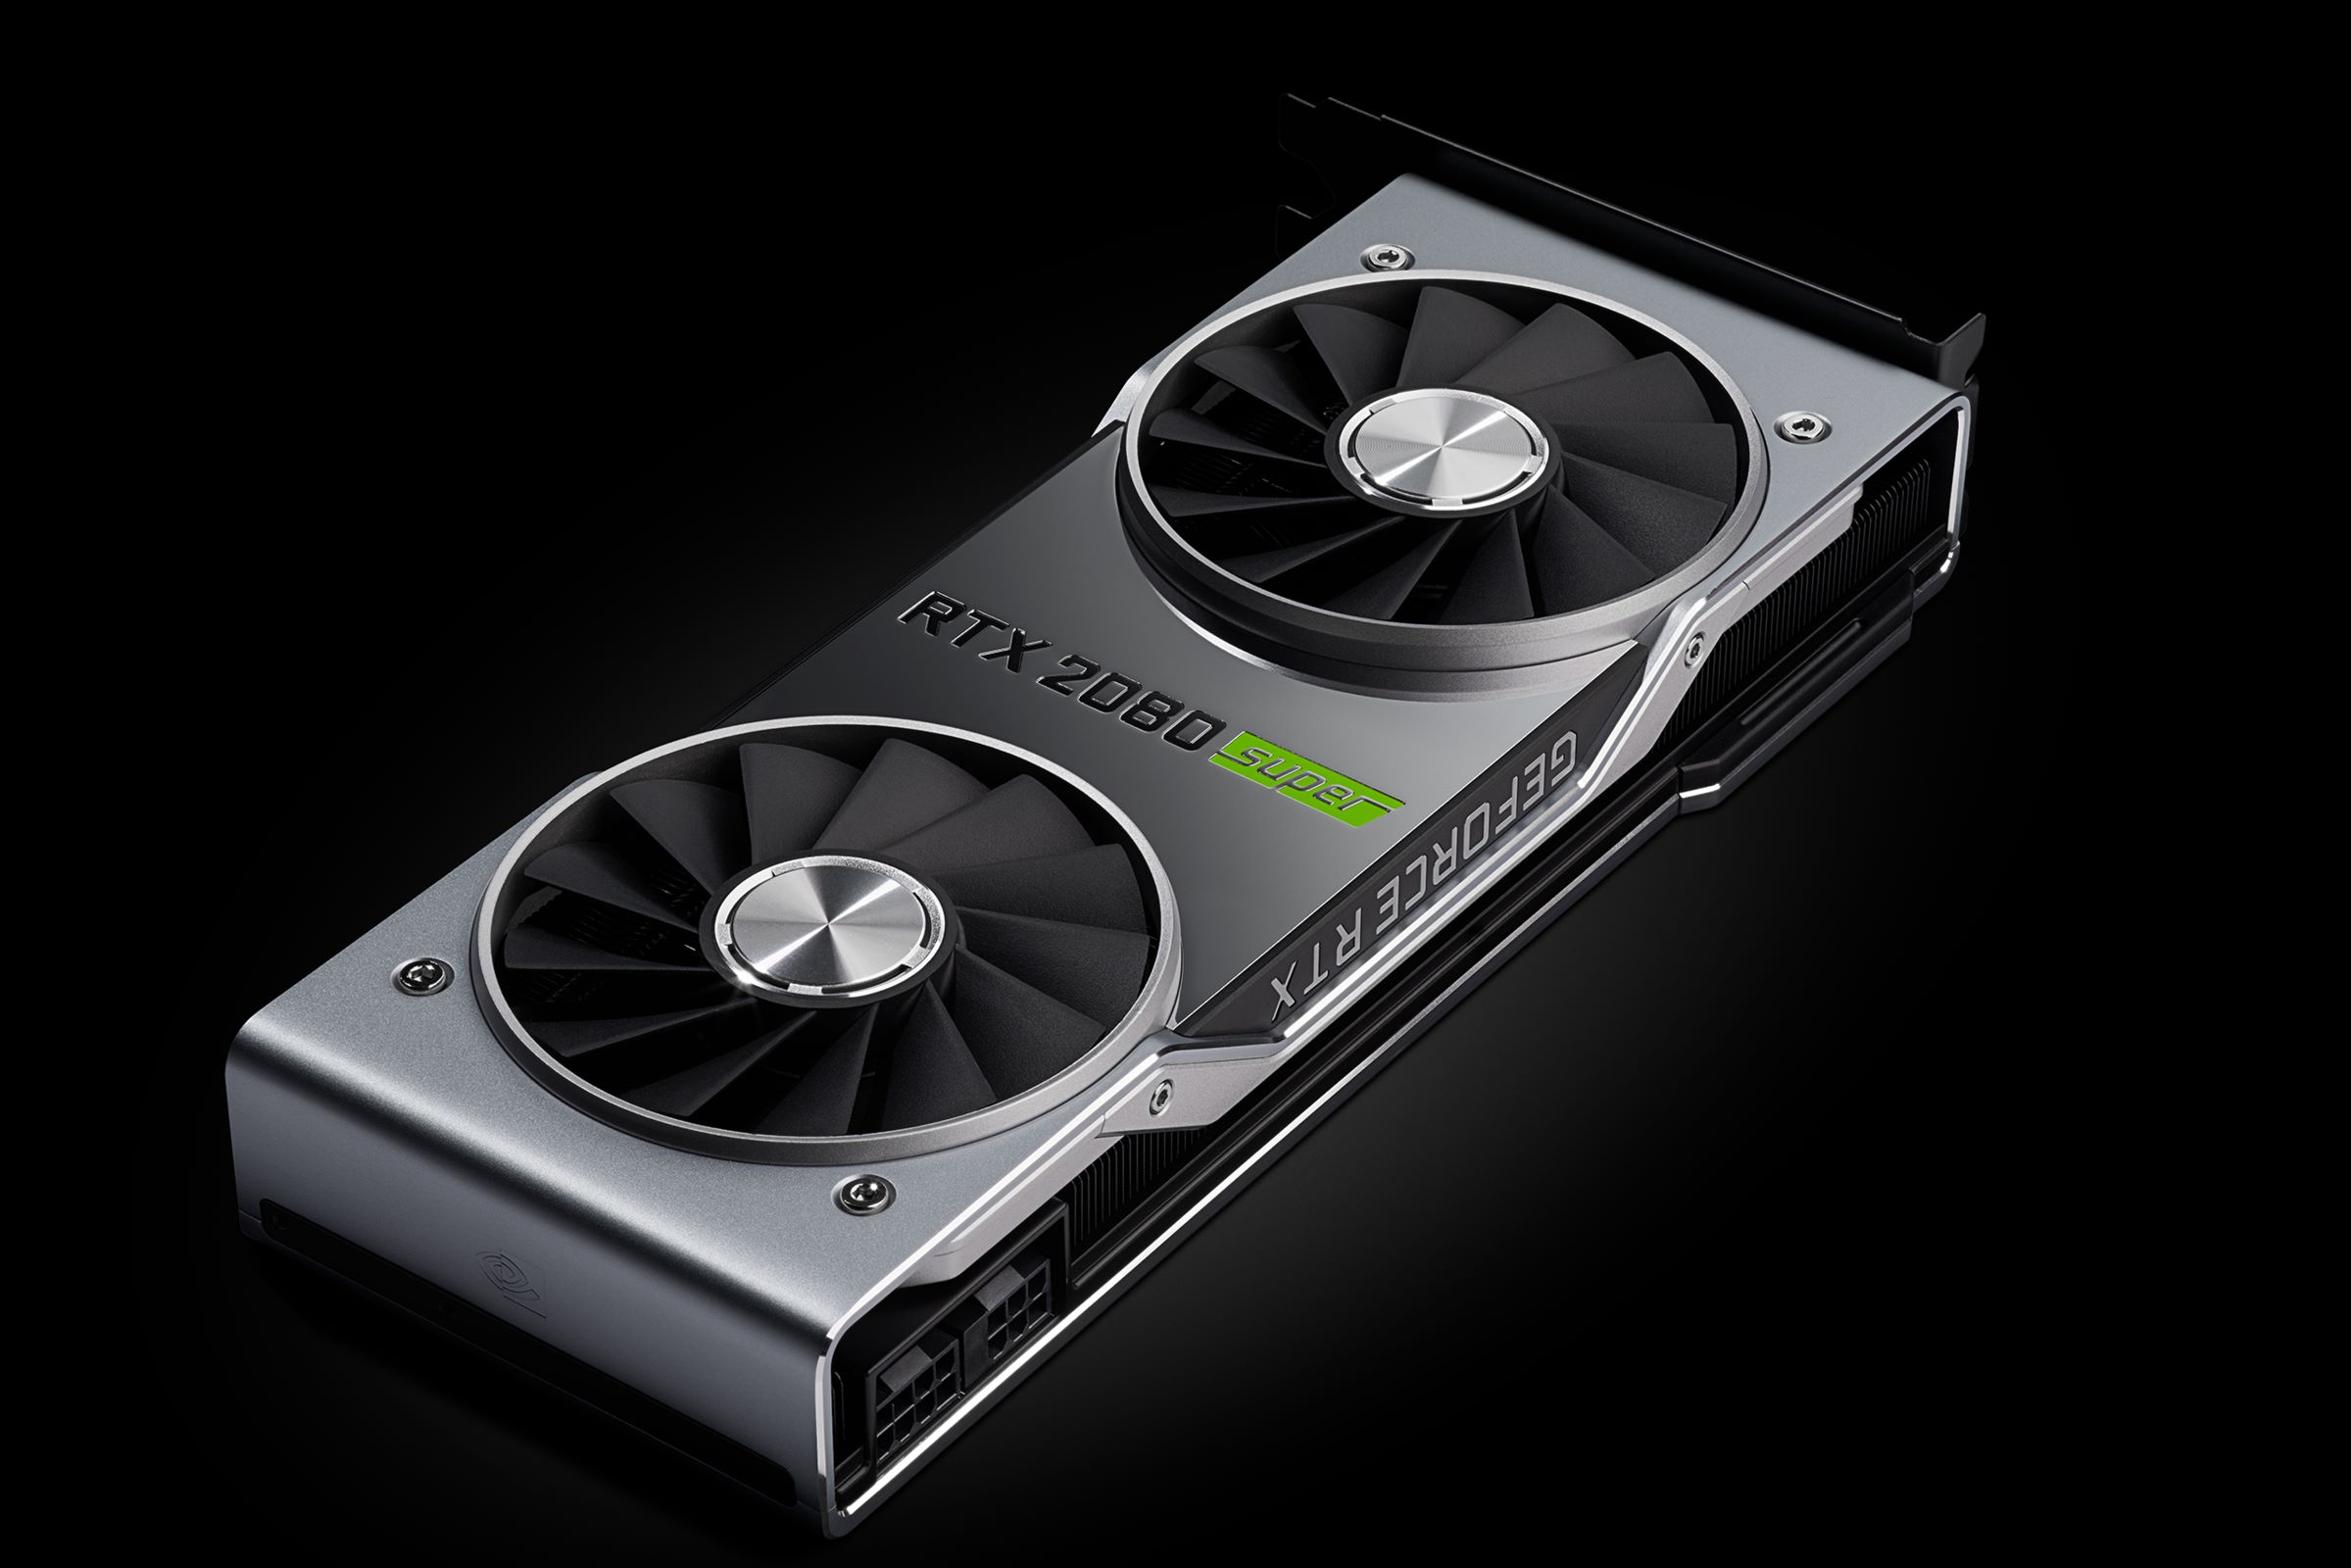
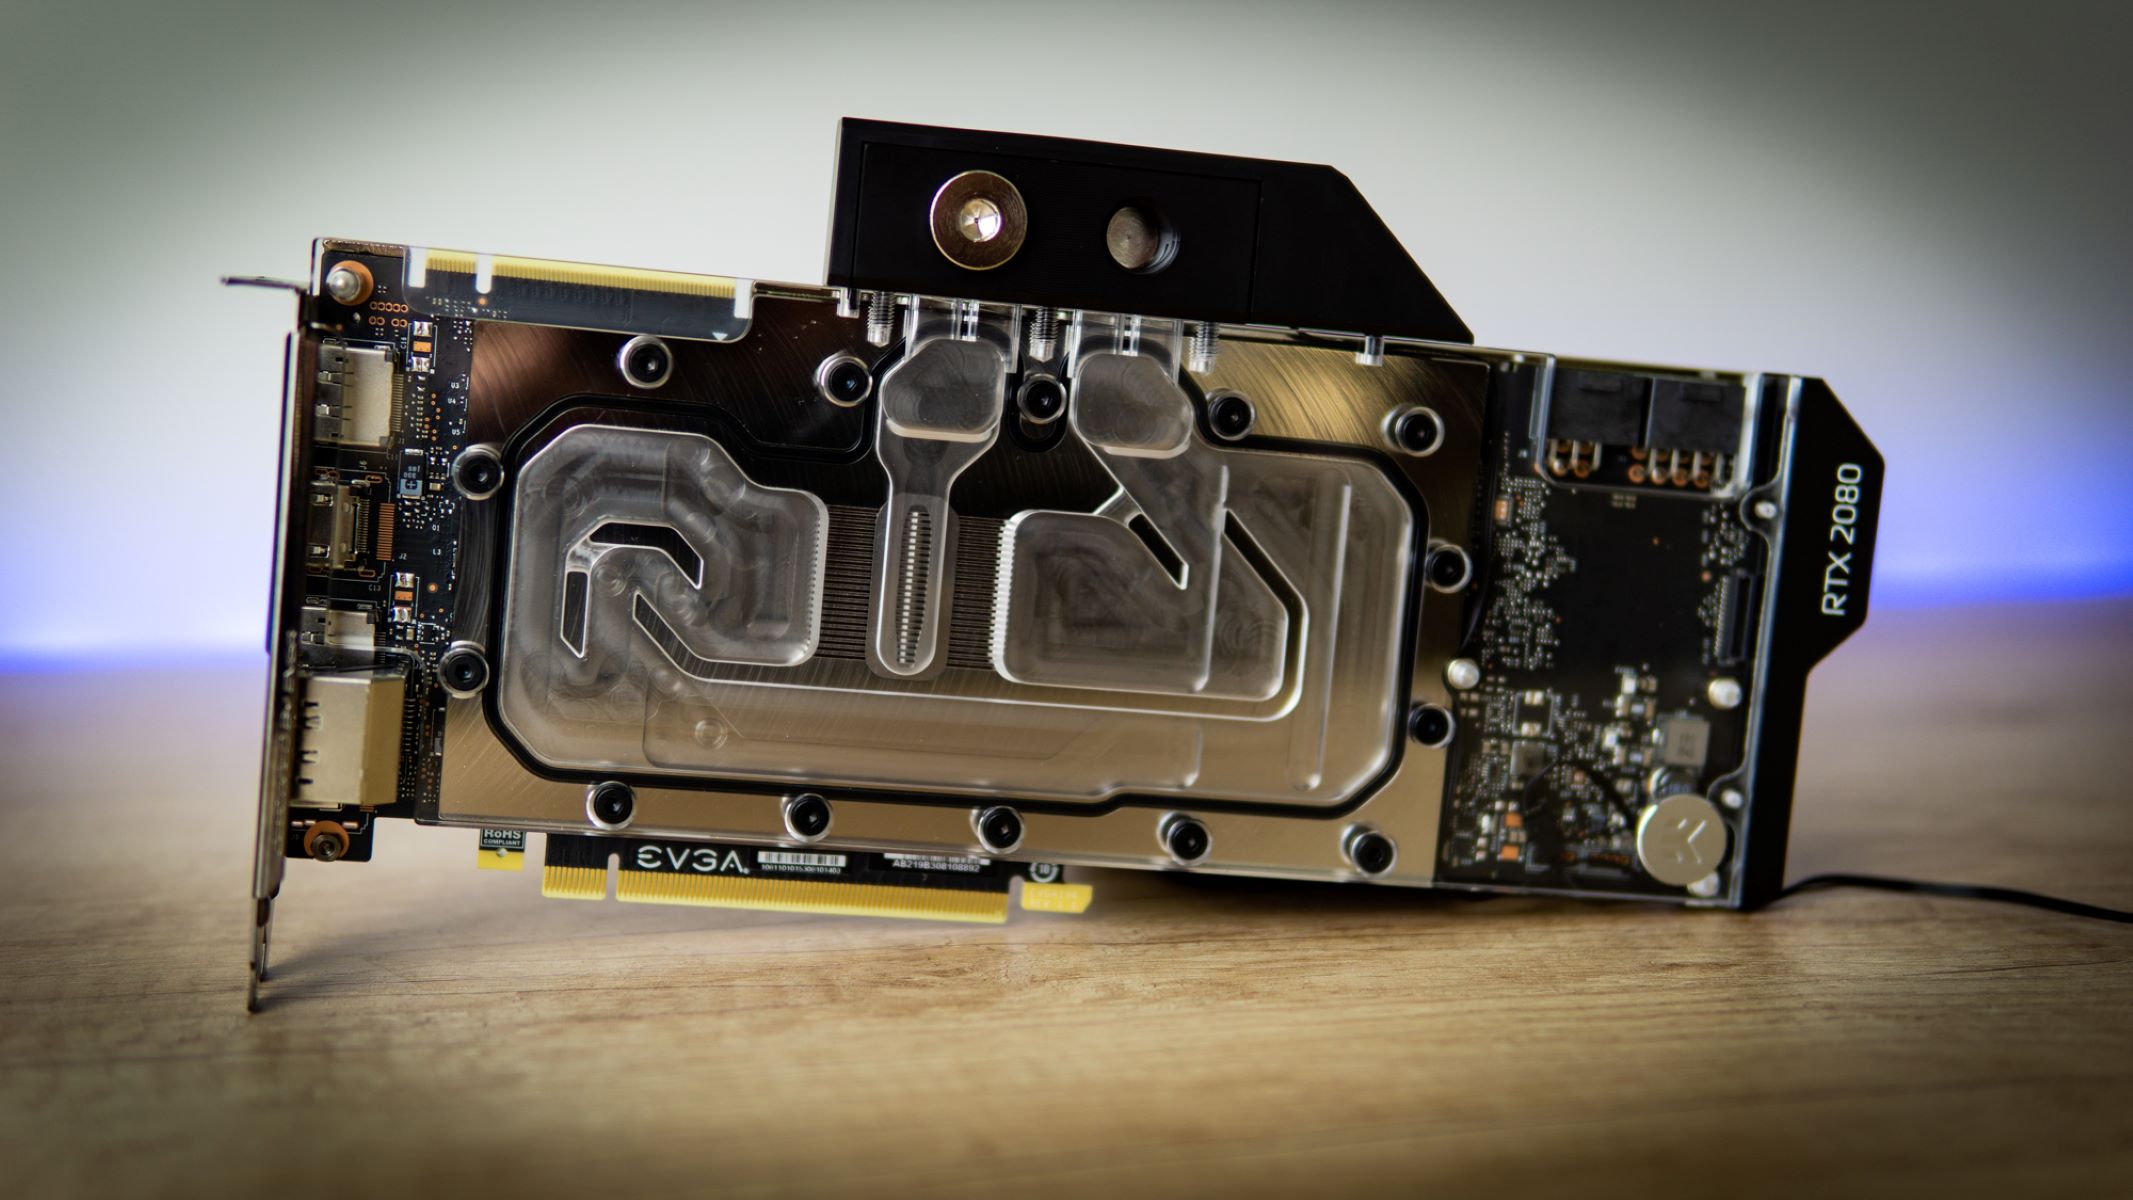
Water Blocks: The water block is an essential component that attaches directly to the GPU, transferring the heat generated by the GPU to the coolant. Water blocks are typically made of copper, which has excellent thermal conductivity. They feature a series of small channels or fins to maximize the surface area in contact with the coolant. Some water blocks even include RGB lighting or other aesthetic elements to enhance the visual appeal of your system.
Radiators and Fans: Radiators play a crucial role in water cooling as they dissipate the heat from the coolant. They are typically made of aluminum or copper and come in various sizes, allowing you to choose the best fit for your system’s requirements. Fans are mounted on the radiator to help remove heat from the coolant by blowing air through the radiator fins. It’s important to select fans with good static pressure to ensure optimal cooling efficiency.
Installation and Maintenance: When installing a water cooling system, carefully follow the manufacturer’s instructions to ensure proper installation. Regular maintenance is also essential to keep the loop running smoothly. This includes periodic cleaning of the water blocks, checking for any leaks, and replacing coolant as needed.
By understanding the basics of water cooling, you can appreciate the advantages it offers and make informed decisions when selecting components for your system. In the next sections, we’ll dive deeper into the specifics of selecting the right water cooling components, removing the stock cooling, and installing a water block on your GPU.
Selecting the Right Water Cooling Components
Choosing the right water cooling components is crucial to ensure optimal performance and compatibility with your GPU. With a plethora of options available in the market, it’s essential to have a clear understanding of what to look for. Let’s explore the key components you need to consider when selecting your water cooling setup.
Water Block: The water block is the centerpiece of your GPU water cooling system and directly interfaces with the GPU. It’s important to select a water block that is specifically designed to fit your GPU model. Manufacturers often provide compatibility lists to help you identify the correct water block for your GPU. Consider factors such as material (copper or nickel-plated copper), design for optimal flow, and any additional features like RGB lighting or backplates.
Pump: The pump is responsible for circulating the coolant through the loop. A reliable pump is crucial to ensure proper flow and efficient heat transfer. Look for pumps that offer sufficient flow rate and head pressure to accommodate your specific loop configuration. It’s also worth considering pumps with adjustable speed settings, allowing you to balance performance and noise levels.
Radiator: The radiator is responsible for dissipating heat from the coolant. The size and type of radiator you choose will depend on factors such as available space in your case and cooling requirements. Radiators come in various thicknesses (usually 30mm-60mm) and fin densities (FPI). Thicker radiators provide more surface area but may require adequate clearance in your case. Consider the number of fans supported by the radiator and choose fans with good static pressure to ensure efficient heat dissipation.
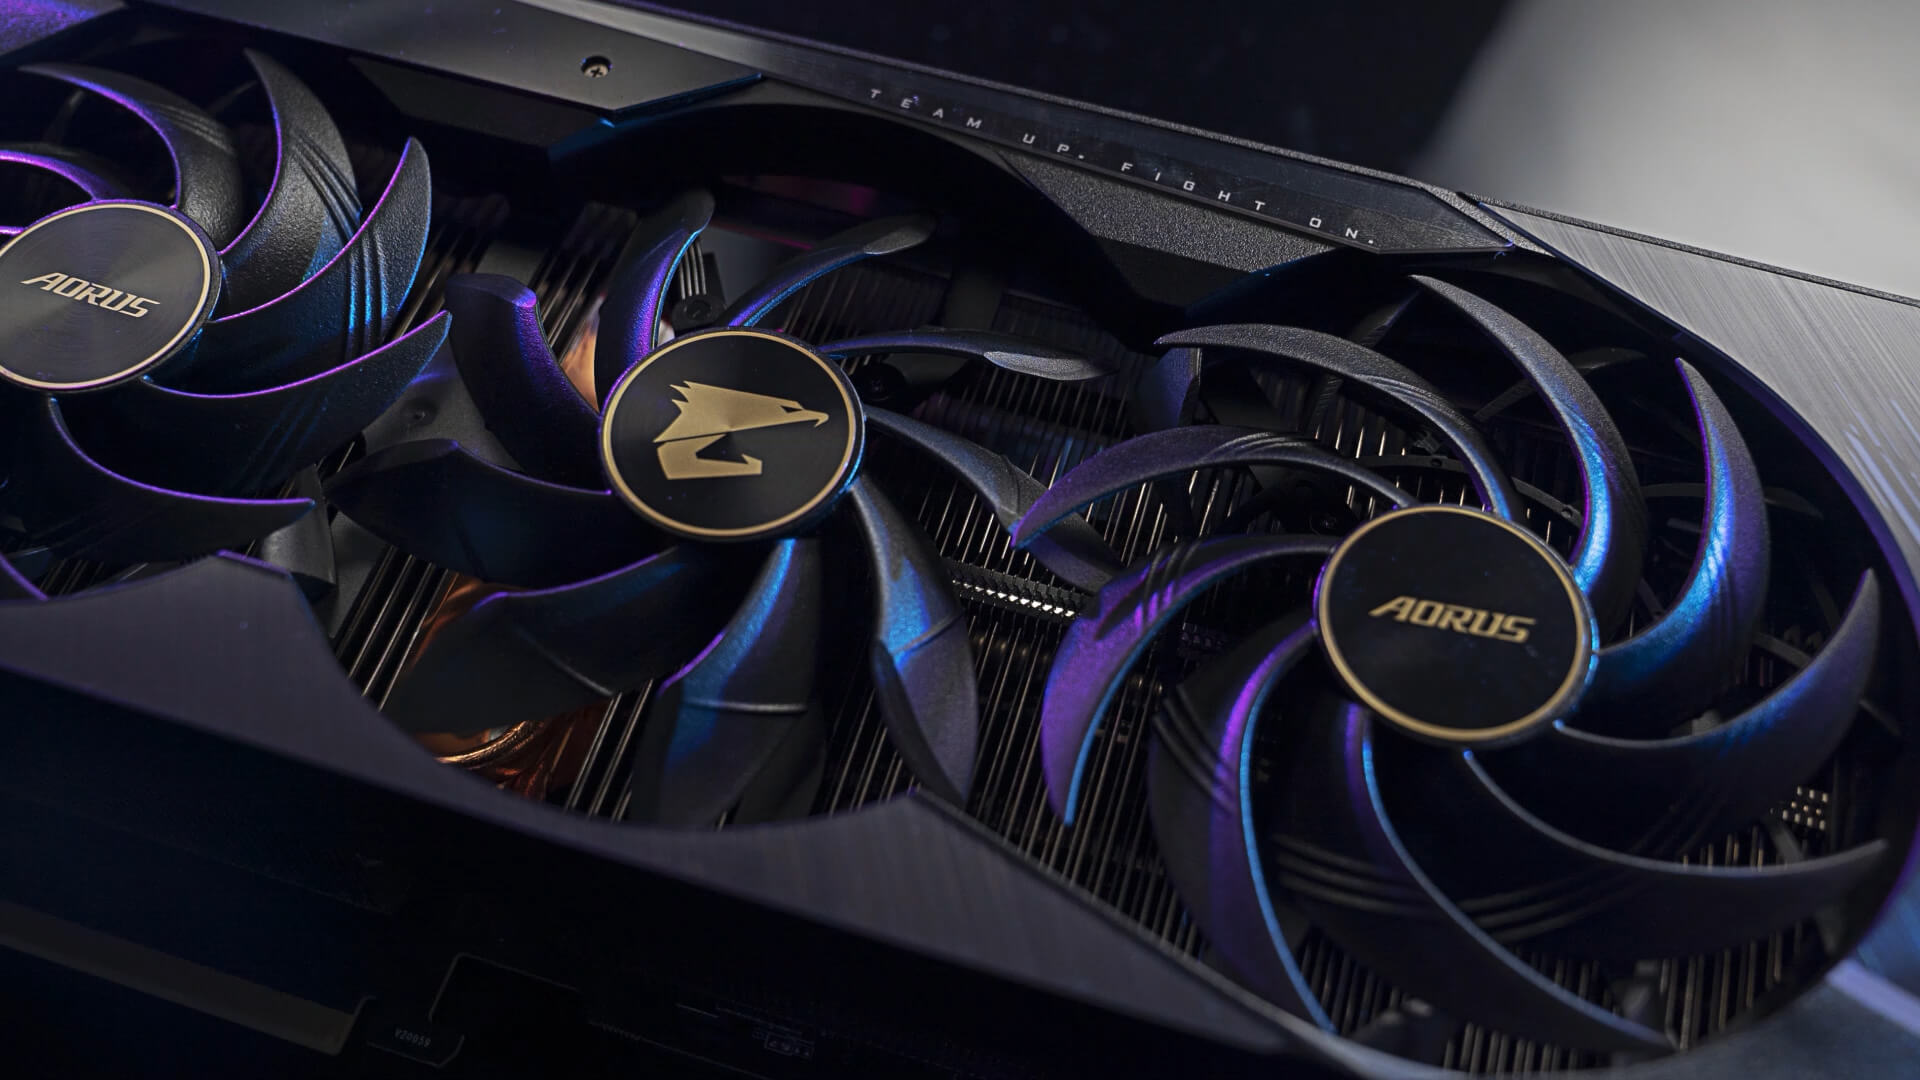
Fans: Fans play a crucial role in enhancing airflow through the radiator. Look for high-quality fans that offer good static pressure and low noise levels. The number of fans you need will depend on the radiator size and your cooling requirements. Consider the size of the fan (120mm or 140mm) and whether you prefer PWM (for automatic fan speed control) or non-PWM (for manual control) fans.
Tubing: Selecting the right tubing is important for maintaining proper coolant flow and minimizing the risk of leaks. Common tubing materials are PVC, acrylic, or more advanced options like PETG or soft silicone. Consider the inner and outer diameter of the tubing and ensure they match the fittings and connectors used in your system. Additionally, consider the aesthetics of the tubing, as transparent tubes can showcase the coolant color and flow inside your system.
Coolant: The choice of coolant goes beyond its color. Opt for coolants that offer effective thermal performance, have low electrical conductivity, and provide anti-corrosive and anti-algae properties. Pre-mixed coolants can save you time and offer peace of mind, while DIY options allow for customization by adding additives to distilled water.
Compatibility and Space: Before purchasing any water cooling components, ensure they are compatible with your GPU and case. Check for compatibility with your specific GPU model, available space in your case for radiators and reservoirs, and the positioning of other components to ensure easy installation and maintenance.
By carefully selecting the right water cooling components, you can build a high-performance and aesthetically pleasing GPU cooling loop. Take the time to research and consider your specific requirements to ensure that each component works harmoniously in your system. With your components in hand, let’s move on to the next steps: removing the stock cooling and preparing your GPU for water cooling.
Removing the GPU’s Stock Cooling
Before you can install a water cooling solution for your GPU, you’ll need to remove the stock cooling that comes with it. This process involves disassembling the existing cooler and cleaning the GPU surface for the installation of the water block. Here’s a step-by-step guide on how to remove the GPU’s stock cooling:
Step 1: Gather the necessary tools: You’ll need a screwdriver, thermal paste remover, cleaning solution (like isopropyl alcohol), cotton swabs, and a grounding strap (optional but recommended).
Step 2: Power down and unplug your system: Before working on any hardware component, make sure your system is powered off and disconnected from the power source to avoid any electrical mishaps.
Step 3: Remove the GPU from the motherboard: Carefully unscrew and disconnect any PCIe power cables connected to the GPU. Gently release the locking latch on the PCIe slot and remove the GPU from the motherboard’s slot.
Step 4: Identify and remove the cooling assembly: Locate the cooling assembly on the GPU, typically consisting of a fan(s), heatsink, and sometimes a metal shroud. Remove any screws or fasteners that secure the cooling assembly to the GPU. In some cases, you may need to disconnect a fan cable or other connectors before fully removing the assembly.
Step 5: Clean the GPU surface: Once the stock cooling assembly is removed, it’s important to clean the GPU’s surface thoroughly. Use a thermal paste remover and carefully wipe away any existing thermal paste from the GPU’s core. Then, apply a small amount of cleaning solution (isopropyl alcohol) on a cotton swab and gently clean the GPU’s surface to remove any residual paste or dirt. Allow it to dry completely before moving on to the next step.
Step 6: Apply new thermal paste (optional): This step is optional but recommended. Applying fresh thermal paste to the GPU’s core can help optimize heat transfer between the core and the water block. Use a small amount of high-quality thermal paste and spread it evenly on the GPU’s core using a plastic card or non-conductive material. Be cautious not to apply too much, as it can lead to poor thermal conductivity.
Step 7: Double-check before reassembly: Before proceeding with the installation of the water block, double-check that the GPU’s core is clean and free of any debris. Ensure the thermal paste (if applied) is evenly spread. Check for any loose screws or cables that might interfere with the installation of the water block.
By following these steps, you’ll be able to successfully remove the stock cooling from your GPU. Now that the GPU is ready, we can move on to preparing it for the installation of the water block in the next section.
Preparing the GPU for Water Cooling
Now that you have removed the stock cooling from your GPU, it’s time to prepare it for the installation of the water block. This process involves cleaning the GPU surface, applying thermal pads, and verifying compatibility with the water block. Follow these steps to ensure your GPU is ready for water cooling:
Step 1: Clean the GPU surface: Before installing the water block, it’s important to ensure that the GPU’s surface is clean and free from any debris or residue. Use a thermal paste remover and a lint-free cloth or cotton swab to wipe away any thermal paste residue and clean the GPU’s surface thoroughly. Allow it to dry completely.
Step 2: Apply thermal pads (if required): Some water blocks require the use of thermal pads to ensure proper heat transfer and contact with certain components on the GPU, such as VRAM chips or voltage regulators. Check the instructions provided by the water block manufacturer to determine if thermal pads are needed and where they should be placed. Cut the thermal pads to the appropriate size and carefully apply them to the designated areas on the GPU, ensuring they are aligned correctly.
Step 3: Verify compatibility with the water block: Before proceeding with the installation of the water block, double-check that it is compatible with your specific GPU model. Check the manufacturer’s website or product documentation to ensure that the water block is designed to fit your GPU. Pay attention to any specific instructions or additional components required for compatibility.
Step 4: Inspect the water block: Before installation, inspect the water block for any visible defects or damage. Ensure that all necessary mounting hardware and fittings are included and in good condition. If you notice any issues or missing components, contact the manufacturer for assistance or replacement if necessary.
Step 5: Install the water block: Follow the manufacturer’s instructions to install the water block onto your GPU. This typically involves carefully aligning the water block with the GPU’s core and securing it in place using the provided mounting hardware. Be sure to tighten the screws evenly and as instructed to ensure proper and secure installation.
Step 6: Connect the fittings and tubing: Once the water block is securely mounted, you can connect the appropriate fittings and tubing to complete the loop. Ensure that the fittings are tightened properly and that the tubing is cut to the appropriate length. Take care to route the tubing in a way that allows for easy installation and optimal coolant flow.
By following these steps, you’ll be well on your way to preparing your GPU for water cooling. With the water block securely installed and the fittings and tubing in place, you’re ready to move on to the next steps of setting up the radiator and fans as we continue our journey into GPU water cooling.
Installing a GPU Water Block
After preparing your GPU for water cooling, it’s time to install the GPU water block. The water block is a critical component that directly interfaces with the GPU, transferring heat to the liquid coolant. Follow these steps to ensure a successful installation:
Step 1: Gather the necessary tools: Make sure you have the appropriate tools on hand for the installation, such as a screwdriver and any additional tools specified by the water block manufacturer.
Step 2: Position the water block: Carefully align the water block with the GPU, ensuring that any thermal pads or thermal paste (if required) are properly positioned. Take note of any specific orientations indicated by the manufacturer.
Step 3: Secure the water block: Use the provided mounting hardware, typically screws or brackets, to attach the water block to the GPU. Start by loosely tightening the screws or fasteners, and then gradually tighten them in a diagonal pattern to ensure even pressure distribution. Be cautious not to overtighten and risk damaging the GPU or water block.
Step 4: Verify the correct mount: Once the water block is securely mounted, double-check that it is seated flush with the GPU and making proper contact. Ensure that no cables or connectors are interfering with the installation.
Step 5: Connect the inlet and outlet: Once the water block is securely attached, connect the provided fittings or adapters to the inlet and outlet ports of the water block. Use the appropriate fittings for your tubing size and securely tighten them to ensure a leak-free connection.
Step 6: Route the tubing: Plan and route the tubing from the water block to the other components in your water cooling loop, such as the radiator or reservoir. Cut the tubing to the desired length, leaving some slack for ease of installation and maintenance. Use fittings and clamps to secure the tubing to the water block and other components in the loop.
Step 7: Ensure proper flow and orientation: Pay attention to the recommended flow direction specified by the water block manufacturer. Make sure the tubing is properly aligned to allow for optimal coolant flow. Orient the water block and tubing to fit within the constraints of your case and to avoid any obstructions or interference with other components.
By following these steps, you can install a GPU water block effectively. It’s essential to refer to the manufacturer’s instructions for any specific installation requirements or considerations specific to your water block model. Once the water block is securely installed, you can move on to connecting the water block to the rest of the water cooling loop and setting up the radiator and fans to enhance the overall cooling performance of your GPU.
Connecting the Water Block to the Loop
After successfully installing the GPU water block, the next step is to connect it to the rest of the water cooling loop. This involves connecting the inlet and outlet of the water block to the corresponding components in the loop, such as the radiator, pump, and reservoir. Follow these steps to ensure proper connectivity and flow:
Step 1: Identify the inlet and outlet ports: Take note of the inlet and outlet ports on the water block. The manufacturer’s instructions or labeling on the water block itself will indicate which port is which. In most cases, the water block will have an arrow or marking indicating the flow direction.
Step 2: Connect the tubing: Use the appropriate tubing and fittings to connect the inlet and outlet ports of the water block to the rest of the water cooling loop. Ensure that the size of the tubing matches the fittings and that the connections are snug but not overtightened. Consider using clamps or compression fittings to secure the tubing in place for leak-free operation.
Step 3: Plan the tubing route: Decide on the path the tubing will take from the water block to the other components in the loop, such as the radiator, pump, and reservoir. Take into account factors such as aesthetics, space constraints, and the most efficient route for coolant flow. Avoid kinking or sharp bends in the tubing, as it can impede flow and potentially cause leaks.
Step 4: Connect the other components: Depending on your specific loop configuration, connect the tubing from the water block to the radiator, pump, and reservoir. Use the appropriate fittings and connectors to ensure a secure and leak-free connection. Consider using angled fittings or adapters if needed to ensure a clean and tidy tubing route.
Step 5: Test for leaks: Once all connections are made, it’s crucial to test the entire water cooling loop for any potential leaks. Fill the loop with coolant, ensuring that all components are properly submerged. Power on the pump and monitor the system for any signs of leaks or drips. It’s recommended to run the system outside of the case initially to minimize any potential damage in case of leaks.
Step 6: Bleed the air from the loop (if necessary): If air bubbles are present in the tubing or components, it’s important to bleed them out to ensure optimal performance and prevent any potential for airlocks. Use the manufacturer-recommended method to bleed the air from your specific water cooling system. This may involve tilting or rotating the case, tapping on the tubing, or using a bleed valve, if available.
Step 7: Double-check the connections: Once the loop is filled, leak-free, and properly bled, do a final check on all the connections, ensuring that they are secure and tight. Also, ensure that the tubing is free from any kinks or obstructions that could hinder the flow of coolant.
By following these steps, you can successfully connect the water block to the rest of the water cooling loop. With a properly assembled loop, you’re now ready to move on to the next steps: setting up the radiator and fans, filling the water cooling loop, and testing for leaks.
Setting Up the Radiator and Fans
After connecting the water block to the loop, the next step in water cooling your GPU is setting up the radiator and fans. The radiator serves as the heat exchanger, while the fans facilitate airflow for efficient heat dissipation. Follow these steps to properly set up your radiator and fans:
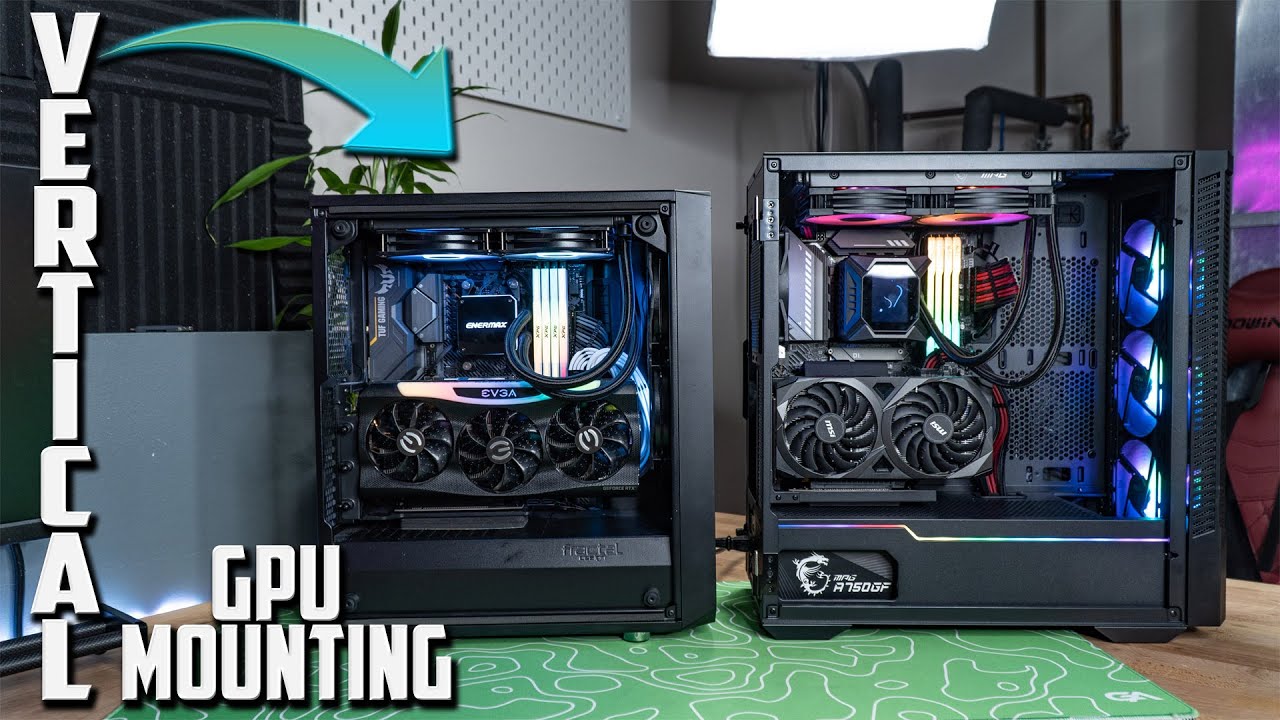
Step 1: Determine the radiator placement: Decide where you want to mount the radiator in your case. Common locations include the rear, top, or front of the case, depending on the available space and airflow considerations. Ensure that the chosen location can accommodate the size of your radiator and has sufficient clearance for fans and tubing.
Step 2: Mount the radiator: Use the included mounting brackets or screws to secure the radiator into place. Make sure you follow the manufacturer’s instructions for your specific radiator model. Ensure that the radiator is firmly attached to avoid any vibrations that could cause noise or damage to other components.
Step 3: Install the fans: Depending on your setup, the fans can be mounted on either side of the radiator. Use the provided screws or mounting hardware to attach the fans to the radiator. Ensure that the fans are oriented to blow air through the radiator rather than pulling air through it for optimal cooling performance.
Step 4: Connect the fans to the motherboard or fan controller: Depending on your preference and available connections, you can connect the fans directly to the motherboard’s fan headers or to a separate fan controller. Ensure that the fans are arranged in the desired configuration (push or pull) and that they are properly connected to receive power and control signals.
Step 5: Adjust fan speed and control: Configure the fan speed and control settings in your BIOS or through fan control software. You can choose to run the fans at a fixed speed or utilize the motherboard’s PWM (Pulse Width Modulation) functionality to adjust the fan speed based on the GPU temperature or other sensor readings.
Step 6: Consider fan placement and additional cooling: Depending on the size and number of fans, you may want to be strategic in their placement to optimize airflow in your case. Consider other factors such as adding additional case fans or directing airflow to other components like the CPU or RAM to maintain overall system temperature.
Step 7: Test the cooling setup: Once the radiator and fans are properly mounted and connected, it’s crucial to test the cooling setup. Power on your system and monitor the GPU temperature under both idle and load conditions. Ensure that the fans are spinning correctly and that the radiator is effectively dissipating heat. Adjust fan speed or other settings as necessary to achieve optimal cooling performance.
By following these steps, you can effectively set up the radiator and fans for your water cooling loop. A properly configured cooling setup will help maintain low GPU temperatures and ensure the best possible performance for your GPU during demanding tasks. With the radiator and fans in place, it’s time to move on to the next steps: filling the water cooling loop and testing for leaks.
Filling the Water Cooling Loop
Once you have completed the setup of the radiator and fans in your water cooling loop, the next step is to fill the loop with coolant. Properly filling the loop is crucial to ensure optimal performance and prevent any air pockets that can hinder the cooling process. Follow these steps to effectively fill your water cooling loop:
Step 1: Gather the necessary materials: Before filling the loop, make sure you have all the required materials on hand, including the appropriate coolant, a funnel or syringe, and spare tubing if needed.
Step 2: Power off your system: Before proceeding with filling the loop, ensure that your system is powered off and disconnected from the power source to avoid any potential mishaps.
Step 3: Place the reservoir at the highest point: Position the reservoir at the highest point in your loop. This allows air bubbles to rise to the top, making the bleeding process easier.
Step 4: Connect the filling tube: If your reservoir has a dedicated filling port, connect a tube or funnel to it for easy pouring. If not, consider using a separate tube or funnel to pour the coolant into the loop without spilling.
Step 5: Begin filling the loop: Slowly pour the coolant into the reservoir, allowing it to flow naturally into the loop. Keep a close eye on the tubing and the components to ensure that no leaks or spills occur.
Step 6: Monitor the coolant level: As you fill the loop, monitor the coolant level in the reservoir. Allow time for the coolant to flow through the loop and fill any empty spaces. Pause periodically to let any air bubbles escape naturally or assist the process by gently tapping on the tubing or components.
Step 7: Continue filling and bleeding: Depending on the size of your loop, you may need to repeat the filling process multiple times until the loop is fully filled and any trapped air is removed. Be patient and take your time to ensure a thorough filling and bleeding process.
Step 8: Maintain the coolant level: After completing the filling and bleeding process, check the coolant level in the reservoir. It should be at the recommended level as indicated by the manufacturer. If necessary, top up the coolant to the appropriate level.
Step 9: Clean up and check for leaks: Once the loop is filled and the coolant level is maintained, clean up any spills or drips. Carefully inspect the entire loop for any signs of leaks. Check all fittings and connections to ensure they are secure and tight.
Step 10: Reassemble your system: After confirming that there are no leaks and the loop is properly filled, reassemble your system. Reconnect all components and cables, ensuring everything is secure.
By following these steps, you can effectively fill your water cooling loop with coolant. Properly filling the loop and removing any trapped air bubbles will ensure optimal cooling performance and prevent any potential issues. Once the loop is filled, it’s time to move on to the final step: testing for leaks.
Testing for Leaks
After filling your water cooling loop, it’s vital to thoroughly test for any leaks before powering on your system. Detecting and addressing leaks early on can prevent damage to your components and ensure the long-term stability of your water cooling setup. Follow these steps to effectively test for leaks:
Step 1: Inspect the loop: Before powering on your system, visually inspect the entire water cooling loop. Check all tubing connections, fittings, and components for any signs of moisture, wetness, or visible leaks. Pay close attention to areas around fittings and their seals, as well as any potential weak points or previous problem areas.
Step 2: Run a leak test outside the case (optional): For added safety, you can perform an initial leak test outside of the case by placing the loop in a well-contained area such as a basin or a leak-testing kit. This allows you to detect and address leaks without risking damage to your system.
Step 3: Prepare your system for testing: If you are proceeding with the leak test inside your case, make sure your power supply unit is switched off or disconnected from the power source. This reduces the risk of any electrical damage in case of a leak. Additionally, have some absorbent material or paper towels nearby to quickly address any minor leaks.
Step 4: Power on your system: With caution, power on your system while monitoring the loop closely. Take note of any unusual sounds, vibrations, or signs of leaking as the loop begins to circulate coolant. It’s recommended to initially power on your system outside of peak operating hours to allow for extended monitoring, if possible.
Step 5: Observe your system: Keep a close eye on the entire loop during the initial power-on phase and for the next few hours. Look for any signs of dripping, droplets forming, or dampness around fittings, connectors, and tubing. Check for any changes in coolant levels, air bubbles, or unusual temperatures.
Step 6: Address minor leaks immediately: If you spot any minor leaks or seepage, power off your system immediately. Take note of the location and tighten the affected connections as necessary. Wipe away any coolant, and only proceed with powering on your system once you are confident that the leak has been properly resolved.
Step 7: Monitor continuously: After addressing minor leaks or if no leaks are detected, continue to monitor your system periodically, especially within the first 24 to 48 hours. This allows you to detect any latent leaks that may have been initially missed.
Step 8: Finalize the leak test: If, after several hours, there are no signs of leaks and everything appears to be functioning correctly, you can consider the leak test successful. However, it’s still recommended to keep an eye on your system over the next few days to ensure long-term stability.
By following these steps, you can effectively test for leaks in your water cooling loop. Being vigilant and addressing any leaks promptly will help protect your components and ensure the integrity of your system. Once the leak test is complete, you can proceed with powering on your system and enjoying the benefits of your water cooling setup.
Maintaining and Troubleshooting the Water Cooling System
Like any other component in your computer system, your water cooling setup requires regular maintenance to ensure optimal performance and longevity. Additionally, troubleshooting may be necessary if you encounter any issues or abnormalities. Here are some important tips to help you maintain and troubleshoot your water cooling system:
Maintenance:
1. Regular Inspection: Schedule regular inspections of the water cooling system to check for any visible leaks, loose fittings, or signs of corrosion. Inspect the water block, radiator, tubing, fittings, and reservoir to ensure they are clean, intact, and functioning properly.
2. Cleaning: Over time, dust and debris may collect on the radiator fins, obstructing airflow and reducing cooling performance. Use compressed air or a soft brush to gently clean the radiator. Additionally, periodically clean the water blocks and any filters in the loop to remove accumulated sediment or particles.
3. Coolant Replacement: The coolant in your water cooling system may degrade over time or become contaminated. Consider replacing the coolant every 6 to 12 months, or according to the manufacturer’s recommendations. Before replacing the coolant, ensure that the loop is properly drained, flushed, and refilled with the new coolant following the manufacturer’s instructions.
4. System Flushing: Flushing the water cooling loop can help remove any accumulated debris, sediment, or corrosion. Use distilled water or a specially formulated flushing solution to flush the loop. Follow the manufacturer’s instructions and thoroughly rinse the loop with distilled water before refilling it with fresh coolant.
Troubleshooting:
1. High Temperatures: If you notice unusually high temperatures, check for any obstructions in the loop, such as clogged radiator fins, airlocks, or improper coolant flow. Ensure that the fans are operating correctly, the radiator is clean, and the pump is functioning properly. Also, check the thermal paste on the CPU and GPU to ensure proper contact and thermal transfer.
2. Pump Failure or Noise: If you experience pump failure or unusual noises, check the power connection, cables, and control settings. Ensure that the pump is receiving adequate power and that it is properly secured. If the pump continues to exhibit issues, it may be necessary to replace it with a new one.
3. Leaks: If you detect any leaks, address them immediately. Double-check the fittings, tubing connections, and water block mounting to ensure they are secure. If necessary, replace damaged or worn components, and consider using additional sealants or thread tape to prevent future leaks.
4. Air Bubbles: Air bubbles trapped in the loop can hinder cooling performance and cause intermittent temperature fluctuations. To address air bubbles, tilt the case, lightly tap on the tubing or water block, or install a bleed valve to facilitate air release. Over time, the air bubbles should naturally dissipate as the coolant circulates.
5. Corrosion and Maintenance: Regularly inspect all components for corrosion or signs of wear. If you notice any corrosion, thoroughly clean the affected areas and consider adding corrosion inhibitors or anti-algae additives to the coolant. Additionally, check coolant levels, reservoir cleanliness, and overall loop integrity during maintenance to prevent any potential issues.
By following these maintenance and troubleshooting tips, you can ensure that your water cooling system operates at its best. Performing regular maintenance and promptly addressing any issues that arise will help extend the life of your components and maintain efficient cooling performance.
Conclusion
Congratulations! You have now reached the end of this comprehensive guide on water cooling your GPU. We’ve covered everything from the basics of water cooling to selecting the right components, removing the stock cooling, installing a water block, setting up the radiator and fans, filling the loop, testing for leaks, and maintaining and troubleshooting your water cooling system.
By opting for water cooling, you can enjoy enhanced thermal performance, lower noise levels, improved overclocking potential, and the ability to create a visually stunning custom loop. Water cooling is a rewarding project that allows you to unleash the full potential of your GPU and build a high-performance system.
Remember, before you embark on your water cooling journey, always prioritize safety and follow the manufacturer’s instructions carefully. Take your time during the installation process, pay attention to detail, and perform necessary tests and checks to ensure a safe and leak-free system.
Regular maintenance is key to preserving the efficiency and longevity of your water cooling setup. Inspecting for leaks, cleaning components, replacing coolant, and addressing any issues promptly will help keep your system running smoothly for years to come.
Water cooling can provide significant benefits in terms of cooling performance, noise reduction, and aesthetic customization. However, it’s essential to consider your individual needs, budget, and system requirements before deciding if water cooling is the right choice for you. If you’re a hardcore gamer, an enthusiast seeking maximum performance, or simply someone who appreciates the aesthetics of a custom loop, water cooling may be the perfect fit.
We hope this guide has equipped you with the knowledge and confidence to embark on your water cooling adventure. Remember to enjoy the process, experiment, and share your experience with the PC enthusiast community. Happy water cooling!