Introduction
Removing a GPU (Graphics Processing Unit) from a motherboard is a common task for computer enthusiasts and professionals alike. Whether you need to upgrade your graphics card or troubleshoot a hardware issue, knowing how to properly remove a GPU is essential. However, if you’re new to the world of computer hardware, the process may seem daunting at first. But fear not, as this guide will walk you through the step-by-step process of removing a GPU from your motherboard, ensuring a smooth and hassle-free experience.
Before we dive into the details, it’s important to remember that proper precautions must be taken to avoid damaging your computer components. We highly recommend grounding yourself by wearing an anti-static wrist strap or regularly touching a grounded metal object to discharge any static electricity. Additionally, make sure to work in a clean and well-lit area to avoid any accidental damage.
In this guide, we will outline the necessary tools you’ll need, and take you through each step of the GPU removal process. You’ll learn how to power off your computer, remove the side panel, locate the graphics card, detach the power connectors, unscrew the GPU from the motherboard, and safely store the GPU for future use. By following these steps carefully, you’ll be able to remove your GPU confidently and without any issues.
Whether you’re an avid gamer, a graphic designer, or a computer enthusiast, being familiar with the process of removing a GPU is a valuable skill. Not only will it give you the ability to upgrade your graphics card to enhance your computer’s performance, but it will also allow you to diagnose and troubleshoot any potential issues related to your GPU. So, without further ado, let’s dive into the necessary tools you’ll need to remove a GPU from a motherboard.
Tools Needed
Before you start removing the GPU from your motherboard, it’s important to gather the necessary tools to ensure a smooth process. Here’s a list of the essential tools you’ll need:
- Screwdriver: You’ll need a phillips head screwdriver to remove the screws holding the GPU in place. Make sure the screwdriver is the correct size and fits snugly into the screw heads to prevent stripping.
- Anti-static Wrist Strap: To protect your computer components from static electricity discharge, an anti-static wrist strap is crucial. This will prevent any electrical damage to the sensitive circuitry of your GPU and motherboard.
- Clean Cloth: Having a clean cloth or microfiber cloth on hand will be helpful to wipe away any dust or debris that may have accumulated on the GPU or motherboard. This will ensure a clean and secure connection when reseating the GPU.
- Compressed Air: This tool is optional but highly recommended. Using compressed air to blow away any dust or dirt from your computer’s components can help improve airflow and prevent overheating. It’s especially important to clean out the PCIe slot before installing a new GPU.
Make sure to gather these tools before starting the GPU removal process. Having them readily available will help save time and ensure that you have everything needed to safely remove the GPU from your motherboard.
Now that you have your tools ready, let’s move on to the first step of the GPU removal process: powering off the computer.
Step 1: Power Off the Computer
Before you begin removing the GPU from your motherboard, it’s crucial to power off your computer properly to prevent any potential damage or data loss. Here’s how you can safely power off your computer:
- Save your work: Ensure that all your files and programs are saved properly before proceeding with the shutdown process.
- Close all applications: Close any running applications and programs on your computer. This will prevent any potential data loss or corruption when shutting down.
- Shut down the computer: Click on the “Start” button in the bottom left corner of your screen and select the “Shut down” option from the menu. Alternatively, you can press and hold the power button until your computer powers off. Allow the computer to completely shut down before proceeding to the next step.
- Unplug the power cord: Once the computer is fully powered off, unplug the power cord from the wall outlet. This will ensure that there is no electricity running through the computer system, reducing the risk of electrical shocks.
- Ground yourself: To prevent any static electricity discharge, it’s important to ground yourself before touching any computer components. You can do this by wearing an anti-static wrist strap or touching a grounded metal object before continuing.
By following these steps, you have successfully powered off your computer and prepared it for the GPU removal process. Now, you can move on to the next step of the process, which is removing the side panel of the computer.
Step 2: Remove the Side Panel of the Computer
With the computer powered off, the next step is to remove the side panel of your computer case. Removing the side panel will allow easy access to the internal components, including the GPU. Follow these steps to remove the side panel:
- Locate the screws or latches: Look for the screws or latches securing the side panel to the computer case. These are usually located at the back of the case.
- Unscrew or unlatch the side panel: If your case has screws, use a screwdriver to remove them. If your case has latches, simply unlatch them by pushing or squeezing them. Keep the screws in a safe place for reassembly later.
- Slide or remove the side panel: Once the screws or latches are removed, carefully slide the side panel towards the back of the case. Alternatively, some cases may have a hinged side panel that can be lifted off. Remove the side panel and set it aside in a safe location.
By removing the side panel, you now have clear access to the internal components of the computer, including the motherboard and the GPU. Take a moment to familiarize yourself with the layout of the components inside the case. This will make it easier to locate the graphics card in the next step.
Now that the side panel is removed, you’re ready to move on to the next step: locating the graphics card on the motherboard.
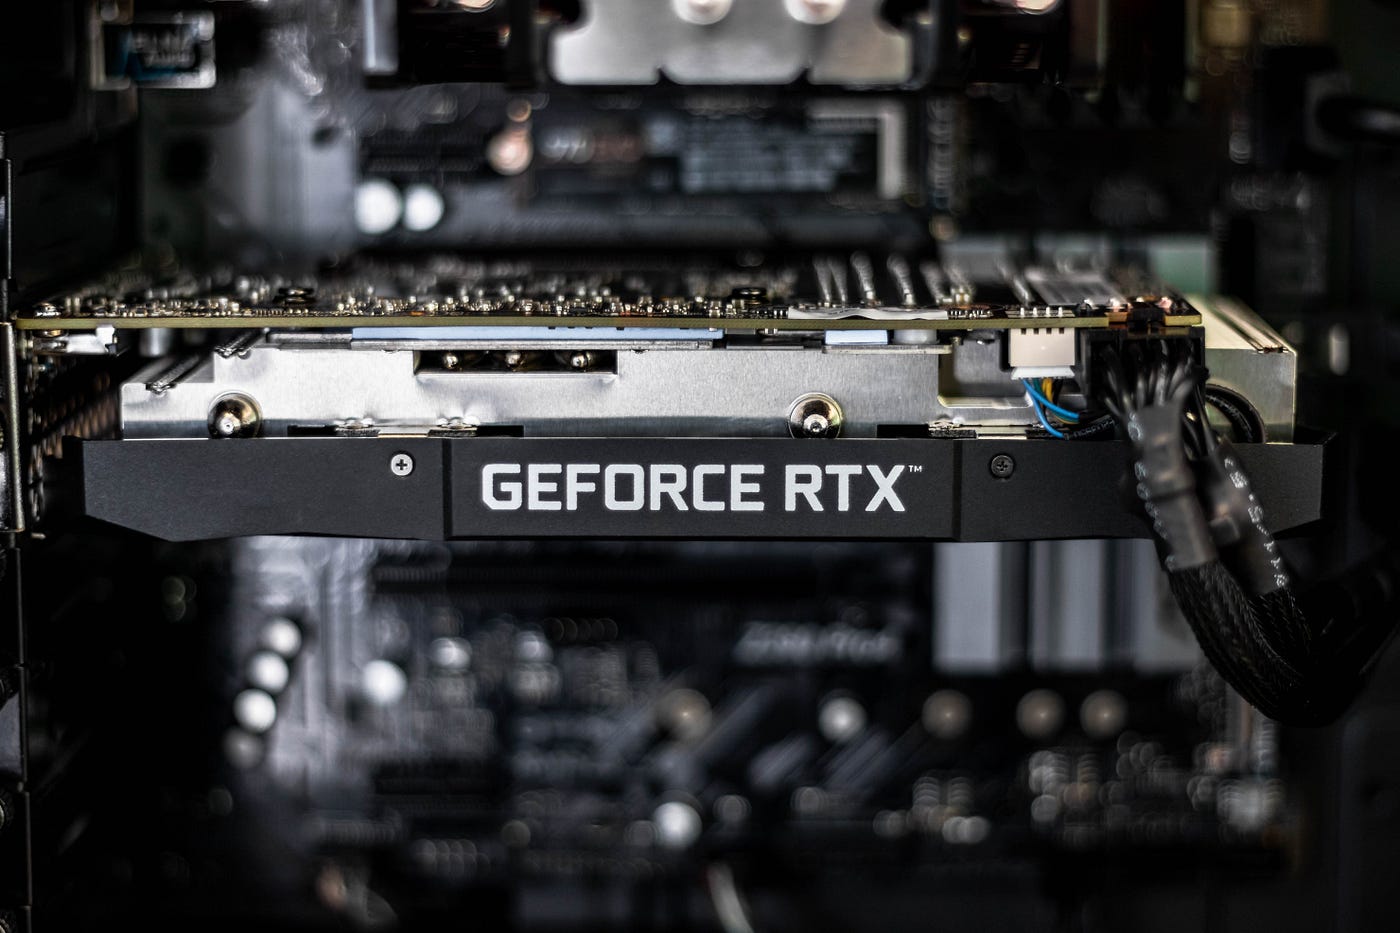
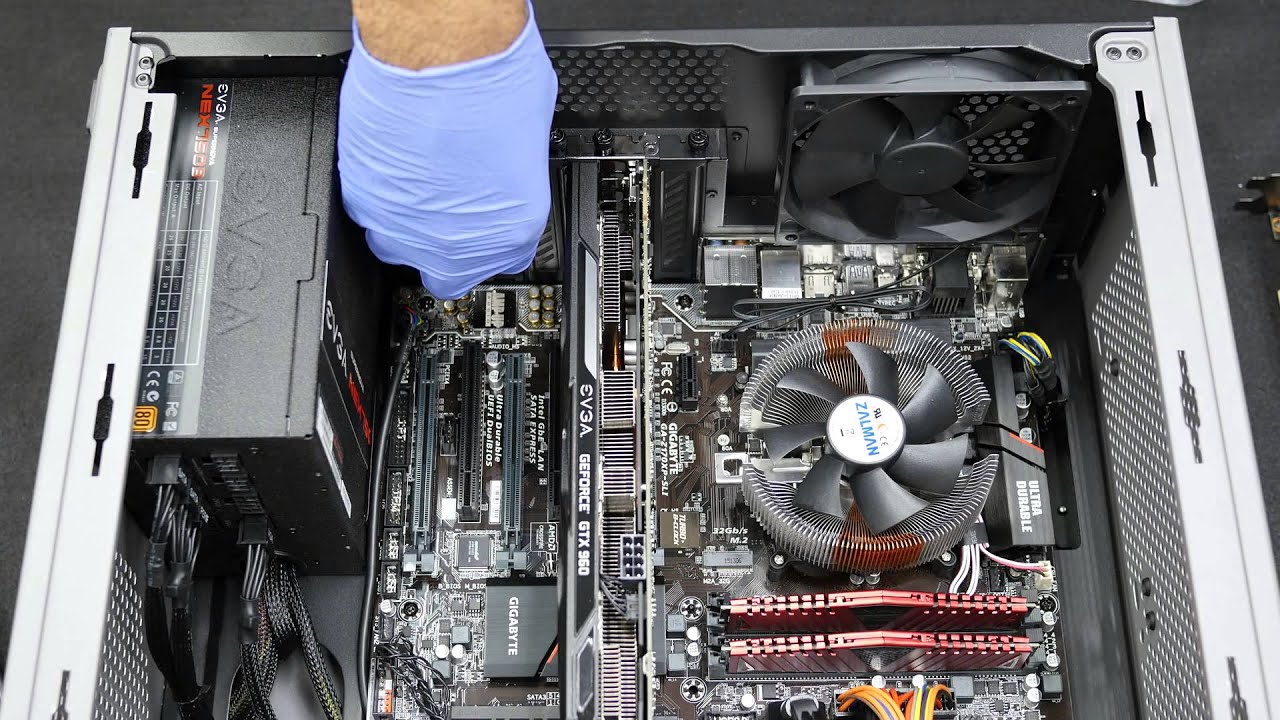
Step 3: Locate the Graphics Card
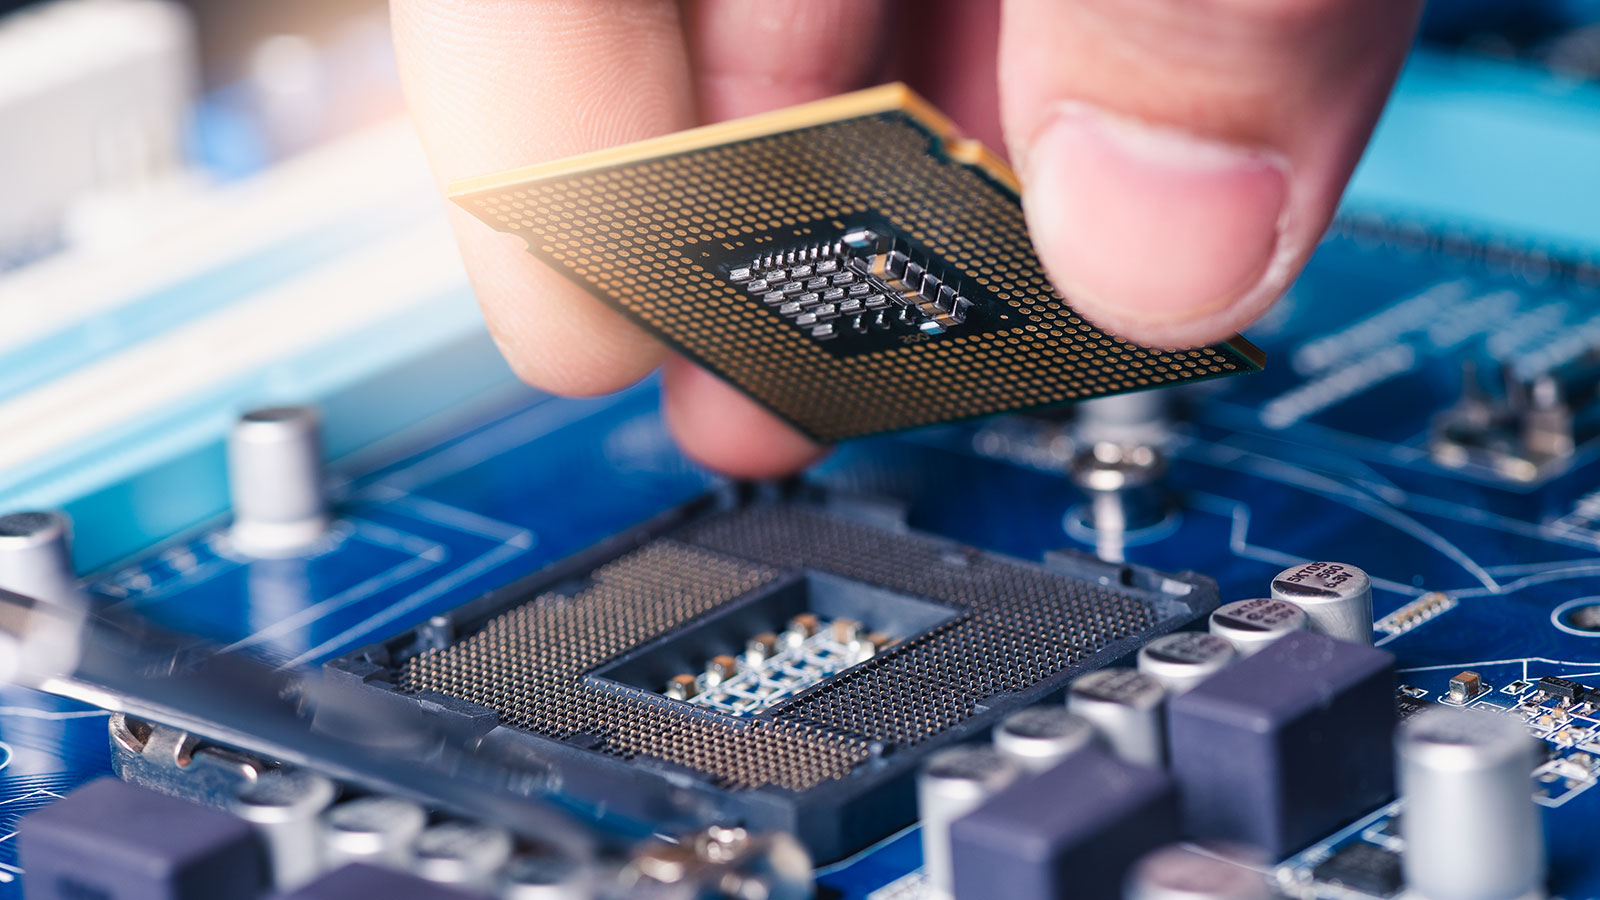
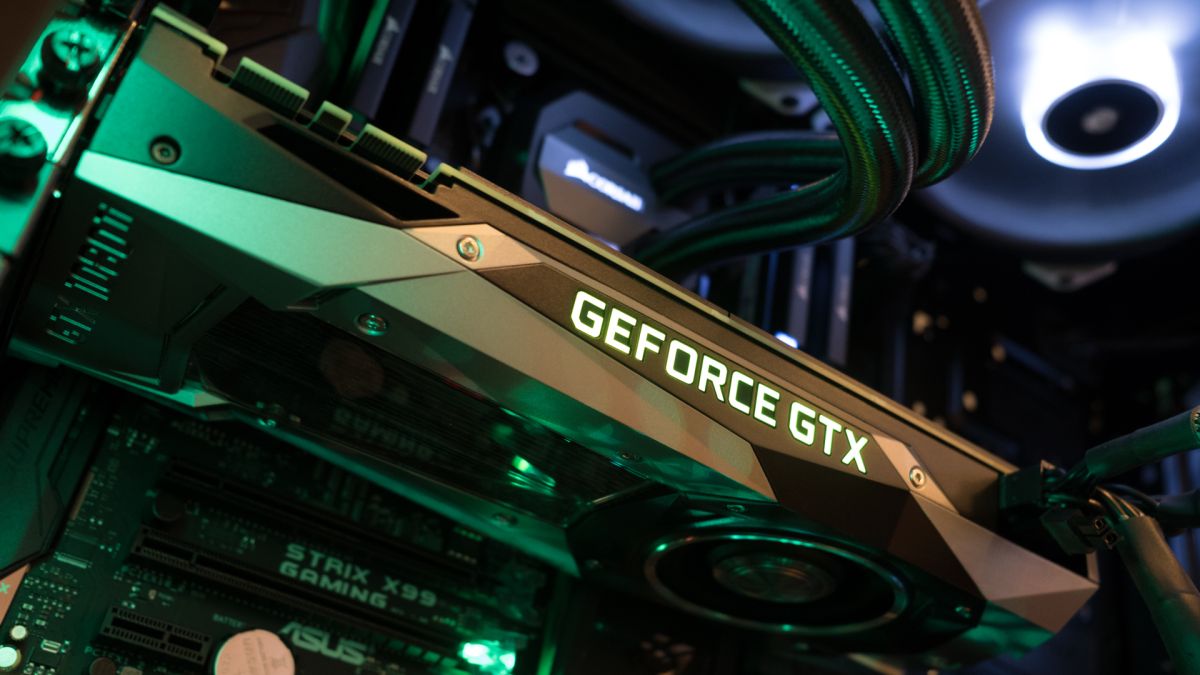
Now that the side panel of your computer case is removed, it’s time to locate the graphics card on the motherboard. The graphics card, also known as the GPU, is responsible for rendering graphics and images on your computer screen. Follow these steps to locate the graphics card:
- Identify the PCIe slot: In most modern motherboards, the graphics card is inserted into a PCIe (Peripheral Component Interconnect Express) slot. The PCIe slots are typically located towards the bottom of the motherboard and are longer than other expansion slots.
- Identify the graphics card: Look for a large, rectangular circuit board with a cooling fan or heatsink attached to it. This is your graphics card. The card will have multiple ports, including display outputs (such as HDMI, DisplayPort, or DVI) and power connectors.
- Note the position of the graphics card: Take note of how the graphics card is positioned in the PCIe slot. This will help guide you when it comes time to remove it.
It’s important to be cautious when handling the graphics card. Avoid touching the gold contacts or any delicate components on the card as this can cause damage. If the graphics card is secured with a retention bracket or clip, take note of it as well, as it will need to be released when removing the GPU from the motherboard.
With the graphics card located, you’re now ready to move on to the next step: detaching the power connectors from the GPU.
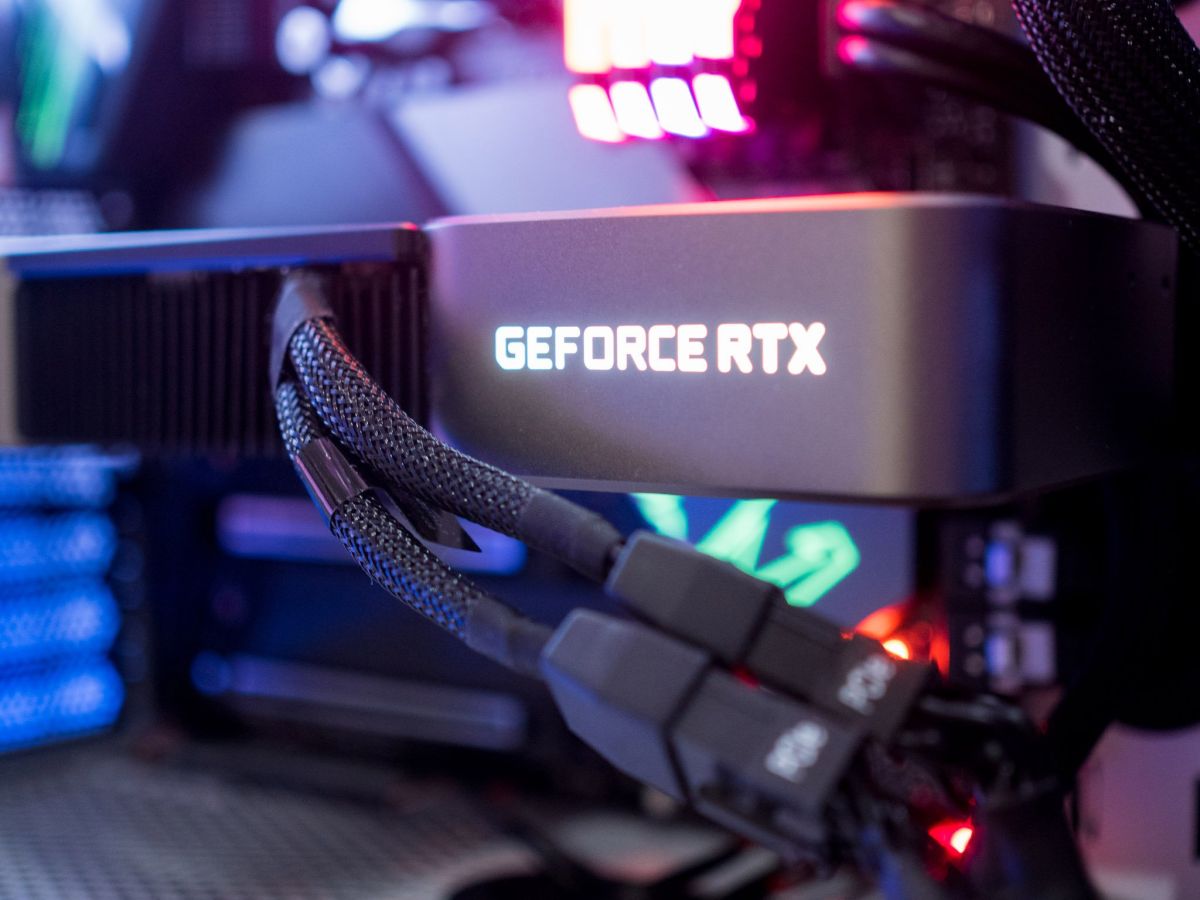
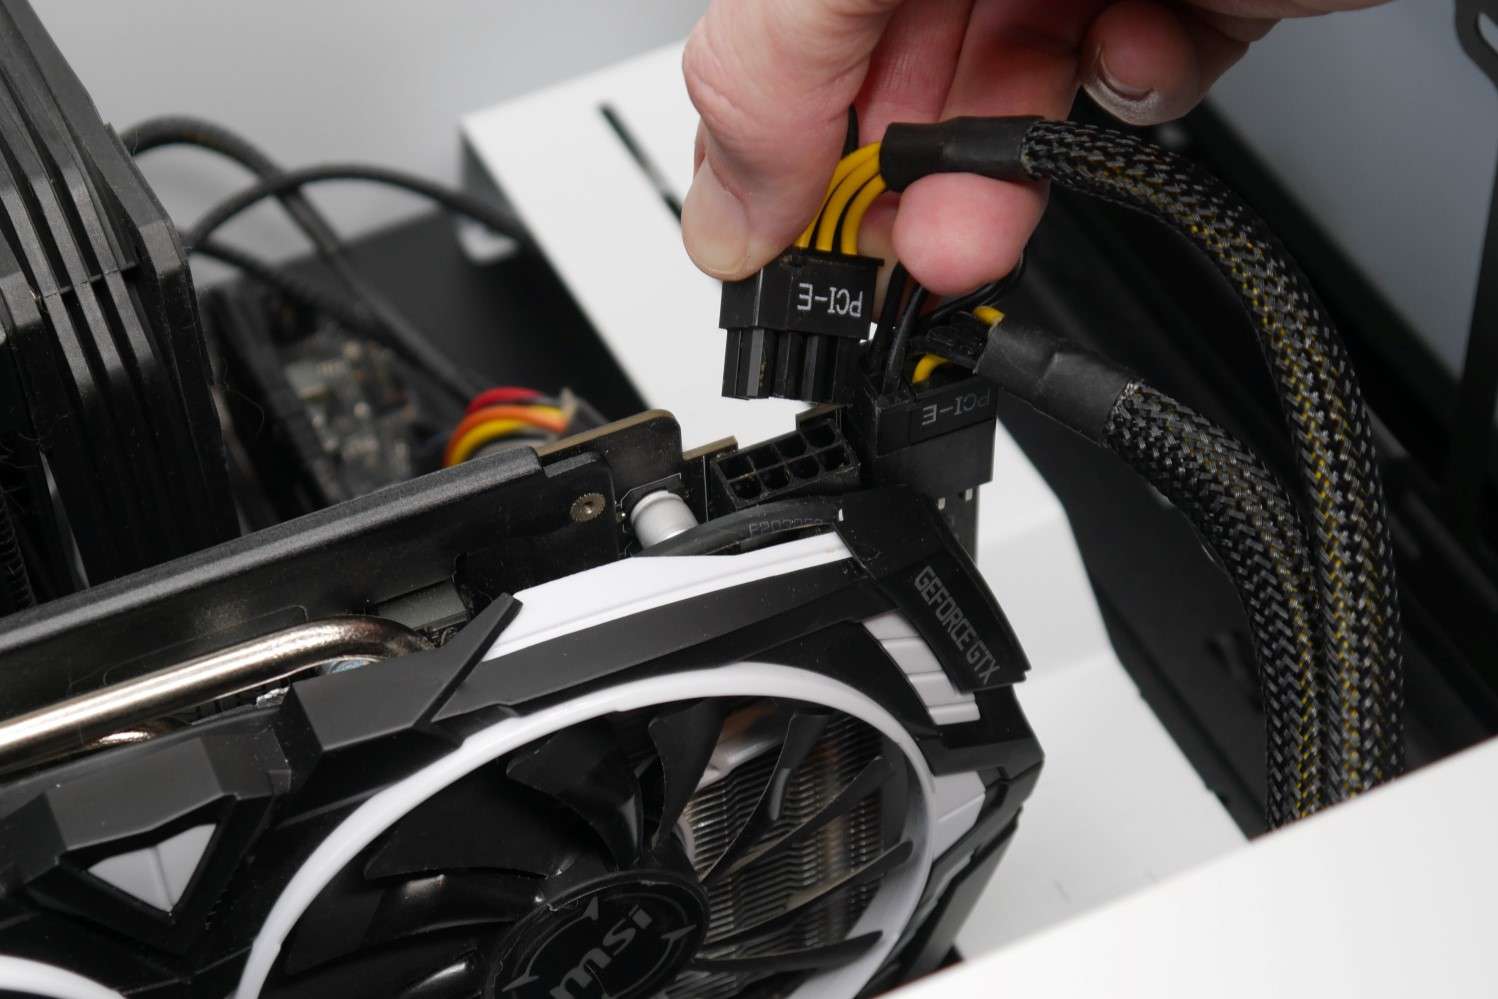
Step 4: Detach the Power Connectors
Before removing the graphics card from the motherboard, you need to detach the power connectors that provide power to the GPU. Depending on your graphics card and power supply unit (PSU), there may be one or more power connectors that need to be disconnected. Follow these steps to detach the power connectors:
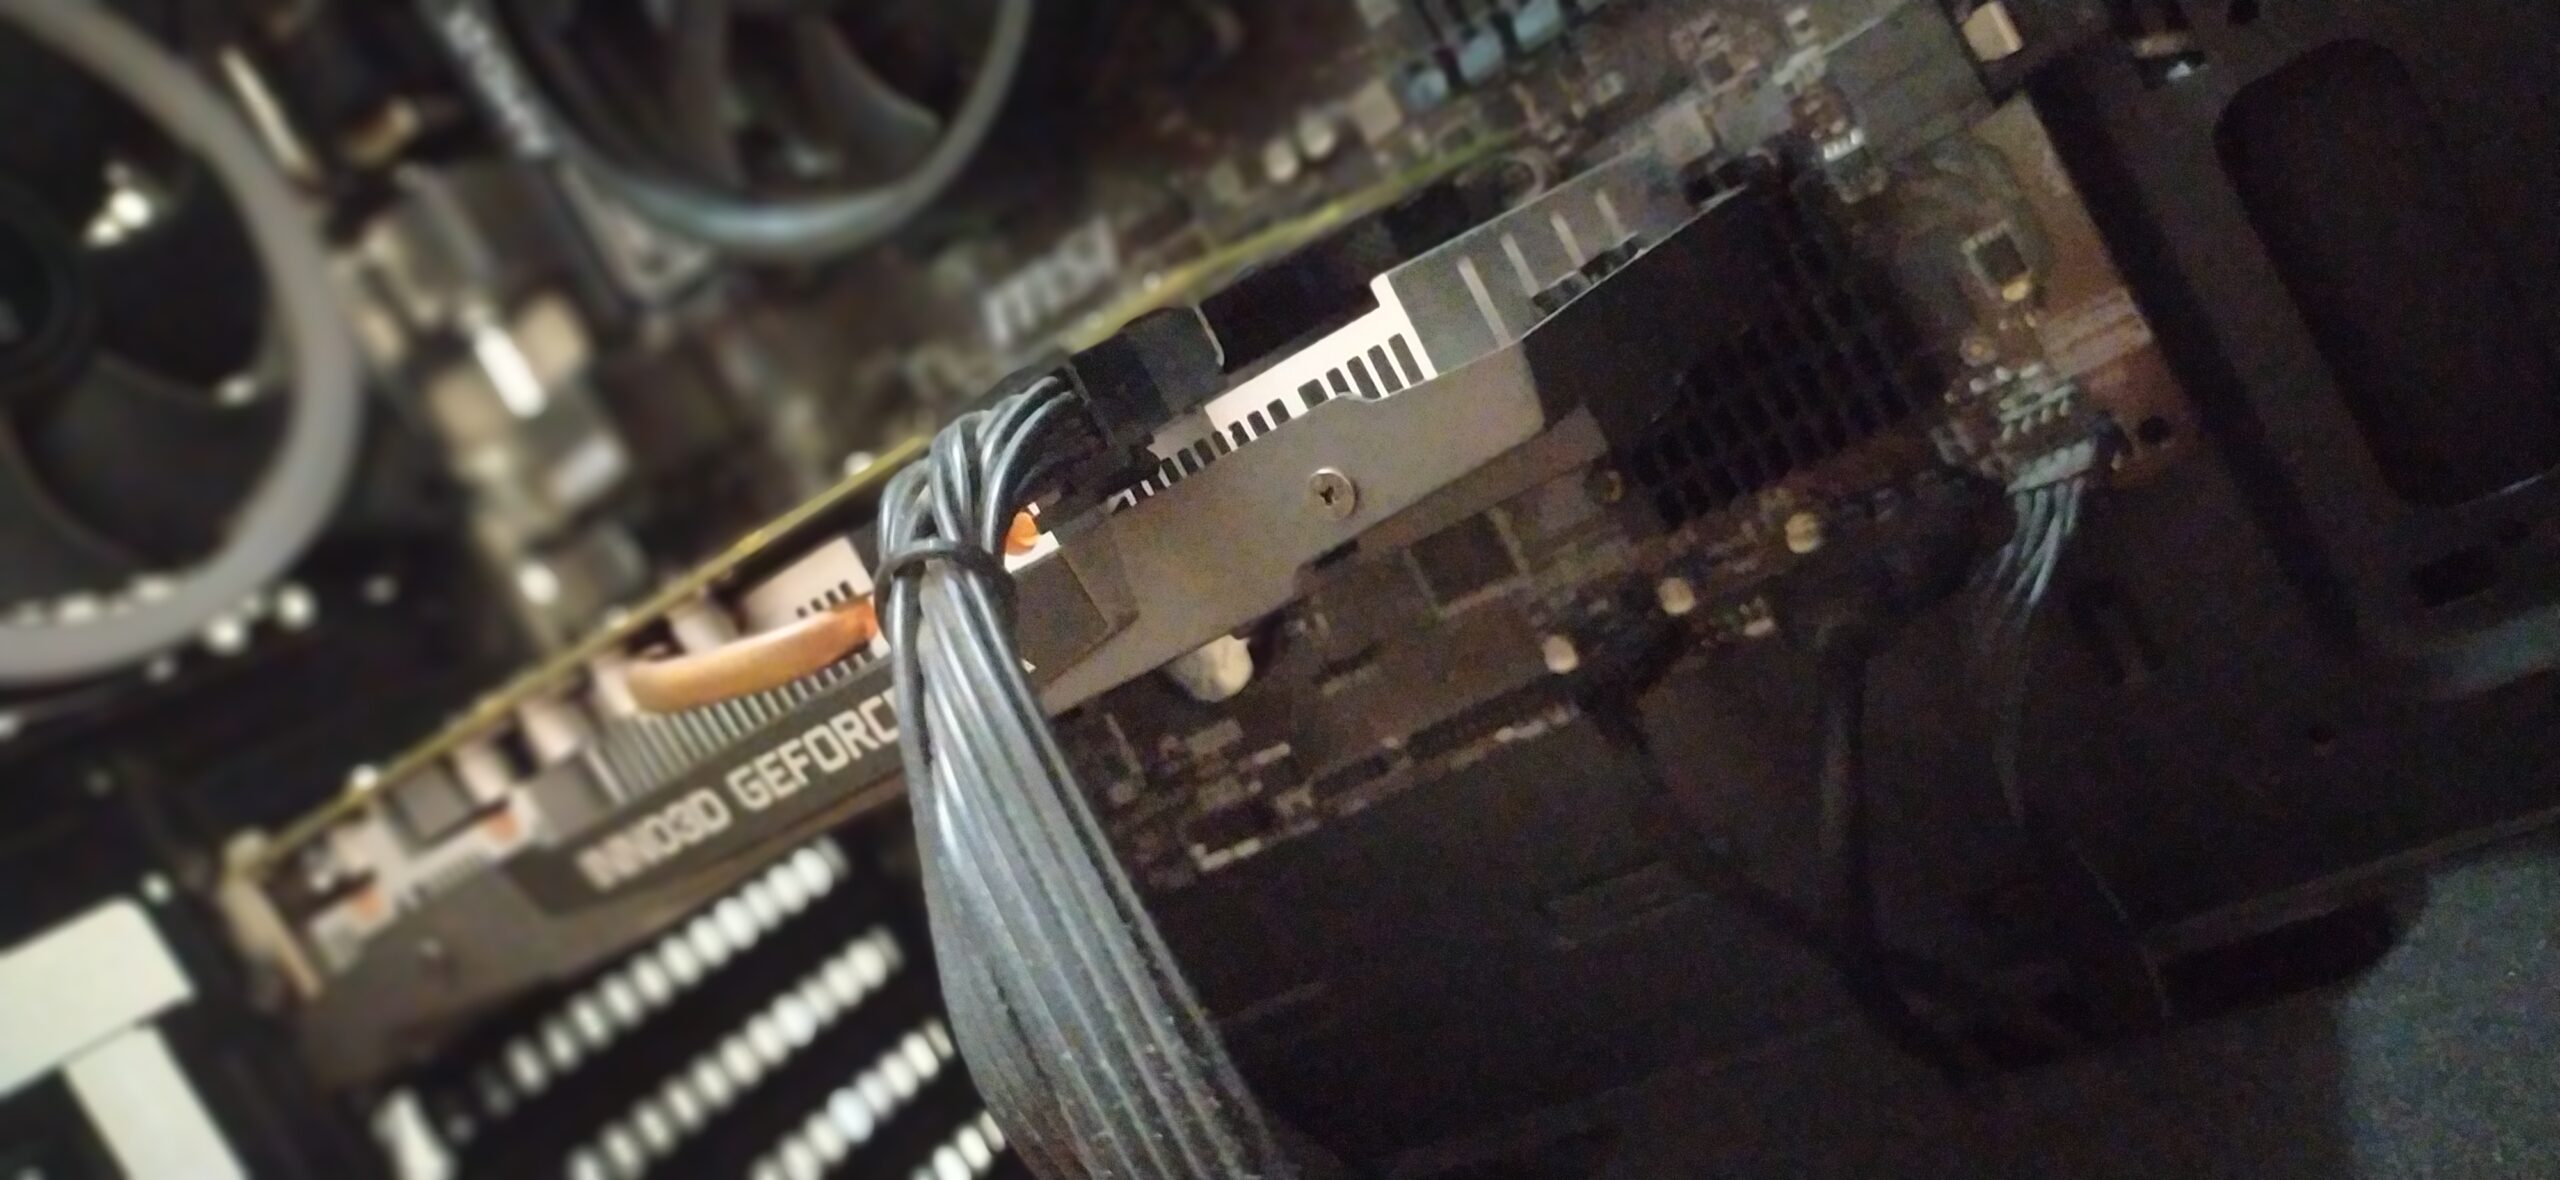
- Locate the power connectors: Look for the power connectors on the side or top of the graphics card. These connectors are usually in the form of 6-pin or 8-pin connectors.
- Identify the type of power connector: Determine whether the power connectors are 6-pin or 8-pin. The connectors may be labeled or color-coded for easy identification.
- Detach the power connectors: Gently squeeze the plastic tabs on either side of the connector and pull straight outwards to detach the power connector from the graphics card. If the connector feels stuck, double-check for any securing clips or locks that need to be released before detaching.
- Repeat for additional power connectors: If your graphics card has multiple power connectors, repeat the process for each connector until all are detached.
Detaching the power connectors ensures that the graphics card no longer receives power from the PSU. This step is crucial to prevent any electrical interference when removing the GPU from the motherboard.
Once all the power connectors are detached, you’re now ready to move on to the next step: removing the screws holding the GPU in place.
Step 5: Remove the Screws Holding the GPU in Place
With the power connectors detached, it’s time to remove the screws that are holding the graphics card in place. These screws secure the GPU to the motherboard, preventing it from moving or becoming loose. Follow these steps to remove the screws:
- Locate the screws: Look for the screws that are holding the GPU onto the motherboard. They are typically located at the back of the graphics card, near the PCIe slot. Depending on the graphics card and case, there may be one or more screws.
- Use the appropriate screwdriver: Based on the screw type, use the appropriate screwdriver (usually a Phillips head screwdriver) to unscrew the screws. Be careful not to force or strip the screws as this can cause damage.
- Set the screws aside: Place the screws in a safe location so that they don’t get misplaced during the removal process.
Once all the screws are removed, the graphics card should be loose. However, always handle the card with care to avoid any accidental damage. The next step is to gently remove the GPU from the motherboard.
Note: Some graphics cards may use a retention bracket or clip to secure the card to the case. If your graphics card has a retention mechanism, check for any locks or latches that need to be released before attempting to remove the GPU.
Now that the screws are removed, you’re ready to move on to the next step: gently removing the GPU from the motherboard.
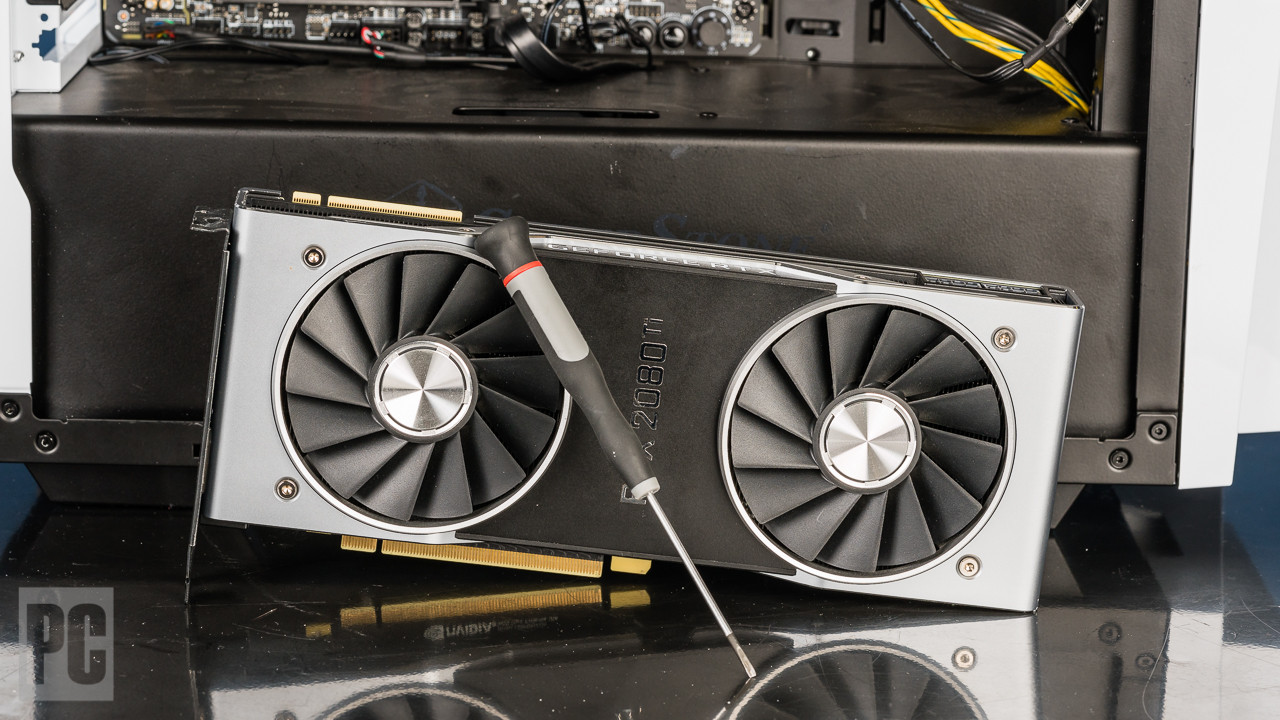
Step 6: Gently Remove the GPU from the Motherboard
With the screws holding the GPU removed, it’s time to carefully remove the graphics card from the motherboard. Be extra cautious during this step to avoid any damage to the GPU or the motherboard. Follow these steps to gently remove the GPU:
- Hold the graphics card by its edges: It’s important to handle the graphics card by its edges, avoiding contact with the gold connectors or any delicate components. This helps prevent static discharge and protects the card from accidental damage.
- Gently pull the GPU straight out: While holding the edges of the graphics card, gently pull it straight out of the PCIe slot. Avoid any twisting or wiggling motions, as this could cause damage to the GPU or the motherboard.
- If necessary, release the retention mechanism: If your graphics card has a retention bracket or clip, check for any locks or latches that need to be released before removing the GPU. Follow the manufacturer’s instructions or consult the documentation for your specific graphics card.
It’s normal to encounter a bit of resistance when removing the GPU, especially if it has been seated firmly in the PCIe slot. However, never use excessive force or try to yank the card out forcefully, as this can cause damage to the card or the slot.
Once the graphics card is removed, place it on an anti-static surface or store it in an anti-static bag to prevent any electrostatic discharge. This will protect the GPU from any potential damage while it is not in use.
With the GPU safely removed, you’re now ready to move on to the final step: storing the GPU for future use or replacing it with a new graphics card.
Step 7: Store the GPU Safely
After removing the graphics card from the motherboard, it’s important to store it safely to protect it from any potential damage. Whether you plan to upgrade your GPU or keep it as a backup, proper storage is crucial. Here are some steps to ensure the safe storage of your GPU:
- Clean the GPU, if necessary: Use a clean, dry cloth or compressed air to remove any dust or debris from the graphics card. This will help maintain its performance and prevent any buildup over time.
- Place the GPU in an anti-static bag: If you have an anti-static bag, carefully place the graphics card inside it. The anti-static bag will provide insulation and protect the card from electrostatic discharge.
- Store the GPU in a dry and cool location: Find a safe and dry place to store the GPU, away from any moisture or extreme temperatures. A cool and well-ventilated area is ideal to prevent any heat buildup.
- Avoid stacking heavy objects on top: Make sure not to place any heavy objects on top of the stored GPU, as this can cause damage or bending to the card’s circuitry or connectors.
If you have the original packaging for your graphics card, it’s a good idea to keep it for storage. The original packaging provides extra protection and is designed to fit the specific dimensions of the GPU.
Remember, whenever you’re ready to install the GPU back into your computer or upgrade to a new graphics card, follow the reverse steps carefully. Taking proper precautions and handling the GPU with care will help ensure its longevity and optimal performance.
Congratulations! You’ve successfully removed the GPU from the motherboard and stored it safely. Whether you’re upgrading your graphics card or troubleshooting hardware issues, this knowledge will come in handy. If you’re replacing the GPU, make sure to research and select a compatible graphics card for your system’s requirements.
Now that you understand the step-by-step process of removing a GPU from a motherboard, you can confidently perform this task whenever necessary. Stay tuned for more informative guides and tips on computer hardware maintenance and upgrades!
Conclusion
Removing a GPU from a motherboard may seem like a complex task, but by following the step-by-step process outlined in this guide, you can do it safely and confidently. Whether you need to upgrade your graphics card or troubleshoot hardware issues, knowing how to remove a GPU is an essential skill for computer enthusiasts and professionals alike.
Throughout the process, we discussed the necessary tools needed, starting with a screwdriver to remove the side panel of your computer case. We also emphasized the importance of grounding yourself and working in a clean and well-lit area to prevent any accidental damage to your components.
We then walked through each step, from powering off your computer to locating the graphics card on the motherboard. We covered detaching the power connectors, removing the screws holding the GPU in place, and gently removing the GPU from the motherboard. Finally, we highlighted the importance of storing the GPU safely to protect it from any potential damage.
By following these steps, you now have the knowledge and skills to confidently remove a GPU from your motherboard whenever needed. Remember to consult your specific hardware manuals or manufacturer instructions for any additional guidance or specific requirements.
Whether you’re an avid gamer, a graphic designer, or a computer enthusiast, knowing how to remove a GPU opens up a world of possibilities for upgrading your computer’s performance or diagnosing hardware issues. With proper precautions and careful handling, you can ensure the longevity and optimal performance of your GPU.
Thank you for reading our guide on how to remove a GPU from a motherboard. Stay tuned for more informative articles and guides on computer hardware maintenance and upgrades!