Introduction
Welcome to our guide on how to plug in a GPU (Graphics Processing Unit). Whether you’re a gaming enthusiast looking to upgrade your graphics performance or a professional in need of enhanced visual processing power, installing a dedicated GPU can significantly improve your computer’s performance.
The GPU is a key component for rendering graphics, handling complex calculations, and accelerating tasks that require advanced graphic processing. By plugging in a GPU, you’ll be able to enjoy smoother gameplay, faster video editing, and better graphics performance across a wide range of applications.
In this step-by-step guide, we’ll walk you through the process of plugging in a GPU into your computer. From gathering the necessary tools to installing drivers, we’ll cover all the essential steps to ensure a successful installation. Whether you’re a tech-savvy individual or a beginner, our guide is designed to help you navigate through the process with ease.
Before we dive into the installation process, it’s important to note that every computer has limitations when it comes to GPU compatibility. Make sure to check your computer’s specifications and ensure that the GPU you choose is compatible with your system. Additionally, it’s always a good idea to back up your data before making any hardware changes to prevent any potential data loss.
Now, without further ado, let’s get started with the step-by-step guide on how to plug in a GPU into your computer.
Step 1: Gather the Necessary Tools
Before you begin installing a GPU, it’s important to gather all the necessary tools to ensure a smooth and hassle-free installation process. Here is a list of tools you’ll need:
- Screwdriver: Depending on the type of computer case you have, you may need a Phillips or a flathead screwdriver to remove screws and secure the GPU.
- Anti-static wristband (optional): While not essential, an anti-static wristband can help prevent damage to sensitive electronic components by grounding static electricity.
- GPU: Ensure that you have the appropriate GPU for your computer. Check compatibility with your computer’s specifications and choose a GPU that meets your needs.
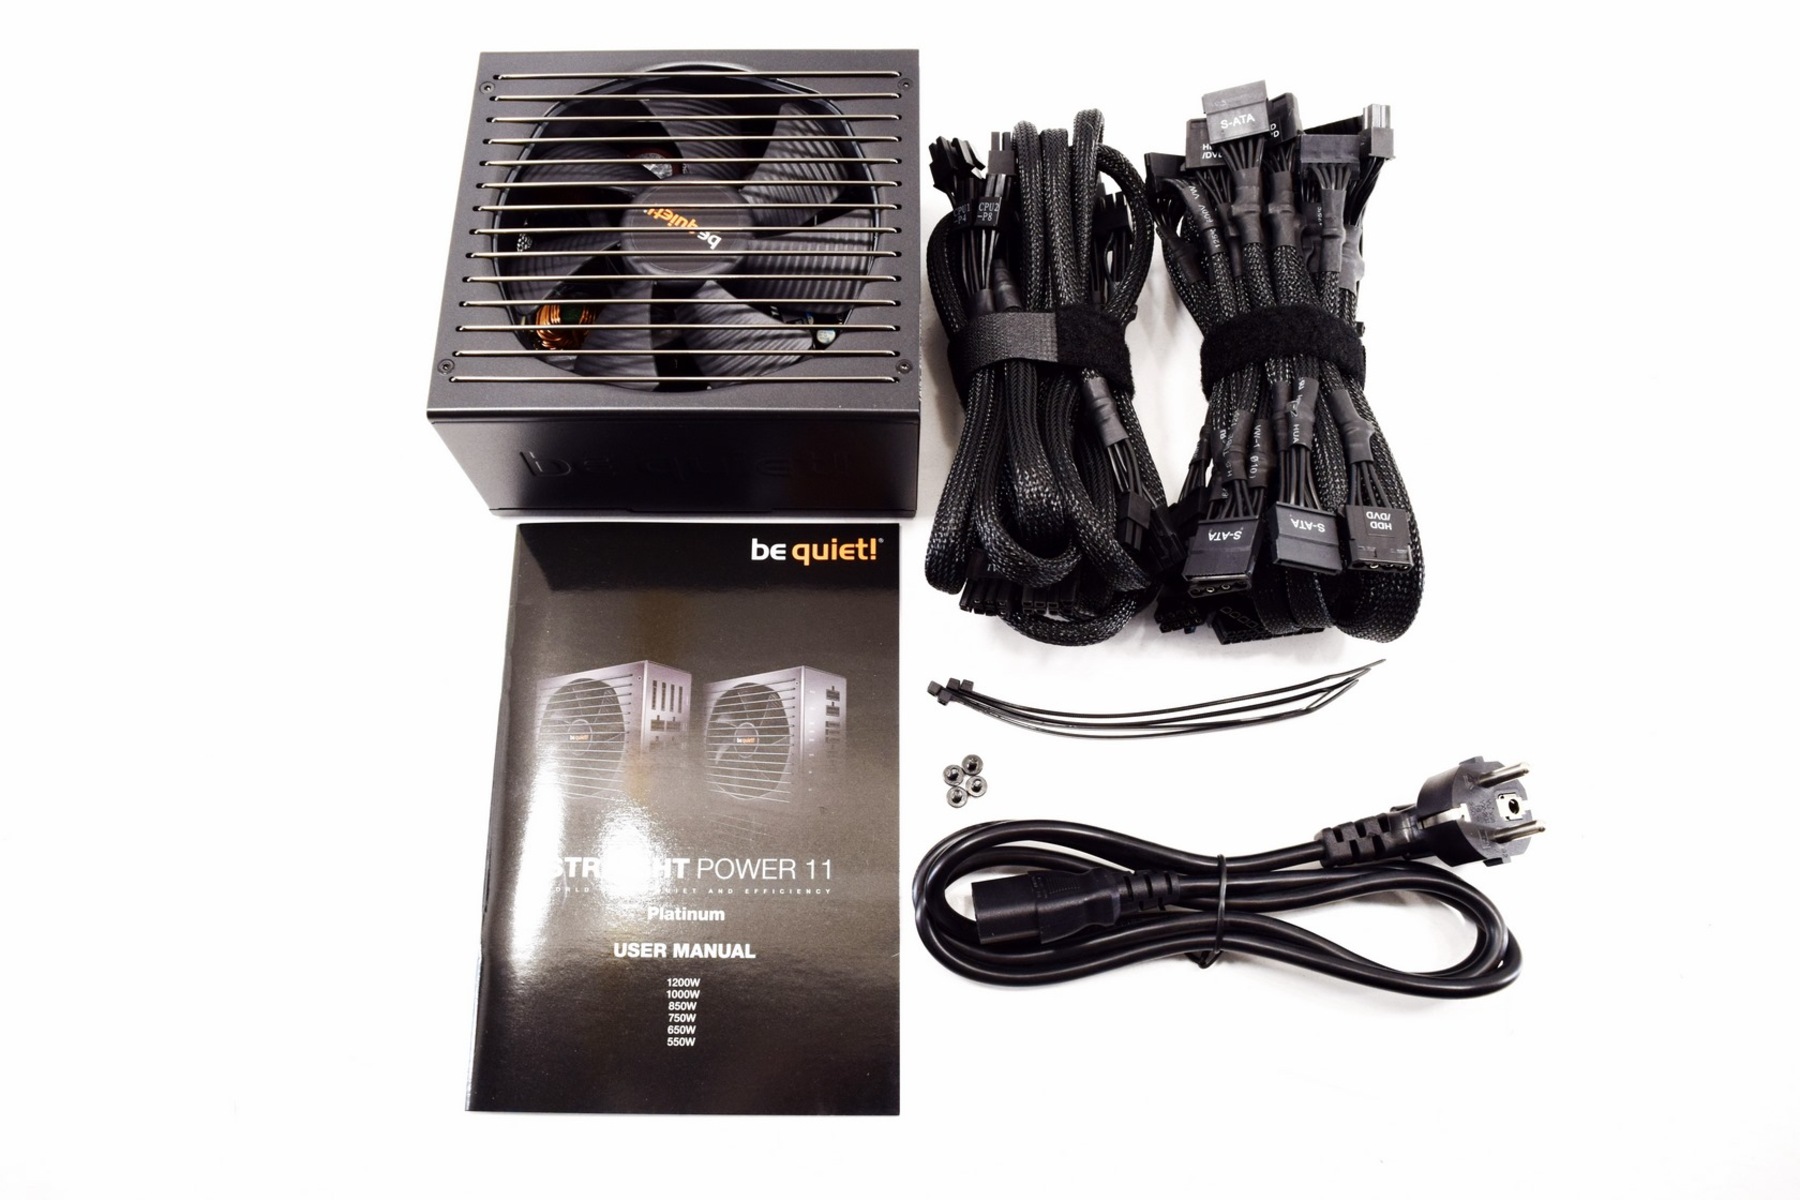
- Power supply cables: Depending on the GPU you choose, you may need additional power supply cables to provide it with adequate power.
- Documentation: It’s always a good idea to have the user manual or installation guide for your specific GPU model to refer to during the installation process.
Once you have gathered these tools, you are ready to proceed to the next step in the installation process. Ensuring that you have all the necessary tools beforehand can save you time and prevent any frustration during the installation process.
Step 2: Power Down and Unplug the Computer
Before you begin installing a GPU, it’s crucial to power down your computer and unplug it from the power source. This step ensures your safety and prevents any electrical damage to your system during the installation process.
Follow these steps to power down and unplug your computer:
- Shut down your computer properly by selecting the “Shut Down” option from the Start menu or pressing the power button.
- Once your computer has shut down, locate the power cable connected to the back of the computer case and unplug it from the power outlet. It’s essential to disconnect the power cable to eliminate any electrical current and ensure your safety.
- Wait for a few moments to allow any residual electricity to discharge. This step is necessary to prevent any potential damage to your computer’s components.
By powering down and unplugging your computer, you create a safe working environment for the installation process. This step helps safeguard both you and your computer from any electrical mishaps that could occur while handling the GPU and making connections.
Step 3: Locate the PCI-E Slot on the Motherboard
The next step in installing a GPU is to locate the PCI-E (Peripheral Component Interconnect Express) slot on your computer’s motherboard. The PCI-E slot is where the GPU will be inserted to establish a connection with the motherboard and the rest of your system.
Follow these steps to locate the PCI-E slot:
- Open your computer case by removing the side panel. The method for opening the case may vary depending on the computer case model, but it typically involves removing screws or sliding a latch.
- Once the case is open, visually inspect the motherboard. Look for a long expansion slot usually positioned towards the bottom of the motherboard. This slot will be the PCI-E slot.
- Identify the size of the PCI-E slot. It is commonly PCIe x16, but there may be other variations like PCIe x8 or PCIe x4. Make sure you choose a GPU that is compatible with the size of the available slot.
It’s important to note that the PCI-E slot may be occupied by other expansion cards, such as a sound card or network adapter. If this is the case, you will need to remove the existing card before proceeding with the GPU installation.
Once you have located the PCI-E slot and ensured its compatibility with your chosen GPU, you are ready to move on to the next step of removing the expansion slot cover.
Step 4: Remove the Expansion Slot Cover
In the installation process of a GPU, removing the expansion slot cover is a crucial step. The expansion slot cover is a metal bracket that covers the PCI-E slot on the back of your computer case. Removing this cover will allow you to insert the GPU into the slot.
Follow these steps to remove the expansion slot cover:
- Observe the back of your computer case and locate the expansion slot cover that corresponds to the PCI-E slot where you will be installing the GPU.
- Using a screwdriver, gently unscrew the screws securing the expansion slot cover to the back of the case. Set the screws aside for later use.
- Once the screws are removed, carefully pop out the expansion slot cover from the case. Some cases may have a latch or clip that needs to be released before the cover can be fully removed.
It’s crucial to remove the expansion slot cover to provide an opening for the GPU to be inserted into the PCI-E slot. Removing this cover will also ensure a secure and proper fit for the GPU.
Before moving on to the next step, ensure that the expansion slot cover has been fully removed and set aside safely. Now, you’re ready to prepare the GPU for installation in the upcoming step.
Step 5: Prepare the GPU for Installation
Before inserting the GPU into the PCI-E slot, it’s essential to prepare it properly. This step involves handling the GPU with care and ensuring that it is ready for a secure and successful installation.
Follow these steps to prepare the GPU for installation:
- Remove the GPU from its packaging and handle it by the edges to avoid damaging any sensitive components.
- Inspect the GPU for any protective stickers or covers that may be covering the connectors or the fan. If present, carefully peel off or remove these stickers to expose the necessary connectors for installation.
- If your GPU requires additional power supply connections, locate the appropriate power connectors on the GPU. These connectors are typically located on the side or top of the GPU and are labeled accordingly.
- Now, take a moment to examine the PCI-E connector on the GPU. It usually has a golden or metal contact surface. Ensure that there are no dust particles or debris on the connector that could interfere with the connection to the motherboard.
By properly preparing the GPU before installation, you’ll ensure that it is free from any obstructions or protective covers that may hinder its functionality. This step will also help guarantee a smooth installation process and optimal performance of the GPU.
With the GPU prepared and ready, it’s time to move on to the next step, which involves inserting the GPU into the PCI-E slot.
Step 6: Insert the GPU into the PCI-E Slot
Now that you have prepared the GPU, it’s time to insert it into the PCI-E (Peripheral Component Interconnect Express) slot on your computer’s motherboard. This step is crucial for establishing a secure and reliable connection between the GPU and the rest of your system.
Follow these steps to insert the GPU into the PCI-E slot:
- Hold the GPU by its edges, ensuring that you do not touch the connectors or any sensitive components.
- Align the golden or metal contact surface of the PCI-E connector on the GPU with the PCI-E slot on the motherboard.
- Gently and firmly insert the GPU into the PCI-E slot, applying even pressure until it is fully seated. You may need to exert a little force, but be careful not to use excessive pressure that could damage the GPU or the motherboard.
- Once the GPU is inserted, you should hear a clicking sound, indicating that it is securely in place.
It’s essential to align the GPU correctly with the PCI-E slot and ensure a snug fit to establish a stable connection. A properly installed GPU will help prevent any connectivity issues and ensure optimal performance.
With the GPU inserted into the PCI-E slot, you’re now ready to move on to the next step and secure the GPU in place.
Step 7: Secure the GPU
Once the GPU is inserted into the PCI-E slot, it’s essential to secure it in place to prevent any movement or accidental dislodging. This step ensures a stable connection and eliminates the risk of the GPU becoming loose during use.
Follow these steps to secure the GPU:
- Locate the screw holes on the GPU bracket. These holes align with the corresponding holes on the computer case.
- Using the screws that were previously removed from the expansion slot cover, secure the GPU bracket to the computer case. Make sure to tighten the screws just enough to hold the GPU securely, but avoid overtightening to prevent any damage to the GPU or the case.
- Double-check that the GPU is aligned properly within the PCI-E slot and that all connections are secure.
By securing the GPU in place, you provide additional stability and eliminate the risk of accidental dislodging. This step is crucial, especially if you plan to transport your computer or if it will be subject to movement that could potentially displace the GPU.
Now that the GPU is securely installed and fastened to the computer case, you’re ready to move on to the next step: connecting the power supply cables to the GPU.
Step 8: Connect Power Supply Cables to the GPU
After securely installing the GPU, the next step is to provide it with the necessary power supply. Most modern GPUs require additional power from the power supply unit (PSU) to function properly. By connecting the appropriate power supply cables, you ensure that the GPU has sufficient power to deliver optimal performance.
Follow these steps to connect power supply cables to the GPU:
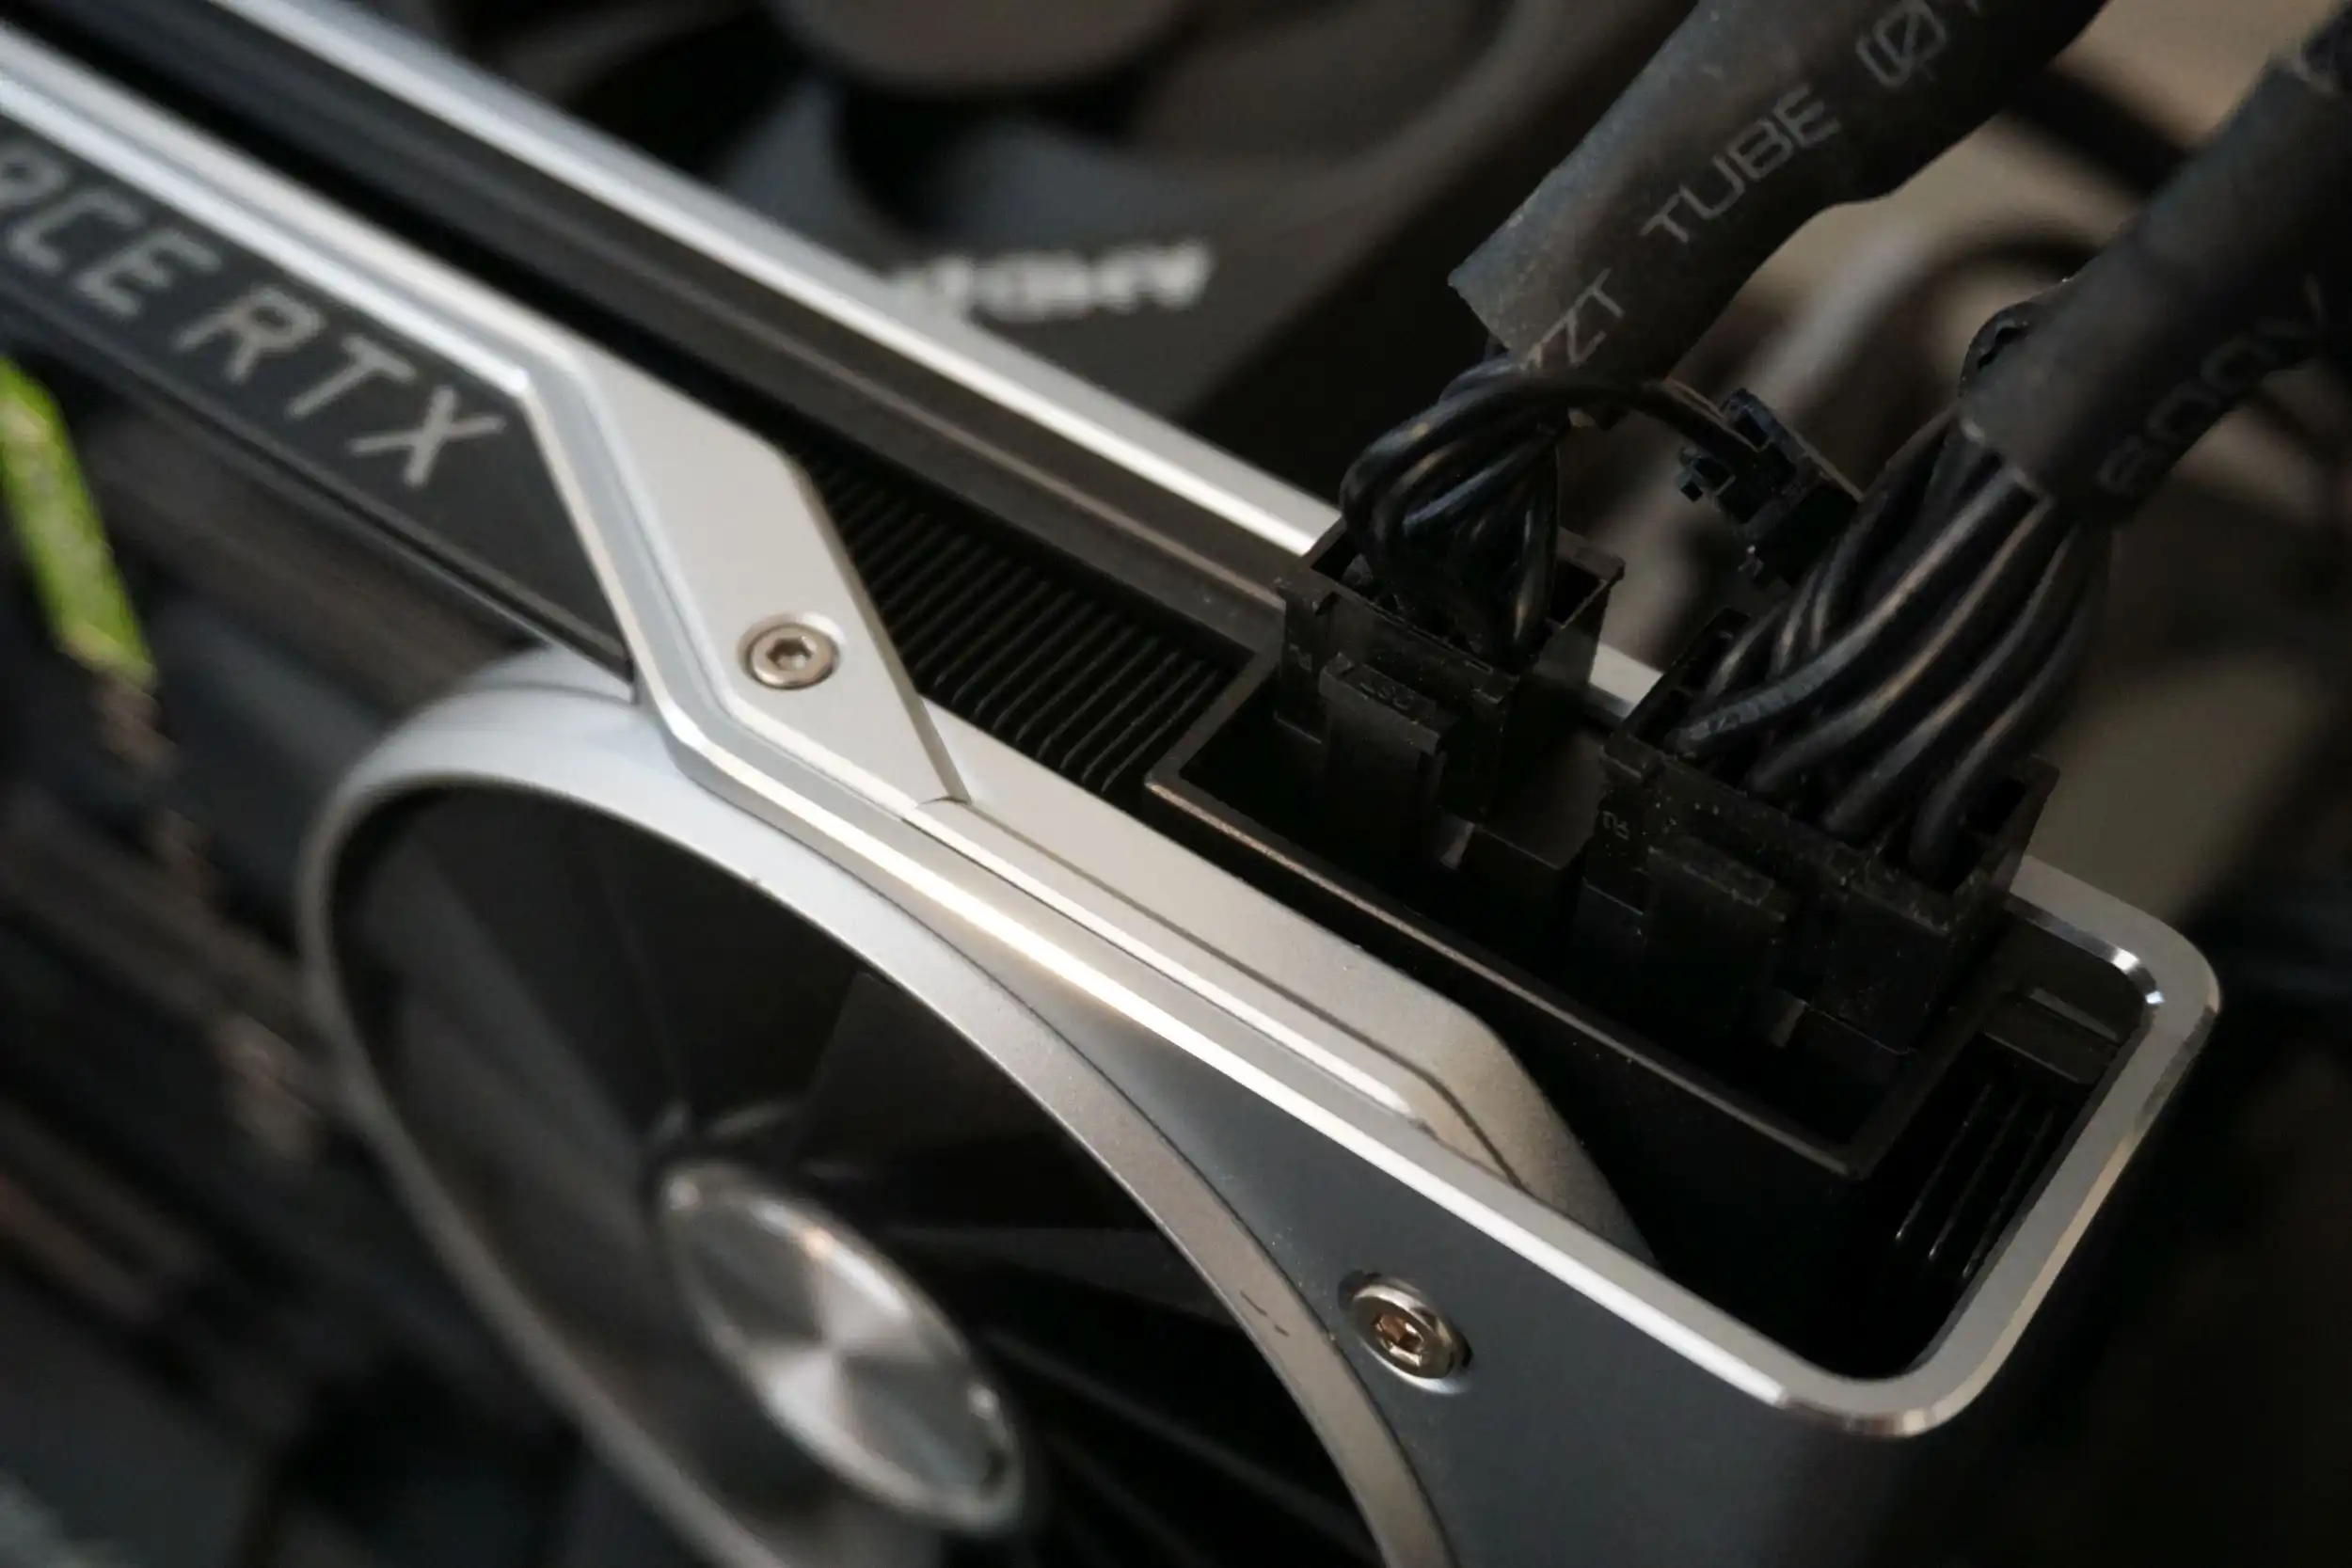
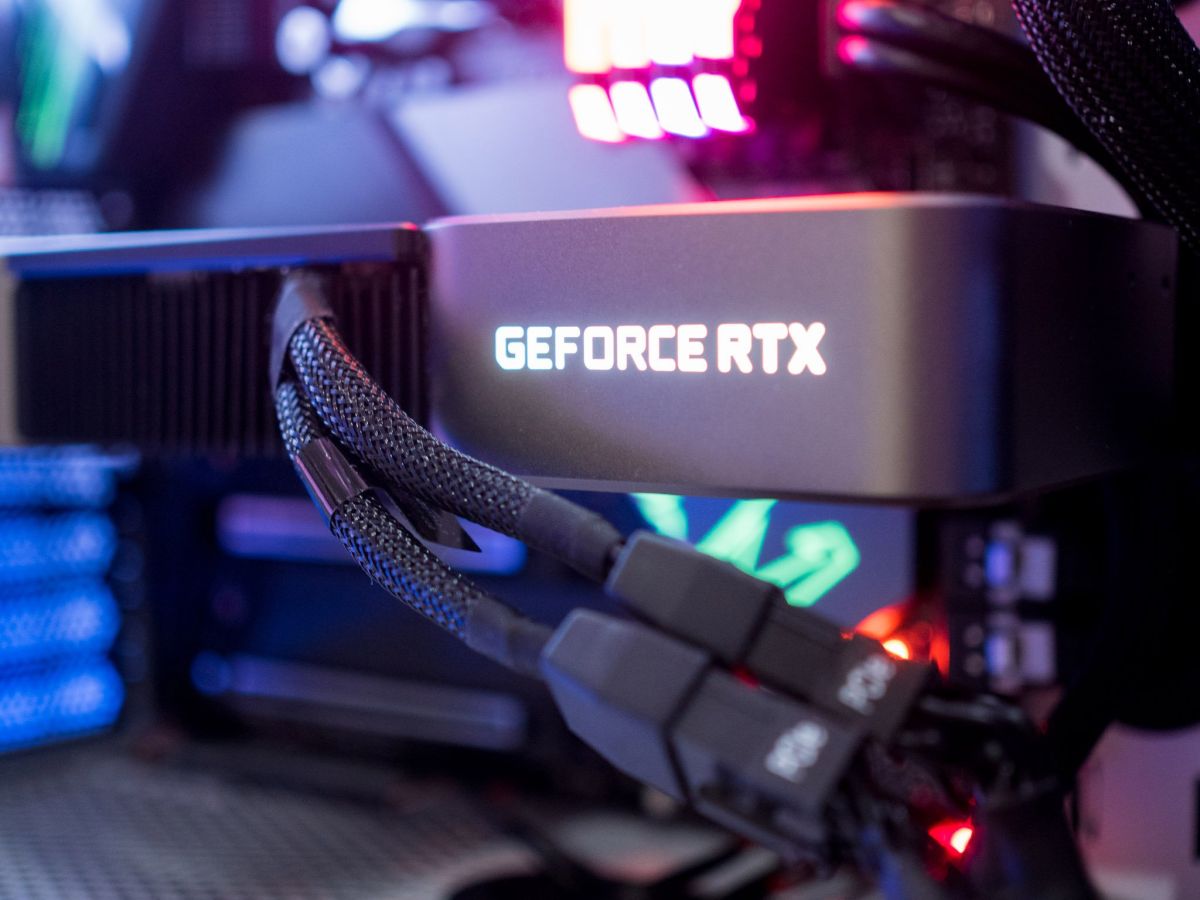
- Locate the power connectors on the GPU. These connectors are typically positioned on the top or side of the GPU.
- Check the power supply unit (PSU) for the appropriate cables that are compatible with your GPU. Types of connectors commonly used include 6-pin, 8-pin, or a combination of both.
- Take the appropriate power supply cable and align it with the GPU’s power connector. Ensure that the connectors match in shape and size.
- Gently insert the power supply cable into the GPU’s power connector. Apply steady pressure until the connectors are fully seated and securely connected.
- Repeat this process for any additional power connectors required by your GPU.
Connecting the power supply cables to the GPU ensures that it receives the necessary power to function optimally. Failing to connect the power supply cables correctly can result in the GPU not performing as expected or not functioning at all.
Once you have successfully connected the power supply cables, you are ready to proceed to the next step: reassembling and powering on the computer.
Step 9: Reassemble and Power On the Computer
After completing the necessary steps to install the GPU and connect the power supply cables, it’s time to reassemble your computer and power it on. This step ensures that your system recognizes the new GPU and allows you to proceed with the installation of GPU drivers.
Follow these steps to reassemble and power on your computer:
- Carefully replace the side panel of your computer case and secure it with the screws or latches.
- Double-check that all cables and connections are secure and properly connected, including the power supply cables to the GPU.
- Plug the power cable back into the power outlet and make sure it is securely connected to the computer.
- Power on your computer by pressing the power button.
As your computer boots up, it should now recognize the newly installed GPU. You may notice that the display resolution changes temporarily during the boot-up process as the system adjusts to the new hardware.
Once your computer has successfully powered on, it’s time to proceed to the final step of installing GPU drivers to ensure optimal performance and compatibility.
Step 10: Install GPU Drivers
Now that your computer has recognized the new GPU, the final step is to install the appropriate GPU drivers. GPU drivers are essential software that allows your operating system to communicate effectively with the GPU, enabling optimal performance and compatibility.
Follow these steps to install GPU drivers:
- Visit the website of the GPU manufacturer, such as NVIDIA or AMD, and navigate to the drivers section.
- Search for the specific GPU model and select the appropriate driver for your operating system.
- Download the driver and follow the on-screen instructions to install it. This usually involves running the downloaded executable file and following the prompts.
- Once the installation is complete, restart your computer to ensure that the new drivers are properly applied.
Installing the latest GPU drivers is essential for optimal performance, as it ensures that your GPU can take full advantage of its capabilities and features. Additionally, updated drivers often include bug fixes and performance improvements.
After restarting your computer, you can verify that the GPU drivers have been successfully installed by accessing the GPU control panel. From there, you can customize the GPU settings and monitor its performance.
Congratulations! You have successfully installed a GPU and completed the process of installing the necessary drivers. Your computer is now ready to provide improved graphics performance and handle demanding tasks with ease.
Conclusion
Installing a GPU is a great way to enhance your computer’s performance, especially when it comes to graphics-intensive tasks and gaming. By following the step-by-step guide outlined in this article, you can successfully plug in a GPU and enjoy improved visuals and faster processing power.
Throughout the installation process, we covered various steps, including gathering the necessary tools, powering down the computer, locating the PCI-E slot on the motherboard, removing the expansion slot cover, preparing the GPU, inserting it into the PCI-E slot, securing the GPU, connecting power supply cables, reassembling the computer, and installing GPU drivers.
Remember to always handle the GPU with care, follow safety precautions, and check for compatibility with your system before making any changes. Additionally, it’s crucial to download and install the latest GPU drivers to ensure optimal performance and compatibility with your operating system.
With the GPU successfully installed and drivers installed, you can now enjoy the benefits of improved graphics performance, smoother gameplay, faster video editing, and increased productivity in graphic-intensive applications.
Whether you’re a gamer, content creator, or professional in need of enhanced visual processing power, plugging in a GPU is a worthwhile upgrade that can take your computer’s performance to the next level.
We hope that this guide has been helpful and that you have found the information provided valuable. If you have any further questions, feel free to consult the manufacturer’s documentation or seek assistance from a knowledgeable professional.
Happy gaming and productive computing with your newly installed GPU!