Introduction
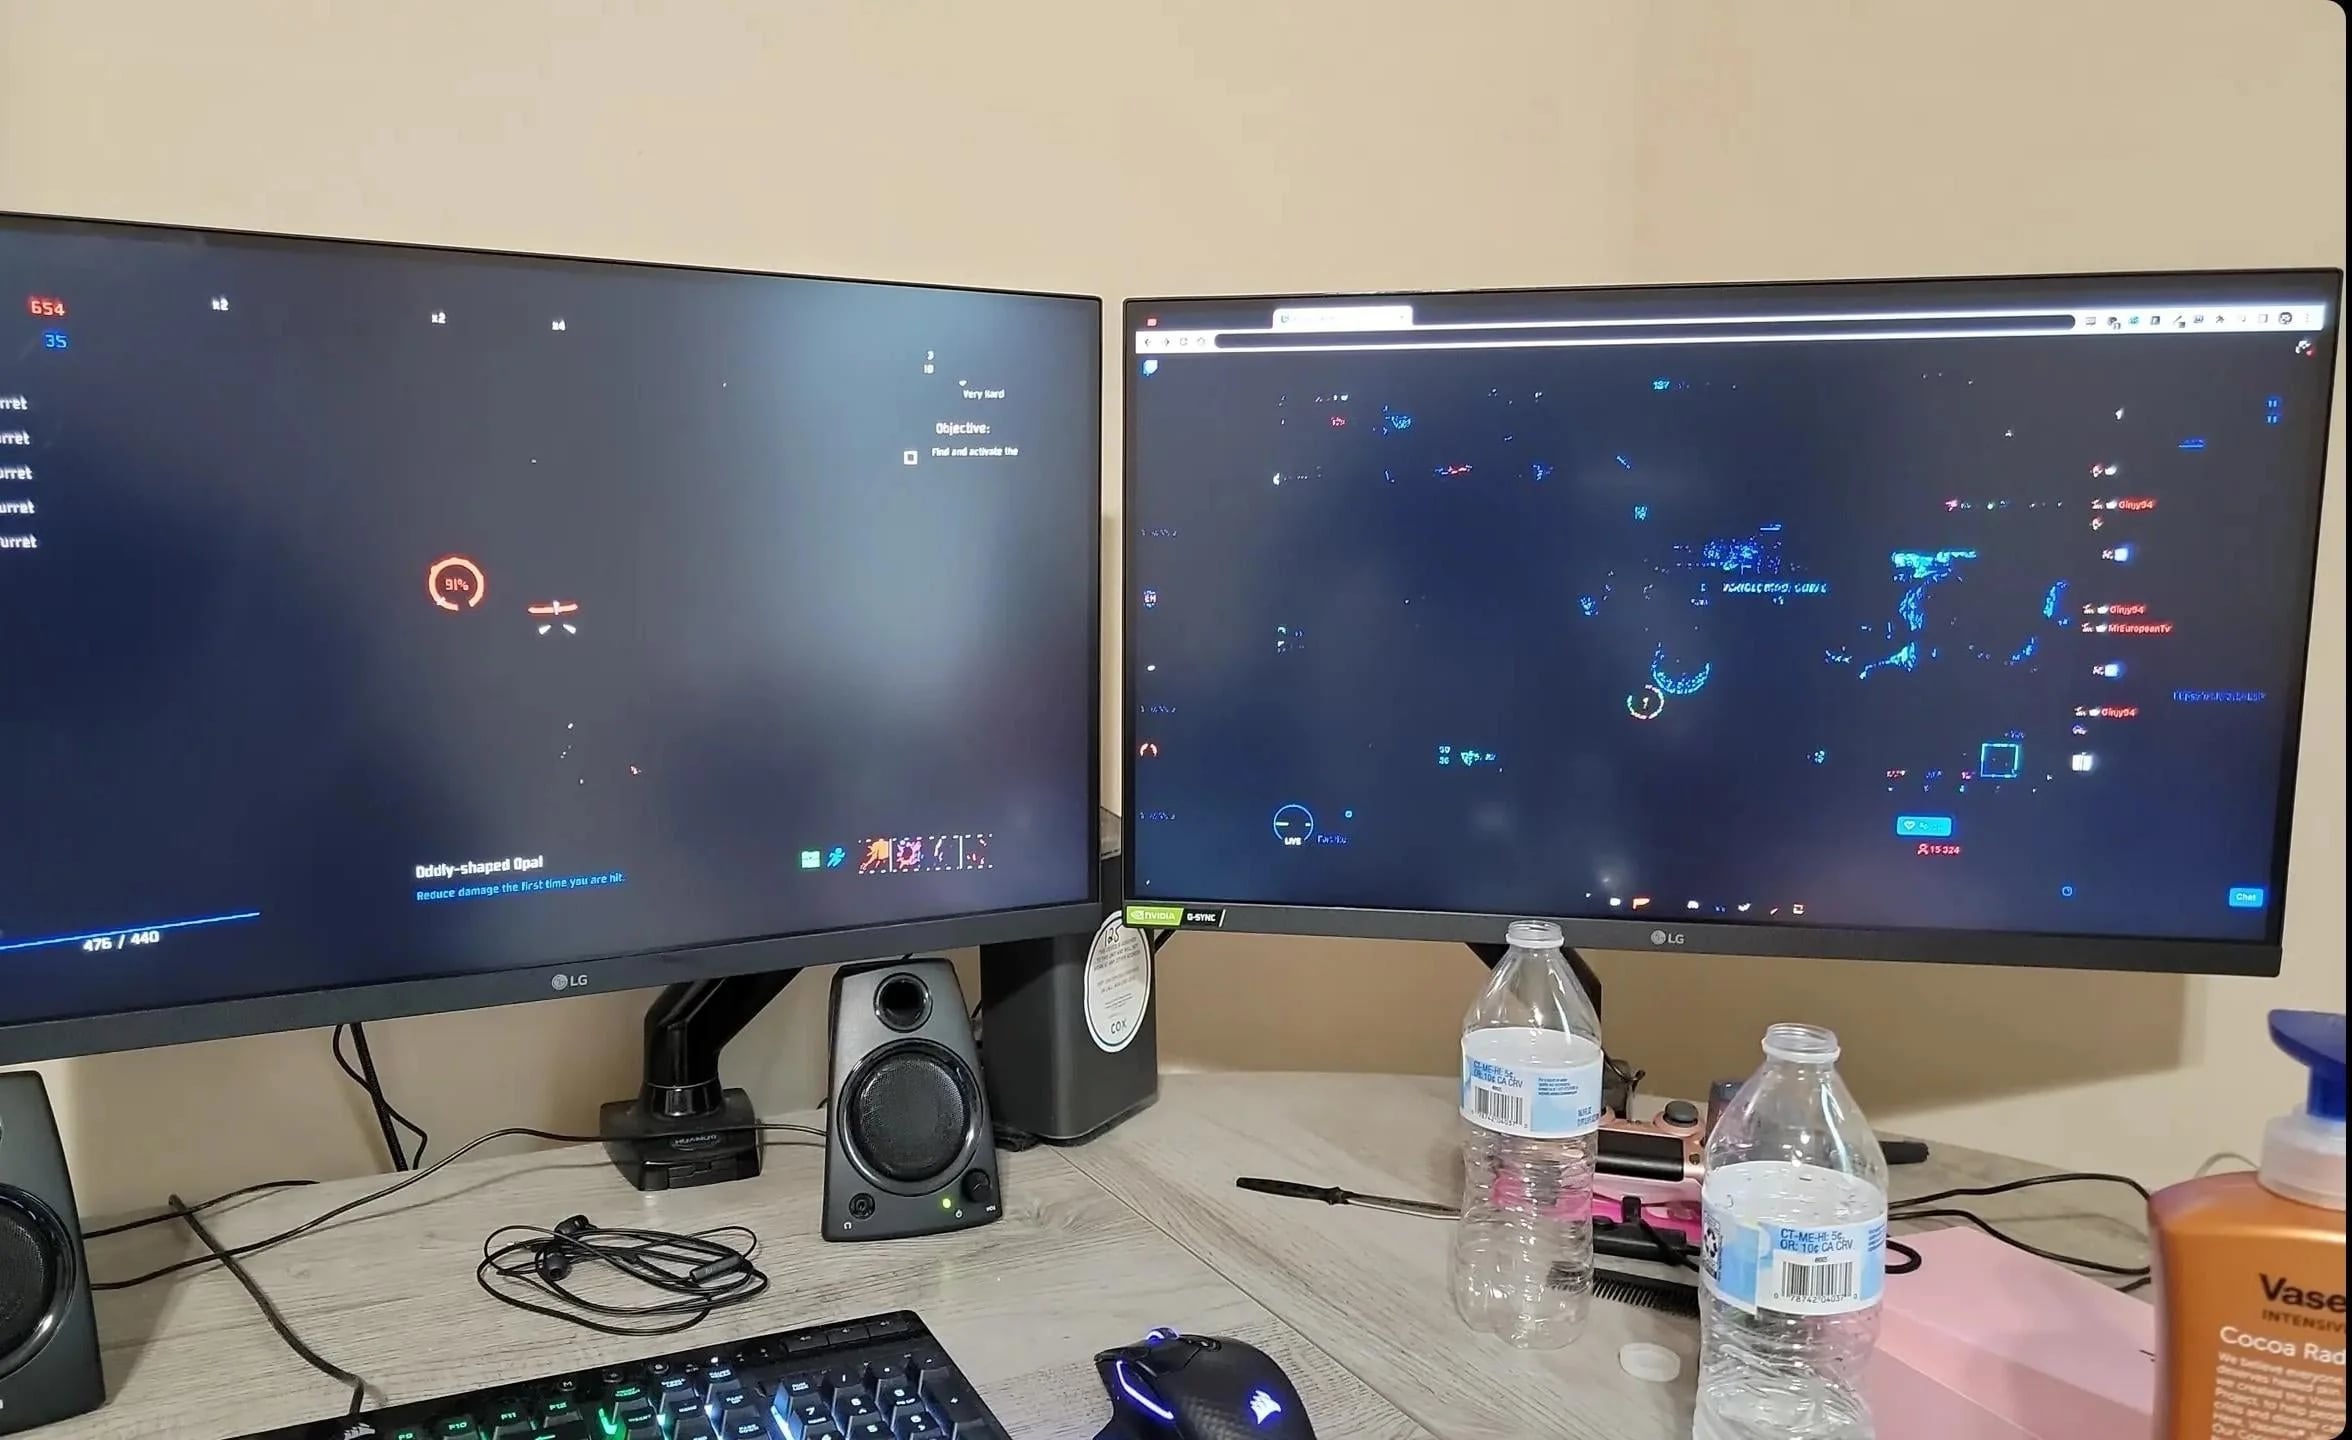
Graphics cards are crucial components in a computer system, responsible for rendering images, videos, and animations. They play a vital role in delivering a smooth and immersive visual experience while running graphic-intensive applications and playing games. However, there are instances when a graphics card can crash, causing frustration and disruption to your computing experience.
When a graphics card crashes, you may experience symptoms such as screen freezing, distorted or flickering graphics, black screens, or even system crashes. Understanding the reasons behind these crashes is essential for troubleshooting and resolving the issue.
This article will delve into the various factors that can cause a graphics card to crash, ranging from overheating and insufficient power supply to outdated drivers and hardware conflicts. Not only will we explore these reasons, but we will also provide you with practical steps to diagnose and rectify a crashed graphics card.
Keep in mind that while a crashed graphics card can be frustrating, it does not necessarily mean that your graphics card is permanently damaged and needs to be replaced. In many cases, the issue can be resolved through troubleshooting and implementing the appropriate fixes.
Read on to discover the common causes of graphics card crashes and how to effectively address them, ensuring that you can enjoy a stable and optimal computing experience.
What is a graphics card and what does it do?
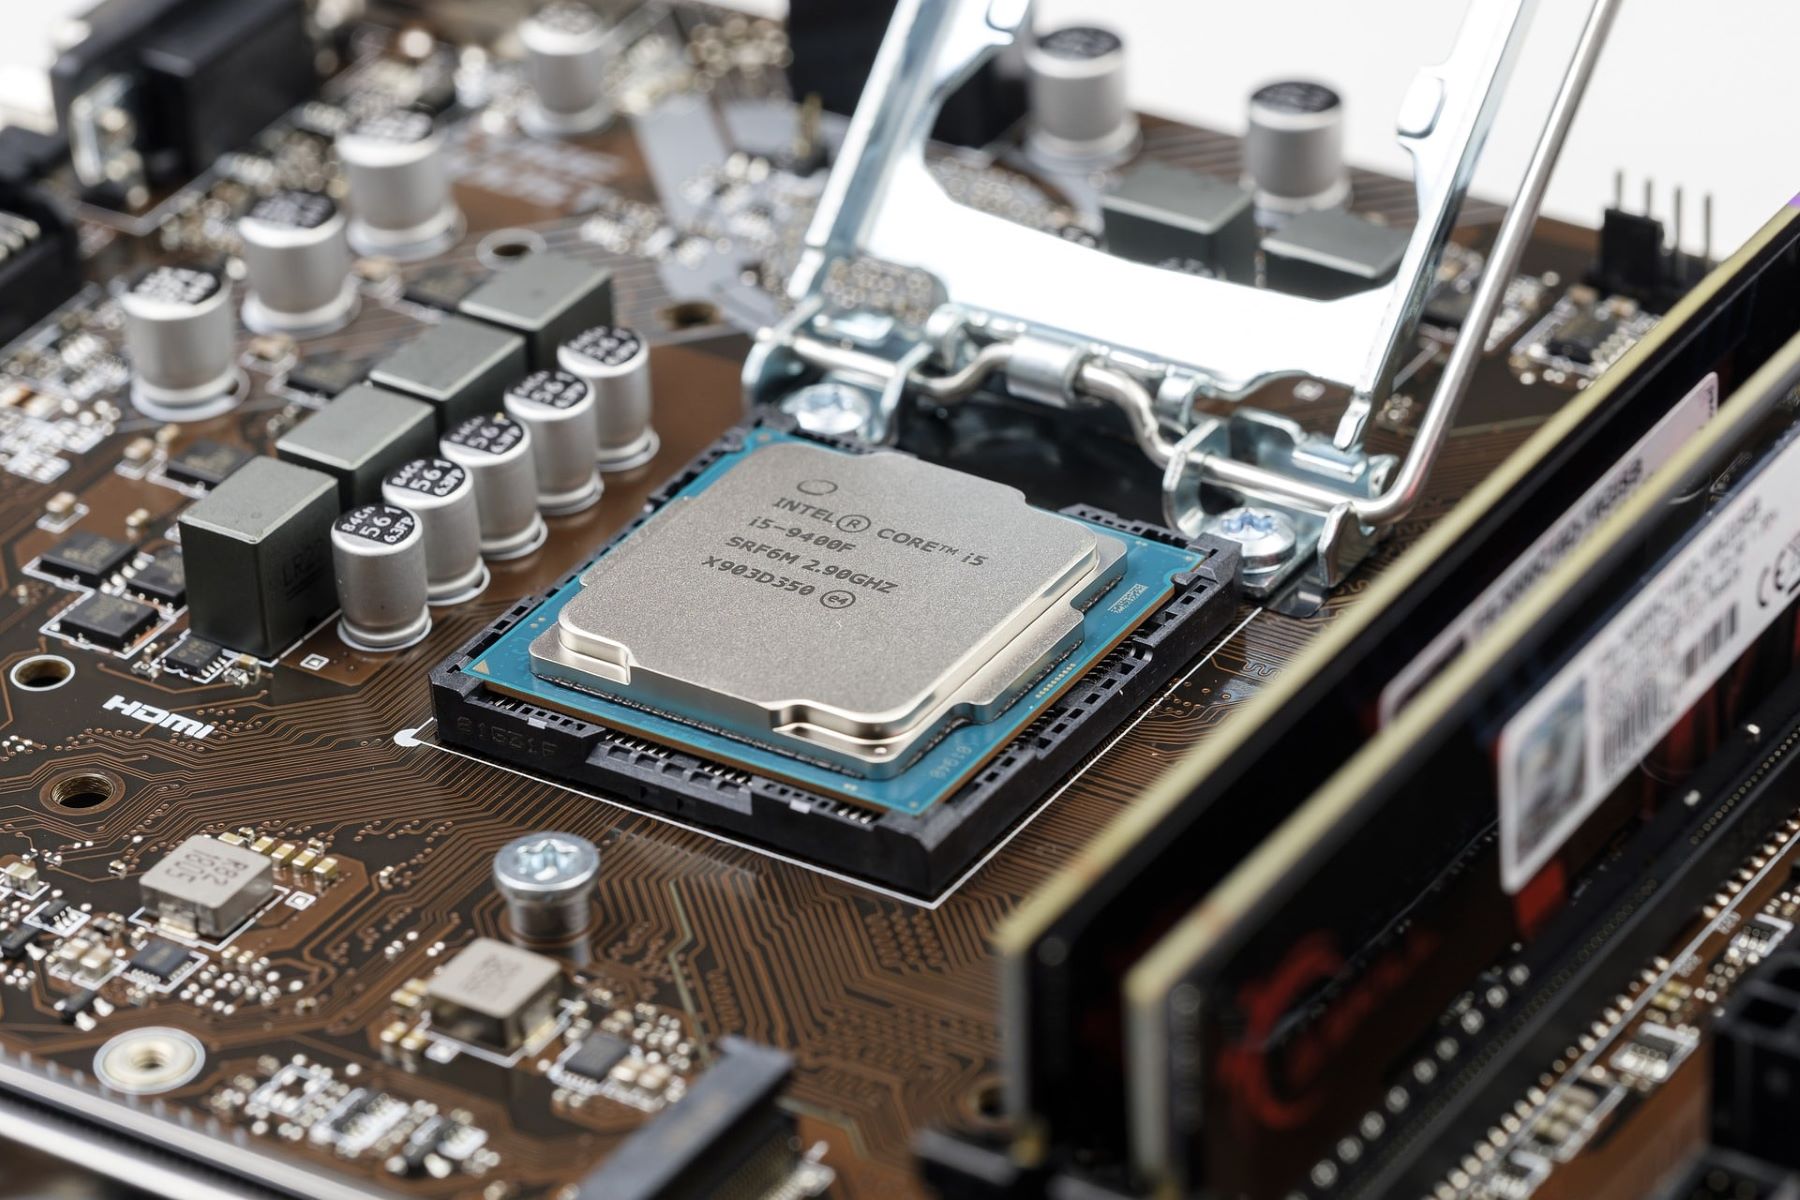
A graphics card, also known as a video card or GPU (Graphics Processing Unit), is a specialized component in a computer that is dedicated to rendering and displaying high-quality visuals on your monitor. It works in conjunction with the CPU (Central Processing Unit) to handle the complex calculations required for producing lifelike images, videos, and animations.
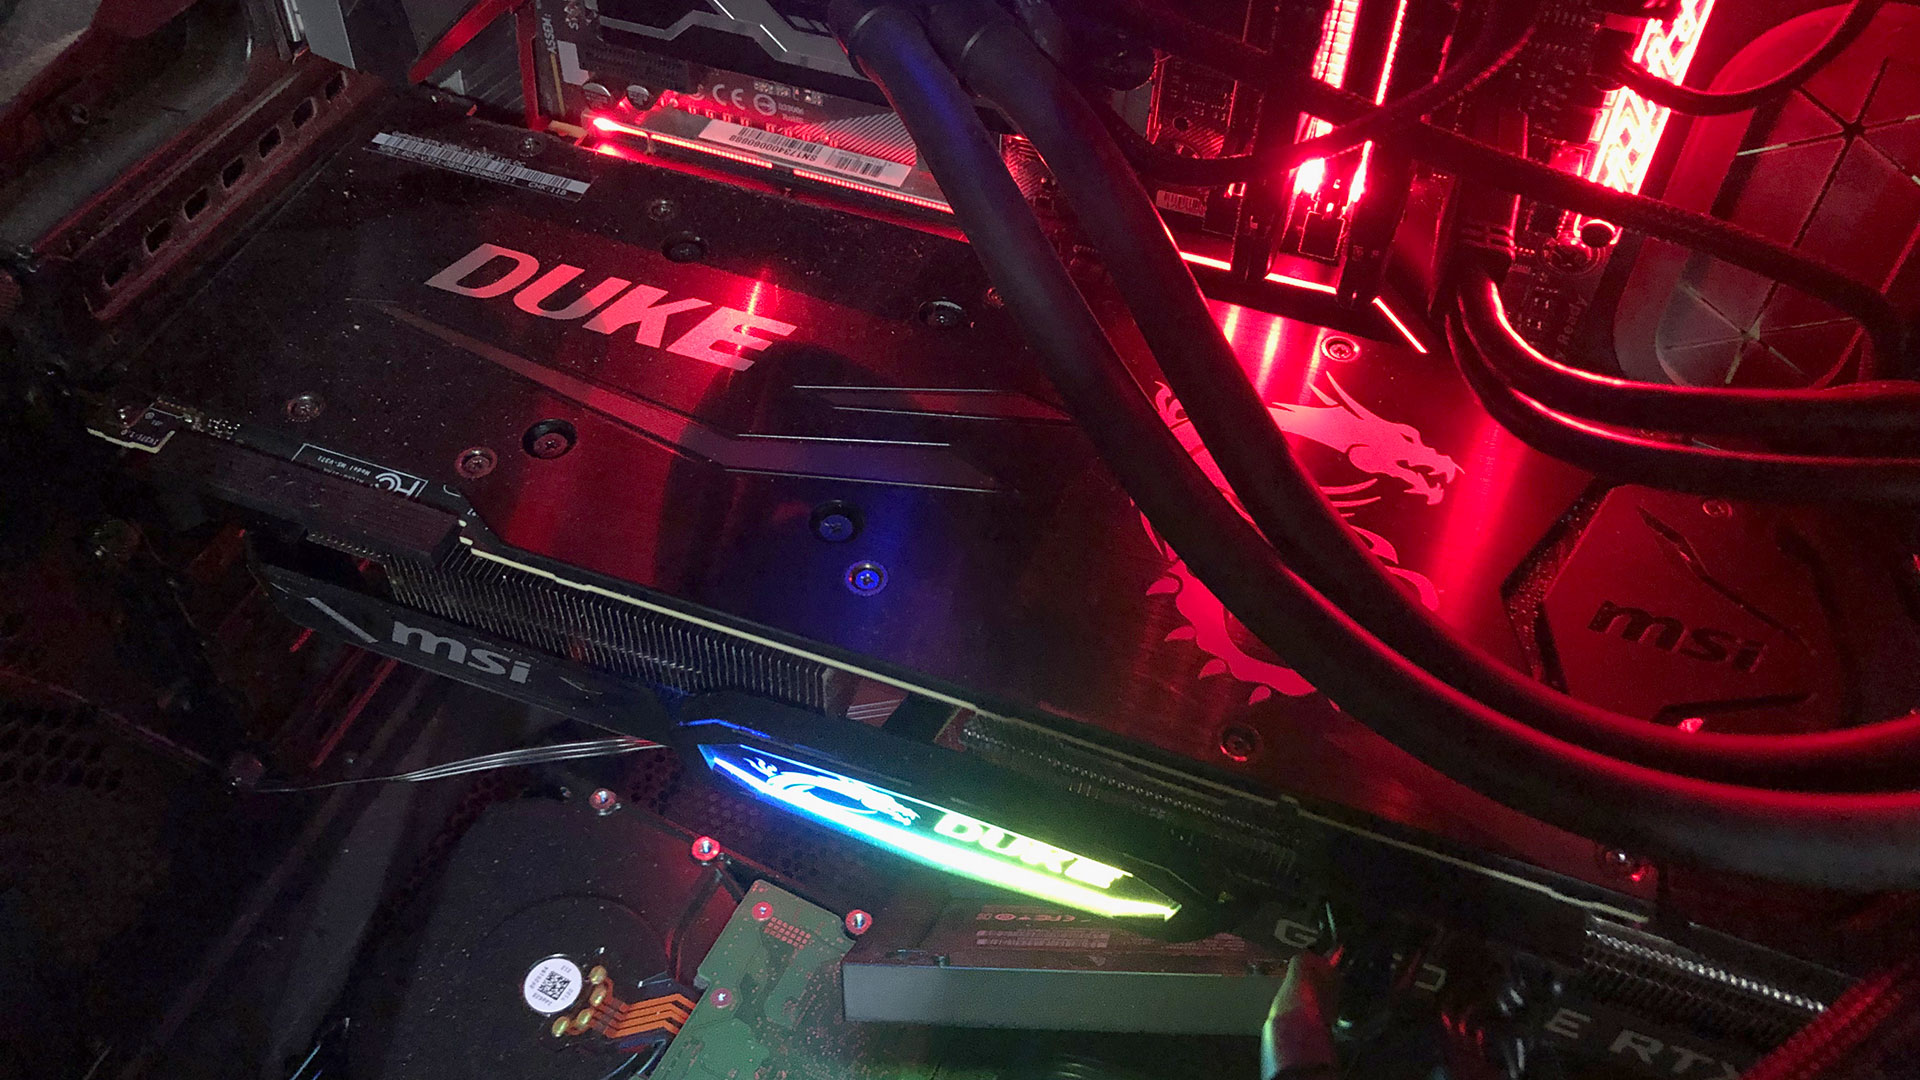
Graphics cards consist of three main components: the graphics processing unit (GPU), video memory (VRAM), and cooling system. The GPU is the powerhouse responsible for performing millions of calculations per second to render the graphics. VRAM, on the other hand, is a high-speed memory that stores the data needed for rendering the images and textures. The cooling system ensures that the GPU stays at an optimal temperature by dissipating heat generated during intensive graphic tasks.
When you interact with your computer, whether browsing the web, watching videos, or playing games, the graphics card processes the visual data to create smooth and realistic visuals. It handles tasks such as geometry processing, texture mapping, lighting calculations, and post-processing effects to deliver a visually stunning experience.
The ability of a graphics card to handle demanding graphics tasks is measured by factors such as its core clock speed, the number of processing cores (CUDA cores for NVIDIA or stream processors for AMD), and the amount of VRAM. Higher-end graphics cards are typically more powerful and capable of delivering better performance in resource-intensive applications and games.
In addition to its primary role in rendering graphics, modern graphics cards also support other advanced features. These include hardware acceleration for video decoding, support for multiple monitors, and compatibility with emerging technologies such as virtual reality (VR) and ray tracing.
Overall, a graphics card is an essential component for any computer system that aims to provide a smooth and immersive visual experience. It enables you to enjoy graphically demanding applications, games, and multimedia content at their best, elevating the overall computing experience.
Reasons for graphics card crashes
Graphics card crashes can occur due to a variety of reasons, ranging from hardware-related issues to software conflicts. Understanding these reasons is crucial in troubleshooting and resolving the crashes effectively. Here are some common reasons why graphics cards may crash:
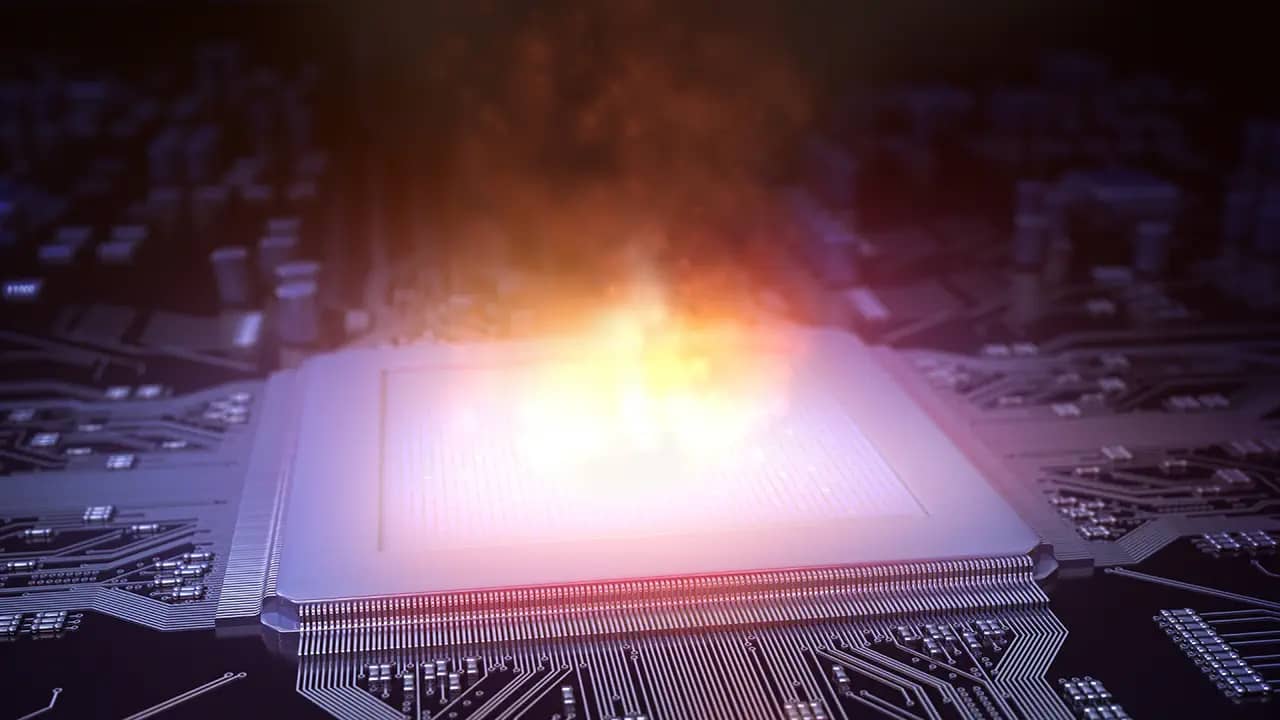
1. Overheating: Graphics cards can generate a significant amount of heat, especially during intense gaming or graphic-intensive tasks. If the cooling system of the graphics card is inadequate or if there is a build-up of dust, the GPU’s temperature can exceed safe limits, causing it to crash.
2. Insufficient power supply: Graphics cards require a sufficient and stable power supply to operate properly. If the power supply unit (PSU) does not deliver enough power or if there are fluctuations in power delivery, it can lead to graphics card crashes.
3. Outdated or faulty drivers: Graphics card drivers act as a bridge between the operating system and the hardware. Outdated or faulty drivers can cause compatibility issues, resulting in crashes. It is crucial to keep the graphics card drivers up to date to ensure optimal performance and stability.
4. Hardware conflicts: Conflicts between different hardware components in the computer system can also lead to graphics card crashes. For example, incompatible RAM or motherboard issues can cause instability and crashes in the graphics card.
5. Overclocking: Overclocking, the process of running the graphics card at higher clock speeds than specified by the manufacturer, can lead to instability and crashes. While overclocking can provide a performance boost, it also puts more strain on the graphics card and can cause it to crash if not properly managed.
6. Faulty graphics card: In some cases, the graphics card itself may be faulty or damaged. This can be due to manufacturing defects or physical damage. A faulty graphics card may exhibit crashes as one of the symptoms.
Identifying the specific cause of the graphics card crashes is essential for effectively addressing the issue. By pinpointing the reason, you can implement the appropriate troubleshooting steps and fixes to restore stability to your computer system. In the following sections, we will explore how to diagnose and fix a crashed graphics card.
Overheating
Overheating is one of the most common causes of graphics card crashes. Graphics cards can generate a significant amount of heat during heavy usage, such as gaming or running GPU-intensive applications. If the GPU’s temperature reaches excessive levels, it can lead to instability and crashes. Understanding and addressing overheating issues is essential for maintaining a stable and reliable graphics card.
There are several factors that can contribute to graphics card overheating:
1. Inadequate cooling: Graphics cards come equipped with cooling systems, including fans and heat sinks, to dissipate heat. If these cooling components are inefficient or if there is a buildup of dust and debris, heat may not be effectively removed from the GPU, causing it to overheat.
2. Poor ventilation: The computer case’s ventilation plays a crucial role in maintaining optimal temperatures. If the case has poor airflow or is tightly packed, the graphics card may not receive adequate cool air, resulting in overheating.
3. Overclocking: Overclocking the graphics card involves running it at higher clock speeds to boost performance. However, this also increases power consumption and heat generation. If the GPU is overclocked without proper cooling measures, it can lead to overheating and subsequent crashes.
4. Ambient temperature: The ambient temperature of the room where the computer is housed can also impact the cooling efficiency. If the room is hot or lacks proper ventilation, it can contribute to increased GPU temperatures.
To prevent graphics card overheating and crashes, consider the following steps:
1. Clean the graphics card and the computer case: Regularly clean the graphics card’s fans and heat sinks to remove dust and debris that can obstruct airflow. Additionally, clean the computer case to ensure proper ventilation for cooling.
2. Improve airflow: Ensure that the computer case has proper airflow by organizing cables, removing obstructions, and adding additional fans if necessary. Consider using case fans to direct cool air towards the graphics card.
3. Monitor GPU temperature: Use software tools like MSI Afterburner or HWMonitor to monitor the GPU temperature. If the temperature consistently exceeds safe limits (usually around 85-90 degrees Celsius), consider taking action to address the issue.
4. Adjust fan speed and create custom fan curves: Most graphics card software allows you to adjust the fan speed manually or create custom fan curves. Increasing the fan speed can help dissipate heat more efficiently, but it may also result in increased noise levels.
5. Avoid overclocking or adjust overclocking settings: If you have overclocked your graphics card, consider reverting to its default clock speeds. Alternatively, adjust the overclocking settings to strike a balance between performance and heat generation.
By addressing overheating issues and implementing proper cooling measures, you can significantly reduce the risk of graphics card crashes and ensure a stable computing experience.
Insufficient power supply
Insufficient power supply to the graphics card can result in instability and crashes. Graphics cards require a specific amount of power to function optimally, and if the power supply unit (PSU) cannot deliver enough power, the graphics card may fail to perform or even crash during demanding tasks. Understanding the role of power supply and addressing power-related issues is crucial in maintaining a stable graphics card.
There are several reasons why insufficient power supply can lead to graphics card crashes:
1. Inadequate wattage: The wattage of the power supply unit should be sufficient to meet the power requirements of the graphics card. If the PSU’s wattage is too low to handle the load, the graphics card may not receive enough power, resulting in crashes.
2. Underpowered PCIe connectors: Graphics cards typically require one or more PCIe power connectors to provide additional power. If the PSU does not have enough PCIe connectors or if the connectors are not properly connected, the graphics card may not receive adequate power, leading to instability and crashes.
3. Power fluctuations: Fluctuations in power delivery can occur due to faulty wiring, unstable power sources, or inadequate power regulation. These fluctuations can cause the graphics card to receive inconsistent power, which can result in crashes.
To address insufficient power supply issues, consider the following steps:
1. Check the PSU wattage: Ensure that the power supply unit has enough wattage to meet the power requirements of the graphics card. Consult the graphics card manufacturer’s specifications for the recommended PSU wattage.
2. Verify proper PCIe power connections: Ensure that the appropriate PCIe power connectors are connected securely to the graphics card. If the PSU does not have enough PCIe connectors, consider upgrading to a more powerful PSU.
3. Use high-quality power cables: Poor-quality or damaged power cables can lead to power supply issues. Ensure that you are using high-quality cables that are in good condition to provide a stable power connection to the graphics card.
4. Use a UPS (Uninterruptible Power Supply): A UPS can help regulate and stabilize power delivery to your computer system, protecting it from power surges and fluctuations. This can prevent crashes and damage to the graphics card and other components.
5. Unplug unnecessary devices: Disconnect any unnecessary devices from the power supply to reduce the load and ensure that more power is available for the graphics card.
By addressing power supply-related issues and ensuring that the graphics card receives sufficient and stable power, you can minimize the risk of crashes and maintain the stability and performance of your system.
Outdated or faulty drivers
Outdated or faulty graphics card drivers can cause compatibility issues, leading to instability and crashes. Graphics card drivers act as a bridge between the operating system and the hardware, enabling communication and ensuring that the graphics card functions optimally. If the drivers are outdated, they may not be fully compatible with the operating system or the applications being used, resulting in crashes. Similarly, faulty drivers with bugs or errors can also cause instability. Understanding the importance of updated drivers and resolving driver-related issues is essential for maintaining a stable graphics card.
Here are some factors related to outdated or faulty graphics card drivers that can lead to crashes:
1. Compatibility issues: Operating system updates and new applications often require updates to graphics card drivers for seamless compatibility. If the drivers are outdated and not compatible with the latest software versions, it can result in crashes.
2. Stability issues: Outdated or faulty drivers may have bugs or errors that can cause instability in the graphics card. This can result in crashes, freezes, or graphical glitches during operation.
3. Incomplete driver installations: Sometimes, driver installations may not complete properly, leading to missing or corrupted files. Incomplete installations can cause conflicts and crashes when the graphics card tries to interact with the operating system or other hardware components.
4. Conflicting drivers: In some cases, multiple drivers might conflict with each other, causing instability and crashes. This can occur when old or unnecessary drivers are not properly uninstalled and continue to interfere with the functioning of the graphics card.
To address outdated or faulty graphics card driver issues, consider the following steps:
1. Update graphics card drivers: Visit the manufacturer’s website or use their software update tool to download and install the latest drivers for your graphics card. Regularly updating drivers ensures compatibility and can resolve known issues.
2. Perform a clean driver installation: Sometimes, remnants of old drivers can interfere with the proper functioning of the graphics card. Perform a clean installation of the updated drivers to remove any traces of old or conflicting drivers.
3. Uninstall unnecessary drivers: Check for any unnecessary or conflicting drivers, such as drivers for previous graphics cards or integrated graphics. Remove these drivers to avoid conflicts and crashes.
4. Use driver update software: Automated driver update software can scan your system, detect outdated drivers, and automatically download and install the latest versions. This can simplify the process of keeping your graphics card drivers up to date.
By ensuring your graphics card drivers are updated and resolving any driver-related issues promptly, you can minimize the risk of crashes and maintain a stable and reliable graphics card.
Hardware conflicts
Hardware conflicts can often lead to graphics card crashes and instability. In a computer system, several hardware components work together to ensure smooth operation. When there are conflicts between these components, such as incompatible RAM or motherboard issues, it can result in crashes and system instability. Identifying and resolving hardware conflicts is crucial for maintaining the stability of the graphics card.
Here are some common hardware conflict scenarios that can cause graphics card crashes:
1. Incompatible RAM: Incompatible or faulty RAM modules can lead to conflicts with the graphics card. If the RAM is not compatible with the motherboard or if it is damaged, it can cause crashes and instability when the graphics card tries to access memory resources.
2. Inadequate power supply: Insufficient power supply, as discussed earlier, can cause instability and crashes. If the power supply unit does not deliver enough power to all hardware components, including the graphics card, it can result in conflicts and crashes.
3. Incompatible motherboard: Graphics cards require compatibility with the motherboard’s expansion slots (usually PCI Express). If the graphics card is not compatible with the motherboard or if the motherboard firmware is outdated, conflicts can occur, leading to crashes.
4. Conflicting drivers: Conflicting drivers, as discussed earlier, can cause instability. This can happen when older drivers are not properly uninstalled, or when multiple drivers try to control the same hardware simultaneously.
To address hardware conflicts and minimize the risk of graphics card crashes, consider the following steps:
1. Verify RAM compatibility: Ensure that the RAM modules installed in your system are compatible with the motherboard and meet the manufacturer’s specifications. Replace any incompatible or faulty RAM modules to prevent conflicts.
2. Upgrade the power supply: If the power supply unit is unable to deliver sufficient power to all hardware components, consider upgrading to a higher wattage power supply. This will ensure that the graphics card and other components receive adequate power for stable operation.
3. Update motherboard firmware: Check for any available firmware updates for your motherboard from the manufacturer’s website. Updating the motherboard firmware can provide better compatibility and resolve conflicts.
4. Remove conflicting drivers: Identify and remove any conflicting or unnecessary drivers from your system. This can involve uninstalling older graphics card drivers, integrated graphics drivers, or any other drivers interfering with the functioning of the graphics card.
5. Seek professional assistance: If you are unsure about identifying and resolving hardware conflicts, seek assistance from a professional technician. They can diagnose and rectify any underlying hardware issues causing conflicts and crashes.
By addressing hardware conflicts, you can minimize the risk of graphics card crashes and ensure stability in your computer system.
Overclocking
Overclocking refers to the process of running a graphics card at higher clock speeds than the manufacturer’s specifications. This can provide a performance boost, allowing the graphics card to handle more demanding tasks. However, overclocking comes with certain risks, and if not done properly, it can lead to instability, crashes, and even permanent damage to the graphics card. Understanding the implications of overclocking and implementing proper measures is crucial for maintaining a stable graphics card.
Here are some factors related to overclocking that can contribute to graphics card crashes:
1. Increased heat generation: Overclocking increases the power consumption and heat generation of the graphics card. If the cooling system is unable to dissipate the additional heat effectively, it can cause the GPU to overheat, leading to instability and crashes.
2. Insufficient power supply: Overclocking requires more power than running the graphics card at its stock speeds. If the power supply unit is unable to deliver enough power to meet the increased demand, it can cause instability and crashes.
3. Inadequate cooling: Overclocked GPUs generate more heat, and if the cooling system is not up to the task, it can result in overheating and crashes. Insufficient airflow or improper cooling measures can exacerbate this issue.
4. Lack of stability testing: Overclocking requires proper stability testing to ensure that the graphics card can handle the increased clock speeds without crashes. Failure to perform adequate stability testing can result in unexpected crashes and system instability.
5. Incompatibility with applications: Overclocking can sometimes render certain applications, particularly older or poorly optimized ones, unstable. This can lead to crashes when running these applications while the graphics card is overclocked.
To minimize the risk of crashes when overclocking, consider the following steps:
1. Understand the limitations: Familiarize yourself with the capabilities of your graphics card and the recommended safe limits for overclocking. Pushing the card beyond its capabilities can result in instability and crashes.
2. Focus on proper cooling: Implement robust cooling measures to ensure that the graphics card remains at a safe temperature even when overclocked. This may involve adding additional fans, improving case airflow, or investing in aftermarket cooling solutions.
3. Invest in a reliable power supply: Ensure that the power supply unit has the capacity to deliver stable and sufficient power to the overclocked graphics card. A high-quality power supply with adequate wattage and stable power delivery is crucial.
4. Perform stability testing: Thoroughly test the stability of the overclocked graphics card using software tools such as FurMark or 3DMark. Stability testing will help identify any instabilities or crashes caused by the overclock and allow adjustments to be made accordingly.
5. Monitor temperatures and power: Continuously monitor the temperature of the overclocked graphics card using software monitoring tools. Additionally, keep an eye on the power consumption to ensure that it stays within safe limits.
6. Revert or adjust overclocking settings: If you experience crashes or instability with the overclocked settings, consider reverting to the default clock speeds. Alternatively, adjust the clock speeds and voltages to find a stable and optimal balance between performance and stability.
Remember, overclocking carries inherent risks, and any damage caused by overclocking is typically not covered by warranties. Proceeding with caution, following proper procedures, and understanding the limitations and risks of overclocking can help maintain a stable graphics card.
Faulty graphics card
In some cases, a faulty graphics card can be the direct cause of crashes and instability. A faulty graphics card may exhibit a range of issues, including crashes, artifacting (visual anomalies), graphical glitches, and system freezes. It can be due to manufacturing defects, physical damage, or wear and tear over time. Identifying a faulty graphics card is crucial for determining the appropriate course of action, whether it is repair or replacement.
Here are some common signs of a faulty graphics card:
1. Constant crashes: If your computer consistently crashes while performing graphic-intensive tasks or even during low-demand operations, it could indicate a faulty graphics card.
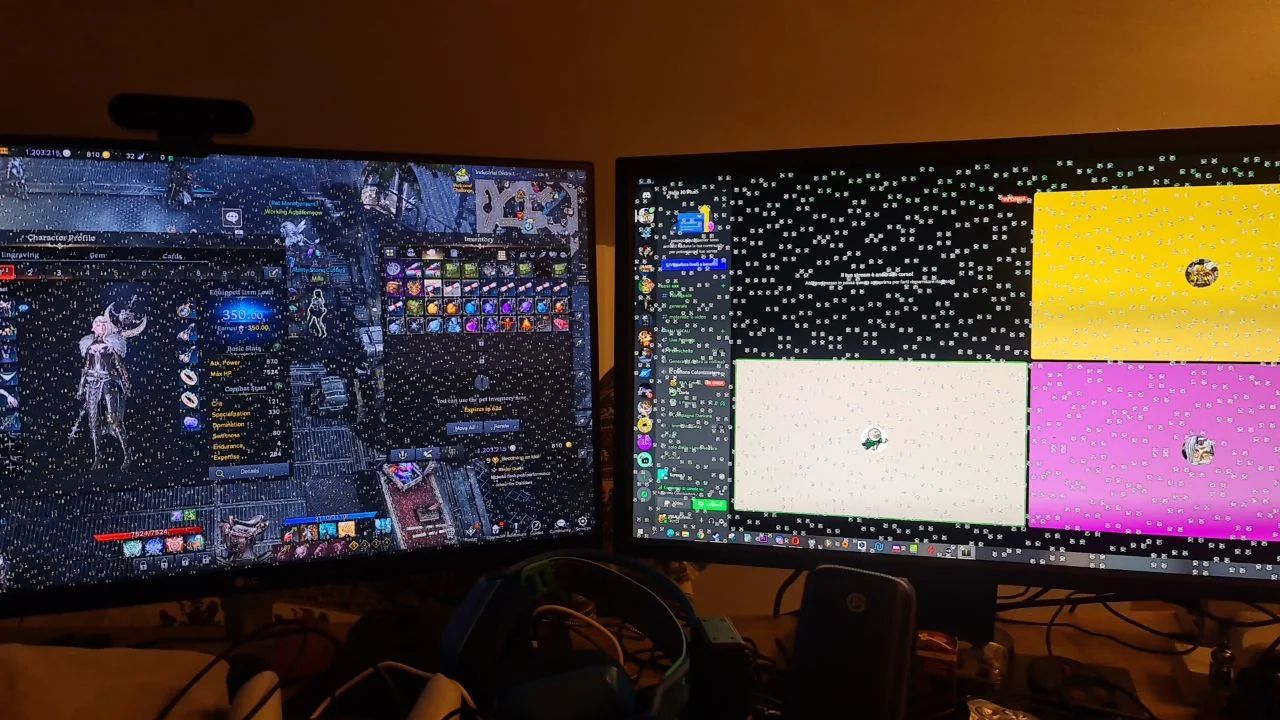
2. Artifacting and graphical glitches: If you notice strange visual anomalies, such as flickering textures, unusual patterns, or screen tearing, it may be a sign of a faulty graphics card.
3. Overheating: A faulty graphics card may exhibit excessive heat even under normal usage. If the GPU temperature climbs rapidly and consistently reaches unsafe levels, it could indicate a problem with the graphics card.
4. System freezes or black screens: If your computer freezes or your screen goes black while performing graphics-intensive tasks or during gameplay, it could be due to a faulty graphics card.
Resolving a faulty graphics card issue typically involves one of the following actions:
1. Updating drivers: In some cases, a faulty graphics card may be caused by outdated or incompatible drivers. Updating to the latest drivers can resolve certain software-related issues.
2. Testing on a different computer: To confirm whether the graphics card is indeed faulty, you can test it on another computer. If the same issues persist, it is likely that the graphics card is defective.
3. Contacting customer support: If your graphics card is still under warranty, you may contact the manufacturer’s customer support for assistance. They can guide you through troubleshooting steps and possibly offer repair or replacement options.
4. Seeking professional repair or replacement: If your graphics card is no longer under warranty, or if the issues persist even after trying software-related solutions, it may be necessary to seek professional repair services or consider replacing the graphics card.
It’s important to note that if you suspect a faulty graphics card, it is advisable to back up your important data beforehand, as further crashes or issues may result in data loss. By recognizing the signs of a faulty graphics card and taking appropriate action, you can address the problem and ensure the smooth operation of your computer system.
How to diagnose and fix a crashed graphics card
When your graphics card crashes, it can disrupt your computing experience and cause frustration. Diagnosing and fixing a crashed graphics card requires a systematic approach to identify the underlying cause and implement the appropriate solutions. Here are the steps you can follow:
1. Monitor your GPU temperature: Use software tools like MSI Afterburner or HWMonitor to monitor the temperature of your graphics card. If the temperature consistently exceeds safe limits (usually around 85-90 degrees Celsius), it may be overheating and causing crashes. Clean the cooling system and ensure proper airflow to address overheating issues.
2. Check power supply: Insufficient power supply can lead to graphics card crashes. Verify that your power supply unit (PSU) has enough wattage to meet the requirements of your system and that all power connectors to the graphics card are properly connected. Consider upgrading the PSU if necessary.
3. Update graphics card drivers: Outdated or faulty graphics card drivers can cause crashes. Visit the manufacturer’s website or use their software update tool to download and install the latest drivers. Updating drivers resolves compatibility issues and improves stability.
4. Resolve hardware conflicts: Conflicts between hardware components can lead to graphics card crashes. Ensure that RAM modules are compatible and properly seated, and that the motherboard firmware is updated. Removing conflicting drivers and updating the BIOS can also help resolve hardware conflicts.
5. Undo any overclocking: If you have overclocked your graphics card, revert it to its default clock speeds. Overclocking can cause instability and crashes if not done properly. Adjust the clock speeds and voltage settings gradually if you want to overclock again, while closely monitoring stability.
6. Testing the graphics card on another computer: If the crashes persist, test the graphics card on another computer. This can help determine if the issue lies with the graphics card itself or with other components in your system. If the card crashes on multiple computers, it is likely that the graphics card is faulty and may need repair or replacement.
7. Seek professional assistance: If you are unsure or unable to diagnose and fix the crashed graphics card, it is recommended to seek professional assistance. A qualified technician can conduct thorough diagnostics, identify the root cause of the crashes, and provide appropriate solutions.
Remember to exercise caution when working with delicate computer components and ensure that you follow proper safety measures, such as grounding yourself to prevent static discharge. By following these steps and being systematic in your troubleshooting approach, you can diagnose and fix a crashed graphics card, restoring stability to your computer system.
Monitor your GPU temperature
Monitoring the temperature of your graphics card is essential for maintaining its stability and preventing crashes. Graphics cards can generate a substantial amount of heat, especially during intensive tasks like gaming or running graphically demanding applications. If the GPU temperature rises too high, it can lead to overheating and instability, resulting in crashes and potential damage to the card. Regularly monitoring the GPU temperature allows you to take proactive measures to keep it within safe limits.
Here are some steps to effectively monitor your GPU temperature:
1. Software monitoring tools: Use specialized software tools such as MSI Afterburner, GPU-Z, or HWMonitor to monitor the temperature of your graphics card. These tools provide real-time temperature readings and other valuable information about the GPU.
2. Check manufacturer’s specifications: Every graphics card has different temperature limits specified by the manufacturer. Check the manufacturer’s website or documentation to find out the safe temperature range for your specific graphics card.
3. Observe idle and load temperatures: Monitor the GPU temperature during both idle and load scenarios. Idle temperature represents the card’s temperature when it is not under heavy load, while load temperature indicates the temperature during demanding tasks. Comparing these two values helps you understand the temperature fluctuations under different conditions.
4. Pay attention to fan speed: GPU temperature is closely related to the speed of the graphics card’s cooling fans. Higher temperatures may trigger the fans to spin faster to dissipate heat more effectively. Monitor the fan speed alongside temperature to ensure that it is operating optimally.
5. Maintain proper airflow: Ensure that your computer case has adequate airflow to dissipate heat from the graphics card. Remove any obstructions that could hinder airflow within the case, and position the computer in a well-ventilated area to prevent ambient temperature from rising excessively.
6. Clean and maintain cooling components: Regularly clean the fans and heat sinks of the graphics card to remove accumulated dust and debris. Dust buildup can restrict airflow, leading to increased temperatures. Use compressed air or an antistatic brush to clean the components gently.
7. Consider using custom fan curves: Many graphics card software tools allow you to customize the fan speed curve. Adjusting the fan curve can help maintain lower temperatures by increasing fan speed at lower GPU temperatures. However, be aware that higher fan speeds may result in increased noise levels.
8. Optimize GPU settings: Adjusting graphical settings in games or graphics-intensive applications can help reduce the GPU load and subsequently lower the temperature. Decreasing the level of detail, resolution, or enabling vertical sync (V-Sync) are common methods to reduce GPU workload.
By regularly monitoring the GPU temperature and taking appropriate actions to keep it within safe limits, you can ensure the stability and longevity of your graphics card and reduce the risk of crashes due to overheating.
Check power supply
When dealing with graphics card crashes, it’s important to check the power supply unit (PSU) to ensure it is providing sufficient and stable power. Inadequate power supply can cause instability in the graphics card, resulting in crashes and system interruptions. By checking the power supply and addressing any issues, you can help resolve graphics card crashes and maintain a stable computing experience.
Here are some steps to effectively check your power supply:
1. Verify wattage: Ensure that your power supply unit has enough wattage to meet the power requirements of your system, including the graphics card. Graphics cards have different power requirements, so consult the manufacturer’s specifications for the recommended wattage for your specific card.
2. Check power connectors: Ensure that all power connectors from the PSU to the graphics card are properly connected. Some graphics cards require additional power connectors, such as PCIe power connectors, to provide sufficient power. Verify that these connectors are securely plugged in.
3. Inspect cables and connections: Check the cables and connections between the PSU and the graphics card for signs of damage or loose connections. Ensure that the cables are properly seated and that there are no frayed wires or bent pins that could interfere with the power supply to the graphics card.
4. Test voltage stability: You can use a multimeter or a digital power supply tester to measure the voltage output of the PSU. Proper voltage levels are crucial for stable power delivery. Test the +12V, +5V, and +3.3V rails to ensure they fall within an acceptable range (e.g., within 5% of their rated values).
5. Consider a dedicated graphics card PSU: If you have a high-end graphics card that requires substantial power, consider using a dedicated PSU for the graphics card. This can help ensure sufficient power delivery without straining the primary PSU.
6. Avoid daisy-chaining: Avoid daisy-chaining power connections for the graphics card or any other components. Each power connector should have a direct connection to the PSU to ensure proper power delivery.
7. Test with a different PSU: If you suspect that the power supply might be the issue, try testing the graphics card with a different power supply. If the crashes no longer occur with the new PSU, it indicates a problem with the original power supply, and you may need to replace it.
8. Seek professional assistance: If you are unsure about checking the power supply or lack the necessary equipment, it’s recommended to seek assistance from a professional technician. They can help diagnose any power supply issues and provide appropriate solutions.
By carefully checking your power supply, ensuring it is providing sufficient and stable power, you can address power-related issues that may be causing graphics card crashes. A stable power supply is vital for the reliable performance of the graphics card and the overall stability of your system.
Update graphics card drivers
Updating your graphics card drivers is an essential step in troubleshooting and resolving graphics card crashes. Outdated or faulty drivers can cause compatibility issues and instability, leading to crashes or graphical glitches. By regularly updating the drivers, you can ensure that your graphics card operates optimally and minimizes the risk of crashes. Here are the steps to effectively update your graphics card drivers:
1. Identify your graphics card model: Determine the exact model of your graphics card. You can check the documentation that came with your computer or the graphics card itself. Alternatively, use software utilities like GPU-Z or Device Manager to identify the specific model.
2. Visit the manufacturer’s website: Go to the website of the graphics card manufacturer, such as NVIDIA, AMD, or Intel. Navigate to the “Support” or “Drivers” section.
3. Download the latest drivers: Locate the drivers section for your specific graphics card model. Look for the latest driver version compatible with your operating system. Download the driver file to your computer.
4. Uninstall the current drivers: Before installing the new drivers, it’s recommended to uninstall the current drivers first. Access the “Device Manager” in your operating system, locate the graphics card under the “Display adapters” category, right-click on it, and select “Uninstall device.” Follow the prompts to remove the drivers completely.
5. Install the new drivers: Once the old drivers are uninstalled, run the downloaded driver file and follow the installation wizard instructions. It will guide you through the process of installing the latest drivers for your graphics card. Restart your computer after the installation is complete.
6. Automatic driver update tools: Alternatively, you can use automatic driver update tools provided by the graphics card manufacturer or third-party software. These tools scan your system, detect outdated drivers, and automatically download and install the latest versions. Examples include NVIDIA GeForce Experience or AMD Radeon Software.
7. Verify driver installation: After updating the drivers, verify that they are correctly installed. Check the device properties in the “Device Manager” or use GPU-Z to confirm that the driver version corresponds to the latest version provided by the manufacturer.
8. Enable automatic driver updates: To ensure that your graphics card drivers stay up to date in the future, enable automatic driver updates if available. This allows your system to automatically download and install the latest drivers as they become available.
By keeping your graphics card drivers updated, you ensure compatibility with the latest software, resolve known issues, and improve graphics card stability. Regularly checking for driver updates and implementing them promptly is a vital step in maintaining a stable and reliable graphics card.
Resolve hardware conflicts
Hardware conflicts can be a common cause of graphics card crashes and instability. When different hardware components in your system conflict with each other, it can result in conflicts that affect the smooth operation of your graphics card. Resolving hardware conflicts is crucial for maintaining the stability and optimal performance of your graphics card. Here are several steps you can take to address hardware conflicts:
1. Verify RAM compatibility: Check if the RAM modules in your system are compatible with your motherboard and graphics card. Incompatible or faulty RAM can lead to conflicts and crashes. Ensure the RAM modules are properly seated and adhering to the manufacturer’s specifications.
2. Update motherboard firmware: Outdated motherboard firmware can sometimes cause conflicts with the graphics card. Visit the manufacturer’s website and check for any available firmware updates. Update the motherboard firmware to the latest version to ensure compatibility.
3. Ensure proper power supply: Inadequate power supply can result in conflicts and crashes. Verify that your power supply unit (PSU) has sufficient wattage to meet the power demands of your system, including the graphics card. If necessary, consider upgrading to a higher wattage PSU.
4. Remove conflicting drivers: Conflicting drivers from previous installations or different hardware components can cause conflicts with the graphics card. Use the Device Manager in your operating system to uninstall any unnecessary or conflicting drivers. Remove any remnants of old graphics cards or integrated graphics drivers.
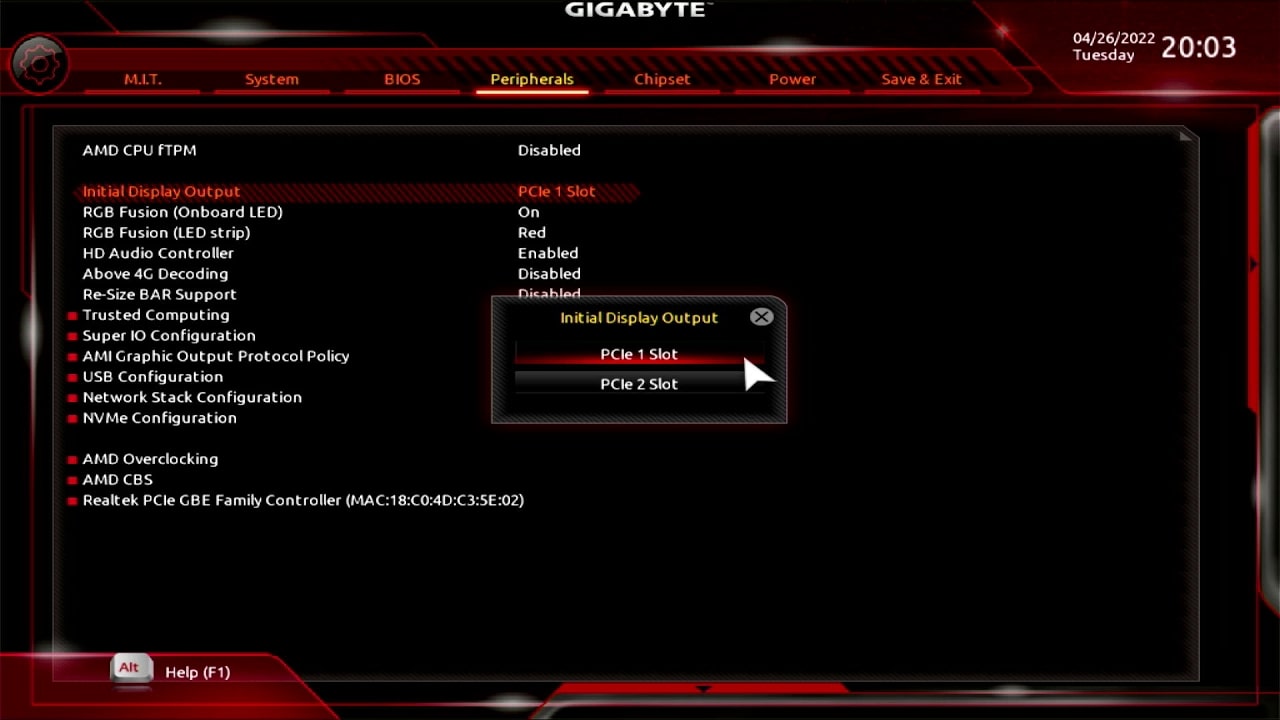
5. Check the PCIe slot: Ensure that the PCIe slot where the graphics card is installed on the motherboard is functioning properly. If you have multiple PCIe slots, try moving the graphics card to a different slot to see if it resolves any conflicts or crashes.
6. Adjust BIOS settings: Access the BIOS settings of your motherboard and check for any options related to the PCIe slot or graphics card settings. Ensure that the settings are properly configured to support your graphics card and that no conflicting options are enabled.
7. Seek professional assistance: If you are uncertain about diagnosing or resolving hardware conflicts, seek assistance from a professional technician. They can help identify and address potential conflicts, ensuring the stable operation of your graphics card.
By resolving hardware conflicts, you can minimize the risk of graphics card crashes and instability. A properly functioning and compatible hardware configuration is essential for optimal performance and a reliable computing experience.
Undo any overclocking
Overclocking, the process of running a graphics card at higher clock speeds than the manufacturer’s specifications, is a popular way to increase performance. However, overclocking can also lead to instability and crashes, especially if not properly managed or if done without adequate cooling measures. If you have overclocked your graphics card and are experiencing crashes, undoing the overclocking settings is an essential troubleshooting step. Here are the steps to undo any overclocking:
1. Access your graphics card software: Most graphics cards come with software utilities that allow you to adjust the clock speeds and voltages. Open the software utility specific to your graphics card, such as NVIDIA Control Panel or AMD Radeon Software.
2. Restore default settings: Look for an option to restore default settings or reset to factory defaults within the software utility. Click on this option to revert all overclocking settings back to their original values.
3. Adjust clock speeds gradually: If you want to continue overclocking, it’s crucial to do it gradually and carefully. Start with modest increases in clock speeds and perform stability testing at each stage. This allows you to find the maximum stable overclock without compromising stability.
4. Monitor temperatures: Keep a close eye on the temperatures of your graphics card while adjusting clock speeds. Overclocking increases heat generation, so make sure that your cooling system can handle the higher temperatures. If the temperatures become too high, consider dialing back the overclock or improving your cooling solution.
5. Stability testing: Perform stability testing after adjusting the clock speeds. Use stress-testing software like FurMark or 3DMark to ensure that the graphics card runs stable under heavy loads. If crashes occur during stability testing, it indicates that the overclock is too aggressive. Scale back the clock speeds or adjust the voltages accordingly.
6. Monitor and fine-tune: Continuously monitor the performance and temperatures of your graphics card during regular usage and gaming sessions. If you encounter crashes or instability, it may be necessary to further adjust the overclocking settings or even return to stock clock speeds to ensure stability.
7. Consider aftermarket cooling: If you are interested in pursuing more aggressive overclocking, you might need to invest in aftermarket cooling solutions. Upgrading the cooling system, such as using an aftermarket GPU cooler or liquid cooling, can help dissipate heat effectively and allow for higher overclocking potentials.
Remember that not all graphics cards are suited for significant overclocking. The ability to achieve stable overclocks varies depending on factors like the card’s thermal design and the quality of the silicon. Always prioritize stability and temperature management over achieving the highest clock speeds.
By undoing any overclocking settings, you can troubleshoot graphics card crashes and restore stability. Overclocking should be approached cautiously and with proper cooling measures to ensure the optimal performance and reliability of your graphics card.
Testing the graphics card on another computer
If you have been experiencing graphics card crashes and suspect that the issue lies with the graphics card itself, testing it on another computer can help confirm the root cause of the problem. This step is crucial in diagnosing whether the crashes are caused by the graphics card or by other components in your system. Testing the graphics card on another computer involves the following steps:
1. Prepare the second computer: Identify another computer that meets the minimum requirements for the graphics card. Ensure that the computer has an available PCIe slot, an adequate power supply, and compatible hardware components.
2. Disconnect the power and peripherals: Before handling any computer components, turn off the power and disconnect all peripherals, including the power cord, monitor, and other devices connected to the computer.
3. Remove the existing graphics card: If the second computer already has a graphics card installed, carefully remove it by unscrewing the retaining bracket and gently releasing the PCIe slot latch. Take note of how the existing card is installed to ensure proper installation of the tested graphics card.
4. Install the tested graphics card: Insert the graphics card you suspect to be causing the crashes into the available PCIe slot on the second computer. Ensure that the card is correctly aligned with the slot and securely seated. Secure the card in place with the retaining bracket.
5. Reassemble the computer: Put the computer back together by reconnecting the power and peripherals. Ensure that all connections are secure and properly fastened.
6. Power on the computer: Turn on the power to the second computer and observe its startup process. If the computer boots without any issues or error messages, proceed to test the graphics card under various scenarios.
7. Test the graphics card: Use the second computer to run graphic-intensive applications, perform gaming sessions, or any tasks that were causing crashes on the original computer. Monitor the performance and stability of the graphics card closely. If the crashes persist or occur on the second computer as well, it indicates that the tested graphics card may be faulty.
8. Seek professional assistance: If the tested graphics card exhibits crashes on the second computer, it may be necessary to seek professional assistance for further diagnosis and repair. Contact the manufacturer’s customer support or consult with a qualified technician to explore potential repair or replacement options.
Testing the graphics card on another computer helps eliminate potential conflicts or issues specific to your original system. It provides valuable information to determine whether the graphics card is the underlying cause of the crashes. Remember to handle computer components with care, follow proper safety measures, and seek professional assistance if needed.
Conclusion
Graphics card crashes can be frustrating, but they can often be resolved by identifying and addressing the root causes. Through this article, we have explored various reasons for graphics card crashes, including overheating, insufficient power supply, outdated or faulty drivers, hardware conflicts, overclocking, and faulty graphics cards themselves. Understanding these reasons and taking appropriate steps to diagnose and fix the issues can help restore stability to your graphics card and ensure optimal performance.
When facing graphics card crashes, it is essential to monitor the GPU temperature and implement proper cooling measures to prevent overheating. Additionally, checking the power supply and ensuring sufficient power delivery is crucial in maintaining stable operation. Keeping graphics card drivers updated is important for compatibility and stability, and resolving hardware conflicts is vital for smooth functioning. Undoing any overclocking settings and testing the graphics card on another computer can further aid in diagnosing the root cause of crashes.
Remember, seeking professional assistance is always an option if you are uncertain or unable to diagnose and fix the issues on your own. Technicians can provide expert guidance and support in troubleshooting graphics card crashes.
By following the steps outlined in this article, you can effectively diagnose and resolve graphics card crashes, ensuring a stable and reliable computing experience. Maintaining a well-functioning graphics card is essential for enjoying graphic-intensive applications, games, and multimedia content to their fullest potential.