Introduction
Welcome to this troubleshooting guide on why your HDMI connection may not be working on your PC. HDMI (High-Definition Multimedia Interface) is a widely used digital connection that allows you to transfer high-quality audio and video signals from your PC to an external display device, such as a monitor or a TV.
Using HDMI provides a seamless and convenient way to enjoy multimedia content on a bigger screen. However, it can be frustrating when you encounter issues with your HDMI connection, preventing you from enjoying your favorite movies, games, or presentations on a larger display.
There can be several reasons why your HDMI connection may not be working properly. It could be due to a faulty cable, outdated graphics driver, incorrect display settings, or even a problem with the HDMI port on your PC. In this guide, we will walk you through some common troubleshooting steps to help you identify and resolve the issue with your HDMI connection on your PC.
Before we dive into the troubleshooting steps, it’s essential to ensure that you have a basic understanding of the different components involved in an HDMI connection. The HDMI cable connects your PC to the external display and carries both audio and video signals. Your PC’s graphics driver controls the display output, and the HDMI port on your PC allows you to physically connect the HDMI cable to it.
Now that you have a brief overview, let’s move on to the next sections where we will explore various solutions to fix your HDMI connection issues on your PC.
Common Issues with HDMI on PC
HDMI connectivity problems are not uncommon when using a PC. These issues can manifest in various ways, such as no signal on the display, flickering or distorted video, or even the absence of audio. Understanding these common issues will help you troubleshoot and resolve them effectively.
One common issue is the “No Signal” error message displayed on the screen when you connect your PC to an external display via HDMI. This can be caused by several factors, including loose cable connections, incorrect input settings on the display, or a problem with the graphics driver.
Flickering or distorted video is another issue that HDMI users may encounter. This can be caused by incompatible refresh rates between the PC and the display, faulty HDMI cables, or outdated graphics drivers. Additionally, HDCP (High-bandwidth Digital Content Protection) issues can also cause flickering or interrupted video playback.
Audio issues can also arise when using HDMI on a PC. You may experience no sound coming from the connected display or encounter problems with audio synchronization. This can be due to incorrect audio output settings, faulty cables, or outdated audio drivers.
It’s worth mentioning that HDMI issues can be specific to certain PC models, graphics cards, or operating systems. Therefore, it’s crucial to identify the specific cause of your HDMI problem before applying any troubleshooting steps.
In the next sections, we will be discussing various solutions to common HDMI issues on a PC. Ensure that you consider these common problems as you diagnose and resolve your specific HDMI connectivity problem.
Check Your HDMI Connection
When dealing with HDMI connectivity issues on your PC, the first step is to check the physical connection between your PC and the external display. Ensure that everything is properly connected and secure. Here are some steps to follow:
- Inspect the HDMI cable: Start by examining the HDMI cable for any visible damage or frayed wires. If you notice any issues, try using a different HDMI cable to rule out a faulty cable as the cause of the problem.
- Confirm the cable connections: Check that both ends of the HDMI cable are securely plugged into the HDMI ports of your PC and the external display. Ensure there are no loose connections or dust interfering with the connection.
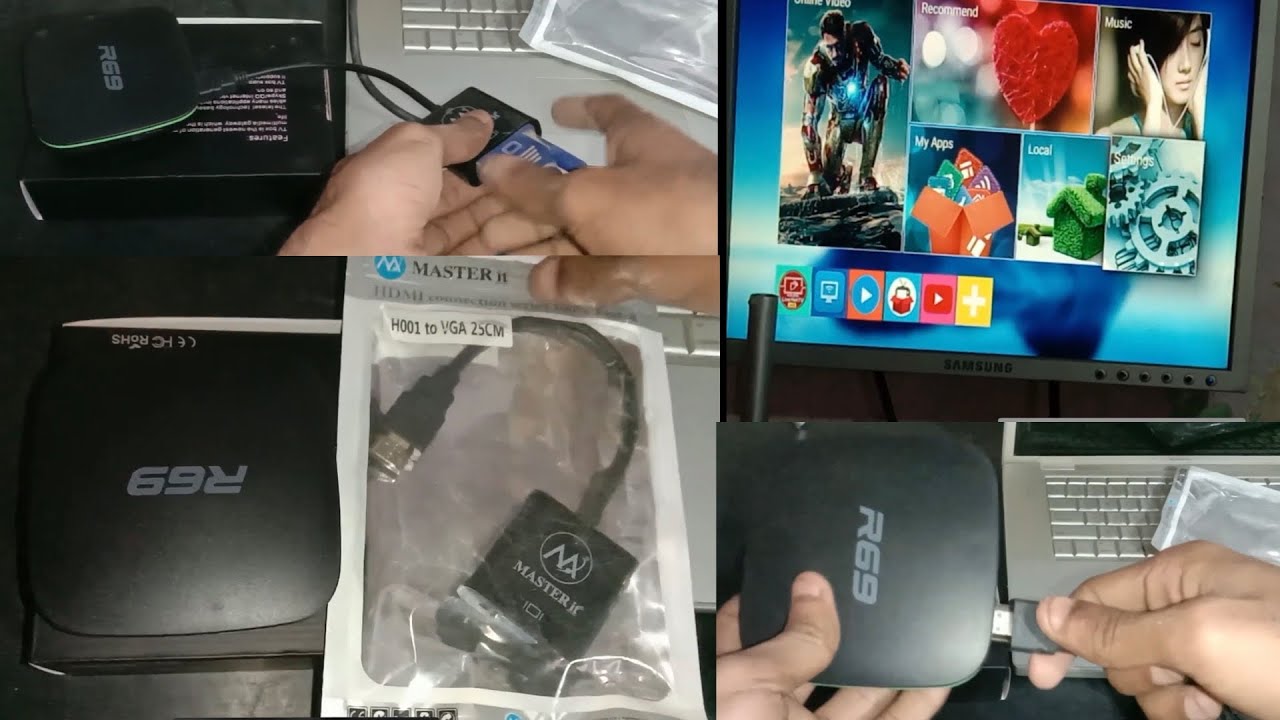
- Check the display input: Verify that the display is set to the correct input source for the HDMI connection. Use the display’s remote or buttons to switch to the appropriate HDMI input. Some displays have multiple HDMI ports, so make sure you select the correct one.
- Restart your devices: Sometimes, a simple restart can resolve connectivity issues. Turn off both your PC and the display device, unplug the power cables, wait for a few moments, and then reconnect and power them back on.
- Try a different display: If possible, connect your PC to a different display device, such as a different monitor or TV, using the same HDMI cable. This will help you determine whether the issue lies with the PC or the display.
By thoroughly checking your HDMI connection and ensuring that everything is properly connected, you can eliminate potential physical connection issues as the cause of your HDMI problem. If the issue persists, continue with the following troubleshooting steps.
Update Your Graphics Driver
Outdated or incompatible graphics drivers can often cause HDMI connectivity issues on your PC. The graphics driver is responsible for transmitting video signals to your external display through the HDMI connection. Here’s how to update your graphics driver:
- Identify your graphics card: Start by determining the model and manufacturer of your graphics card. You can find this information in the Device Manager on your PC. Open the Start menu, search for “Device Manager,” and open the application. Expand the “Display adapters” category to view the details of your graphics card.
- Visit the manufacturer’s website: Once you have identified your graphics card, visit the manufacturer’s website. Most graphics card manufacturers, such as NVIDIA, AMD, or Intel, provide driver updates on their websites. Look for the support or driver download section.
- Download and install the latest driver: Locate the appropriate driver for your graphics card model and download it. Follow the manufacturer’s instructions to install the driver on your PC. Typically, this involves running the downloaded file and following the on-screen prompts.
- Restart your PC: After installing the new graphics driver, it is recommended to restart your PC. This allows the changes to take effect and ensures that the updated driver is properly loaded.
Updating your graphics driver can often resolve HDMI connectivity issues, as it ensures compatibility and fixes any bugs or glitches that may cause problems. If updating the driver doesn’t solve the issue, continue with the next troubleshooting steps.
Adjust Display Settings
Sometimes, incorrect display settings can cause HDMI connectivity issues on your PC. Adjusting these settings can help you restore a proper connection. Here are some steps to follow:
- Access the display settings: Right-click anywhere on your desktop and select “Display settings” from the context menu. This will open the Display settings page in the Settings app on Windows 10. On older versions of Windows, you may need to access the display settings through the Control Panel.
- Check the display resolution: Ensure that the display resolution is set correctly. Select the recommended resolution for your external display. Choosing a resolution that is too high or unsupported by your display can result in a blank or distorted image.
- Adjust refresh rate and display mode: Access the advanced display settings to adjust the refresh rate and display mode. Match the refresh rate and display mode settings with those recommended by your display’s specifications. Mismatched settings can cause issues such as flickering or no signal.
- Toggle between duplicate and extend display modes: If you are using multiple displays, try toggling between duplicate and extend display modes. Press the Windows key + P to open the Project menu, and select “Duplicate” or “Extend” as needed. This can help reset the graphics output for your HDMI connection.
- Try different color depth settings: In the display settings, experiment with different color depth options. Changing between 8-bit, 10-bit, or 12-bit color depths may resolve color-related issues on your HDMI connection.
After adjusting the display settings, test your HDMI connection to see if the issue has been resolved. If not, proceed to the next troubleshooting steps to continue troubleshooting the issue.
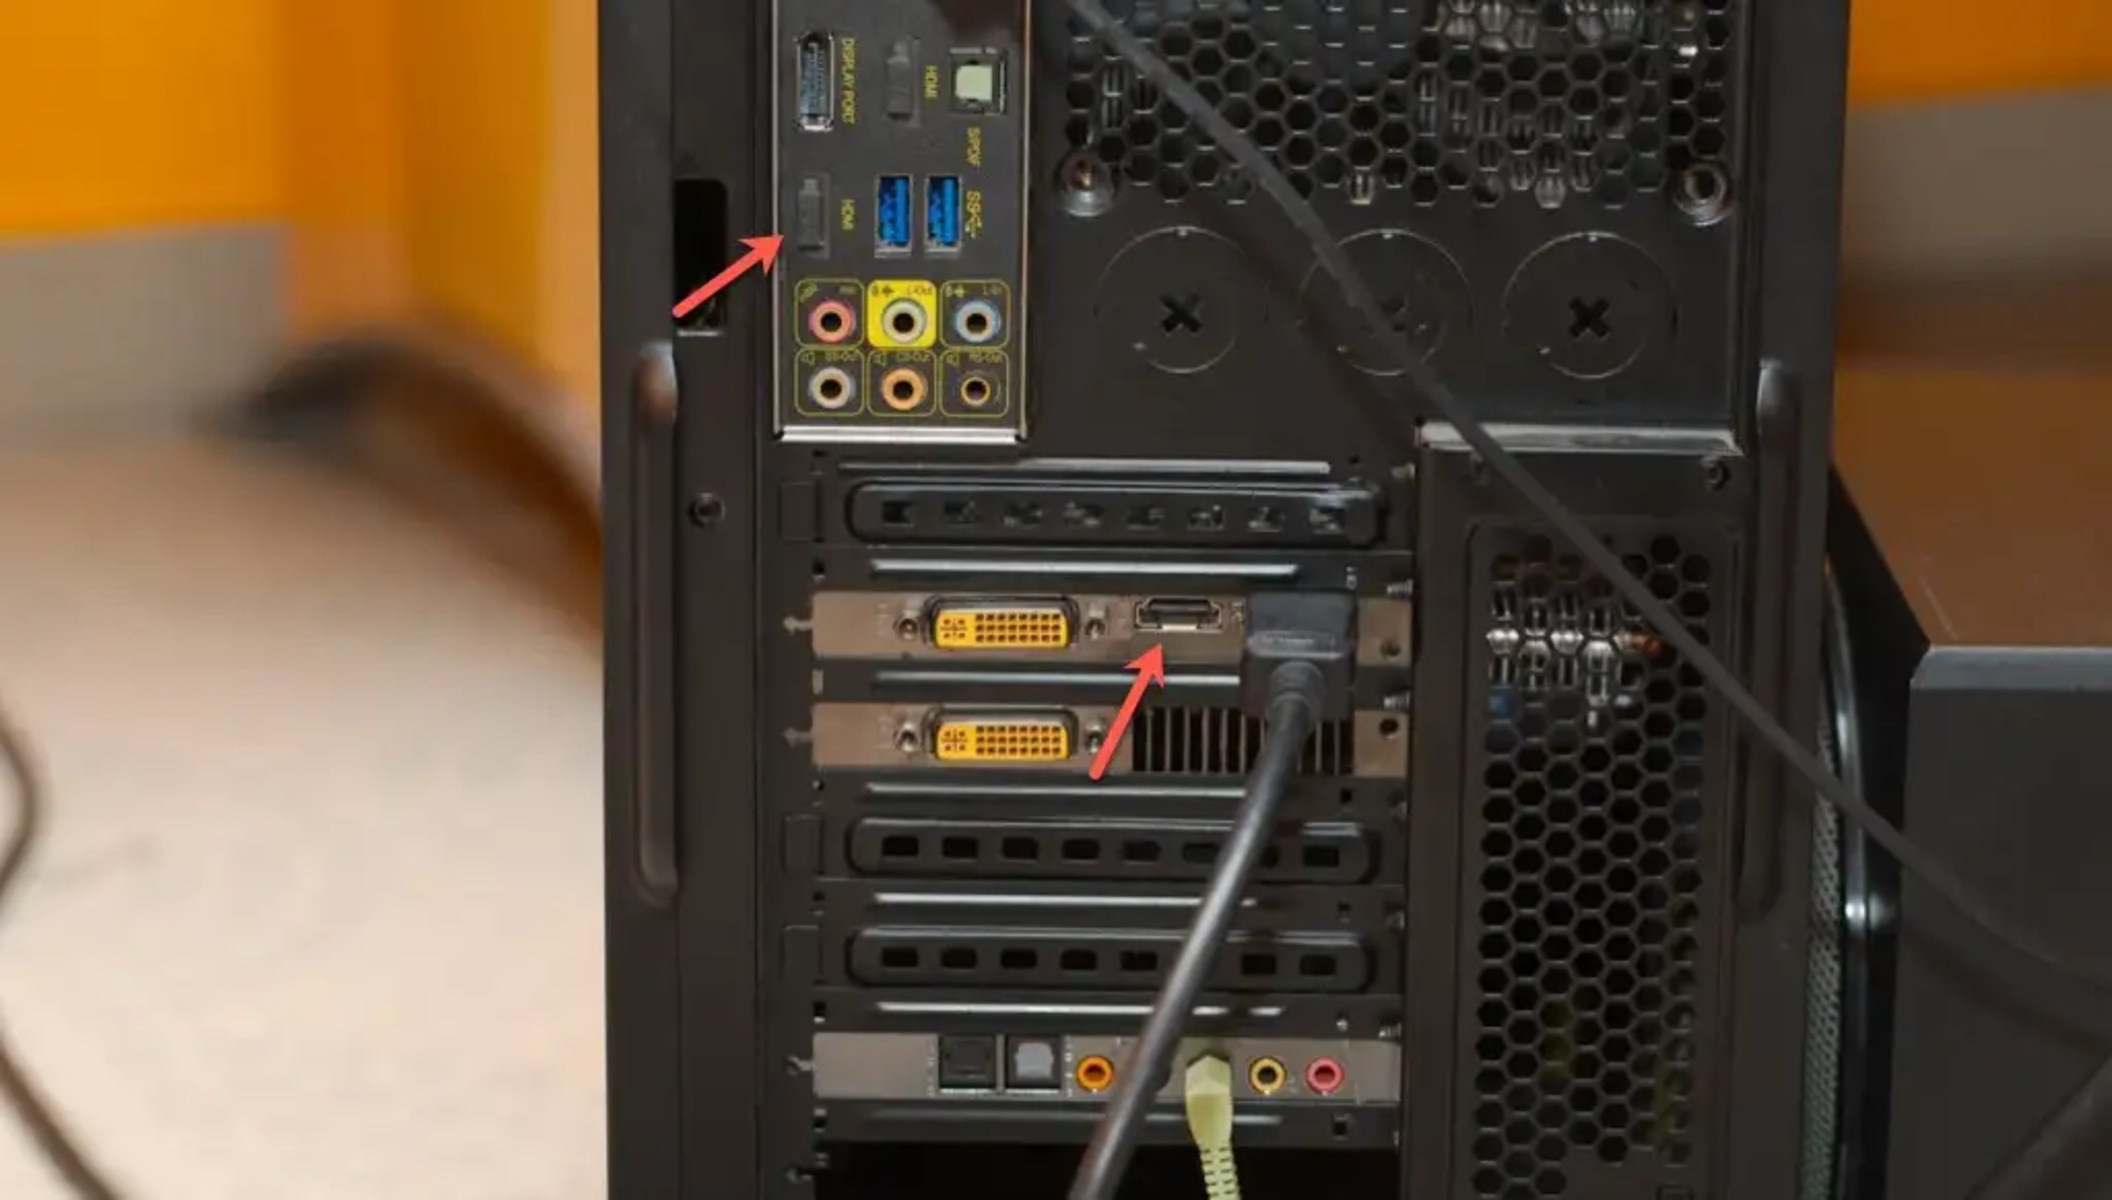
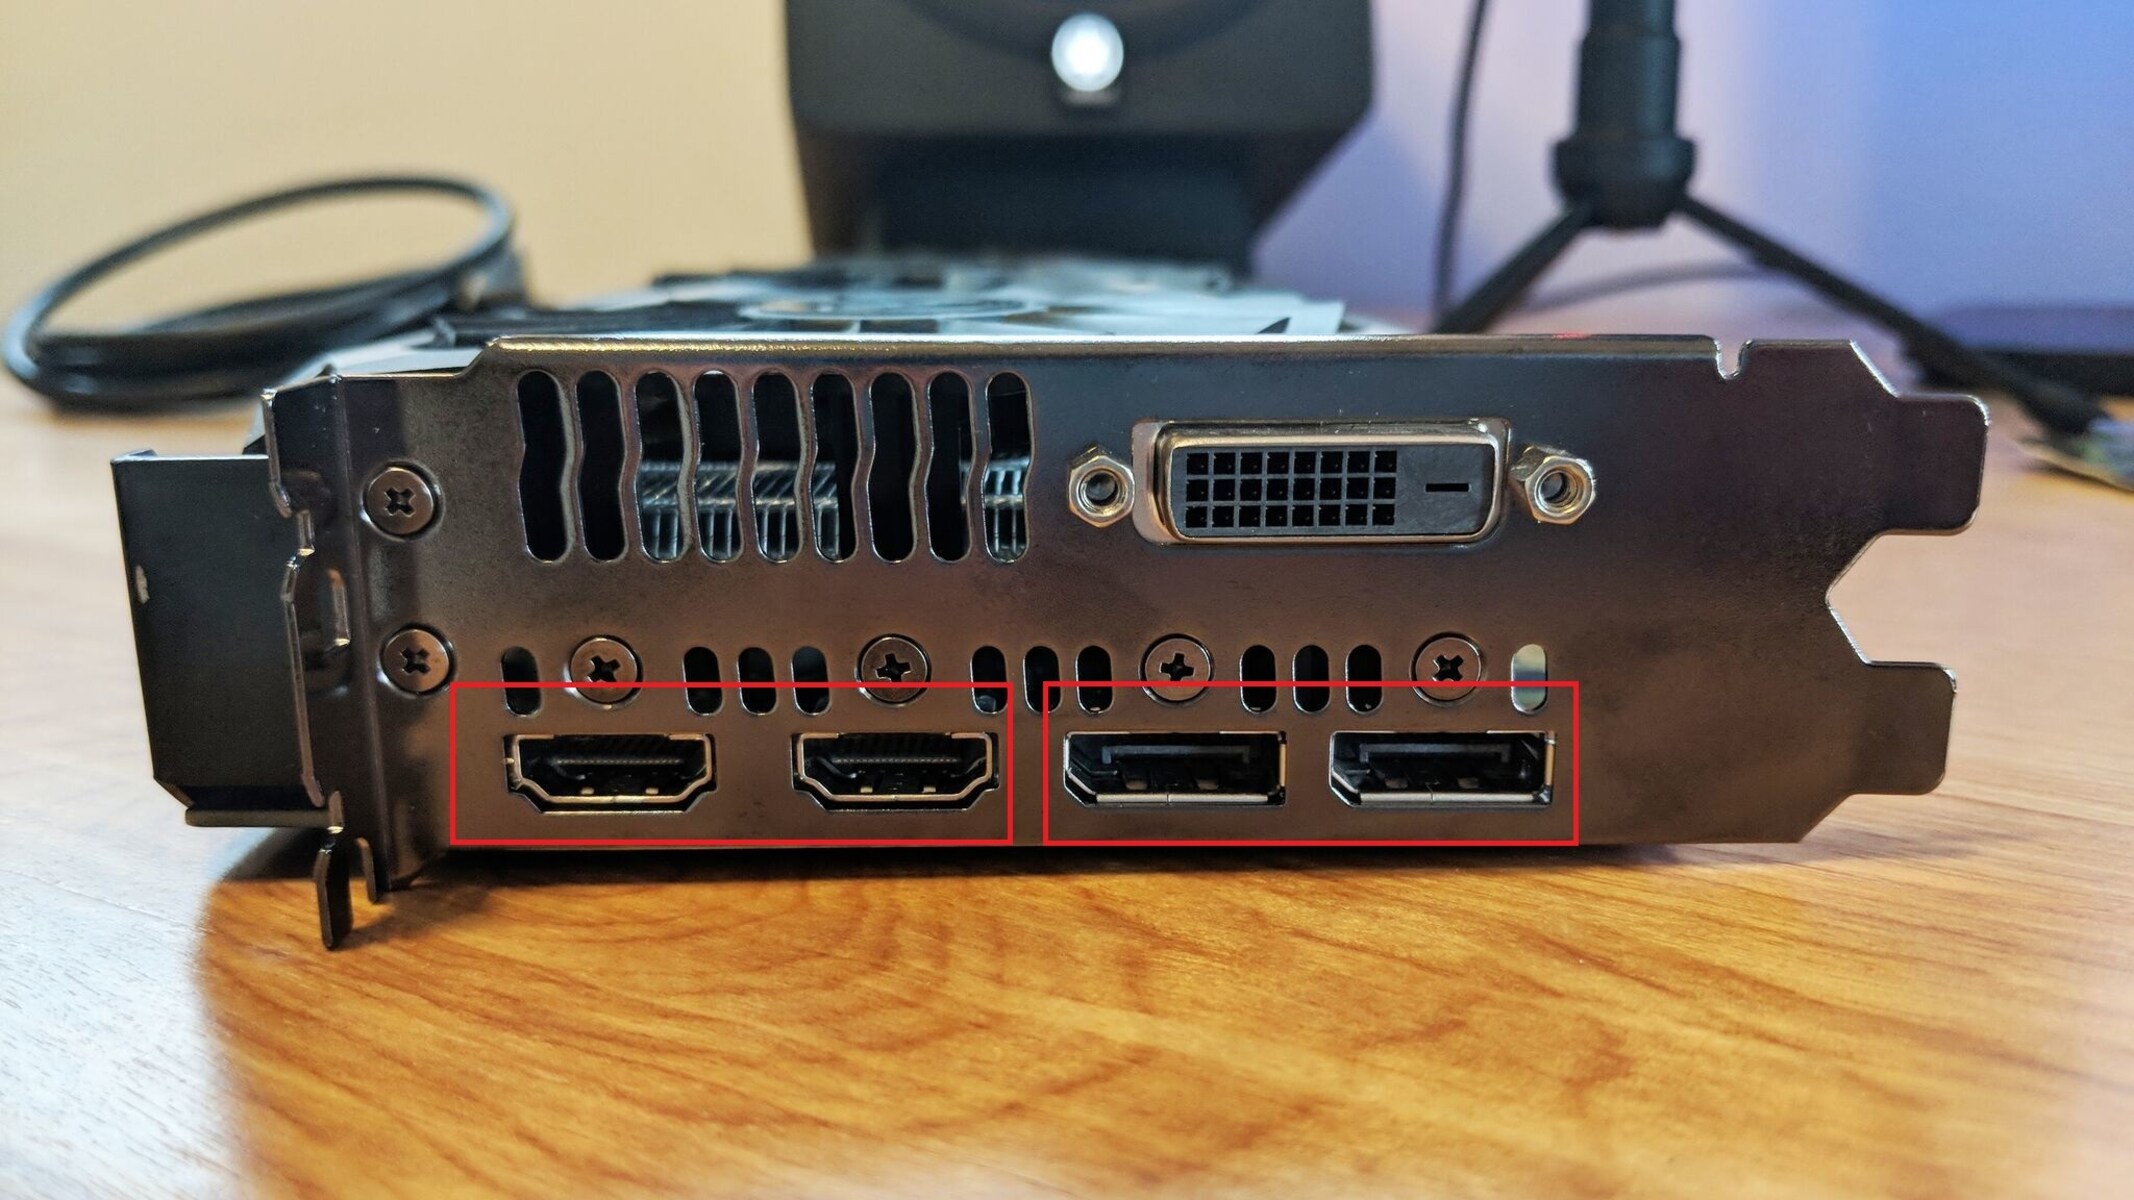
Check the HDMI Port
If you are still experiencing HDMI connectivity issues on your PC, it’s essential to check the HDMI port itself. The HDMI port on your PC can sometimes become loose or damaged, resulting in a faulty connection. Here’s what you can do:
- Inspect the HDMI port: Take a close look at the HDMI port on your PC. Check for any physical damage, bent pins, or debris that might be obstructing the connection. If you notice any issues, avoid using excessive force and try to straighten bent pins or remove debris carefully.
- Check for secure connection: Verify that the HDMI cable is securely plugged into the HDMI port. Gently wiggle the cable to see if the connection is loose. If it moves easily or feels unstable, it could be a sign of a defective port or a loose internal connection.
- Try a different HDMI port: If your PC has multiple HDMI ports, attempt to connect your HDMI cable to a different port. This helps determine if the issue is specific to one port or if it’s a more general problem with your PC’s HDMI functionality.
- Test with another device: Connect the external display to a different device using the same HDMI cable. If the external display works correctly with another device, it confirms that the issue lies with your PC’s HDMI port.
If you determine that the HDMI port is indeed the cause of the problem, consult with a professional technician or contact the manufacturer’s technical support for further assistance. They can provide guidance on repairing or replacing the HDMI port on your PC.
If the HDMI port appears to be in good condition and the issue persists, continue to the next troubleshooting steps to further investigate the problem with your HDMI connection.
Test with a Different HDMI Cable
If you’re still experiencing HDMI connectivity issues on your PC, it’s worth considering that the problem could be with the HDMI cable itself. HDMI cables can fray, become damaged, or simply stop working over time. Testing with a different HDMI cable can help identify if the cable is the source of the problem. Here’s what you can do:
- Obtain a different HDMI cable: Borrow or acquire a different HDMI cable that you know is in working condition.
- Disconnect the current HDMI cable: Unplug the existing HDMI cable from both your PC and the external display. Make sure to note which HDMI port the cable was connected to.
- Connect the new HDMI cable: Connect the different HDMI cable to the same HDMI port on your PC and the external display as the previous cable.
- Test the connection: Power on your PC and the external display. Check if the new HDMI cable establishes a proper connection. Ensure that the display shows the correct input source, and verify if the audio and video are being transmitted correctly.
- Repeat the process: If the new HDMI cable doesn’t resolve the issue, repeat the process by testing with yet another known-working HDMI cable. This helps rule out the possibility of a faulty cable entirely.
If the HDMI connection works correctly with a different HDMI cable, it indicates that the original cable was indeed the problem. In this case, consider replacing the faulty HDMI cable with a new one to establish a reliable connection.
However, if the different HDMI cable also fails to resolve the issue, continue with the following troubleshooting steps to further diagnose the problem with your HDMI connection.
Troubleshoot Audio Issues
If you’re experiencing audio problems with your HDMI connection on your PC, there are several troubleshooting steps you can take to address the issue. Here’s what you can do:
- Check audio settings: Right-click on the volume icon in the system tray and select “Open Sound settings.” Ensure that the correct audio output device is selected. If your external display has built-in speakers, make sure to choose the display as the default audio output device.
- Adjust volume levels: In the Sound settings, check the volume levels of your audio output device. Increase the volume and test if you can hear any sound through the HDMI connection. If the volume is too low or muted, adjust it accordingly.
- Update audio driver: Outdated or faulty audio drivers can cause audio issues. Visit the manufacturer’s website to download and install the latest audio driver for your PC. Follow the instructions provided by the manufacturer for driver installation.
- Restart audio services: Sometimes, restarting audio services can resolve audio-related problems. Press the Windows key + R to open the Run dialog box, type “services.msc,” and press Enter. Locate “Windows Audio” and “Windows Audio Endpoint Builder” services, right-click on each and select “Restart.”
- Disable exclusive mode: Open the Sound settings, go to the “Playback” tab, select your HDMI audio output device, and click on “Properties.” In the Advanced tab, uncheck the box that says “Allow applications to take exclusive control of this device.” Click “Apply” and “OK” to save the changes.
- Test with different applications: Try playing audio from different applications to check if the issue is specific to a particular program. This can help identify if the problem lies with the application’s audio settings or compatibility.
By troubleshooting audio settings, updating drivers, and adjusting various audio configurations, you can address audio-related issues with your HDMI connection. If the problem persists, proceed to the next troubleshooting steps to further diagnose the issue.
Update Your Operating System
Keeping your operating system up to date is crucial for the overall performance and stability of your PC. Updates often include important bug fixes, security patches, and compatibility enhancements that can resolve HDMI connectivity issues. Here’s how to update your operating system:
- Windows: For Windows users, open the “Settings” app by clicking on the Start menu and selecting the gear icon. Go to “Update & Security” and click on “Check for Updates.” If updates are available, follow the prompts to download and install them. Restart your PC after the updates have been successfully installed.
- macOS: macOS users can check for updates by clicking on the Apple menu and selecting “System Preferences.” Choose “Software Update” and click on “Update Now” if updates are available. Follow the on-screen instructions to complete the update process.
- Linux: Linux distributions usually have their own update mechanisms. Consult the documentation or community resources specific to your Linux distribution to learn how to update your system.
Updating your operating system ensures that you have the latest drivers, firmware, and system components that are essential for proper HDMI functionality. After updating your operating system, check if the HDMI connectivity issue has been resolved.
If updating the operating system does not resolve the problem, proceed to the next troubleshooting steps to further investigate and troubleshoot the issue with your HDMI connection.
Contact Technical Support
If you’ve exhausted all the troubleshooting steps and are still encountering HDMI connectivity issues on your PC, it’s time to reach out to technical support for assistance. Technical support teams are trained to handle complex issues and can provide personalized guidance to help resolve your specific problem. Here’s what you can do:
- Consult the manufacturer’s website: Visit the website of your PC’s manufacturer or the manufacturer of your graphics card. Look for support or contact information, as they may have dedicated technical support teams to assist with HDMI-related problems.
- Submit a support ticket: Many manufacturers provide online support forms or ticket systems. Describe your problem in detail and provide any relevant information or error messages. Submitting a support ticket allows technical support to review your case and provide assistance accordingly.
- Call technical support: If your issue is urgent or you prefer direct assistance, contact the technical support phone number provided by the manufacturer. Explain your problem to the support representative and follow their instructions for troubleshooting or obtaining further assistance.
- Visit a service center: If recommended by technical support or if your PC is still under warranty, you may need to bring your PC to an authorized service center. They can diagnose and repair the hardware or software components related to your HDMI connection.
Remember to document any error messages, troubleshooting steps you’ve already taken, and the model and specifications of your PC. This information will help the technical support team provide more accurate support.
Contacting technical support can be a valuable resource when all other troubleshooting steps have been exhausted. They can offer specialized assistance and provide solutions that are specific to your PC model and its HDMI functionality.
By reaching out to technical support, you can work towards resolving your HDMI connectivity issues effectively and efficiently.


![Setting Up Dual Monitors With Your Laptop [Easy Guide]](https://robots.net/wp-content/uploads/2022/07/workstation-405768_1920-300x202.jpg)