Introduction
Welcome to the world of high-definition multimedia! If you’re looking to enhance your PC’s connectivity options and enjoy a stunning visual experience, adding HDMI ports to your PC is the way to go. HDMI (High-Definition Multimedia Interface) is a widely used standard for transmitting high-quality audio and video signals from one device to another. By equipping your PC with HDMI ports, you unlock a world of possibilities, from connecting to larger displays to enjoying surround sound systems.
In this guide, we will explore the reasons why you should consider adding HDMI ports to your PC, how to assess your PC’s compatibility, the different types of HDMI ports available, and steps to add an HDMI port to your PC. Whether you’re a gamer, content creator, or simply someone who wants to enhance their multimedia experience, this guide will provide you with the necessary information to make an informed decision.
Before we dive into the details, it’s essential to understand that adding HDMI ports to your PC is a hardware modification. Depending on your technical skills and comfort level, you may choose to do it yourself or seek the assistance of a professional. However, with proper research and guidance, adding HDMI ports can be a rewarding experience that opens up a whole new level of connectivity.
Now, let’s explore why adding HDMI ports to your PC can greatly benefit your multimedia and gaming experience.
Reasons to Add HDMI Ports to Your PC
There are several compelling reasons to add HDMI ports to your PC. Let’s delve into some of the key advantages:
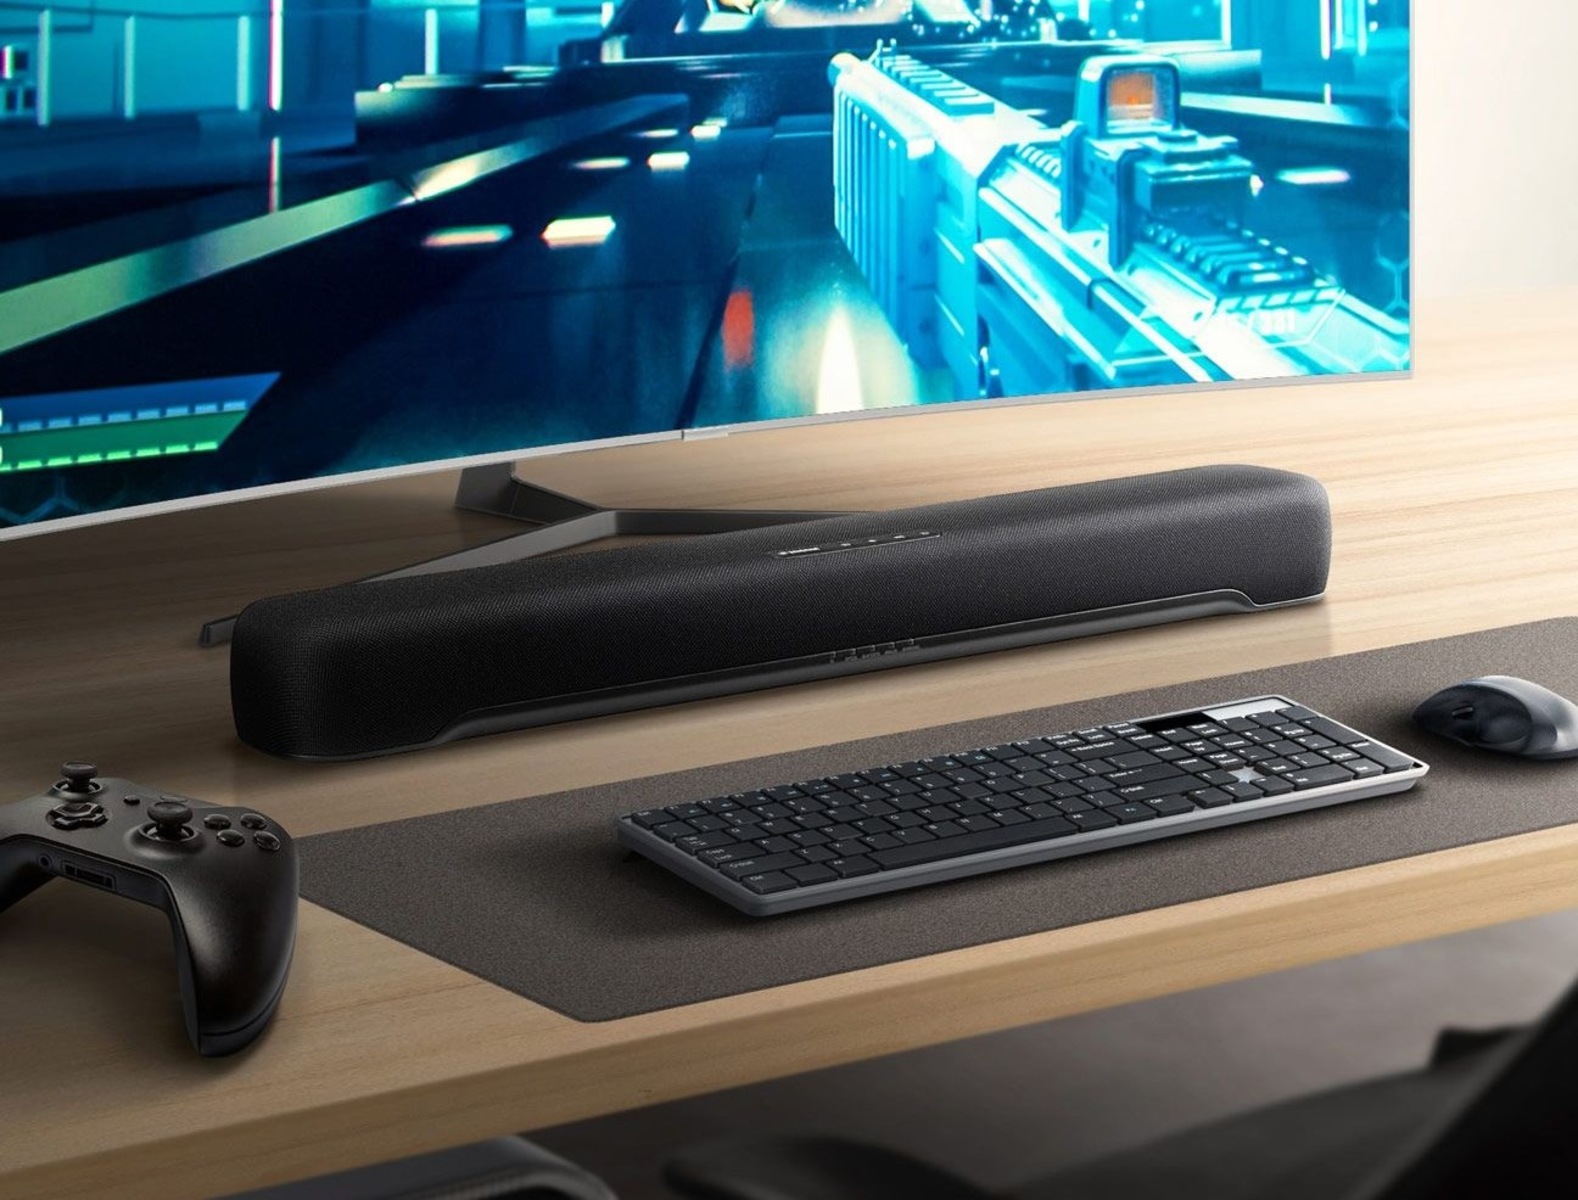
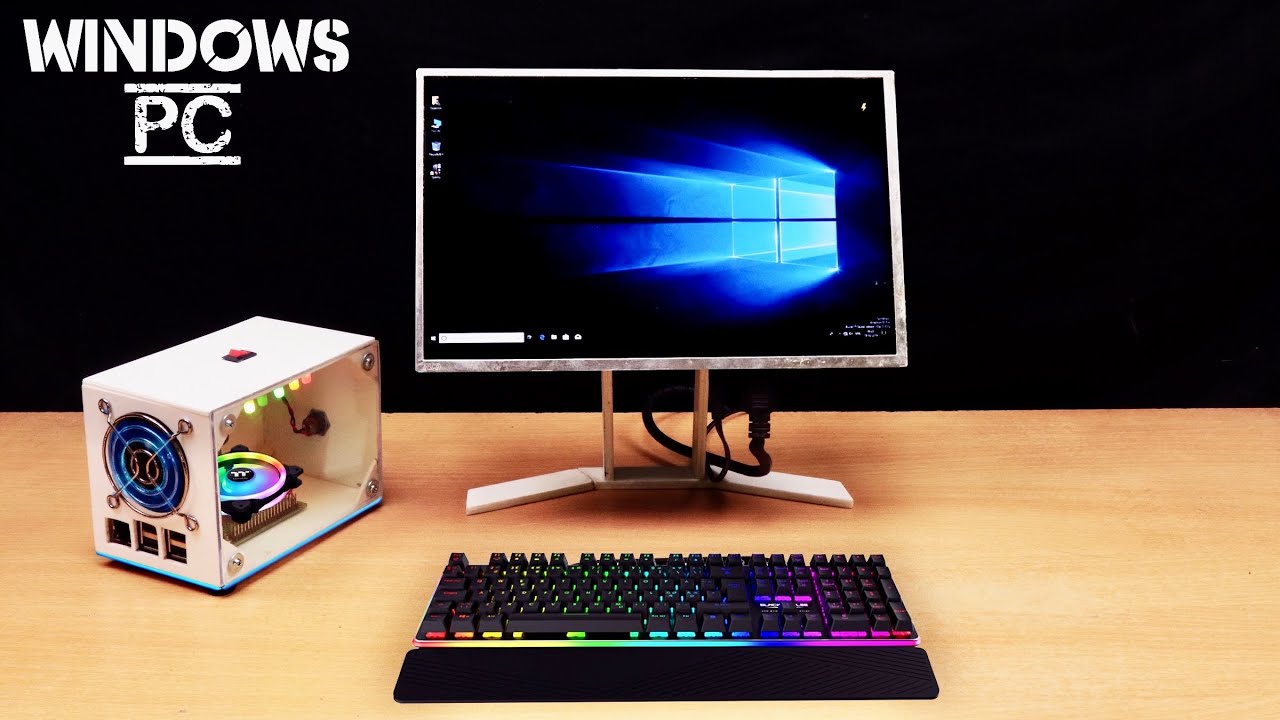
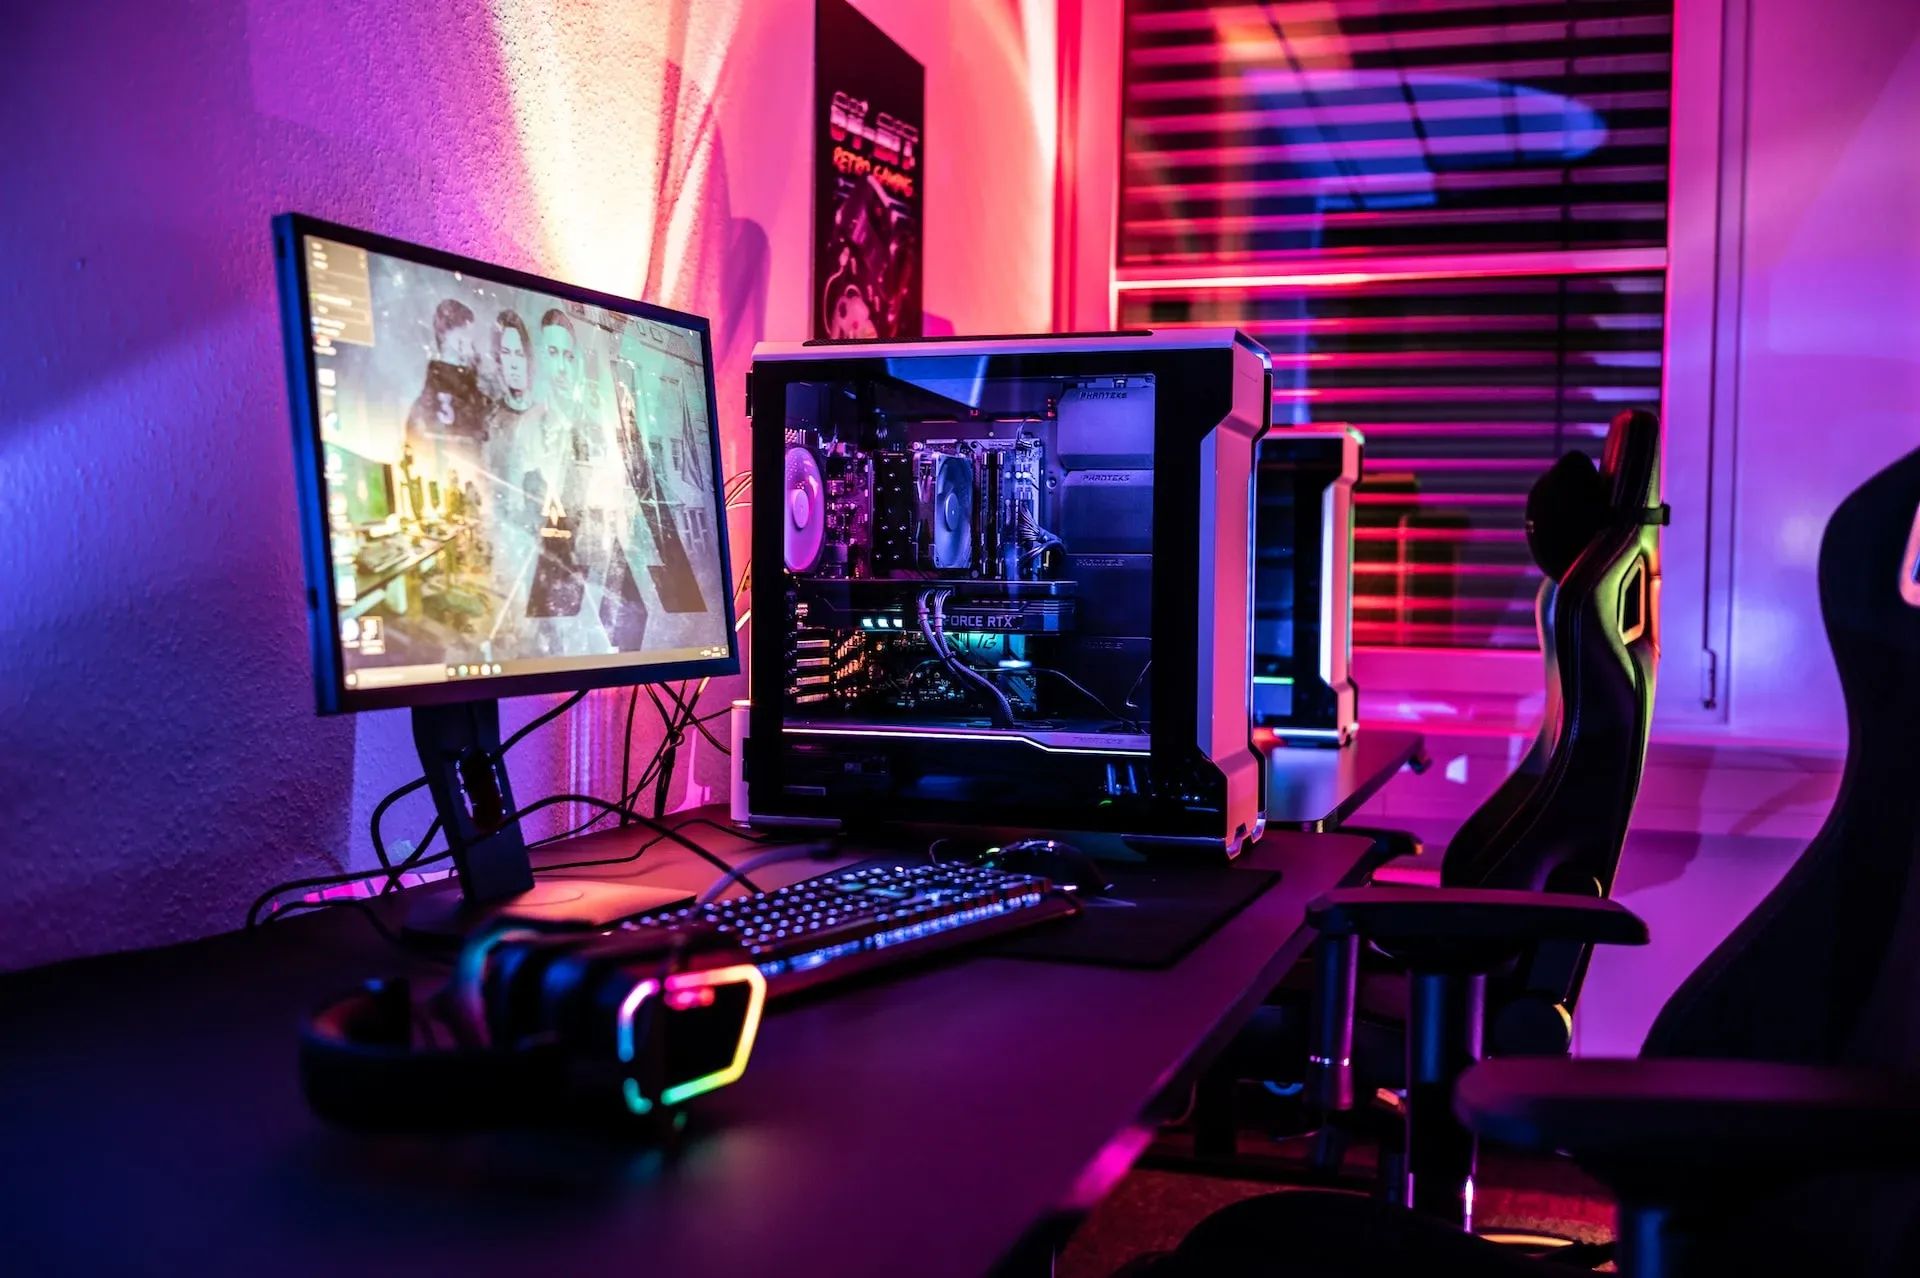
- Enhanced Display Options: By adding HDMI ports to your PC, you can connect it to a variety of devices, such as high-definition monitors, TVs, or projectors. This opens up a whole new world of possibilities, allowing you to enjoy content on larger screens with stunning clarity and vibrant colors. Whether you’re gaming, streaming movies, or working on graphic-intensive tasks, the visual experience will be greatly enhanced.
- Improved Audio Quality: HDMI supports not only high-definition video but also high-quality audio. By connecting your PC to external speakers, soundbars, or a home theater system via HDMI, you can enjoy immersive surround sound without the need for separate audio cables. This is particularly beneficial for gamers, as it enhances the overall gaming experience and allows you to hear every detail and nuance of the game’s audio.
- Seamless Connectivity: HDMI is a universal standard that is widely supported by various devices, including monitors, TVs, gaming consoles, and audio systems. By adding HDMI ports to your PC, you enable seamless connectivity with these devices, eliminating the hassle of using multiple cables or adapters. This makes it easy to switch between different devices and ensures compatibility with future devices as well.
- Multi-Monitor Setup: Having multiple monitors can greatly increase your productivity, whether you’re working on complex tasks or multitasking between different applications. With HDMI ports on your PC, you can easily connect multiple monitors and extend your desktop workspace. This is especially beneficial for professionals in fields like graphic design, video editing, and programming.
- Gaming Experience: If you’re a gamer, adding HDMI ports to your PC can significantly enhance your gaming experience. HDMI supports high refresh rates and resolutions, allowing for smooth gameplay and crisp visuals. It also supports features like AMD FreeSync and NVIDIA G-SYNC, which eliminate screen tearing and provide a smoother and more immersive gaming experience.
These are just a few of the many advantages of adding HDMI ports to your PC. Whether you’re a multimedia enthusiast, a professional who requires a high-quality display, or a gamer seeking an immersive experience, HDMI ports are a valuable addition to your PC setup.
Assessing Your PC’s Compatibility
Before you proceed with adding HDMI ports to your PC, it’s important to assess its compatibility. Here are some key factors to consider:
- Check your PC’s specifications: Review your PC’s specifications, including the motherboard model and available expansion slots. HDMI ports are typically integrated into the motherboard or added via expansion cards. Ensure that your PC has an available PCIe slot or another suitable slot for adding an HDMI card.
- Consider the power requirements: Adding an HDMI card to your PC may require additional power. Check if your power supply unit has sufficient wattage and the necessary power connectors to support the added hardware. Insufficient power supply could lead to compatibility issues or system instability.
- Check the available space: HDMI cards come in different form factors, such as full-sized cards or low-profile cards. Before purchasing an HDMI card, measure the available space in your PC case to ensure that the card will fit without interfering with other components.
- Compatibility with your operating system: Ensure that the HDMI card you intend to purchase is compatible with your PC’s operating system. Most HDMI cards are compatible with popular operating systems like Windows and macOS. Check the manufacturer’s specifications or consult customer support if you’re unsure.
- Consider compatibility with other hardware: If you plan to connect specific devices like monitors, TVs, or audio systems to your PC via HDMI, ensure that they are compatible with the HDMI version or HDMI features supported by the HDMI card. This will help avoid compatibility issues and ensure optimal performance.
If you’re unsure about any of these compatibility aspects, it’s recommended to consult the manufacturer’s documentation, visit online forums, or seek assistance from a professional. Taking the time to assess your PC’s compatibility will help ensure a smooth installation process and prevent any compatibility-related issues down the line.
Understanding Different Types of HDMI Ports
When it comes to HDMI ports, there are several different types that you should be aware of. Understanding their differences will help you choose the right HDMI port for your PC. Here are the main types of HDMI ports:
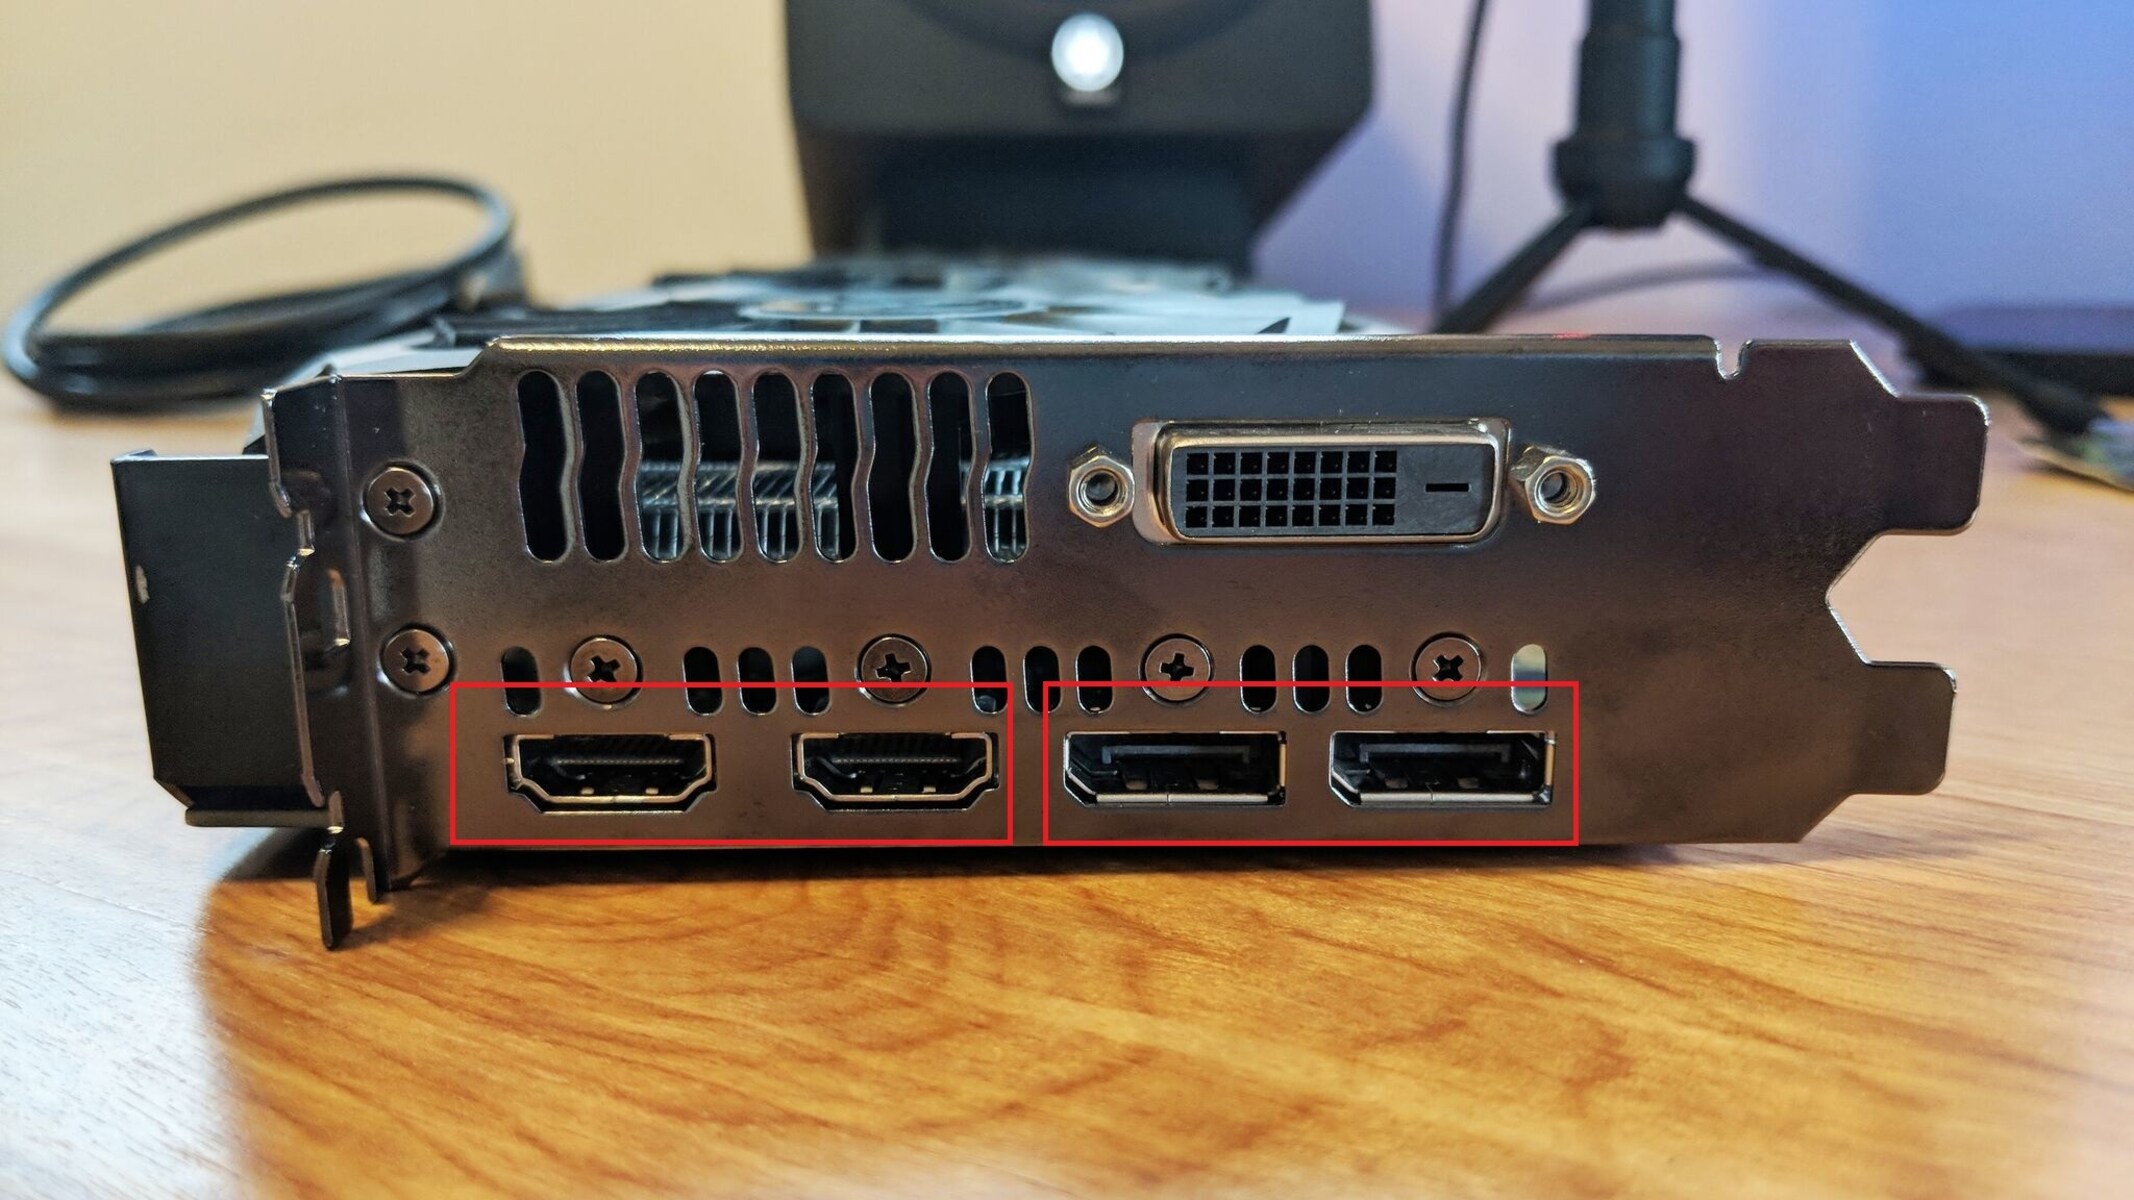
- HDMI Type-A: This is the most common type of HDMI port. It features 19 pins and is capable of supporting standard and high-definition video resolutions, as well as multi-channel audio. Type-A HDMI ports can be found on most TVs, monitors, and other display devices.
- HDMI Type-B: Type-B HDMI ports are less common and are typically found on high-end audio/video equipment. They feature 29 pins and are capable of supporting higher video resolutions and refresh rates, as well as multiple audio streams. Type-B HDMI cables have an additional set of pins for carrying the extra data.
- HDMI Type-C: Also known as Mini HDMI, Type-C HDMI ports are smaller in size compared to Type-A ports. They are commonly found on smaller devices like cameras, camcorders, and some tablets. Type-C HDMI cables are used to connect these devices to standard HDMI ports on TVs or monitors.
- HDMI Type-D: Also known as Micro HDMI, Type-D HDMI ports are even smaller than Type-C ports. They are found on devices like smartphones, tablets, and some cameras. Type-D HDMI cables are used to connect these devices to standard HDMI ports on TVs or monitors.
- HDMI Type-E: Type-E HDMI ports are designed for automotive applications. They are typically used in vehicles to connect devices like DVD players or game consoles to in-car displays. Type-E HDMI ports and cables are built to withstand the harsh automotive environment.
It’s important to note that most desktop and laptop PCs are equipped with Type-A HDMI ports. This means that if you’re looking to add an HDMI port to your PC, you’ll likely be using a Type-A HDMI connector. However, if you have a special use case or need to connect specific devices, it’s worth considering the other HDMI port types and their corresponding cables.
By understanding the different types of HDMI ports, you can ensure compatibility between your PC and the display devices you intend to connect. Remember to check the HDMI port types supported by your PC and any external devices to avoid compatibility issues.
Choosing the Right HDMI Port for Your PC
When adding HDMI ports to your PC, it’s important to choose the right HDMI port that suits your needs and ensures compatibility with your existing setup. Here are some factors to consider when selecting the HDMI port:
- Check your PC’s available expansion slots: Determine whether your PC has an available PCIe slot or another compatible slot for adding an HDMI card. This will help you decide whether you can opt for an internal HDMI card or an external HDMI adapter.
- Consider the number of HDMI ports needed: Decide on the number of HDMI ports you require for your PC. If you plan to connect multiple devices simultaneously, choose an HDMI card or adapter that provides multiple ports. This will eliminate the need for additional adapters or switches.
- Assess display and audio requirements: Consider the capabilities of the displays and audio devices you plan to connect. If you require support for higher video resolutions or refresh rates, ensure that the HDMI card or adapter can accommodate those requirements. Additionally, if you need support for advanced audio formats or multi-channel audio, make sure the HDMI port supports them.
- Check for additional features: Some HDMI cards or adapters offer additional features like support for HDR (High Dynamic Range) content, HDMI-CEC (Consumer Electronics Control) for remote control interoperability, or compatibility with specific gaming technologies like AMD FreeSync or NVIDIA G-SYNC. If these features are important to you, choose an HDMI port that provides them.
- Budget considerations: Set a budget for adding HDMI ports to your PC and search for options that align with it. Keep in mind that the cost may vary depending on the type of HDMI card or adapter, brand, and additional features.
After considering these factors, you’ll have a better understanding of your requirements and be able to choose the right HDMI port for your PC. It’s recommended to read product reviews, check manufacturer specifications, and compare different options before making a final decision.
Remember, adding HDMI ports to your PC is a hardware modification, so ensure that you follow installation instructions carefully or seek professional assistance if needed. Taking the time to choose the right HDMI port will ensure a smooth and seamless integration with your PC setup.
How to Add an HDMI Port to Your PC: Step-by-Step Guide
Adding an HDMI port to your PC may sound intimidating, but with the right guidance, it can be a straightforward process. Here is a step-by-step guide to help you through the installation:
- Step 1: Prepare your PC: Power off your PC and disconnect all cables. Ensure that you are working in a well-lit and static-free environment to prevent any damage to your PC components.
- Step 2: Identify an available expansion slot: Depending on your PC’s form factor and available expansion slots, locate an appropriate slot for adding an HDMI card. This is typically a PCIe slot, but consult your PC’s documentation for confirmation.
- Step 3: Install the HDMI card: If you’re using an internal HDMI card, carefully align it with the expansion slot and gently insert it until it is securely in place. Ensure that the card is level and properly seated in the slot.
- Step 4: Secure the HDMI card: Use the screws provided with the HDMI card to secure it to the PC case. This will prevent any movement or dislodgment during use.
- Step 5: Connect internal cables (if necessary): Some HDMI cards require additional internal connections. Consult the card’s documentation to identify any required connections and connect the appropriate cables securely.
- Step 6: Close the PC case: Double-check that all connections are secure and that there are no loose cables inside the PC case. Carefully close the case and fasten any screws or latches to secure it.
- Step 7: Power on the PC: Reconnect the necessary cables, including the power cable, monitor, and any other devices you wish to connect via HDMI. Power on the PC and ensure that everything is functioning properly.
- Step 8: Install drivers (if necessary): Depending on the HDMI card you installed, you may need to install drivers or update existing ones. Check the manufacturer’s website for the latest drivers and follow their instructions for installation.
- Step 9: Test the HDMI connection: Connect your display device or devices via HDMI to the newly installed port. Ensure that the displays are detected correctly by your PC and that the video and audio signals are being transmitted without any issues.
If you encounter any difficulties or issues during the process, consult the documentation provided with the HDMI card or seek assistance from the manufacturer’s customer support. Remember to exercise caution and take your time to ensure a successful installation.
With the HDMI port successfully added to your PC, you can now enjoy the benefits of connecting your PC to high-definition displays, audio systems, and other HDMI-compatible devices.
Troubleshooting Common Issues
While adding HDMI ports to your PC can greatly enhance your multimedia experience, you may encounter some common issues during the installation or afterwards. Here are a few troubleshooting tips to help you address these issues:
- No signal on the display: If the connected display does not receive a signal from the HDMI port, ensure that the HDMI cable is securely connected at both ends. Try using a different HDMI cable or testing the display with another device to rule out any issues with the display itself.
- Incompatibility with the display device: Some display devices may have specific requirements or limitations when it comes to HDMI compatibility. Check the user manual or the manufacturer’s website for any known issues or compatibility information with your PC or HDMI card.
- Driver issues: If your PC does not recognize the newly installed HDMI port or displays incorrect resolutions, ensure that the drivers for the HDMI card are properly installed and up to date. Visit the manufacturer’s website to download the latest drivers for your specific model.
- Power supply constraints: Adding an HDMI card to your PC may require additional power. If you experience stability issues or system crashes after installing the HDMI card, check if your power supply unit can adequately handle the additional power requirements. Consider upgrading your power supply if necessary.
- Conflicts or driver errors: Sometimes, conflicts with other hardware or software on your PC can cause issues with the HDMI installation. In such cases, try uninstalling and reinstalling the drivers for both the HDMI card and any conflicting devices. You can also try updating or rolling back the drivers to see if that resolves the issue.
- Disabled HDMI port: Double-check that the HDMI port on your PC is enabled in the system settings. Go to the display settings and ensure that the HDMI port you added is selected as the primary display or is enabled for use.
- Insufficient audio output: If you’re experiencing issues with audio playback through the HDMI port, make sure that the audio settings on your PC are correctly configured. Check the sound settings and ensure that the HDMI audio output is selected as the default playback device.
If you’re still facing difficulties in resolving the issues, it’s recommended to seek assistance from the manufacturer’s customer support or consult online forums dedicated to the specific HDMI card or PC model you’re using. Remember, patience and thorough troubleshooting can often help diagnose and resolve common issues, ensuring a smooth and optimal HDMI experience with your PC.
Conclusion
Adding HDMI ports to your PC is a fantastic way to expand its connectivity options and elevate your multimedia experience. Whether you’re a gamer looking for a more immersive gameplay, a content creator needing high-resolution displays, or simply someone who wants to enjoy high-quality audio and video, HDMI ports can greatly enhance your PC setup.
In this guide, we explored the reasons why adding HDMI ports to your PC is beneficial, how to assess your PC’s compatibility, the different types of HDMI ports available, and steps to add an HDMI port to your PC. Remember to carefully consider your PC’s specifications, available expansion slots, display and audio requirements, and your budget when choosing the right HDMI port for your needs.
Throughout the installation process, troubleshooting may be required due to common issues such as connection problems, driver conflicts, or power supply constraints. By following the troubleshooting tips provided, you can address these issues and ensure a smooth HDMI integration with your PC.
Now that you have the knowledge and guidance to add HDMI ports to your PC, you can enjoy the benefits of expanded connectivity options, enhanced audio and video quality, and a more immersive multimedia experience. So go ahead and unlock the full potential of your PC by adding HDMI ports today!