Introduction
Welcome to our guide on how to connect your Nintendo Switch to your PC using an HDMI cable! If you’re looking to enjoy your favorite Nintendo Switch games on a bigger screen or simply want to have the option to play on your PC, this tutorial is for you.
The Nintendo Switch is a versatile gaming console that allows you to play games both on your TV and in handheld mode. However, connecting it to your PC opens up a whole new world of possibilities. Whether you want to stream your gameplay, take advantage of the PC’s higher display resolution, or simply enjoy gaming on a larger monitor, connecting your Nintendo Switch to your PC can enhance your gaming experience.
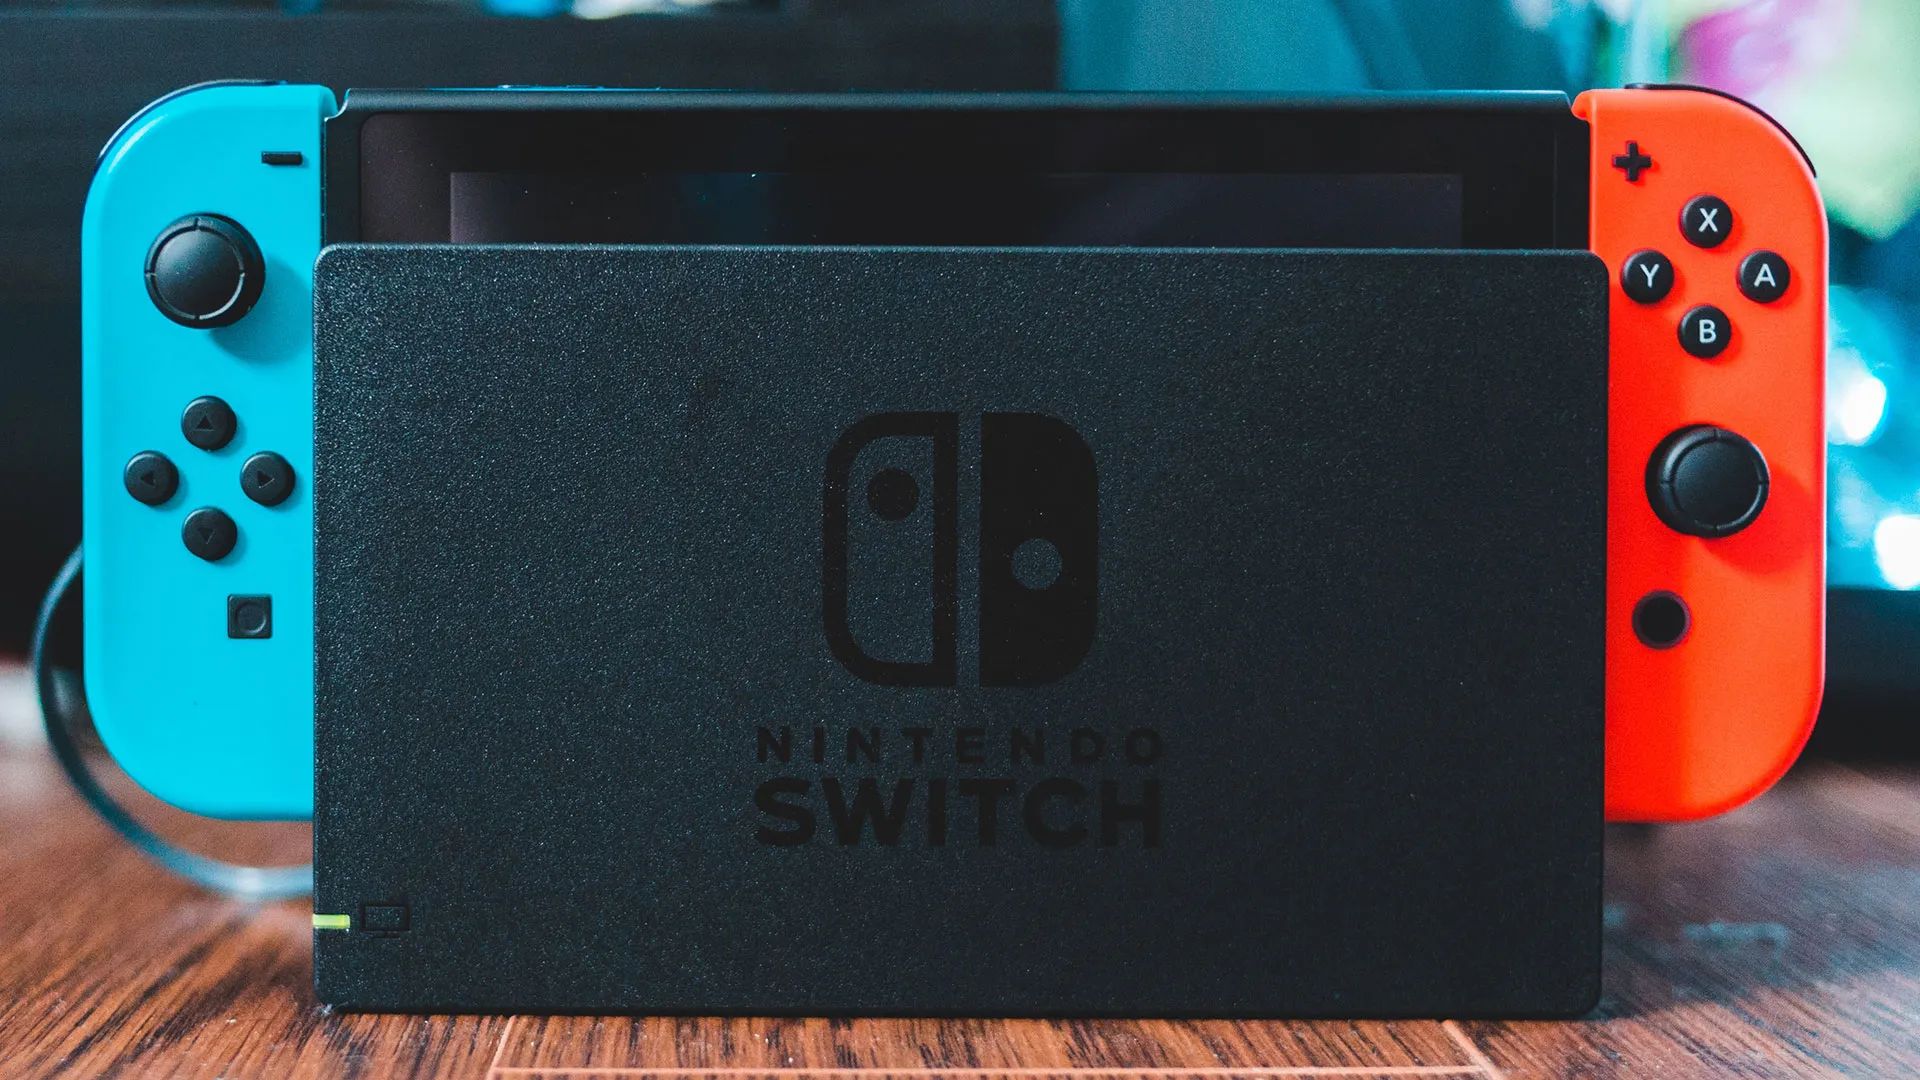
To get started, you’ll need a few things: a Nintendo Switch console, an HDMI cable, a PC with an available HDMI input, and a Nintendo Switch Dock. The Dock is the key component that allows you to connect your Nintendo Switch to various display devices, including your PC.
In this guide, we’ll walk you through the step-by-step process of connecting your Nintendo Switch to your PC using an HDMI cable. We’ll cover everything from setting up the Nintendo Switch Dock to configuring your PC settings to display the Nintendo Switch’s output. So, let’s dive in and get started!
Requirements
Before we dive into the process of connecting your Nintendo Switch to your PC, let’s go over the requirements. Gathering these items beforehand will ensure a smooth setup process:
- Nintendo Switch console: You’ll need the Nintendo Switch console itself, which includes the main unit and the Joy-Con controllers.
- HDMI cable: An HDMI cable is necessary to establish the connection between your Nintendo Switch Dock and your PC. Make sure you have a high-quality HDMI cable to ensure optimal performance.
- PC with HDMI input: Your PC should have an available HDMI input port. This is where you will connect the HDMI cable from the Nintendo Switch Dock. Check your PC’s specifications or user manual to confirm if it has an HDMI input.
- Nintendo Switch Dock: The Nintendo Switch Dock is a docking station that allows you to connect your console to external display devices, such as a TV or a PC. Ensure you have the official Nintendo Switch Dock to ensure compatibility.
- Power adapter and USB-C cable: To power the Nintendo Switch Dock, you’ll need its corresponding power adapter and a USB-C cable. These come with the Nintendo Switch package, so make sure you have them handy.
- Display device: Lastly, you’ll need a display device connected to your PC, such as a monitor or a TV. This will allow you to view the Nintendo Switch’s output on a larger screen.
Once you have gathered all of the required items, you’re ready to move on to the next steps. The process of connecting your Nintendo Switch to your PC is straightforward, but following the steps correctly is essential to ensure a successful connection. Let’s proceed to the next section!
Step 1: Setting up the Nintendo Switch Dock
The first step in connecting your Nintendo Switch to your PC is to set up the Nintendo Switch Dock. Follow these instructions to ensure a proper setup:
- Start by placing the Nintendo Switch Dock on a stable surface near your PC.
- Connect the power adapter to the back of the Nintendo Switch Dock.
- Plug the other end of the power adapter into a power outlet.
- Take the USB-C cable and connect one end to the back of the Nintendo Switch Dock.
- Now, carefully connect the other end of the USB-C cable to the USB-C port on the Nintendo Switch console.
- Once everything is connected, turn on your PC and the Nintendo Switch console.
- The LED indicator on the front of the Nintendo Switch Dock should now light up, indicating that it has power.
Great! You have successfully set up the Nintendo Switch Dock. The Dock serves as the central hub for connecting your Nintendo Switch to various display devices, including your PC. Now, let’s move on to the next step to establish the physical connection between the Nintendo Switch Dock and your PC.
Step 2: Connecting the Nintendo Switch Dock to the PC
Now that you have set up the Nintendo Switch Dock, it’s time to connect it to your PC. Follow these steps to establish the physical connection:
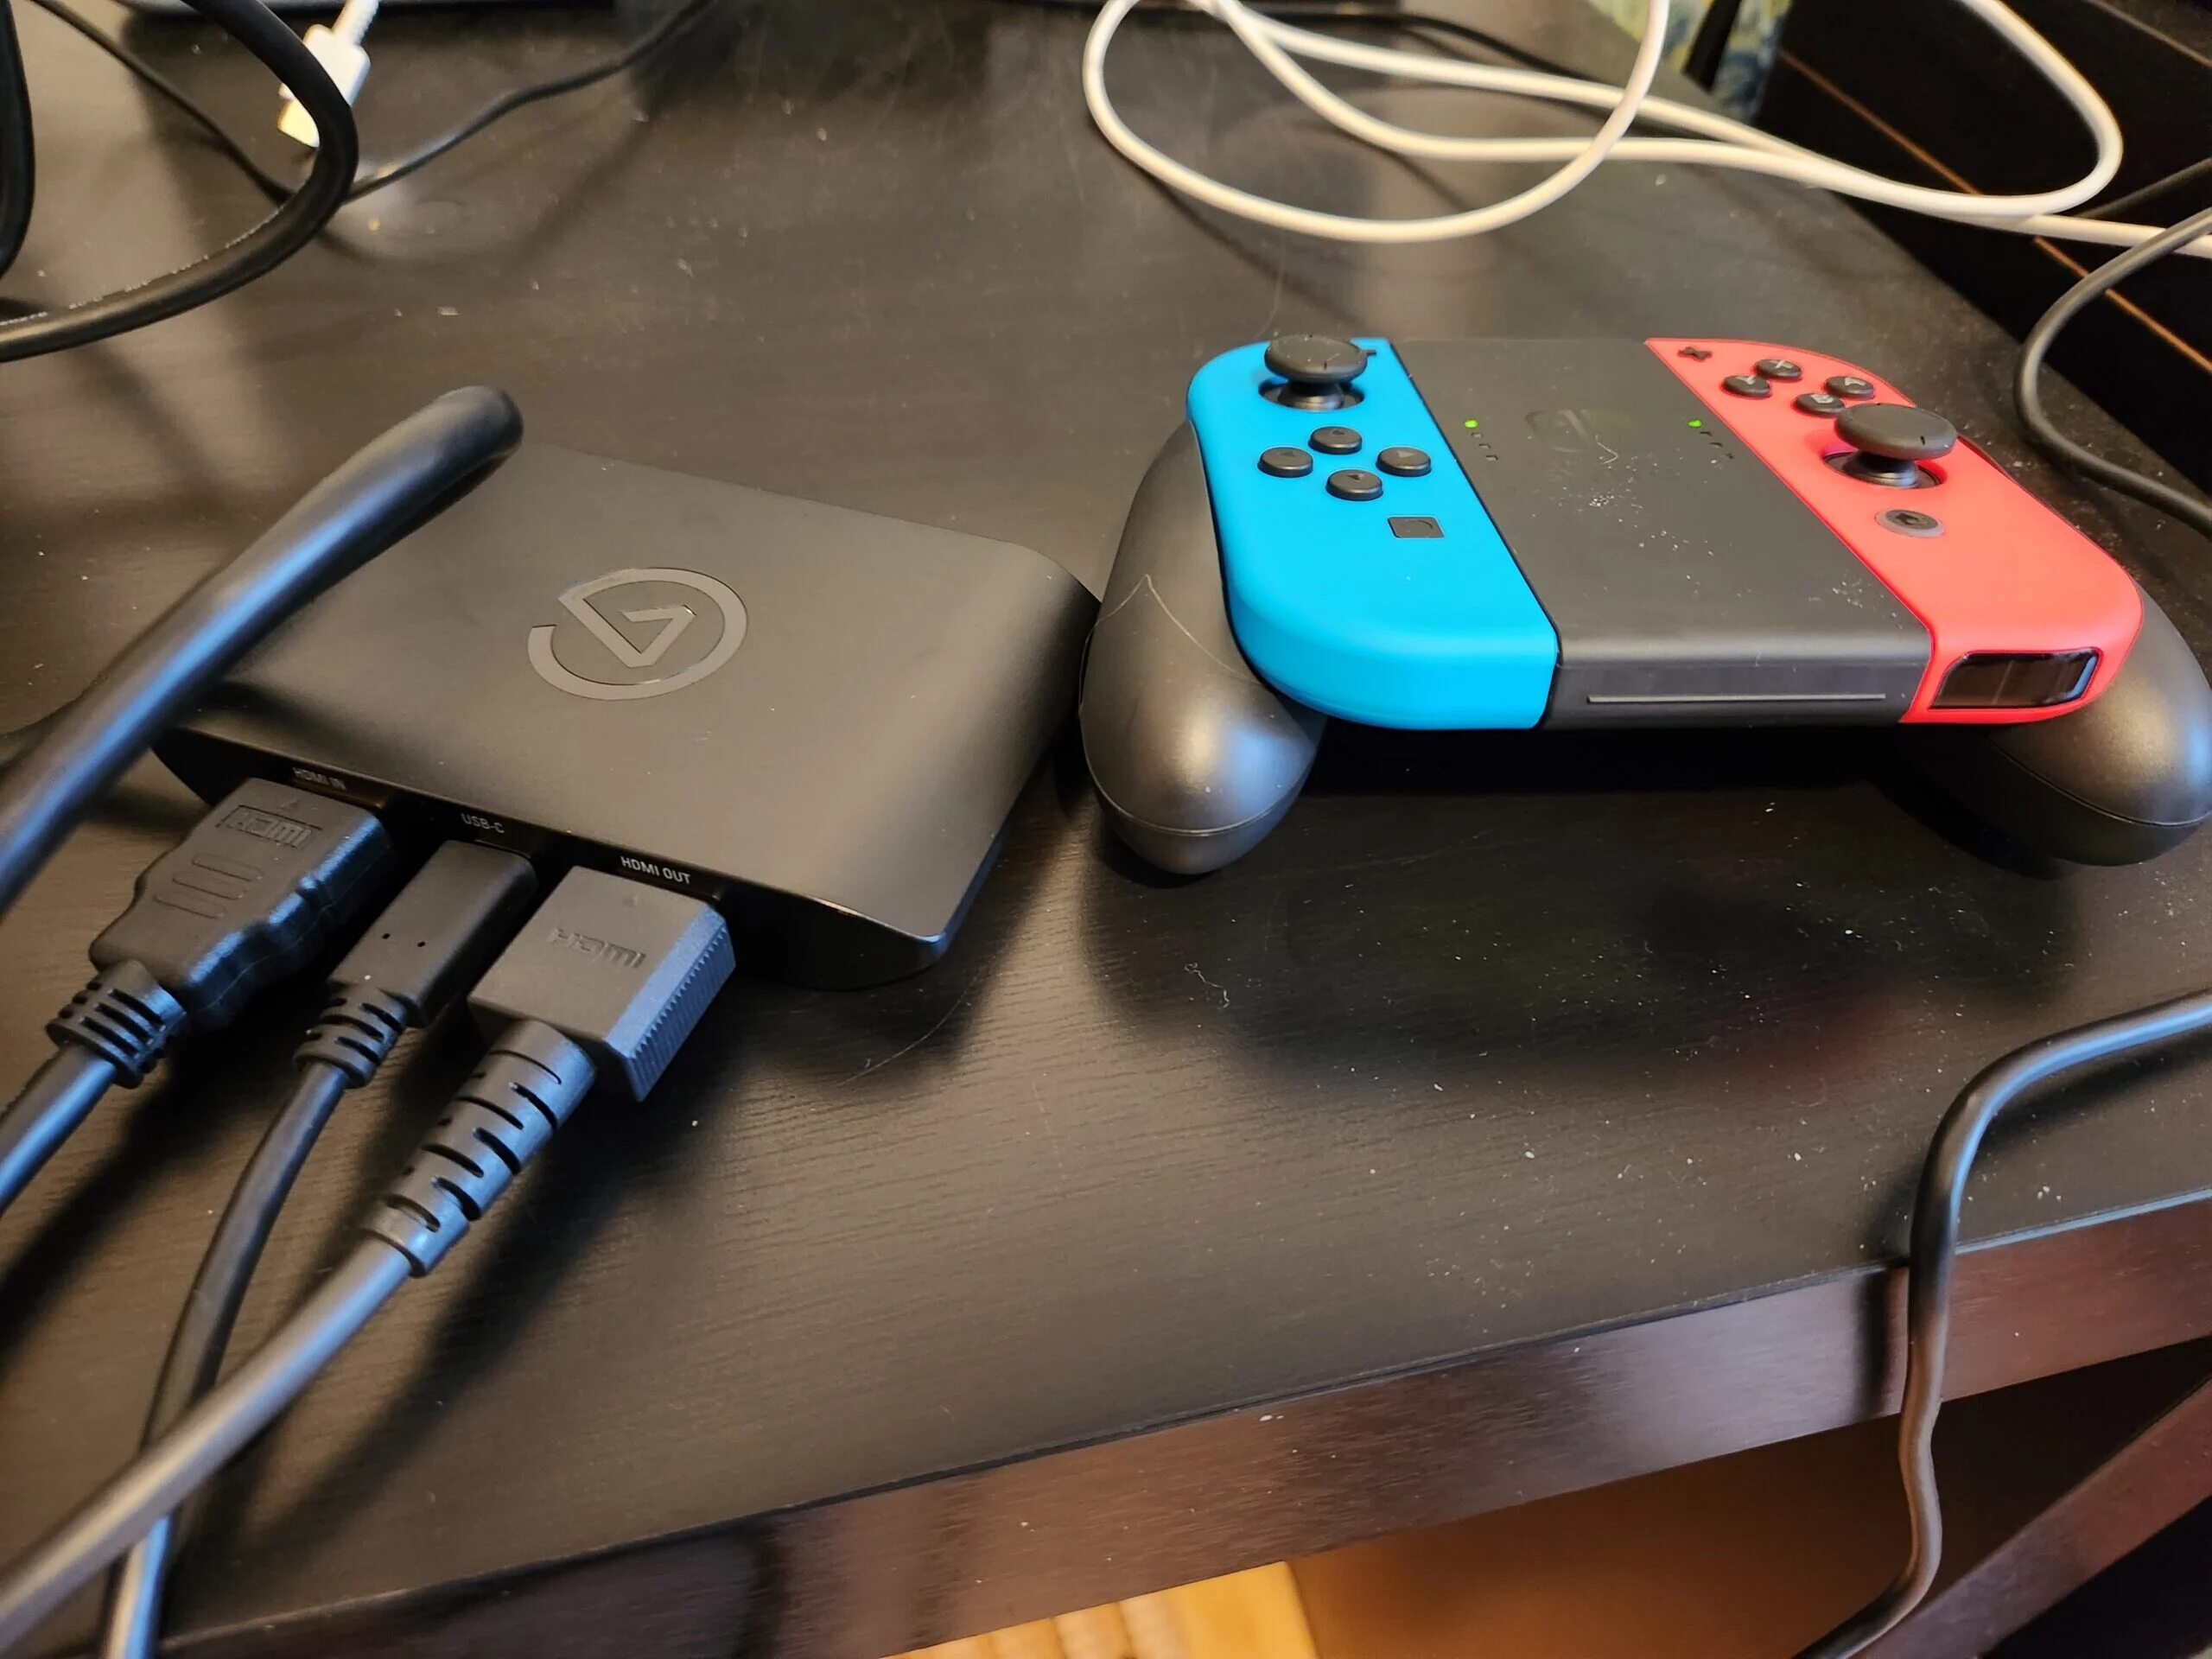
- Locate the HDMI output port on the back of the Nintendo Switch Dock.
- Take one end of the HDMI cable and insert it into the HDMI output port on the Nintendo Switch Dock.
- Locate the HDMI input port on your PC.
- Take the other end of the HDMI cable and insert it into the HDMI input port on your PC.
- Ensure that the HDMI cable is securely connected to both the Nintendo Switch Dock and your PC.
- With the physical connection established, we can now move on to configuring the PC settings.
Great! You have successfully connected the Nintendo Switch Dock to your PC using an HDMI cable. This connection enables the transfer of the Nintendo Switch’s audio and video output to your PC. In the next step, we will configure the PC settings to ensure the Nintendo Switch’s display can be viewed on your PC’s screen. Let’s continue!
Step 3: Configuring PC Settings
Now that the Nintendo Switch Dock is connected to your PC, let’s configure the PC settings to ensure the display can be viewed properly. Follow these steps:
- On your PC, right-click on the desktop and select “Display settings” from the menu.
- In the Display settings window, locate the “Multiple displays” section.
- Click on the drop-down menu next to “Multiple displays” and select “Extend these displays.”
- Ensure that your PC recognizes the Nintendo Switch display by checking if it appears in the list of available displays.
- If the Nintendo Switch display is not detected, try disconnecting and reconnecting the HDMI cable and ensure it is securely connected.
- If the issue persists, try restarting your PC and Nintendo Switch console.
- Once your PC recognizes the Nintendo Switch display, click on “Apply” to save the settings.
Great! You have successfully configured the PC settings to extend the display and recognize the Nintendo Switch. The next step is selecting the PC as the display source for the Nintendo Switch. This will enable the transfer of the Nintendo Switch’s output to your PC. Let’s move on to the next step!
Step 4: Selecting the PC as the Display Source
With the PC settings configured, it’s time to select the PC as the display source for the Nintendo Switch. Follow these steps:
- On your PC, press the “Windows” key + “P” key simultaneously to open the “Project” menu.
- In the “Project” menu, select the “PC screen only” option.
- This will ensure that the display output of the Nintendo Switch is directed to your PC’s screen.
- Check your PC’s screen to see if it now displays the output from the Nintendo Switch.
- If the Nintendo Switch display is not visible on your PC’s screen, try pressing the “Windows” key + “P” key again and select the “Extend” option.
- This should extend the display to both your PC’s screen and the Nintendo Switch display.
Excellent! You have successfully selected the PC as the display source for the Nintendo Switch. You should now be able to see the Nintendo Switch’s output on your PC’s screen. In the next step, we will adjust the display settings to ensure the best visual experience. Let’s proceed!
Step 5: Adjusting Display Settings
Now that the Nintendo Switch’s output is being displayed on your PC’s screen, it’s time to adjust the display settings for the best visual experience. Follow these steps:
- On your PC, right-click on the desktop and select “Display settings” from the menu.
- In the Display settings window, you can adjust various settings such as resolution, brightness, and color.
- Click on “Advanced display settings” for more options.
- Under advanced settings, you can fine-tune the display properties such as refresh rate, color calibration, and display orientation.
- Experiment with the various settings to find the optimal configuration that suits your preferences.
- Once you are satisfied with the display settings, click on “Apply” to save the changes.
Well done! You have successfully adjusted the display settings to optimize the visual experience while playing Nintendo Switch games on your PC. Now, all that’s left to do is to sit back, relax, and enjoy gaming on the bigger screen of your PC. Let’s move on to the final step.
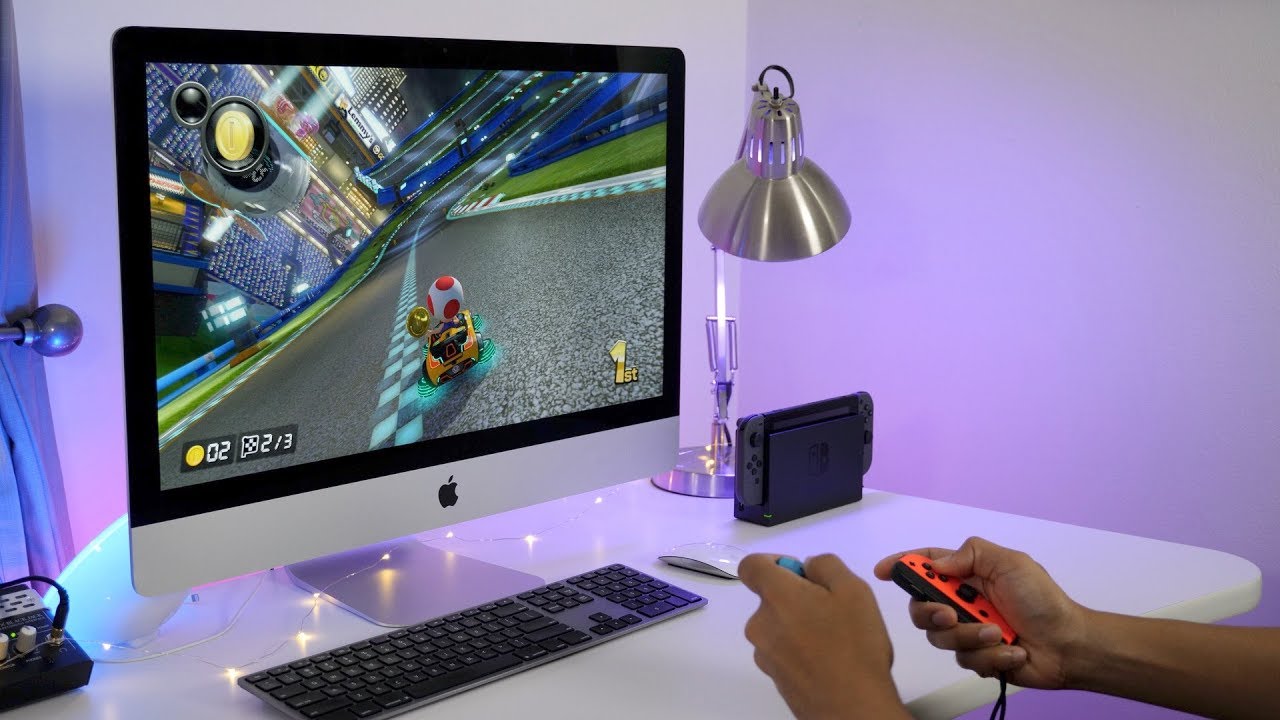
Step 6: Enjoying Nintendo Switch Gaming on your PC
Congratulations! You have successfully connected your Nintendo Switch to your PC and configured the necessary settings. Now, it’s time to indulge in the joy of playing Nintendo Switch games on your PC. Here are a few tips to enhance your gaming experience:
- Choose the right controller: Depending on your preference, you can use the Joy-Con controllers, a Nintendo Switch Pro Controller, or connect a compatible PC controller to your PC for gaming.
- Optimize display preferences: Within each game, you can adjust the graphics settings to optimize the visuals and performance according to your PC’s capabilities.
- Explore streaming options: If you want to stream your gameplay, you can use software like OBS Studio or XSplit to capture your PC screen and share it with your audience.
- Try different gaming modes: With your Nintendo Switch connected to your PC, you have the flexibility to enjoy handheld mode on the Switch console itself or play on your PC’s larger screen.
- Take advantage of PC capabilities: Your PC might offer benefits such as higher resolution, smoother frame rates, and better graphics quality compared to playing solely on the Nintendo Switch’s built-in display.
Now that you’re all set, go ahead and dive into your favorite Nintendo Switch games with the enhanced experience of playing on your PC. Enjoy the immersive gameplay, stunning visuals, and the convenience of having your gaming setup tailored to your preferences.
Remember, disconnecting the Nintendo Switch from your PC is as simple as unplugging the HDMI cable from the Nintendo Switch Dock and your PC. You can switch back to playing on your TV or in handheld mode whenever you desire. So, have fun exploring the vast library of Nintendo Switch games from the comfort of your PC gaming station!
Conclusion
Congratulations on successfully connecting your Nintendo Switch to your PC using an HDMI cable! By following the steps outlined in this guide, you have expanded your gaming possibilities and unlocked the ability to enjoy Nintendo Switch gaming on a larger screen.
We started by setting up the Nintendo Switch Dock and connecting it to your PC. Then, we configured the PC settings to recognize the Nintendo Switch display and selected the PC as the display source. Adjusting the display settings ensured the best visual experience, and finally, we discussed tips to enhance your Nintendo Switch gaming on your PC.
With your Nintendo Switch connected to your PC, you can now enjoy the benefits of a larger display, optimized graphics settings, and the flexibility to play in different gaming modes. Whether you’re streaming your gameplay, enjoying higher resolution graphics, or simply relishing the immersive experience, connecting your Nintendo Switch to your PC opens up a whole new world of gaming possibilities.
Remember, disconnecting your Nintendo Switch from your PC is as easy as unplugging the HDMI cable, allowing you to switch back to playing on your TV or in handheld mode whenever you desire.
Thank you for following this guide, and we hope it has been helpful in enabling you to connect your Nintendo Switch to your PC with ease. Now, it’s time to dive into your favorite games and enjoy the thrilling world of Nintendo Switch gaming on your PC!