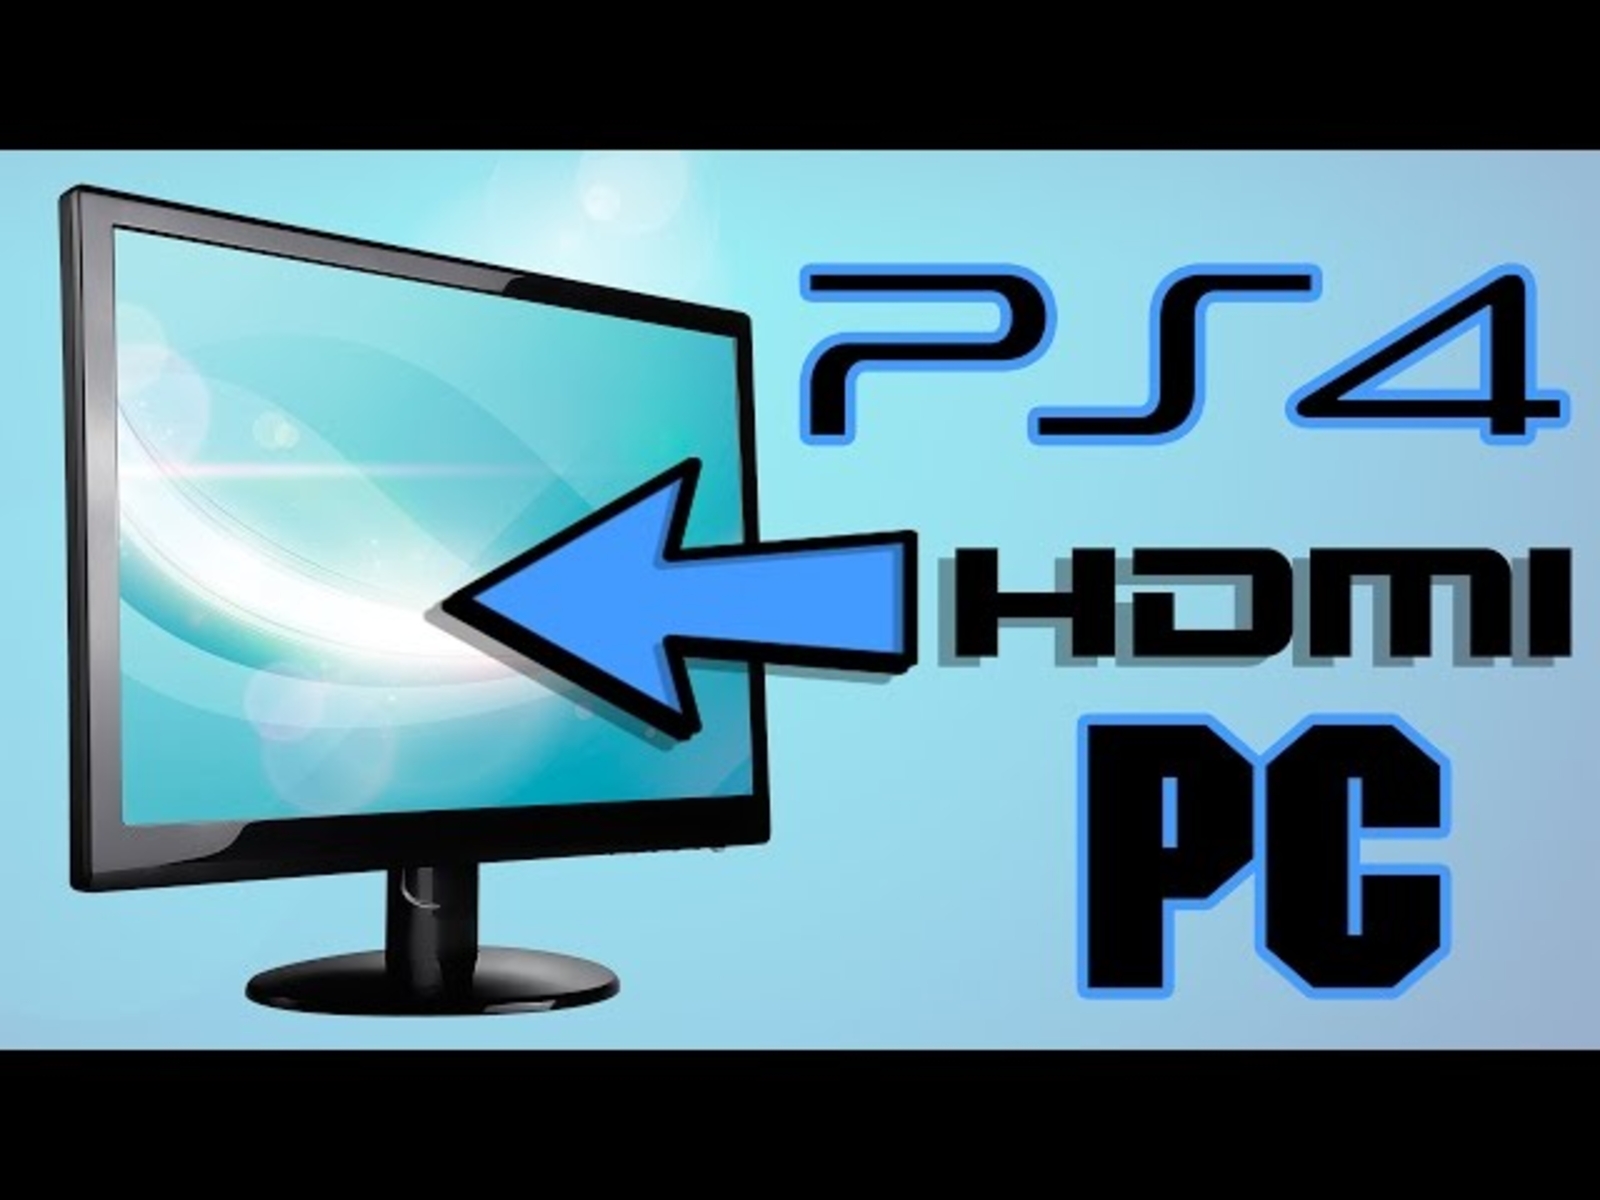
Introduction
Connecting your PlayStation 4 (PS4) to a PC monitor can be a great way to enhance your gaming experience. Whether you want to enjoy your games on a larger screen or need a more responsive display for competitive gaming, connecting your PS4 to a PC monitor with an HDMI cable can provide a seamless hookup solution. This allows you to enjoy high-quality graphics and immersive gameplay on your monitor.
In this guide, we will walk you through the step-by-step process of connecting your PS4 to a PC monitor using an HDMI cable. We will cover everything from gathering the necessary equipment to adjusting the display settings on your PS4. Additionally, we will provide troubleshooting tips to help you overcome any potential issues that may arise during the setup process.
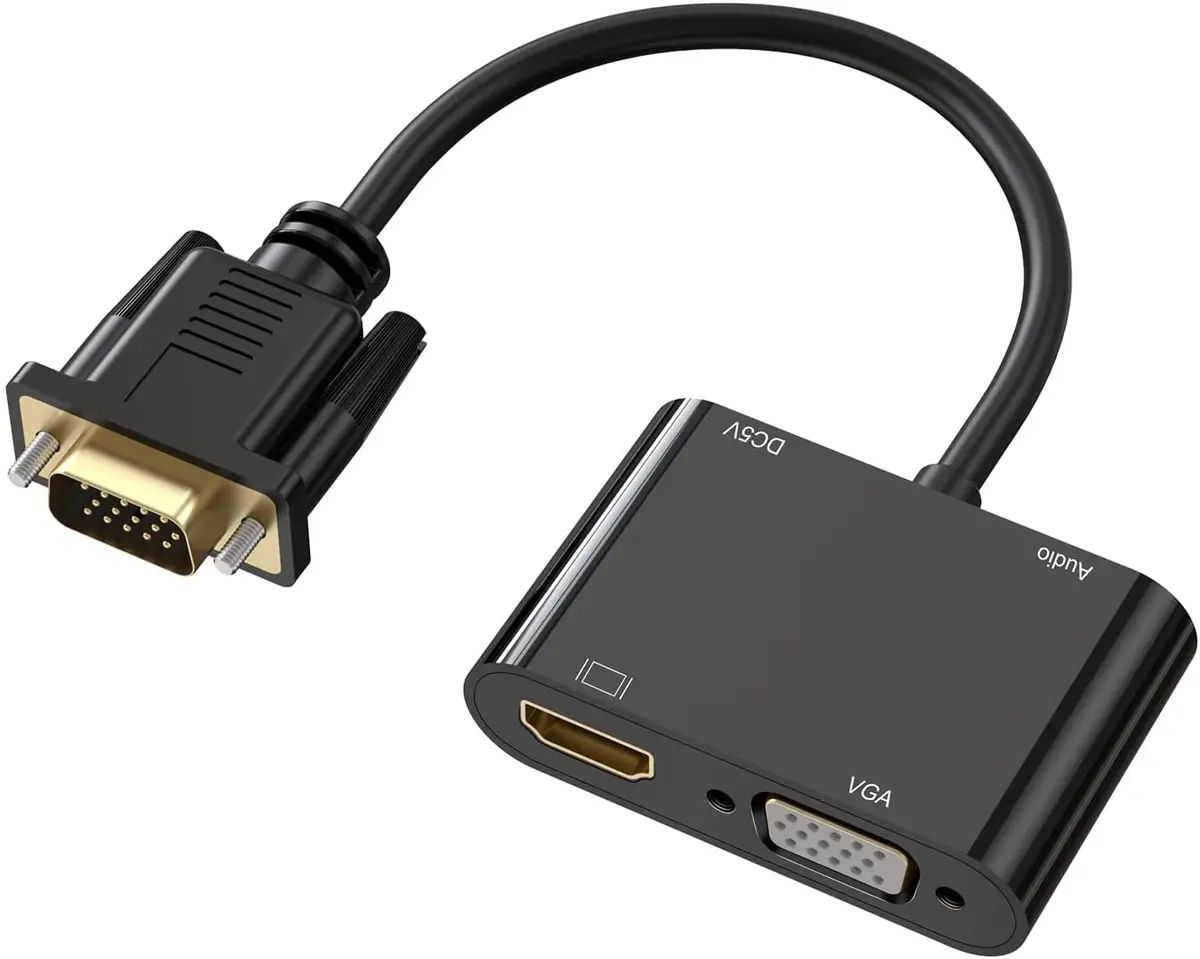
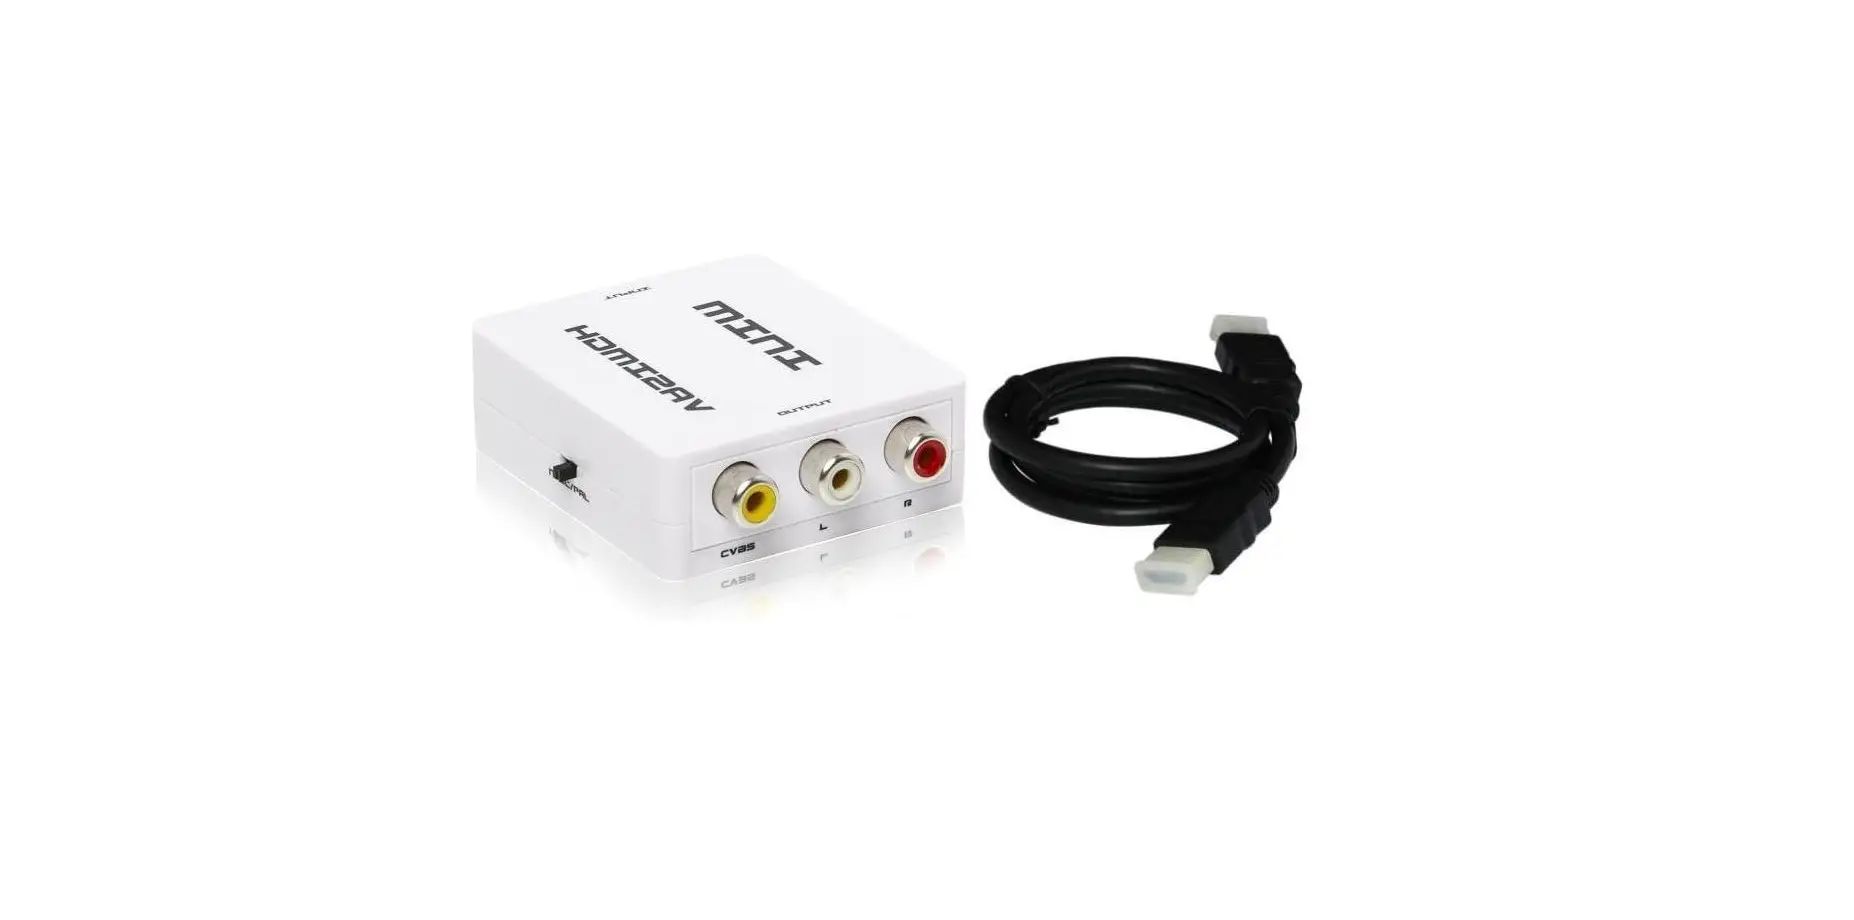
Before we dive into the steps, it’s important to note that the compatibility of your PC monitor with the PS4 is crucial to ensure a successful connection. Not all monitors support HDMI input, so you’ll need to verify if your monitor has an HDMI port. If your monitor only has a DVI or VGA input, you may require additional adapters or converters to make the connection possible.
Now, let’s get started with the first step – gathering the necessary equipment.
Step 1: Gather the necessary equipment
Before you can connect your PS4 to a PC monitor, you’ll need to gather a few essential pieces of equipment. Here’s what you’ll need:
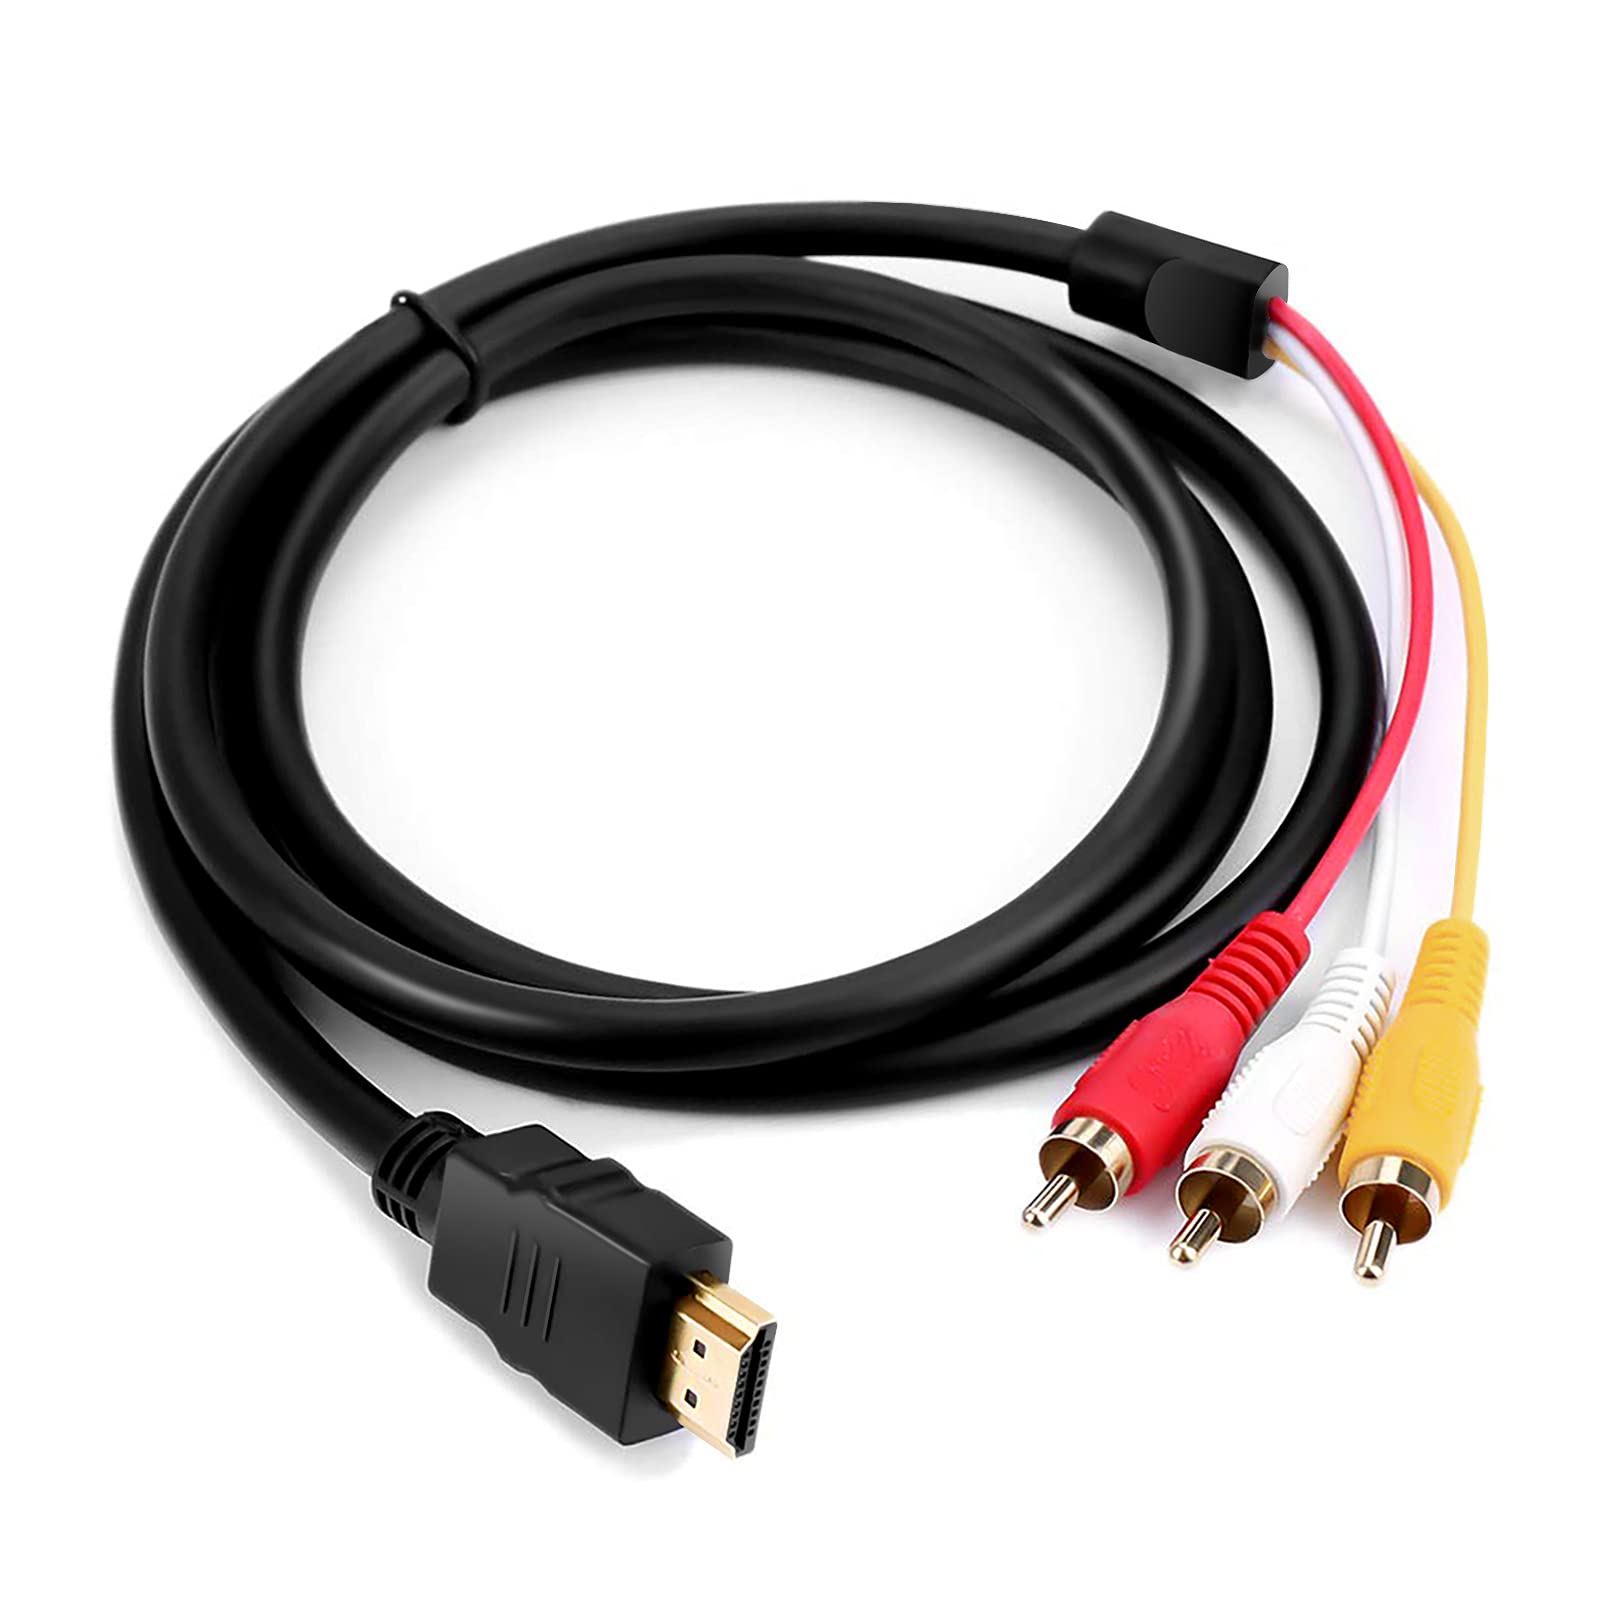
- An HDMI cable: This is the main component that will establish the connection between your PS4 and PC monitor. Make sure you have a high-quality HDMI cable that supports both audio and video transmission.
- A PC monitor with an HDMI input: Ensure that your monitor has an HDMI port to connect the PS4. If your monitor has a DVI or VGA input instead, you may need additional adapters or converters.
- A power source: Both your PS4 and PC monitor will need to be connected to a power source. Ensure that you have access to electrical outlets near your gaming setup.
Once you have gathered these items, you are ready to move on to the next step. Double-check that you have all the necessary equipment before proceeding to avoid any unnecessary delays during the setup process.
Now that you have the required equipment, you can move on to the next step, which involves checking the compatibility of your PC monitor with the PS4.
Step 2: Check the compatibility of your PC monitor
Before connecting your PS4 to a PC monitor, it’s essential to verify the compatibility of your monitor with the console. Not all PC monitors support HDMI input, so you need to ensure that your monitor has an HDMI port. If your monitor only has a DVI or VGA input, you may need additional adapters or converters to establish the connection.
To check the compatibility of your PC monitor, follow these steps:
- Examine the ports: Take a look at the back panel of your PC monitor. Look for an HDMI port, which is typically labeled as “HDMI.” If you find one, you’re good to go. If not, check for DVI or VGA ports. If you only have DVI or VGA, you will need an HDMI-to-DVI or HDMI-to-VGA adapter to connect your PS4.
- Review the user manual: If you’re unsure about the available ports on your monitor, refer to the user manual that came with it. The manual should have detailed information about the available inputs and outputs.
- Do some online research: If you can’t find the user manual or are still unsure, you can search for your monitor’s model number online. Look for specifications or product details that indicate the presence of an HDMI port.
It’s important to note that while HDMI is the preferred connection option for most users, DVI or VGA connections can still provide a decent gaming experience. However, you may experience limitations in terms of audio transmission or the maximum resolution and refresh rate supported by your monitor.
Once you have confirmed that your PC monitor has an HDMI port or have obtained the necessary adapters, you can proceed to the next step. We will guide you through connecting the HDMI cable to both the PS4 and the monitor.
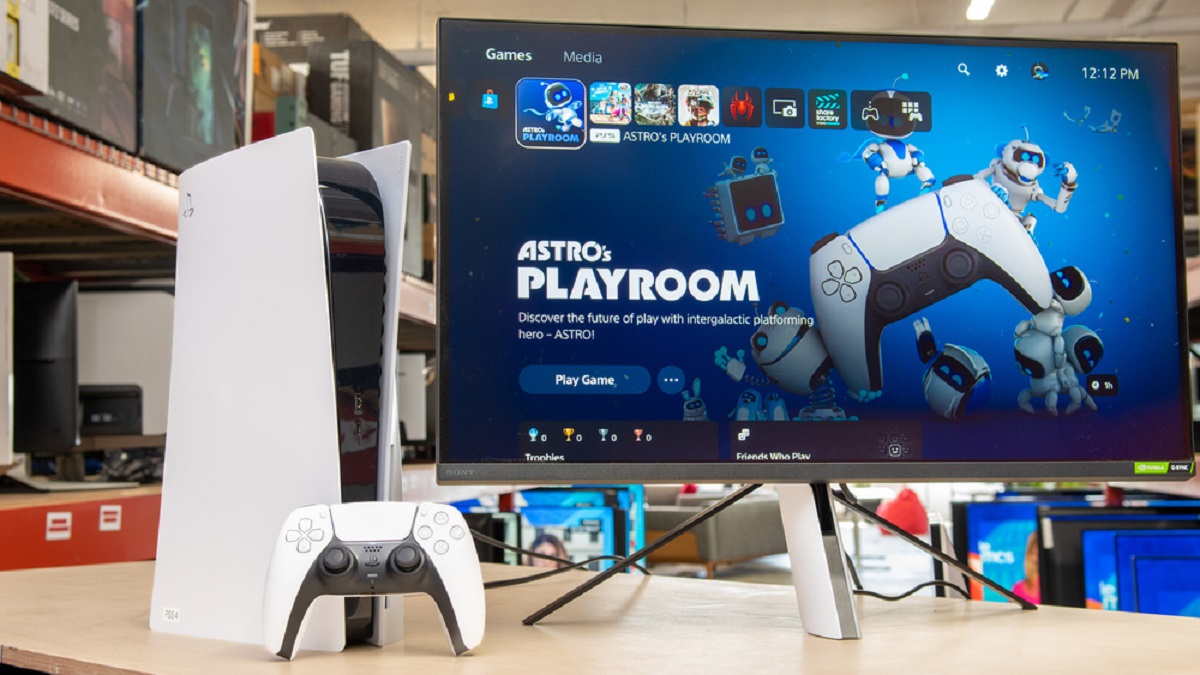
Step 3: Connect the HDMI cable to the PS4 and PC monitor
Now that you have verified the compatibility of your PC monitor with the PS4, it’s time to connect the HDMI cable to establish the connection between the two devices. Follow these steps to connect the HDMI cable properly:
- Locate the HDMI ports: On your PS4, locate the HDMI port, which is usually situated on the back of the console. On your PC monitor, find the HDMI input port, which is typically located on the back or side panel. Take note of the corresponding HDMI ports on both devices.
- Power off both devices: Before connecting the HDMI cable, make sure to power off both your PS4 and PC monitor. This will prevent any potential damage to the devices or the HDMI cable itself.
- Connect one end of the HDMI cable: Take one end of the HDMI cable and insert it into the HDMI port on the back of the PS4. Ensure that it is securely plugged in, but be gentle to avoid any damage.
- Connect the other end of the HDMI cable: Take the other end of the HDMI cable and insert it into the HDMI input port on your PC monitor. Again, ensure a secure connection without applying excessive force.
Once the HDMI cable is connected to both the PS4 and PC monitor, you have successfully established the physical connection between the two devices. However, there are a few more steps to complete the setup process, including adjusting the display settings on your PS4 and testing the connection. We will cover these steps in the upcoming sections to ensure a seamless gaming experience.
Step 4: Adjust the display settings on your PS4
After connecting the HDMI cable between your PS4 and PC monitor, you need to adjust the display settings on your PS4 to ensure optimal visual performance. Follow these steps to adjust the display settings:
- Power on your PS4: Press the power button on your PS4 console to turn it on. Make sure your PC monitor is also powered on.
- Access the settings menu: On the PS4 home screen, navigate to the “Settings” menu using the directional buttons on your controller.
- Select “Sound and Screen”: Within the “Settings” menu, select the “Sound and Screen” option to access the display settings.
- Choose “Video Output Settings”: Under the “Sound and Screen” menu, select “Video Output Settings” to customize your display settings.
- Select “Resolution” and “RGB Range”: In the “Video Output Settings” menu, choose your preferred resolution and RGB range options. Select “Automatic” for the resolution to match the capabilities of your PC monitor. For the RGB range, select “Full” if your monitor supports it, or “Limited” if not. These settings will affect the color reproduction and overall visual quality.
- Set the “HDMI Output”: In the “Video Output Settings” menu, choose the HDMI output corresponding to the port you connected the HDMI cable to. It should be labeled with the same number or name as the HDMI port on your PC monitor.
- Confirm and save settings: After adjusting the display settings, review your selections and confirm them. Your PS4 will save the settings, and the display should adjust accordingly.
It’s important to note that depending on your preference and the capabilities of your PC monitor, you can explore other settings, such as screen size, overscan, and HDR settings. These additional adjustments can further enhance your gaming experience, so feel free to experiment with them to find the best configuration for your setup.
With the display settings adjusted, you are almost ready to start gaming on your PC monitor. However, before you jump into your favorite games, it’s crucial to test the connection and ensure everything is working correctly. We will cover the testing process and provide troubleshooting tips in the next section.
Step 5: Test the connection and troubleshoot any issues
Now that you have connected your PS4 to your PC monitor and adjusted the display settings, it’s time to test the connection and ensure everything is working properly. Follow these steps to test the connection and troubleshoot any issues that may arise:
- Turn on your PS4 and PC monitor: Power on both your PS4 and PC monitor to activate the connection.
- Check the display: Look at your PC monitor and ensure that the PS4 screen is being displayed correctly. If you encounter any issues, such as no signal or a blank screen, double-check all the connections and make sure they are secure.
- Audio verification: Play a game or video on your PS4 to verify if the audio is being transmitted to your PC monitor. If you don’t hear any sound, make sure the volume is turned up on both your PS4 and PC monitor. Additionally, check the audio settings on your PS4 to ensure they are properly configured.
- Test different resolutions: If you are experiencing display issues, try changing the resolution settings on your PS4. Some PC monitors may have specific resolution requirements, so adjusting the resolution might resolve any compatibility issues.
- Try another HDMI cable: If you are still encountering issues, try using a different HDMI cable to eliminate the possibility of a faulty cable causing the problem.
- Upgrade monitor firmware: Check the manufacturer’s website for any firmware updates for your PC monitor. Updating the firmware can resolve compatibility issues and improve overall performance.
- Consult technical support: If you have exhausted all troubleshooting steps and are still experiencing issues, reach out to the technical support of your PC monitor or Sony (for PS4-related issues) for further assistance.
By following these steps and troubleshooting any potential problems, you should be able to establish a successful connection between your PS4 and PC monitor. Enjoy your gaming experience on the big screen and immerse yourself in the world of your favorite games!
Conclusion
Connecting your PS4 to a PC monitor can provide a more immersive gaming experience, allowing you to enjoy high-quality visuals and responsive gameplay. By following the steps outlined in this guide, you can successfully connect your PS4 to a PC monitor using an HDMI cable.
First, make sure you have the necessary equipment, including an HDMI cable and a PC monitor with an HDMI input. Check the compatibility of your monitor and if needed, obtain any required adapters. Once you have the equipment, proceed to connect the HDMI cable to both the PS4 and PC monitor, ensuring a secure connection.
After the physical connection is established, adjust the display settings on your PS4 to optimize the visual performance. Select the appropriate resolution, RGB range, and HDMI output settings. Customizing these settings will enhance the overall gaming experience on your PC monitor.
Once everything is set up, test the connection by powering on both the PS4 and PC monitor. Verify that the display appears correctly and that audio is being transmitted. If you encounter any issues, troubleshoot them by checking the connections, trying different resolutions, or upgrading firmware if necessary. If problems persist, don’t hesitate to seek assistance from technical support.
In conclusion, connecting your PS4 to a PC monitor can elevate your gaming sessions to new heights. Enjoy the benefits of a larger screen, enhanced graphics, and reduced input lag. Now that you have learned how to connect your PS4 to a PC monitor, it’s time to delve into immersive gameplay and experience your favorite games in a whole new way.