Introduction
Have you ever wanted to play your favorite Nintendo Switch games on your PC? Thanks to advancements in technology, it’s now possible to enjoy the Nintendo Switch gaming experience right on your computer. Whether you want to share your gameplay with friends, record videos for entertainment, or simply prefer playing on a larger screen, playing Nintendo Switch games on PC is a great option.
In this article, we will guide you through the process of setting up your Nintendo Switch console to play on your PC. We will explore different methods and tools you can use to connect your Switch to your computer and provide tips for a smooth gaming experience.
Before we dive into the details, it’s important to note that playing Nintendo Switch games on PC requires a few essential components. Firstly, you will need a compatible Nintendo Switch console. Secondly, you need a PC or laptop that meets the system requirements for capturing and streaming gameplay. Lastly, you will need additional hardware, such as a capture card or video capture device, to bridge the connection between your Switch and PC.
Now, let’s take a closer look at the system requirements and the step-by-step process of playing Nintendo Switch games on your PC.
System Requirements
Before embarking on the journey to play Nintendo Switch games on your PC, it’s crucial to ensure that your computer meets the necessary system requirements. Here are the key components you need to consider:
- Hardware: Your PC should have a minimum of an Intel Core i5 processor or equivalent, with at least 8GB of RAM. Additionally, you’ll need a dedicated graphics card with HDMI output capabilities to connect your Nintendo Switch.
- Operating System: Make sure that your PC is running on Windows 7 or higher, or macOS 10.13 or later versions. This ensures compatibility with the capture card software and drivers.
- Storage: Allocate sufficient space on your hard drive to install the necessary capture card software and save recorded gameplay videos.
- Internet Connection: A stable and reliable internet connection is essential, especially if you plan to use remote streaming to play Nintendo Switch games on your PC.
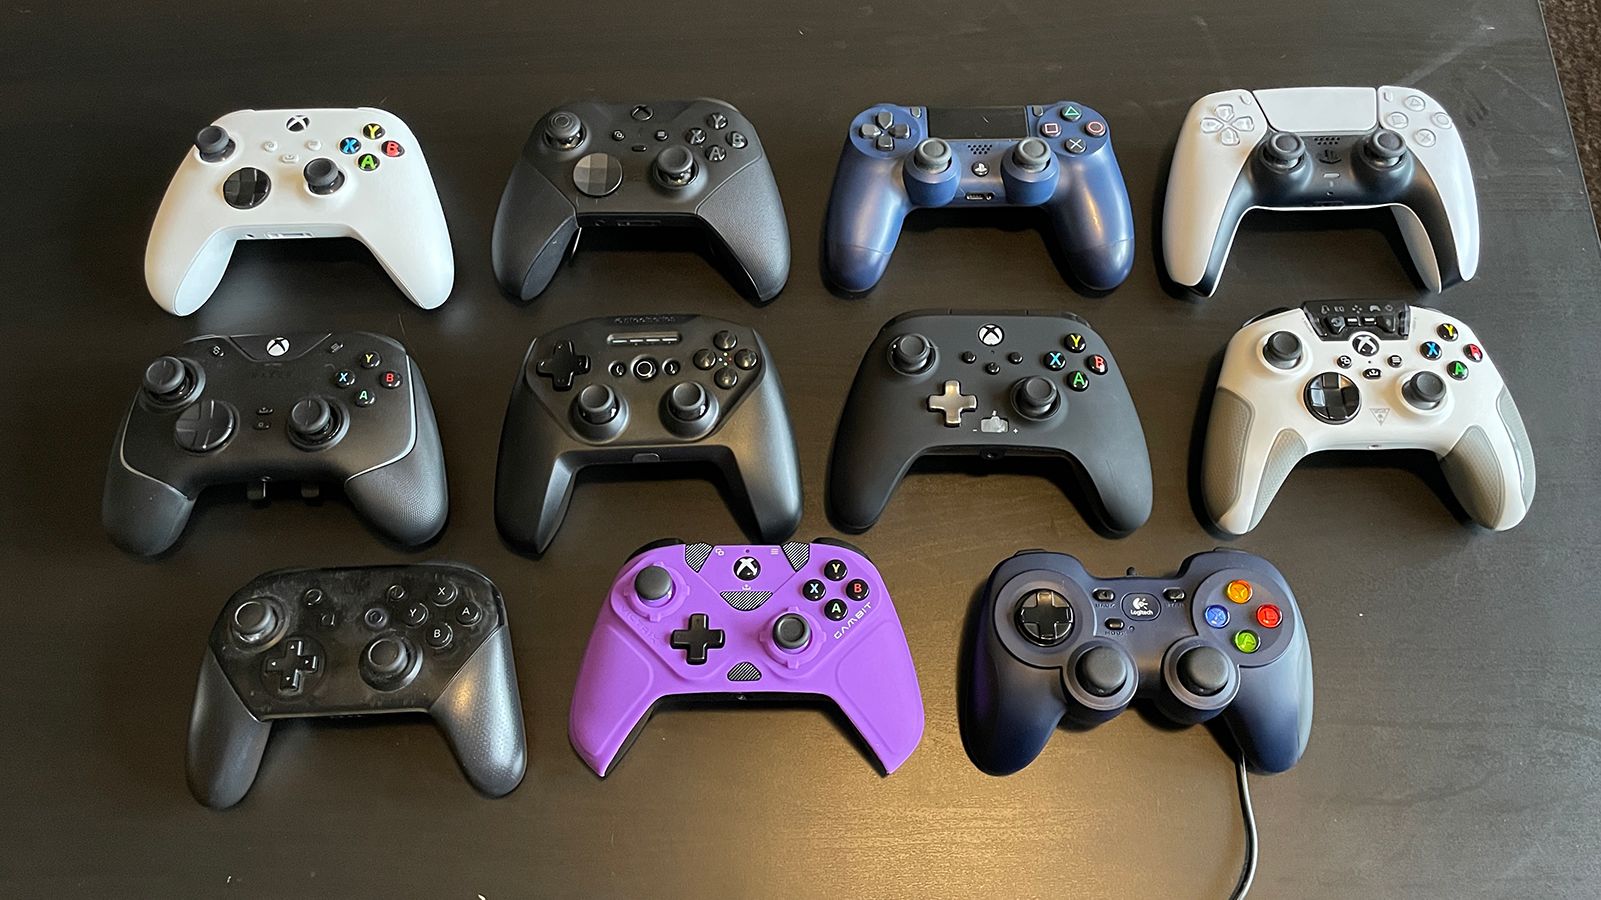
- Peripheral Devices: You’ll need a USB port for connecting the capture card to your PC. It’s also beneficial to have a gaming controller or a compatible input device for a seamless gaming experience.
Keep in mind that these are general system requirements, and the specific requirements may vary depending on the capture card or capture device you choose to use. It’s always a good idea to check the manufacturer’s website or user manual for their recommended specifications.
With your system meeting the necessary requirements, you’re now ready to proceed with the setup process. In the following sections, we will walk you through the step-by-step instructions for connecting your Nintendo Switch to your PC and playing your favorite games.
Step 1: Set Up the Nintendo Switch Console
Before you can start playing Nintendo Switch games on your PC, you need to ensure that your Nintendo Switch console is set up correctly. Here’s a step-by-step guide to help you:
- Connect to Power: Plug in your Nintendo Switch to a power outlet using the provided power adapter. Ensure that the console is fully charged or connected to a power source while playing to avoid any interruptions.
- Connect to TV: Use the HDMI cable to connect your Nintendo Switch to a TV or monitor. This allows you to verify that the console is operating correctly before connecting it to your PC.
- Set Up System Preferences: Follow the on-screen instructions to set up language preferences, Wi-Fi settings, and any necessary system updates. Make sure that your Nintendo Switch is connected to the internet for these initial setup steps.
- Create a Nintendo Account: If you don’t already have a Nintendo account, you can create one by visiting the official Nintendo website or through the Nintendo Switch console itself. This account will allow you to access online features and download games.
- Update Firmware: Check for any available firmware updates for your Nintendo Switch console. Keeping your console up to date ensures compatibility with the latest games and features.
Once you have completed these steps, your Nintendo Switch console should be up and running. Take some time to familiarize yourself with the system and ensure that everything is working correctly on your TV or monitor. This will make it easier to troubleshoot any potential issues during the setup process with your PC.
Now that your Nintendo Switch is configured, it’s time to move on to the next step: connecting your Nintendo Switch to your PC using a capture card or video capture device. We will explore different connection options in the subsequent sections, so stay tuned!
Step 2: Connect the Nintendo Switch to Your PC
Now that your Nintendo Switch console is set up, it’s time to connect it to your PC. There are several options available for connecting your Nintendo Switch to your computer to enable gameplay on the PC screen. Here are three common methods you can consider:
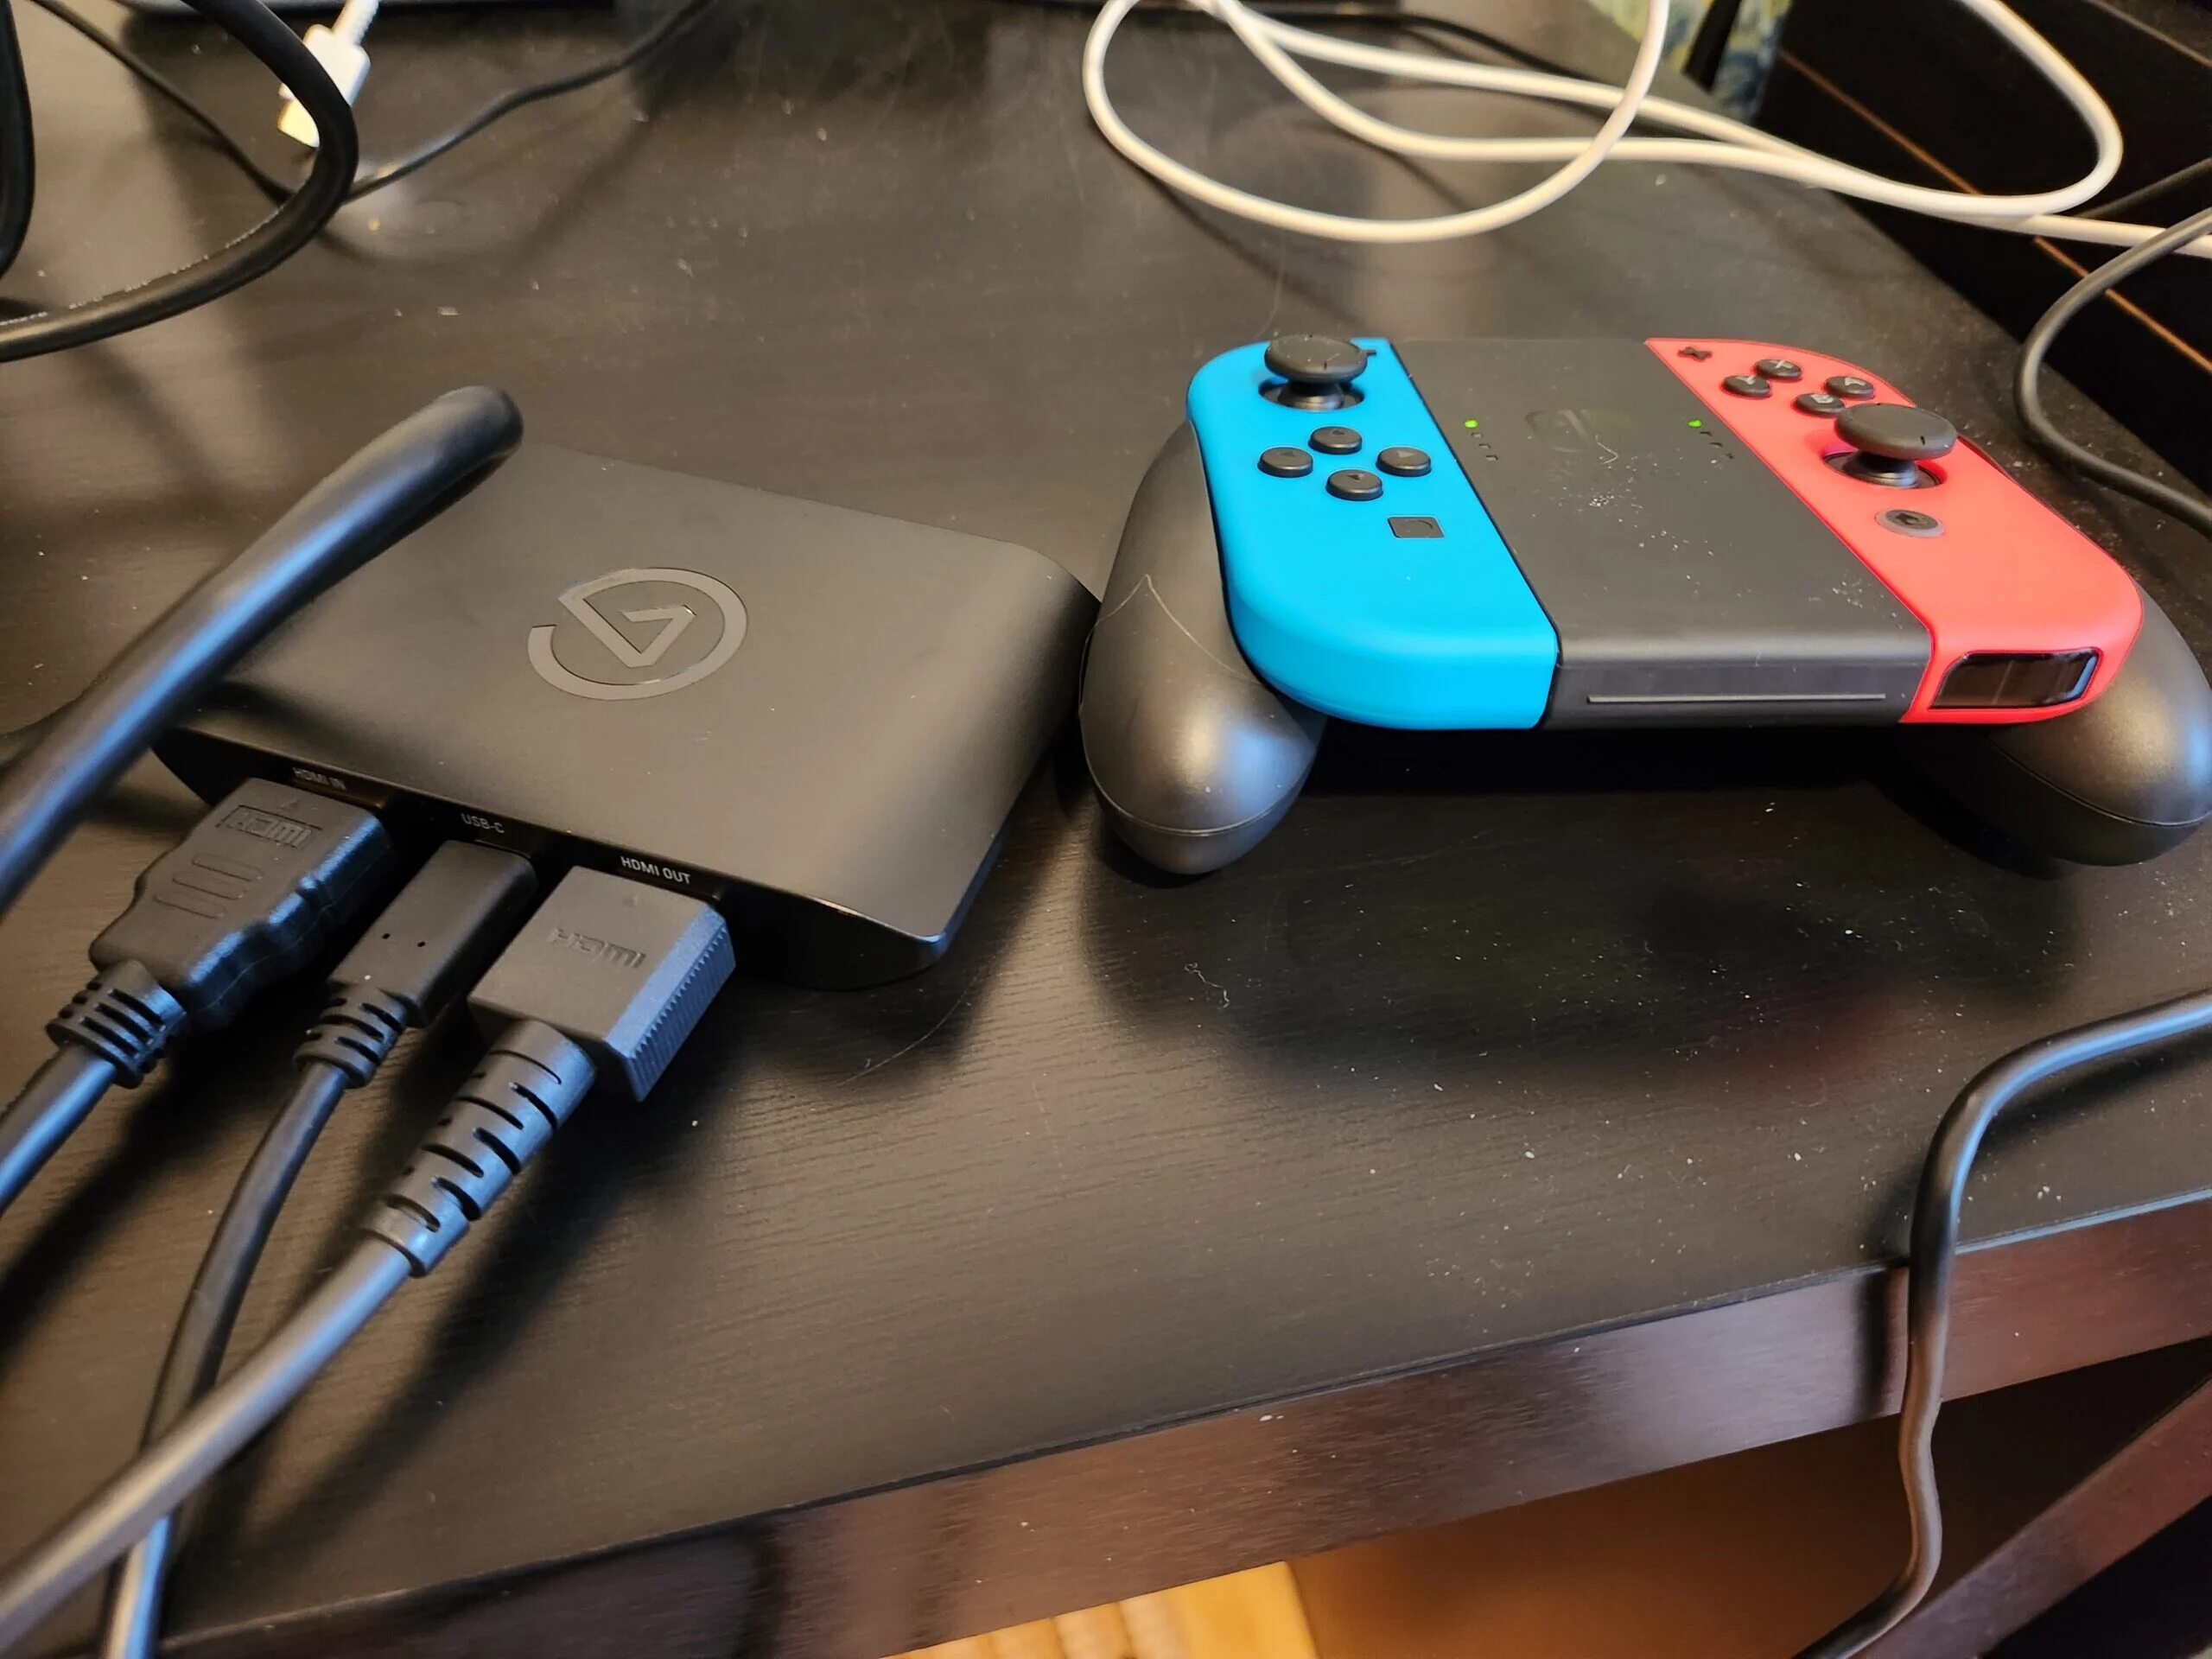
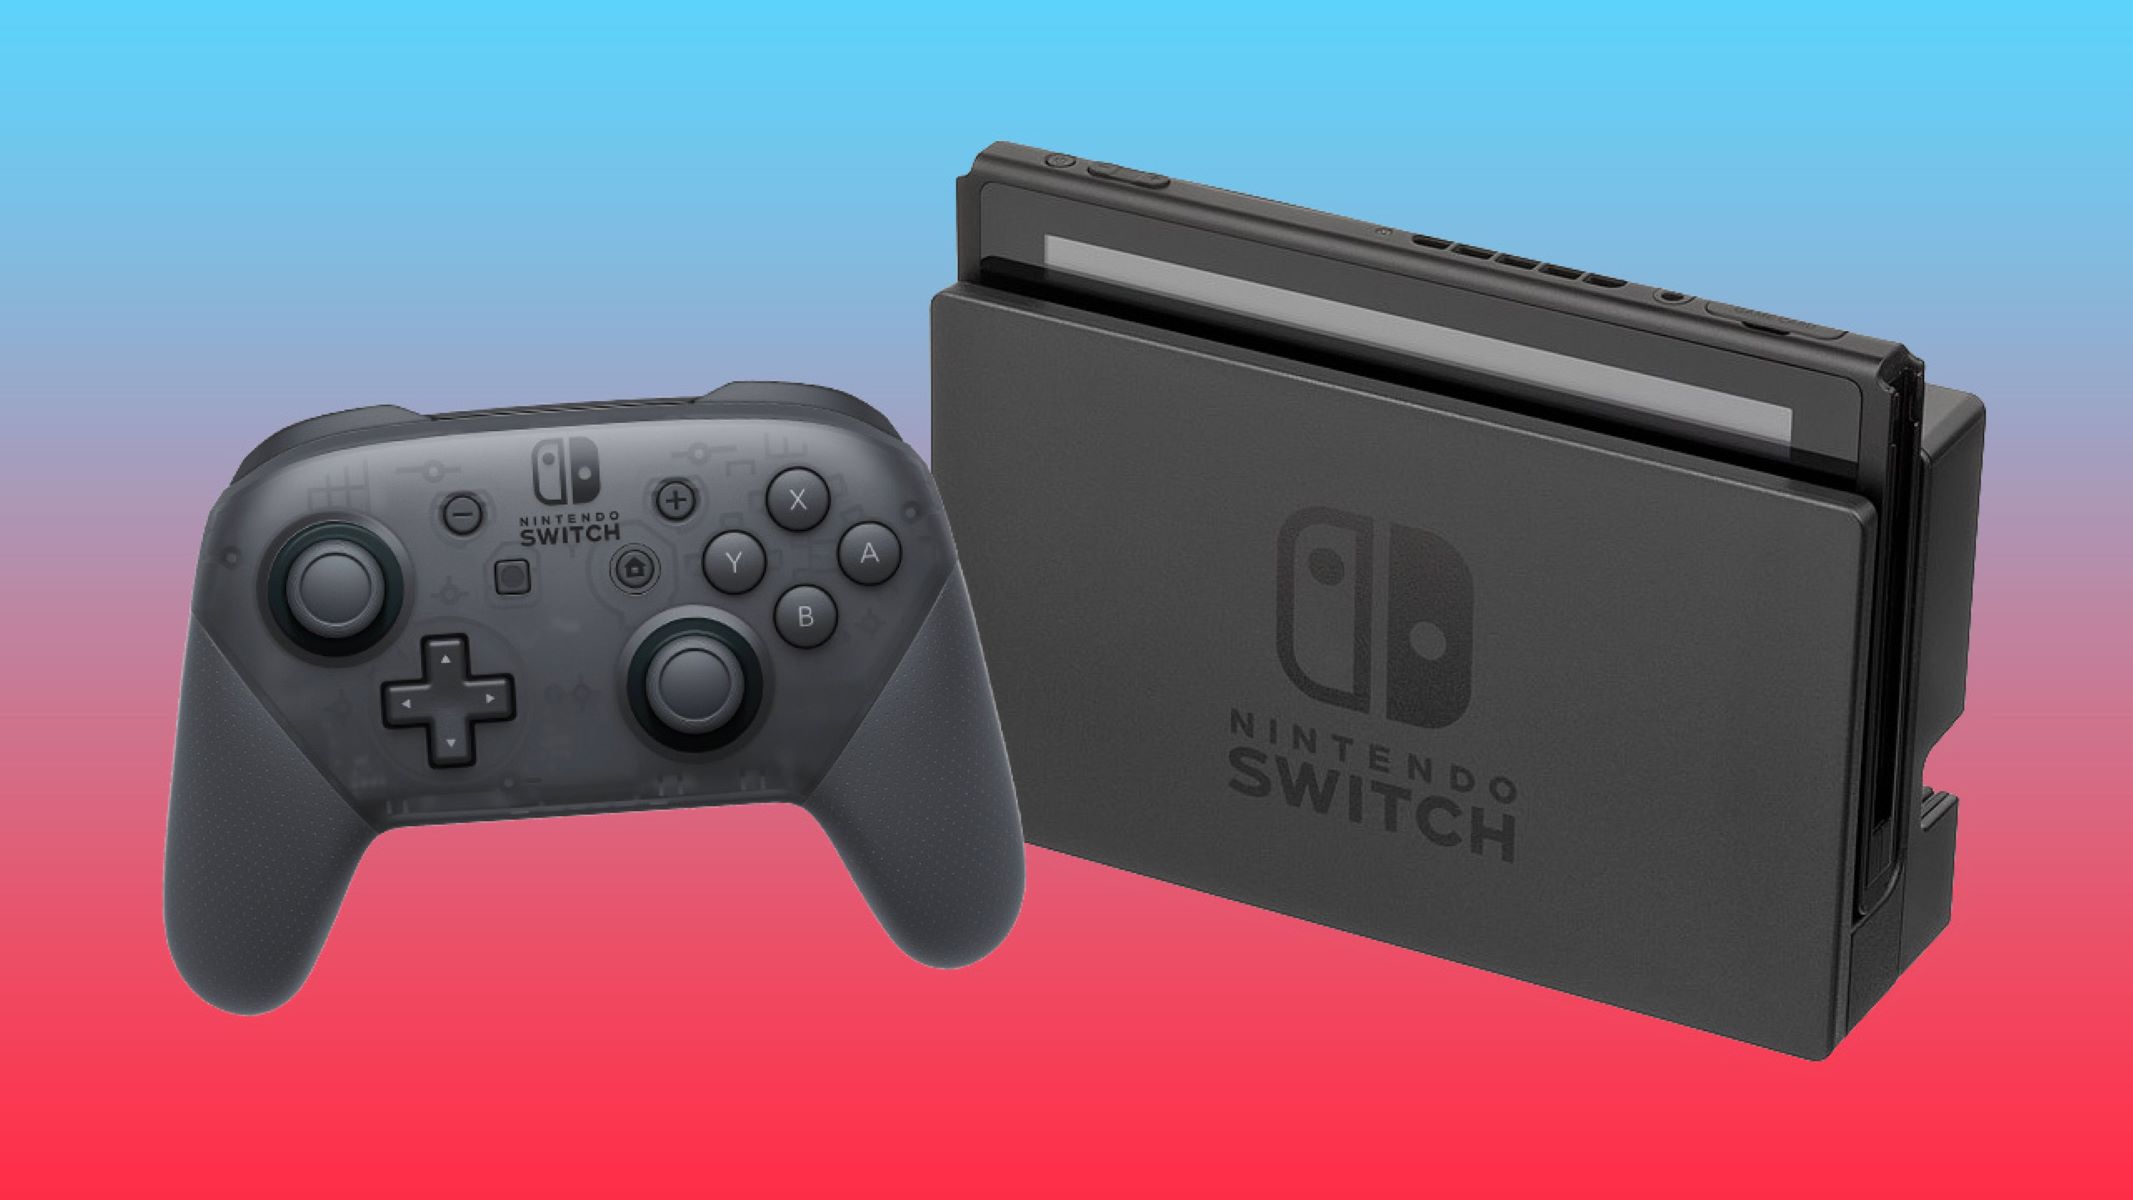
- Option 1: Using an HDMI Capture Card: To use this method, you will need an HDMI capture card, which acts as a bridge between your Nintendo Switch and PC. Connect one end of the HDMI cable to the HDMI output port on your Nintendo Switch dock and the other end to the HDMI input port on the capture card. Then, connect the capture card to your PC using a USB cable.
- Option 2: Using a Capture Card and Dock: This method involves using a capture card and the official Nintendo Switch dock. Connect one end of the HDMI cable to the HDMI output port on the dock and the other end to the HDMI input port on the capture card. Then, connect the capture card to your PC using a USB cable.
- Option 3: Using a Capture Card and Portable Docking Station: If you prefer a more portable setup, you can use a capture card and a third-party portable docking station. Connect one end of the HDMI cable to the HDMI output port on the portable docking station and the other end to the HDMI input port on the capture card. Connect the capture card to your PC using a USB cable.
Choose the option that best suits your needs and the equipment you have at hand. Make sure to carefully follow the instructions provided with your capture card and any additional hardware to ensure proper connection and functionality.
Once you have your Nintendo Switch console connected to your PC, you’re ready to move on to the next step: installing the capture card software on your computer. We will cover this in the upcoming section, so keep reading!
Option 1: Using an HDMI Capture Card
If you opt to use an HDMI capture card to connect your Nintendo Switch to your PC, here’s a detailed guide on how to set it up:
- Purchase an HDMI Capture Card: Choose a reliable HDMI capture card that is compatible with your PC. There are various options available on the market, so make sure to research and select one that fits your needs and budget.
- Connect the Capture Card: Plug the HDMI cable into the HDMI output port on your Nintendo Switch dock. Connect the other end of the HDMI cable to the HDMI input port on the capture card. Ensure that the capture card is securely connected to your PC using a USB cable.
- Install Capture Card Software: Most capture cards come with accompanying software. Insert the installation CD or download the software from the manufacturer’s website. Follow the on-screen instructions to install the software on your PC.
- Configure Capture Card Settings: Open the capture card software on your PC and configure the settings according to your preferences. Pay attention to options such as resolution, frame rate, and audio settings. These settings determine the quality of the gameplay that you will see on your PC screen.
- Test the Connection: With the capture card software running, power on your Nintendo Switch, and navigate to the source/input selection on your PC. Select the input corresponding to your capture card. If everything is set up correctly, you should see the Nintendo Switch screen displayed on your PC monitor.
Remember to consult the user manual or support documentation provided with your specific capture card for any additional instructions or troubleshooting tips.
Using an HDMI capture card is a popular and reliable method for connecting your Nintendo Switch to your PC. However, it’s worth noting that there may be a slight delay in gameplay due to the capture card’s processing. This delay is often negligible, but it’s essential to keep it in mind, especially for fast-paced games that require precise timing.
Now that you have successfully connected your Nintendo Switch to your PC using an HDMI capture card, you can move on to the next step: configuring the capture card and PC settings for optimal gaming experience. We will cover this in the upcoming section, so continue reading!
Option 2: Using a Capture Card and Dock
If you prefer using the official Nintendo Switch dock to connect your Nintendo Switch to your PC, here’s a step-by-step guide on how to set it up:
- Purchase a Capture Card: Choose a reputable capture card that is compatible with your PC. There are various options available, so make sure to choose one that fits your needs and budget.
- Connect the Capture Card: Begin by connecting the HDMI cable to the HDMI output port on the Nintendo Switch dock. Connect the other end of the HDMI cable to the HDMI input port on your capture card. Ensure that the capture card is securely connected to your PC using a USB cable.
- Install Capture Card Software: Install the capture card software on your PC by following the instructions provided. You can usually find the software on a CD accompanying the capture card or download it from the manufacturer’s website.
- Configure Capture Card Settings: Launch the capture card software on your PC and configure the settings according to your preferences. Take note of options such as resolution, frame rate, and audio settings, as they will determine the quality of the gameplay on your PC screen.
- Attach Nintendo Switch Dock: Connect the Nintendo Switch dock to your PC using a USB cable. This will allow your PC to identify the Nintendo Switch as an input source.
- Test the Connection: Power on your Nintendo Switch and open the capture card software on your PC. Select the input source corresponding to the capture card. If the connection is successful, you should see the Nintendo Switch screen displayed on your PC monitor.
Remember to consult the user manual or any support documentation provided with your specific capture card for any additional instructions or troubleshooting tips.
Using a capture card and the official Nintendo Switch dock provides a reliable method for connecting your Nintendo Switch to your PC. It allows for seamless switching between playing on a TV and playing on your PC screen.
Now that you have successfully connected your Nintendo Switch to your PC using a capture card and dock, it’s time to move on to the next step: configuring the capture card and PC settings for a smooth gaming experience. We will cover this in the upcoming section, so keep reading!
Option 3: Using a Capture Card and Portable Docking Station
If you prefer a more portable setup, you can use a capture card along with a third-party portable docking station to connect your Nintendo Switch to your PC. Follow the steps below to set it up:
- Purchase a Capture Card: Choose a compatible capture card that suits your needs and budget. Ensure that the capture card has an HDMI input port and USB output port to connect to your PC.
- Obtain a Portable Docking Station: Look for a portable docking station that is specifically designed for the Nintendo Switch. These docking stations are compact and provide additional connectivity options.
- Connect the Capture Card: Connect one end of the HDMI cable to the HDMI output port on the portable docking station and the other end to the HDMI input port on the capture card. Connect the capture card to your PC using the USB cable.
- Install Capture Card Software: Install the capture card software on your PC by following the provided instructions. You can usually find the software on a CD included with the capture card or download it from the manufacturer’s website.
- Configure Capture Card Settings: Launch the capture card software and adjust the settings as per your requirements. Pay attention to options such as resolution, frame rate, and audio settings to ensure optimal gaming performance.
- Connect the Nintendo Switch: Insert your Nintendo Switch into the portable docking station, making sure it is securely in place. Power on your Nintendo Switch and open the capture card software on your PC.
- Select the Input Source: Within the capture card software, select the input source corresponding to the capture card. If the connection is successful, you should see the Nintendo Switch screen displayed on your PC monitor.
Make sure to refer to the user manual or any support documentation provided with your specific capture card and portable docking station for additional instructions and troubleshooting tips.
Using a capture card and a portable docking station provides you with the flexibility to connect your Nintendo Switch to your PC wherever you go. It allows for an enhanced gaming experience on a larger screen while maintaining portability.
Now that you have successfully connected your Nintendo Switch to your PC using a capture card and portable docking station, it’s time to move on to the next step: configuring the capture card and PC settings for an optimized gaming experience. We will cover this in the upcoming section, so keep reading!
Step 3: Install Capture Card Software on Your PC
After connecting your Nintendo Switch to your PC using a capture card, the next step is to install the capture card software on your computer. This software allows you to capture and display the gameplay from your Nintendo Switch on your PC screen. Here’s how to install the capture card software:
- Check the Manufacturer’s Website: Visit the manufacturer’s website for your specific capture card model. Look for the support or downloads section. Here, you should find the necessary software and drivers for your capture card.
- Download the Software: Locate the appropriate software for your computer’s operating system (Windows or macOS). Click on the download link to start the download process.
- Install the Software: Once the download is complete, open the installer file and follow the on-screen instructions to install the capture card software on your PC. Make sure to read and accept any terms and conditions, if prompted.
- Connect the Capture Card: Before launching the capture card software, ensure that your Nintendo Switch is properly connected to your PC via the capture card, as mentioned in earlier steps.
- Launch the Capture Card Software: Once the capture card software is installed, locate it in your list of installed programs or applications. Double-click to launch the software.
- Configure the Software Settings: Within the capture card software, you’ll find various settings that allow you to customize your gaming experience. These settings may include options for resolution, frame rate, audio input, and more. Adjust them according to your preferences.
- Test the Capture Card Software: With your Nintendo Switch powered on and connected, launch a game on your console. You should now see the Nintendo Switch gameplay displayed on your PC screen through the capture card software.
It’s important to note that the installation process may differ slightly depending on the manufacturer and model of your capture card. Refer to the user manual or documentation provided with your capture card for specific installation instructions and troubleshooting tips.
Once the capture card software is successfully installed on your PC, you’re ready to move on to the next step: configuring the capture card and PC settings for optimal gameplay. We will cover this in the next section, so keep reading!
Step 4: Configure the Capture Card and PC Settings
After installing the capture card software on your PC, the next step is to configure the capture card and PC settings to ensure the best gaming experience. Here’s a guide on how to do it:
- Launch the Capture Card Software: Open the capture card software on your PC. This software acts as a control center for your capture card and allows you to adjust various settings.
- Video Settings: Within the capture card software, navigate to the video settings. Here, you can adjust the resolution and frame rate of the captured gameplay. Higher settings provide better quality but may require more processing power from your PC.
- Audio Settings: Configure the audio settings in the capture card software. Ensure that the capture card is set to capture audio from the Nintendo Switch or your desired audio source. You can choose to record in stereo or surround sound, depending on the capabilities of your capture card.
- Recording Settings: If you plan to record gameplay, customize the recording settings. Choose the destination folder where the recorded videos will be saved, select the video format and quality settings, and set any additional recording preferences, such as overlays or timestamps.
- Streaming Settings: If you intend to stream your Nintendo Switch gameplay, configure the streaming settings. Input your streaming platform credentials, adjust the streaming quality settings, and enable any desired overlays or widgets.
- Test the Settings: Once you have customized the capture card and PC settings, it’s important to test them. Launch a game on your Nintendo Switch and monitor the gameplay on your PC screen. Ensure that the audio and video are synced, and there are no noticeable lags or performance issues.
Keep in mind that the settings available may vary depending on the capture card model and the accompanying software. Refer to the user manual or online documentation provided by the manufacturer for more detailed instructions on configuring the specific settings of your capture card.
By properly configuring the capture card and PC settings, you can optimize the gameplay experience when playing your Nintendo Switch on your PC. Adjusting the resolution, frame rate, and audio settings helps to ensure smooth and high-quality gameplay for an immersive gaming experience.
Now that you have configured the capture card and PC settings, you’re ready to move on to the next step: launching and playing Nintendo Switch games on your PC. We will explore different options for playing Nintendo Switch games in the next section, so keep reading!
Step 5: Launch Nintendo Switch Games on Your PC
After connecting and configuring your Nintendo Switch with your PC using a capture card, it’s time to launch and play your favorite Nintendo Switch games on your PC screen. Here are a couple of options for playing Nintendo Switch games on your PC:
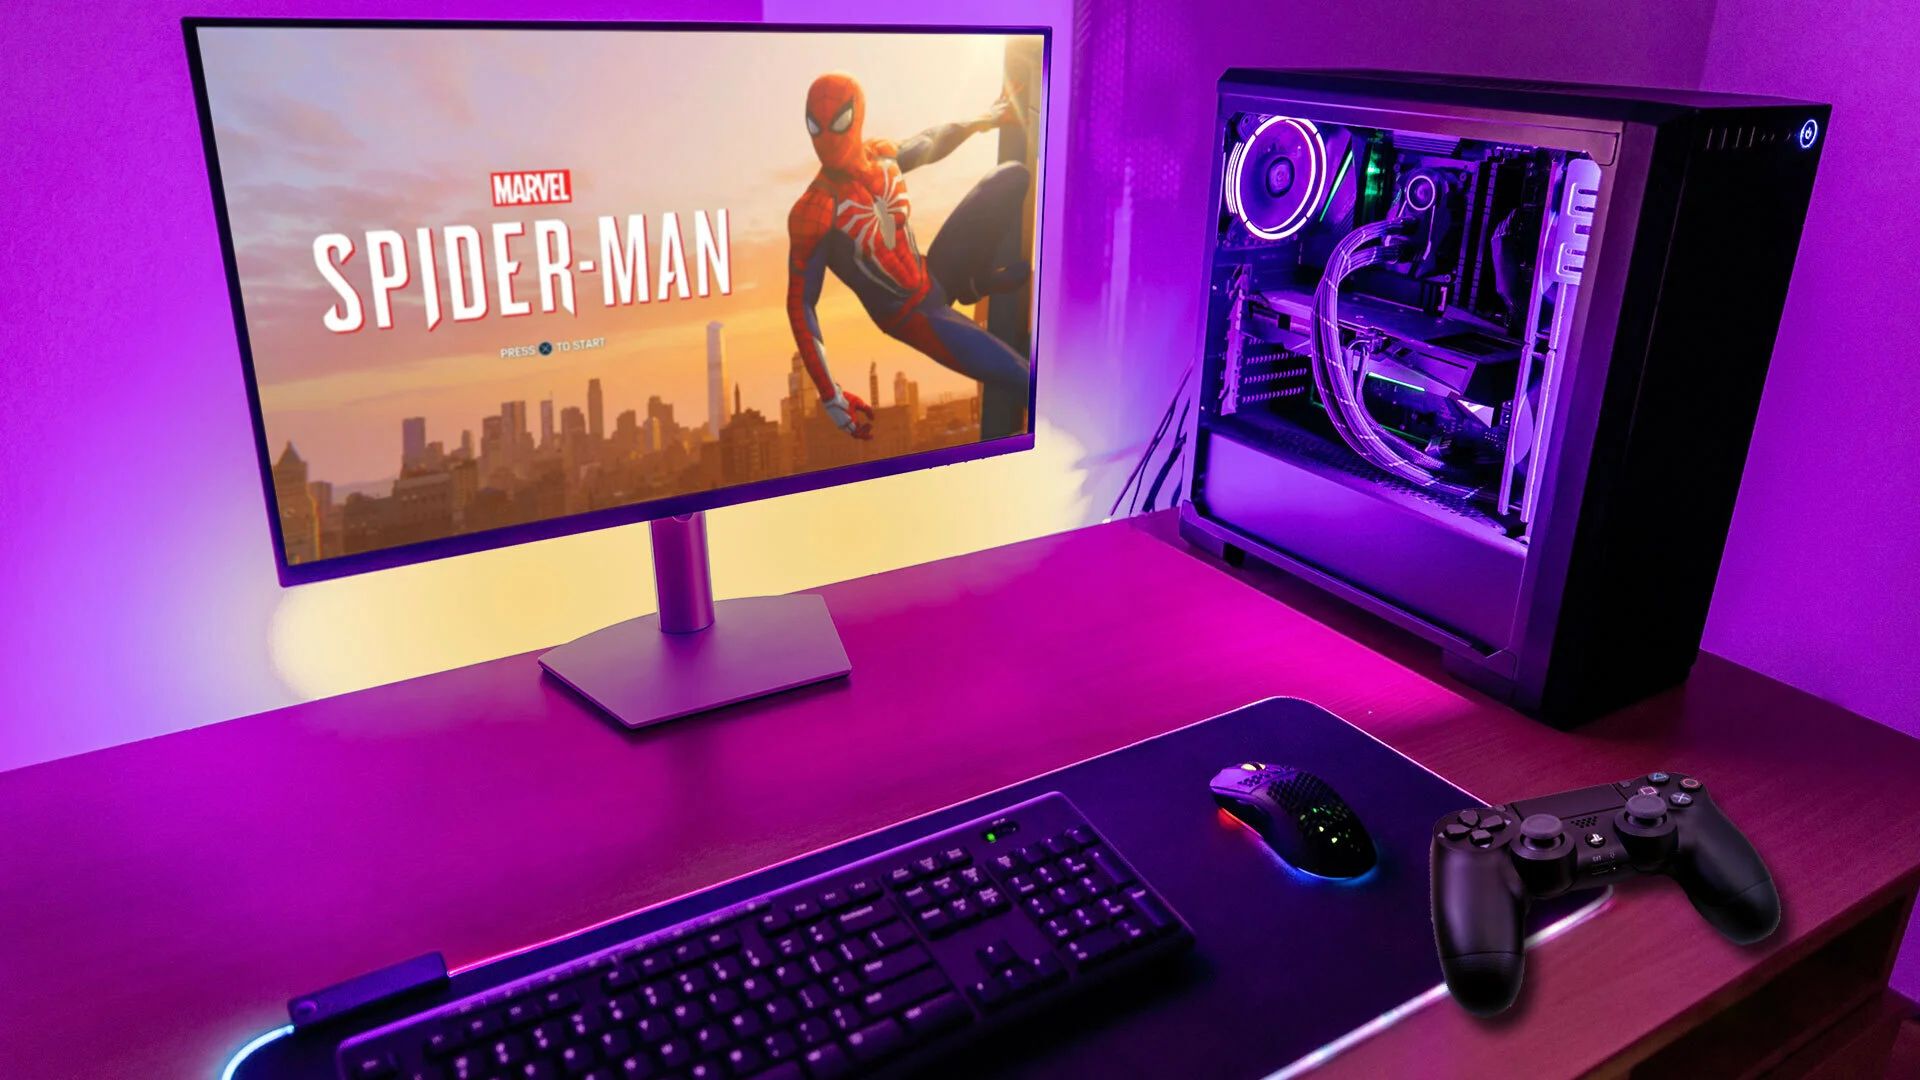
- Option 1: Playing Directly on PC Screen: With your Nintendo Switch connected and capture card properly configured, you can play games directly on your PC screen. Simply launch the game on your Nintendo Switch and enjoy playing it on the larger display of your computer. Use a gaming controller or your preferred input device for optimal control.
- Option 2: Playing Nintendo Switch Games via Streaming: Some capture card software may offer streaming capabilities that allow you to play Nintendo Switch games remotely on your PC. This is achieved by streaming the gameplay from your Nintendo Switch to your PC over your home network. Configure the streaming settings in the capture card software and follow the instructions provided by the software to establish a connection between your Switch and PC. Once connected, you can play your Nintendo Switch games on your PC screen, enjoying the flexibility of playing in a different room or using the PC’s peripherals.
Choose the option that best suits your preferences and gaming setup. Take note that streaming gameplay may introduce slight input lag, depending on your network performance. However, this method provides more flexibility and the ability to play games away from the TV or monitor where your Nintendo Switch is connected.
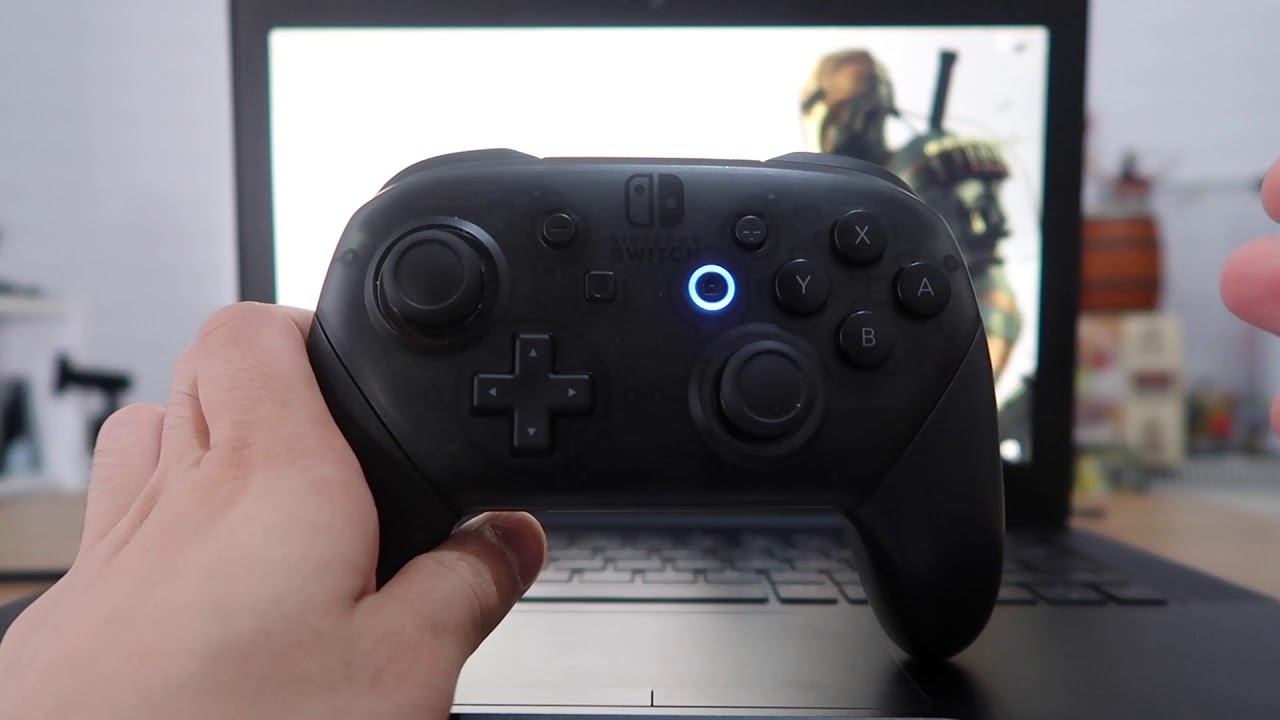
Ensure that you are using a gaming controller or a compatible input device for a seamless gaming experience. Most capture card software allows you to map controller inputs for easy integration and control when playing on your PC screen.
Now that you have successfully launched your Nintendo Switch games on your PC, you can fully enjoy the gaming experience on a larger screen. Experiment with different options, settings, and game titles to find the perfect setup for your preferences.
Before we conclude, let’s go through some troubleshooting tips in case you encounter any issues during the setup or gameplay process.
Option 1: Playing Directly on PC Screen
If you prefer a straightforward approach, playing Nintendo Switch games directly on your PC screen is a convenient option. Here’s how to do it:
- Launch the Capture Card Software: Open the capture card software on your PC to ensure it’s running and properly capturing the Nintendo Switch gameplay.
- Power on Your Nintendo Switch: Turn on your Nintendo Switch console and make sure it’s connected to the capture card as outlined in the previous steps.
- Select the Game: Navigate to the game you want to play on your Nintendo Switch. Similarly to playing on a TV, select the desired game from the Nintendo Switch’s home screen.
- Enjoy on Your PC Screen: As the game launches, you’ll see the gameplay displayed on your PC screen through the capture card software. Play the game using a gaming controller or your preferred input device connected to your PC.
By playing Nintendo Switch games directly on your PC screen, you can take advantage of the larger display and potentially higher resolution and refresh rate that your PC monitor offers. This can enhance your gaming experience, especially for visually immersive games.
Keep in mind that the capture card may introduce a slight delay or input lag between your input on the controller and the corresponding on-screen action due to processing. However, this delay is usually minimal and should not significantly impact most games, especially those that do not require split-second timing.
With direct gameplay on your PC screen, you have the freedom to enjoy your Nintendo Switch games in a comfortable and customizable PC gaming setup. Experiment with different resolutions and graphics settings to find the optimal balance between visuals and performance.
Now that you’re familiar with playing Nintendo Switch games directly on your PC screen, let’s explore an alternative option—streaming your gameplay from the Nintendo Switch to your PC over a local network.
Option 2: Playing Nintendo Switch Games via Streaming
If you prefer the flexibility of playing Nintendo Switch games on your PC from a different location or using your PC’s peripherals, streaming the gameplay from your Nintendo Switch to your PC is an excellent option. Follow these steps to play Nintendo Switch games via streaming:
- Configure Streaming Settings: Open the capture card software on your PC and navigate to the streaming settings. Input your streaming platform credentials, such as Twitch or YouTube, to authenticate your account and enable streaming functionality.
- Connect to the Same Network: Ensure that your Nintendo Switch and PC are connected to the same local network for streaming to function properly. If you’re using a wireless connection, make sure both devices are within range of the Wi-Fi router.
- Launch the Capture Card Software: Open the capture card software on your PC and verify that the software is correctly capturing gameplay from your Nintendo Switch.
- Streaming from Nintendo Switch: On your Nintendo Switch, launch the desired game you want to play on your PC. Navigate to the streaming or share functionalities within the game (if available) and follow the on-screen instructions to begin streaming.
- Access the Stream on Your PC: On your PC, open a web browser or streaming software and visit the streaming platform where you’re streaming the Nintendo Switch games. Log in to your account and access the live stream from your Nintendo Switch. You’ll be able to view and interact with the gameplay on your PC screen.
Streaming Nintendo Switch games to your PC allows you to play games remotely, use your PC’s peripherals, and enjoy the convenience of playing in a different room. Please note that streaming gameplay may introduce slight input lag due to the network connection and processing time. Adjusting stream quality settings and ensuring a stable internet connection can help minimize any potential lag.
This option is especially useful if you want to utilize your PC’s powerful graphics capabilities or if you are accustomed to gaming on a PC with customized settings. Additionally, it gives you the flexibility to interact with your audience if you’re live streaming your gameplay on platforms like Twitch or YouTube.
Now that you’re familiar with streaming Nintendo Switch games to your PC, let’s move on to some troubleshooting tips in case you encounter any issues during the setup or gameplay process.
Troubleshooting Tips
While setting up and playing Nintendo Switch games on your PC using a capture card, you may encounter some challenges or technical difficulties. Here are some common troubleshooting tips to help you overcome any issues:
- Check Connections: Ensure that all the cables are securely connected between your Nintendo Switch, capture card, and PC. Loose connections can cause display or audio issues.
- Update Drivers: Make sure that you have the latest drivers installed for your capture card. Visit the manufacturer’s website to download and install any available driver updates.
- Restart Devices: If you’re experiencing glitches or freezing during gameplay, try restarting your Nintendo Switch, capture card, and PC. This can help resolve temporary software or hardware issues.
- Restart Capture Card Software: If the capture card software freezes or crashes, close the application and reopen it. Restarting the software can help resolve minor software issues.
- Adjust Capture Card Settings: Experiment with different settings in the capture card software, such as resolution, frame rate, and audio inputs, to see if it improves the gameplay performance or resolves display issues.
- Disable Security Software: If you’re experiencing network or connectivity issues during streaming, temporarily disable any firewall or antivirus software on your PC. Sometimes, these security measures can interfere with network connections.
- Check Network Connection: Ensure that your PC and Nintendo Switch are connected to a stable internet connection. A weak or unstable network connection can lead to lag or latency issues during gameplay.
- Close Background Applications: Closing unnecessary applications running in the background on your PC can help free up system resources and ensure better performance during gameplay.
- Update Nintendo Switch: Keep your Nintendo Switch console up to date with the latest firmware updates. These updates often include performance improvements and bug fixes.
- Consult Manufacturer’s Support: If you’re still experiencing issues, consult the manufacturer’s support resources, such as their website or customer support, for further assistance. They may have specific troubleshooting steps for your capture card model.
Remember, troubleshooting can involve a combination of hardware and software solutions. It’s important to be patient and try different approaches to identify and resolve any issues you encounter. Don’t hesitate to reach out to the manufacturer’s support if necessary.
With these troubleshooting tips in mind, you’ll be better equipped to overcome any challenges and enjoy a smooth gaming experience as you play Nintendo Switch games on your PC.
Conclusion
Playing Nintendo Switch games on your PC opens up a whole new world of gaming possibilities and convenience. By following the steps outlined in this guide, you can successfully connect your Nintendo Switch to your PC using a capture card and enjoy playing your favorite games on a larger screen.
Throughout this guide, we covered the system requirements needed for a smooth gaming experience, the step-by-step process of setting up your Nintendo Switch console, connecting it to your PC, and installing the necessary capture card software. We explored different options for playing Nintendo Switch games, whether it’s playing directly on your PC screen or streaming the gameplay to your PC from a different room.
We also provided troubleshooting tips to help you overcome common issues that may arise during the setup or gameplay process. Remember that patience and experimentation are key in finding the optimal settings and resolving any technical difficulties that you may encounter.
Playing Nintendo Switch games on your PC brings the advantages of a larger screen, customizable graphics settings, and the ability to use your PC’s peripherals. Whether you want to record gameplay videos, share your gaming experience with others, or simply enjoy the convenience of playing on a different screen, this guide has equipped you with the knowledge to do so.
Now, it’s time to unleash your gaming skills, immerse yourself in the world of Nintendo Switch games, and enjoy the excitement of playing on your PC.