Introduction
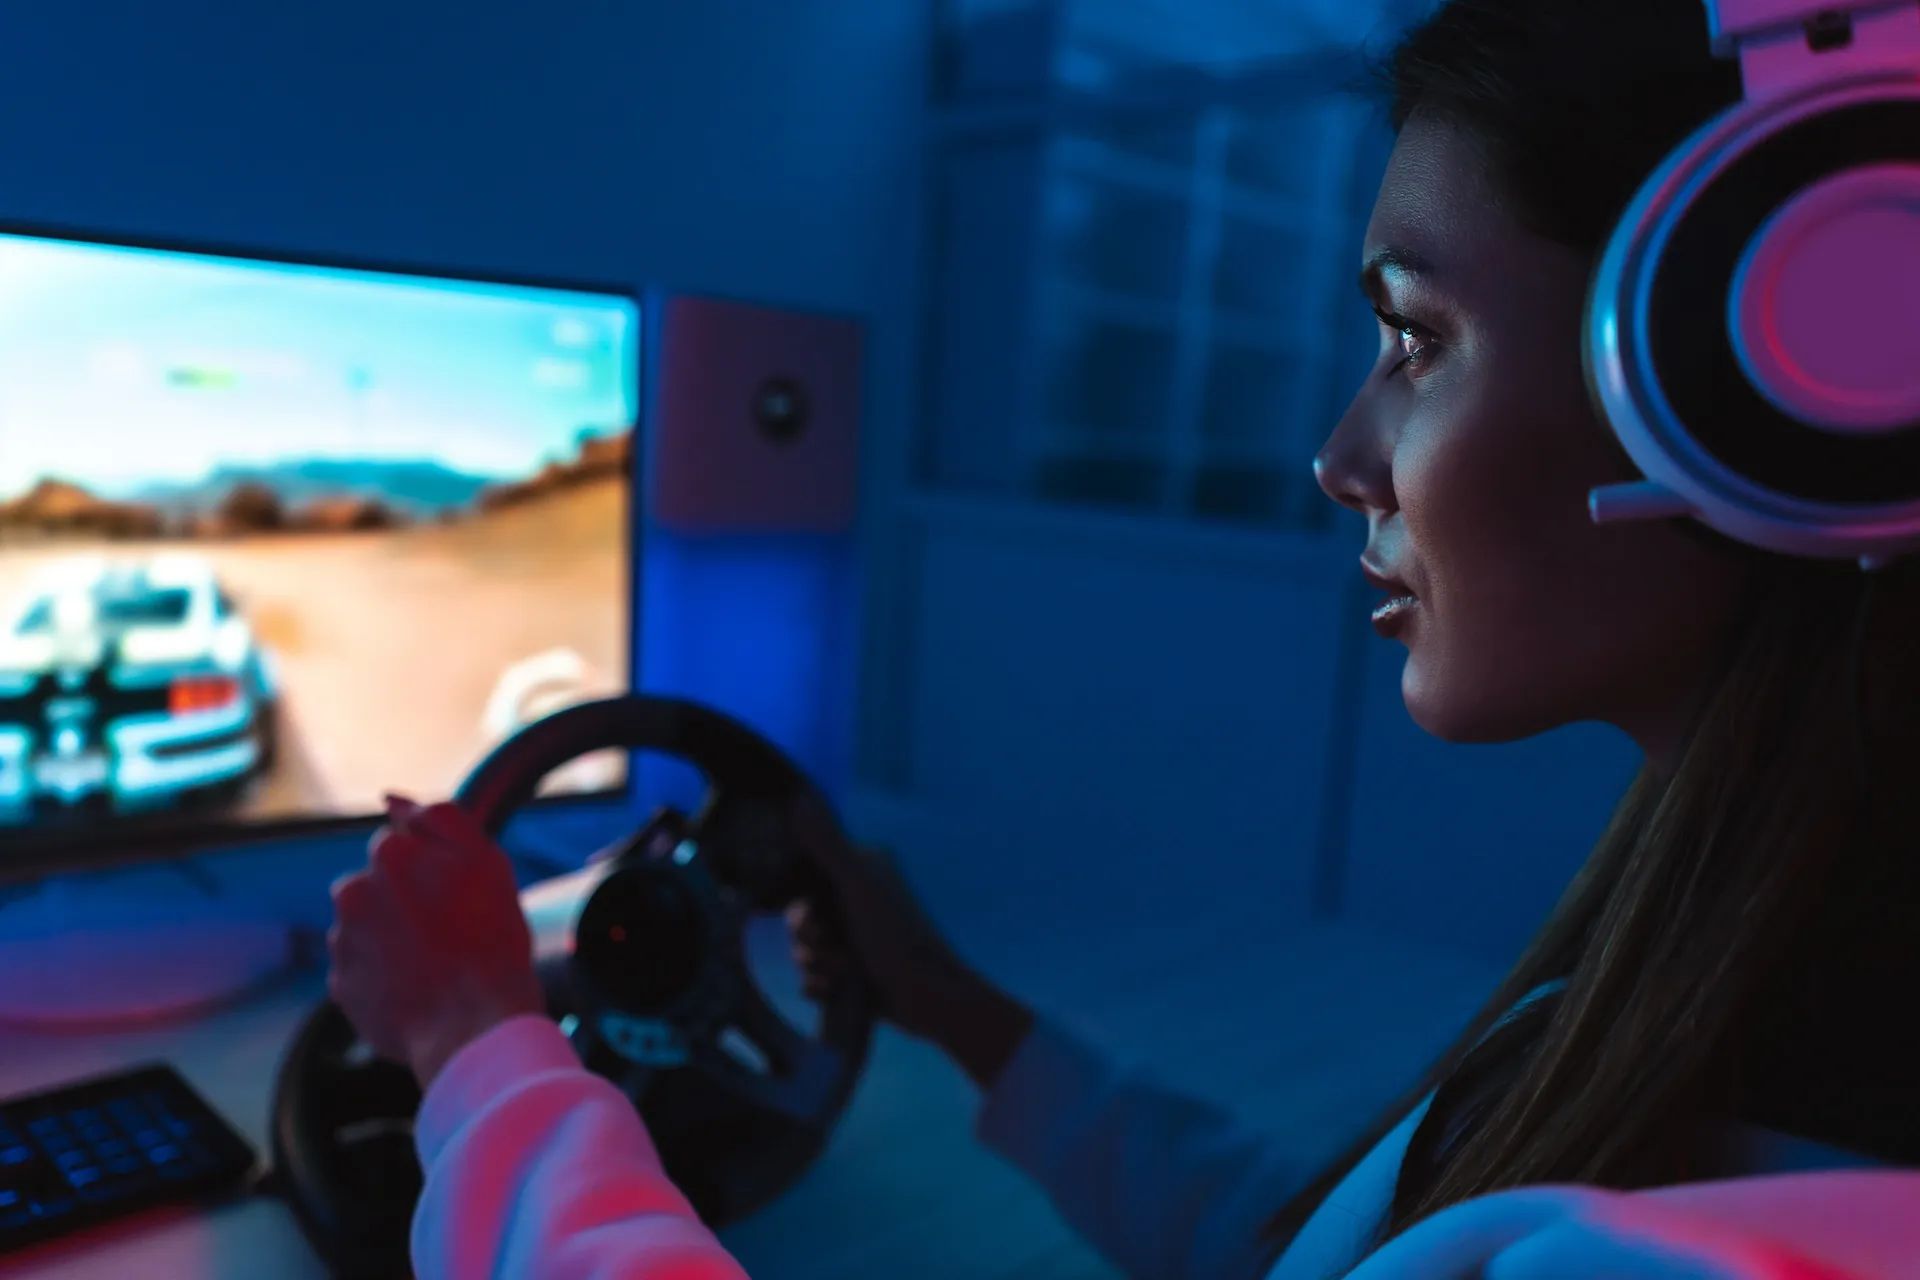
Streaming video game content has become increasingly popular in recent years. Platforms like Twitch and YouTube have opened up avenues for gamers to showcase their skills and entertain audiences worldwide. One of the most popular gaming consoles is the Nintendo Switch, known for its versatility and wide array of games.
Traditionally, streaming gameplay from the Nintendo Switch required the use of a capture card, a hardware device that captures and records the gameplay footage from your console. However, investing in a capture card can be costly, especially for beginners or those on a tight budget.
The good news is that you can still stream your Nintendo Switch gameplay on your PC without the need for a capture card. By utilizing some software solutions and making use of the built-in capture capabilities of your PC, you can achieve high-quality streams without the additional expense.
In this article, we will guide you through the process of streaming your Nintendo Switch gameplay on your PC without a capture card. We will explore the necessary requirements, the step-by-step configuration of software, and how to go live with your Switch gameplay.
Before we dive into the details, it’s essential to mention that while streaming without a capture card is possible, it does have some limitations. The quality and latency of the stream may not be as optimal as with a dedicated capture card. However, with the right settings and equipment, you can still produce impressive live streams of your Nintendo Switch gameplay.
What is a capture card?
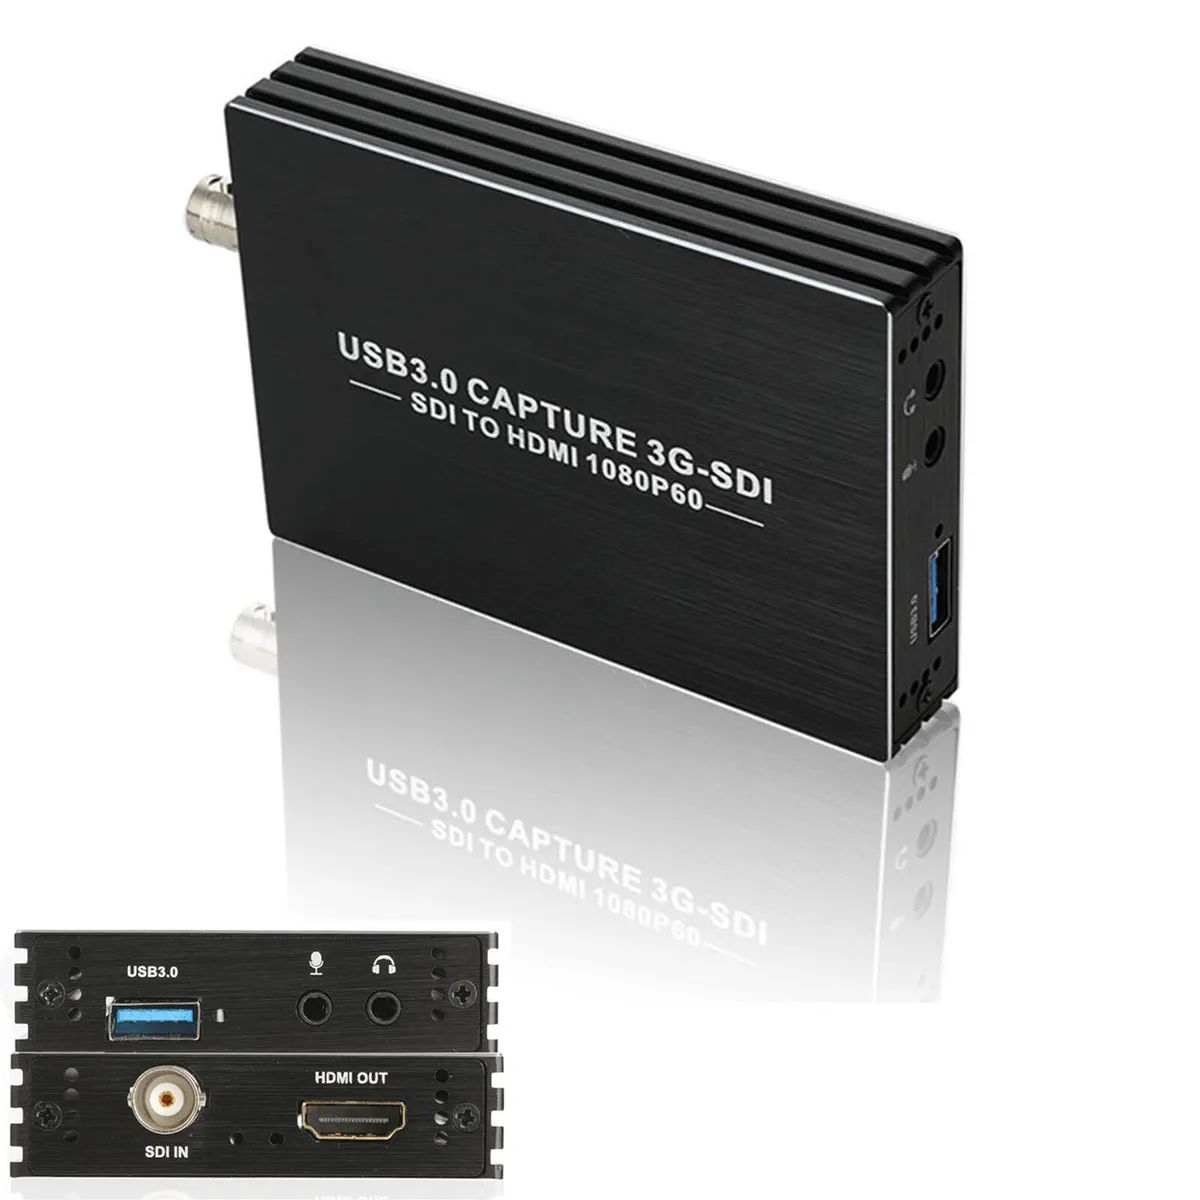
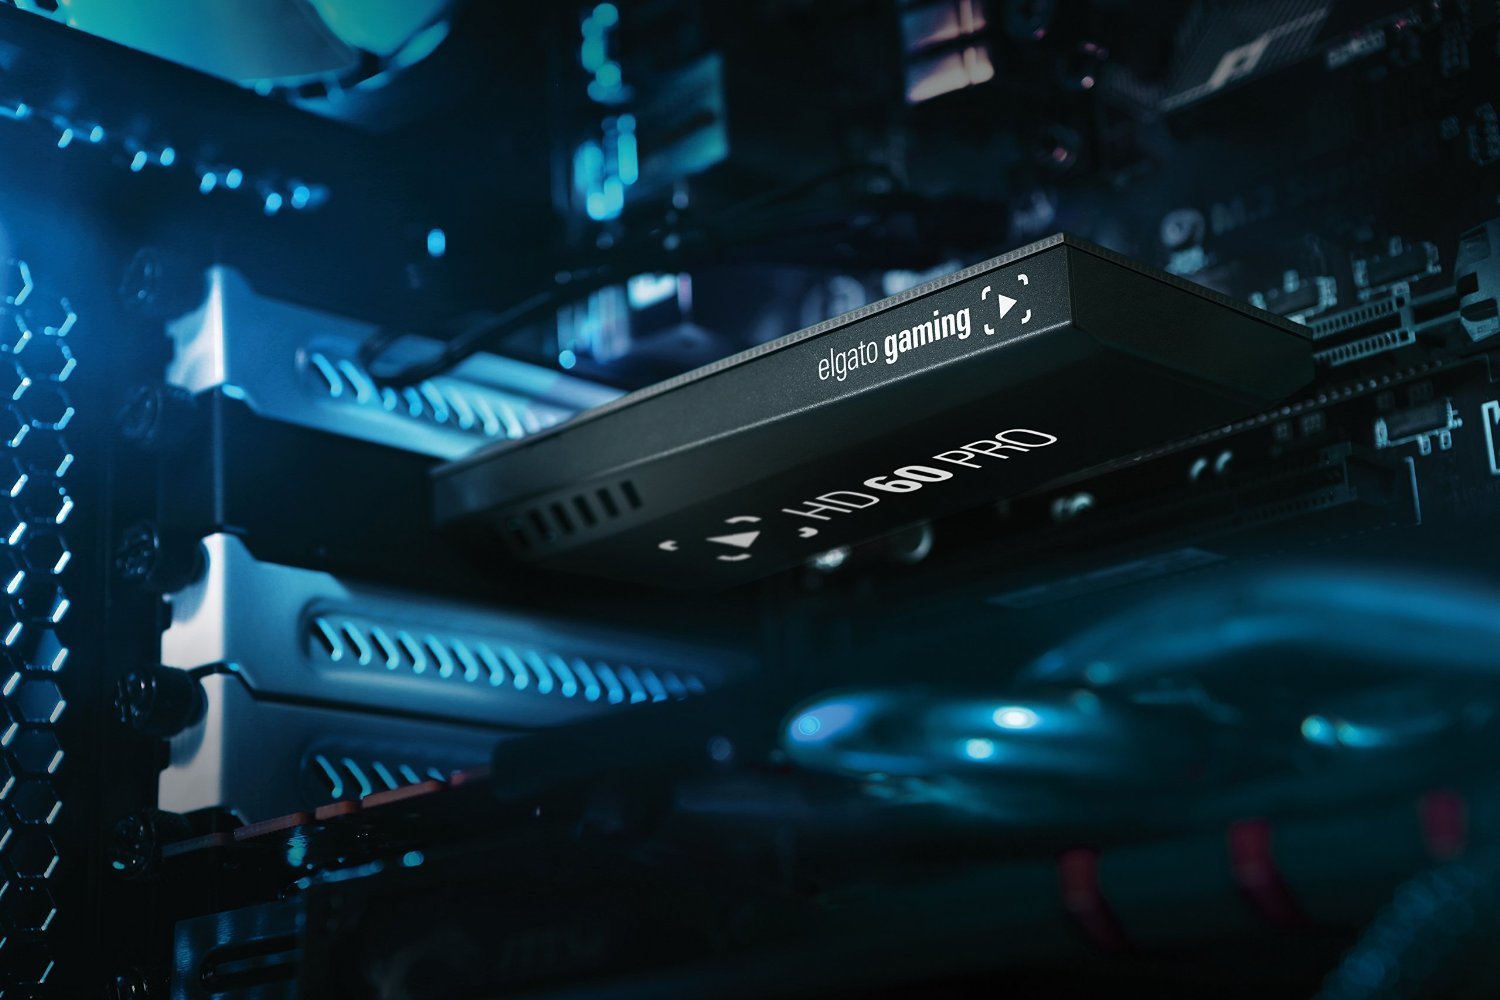
A capture card is a hardware device used in the gaming and streaming industry to record and capture gameplay from consoles, such as the Nintendo Switch, PlayStation, or Xbox. It acts as a bridge between your gaming console and your PC, allowing you to capture, stream, or record gameplay footage.
When you connect your console to a capture card, it captures the video and audio output from your gaming console and transfers it to your PC via a USB connection. The capture card converts the analog video signals into digital format, which can then be processed and encoded by streaming software on your PC.
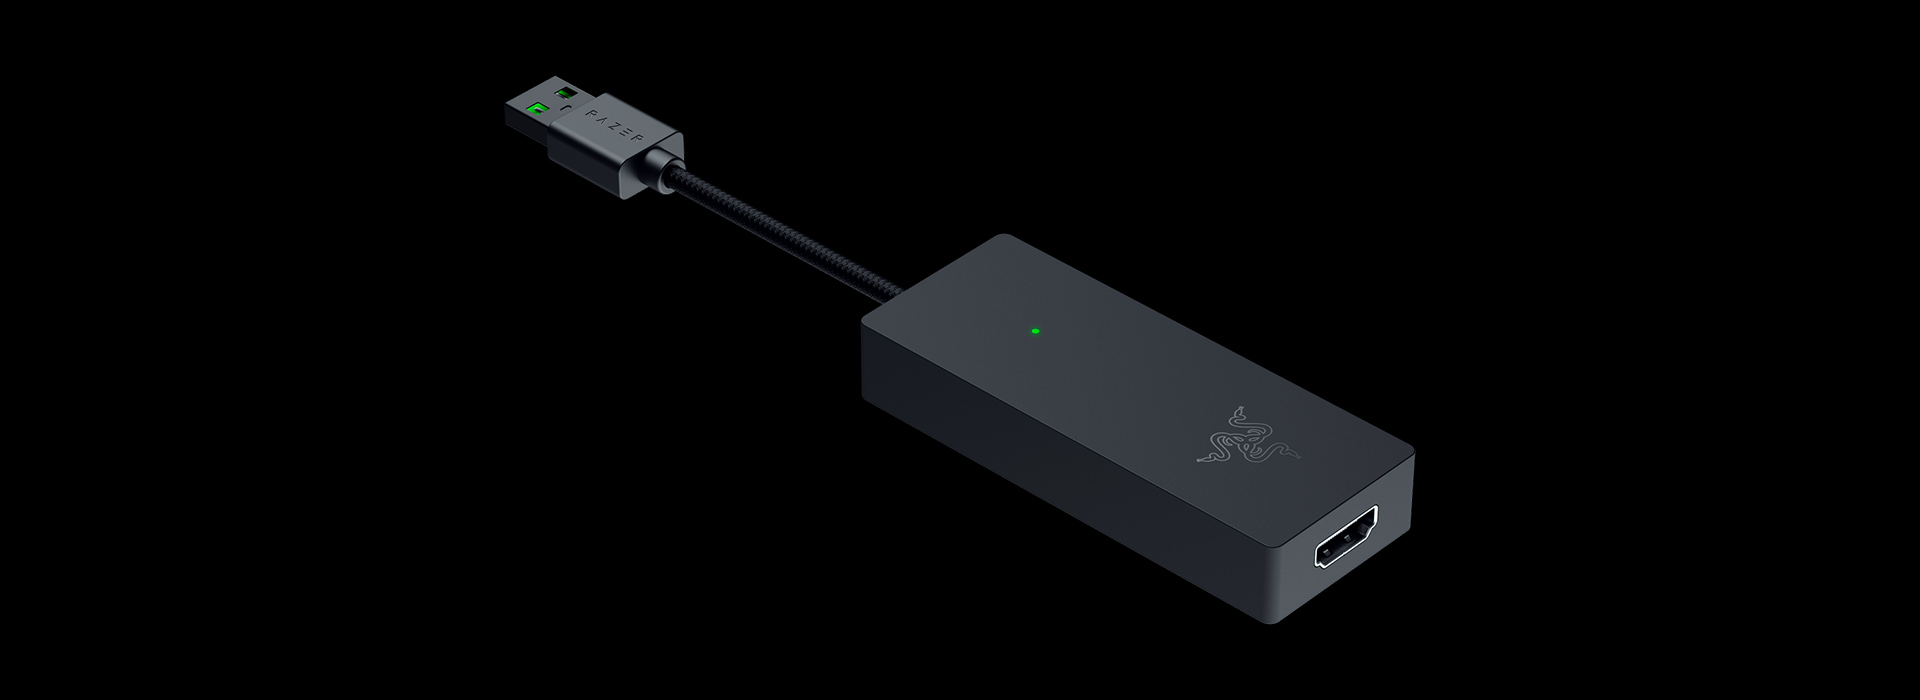
Capture cards come in various forms and with different features, but they all serve the same purpose. They typically include input ports for HDMI or component cables, allowing you to connect your gaming console to the card. Some high-end capture cards also support 4K and HDR video capture, offering superior image quality.
With a capture card, you can not only stream your gameplay live on platforms like Twitch or YouTube but also record your gaming sessions for later viewing or editing purposes. This makes capture cards a popular tool among content creators, professional gamers, and those who want to share their gaming experiences with others.
While capture cards offer high-quality and low-latency capture capabilities, they can be quite expensive. Depending on the brand, features, and capabilities, prices can range from around $100 to several hundred dollars.
However, if you’re just starting out with streaming or if you’re on a tight budget, there’s an alternative method to stream your Nintendo Switch gameplay without the need for a separate capture card. This approach involves utilizing the built-in capture capabilities of your PC and utilizing software solutions that we will discuss in the following sections.
Why stream Switch without a capture card?
Streaming your Nintendo Switch gameplay without a capture card can be a viable option for several reasons. Let’s explore why you might choose this method:
1. Cost: One of the primary reasons to stream without a capture card is cost-effectiveness. Capture cards can be expensive, especially for beginners or those on a tight budget. By utilizing the built-in capture capabilities of your PC and free software solutions, you can save money and still achieve high-quality streams.
2. Convenience: Not having to deal with additional hardware setups and connections can be incredibly convenient. With the capture card method, you need to connect your console to the capture card, then connect the card to your PC. Streaming without a capture card eliminates this extra step, making the setup process simpler and more streamlined.
3. Accessibility: Capture cards may not be accessible to everyone, especially those in regions where certain brands or models are not readily available. By using software solutions and leveraging your PC’s capabilities, you can overcome this limitation and start streaming your Nintendo Switch gameplay without relying on the availability of capture card hardware.
4. Portability: If you’re someone who wants to stream on the go or take your Nintendo Switch setup to different locations, carrying a capture card along with your console and PC can be cumbersome. Streaming without a capture card allows for a more portable setup, as you only need your console, PC, and the necessary software installed.
5. Simplicity: Setting up a capture card and configuring the accompanying software can sometimes be a complex process, especially for beginners. By streaming without a capture card, you eliminate the need for separate hardware setup and can focus more on getting started with streaming right away.
While streaming without a capture card does have its advantages, it’s important to note that there are some limitations. The quality of the stream may not match that of a dedicated capture card, and there may be increased latency or minor audio/video sync issues. However, with the right settings, software, and equipment, you can still achieve impressive results and provide an enjoyable viewing experience for your audience.
Requirements for streaming Switch without a capture card
Before you can start streaming your Nintendo Switch gameplay on your PC without a capture card, there are some essential requirements that you need to fulfill:
1. A Nintendo Switch: Of course, you will need a Nintendo Switch console to play your games and capture the gameplay. Ensure that your Switch is in good working condition and updated to the latest firmware.
2. A PC: You will need a PC with decent specifications to handle the streaming process. While you don’t need a high-end gaming rig, a computer with a modern processor, sufficient RAM, and a dedicated graphics card will ensure smooth streaming performance.
3. HDMI Cable: To connect your Nintendo Switch to your PC, you will need an HDMI cable. Make sure you have a reliable HDMI cable that supports video and audio transmission.
4. A Software Solution: Instead of a capture card, you will need software that can capture and process the gameplay footage from your Nintendo Switch. One popular and widely used software is OBS (Open Broadcaster Software), which is free, open-source, and provides a range of features for streaming and recording.
5. Stable Internet Connection: Streaming gameplay requires a stable and fast internet connection. Make sure you have a reliable internet service provider with sufficient upload bandwidth to ensure a smooth streaming experience.
6. Streaming Platform Account: If you want to broadcast your Nintendo Switch gameplay to the world, you will need an account on a streaming platform. Popular options include Twitch, YouTube, and Facebook Gaming. Create an account on your preferred platform and familiarize yourself with the streaming settings.
7. Optional: Microphone and Webcam: While not essential, having a good quality microphone and webcam can enhance the viewer’s experience by allowing them to hear your commentary and see your reactions. Consider investing in a decent microphone and webcam if you plan to engage with your audience during the stream.
Ensure that you have all the necessary equipment and software ready before proceeding with the setup. Once you have these requirements in place, you can move on to configuring your PC and software to stream your Nintendo Switch without the need for a capture card.
Step 1: Enabling the built-in capture card feature on your PC
One of the advantages of streaming your Nintendo Switch gameplay without a capture card is leveraging the built-in capture capabilities of your PC. This feature allows you to capture the video and audio output from your console directly on your computer. Here’s how you can enable this feature:
1. Windows Game Bar: If you’re using a Windows PC, you can utilize the built-in Windows Game Bar feature. To enable this, press the Windows key + G key on your keyboard while your Nintendo Switch is connected to your PC. This will open the Windows Game Bar overlay.
2. Xbox App: Another option for Windows users is the Xbox app. Make sure you have the Xbox app installed on your PC. Connect your Nintendo Switch to your PC using an HDMI cable and launch the Xbox app. From there, go to the “Connect” tab and select “Add a device.” Choose your Nintendo Switch from the list of available devices.
3. macOS QuickTime Player: If you’re using a Mac, you can use the built-in QuickTime Player to capture your Nintendo Switch gameplay. Connect your Switch to your Mac using an HDMI cable and launch QuickTime Player. From the top menu, click on “File” and then select “New Movie Recording.” In the recording window, click on the dropdown arrow next to the record button and choose your Nintendo Switch as the camera and audio source.
4. Recording Settings: After enabling the built-in capture card feature, you may need to adjust the recording settings to ensure optimal performance. You can access these settings within the respective application or software you’re using to capture the gameplay. Experiment with different settings such as resolution, frame rate, and audio input to find the best configuration for your stream.
By utilizing the built-in capture capabilities of your PC, you can capture the video and audio output from your Nintendo Switch without the need for an external capture card. This step sets the foundation for streaming your gameplay and prepares your PC to receive and process the captured footage.
Once you have enabled the built-in capture card feature on your PC, you can proceed to the next step, which involves connecting your Nintendo Switch to your PC.
Step 2: Connecting your Switch to your PC
Now that you have enabled the built-in capture card feature on your PC, the next step is to physically connect your Nintendo Switch to your computer. This connection allows the capture software on your PC to receive the gameplay footage from your console. Here’s how you can do it:
1. HDMI Connection: Take an HDMI cable and connect one end to the HDMI output port on your Nintendo Switch dock. Connect the other end of the cable to an available HDMI input port on your PC. If your PC does not have an HDMI input, you may need to use an HDMI capture device to bridge the connection between your Switch and PC.
2. Select Input Source: Once the HDMI cable is connected, you need to set your PC’s input source to the HDMI port you plugged the Switch into. This can be done through your PC’s display settings or the software you’re using to capture the gameplay. It should detect the Nintendo Switch’s signal and display the gameplay on your PC screen.
3. Adjust Display Settings: Depending on your PC’s display settings, you may need to adjust the resolution and aspect ratio to match that of your Nintendo Switch. This ensures that the gameplay footage is displayed correctly on your PC screen and maintains its original quality.
4. Test the Connection: After connecting your Switch to your PC, it’s a good idea to test the connection to ensure everything is working correctly. Switch on your console and launch a game. Open the capture software on your PC and verify that it’s receiving the gameplay footage from your Switch. You should see the game displayed on your PC screen and ready to be streamed or recorded.
By connecting your Nintendo Switch to your PC using an HDMI cable, you establish a direct link to transmit the gameplay footage. This step is crucial in preparing your setup for the next steps, where you configure the streaming software on your PC and make necessary adjustments for a smooth streaming experience.
Once your Nintendo Switch is successfully connected to your PC, you can move on to the next step, which focuses on configuring OBS (Open Broadcaster Software) – one of the most popular streaming software options available.
Step 3: Configuring OBS (Open Broadcaster Software)
With your Nintendo Switch connected to your PC, it’s time to configure OBS (Open Broadcaster Software), a popular and powerful streaming software that will allow you to control and customize your stream. Here’s how you can set up OBS:
1. Download and Install OBS: Start by downloading OBS from the official website (obsproject.com) and follow the on-screen instructions to install it on your PC. Once installed, launch OBS to begin the configuration process.
2. Create a New Scene: In OBS, a scene is a collection of sources that are displayed together in your stream. Click on the “+” button in the Scenes section to create a new scene. Give it a name that best represents your Nintendo Switch gameplay.
3. Add Your Capture Source: Inside the scene, click on the “+” button in the Sources section to add a new source. Select “Video Capture Device” from the dropdown menu. In the window that appears, choose the capture device that corresponds to your Nintendo Switch’s HDMI input.
4. Adjust Source Settings: Once you’ve added the video capture device, you can adjust its settings by right-clicking on the source and selecting “Properties.” Here, you can modify settings such as resolution, frame rate, and device properties to ensure the best capture quality.
5. Configure Audio Sources: To capture the audio from your Nintendo Switch, you’ll need to add an audio source. Click on the “+” button in the Sources section and select “Audio Input Capture.” Choose the appropriate audio device that corresponds to your Nintendo Switch audio output.
6. Test the Configuration: To test your OBS configuration, switch on your Nintendo Switch and ensure that the gameplay footage is visible within the OBS software. You can preview your stream by clicking on “Start Streaming” or “Start Recording” and check that the video and audio are being captured correctly.
7. Customize Your Stream: OBS offers a wide range of customization options to enhance your stream. You can add overlays, alerts, webcam feeds, and more. Experiment with these features to personalize your stream and make it visually appealing to your audience.
By configuring OBS and adding the necessary sources, you are creating the framework for broadcasting your Nintendo Switch gameplay. Take the time to familiarize yourself with OBS and its various options, as it provides a wealth of tools to enhance the quality and presentation of your stream.
With OBS configured, you’re ready to move on to the next steps, which involve adjusting audio settings and configuring video settings to ensure the best streaming experience.
Step 4: Adjusting audio settings
Having clear and balanced audio is crucial for an engaging and professional stream of your Nintendo Switch gameplay. In this step, we will guide you through the process of adjusting the audio settings in OBS (Open Broadcaster Software) to ensure optimal sound quality:
1. Audio Mixer: In OBS, click on the gear icon next to the Mixer section. This will open the Audio Mixer window, where you can adjust the audio levels of your different audio sources. Ensure that the audio levels of your Nintendo Switch gameplay and any other audio sources, such as a microphone or music, are balanced and not too loud or too soft.
2. Mic Settings: If you’re using a microphone to provide commentary or interact with your audience, it’s important to configure the microphone settings. In OBS, go to the Audio Mixer and locate the audio source corresponding to your microphone. Right-click on the microphone source and select “Properties.” Here, you can adjust the microphone volume, noise suppression, and other audio-related settings to achieve clear and crisp vocal audio.
3. Audio Monitoring: Audio monitoring allows you to hear the audio from your Nintendo Switch and other sources while streaming. To enable audio monitoring in OBS, go to the Audio Mixer section and click on the settings icon (cogwheel) next to your audio source. Select “Advanced Audio Properties” and check the “Monitoring” box for your Nintendo Switch gameplay source. This will enable you to listen to the gameplay audio in real-time through your headphones or speakers.
4. Test and Adjust: It’s essential to thoroughly test your audio settings before going live. Switch on your Nintendo Switch and ensure that the gameplay audio, as well as microphone if applicable, can be heard clearly in your OBS preview. Make any necessary adjustments to ensure that the sound is balanced and of good quality.
Remember to monitor your audio levels throughout your stream to ensure that they remain consistent. Adjust them as needed if you notice any audio issues, such as distortion or background noise.
By properly adjusting the audio settings in OBS, you can deliver an immersive and high-quality audio experience to your viewers. Clear and balanced audio adds to the overall professionalism of your stream and enhances the enjoyability for your audience.
With the audio settings adjusted, you can now proceed to the next step, which focuses on configuring the video settings in OBS to optimize the visual quality of your Nintendo Switch gameplay stream.
Step 5: Configuring video settings
To provide your viewers with a visually appealing and smooth streaming experience of your Nintendo Switch gameplay, it’s important to configure the video settings in OBS (Open Broadcaster Software) properly. Here’s how you can optimize the video settings:
1. Output Resolution: In OBS, go to the “Settings” tab and navigate to the “Output” section. Here, you can set the resolution to match your desired output quality. It is recommended to select a resolution that is appropriate for your stream and compatible with your PC and internet connection. Common resolutions include 720p (1280×720) and 1080p (1920×1080).
2. Video Bitrate: The video bitrate determines the amount of data used to transmit the video stream. Higher bitrates result in better video quality but require a faster internet connection. In the “Output” section of OBS, set the video bitrate to a value that is suitable for your internet upload speed. A bitrate of around 2500-6000 kbps is generally recommended for 720p or 1080p streams.
3. Encoder: In the “Output” section, select the appropriate video encoder. OBS offers multiple options, including x264 (CPU-based) and NVENC (GPU-based for NVIDIA graphics cards). The encoder choice depends on the capabilities of your PC. If you have a powerful CPU, x264 generally provides better quality, while NVENC can offload the encoding process to your GPU, reducing strain on the CPU.
4. FPS (Frames Per Second): A higher FPS enhances the smoothness of your stream. In OBS, go to the “Video” section of the settings and set the FPS to the desired value. The standard frame rate for streaming is 30 or 60 FPS, depending on your preference and the capabilities of your PC and internet connection. Higher FPS may require more processing power and bandwidth.
5. Video Filters: OBS allows you to apply filters to your video sources to enhance the visual quality. Experiment with filters like brightness, contrast, and color correction to achieve the desired look for your Nintendo Switch gameplay stream. Be mindful not to overdo it and maintain a natural and balanced appearance.
6. Test and Monitor: After configuring the video settings, it’s crucial to test your stream and monitor the video output for any issues. Start a test stream or record a short gameplay session to verify that the video quality is satisfactory and that there is no lag or stuttering. Make adjustments as needed to ensure smooth and crisp video output.
Customizing the video settings in OBS allows you to optimize the visual quality of your Nintendo Switch gameplay stream. Adjusting the resolution, bitrate, encoder, and FPS helps deliver a smooth and visually pleasing experience to your audience.
With the video settings configured, you’re almost ready to go live with your Nintendo Switch gameplay. However, there are a few more steps to consider, such as setting up overlays and alerts, which we will discuss in the next section.
Step 6: Setting up overlays and alerts
Adding overlays and alerts to your Nintendo Switch gameplay stream can enhance the visually engaging experience for your viewers. Overlays display additional information on top of the gameplay footage, while alerts notify you and your audience of important events during the stream. Follow these steps to set up overlays and alerts in OBS (Open Broadcaster Software):
1. Overlays: Overlays are graphical elements that add visual appeal to your stream. They can include your logo, social media handles, stream chat, and other relevant information. There are various sources for overlays, including pre-made templates, or you can create your own using image editing software like Photoshop or GIMP. To add an overlay, click on the “+” button in the Sources section of OBS and select the appropriate source type (e.g., image or browser) to display your overlay.
2. Alerts: Alerts are notifications that pop up on the stream to notify you and your viewers of specific events, such as new followers, donations, or subscribers. Many streaming platforms provide built-in alert systems, or you can utilize third-party services like Streamlabs or StreamElements to set up customized alerts. Connect these services to OBS and configure the alert settings to ensure that they appear smoothly and grab the attention of your audience when triggered.
3. Test and Preview: Once you have set up overlays and alerts, it’s important to test them and preview how they appear on your stream. Trigger different alerts or interact with your chat to ensure that the overlays and alerts are working correctly and are visible to your viewers. Make any necessary adjustments to the positioning, size, or appearance of the overlays and alerts to achieve the desired visual effect.
By adding overlays and alerts to your Nintendo Switch gameplay stream, you create a visually appealing and interactive experience for your viewers. Overlays provide additional information and branding, while alerts keep you and your audience engaged throughout the stream.
With overlays and alerts set up, you’re now ready to move on to the final step, which involves going live with your Nintendo Switch gameplay and sharing it with your audience.
Step 7: Going live with your Switch gameplay
After configuring all the necessary settings and setting up overlays and alerts, you’re ready to go live with your Nintendo Switch gameplay. Here’s how you can start streaming and share your gameplay with your audience:
1. Preview Stream: Before going live, take a moment to preview your stream within OBS. Ensure that your Nintendo Switch gameplay, audio, overlays, and alerts are all showing up correctly and as intended. Use this opportunity to make any final adjustments or fine-tuning before broadcasting to your audience.
2. Stream Title and Description: Set an appealing and descriptive title for your stream, along with a brief description of what viewers can expect. This will help attract potential viewers who are interested in watching Nintendo Switch gameplay. Consider including relevant hashtags or keywords to optimize the discoverability of your stream.
3. Start Streaming: In OBS, click on “Start Streaming” to begin broadcasting your Nintendo Switch gameplay. OBS will start sending your stream to the streaming platform you have configured, such as Twitch or YouTube. Monitor the OBS interface to ensure that there are no dropped frames or performance issues during the stream.
4. Engage with Your Audience: While streaming, don’t forget to interact with your audience. Respond to chat messages, answer questions, and acknowledge new followers or subscribers. Engaging with your viewers helps create a sense of community and keeps them coming back for more.
5. Monitor and Adjust: Throughout your stream, keep an eye on the chat, OBS performance, and the overall viewer experience. Make adjustments as necessary to ensure the stream quality remains consistent. Monitor your internet connection stability, audio levels, and video quality to provide the best stream possible.
6. Ending the Stream: When you’re ready to end the stream, convey your closing remarks and thank your viewers for watching. Inform them of your next stream schedule, if applicable. In OBS, click on “Stop Streaming” to end the broadcast. Take a moment to review your stream afterward and consider any improvements or modifications for future streams.
Going live with your Nintendo Switch gameplay is an exciting step that allows you to connect with an audience passionate about gaming. By providing engaging gameplay, interacting with your viewers, and maintaining good stream quality, you can establish a loyal viewer base and grow your online presence as a Nintendo Switch streamer.
Congratulations! You’ve completed all the necessary steps to successfully stream your Nintendo Switch gameplay on your PC without the need for a capture card. With the right setup, configurations, and engagement, you can create an entertaining and memorable streaming experience for both yourself and your viewers.
Conclusion
Streaming your Nintendo Switch gameplay on your PC without a capture card is not only cost-effective but also allows for a more streamlined and convenient setup. By utilizing the built-in capture capabilities of your PC and leveraging software solutions like OBS, you can achieve high-quality streams that rival those produced with a dedicated capture card.
In this article, we discussed the step-by-step process of streaming your Nintendo Switch gameplay without a capture card. We covered enabling the built-in capture card feature on your PC, connecting your Switch to your PC via an HDMI cable, configuring OBS (Open Broadcaster Software), adjusting audio and video settings, setting up overlays and alerts, and finally, going live with your Switch gameplay.
Throughout the steps, we highlighted the importance of testing and monitoring your stream to ensure optimal performance. By experimenting with different settings, making necessary adjustments, and engaging with your audience, you can deliver an enjoyable and professional stream that captures the attention of viewers.
While streaming without a capture card may have certain limitations, such as slightly lower quality or increased latency, it provides an accessible and budget-friendly option for beginners or those on a tight budget. With consistent effort and continual improvement, you can elevate your streaming skills and enhance the experience for both yourself and your audience.
So, whether you’re a gaming enthusiast looking to share your Nintendo Switch gameplay or a content creator aiming to entertain and engage viewers, streaming the Switch without a capture card opens up a world of possibilities. Embrace the creativity, interact with your audience, and have fun showcasing your gaming skills with the world!