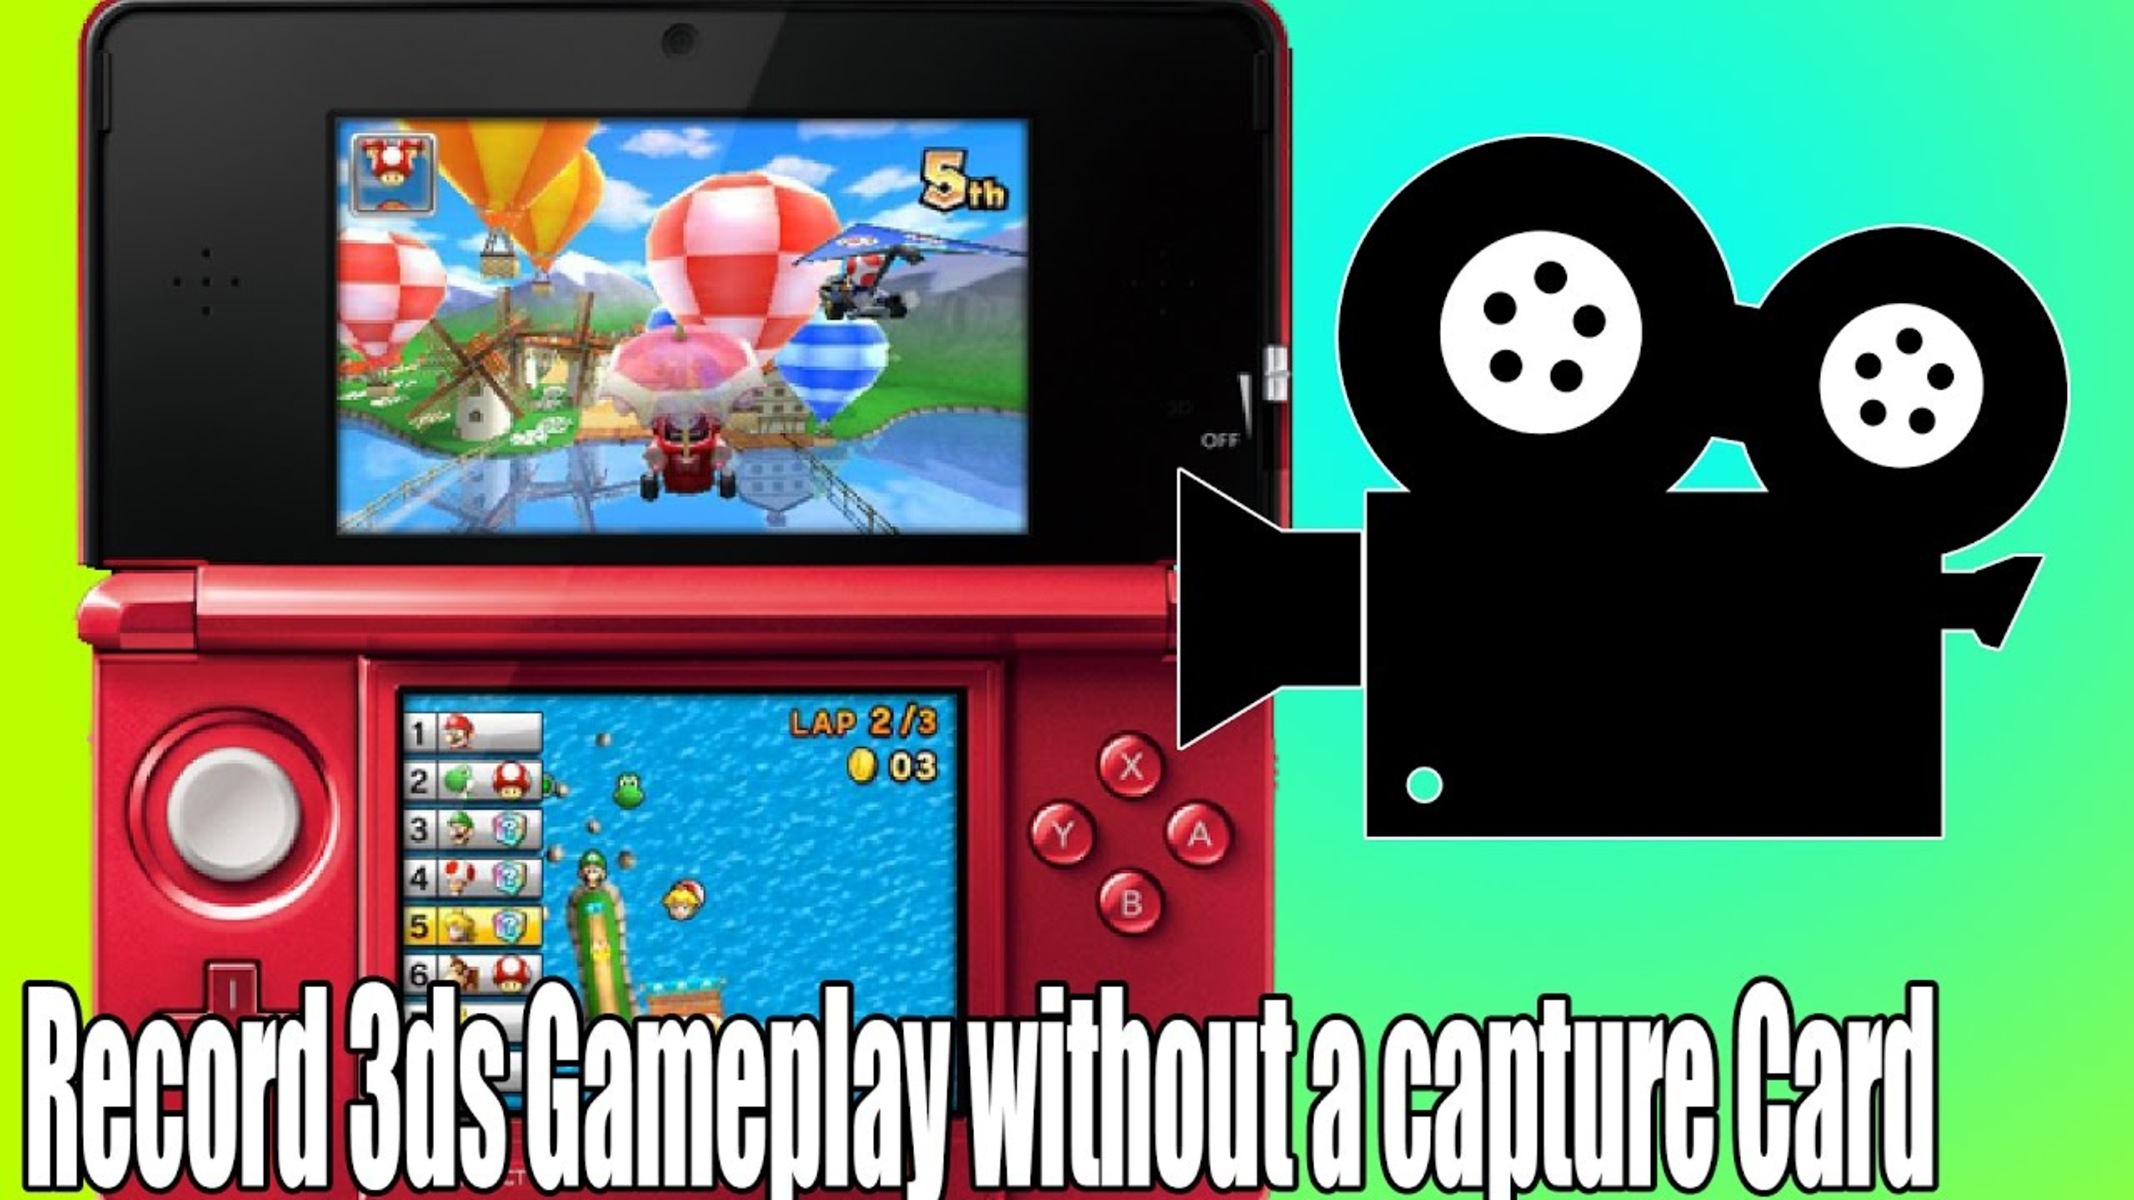
Introduction
Are you an avid gamer who loves playing Nintendo 3DS games and wants to share your gaming adventures with the world? Perhaps you’re a content creator looking to showcase your gameplay on your YouTube channel or Twitch stream. Whatever your reason may be, recording your 3DS screen can be incredibly beneficial. Unfortunately, not everyone has access to a capture card, which is typically used to record gameplay footage directly from the console. But fear not! In this article, we will explore alternative methods that will allow you to record your 3DS screen without the need for a capture card.
Recording your 3DS screen can open up a world of possibilities. It allows you to create engaging gaming videos, share your strategies and tips with other players, and even document your progress in challenging games. By recording your gameplay, you can also review your performance, identify areas of improvement, and uncover hidden game features that you may have missed during live play.
While the most common method for recording 3DS gameplay is by using a capture card, they can be expensive and require some technical know-how to set up. Luckily, there are alternative methods that are accessible to everyone, regardless of budget or technical expertise.
In the following sections, we will explore three different methods to record your 3DS screen without a capture card. Whether you have a smartphone or tablet, a computer with screen recording software, or even a dedicated 3DS capture kit, there is a method that will suit your needs.
Why You Need to Record Your 3DS Screen
Recording your 3DS screen can provide numerous benefits that go beyond just personal enjoyment. Here are a few reasons why you should consider recording your 3DS gameplay:
- Showcasing Your Skills: If you’re an experienced gamer or looking to improve your gameplay, recording your 3DS screen allows you to demonstrate your skills to a wider audience. You can share your strategies, tricks, and tips with other players, helping them to enhance their own gaming abilities.
- Creating Content: Recording your 3DS screen opens up opportunities to create content for platforms like YouTube or Twitch. You can produce Let’s Play videos, walkthroughs, game reviews, or even highlight reels of your gaming sessions. Sharing your experiences with others can build a community and provide entertainment and guidance for fellow gamers.
- Documenting Your Journey: Many games offer immersive worlds and captivating storylines. By recording your 3DS screen, you can document your entire gaming journey, preserving your memories and experiences. This allows you to relive those thrilling moments and cherish them for years to come.
- Improving Your Skills: Watching your recorded gameplay can be an incredibly valuable tool for self-improvement. By reviewing your performance, you can analyze your strengths and weaknesses, identify areas for improvement, and fine-tune your gameplay strategies. This helps you become a better player and overcome any challenges you may encounter in the game.
- Sharing Memories with Others: Recording your 3DS screen enables you to share your gaming adventures with friends, family, and the wider gaming community. It allows you to connect with other players who share similar interests and can spark conversations, discussions, and collaborations.
- Building Your Gaming Brand: If you aspire to become a professional gamer or content creator, recording your 3DS screen is a crucial step. It helps you build your online presence, gain recognition, and establish yourself as a reputable and influential figure in the gaming community.
Whether you want to entertain, educate, or simply capture your gaming memories, recording your 3DS screen is an essential tool. It allows you to share your passion for gaming with others and immerse yourself in the dynamic world of content creation and community engagement.
Alternatives to Using a Capture Card
If you don’t have access to a capture card or simply prefer not to invest in one, there are alternative methods you can use to record your 3DS screen. Here are a few options:
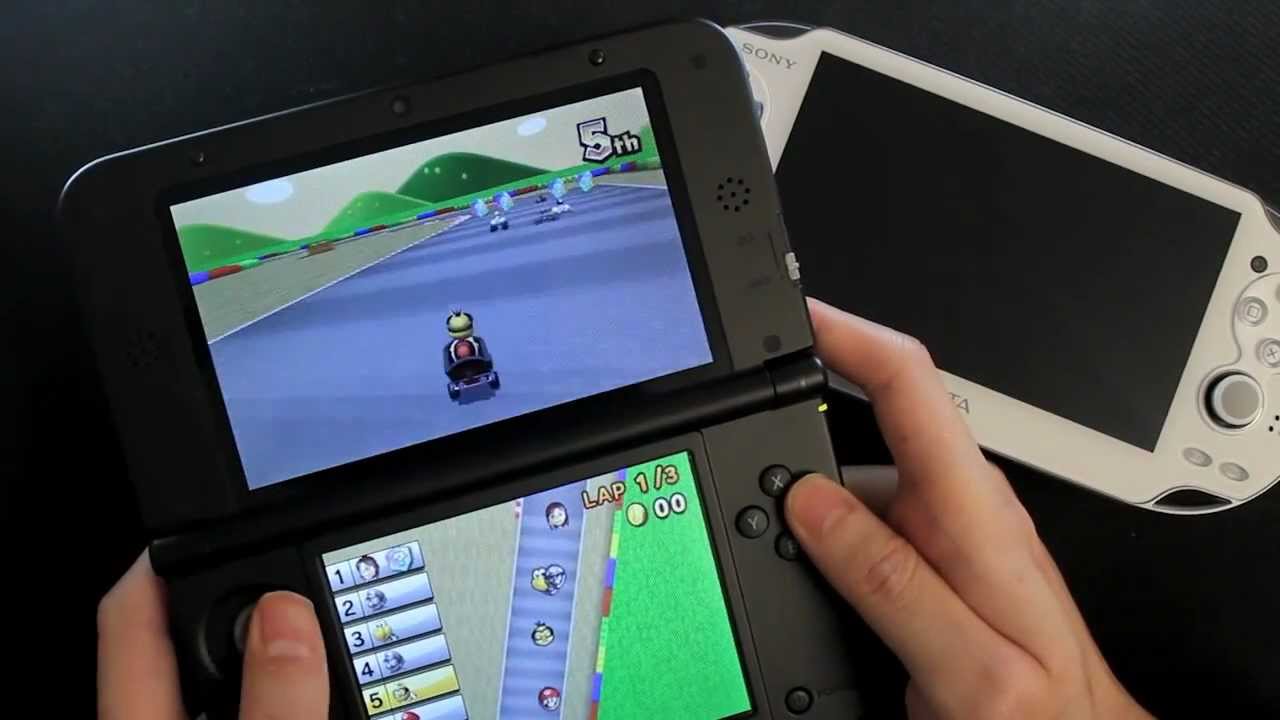
- Using a Smartphone or Tablet: One of the most accessible and convenient alternatives to a capture card is using your smartphone or tablet to record your 3DS screen. You can do this by utilizing screen recording apps available on iOS or Android devices. Simply download a reliable screen recording app from your app store, start the recording, and attach your smartphone or tablet to your 3DS using a tripod or stand. This method allows you to capture your gameplay directly from the 3DS screen without any additional hardware.
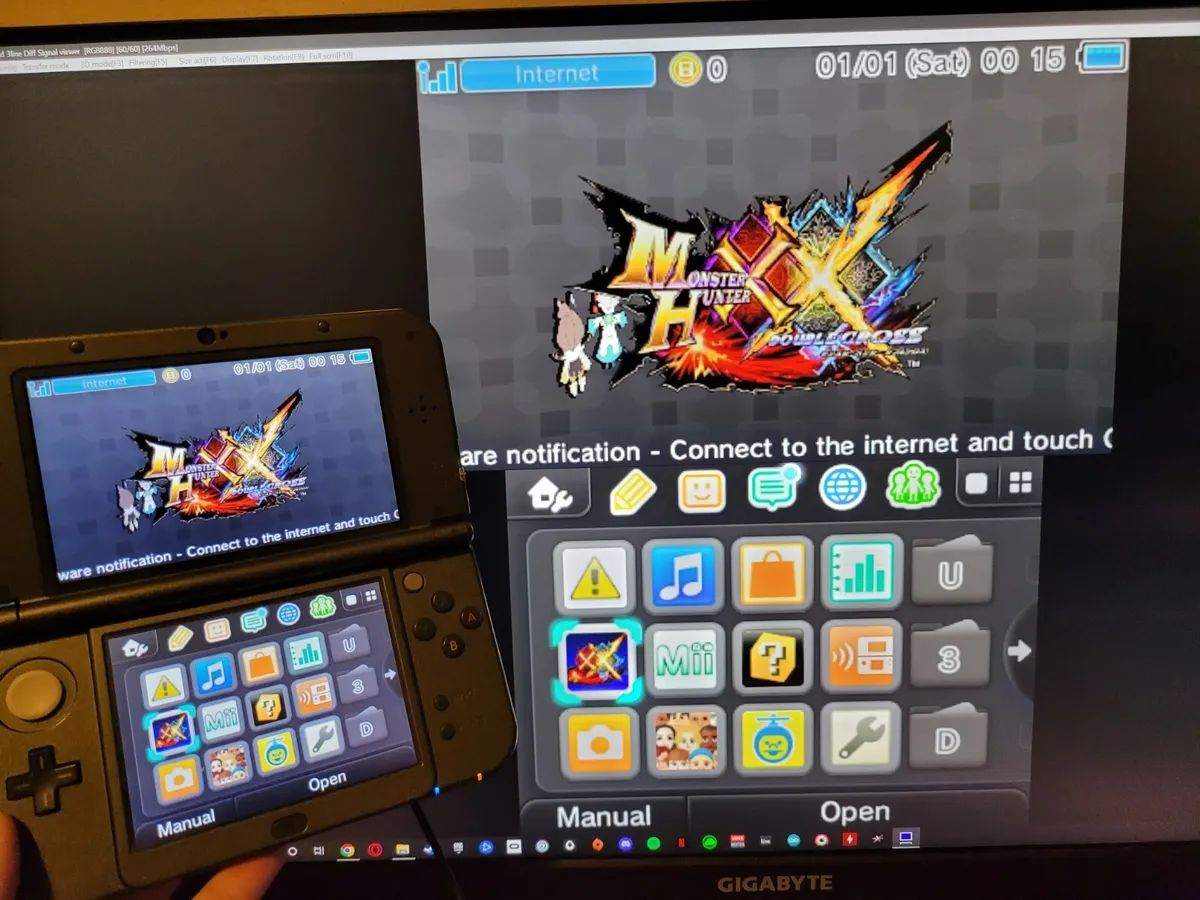
- Using a Computer and Screen Recording Software: Another option is to use your computer and screen recording software to capture your 3DS screen. This method requires connecting your 3DS to your computer using a capture card adapter or a USB cable. Once connected, you can use screen recording software such as OBS Studio or Camtasia to record your gameplay. These programs allow you to customize the recording settings, capture high-quality footage, and even livestream your gameplay if desired.
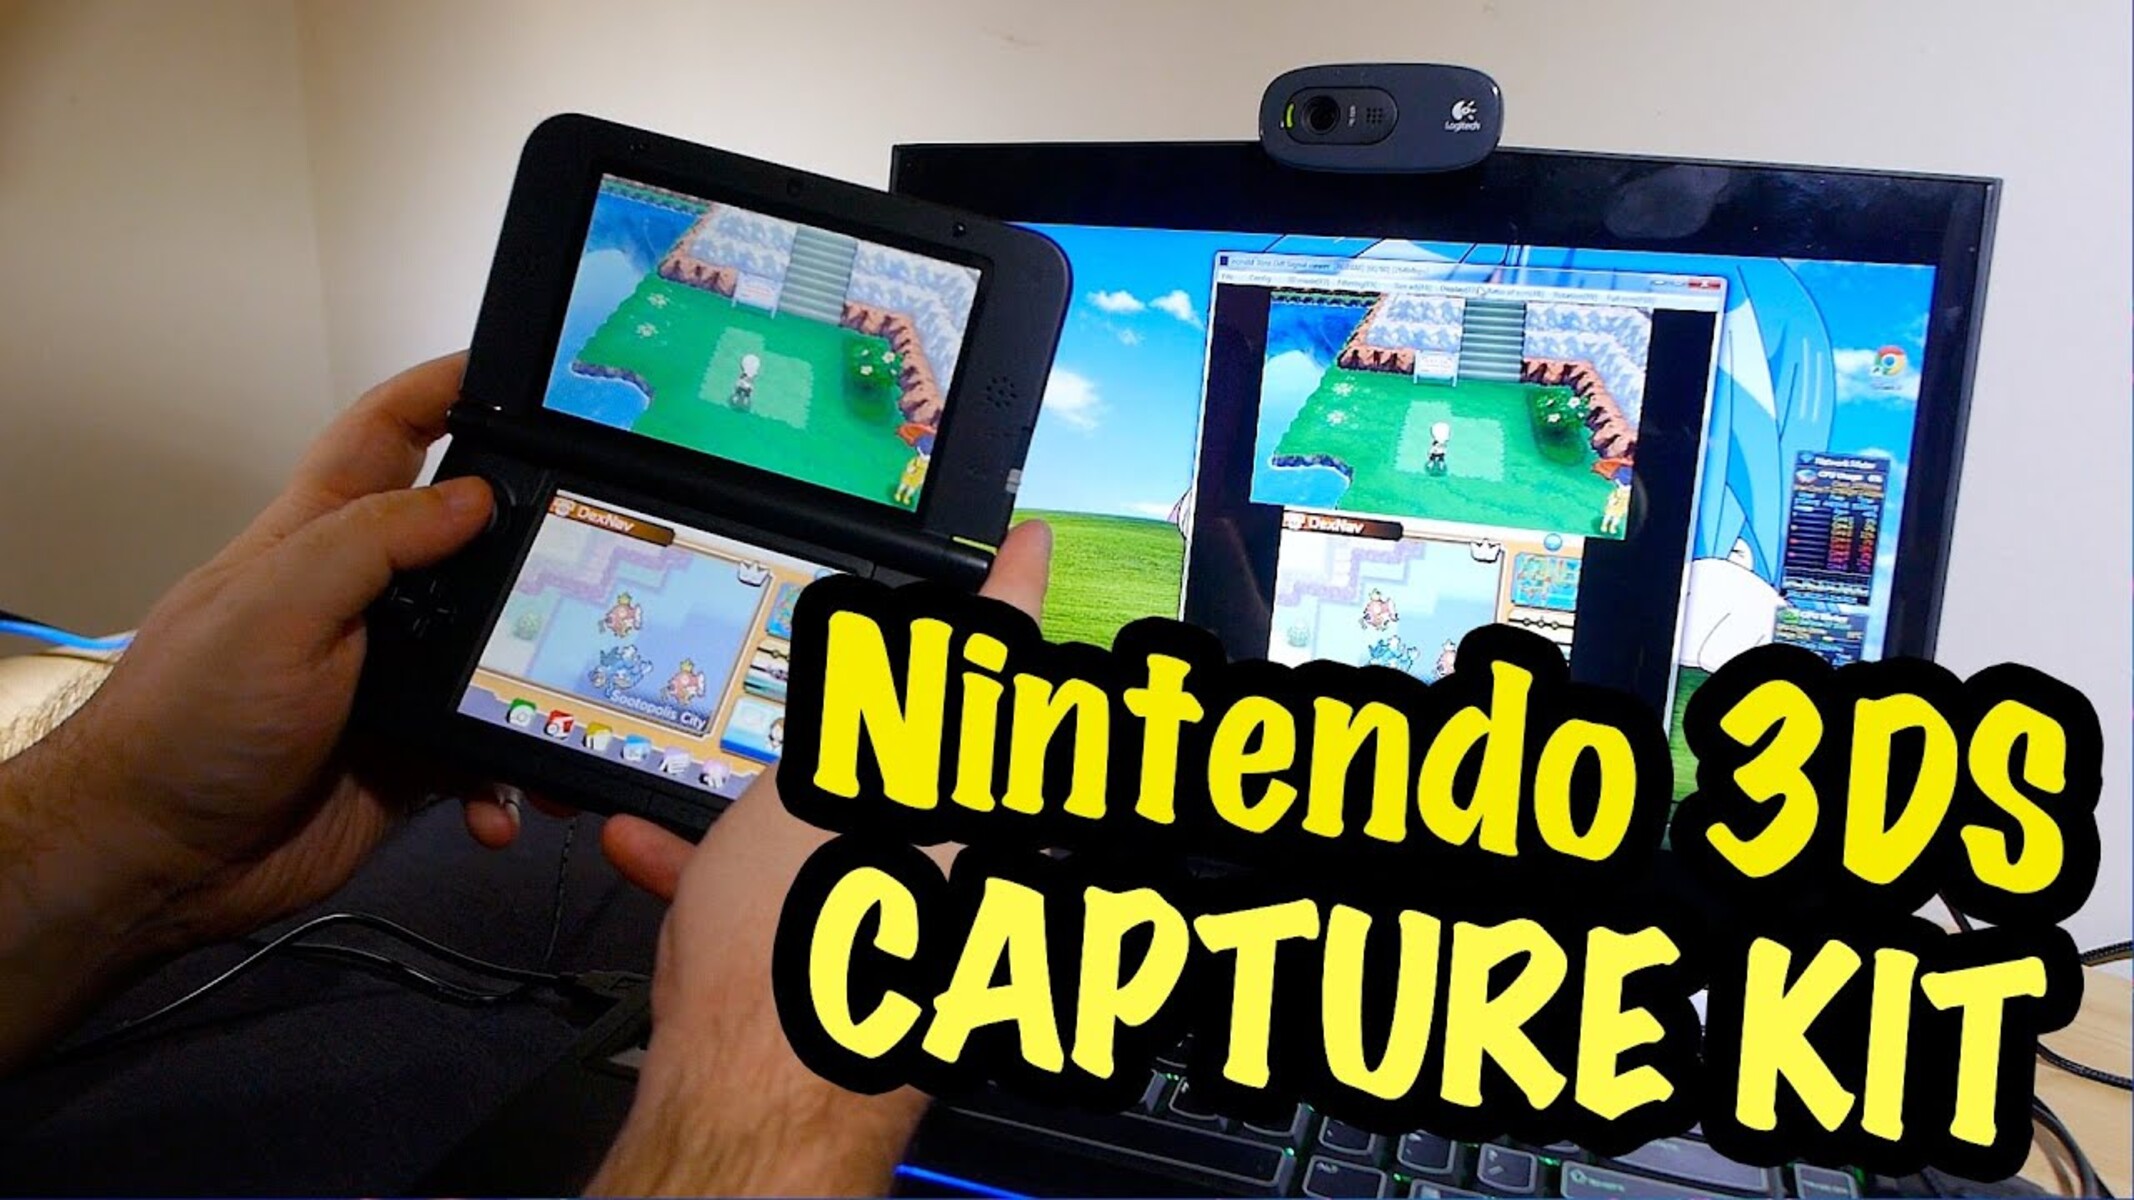
- Using a 3DS Capture Kit: If you’re willing to invest in a dedicated solution, a 3DS capture kit is an excellent option. A capture kit is a hardware modification that is installed directly into your 3DS console, allowing you to record gameplay without the need for additional equipment. While this method may require some technical expertise or professional installation, it offers the highest quality recording possible, with minimal lag or interference.
Each of these alternatives has its own advantages and considerations. Using a smartphone or tablet is the most accessible and budget-friendly option, while utilizing computer and screen recording software provides more customization and flexibility. If you’re looking for the best possible recording quality and have the technical know-how, a 3DS capture kit is the ideal choice.
Consider your budget, technical capabilities, and personal preferences when choosing the alternative method that suits you best. All these options offer a way to record your 3DS screen without the need for a capture card, opening up a world of possibilities to share and showcase your gaming adventures.
Method 1: Using a Smartphone or Tablet
One of the easiest and most accessible methods to record your 3DS screen without a capture card is by using your smartphone or tablet. Here’s how you can do it:
- Choose a Screen Recording App: Start by downloading a reliable screen recording app on your iOS or Android device. There are numerous options available, such as AZ Screen Recorder, Mobizen, or DU Recorder. Make sure to select an app with good reviews and features that suit your needs.
- Connect Your 3DS to Your Smartphone or Tablet: Grab a tripod or stand to secure your smartphone or tablet in position. Use a compatible cable or adapter to connect your 3DS to your device. Depending on your 3DS model, you may need a USB cable, USB OTG adapter, or a capture card adapter specifically designed for connecting your 3DS to a mobile device.
- Configure the Settings: Open the screen recording app on your smartphone or tablet and configure the recording settings. You can choose to record the internal audio from the 3DS or include external audio using a microphone. Adjust the video resolution, frame rate, and other settings according to your preferences.
- Start Recording: Once you’ve set up the recording settings, start the screen recording on your smartphone or tablet. Begin playing your desired 3DS game and let the app capture the screen. Ensure that your device is stable and positioned correctly to capture the gameplay without any obstructions.
- Stop and Save the Recording: When you’ve finished recording, stop the screen capture in the app. The recorded video will usually be saved in your device’s gallery or a designated folder. You can then transfer the video to your computer for editing or directly upload it to your desired platform.
Using your smartphone or tablet to record your 3DS screen offers a convenient and budget-friendly solution. It allows you to capture your gameplay without the need for additional hardware or technical expertise. However, keep in mind that the quality may vary based on your device’s capabilities and the screen recording app you choose. Experiment with different settings and apps to find the ideal setup that captures your 3DS gameplay in the best possible way.
This method opens up endless possibilities to share your gaming achievements, create tutorial videos, or simply record memorable moments during your gameplay. So grab your smartphone or tablet, connect it to your 3DS, and start recording your exciting 3DS gaming adventures!
Method 2: Using a Computer and Screen Recording Software
If you have a computer and prefer a more versatile recording option, you can use screen recording software to capture your 3DS screen. Follow these steps to get started:
- Get a Capture Card Adapter or USB Cable: First, you will need a capture card adapter or a USB cable that is compatible with your 3DS model. These adapters allow you to connect your 3DS to your computer and capture the screen.
- Install Screen Recording Software: Next, download and install screen recording software on your computer. Popular options include OBS Studio, Camtasia, or Bandicam. These programs provide a range of features and customization options for your recordings.
- Connect Your 3DS to Your Computer: Use the capture card adapter or USB cable to connect your 3DS to your computer. Follow the manufacturer’s instructions for proper connection.
- Configure the Recording Settings: Open the screen recording software and configure the recording settings. Choose the desired resolution, frame rate, and audio sources. You can select to include the internal audio from the 3DS, external audio from a microphone, or both.
- Start Recording: Once everything is set up, start the screen recording software and then begin playing your 3DS game. The software will capture the screen and record your gameplay in real time.
- Stop and Save the Recording: When you’re finished recording, stop the screen recording in the software. The recorded video will be saved to your computer in a designated folder. You can then edit the video, add overlays or commentary, and export it to your desired format.
Using a computer and screen recording software offers more flexibility and customization options compared to other methods. You can adjust the recording settings to achieve the desired quality and add additional elements to enhance your videos. Additionally, you can also live stream your gameplay on platforms like Twitch or YouTube while recording it simultaneously.
However, keep in mind that using a capture card adapter or USB cable may introduce some latency between the 3DS and computer screen. This slight delay may affect your gameplay, especially in fast-paced action games. Consider adjusting your gameplay style accordingly or using software solutions to minimize latency during recording.
By utilizing a computer and screen recording software, you can produce high-quality recordings of your 3DS gameplay, create engaging content, and share your gaming experiences with others. So grab your capture card adapter or USB cable, install the desired screen recording software, and start capturing your epic 3DS gaming moments!
Method 3: Using a 3DS Capture Kit
If you’re looking for the highest quality recording and have the technical know-how, using a 3DS capture kit is the ideal choice. Here’s how you can use a capture kit to record your 3DS screen:
- Purchase a 3DS Capture Kit: Start by purchasing a 3DS capture kit from a reputable supplier. These kits are hardware modifications that are installed directly into your 3DS console, allowing you to capture gameplay without the need for additional equipment.
- Consult the Installation Guide: Each capture kit may have different installation instructions. It’s crucial to carefully read the installation guide provided with the kit to understand the process and ensure a successful installation. If you’re not confident in your technical skills, consider seeking professional installation services.
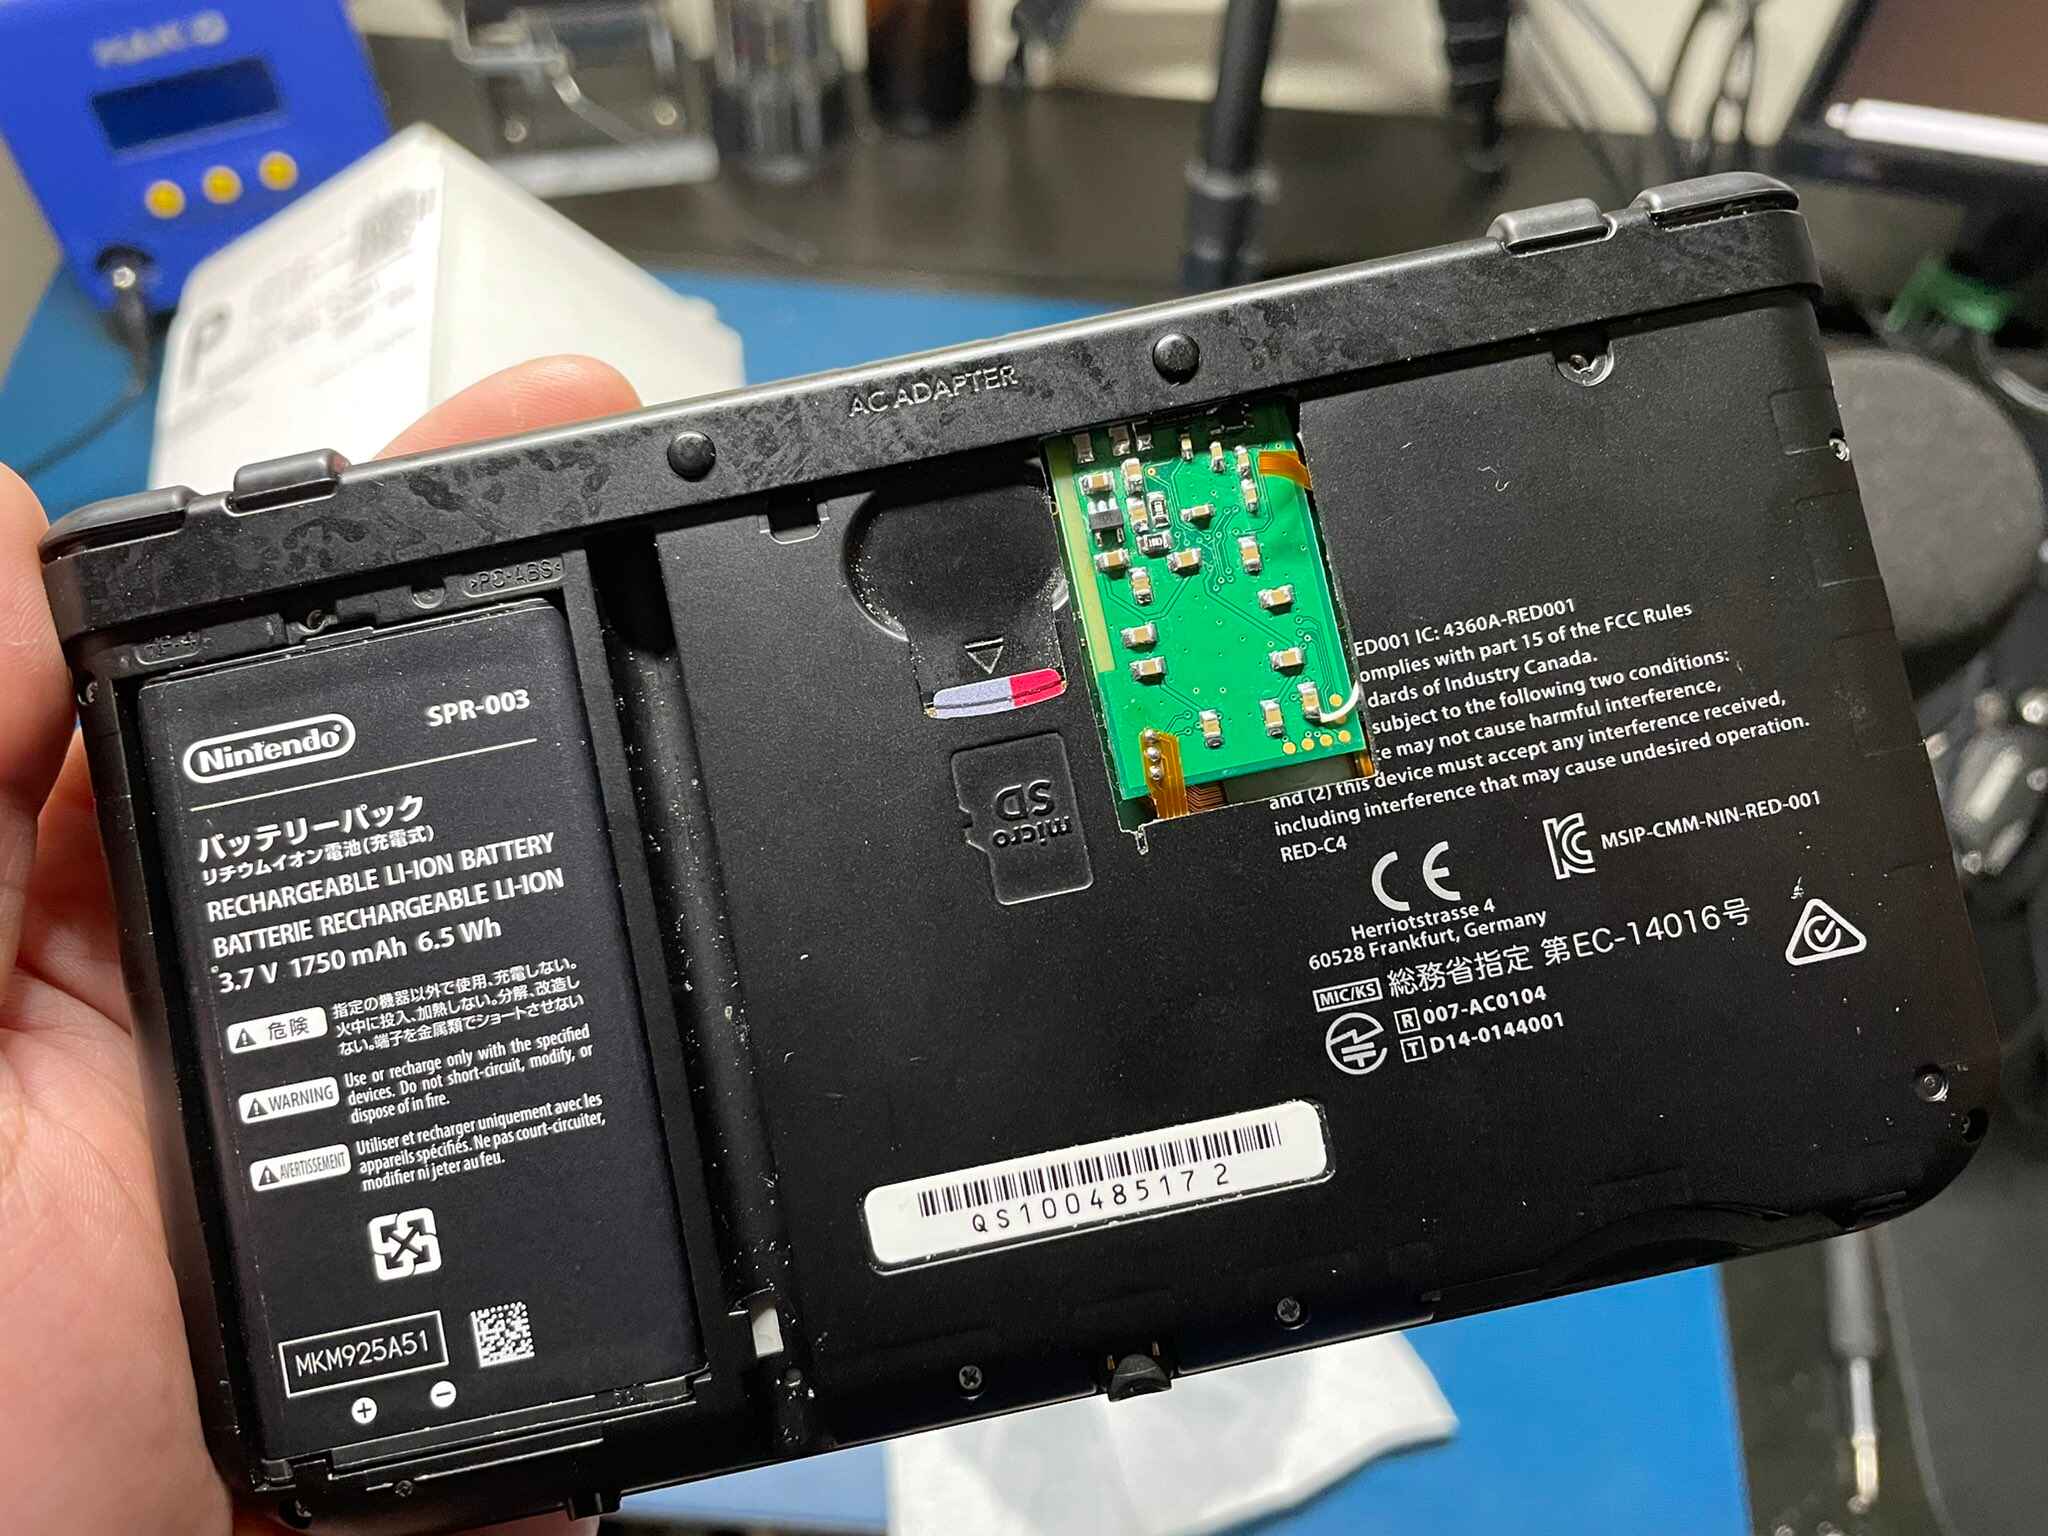
- Open up Your 3DS: Begin by opening up your 3DS according to the instructions provided. This may involve removing screws, gently prying apart the casing, and disconnecting certain components to access the motherboard.
- Install the Capture Kit: Follow the installation guide to install the capture kit onto the 3DS motherboard. This typically involves soldering wires to specific points on the board and connecting the capture kit component to the appropriate location.
- Reassemble Your 3DS: Once the capture kit is installed, carefully reassemble your 3DS by reconnecting any disconnected components and securing the casing with screws. Take your time to ensure proper reassembly and a clean, functional appearance.
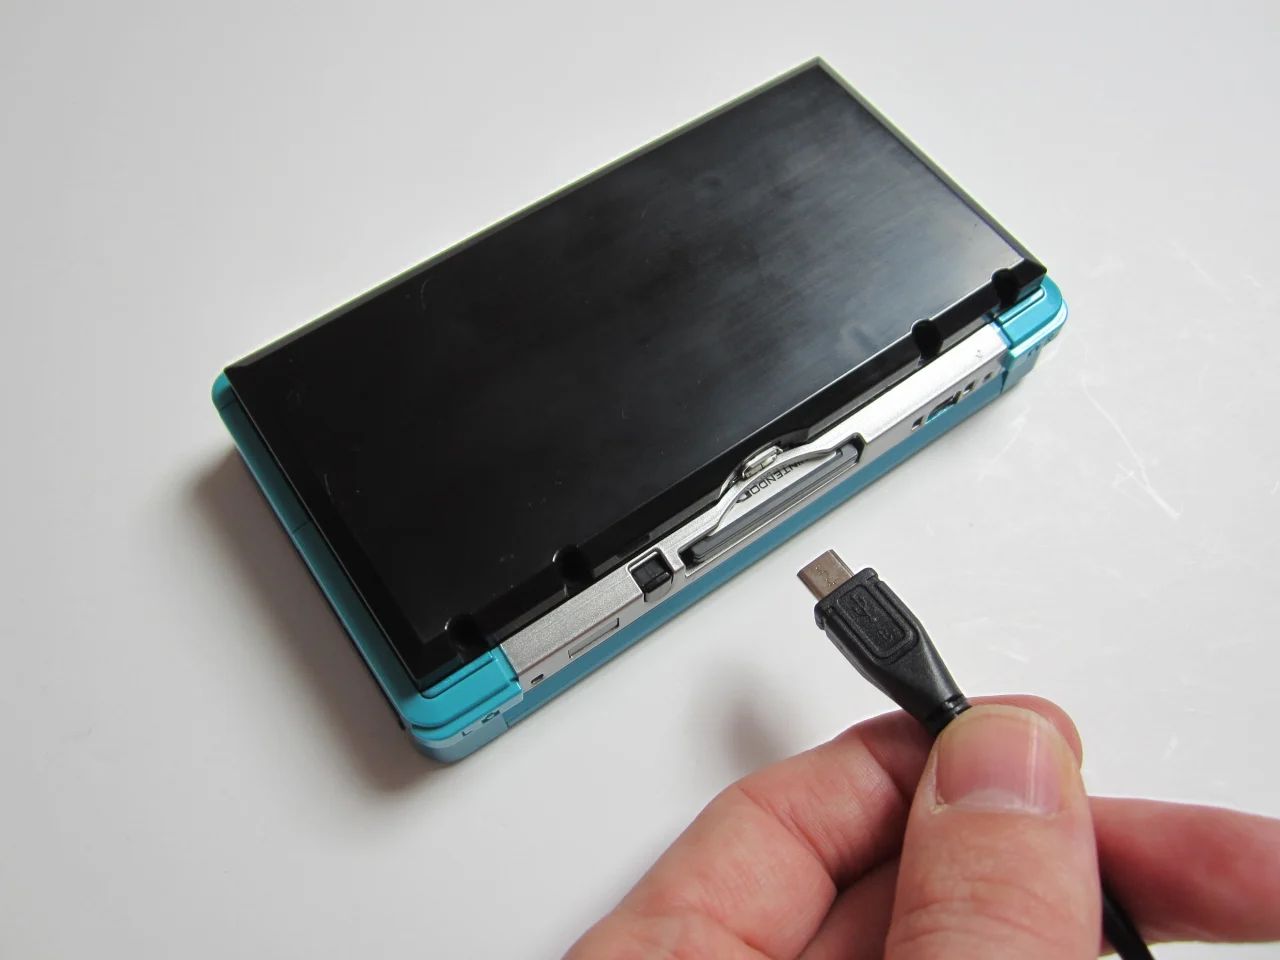
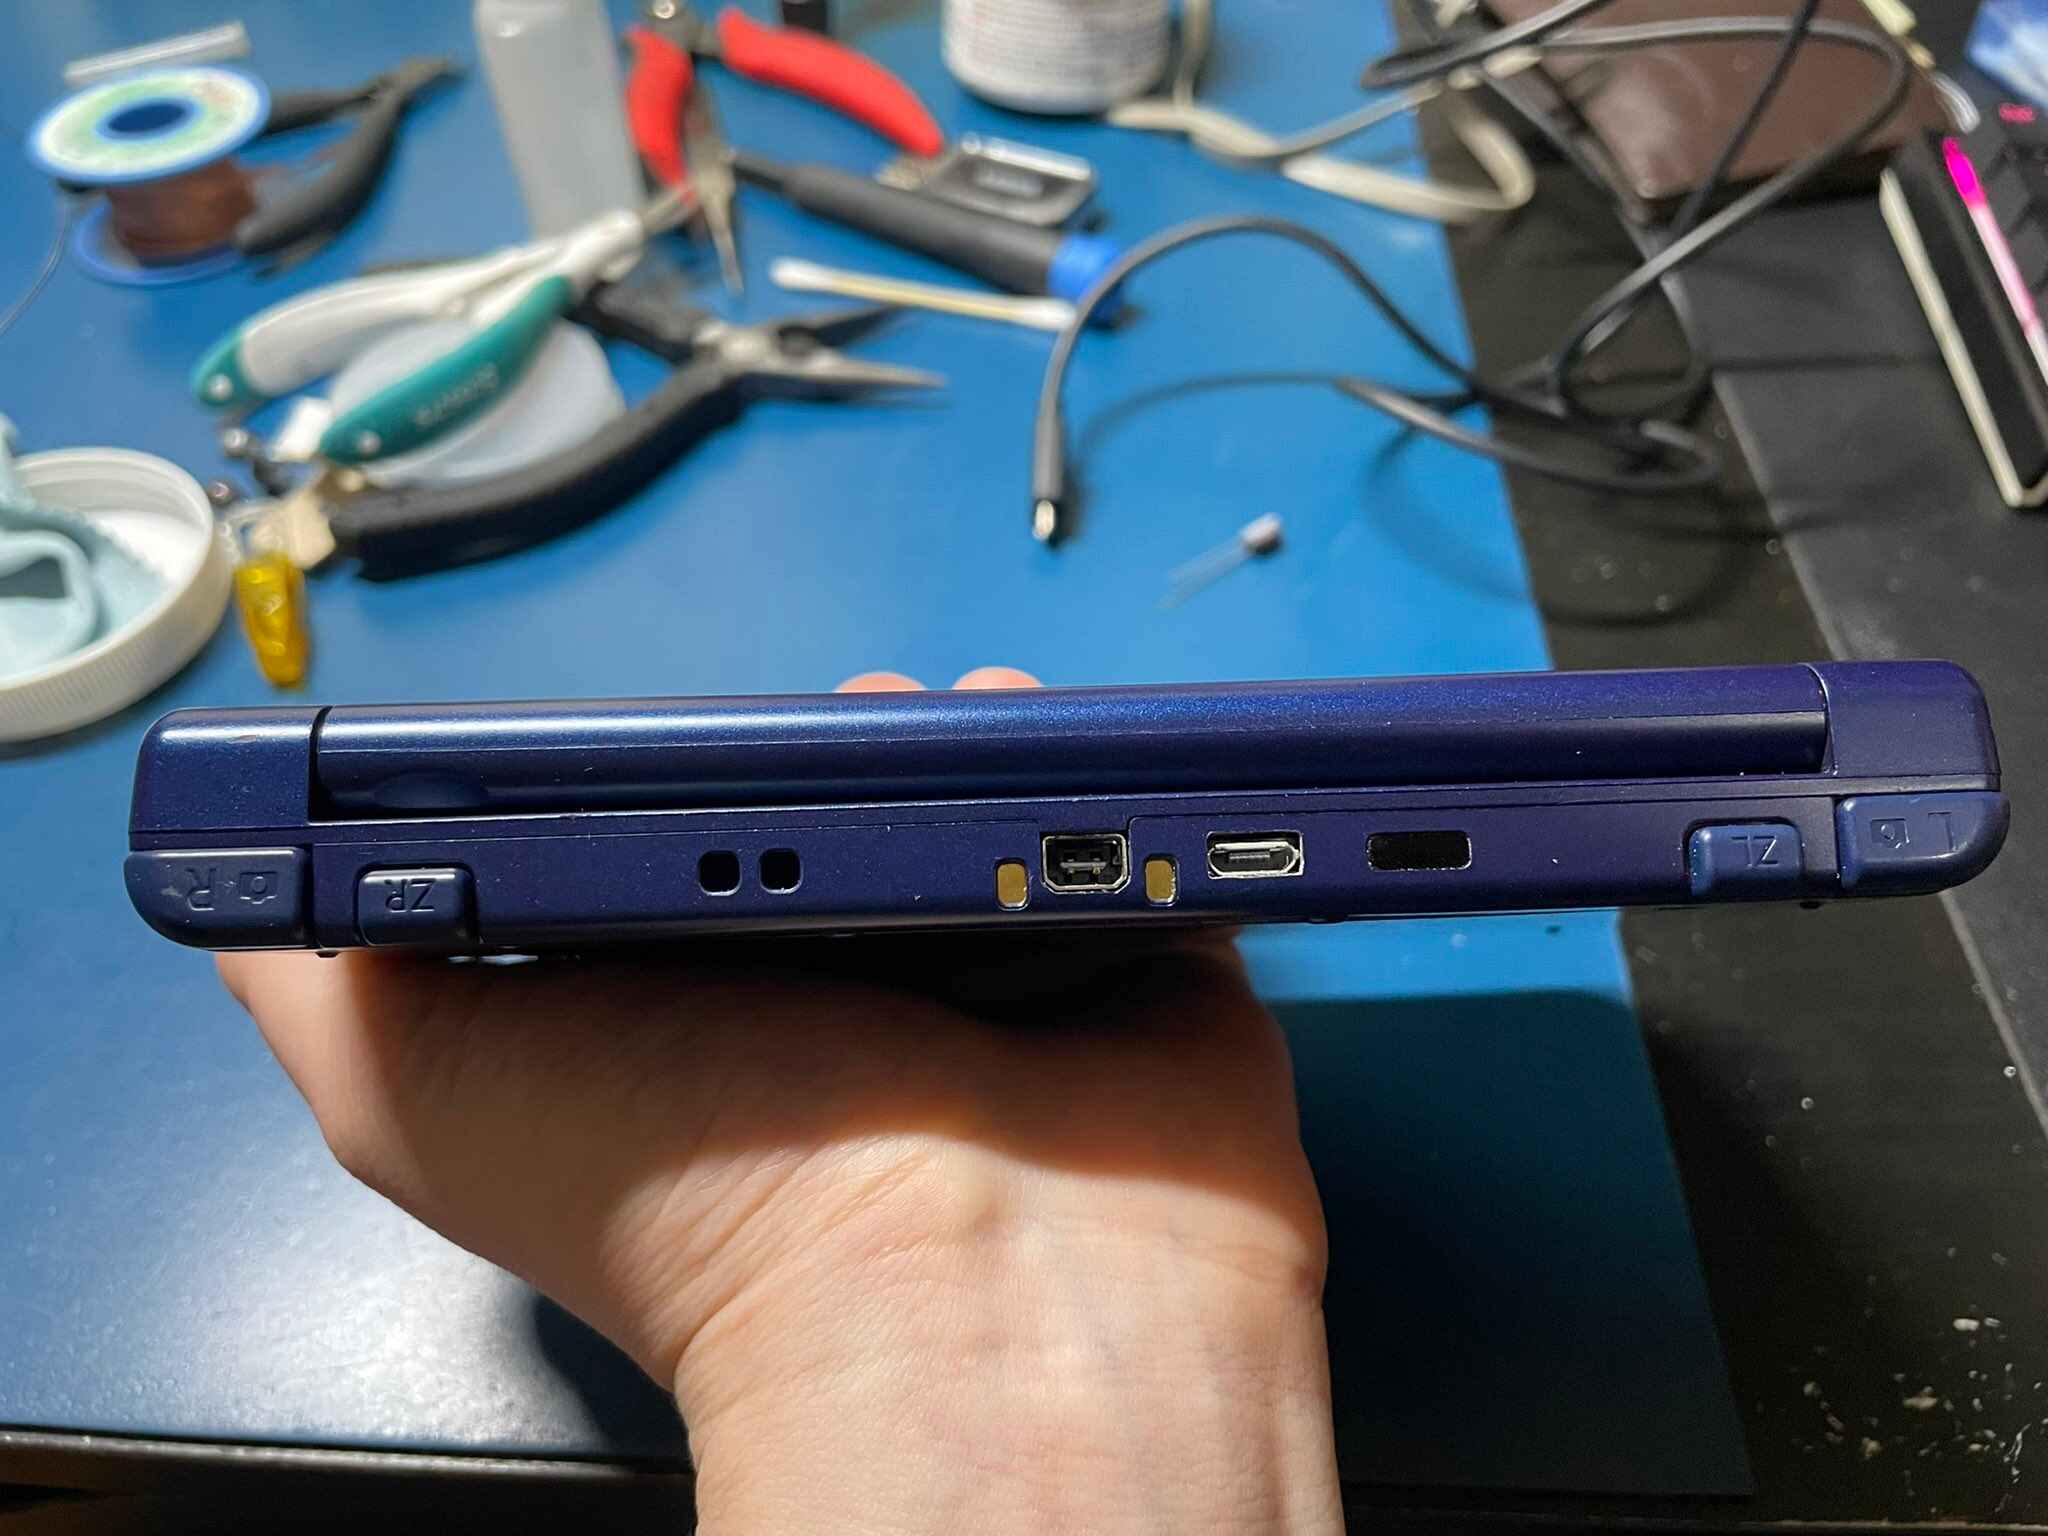
- Connect Your 3DS to Your Computer: Use the provided cables or connectors to connect your modified 3DS to your computer. It may require a USB connection or specific capture card adapter depending on the capture kit model.
- Configure the Capturing Software: Install the necessary capturing software on your computer, which varies depending on the capture kit you’re using. The software will allow you to record, adjust settings, and manage your captured gameplay footage.
- Start Recording: Launch the capturing software on your computer and start the recording process. Play your desired 3DS game, and the capture kit will transmit the gameplay footage to your computer for recording.
- Stop and Save the Recording: When you’re done recording, stop the capturing software, and save the recorded video to your computer. From there, you can edit, enhance, or share the gameplay footage based on your preferences.
Using a 3DS capture kit requires some technical expertise and may void your warranty. However, it provides the highest quality recording with minimal lag or interference. The capture kit modification transforms your 3DS into a powerful recording device, allowing you to capture and share your gameplay with exceptional clarity.
Keep in mind that the installation process requires precision and caution. If you’re not comfortable with electronics or soldering, it’s recommended to seek professional installation services to ensure a seamless and successful installation.
With a 3DS capture kit, you’ll have the opportunity to create professional-grade gaming content, share your gaming expertise, and showcase your 3DS gameplay in the most impressive way possible. So, if you’re up for the challenge and want the best recording quality, consider investing in a 3DS capture kit.
Tips for Obtaining the Best Quality Recording
When recording your 3DS screen, there are several tips you can follow to ensure you obtain the best possible recording quality:
- Adjust the Lighting: Ensure that your gaming environment is well-lit to prevent shadows or glare that can interfere with the clarity of the recording. A well-lit room or using an additional light source can significantly enhance the recording quality.
- Use a Stable Setup: Stability is crucial to avoid shaky footage. Whether you’re using a smartphone or capturing with a capture card, make sure your device or tripod is securely positioned to minimize camera movements and vibrations.
- Consider the 3DS Screen Settings: Adjusting the brightness, contrast, and color settings on your 3DS can improve the visual quality of your recordings. Experiment with the settings to find the optimal balance that enhances the visuals without sacrificing the gameplay experience.
- Optimize the Recording Settings: If utilizing screen recording software, configure the settings for optimal recording quality. Adjust the resolution, frame rate, and bitrate to match your desired recording quality and the capabilities of your computer.
- Eliminate Background Noise: To ensure clear audio in your recordings, minimize or eliminate any background noise. Find a quiet location to minimize disturbances and consider using a microphone, if possible, to capture superior audio quality.
- Clear the Storage Space: Before starting to record, ensure that you have sufficient storage space on your recording device. Large video files can consume considerable disk space, so periodically clean up your storage to avoid interruptions during recording.
- Practice and Experiment: Take the time to experiment with different recording techniques and settings to find what works best for you. Practicing will help you become more comfortable with the process and allow you to fine-tune your recording setup for optimal results.
- Edit and Enhance: After recording, consider editing and enhancing your footage to further improve the overall quality. You can trim unnecessary sections, adjust colors, apply filters, add captions, or incorporate background music to make your recordings more engaging and professional-looking.
- Keep Your 3DS and Equipment Clean: Ensure that both your 3DS screen and any accessories, such as cables or adapters, are clean and free from dust or smudges. Regularly wipe down the screen and connectors to maintain the integrity of your recordings.
By following these tips, you can maximize the quality of your 3DS screen recordings. Each step plays a significant role in improving the visual and audio aspects of your recordings, resulting in captivating gameplay footage that will leave your audience enthralled.
Remember, recording high-quality gameplay is a continuous learning process. Don’t be afraid to explore new techniques, experiment with different settings, and learn from your recording experiences. With time and practice, you’ll refine your skills and consistently produce outstanding recordings of your 3DS gameplay.
Conclusion
Recording your 3DS screen without a capture card is not only possible but also accessible to gamers of all levels. Whether you choose to use a smartphone or tablet, a computer with screen recording software, or a 3DS capture kit, there are alternative methods available that allow you to capture and share your gaming adventures.
By using a smartphone or tablet, you can easily record your 3DS screen with the help of screen recording apps, providing a budget-friendly and convenient option. Alternatively, utilizing a computer with screen recording software offers more flexibility and customization options, empowering you to create high-quality recordings and even live stream your gameplay if desired.
For those seeking the best recording quality, a 3DS capture kit provides the utmost clarity and minimal lag, though it requires technical expertise and may not be suitable for everyone.
Regardless of the method you choose, remember to optimize the recording settings, adjust the lighting, stabilize your setup, and eliminate background noise to ensure the best possible recording quality. Additionally, don’t forget to edit and enhance your footage before sharing it with the world. Practice, experiment, and continuously learn to refine your recording skills and produce captivating gameplay videos.
Whether you want to share your gaming prowess, create entertaining content, document your gaming journey, or improve your skills, recording your 3DS screen opens up a world of possibilities. Embrace the opportunity to connect with the gaming community, inspire others, and share your passion with the world through the captivating medium of video.
So, grab your preferred method, start recording your 3DS screen, and embark on an exciting journey of gaming content creation!