Introduction
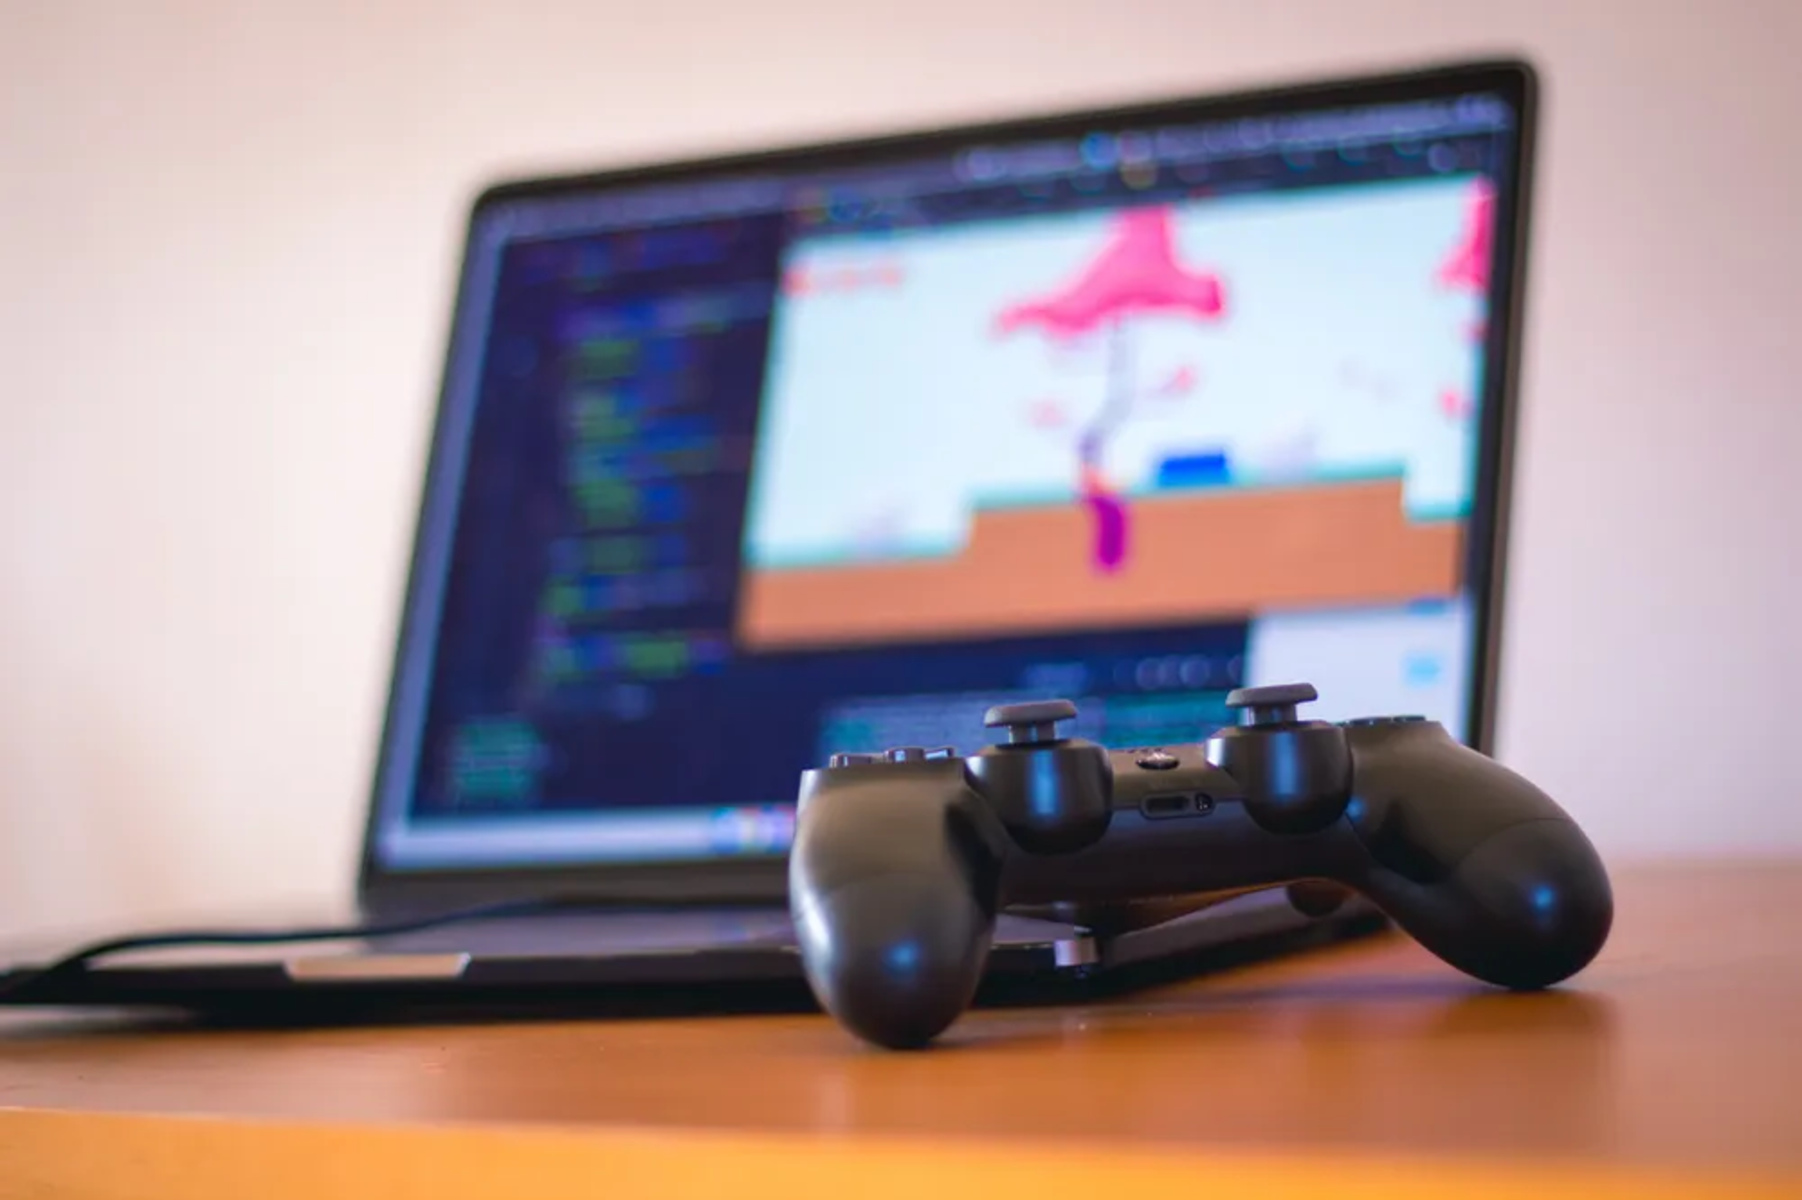
Welcome to this guide on how to play PS4 on a laptop using a capture card. If you’ve ever wanted to take your gaming experience to the next level or simply enjoy playing your favorite console games on a larger screen, then this is the perfect solution for you.
A capture card is a device that allows you to capture, record, or stream video from external sources such as gaming consoles, smartphones, or cameras. It acts as a bridge between your PS4 and your laptop, allowing you to transfer the video and audio signals from your console to your laptop’s screen. This means you can enjoy playing your favorite PS4 games on a larger screen and take advantage of the additional features and capabilities of your laptop.
Before we dive into the setup and configuration process, it’s important to choose the right capture card for your needs. There are various options available in the market, each with its own set of features and specifications. It’s crucial to consider factors like resolution, frame rate, compatibility, and connectivity options when selecting a capture card.
Once you have the right capture card, the next step is setting it up with your laptop. This involves connecting your PS4 to the capture card, installing the necessary software on your laptop, and configuring the capture card software for PS4 gameplay. Don’t worry if it sounds complicated – we’ll guide you through each step in a clear and concise manner.
Playing PS4 on your laptop with a capture card opens up a whole new world of gaming possibilities. You can enjoy console gaming with the added flexibility and portability of a laptop. Whether you want to game on the go, connect your laptop to a larger monitor or TV, or simply record and stream your gameplay, a capture card makes it all possible.
In this guide, we’ll walk you through the entire process of playing PS4 on your laptop using a capture card. We’ll also cover troubleshooting common issues that you may encounter along the way. So, let’s get started and turn your laptop into the ultimate gaming machine!
What is a capture card?
A capture card is a device that allows you to capture, record, or stream video and audio from external sources, such as gaming consoles, cameras, or even other computers. It acts as an intermediary between the source device and your computer, enabling you to capture high-quality video and audio footage for various purposes.
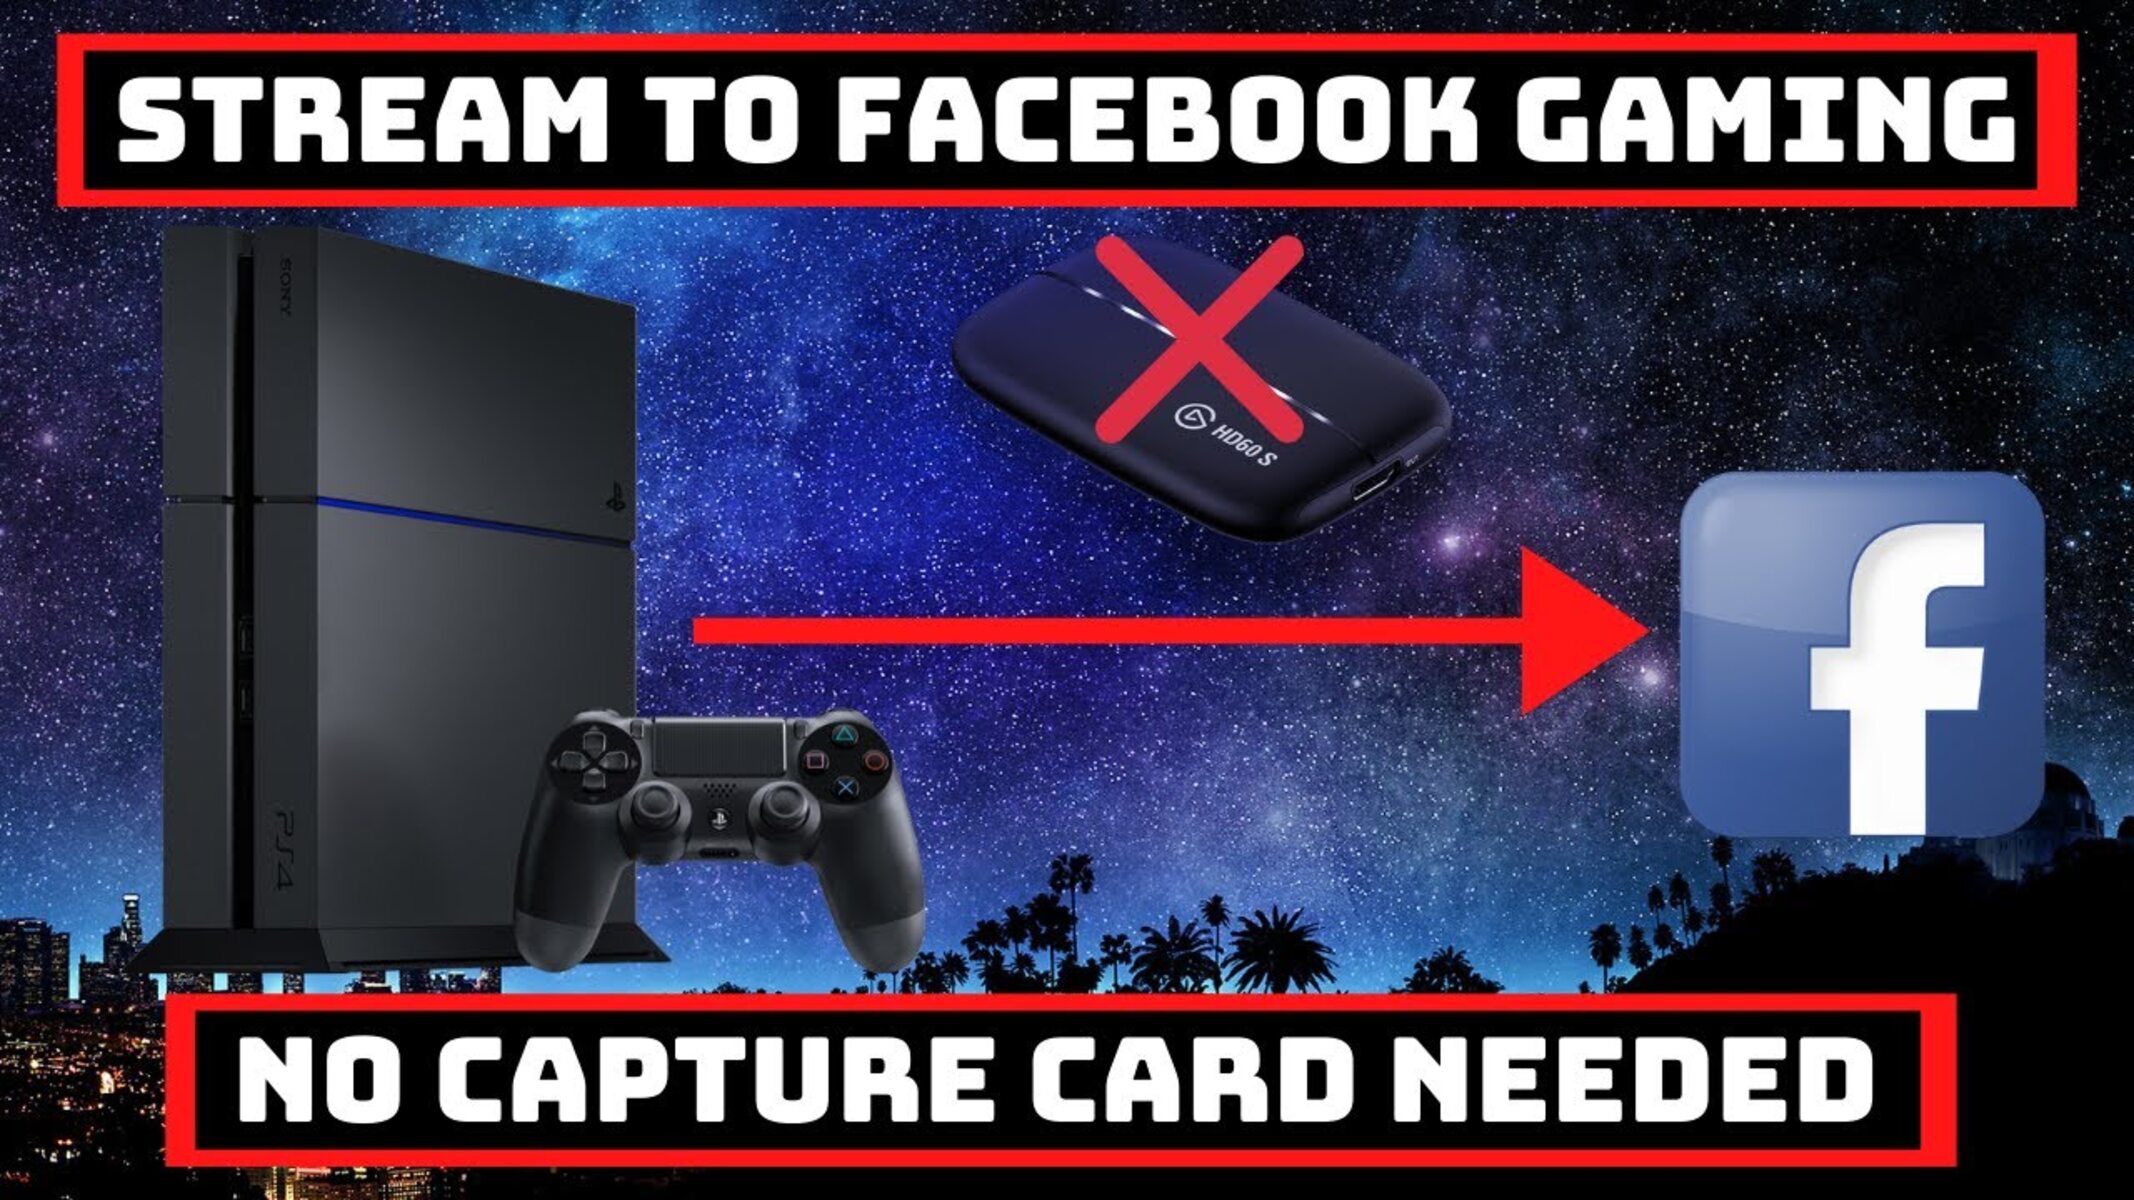
When it comes to gaming, a capture card is especially useful for those who want to play console games on their laptops or stream their gameplay to platforms like Twitch or YouTube. By connecting your gaming console to the capture card, you can transfer the video and audio signals directly to your computer, allowing you to see and hear everything on your laptop’s screen.
One of the main advantages of using a capture card is the ability to play console games on a larger screen. While gaming consoles come with their own displays, they are often limited in size and resolution. By connecting your console to a laptop with a capture card, you can enjoy the benefits of a bigger screen, which enhances your gaming experience and provides a more immersive feeling.
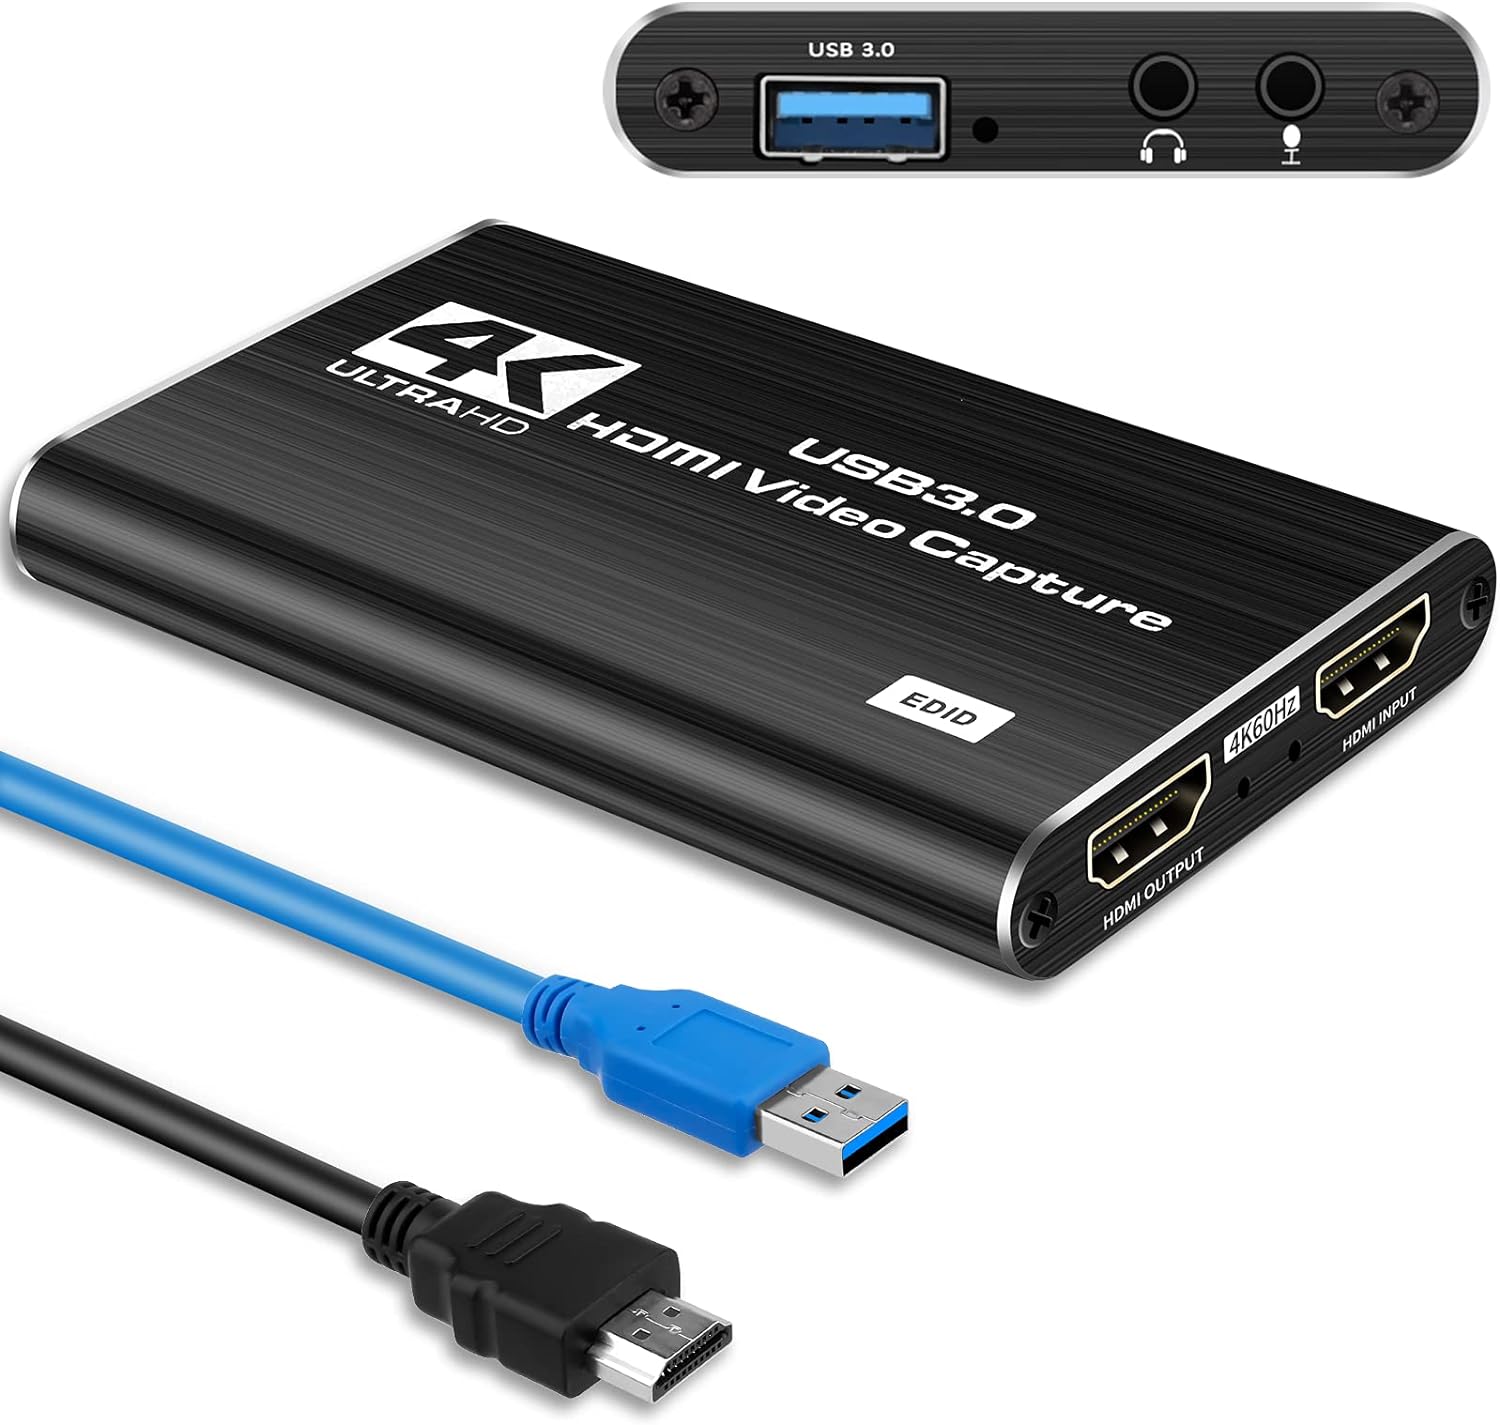
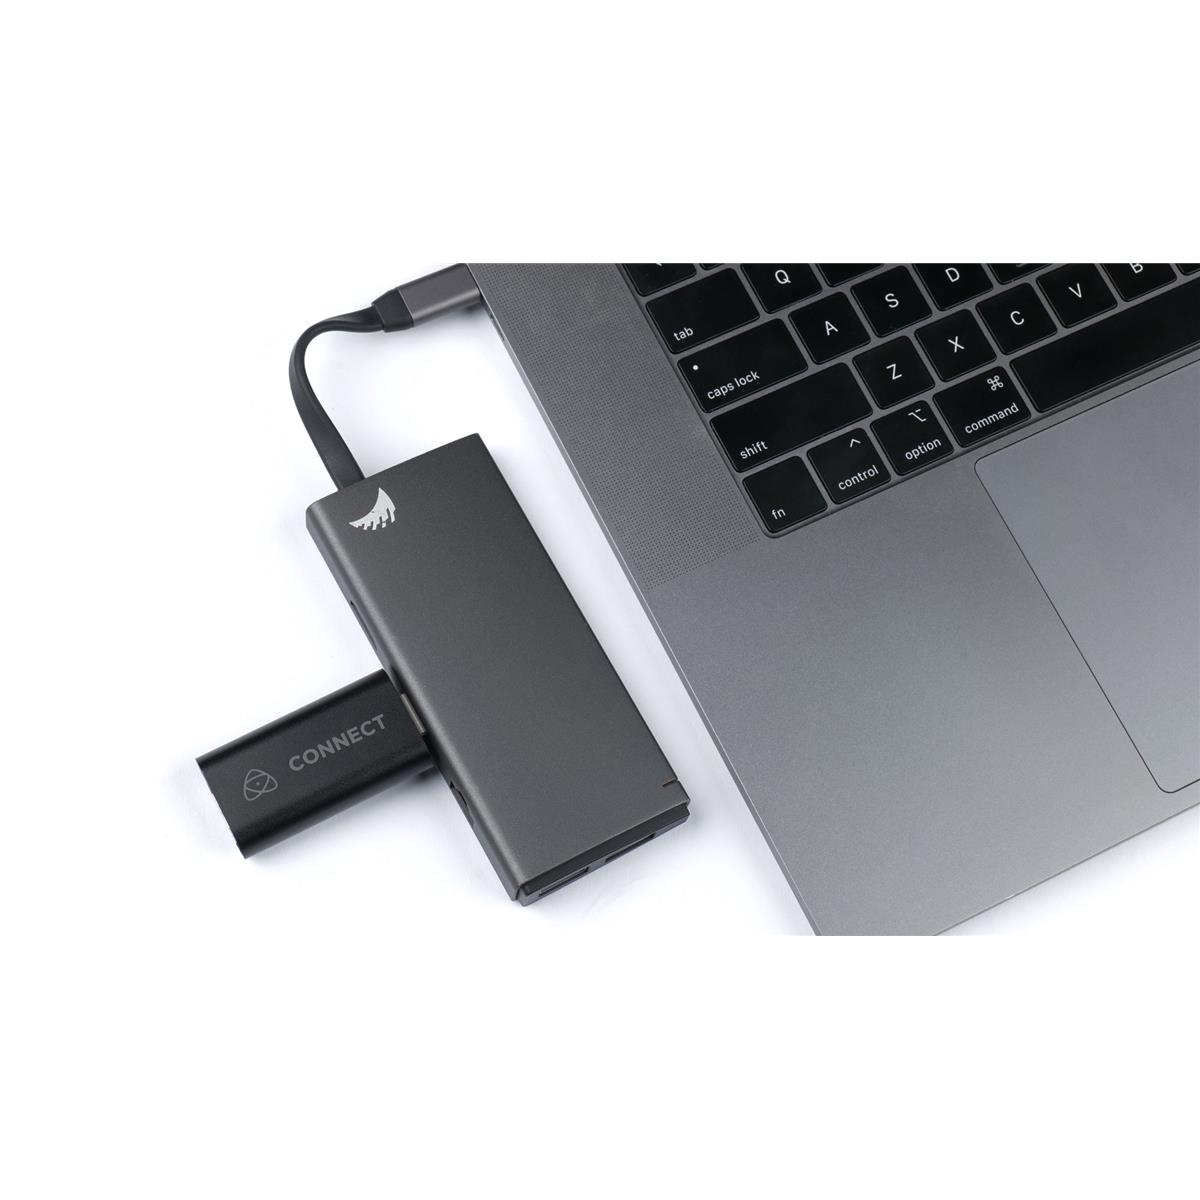
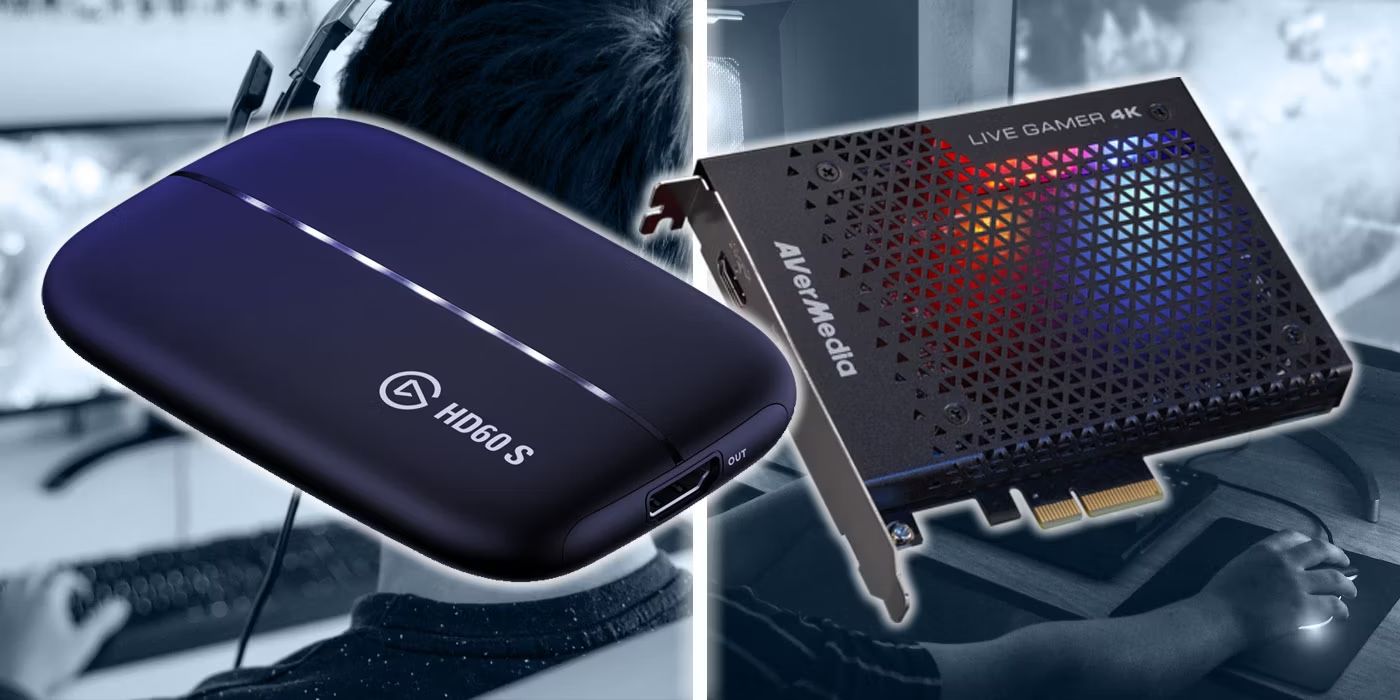
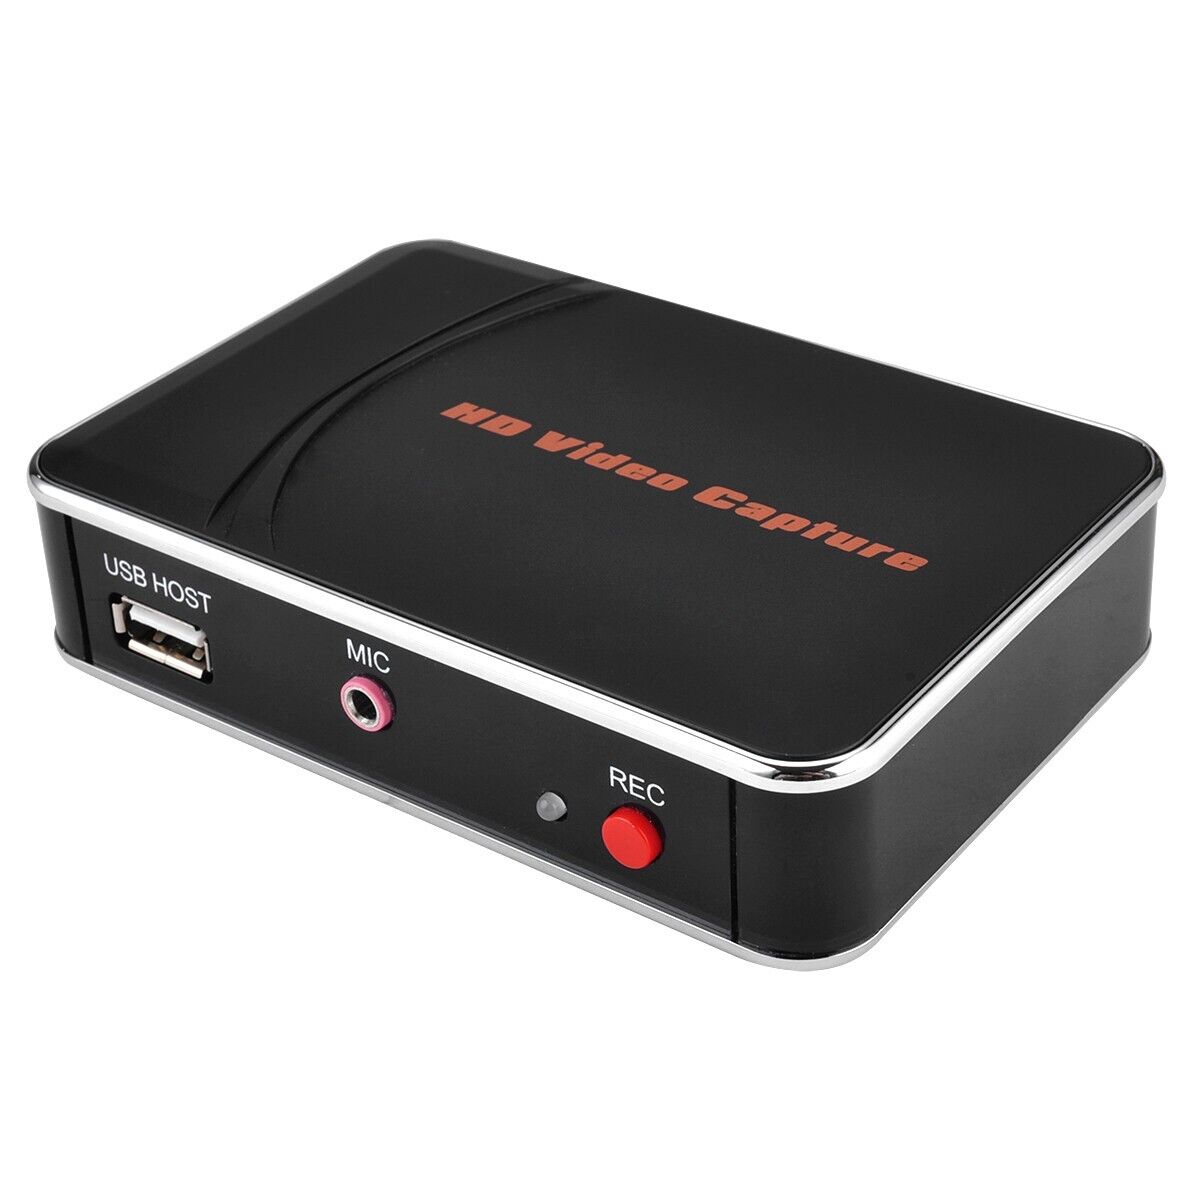
Capture cards come in various forms, including internal and external models. Internal capture cards are installed inside your computer’s casing and usually provide higher performance and better video quality. On the other hand, external capture cards are portable and easy to connect to your laptop via USB or HDMI cables. They are a popular choice for gamers who frequently travel or prefer a more flexible setup.
In addition to gaming, capture cards have many other applications. They are commonly used by content creators, vloggers, and streamers to record or live stream their videos with professional-grade quality. Capture cards can also be used for capturing footage from cameras, camcorders, or even other computers, making them a versatile tool for various multimedia projects.
When choosing a capture card, it’s important to consider factors such as video resolution, frame rate, compatibility with your console and computer, and connectivity options. Different capture cards come with different features and specifications, so it’s crucial to select one that meets your specific requirements.
In the next section, we will explore how to choose the right capture card for your needs. So, let’s dive in and find the perfect capture card that will take your gaming and content creation to new heights!
Choosing the right capture card for your needs
When it comes to choosing a capture card for your gaming setup, there are several important factors to consider. Picking the right capture card will ensure that you have a smooth and high-quality gaming experience. Here are some key considerations to keep in mind:
1. Video Resolution: The video resolution supported by the capture card is crucial, as it determines the quality of the gameplay footage you can capture. Look for a capture card that supports at least 1080p resolution for crisp and clear visuals. If you want to future-proof your setup, consider a capture card that supports even higher resolutions like 4K.
2. Frame Rate: The frame rate determines the smoothness of the gameplay footage. Look for a capture card that supports a high frame rate, preferably 60 frames per second (fps), for fluid and immersive gameplay. Some capture cards even offer options for higher frame rates, such as 120 fps, which can provide an even more seamless gaming experience.
3. Compatibility: Ensure that the capture card you choose is compatible with your gaming console and computer. Most capture cards are designed to work with popular consoles like PlayStation and Xbox, but it’s always a good idea to check for compatibility before making a purchase. Additionally, check if the capture card is compatible with your operating system (Windows, macOS, etc.) and the software you plan to use.
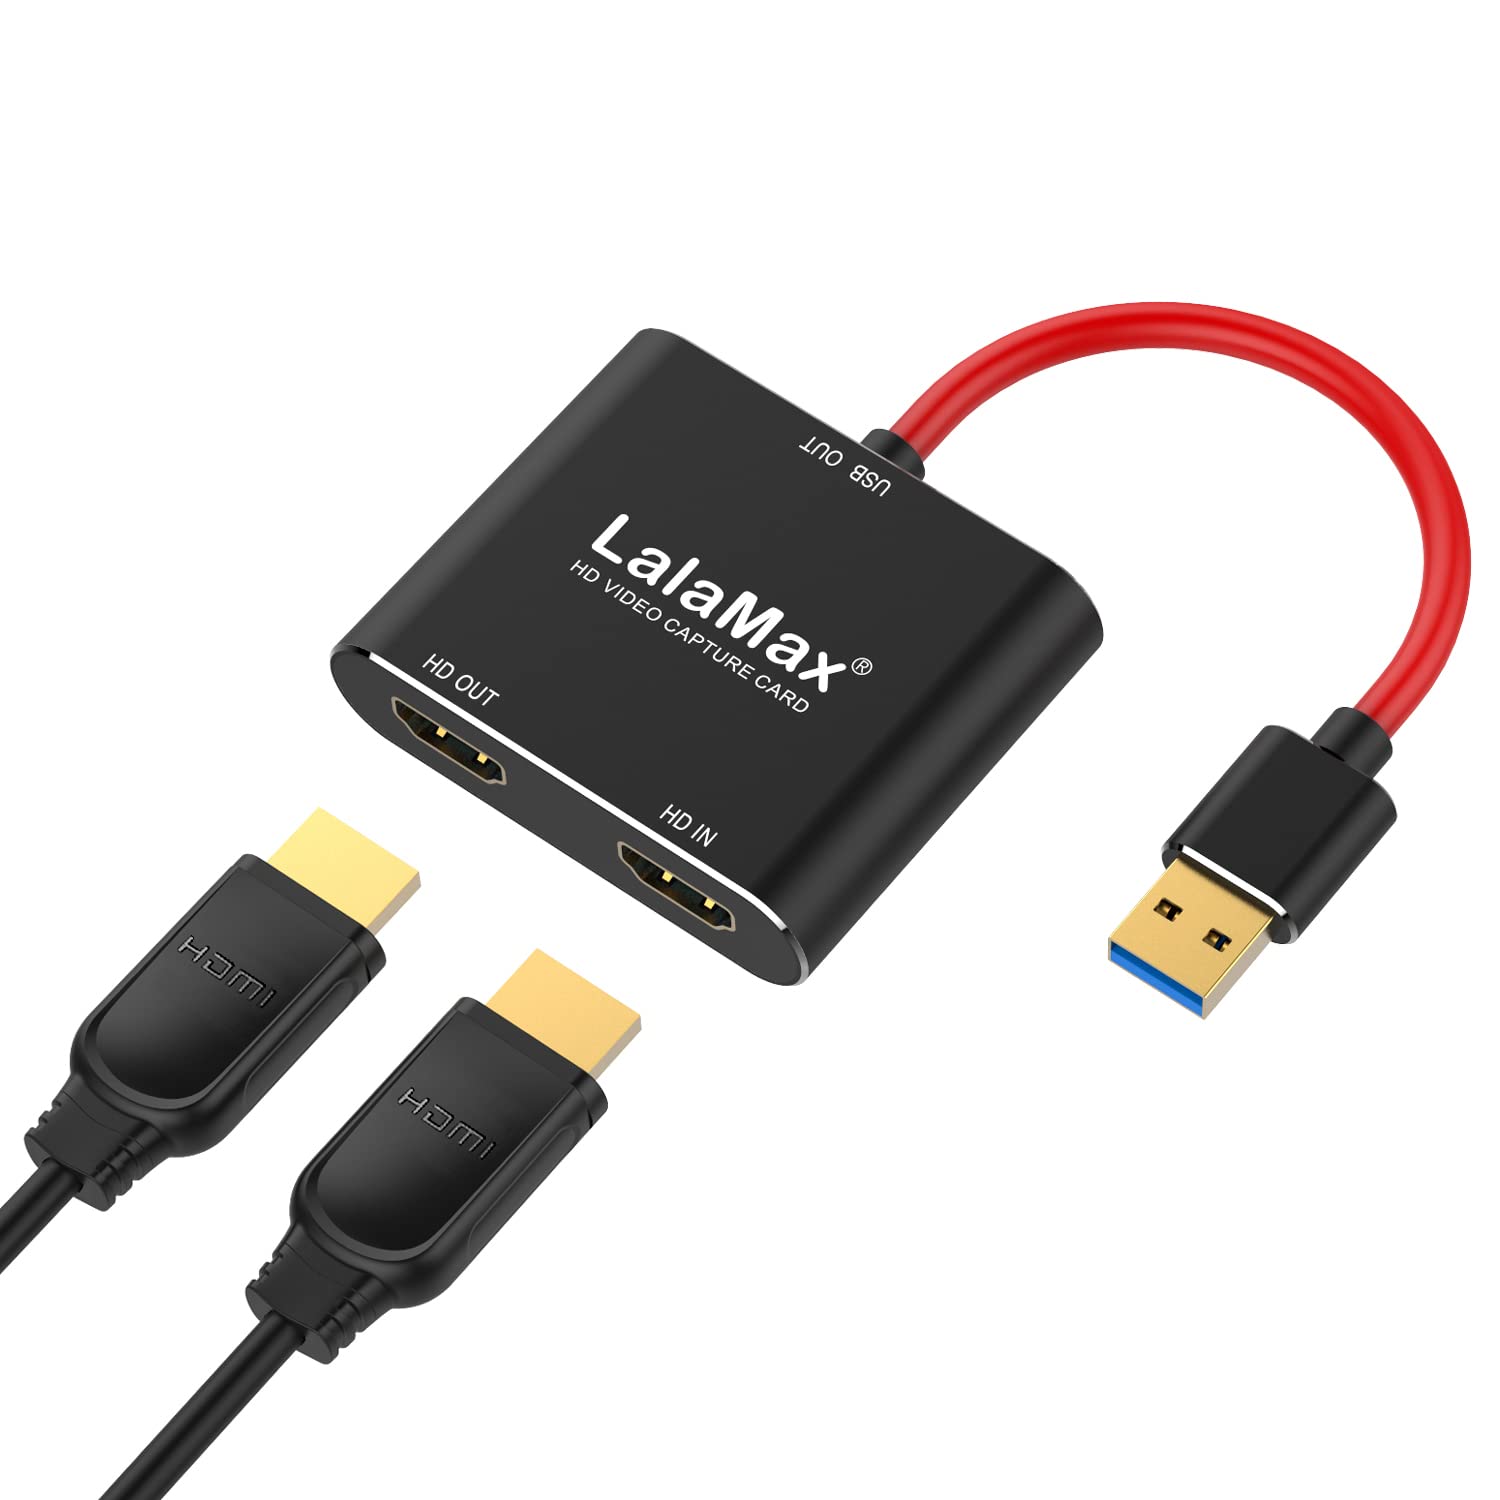
4. Connectivity Options: Consider the connectivity options available on the capture card. Look for a capture card that offers a variety of inputs and outputs, such as HDMI, component, and composite. This will allow you to connect your console, monitor, and other devices seamlessly. Some capture cards also offer passthrough features, allowing you to connect your console directly to a TV or monitor while capturing the footage on your laptop.
5. Software and Features: Explore the software that comes with the capture card. Look for user-friendly software that offers features such as recording, streaming, and editing capabilities. Some capture cards also come with additional features like built-in live streaming platforms, customizable overlays, and audio mixing options. Consider your specific requirements and choose a capture card that provides the necessary software features to enhance your gaming and streaming experience.
6. Budget: Set a budget for your capture card purchase. Capture cards range in price, with basic models being more affordable and higher-end models offering advanced features at a higher cost. Determine your budget and find a capture card that offers the best value for your money, considering the features and performance you require.
By considering these factors, you can confidently choose the right capture card that aligns with your gaming preferences and requirements. Once you have selected the perfect capture card, it’s time to move on to setting up your capture card and laptop for an unforgettable gaming experience.
Setting up your capture card and laptop
Setting up your capture card and laptop is a crucial step in the process of playing PS4 on your laptop. Follow these steps to ensure a smooth and hassle-free setup:
1. Check the system requirements: Before starting the setup process, make sure your laptop meets the system requirements of the capture card. Check the manufacturer’s instructions or website to determine the necessary specifications, such as the operating system version, available ports, and minimum processor and RAM requirements. This will ensure compatibility and optimal performance.
2. Connect the capture card: Begin by connecting the capture card to your laptop using the necessary cables. Most capture cards use USB or HDMI connections. Ensure that the cables are securely plugged in, and if you’re using an external capture card, make sure it has a reliable power source.
3. Connect the PS4 to the capture card: Next, connect your PS4 console to the capture card. Use an HDMI cable to connect the HDMI output port on your PS4 to the HDMI input port on the capture card. This will allow the capture card to receive the video and audio signals from your console.
4. Install the capture card software: Visit the manufacturer’s website or use the provided installation disc to download and install the capture card software onto your laptop. Follow the on-screen instructions and make sure to select the correct software version for your operating system.
5. Configure the capture card software: Once the software is installed, open it and configure the settings accordingly. This may include selecting the input source (HDMI), adjusting the resolution and frame rate, and setting up audio preferences. Refer to the user manual or online documentation for detailed instructions specific to your capture card model.
6. Test the setup: After configuring the capture card software, it’s time to test the setup. Power on your PS4 and check if the video and audio signals are successfully being captured and displayed on your laptop. Make sure the gameplay is smooth and there are no latency or syncing issues between the console and the laptop.
7. Adjust settings if necessary: If you encounter any issues during the testing phase, such as audio or video lag, screen tearing, or poor quality, you may need to adjust some settings. Experiment with different resolutions, frame rates, and audio configurations to find the optimal settings for your setup.
With your capture card and laptop successfully set up, you’re now ready to enjoy playing PS4 games on your laptop’s screen. Whether you’re gaming on the go or connecting your laptop to a larger monitor for an immersive experience, the possibilities are endless.
Next, we will explore how to connect your laptop to the capture card and start playing PS4 on your laptop. Get ready for an exciting gaming adventure!
Connecting your PS4 to the capture card
Connecting your PS4 to the capture card is a vital step in the process of playing PS4 games on your laptop. Here’s a step-by-step guide on how to successfully establish the connection:
1. Prepare the necessary cables: Ensure you have an HDMI cable handy to connect your PS4 to the capture card. Make sure the cable is in good condition and of sufficient length to reach both devices comfortably.
2. Turn off your PS4: Before making any connections, turn off your PS4 completely. This ensures a safe and proper connection without any risk of damage to the devices or cables.
3. Identify the HDMI ports: On the back of your PS4 console, locate the HDMI output port. This is where you will connect one end of the HDMI cable. On the capture card, find the HDMI input port. This is where the other end of the HDMI cable will connect.
4. Connect the HDMI cable: Take one end of the HDMI cable and insert it into the HDMI output port of your PS4 console. Ensure a secure connection by firmly inserting the cable but avoid using excessive force. Next, connect the other end of the HDMI cable to the HDMI input port of the capture card.
5. Power on your PS4: After the HDMI connection is established, turn on your PS4 console. You should see the console’s display on your laptop screen. In case the signal doesn’t show up, make sure your laptop is set to the correct input source, as some laptops require manual selection of the video input.
6. Configure the audio settings: In certain cases, the audio from your PS4 may not automatically play through your laptop’s speakers. To resolve this, you can change the audio output settings on your PS4. Go to the PS4 settings menu, navigate to “Sound and Screen,” and adjust the audio output settings to route the sound through the HDMI output.
7. Test the connection: With the physical connection in place and the audio settings adjusted, test the connection by launching a game on your PS4. The game should now play on your laptop screen with accompanying sound. Ensure that the gameplay is smooth, without any noticeable delays or significant drop in video or audio quality.
Once the connection between your PS4 and the capture card is successfully established, you’re one step closer to experiencing console gaming on your laptop. In the next section, we’ll cover how to install and configure the capture card software on your laptop, enabling you to capture, record, and stream your PS4 gameplay.
Installing the capture card software onto your laptop
Installing the capture card software is a crucial step in successfully playing PS4 games on your laptop. Follow these steps to install the software onto your laptop:
1. Locate the software: Begin by finding the software for your capture card. This can usually be found on the manufacturer’s website or provided on a disc that came with the capture card. Make sure you have a stable internet connection if you need to download the software.
2. Download or insert the installation media: If you need to download the software, visit the manufacturer’s website and navigate to the page for your capture card model. Look for the appropriate software version compatible with your operating system (Windows, macOS, Linux, etc.) and click on the download link. If you have a physical disc, insert it into your laptop’s disc drive.
3. Run the installer: Once the software is downloaded or the disc is inserted, locate the installer file and run it. Follow the on-screen instructions to begin the installation process. If you encounter any prompts regarding compatibility or security settings, review them carefully and proceed accordingly.
4. Select the installation location: During the installation process, you may be prompted to choose the installation location for the software. Select a suitable location on your laptop’s hard drive and click “Next” or “Install” to proceed. It is recommended to install the software on your primary drive for optimal performance.
5. Customize the installation (if available): Some software installers provide customization options, allowing you to choose specific components or features to install. If available, review the options and select the desired components. However, if you are unsure, it is recommended to stick with the default settings.
6. Complete the installation: After confirming the installation settings, click “Install” or “Next” to begin the installation process. Wait for the software to complete the installation, which may take a few minutes. Avoid interrupting the installation process or shutting down your laptop during this time.
7. Launch the software: Once the installation is complete, you can usually find shortcuts or icons for the capture card software on your desktop or in the Start menu. Double-click the icon to launch the software and familiarize yourself with its interface.
It’s important to note that different capture card software may have different installation processes. Always refer to the documentation or user manual provided with your capture card for specific installation instructions.
With the capture card software successfully installed on your laptop, you’re now ready to configure it to work seamlessly with your PS4. In the next section, we’ll explore how to configure the capture card software for PS4 gameplay, allowing you to capture, record, and stream your gaming sessions.
Configuring the capture card software for PS4 gameplay
After installing the capture card software onto your laptop, it’s crucial to configure it correctly to ensure optimal performance and functionality for your PS4 gameplay. Follow these steps to configure the capture card software:
1. Launch the capture card software: Begin by opening the capture card software on your laptop. Depending on the specific software and configuration, you may need to double-click its icon on the desktop or locate it in the Start menu.
2. Set the input source: In the capture card software, find the option to select the input source. Choose the correct input source that corresponds to the HDMI input where your PS4 is connected. This ensures that the software is receiving the video and audio signals from your console.
3. Adjust video settings: Explore the video settings in the capture card software. Depending on the software, you may have options to adjust video resolution, frame rate, color profiles, and other visual settings. Choose the settings that best suit your preferences and the capabilities of your laptop.
4. Configure audio settings: It’s important to ensure that your capture card software is properly receiving and handling the audio from your PS4. Check the audio settings in the software and select the appropriate input source for audio. This should match the HDMI input where your PS4 is connected.
5. Test the capture functionality: Before diving into gameplay, perform a test recording or capture to ensure that the software is properly capturing the video and audio from your PS4. Monitor the quality of the capture, check for any synchronization issues, and make adjustments as needed.
6. Explore additional features: Depending on the specific capture card software, there may be additional features and settings available. This could include options for live streaming, overlays, scene transitions, and more. Take some time to familiarize yourself with these features and customize them according to your preferences.
7. Save and apply settings: Once you have configured the desired settings in the capture card software, make sure to save and apply them. This ensures that the software uses the specified settings each time you use it to capture or stream your PS4 gameplay.
Remember that the capture card software may vary depending on the manufacturer and model of your capture card. It’s important to refer to the user manual or online documentation provided with your specific capture card for more detailed instructions on configuring the software.
With the capture card software configured correctly, you’re ready to connect your laptop to the capture card and start playing PS4 games on your laptop screen. In the next section, we’ll walk you through the process of connecting your laptop to the capture card, allowing you to enjoy console gaming on a bigger screen.
Connecting your laptop to the capture card
Now that you have your capture card and PS4 set up, it’s time to connect your laptop to the capture card. This step will allow you to display the PS4 gameplay on your laptop’s screen. Follow these steps to connect your laptop to the capture card:
1. Ensure compatibility: Make sure that your laptop is compatible with the capture card. Check for compatibility requirements such as operating system version, available USB ports, and any specific software or driver installations needed.
2. Identify the output options: On the capture card, locate the output options. Most capture cards offer HDMI or USB outputs. Determine the output option that is compatible with your laptop and choose the corresponding cable.
3. Connect your laptop to the capture card: Plug one end of the cable into the output port on the capture card. Then, connect the other end of the cable into the appropriate input port on your laptop. This could be an HDMI input, USB port, or any other supported connection based on your capture card model and laptop’s capabilities.
4. Configure laptop display settings: Once the physical connection is established, adjust your laptop’s display settings. Press the appropriate function key or use the display settings in your operating system to detect the external display. Set the display mode to extend or duplicate the laptop screen onto the capture card.
5. Test the connection: With the laptop connected to the capture card, turn on your PS4 and check if the gameplay is displayed on your laptop’s screen. Ensure that the video and audio are synced correctly and that the gameplay is smooth without any noticeable lag or latency.
6. Adjust resolution and display settings: If needed, make adjustments to the resolution and display settings on your laptop to optimize the visual quality and performance. Experiment with different settings to find the ideal balance between resolution, frame rate, and smooth gameplay.
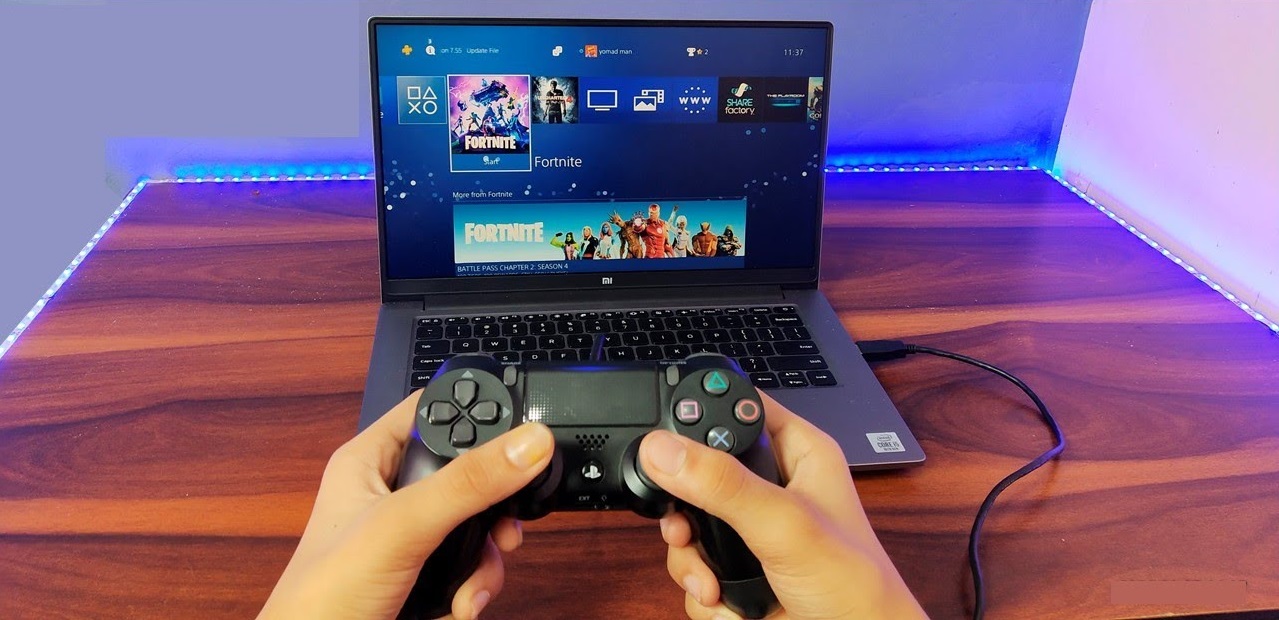
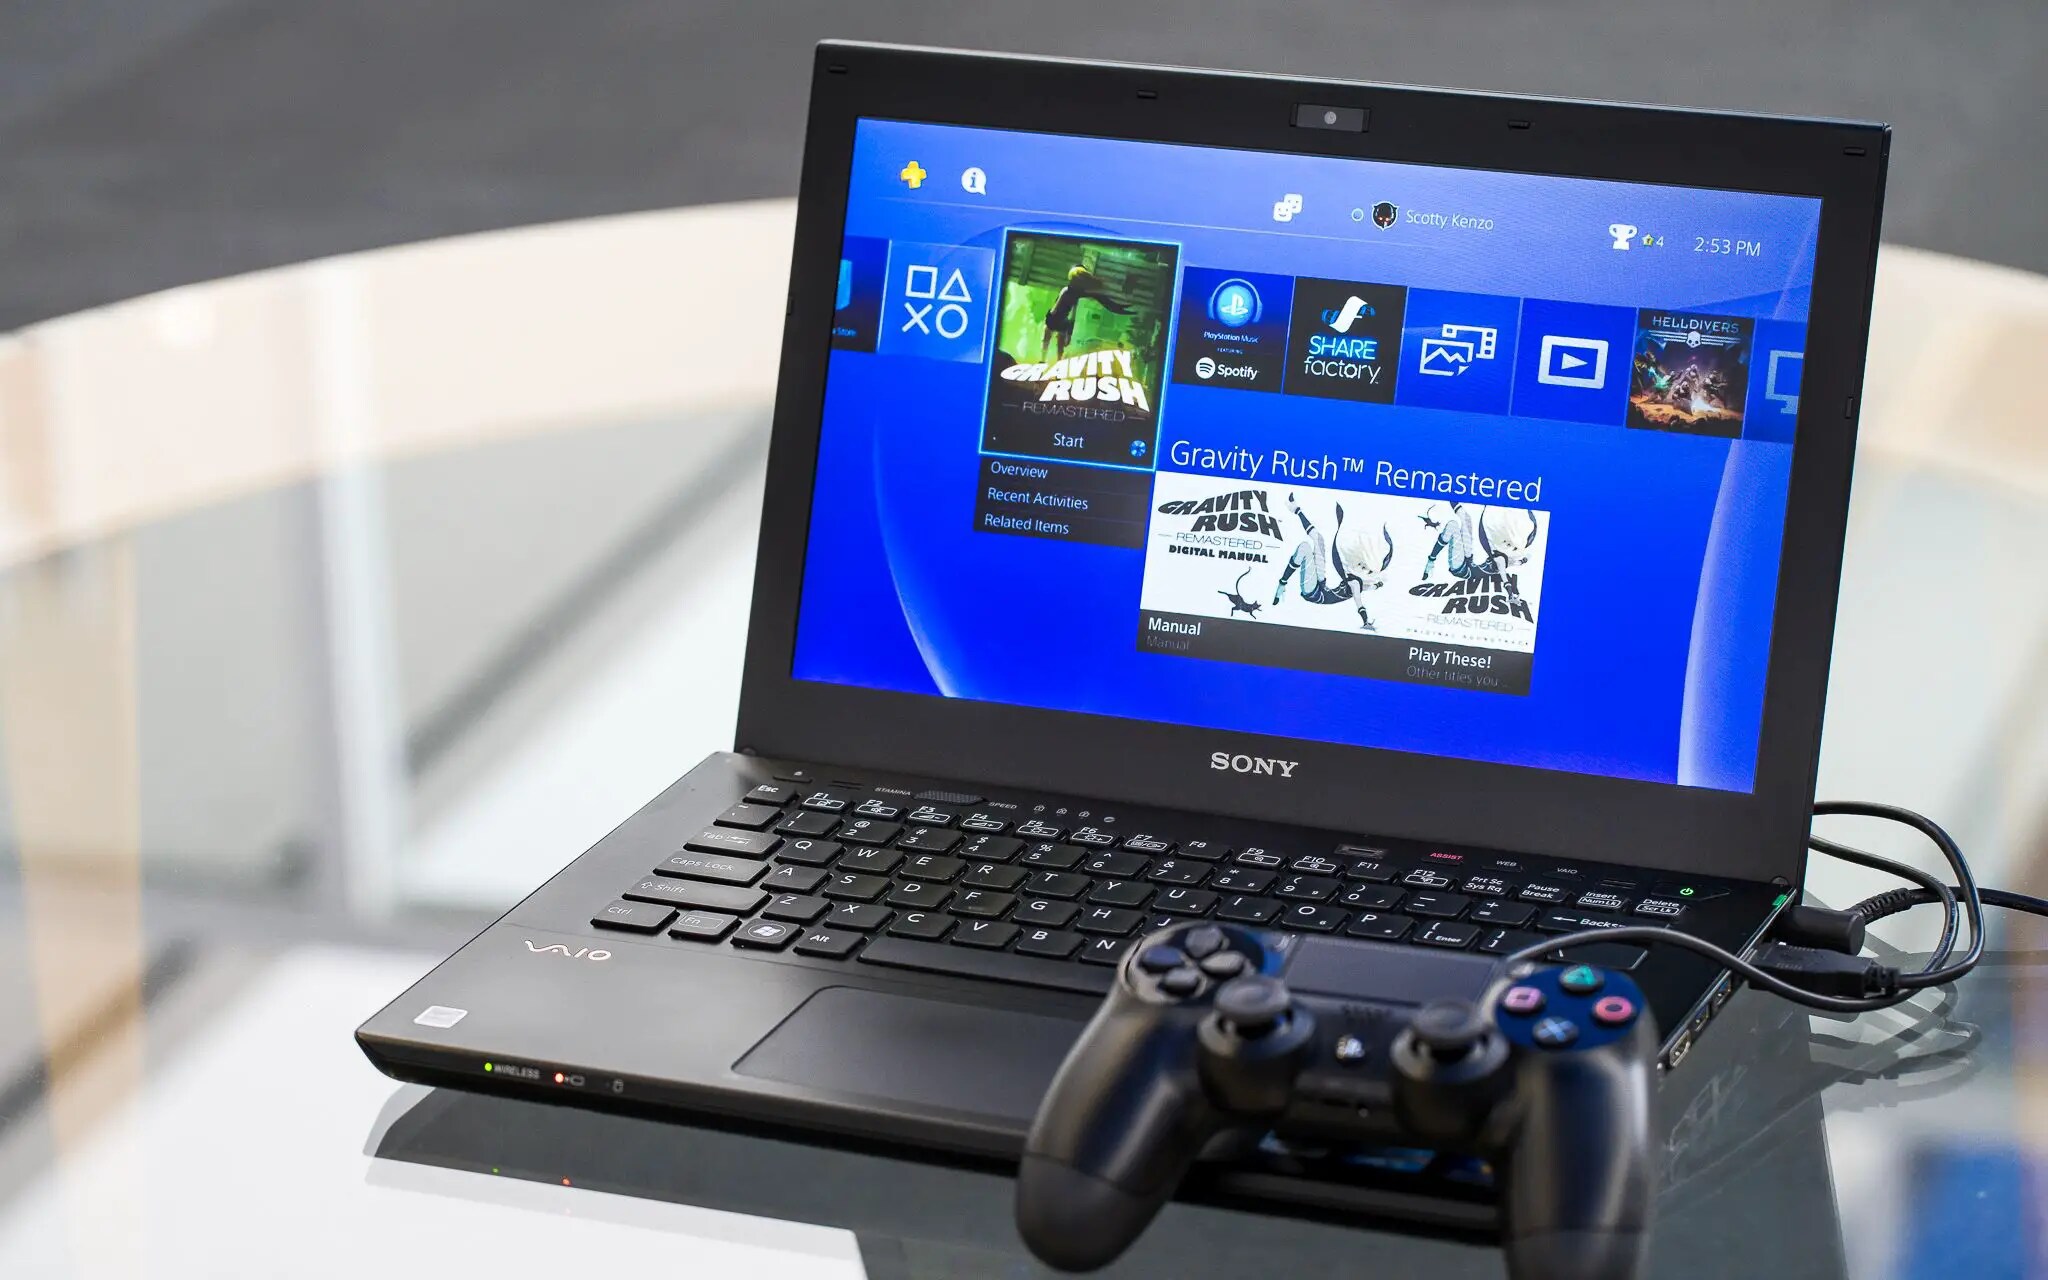
7. Enjoy playing PS4 on your laptop: Once everything is set up and working correctly, you can now enjoy playing PS4 games on your laptop’s screen. Whether you want to game on the go or connect your laptop to a larger monitor or TV, the capture card enables a versatile gaming experience.
Remember to refer to the user manual or online documentation provided with your capture card and laptop for any specific instructions on connecting and configuring the devices. Troubleshoot any issues that may arise, such as incorrect display settings or unsupported connections, by double-checking the compatibility and following the recommended steps.
Now that your laptop is connected to the capture card, you’re all set to experience the excitement of playing your favorite PS4 games on a bigger and more immersive screen. In the next section, we’ll discuss troubleshooting common issues that you may encounter during the setup and gameplay process.
Playing PS4 on your laptop with the capture card
Now that you have successfully connected your PS4 to your laptop using a capture card, it’s time to dive into the exciting world of playing PS4 games on a larger screen. Here’s how to make the most out of your gaming experience:
1. Choose your preferred gaming setup: Decide how you want to configure your gaming setup. You can either use your laptop as the primary display, enjoying gaming on its screen, or connect your laptop to a larger monitor or TV for a more immersive experience. Choose the option that suits your preferences and available resources.
2. Set up your gaming environment: Ensure you have a comfortable and distraction-free gaming environment. Set up your laptop in a well-lit area with proper seating and ventilation. Consider using a gaming controller or keyboard and mouse setup for more precise control, depending on your personal preference.
3. Launch your favorite PS4 games: Access your PS4 game library and launch your favorite games as you would on a regular PS4 setup. The gameplay will be displayed on your laptop screen or the connected external monitor, depending on your chosen setup. Enjoy the stunning visuals and immersive experience on a larger display.
4. Take advantage of laptop features: Playing PS4 on your laptop offers additional features and capabilities. You can take advantage of screen recording, capturing screenshots, or even streaming your gameplay to platforms like Twitch or YouTube. Explore the capabilities of your laptop and capture card software to enhance your gaming experience.
5. Customize settings: Adjust in-game settings to optimize your gaming experience. Fine-tune graphics options, control sensitivity, and audio settings based on your preferences and hardware capabilities. Experiment with different settings to find the right balance between visual quality and smooth gameplay.
6. Explore additional software features: If your capture card software offers additional features, such as live streaming, overlays, or video editing, take some time to familiarize yourself with them and explore their potential. Advanced features can enhance your gaming content or allow you to share your gameplay with others.
7. Enjoy the flexibility: One of the advantages of playing PS4 on your laptop with a capture card is the flexibility it offers. You can game on the go, connect to different displays, or even set up a dual-screen gaming experience. Enjoy the versatility and adaptability of your setup to suit your preferences and gaming requirements.
Remember to periodically update your capture card software and graphics drivers to ensure optimal performance and compatibility with the latest games. Take breaks during long gaming sessions to prevent strain and fatigue, and always prioritize your comfort and well-being.
With the PS4 console connected to your laptop via the capture card, you can now immerse yourself in the world of console gaming on a larger screen. Enjoy the exciting games, stunning visuals, and engaging gameplay on your laptop or connected monitor. In the next section, we’ll discuss some common troubleshooting tips to help you overcome any issues you may encounter along the way.
Troubleshooting common issues
While setting up your PS4 on a laptop with a capture card offers an immersive gaming experience, you may encounter some common issues along the way. Here are some troubleshooting tips to help you overcome these issues:
1. No video or audio signal: If you don’t see any video or hear audio on your laptop screen, first check the connections between the capture card, PS4, and laptop. Ensure all cables are securely plugged in and that the correct input sources are selected in the capture card software and laptop display settings.
2. Lag or latency: If you experience lag or latency during gameplay, it may be caused by high CPU or GPU usage on your laptop. Close any unnecessary applications or processes running in the background to free up system resources. Lowering the video resolution or graphics settings in the game may also help reduce lag or latency.
3. Poor video or audio quality: If the video or audio quality appears to be subpar, check if your capture card software allows adjusting the resolution, frame rate, and audio settings. Ensure that both the capture card and your laptop’s graphics drivers are up to date. Experiment with different settings to find the optimal configuration for your setup.
4. Audio not playing through laptop speakers: If the audio from your PS4 is not playing through your laptop speakers, check the audio settings on your laptop and capture card software. Ensure that the correct audio input source is selected and the volume is not muted or set too low. Alternatively, consider using headphones or external speakers connected directly to the PS4 for audio output.
5. Overheating and performance issues: Playing demanding games for an extended period can cause laptops to overheat, resulting in performance issues. Make sure your laptop is properly ventilated and placed on a flat, hard surface to allow for better airflow. Consider using a laptop cooling pad to help dissipate heat and preserve performance.
6. Software compatibility: Ensure that the capture card software you’re using is compatible with your laptop’s operating system. Check for any available updates or patches for the software to ensure compatibility with the latest OS versions. If compatibility issues persist, try using alternative capture card software recommended by the manufacturer or consult their customer support for assistance.
7. Network connectivity for live streaming: If you experience network connectivity issues while live streaming, check your internet connection speed and stability. Ensure that your network setup can handle the required upload bandwidth for live streaming. Consider connecting your laptop directly to the router or using a wired Ethernet connection for a more stable and reliable connection.
If you encounter any other issues that are not covered here, refer to the user manual or online documentation provided with your capture card and laptop for troubleshooting guidance. Additionally, reach out to the manufacturer’s customer support for further assistance and solutions specific to your setup.
By troubleshooting these common issues, you can ensure a smoother and more enjoyable gaming experience when playing PS4 on your laptop with a capture card.
Conclusion
Playing PS4 on a laptop with a capture card opens up a world of possibilities for console gamers. With the right capture card and proper setup, you can enjoy your favorite PS4 games on a larger screen, take advantage of additional features and flexibility, and even record or stream your gameplay to share with others.
In this guide, we covered the essential steps to help you play PS4 on your laptop using a capture card. We discussed what a capture card is and the importance of choosing the right one for your needs. We then walked through the process of setting up the capture card and laptop, connecting your PS4 to the capture card, installing and configuring the capture card software, and connecting your laptop to the capture card.
We also provided tips to troubleshoot common issues you may encounter along the way, ensuring a smoother gaming experience. From fixing video or audio signal problems to addressing lag or latency issues, these troubleshooting tips will help you overcome obstacles and enjoy uninterrupted gameplay.
By following these steps and troubleshooting tips, you can transform your laptop into the ultimate gaming machine, bringing console gaming to a whole new level. Whether you’re gaming on the go, connecting to a larger display, or exploring the possibilities of live streaming, the possibilities are limitless.
Remember, always refer to the user manual or online documentation provided with your specific capture card and laptop for detailed instructions and troubleshooting guidance. If you encounter any difficulties beyond your scope of expertise, don’t hesitate to reach out to the manufacturer’s customer support for personalized assistance.
Now that you have the knowledge and tools to play PS4 games on your laptop using a capture card, it’s time to embark on an incredible gaming adventure. Enjoy the immersive gaming experience, stunning visuals, and the flexibility to game whenever and wherever suits you best. Happy gaming!