Introduction
Welcome to the world of gaming, where the possibilities are endless and the adventures await. If you’re an avid gamer, you understand how important it is to have the right setup for an immersive gaming experience. One popular gaming console that has captured the hearts of millions is the PlayStation 4 (PS4).
While playing games on a PS4 can be incredibly enjoyable, there may be times when you want to connect it to your laptop for various reasons. Whether you want to stream gameplay, record videos, or simply play games on a larger screen, connecting your PS4 to a laptop can offer a whole new level of gaming convenience.
In this article, we will explore the step-by-step process of connecting your PS4 to a laptop using an HDMI cable, without the need for a capture card. Before we delve into the details, it’s important to note that the method we will guide you through may vary slightly depending on the laptop’s model and operating system. However, the general concept remains the same, making it easily adaptable to most laptops.
So, without further ado, let’s take the first steps towards connecting your PS4 to your laptop and unlocking a whole new gaming experience.
Overview of the PlayStation 4 (PS4) and Laptop Connection
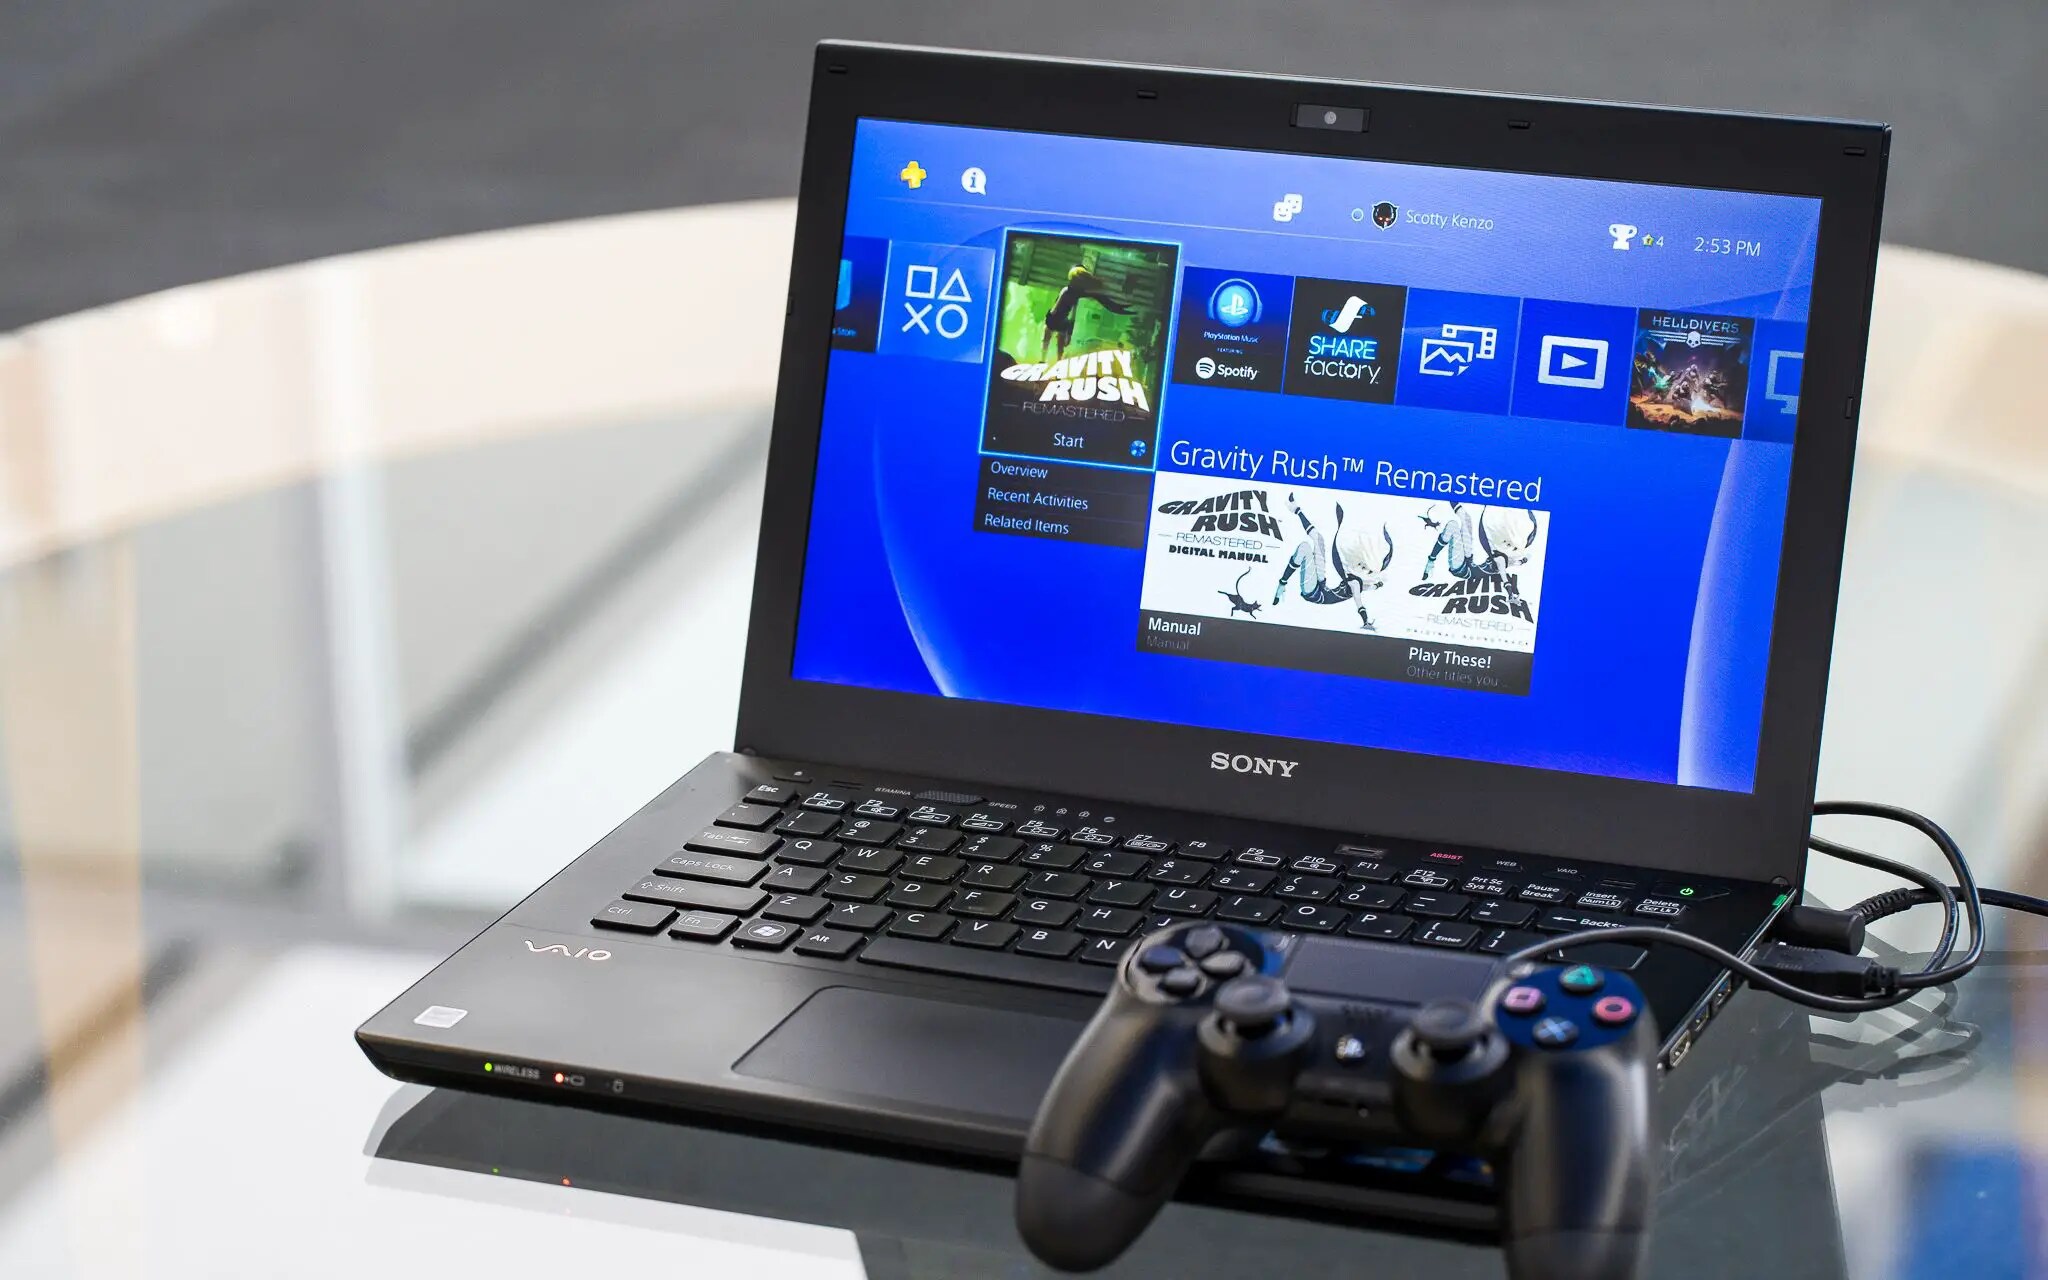
Before we dive into the step-by-step process, let’s briefly discuss the connection between a PlayStation 4 and a laptop. The PS4 features an HDMI (High-Definition Multimedia Interface) port, which allows it to transmit high-quality audio and video signals.
Similarly, most modern laptops are equipped with an HDMI port as well, providing an interface to connect external devices such as gaming consoles, monitors, or projectors. By utilizing an HDMI cable, we can establish a direct connection between the PS4 and the laptop, enabling us to display the PS4’s screen on the laptop’s monitor.
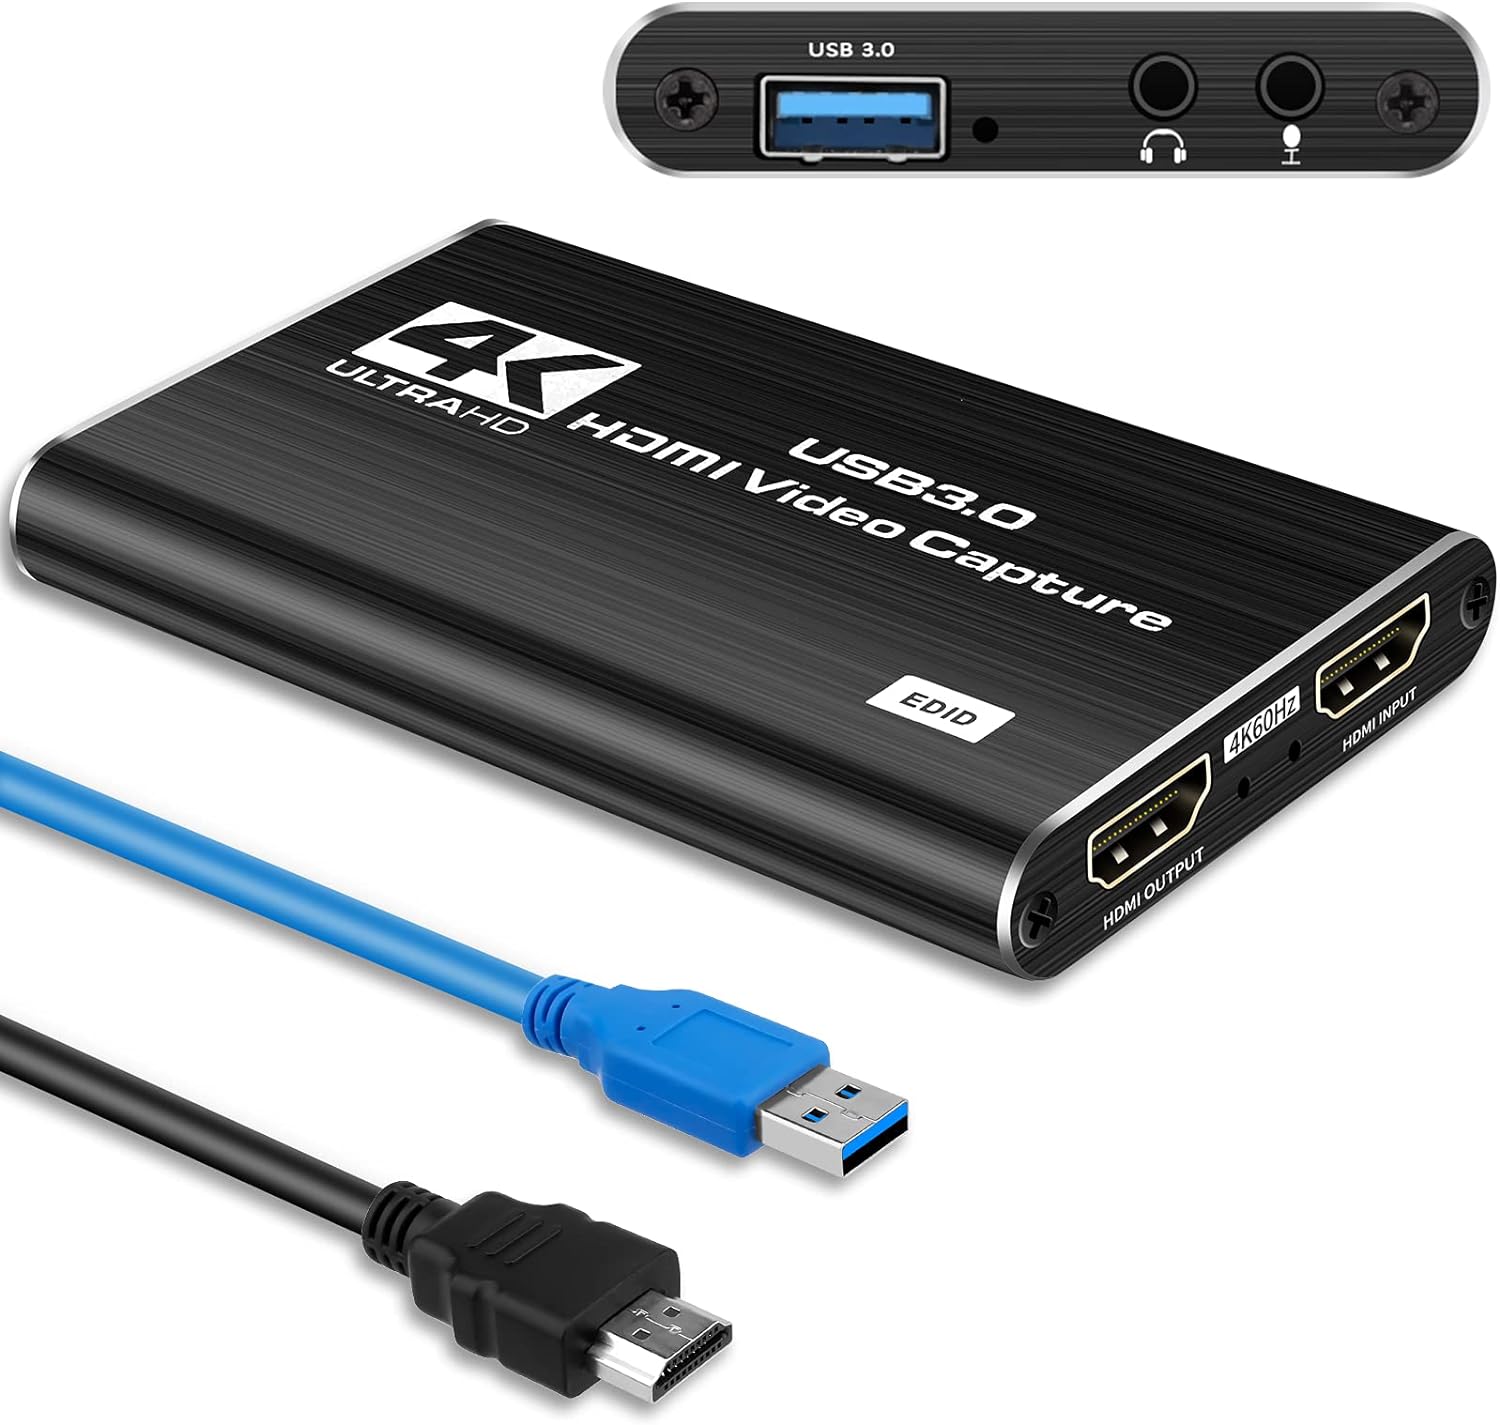
Although this method doesn’t require a capture card, it does come with a limitation that the laptop will act as a display device only, and you won’t be able to control the PS4 using your laptop’s keyboard or mouse. Nonetheless, this setup can be useful for various purposes, including gameplay streaming, recording videos, or simply enjoying an enhanced gaming experience on a larger screen.
It’s important to note that the success of this connection method depends on the compatibility of your laptop and the availability of the required ports. While HDMI ports are quite common on both PS4 and laptops, some laptops may have additional requirements, such as supporting HDMI output. Additionally, the HDMI version supported by your devices might affect the quality or resolution of the displayed content.
Now that we’ve covered the basics, let’s move on to the step-by-step process of connecting your PS4 to a laptop using an HDMI cable, allowing you to maximize your gaming setup’s potential.
Step 1: Check the Laptop and PS4 Ports
Before you start connecting your PS4 to your laptop, it’s essential to ensure that both devices have the necessary ports for the connection. Here’s what you need to check:
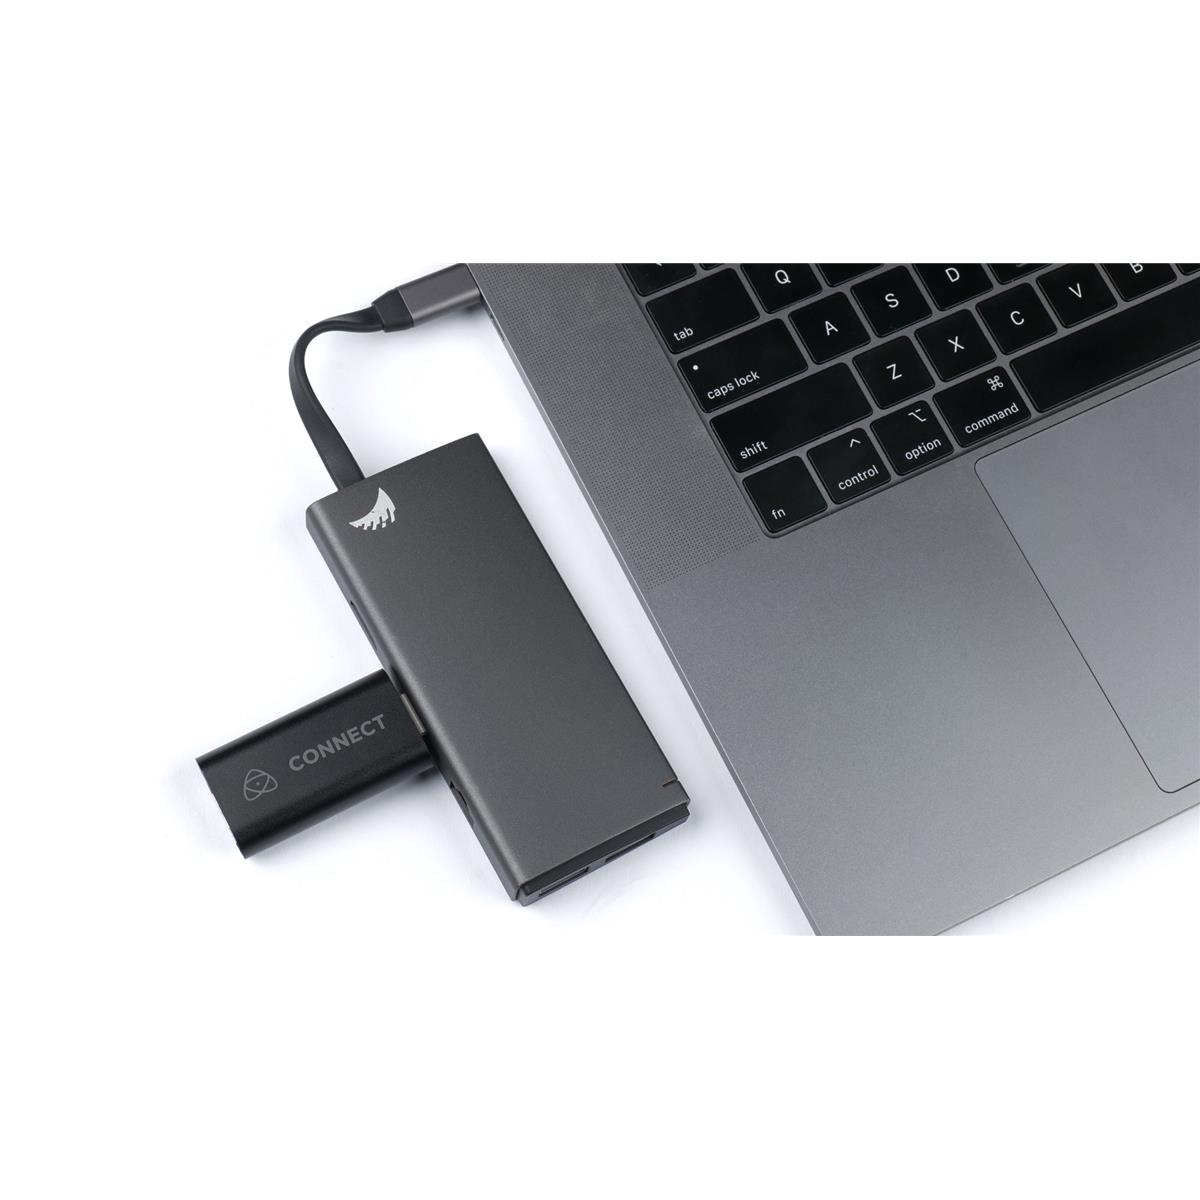
1. Laptop HDMI Port: Most laptops have an HDMI port located on the sides or back. Look for a small rectangular port labeled “HDMI” or displaying the HDMI logo. If your laptop doesn’t have an HDMI port, you may need an HDMI-to-USB adapter or an alternative connection method.
2. PS4 HDMI Port: The PS4 console also features an HDMI port, which is usually located at the back of the device. Locate the HDMI port labeled “HDMI OUT” or simply “HDMI.”
3. HDMI Cable: Make sure you have an HDMI cable that’s long enough to connect your PS4 and laptop comfortably. The HDMI cable carries both audio and video signals, so it’s crucial to use a high-quality cable for optimal performance.
Once you’ve confirmed that both your laptop and PS4 have the necessary HDMI ports and you have an HDMI cable ready, you’re one step closer to connecting the two devices.
In the next step, we’ll guide you through the process of connecting the HDMI cable to your PS4 and laptop, establishing the physical link between the two devices. Let’s continue to the next step.
Step 2: Connect the HDMI Cable to PS4 and Laptop
Now that you have confirmed that both your laptop and PS4 have the necessary HDMI ports, it’s time to establish the physical connection between the two devices. Follow these steps:
1. Turn off both your laptop and PS4.
2. Locate the HDMI port on your PS4 console, labeled “HDMI Out.” Insert one end of the HDMI cable into the port, making sure it is securely connected.
3. Plug the other end of the HDMI cable into the HDMI port on your laptop. If your laptop has multiple HDMI ports, ensure that you connect it to the appropriate port designated for external display.
4. Once the HDMI cable is securely connected to both devices, power on your laptop and PS4.
5. Now, switch the display input on your laptop to the HDMI input. This can usually be done by pressing the ‘Function’ (Fn) key on your laptop’s keyboard, along with the corresponding ‘F’ key that has the display icon, for example, ‘F7’ or ‘F10.’
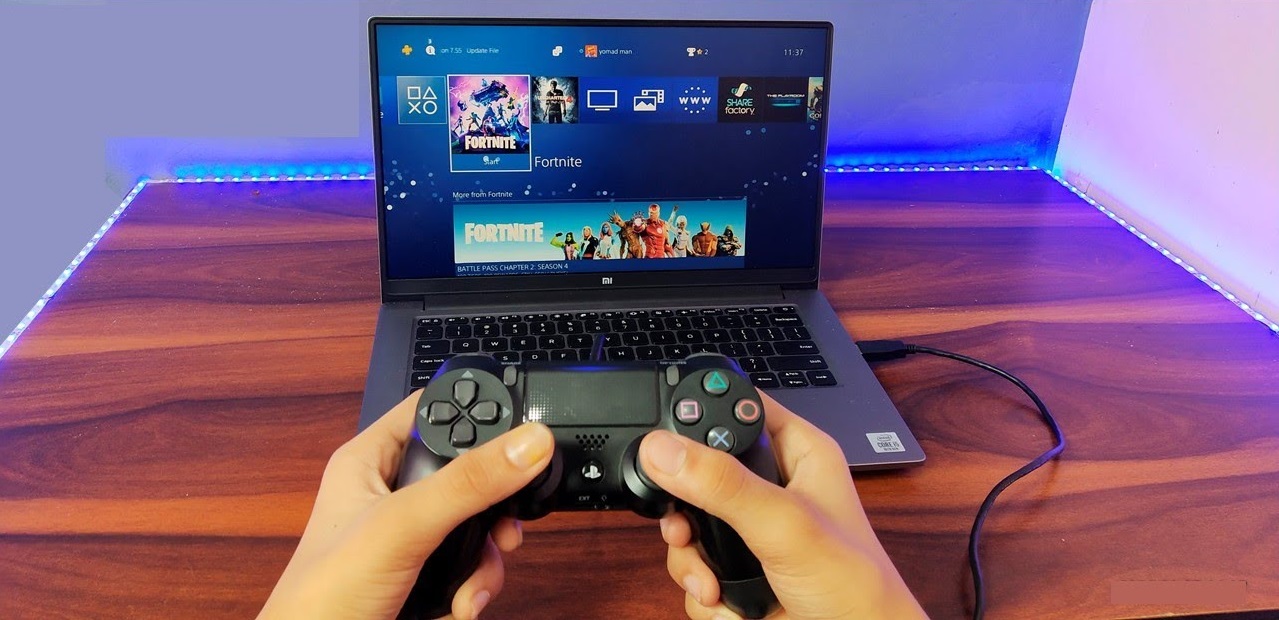
6. If everything is connected properly, you should see the PS4 screen displayed on your laptop’s monitor. At this point, you have successfully established the connection between your PS4 and laptop using the HDMI cable.
It’s important to note that some laptops may require additional settings to be adjusted for the HDMI input to be recognized. In such cases, you may need to consult your laptop’s user manual or check the manufacturer’s website for specific instructions.
Now that you have successfully connected your PS4 to your laptop, let’s move on to the next step, where we will configure the display settings on your laptop to optimize your gaming experience.
Step 3: Configure the Laptop Display Settings
Now that you have connected your PS4 to your laptop using an HDMI cable, it’s time to configure the laptop’s display settings to ensure the best possible gaming experience. Follow these steps to optimize the display:
1. Right-click on your desktop and select “Display Settings” from the context menu.
2. In the Display Settings window, you should see two displays listed – one for your laptop’s screen and one for the external display (your PS4). Click on the external display to select it.
3. Adjust the screen resolution to your preference. It’s best to choose the native resolution of your laptop’s display to ensure optimal clarity and sharpness.
4. Set the display orientation according to your preference. You can choose landscape or portrait mode, depending on how you want the PS4 screen to be displayed on your laptop.
5. If needed, you can also adjust other display settings such as brightness, contrast, and color calibration to suit your preferences or improve the visual quality.
6. Once you have made the necessary adjustments, click on the “Apply” or “OK” button to save the changes. The laptop will then apply the new display settings to the PS4 input.
By configuring the display settings on your laptop, you can ensure a better gaming experience with improved graphics and smooth gameplay on the PS4 screen displayed on your laptop.
Now that you have successfully configured the display settings, it’s time to move on to the next step, where we will adjust the video settings on your PS4 to ensure compatibility with your laptop.
Step 4: Adjust PS4 Video Settings
After configuring the display settings on your laptop, it’s important to adjust the video settings on your PS4 to ensure compatibility with the laptop’s display. Follow these steps to make the necessary adjustments:
1. On your PS4, go to the main menu and navigate to the “Settings” option using the controller.
2. Within the “Settings” menu, select “Sound and Screen” or “Display and Sound.”
3. In the “Sound and Screen” or “Display and Sound” menu, select “Video Output Settings.”
4. Select “HDMI” as the preferred connection type.
5. Now, you will have the option to adjust the resolution and display area. It’s recommended to choose the resolution that matches the native resolution of your laptop’s display to ensure the best visual quality. You can also adjust the display area to fit the laptop’s screen.
6. Additionally, you can enable or disable features like HDCP (High-bandwidth Digital Content Protection) and Deep Color Output according to your preferences.
7. Once you have made the necessary adjustments, select “Okay” or “Apply” to save the changes and exit the video output settings menu.
By adjusting the video settings on your PS4, you can ensure that the output is optimized for your laptop’s display, resulting in the best possible visual experience.
If you encounter any issues or the display is not appearing as expected, you may need to revisit the previous steps to double-check the connections and settings on both your laptop and PS4.
Now that you have successfully adjusted the video settings on your PS4, you are one step closer to enjoying an enhanced gaming experience on your laptop.
Next, we will address some common connection issues and provide troubleshooting tips to help you resolve any technical difficulties that may arise during the process.
Step 5: Troubleshooting Common Connection Issues
Although connecting your PS4 to a laptop using an HDMI cable is a relatively straightforward process, you may encounter some common connection issues along the way. Here are a few troubleshooting tips to help you resolve them:
1. Check the HDMI cable: Ensure that the HDMI cable is securely connected to both your PS4 and laptop. Sometimes, a loose connection can result in a lack of signal or a poor-quality display.
2. Verify the HDMI ports: Double-check that you have connected the HDMI cable to the correct HDMI ports on your PS4 and laptop. Make sure that both devices are using HDMI input/output, as incompatible ports may cause connection issues.
3. Restart the devices: Try restarting both your laptop and PS4. Sometimes, a simple reboot can resolve connectivity problems and refresh the connection between the devices.
4. Update drivers and firmware: Ensure that your laptop’s graphics drivers and PS4’s firmware are up to date. Outdated drivers or firmware can cause compatibility issues and impact the quality of the connection.
5. Test with a different HDMI cable or port: If you continue to experience issues, try using a different HDMI cable or connecting to a different HDMI port on your laptop. This can help determine if the problem lies with the cable or port.
6. Adjust laptop display settings: If the PS4 screen is not displaying correctly on your laptop, recheck and adjust the display settings on your laptop. Ensure that the resolution and aspect ratio are set correctly to match your laptop’s screen.
7. Disable HDCP: If you’re experiencing display issues while streaming or recording gameplay, try disabling the HDCP feature in the PS4 settings. HDCP can sometimes interfere with capturing or displaying the PS4 content on your laptop.
8. Consult manufacturer support: If you have tried all the troubleshooting steps and are still facing issues, it’s advisable to reach out to the support team of your laptop or PS4 manufacturer. They can provide specific guidance based on your device and assist in resolving any technical difficulties.
By following these troubleshooting tips, you can overcome common connection issues and ensure a smooth and uninterrupted gaming experience on your laptop.
Now that you are equipped with troubleshooting knowledge, you can confidently connect your PS4 to your laptop and enjoy the benefits of an extended gaming setup.
Conclusion
Connecting your PlayStation 4 (PS4) to your laptop using an HDMI cable opens up a world of possibilities for gamers. Whether you want to stream gameplay, record videos, or simply enjoy a larger display, this method provides convenience and flexibility for enhancing your gaming experience.
In this article, we covered the step-by-step process of connecting your PS4 to your laptop without the need for a capture card. We started by checking the ports on both devices, ensuring that they have HDMI compatibility. Then, we connected the HDMI cable, establishing a physical link between the PS4 and laptop.
Afterwards, we delved into configuring the display settings on your laptop to optimize your gaming experience. We adjusted the laptop’s display resolution, orientation, and other settings to ensure the best visual quality on the PS4 screen displayed on your laptop.
Additionally, we adjusted the video settings on your PS4 to ensure compatibility with your laptop’s display. By selecting the appropriate resolution and display area, you can optimize the output from your PS4 and enjoy a seamless gaming experience.
We also provided troubleshooting tips for common connection issues, helping you overcome any technical difficulties that may arise during the setup process. These tips included checking the HDMI cable, verifying the HDMI ports, updating drivers and firmware, and adjusting laptop display settings, among others.
Remember, the process of connecting your PS4 to your laptop may vary slightly depending on your laptop model and operating system. It’s always a good idea to consult the user manual or manufacturer’s website for specific instructions.
Now that you have the knowledge and guidance to connect your PS4 to your laptop, it’s time to start exploring the possibilities. Whether you’re streaming gameplay, recording videos, or simply enjoying a larger display, this setup will elevate your gaming experience to new heights.
So, grab your HDMI cable, follow the steps outlined in this article, troubleshoot any issues that may arise, and get ready to immerse yourself in the world of gaming like never before!