Introduction
Setting up multiple monitors on a laptop can significantly enhance your productivity and multitasking capabilities. Whether you’re a graphic designer, programmer, or simply someone who enjoys a larger workspace, having three monitors can provide you with a seamless and immersive computing experience.
In this article, we will guide you through the process of setting up three monitors on your laptop using HDMI connections. We’ll cover everything from checking your laptop’s compatibility to adjusting the display settings, ensuring that you can make the most out of your triple-monitor setup.
Before we dive into the steps, it’s important to note that while most modern laptops can support multiple monitors, there may be limitations based on your specific device. Thus, it’s always recommended to check your laptop’s specifications and user manual to ensure that it supports the number of monitors you’re planning to connect.
Now, let’s get started with the setup process and unlock the full potential of your laptop’s display capabilities.
Requirements
Before you begin setting up three monitors on your laptop, it’s essential to ensure that you have the necessary requirements and accessories. Here are the key items you’ll need:
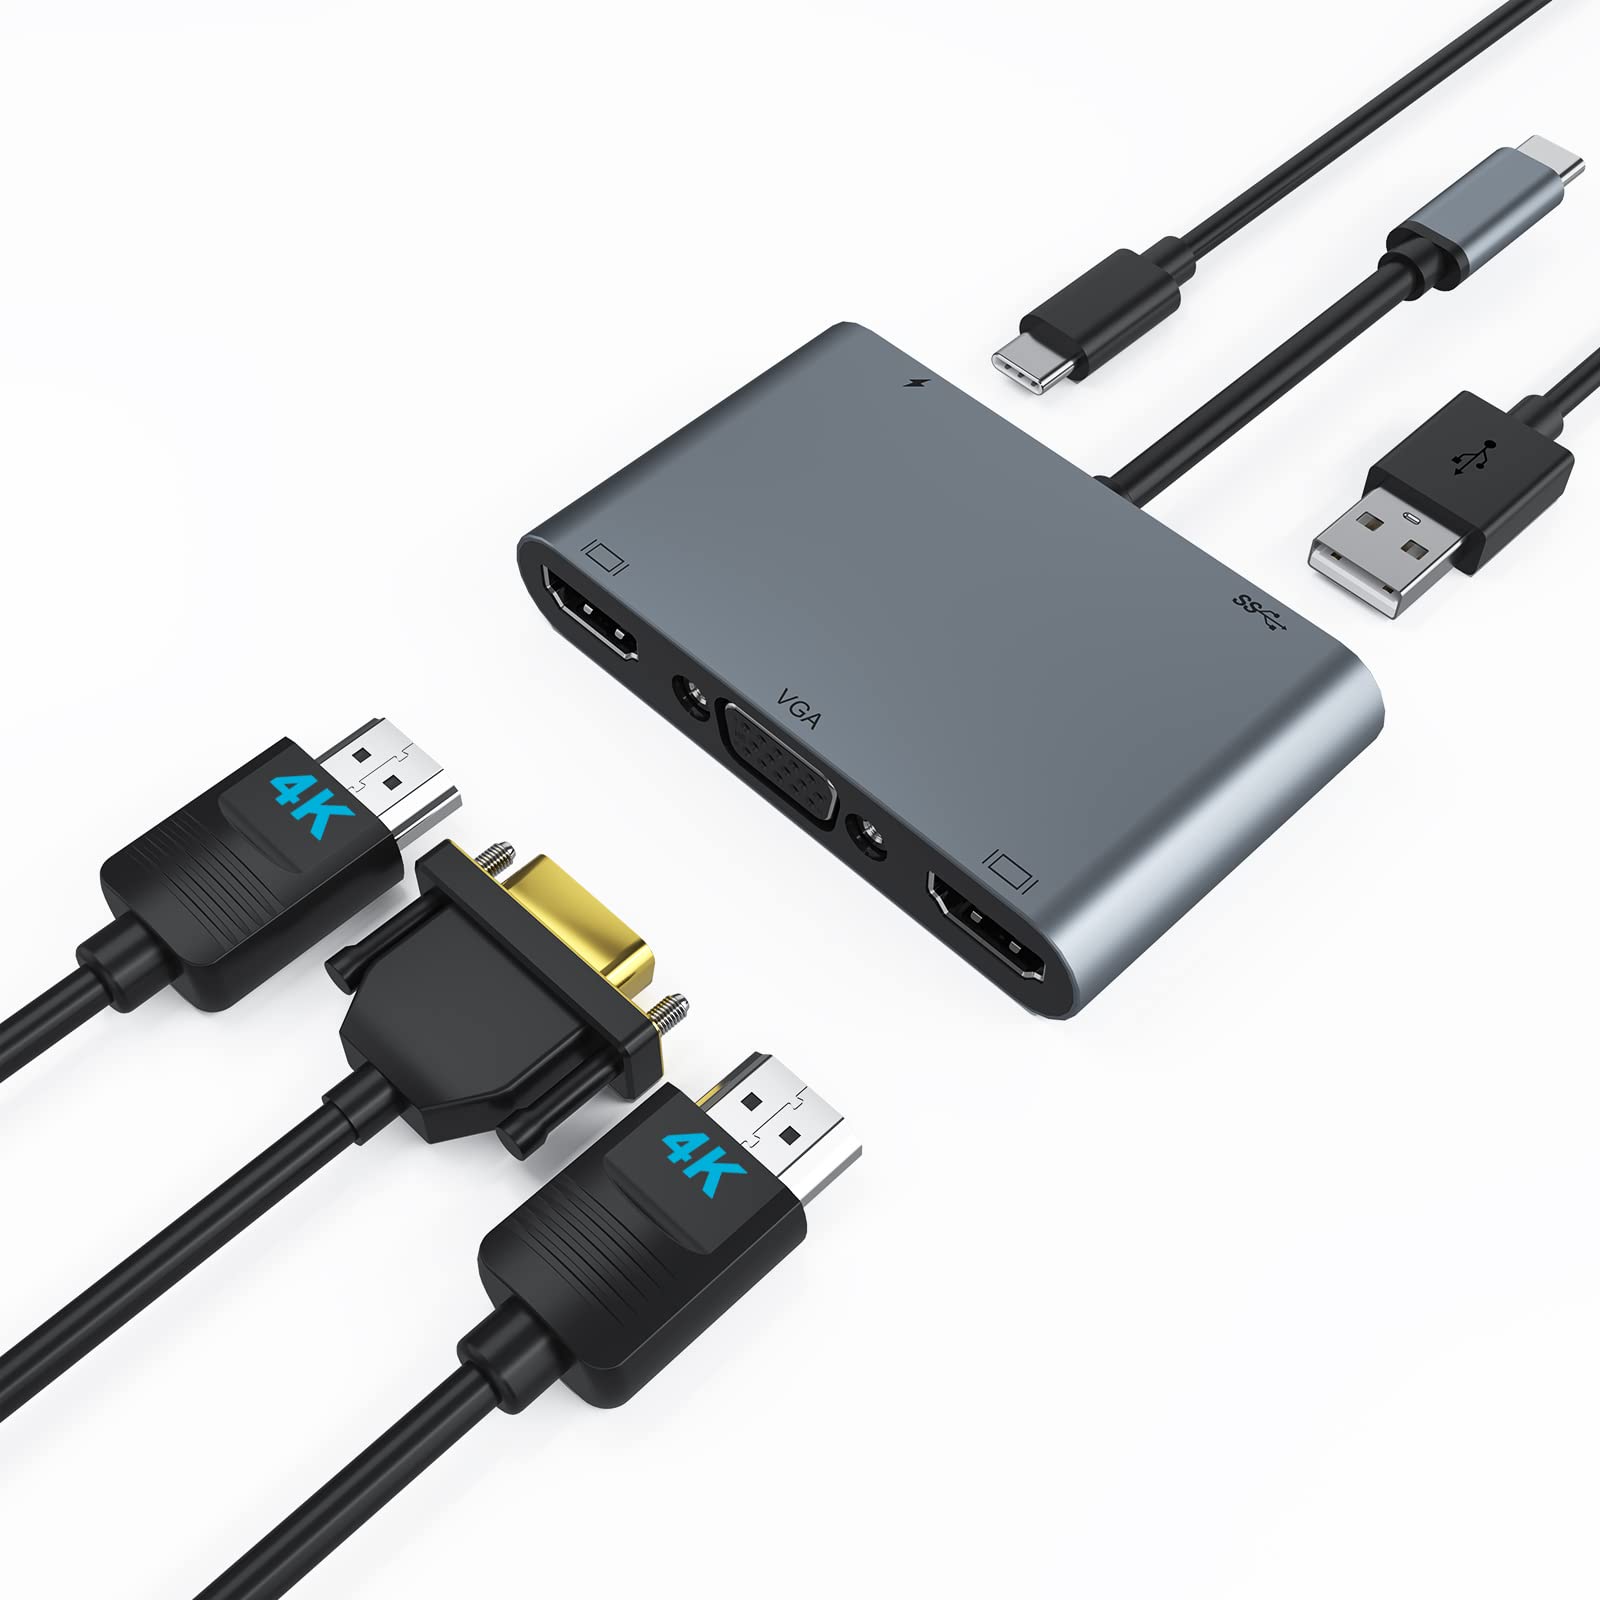
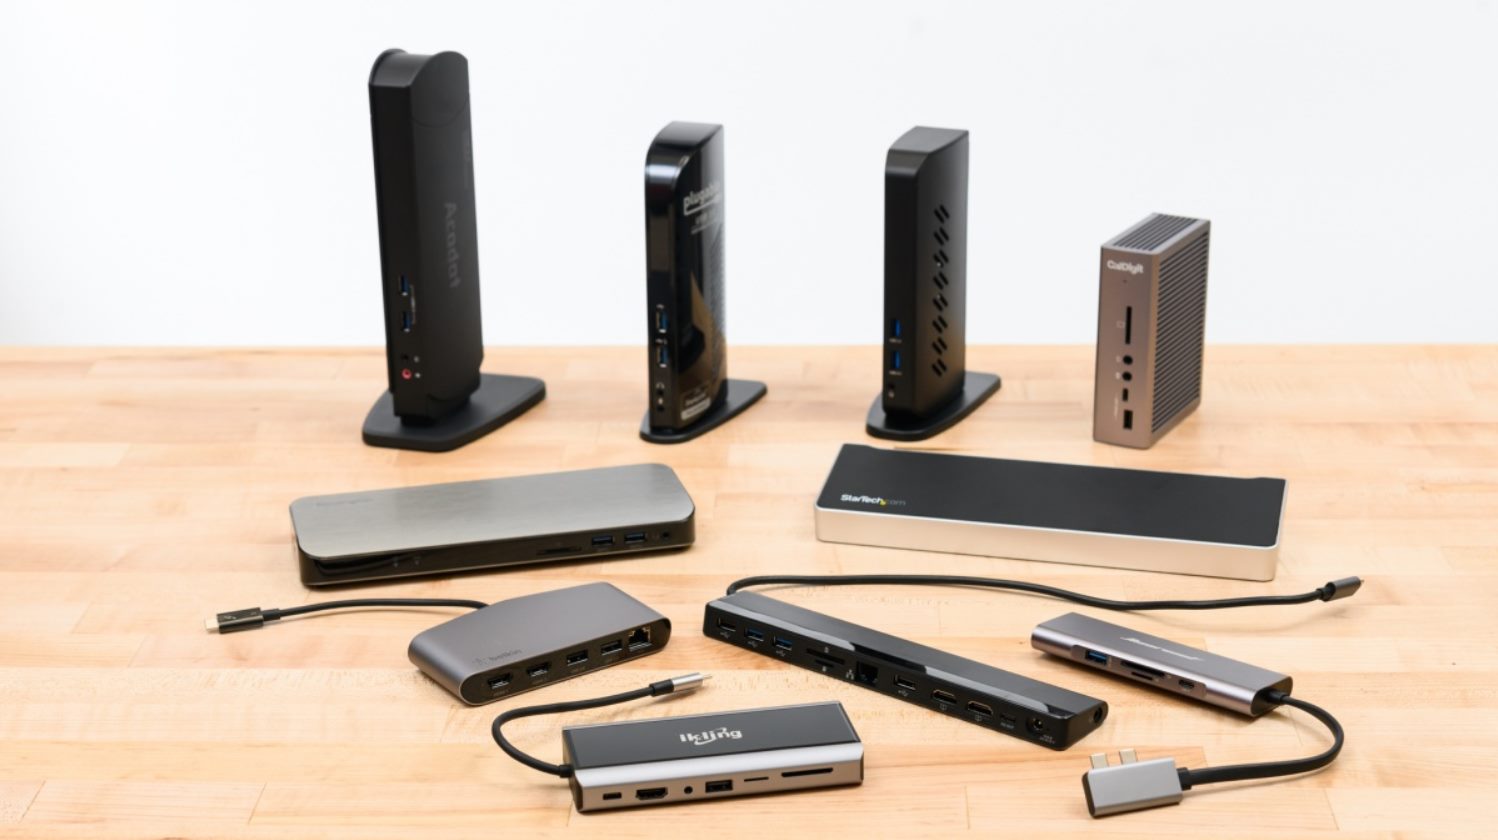
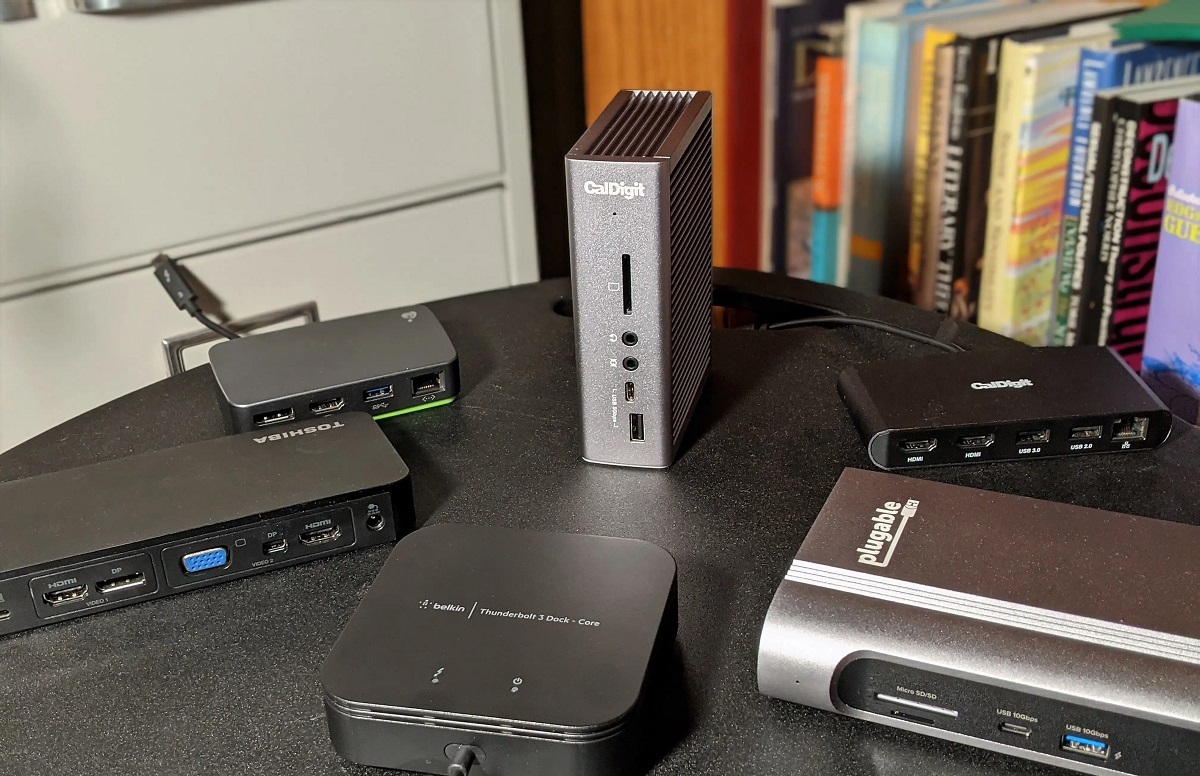
- A laptop with multiple HDMI ports: Your laptop should have at least three HDMI ports to connect each monitor. If your laptop doesn’t have multiple HDMI ports, you might need to use adapters or docking stations to create additional HDMI connections.
- Three HDMI cables: You’ll need three HDMI cables to connect each monitor to your laptop. Make sure that the cables are in good condition and support the necessary resolution for your monitors.
- Monitors: Of course, you’ll need three monitors to set up your triple-monitor display. Check that your monitors have HDMI ports and support the desired resolution for optimal display quality.
- Power supply: Ensure that you have sufficient power outlets or power strips to connect all three monitors and your laptop. It’s important to have a stable power supply to avoid any interruptions or issues during the setup process.
- Desktop stand or mounting brackets: Depending on your workspace and personal preference, you may need a desktop stand or mounting brackets to position and align your monitors properly. This will ensure a seamless viewing experience across all three screens.
Once you have gathered all these requirements and accessories, you’ll be ready to proceed with setting up your triple-monitor display on your laptop.
Step 1: Check your laptop’s compatibility
Before you begin connecting multiple monitors to your laptop, it’s essential to ensure that your laptop supports this functionality. Here’s how you can check your laptop’s compatibility:
- Review the user manual: Start by consulting the user manual or specifications guide that came with your laptop. Look for information regarding the number of external displays it can support simultaneously. If you cannot find the manual, you can search for your laptop’s model online and check the manufacturer’s website for detailed specifications.
- Check the graphics card: The graphics card plays a crucial role in determining the number of displays your laptop can handle. Open the Device Manager on your laptop and navigate to the Display Adapters section. Look for the graphics card listed there and note the model. Search online for its specifications to confirm how many monitors it can support.
- Check the video outputs: Take a look at the physical ports on your laptop. Most modern laptops come equipped with HDMI ports, but it’s important to verify that your laptop has multiple HDMI ports to support three monitors. You may also have other video output options like DisplayPort or VGA, but HDMI is the most common and convenient option for triple-monitor setups.
- Consider adapter options: If your laptop doesn’t have enough HDMI ports, don’t worry. You can still set up multiple monitors by using adapters or docking stations. Look for adapters that convert other video outputs like DisplayPort or USB-C to HDMI. Just make sure to check if the adapter is compatible with your laptop’s specifications before purchasing.
By following these steps, you can confirm the compatibility of your laptop and ensure that it can support the triple-monitor setup you desire. If your laptop meets the requirements, you can proceed to the next steps of the setup process.
Step 2: Determine the number of display ports
Once you’ve confirmed your laptop’s compatibility, the next step is to determine the number of display ports you have available. This will help you understand how you can connect multiple monitors to your laptop. Follow these steps:
- Inspect your laptop’s physical ports: Look for the HDMI ports on your laptop. Count the number of available HDMI ports. If you see more than one HDMI port, it’s a good indication that your laptop can support multiple monitors. Take note of the total number of HDMI ports available.
- Check internal display configurations: Some laptops may have limitations on the number of external displays that can be connected, depending on the internal display configuration. Open the “Display Settings” on your Windows laptop or “System Preferences” on your Mac and navigate to the “Display” section. Look for options related to multiple displays or external monitors. If you see options to extend or duplicate displays, it indicates that you can connect additional monitors.
- Review graphics card specifications: As mentioned in the previous step, the graphics card plays a significant role in determining the number of displays you can connect. Search for the specifications of your laptop’s graphics card online and find out the maximum number of monitors it supports. Keep in mind that the number of available display ports on your laptop may be limited by the graphics card’s capabilities.
By assessing the physical HDMI ports on your laptop and considering the internal display configurations and graphics card specifications, you can determine the number of display ports available for connecting multiple monitors. This will help you plan the setup process more effectively and ensure that you have the necessary ports for your desired triple-monitor display.
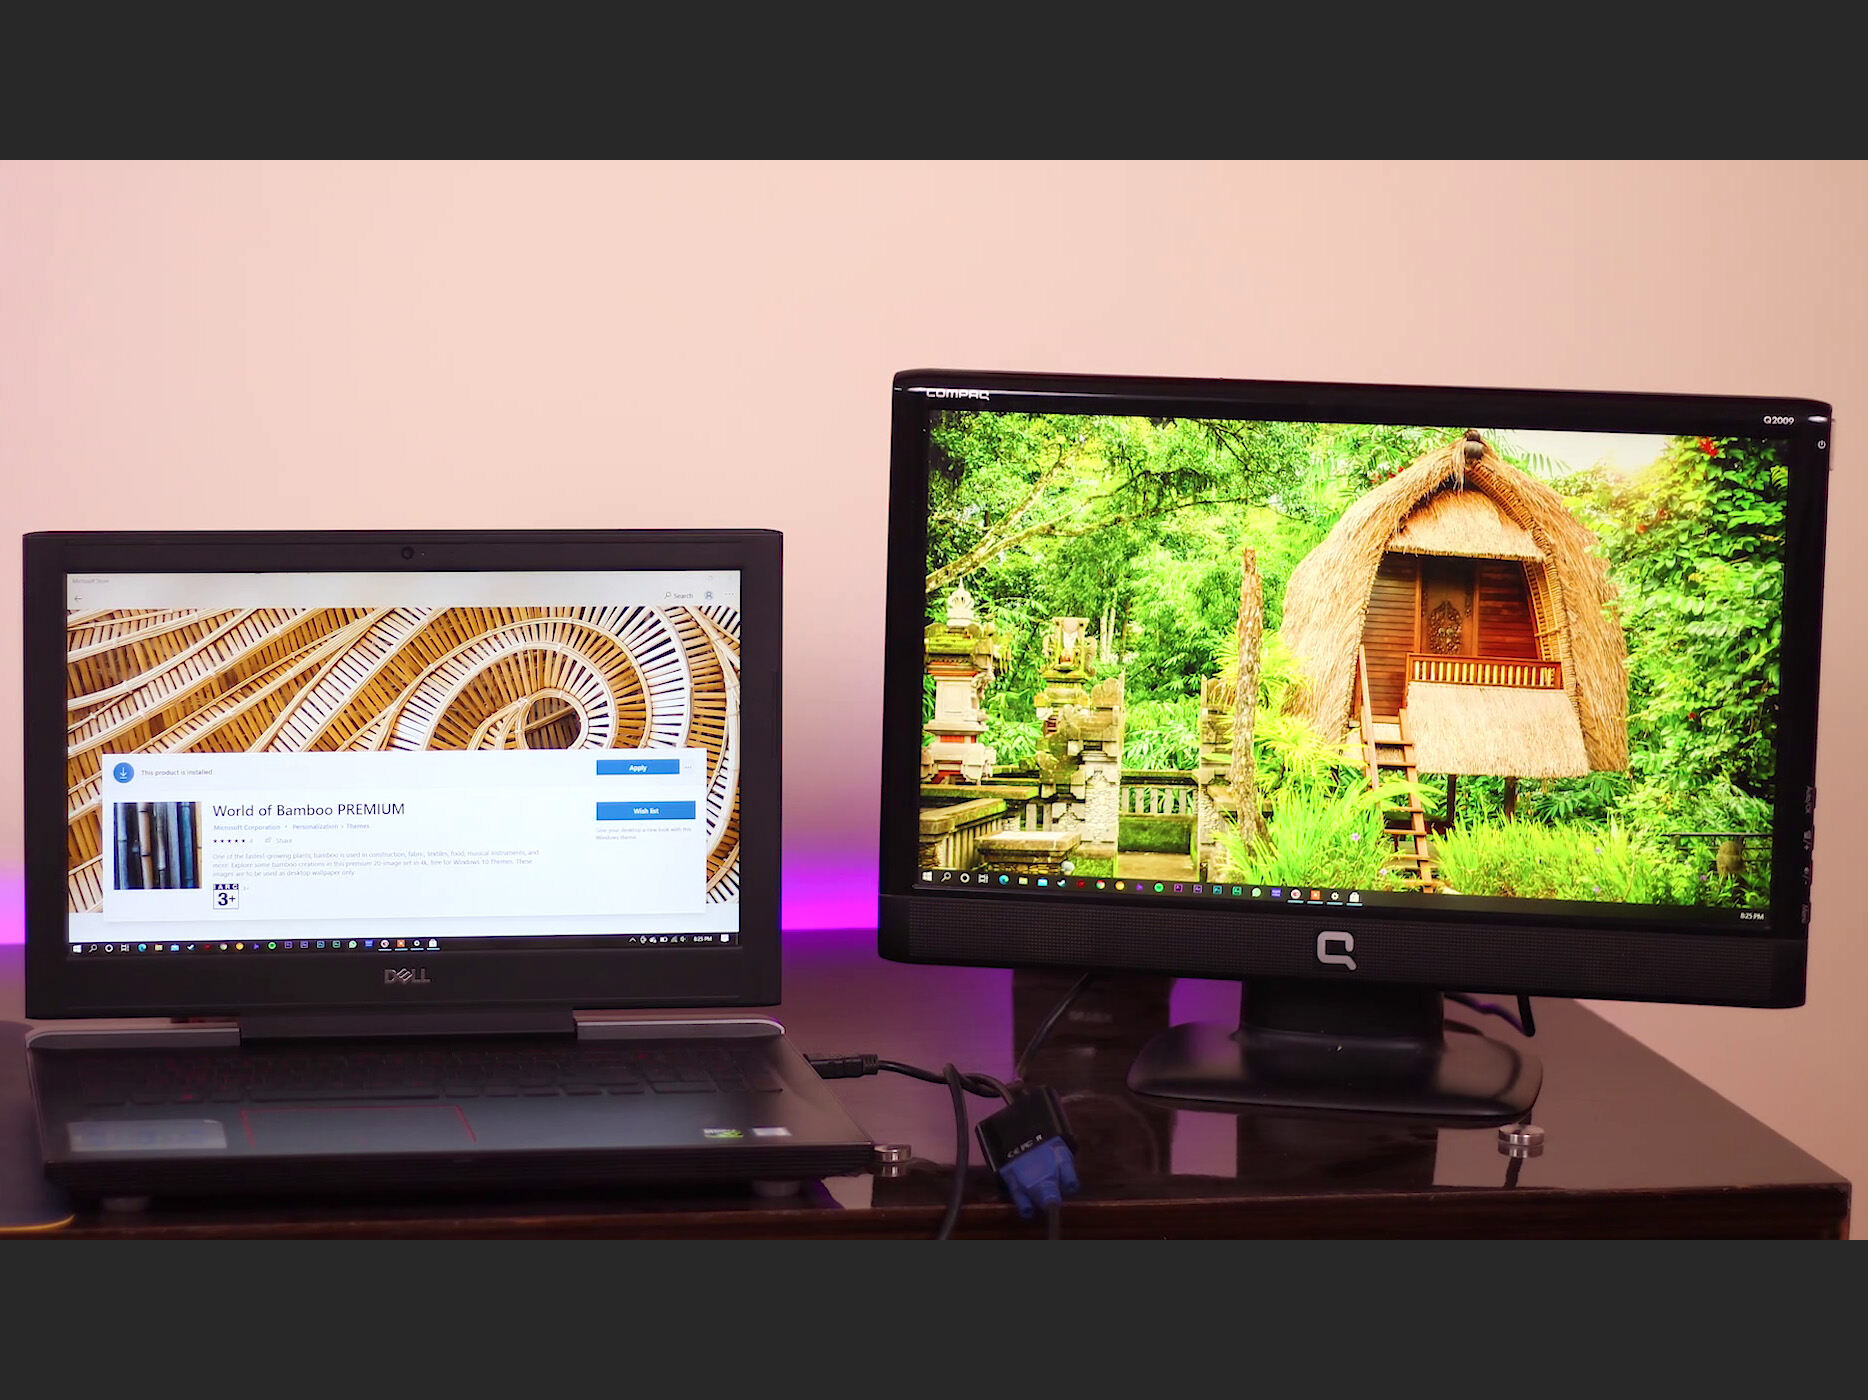
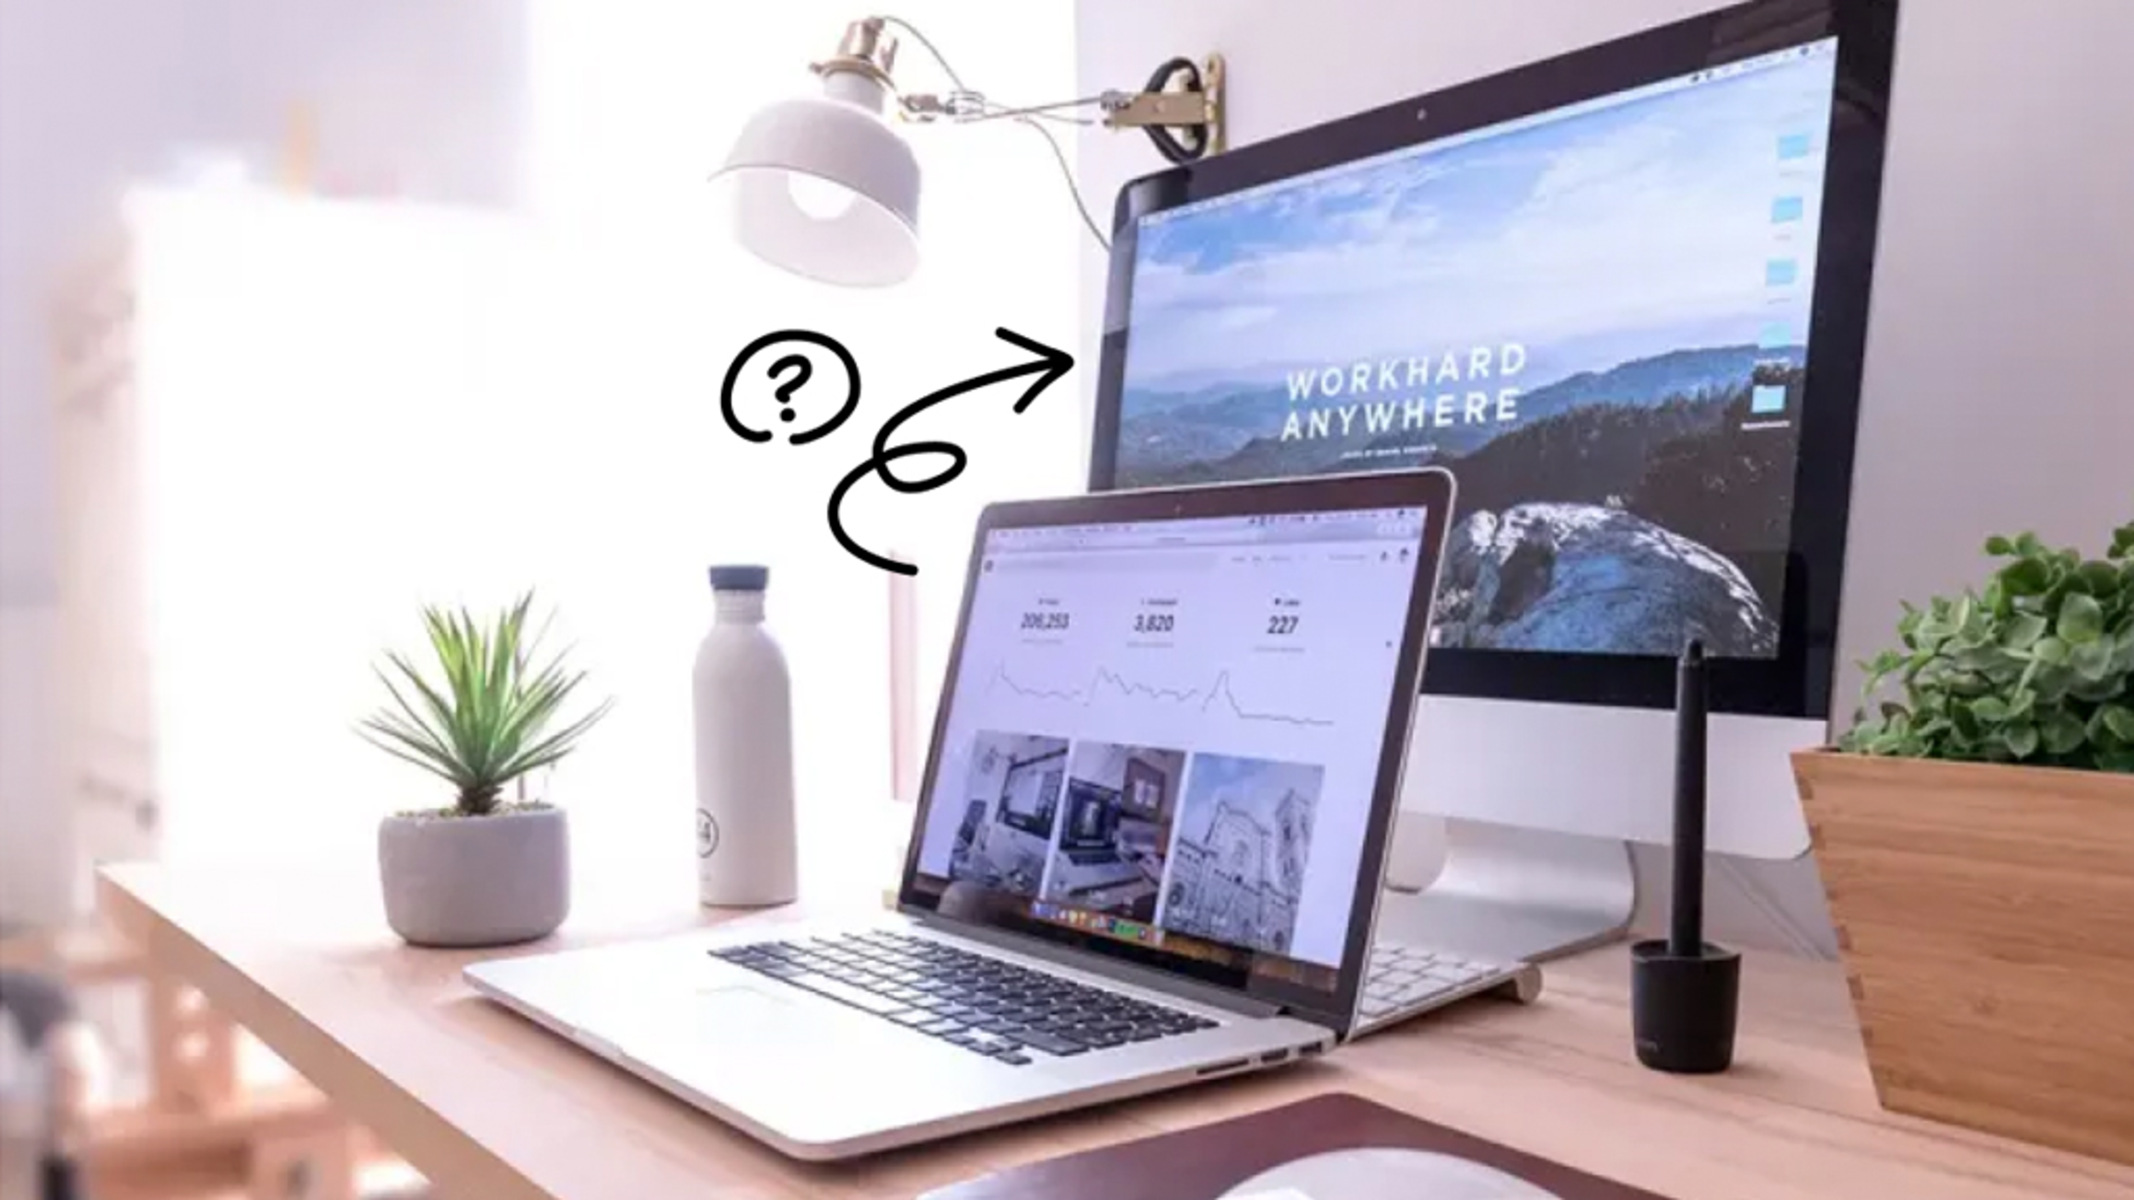
Step 3: Connect the first monitor via HDMI
With your laptop’s compatibility and display ports determined, it’s time to start connecting your monitors. Follow these steps to connect the first monitor via HDMI:
- Locate the HDMI port on your laptop: Find the HDMI port on your laptop, usually located on the side or back of the device. It is a rectangular-shaped port with multiple small pins inside.
- Connect the HDMI cable: Take one end of the HDMI cable and insert it firmly into the HDMI port on your laptop. Ensure that the cable is properly aligned with the port and securely connected.
- Connect the other end to the monitor: Take the other end of the HDMI cable and connect it to the HDMI input port on your first monitor. Make sure to align the cable with the port and firmly insert it.
- Power on the monitor: Plug in the power cable of the first monitor into a power outlet and turn it on using the power button located on the front or side of the monitor.
- Select the HDMI input: On the monitor’s settings or control panel, navigate to the input options and select the HDMI input to which your laptop is connected. This ensures that the monitor displays the output from your laptop.
Once you’ve followed these steps, your first monitor should be successfully connected to your laptop via HDMI. You can now proceed to the next step and connect the second monitor in the setup process.
Step 4: Connect the second monitor via HDMI
After successfully connecting the first monitor, it’s time to connect the second monitor to your laptop. Follow these steps to complete this phase of the setup:
- Identify the available HDMI port: Take a look at your laptop and identify the next available HDMI port. This is the port you’ll use to connect your second monitor.
- Connect the HDMI cable: Take one end of the HDMI cable and firmly insert it into the HDMI port on your laptop. Make sure to align the cable with the port and secure the connection.
- Connect the other end to the second monitor: Take the other end of the HDMI cable and connect it to the HDMI input port on your second monitor. Ensure that the cable is inserted properly into the port.
- Power on the second monitor: Plug the power cable of the second monitor into a power outlet and turn it on using the power button on the monitor.
- Adjust the monitor settings: Depending on your laptop’s settings, you may need to configure the display settings to recognize the second monitor. Open the “Display Settings” on your Windows laptop or “System Preferences” on your Mac, and navigate to the “Display” section. Look for options to extend or duplicate displays and select the appropriate settings for the second monitor.
Once you’ve completed these steps, your second monitor should be successfully connected to your laptop via HDMI. You now have two monitors set up and ready for use. Let’s move on to the next step and connect the third monitor to complete the triple-monitor setup.
Step 5: Connect the third monitor via HDMI
Now that you have successfully connected the first and second monitors, let’s move on to connecting the third monitor to complete your triple-monitor setup. Follow these steps:
- Locate the available HDMI port: Identify the HDMI port on your laptop that is still available for connecting the third monitor.
- Insert the HDMI cable: Take one end of another HDMI cable and insert it firmly into the remaining HDMI port on your laptop. Ensure that the cable is properly aligned with the port and securely connected.
- Connect the third monitor: Take the other end of the HDMI cable and connect it to the HDMI input port on your third monitor. Make sure to align the cable with the port and firmly insert it.
- Power on the third monitor: Plug in the power cable of the third monitor into a power outlet and turn it on using the power button on the monitor.
- Adjust display settings: Open the “Display Settings” on your laptop and navigate to the “Display” section. Depending on your operating system, you may need to choose the appropriate settings to extend or duplicate the display onto the third monitor. Adjust the resolution, orientation, and other display settings as desired.
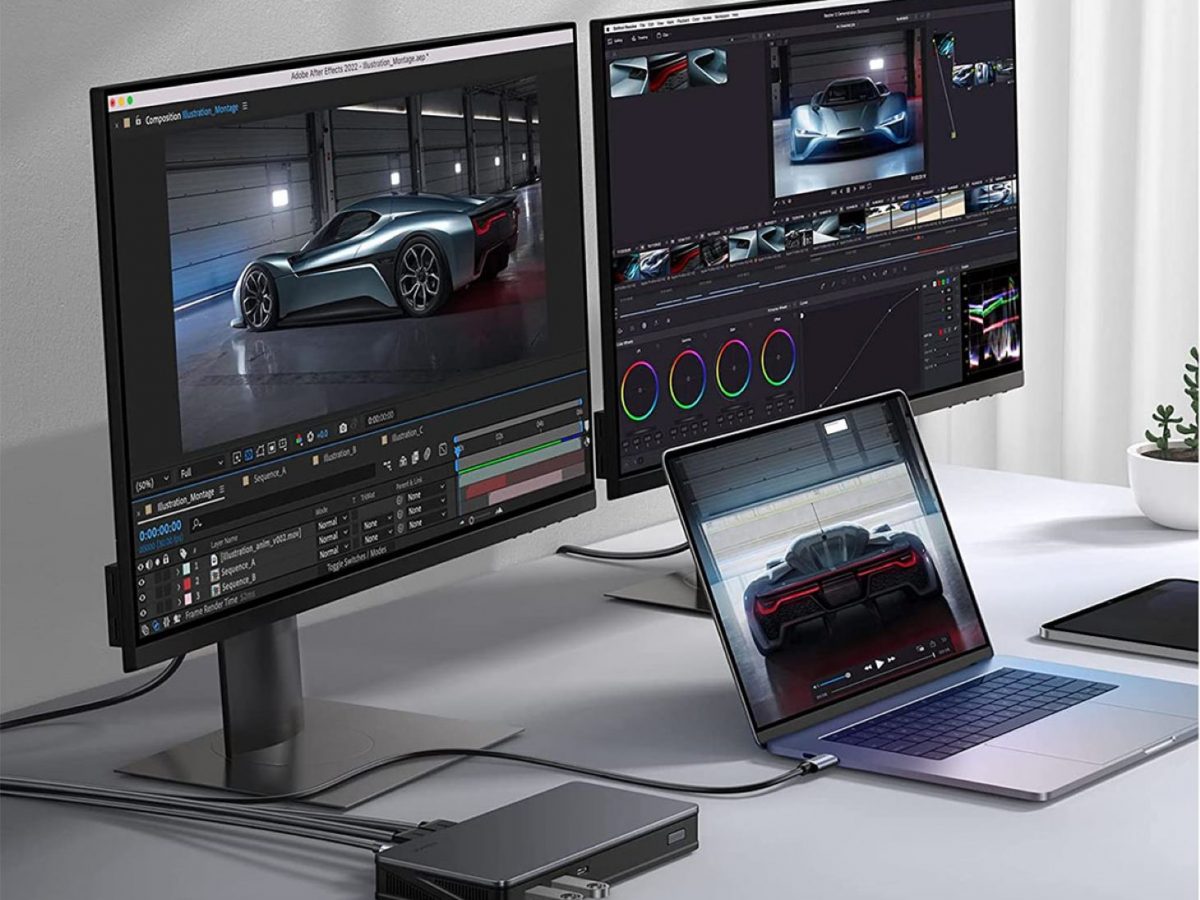
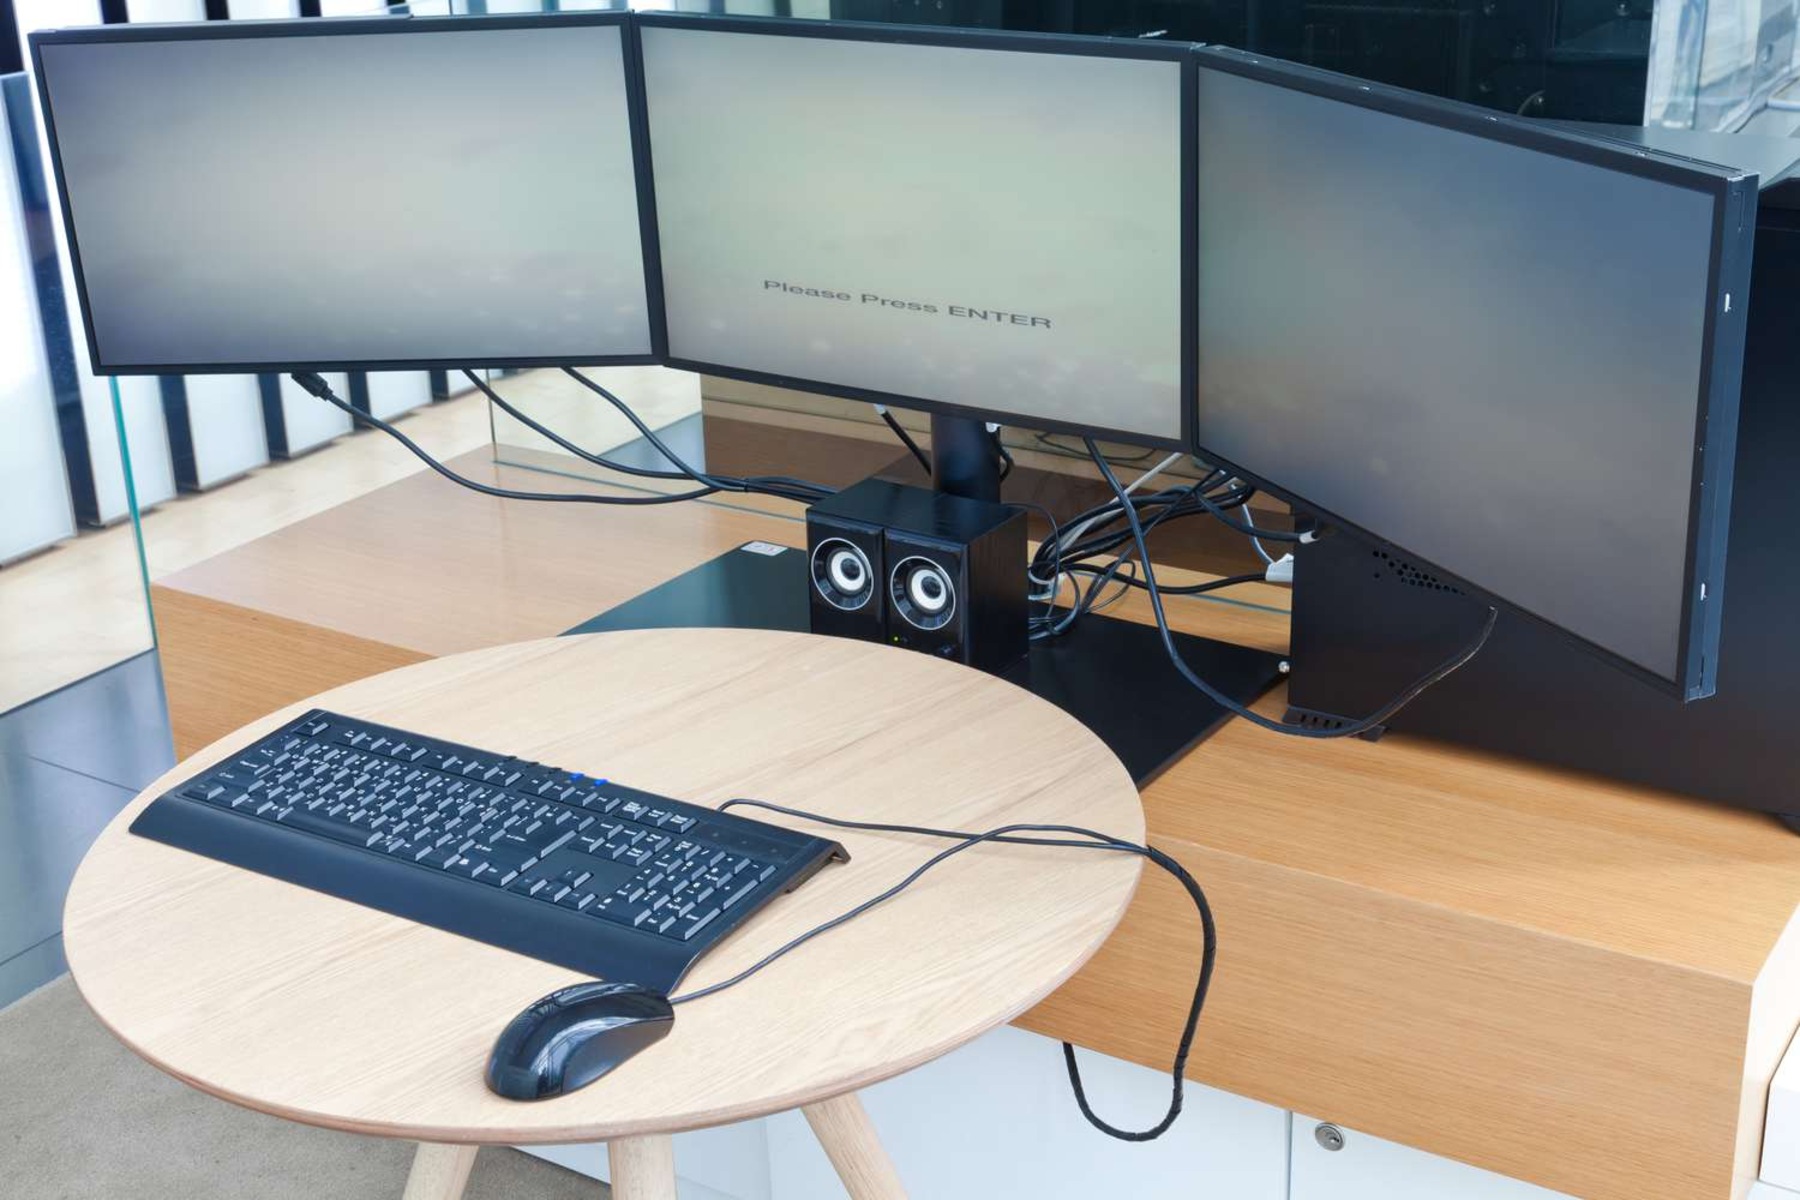
Following these steps, your third monitor should now be successfully connected to your laptop via HDMI. With all three monitors connected, you can now enjoy an expanded workspace, improved productivity, and enhanced multitasking capabilities.
Step 6: Adjust display settings
After connecting all three monitors, it’s time to adjust the display settings to ensure optimal performance and usability. Follow these steps to adjust the display settings:
- Access the display settings: Open the “Display Settings” on your laptop by right-clicking on the desktop and selecting “Display settings” or by navigating to the system preferences on a Mac.
- Arrange the monitors: In the display settings, you should see a visual representation of the connected monitors. Click and drag the monitor icons to arrange their positions according to your physical setup. This will help ensure that the cursor movement across screens is smooth and natural.
- Set the primary monitor: If you have a preferred primary monitor, select it in the display settings. The primary monitor is the one that will host the taskbar and any desktop icons by default.
- Adjust the display resolution: You may need to fine-tune the display resolution for each monitor to achieve the optimal balance between clarity and screen real estate. Click on each monitor in the display settings and select the desired resolution from the available options.
- Customize individual monitor settings: If necessary, you can customize the brightness, contrast, color temperature, and other settings for each individual monitor in their respective menus. Some monitors also offer additional features like blue light filters or gaming modes that you can adjust as per your preference.
- Test and refine: Once you’ve made the initial adjustments, take a moment to test the display by moving windows and applications across the screens. Make any additional tweaks or refinements to the display settings as needed to achieve the desired visual experience.
By following these steps and adjusting the display settings, you can fine-tune the visual appearance and functionality of your triple-monitor setup. Take the time to explore different configurations and settings to find the setup that suits your workflow and enhances your productivity.
Conclusion
Setting up three monitors on your laptop using HDMI connections can greatly enhance your productivity and provide you with a more immersive computing experience. By following the steps outlined in this guide, you can successfully connect multiple monitors and create a seamless triple-monitor display.
Remember to check your laptop’s compatibility and determine the number of available display ports before starting the setup process. Ensure that you have the necessary requirements, including HDMI cables, monitors, and power supply. Connect each monitor to your laptop one by one, adjusting the display settings along the way to achieve the optimal configuration.
With a triple-monitor setup, you’ll have an extended workspace that allows for multitasking, efficient workflow, and the ability to view different applications simultaneously. Whether you’re a professional in need of more screen real estate or a creative individual seeking a more immersive viewing experience, three monitors can offer a whole new level of productivity and enjoyment.
Remember to experiment with different arrangements, resolutions, and display settings to find the configuration that best suits your needs and preferences. With an optimized triple-monitor setup, you can unlock the full potential of your laptop’s display capabilities and take your productivity to new heights.
Now that you have the knowledge and guidance, it’s time to connect your three monitors and experience the benefits of a spacious, multi-monitor display. Enjoy your triple-monitor setup and maximize your efficiency and enjoyment in your work and leisure activities.