Introduction
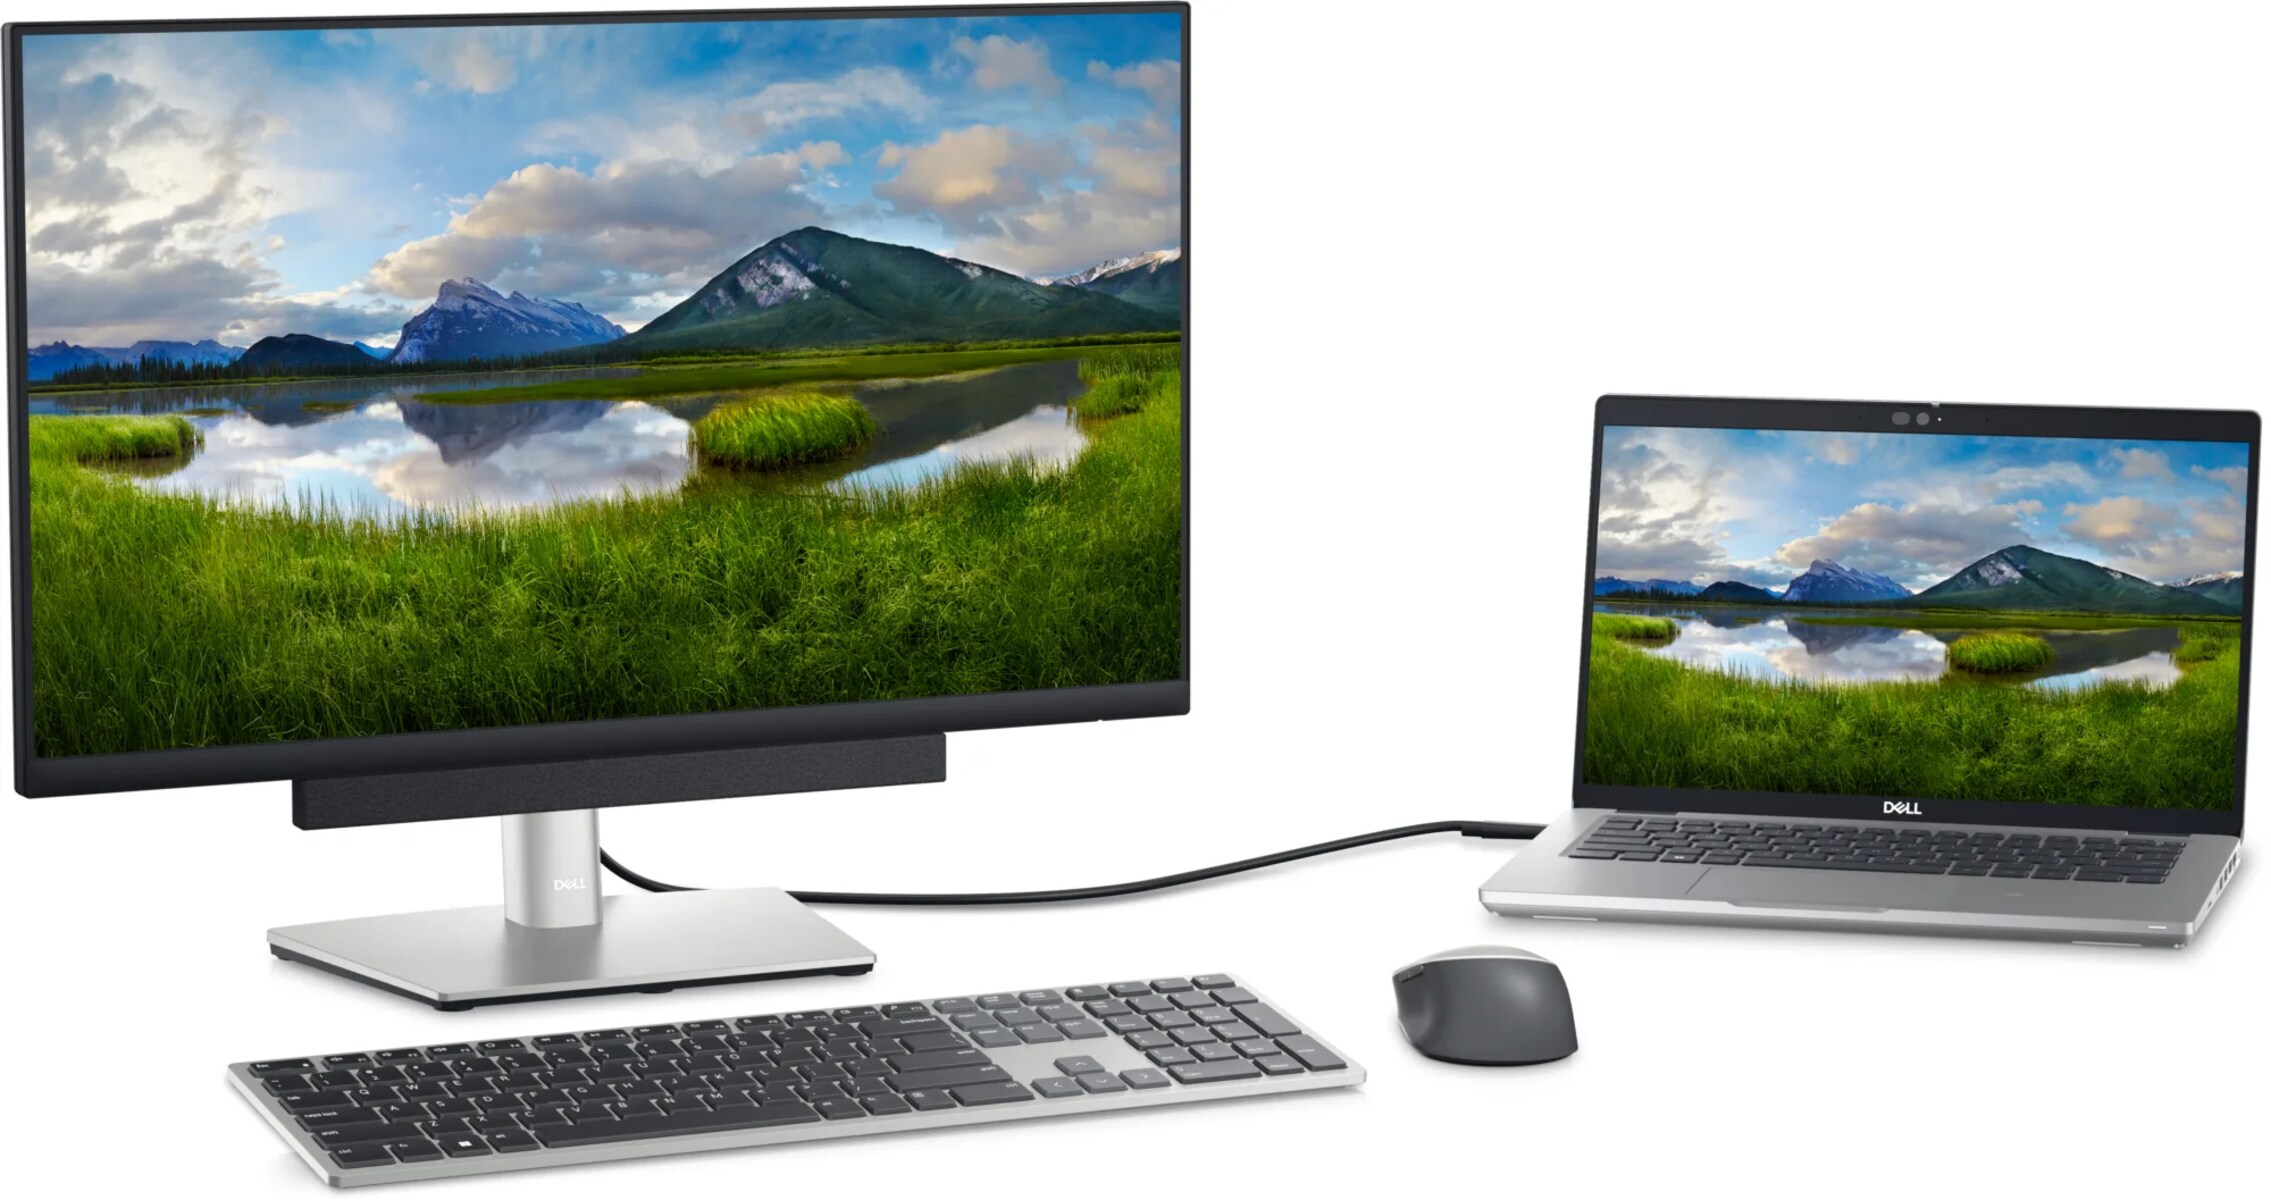
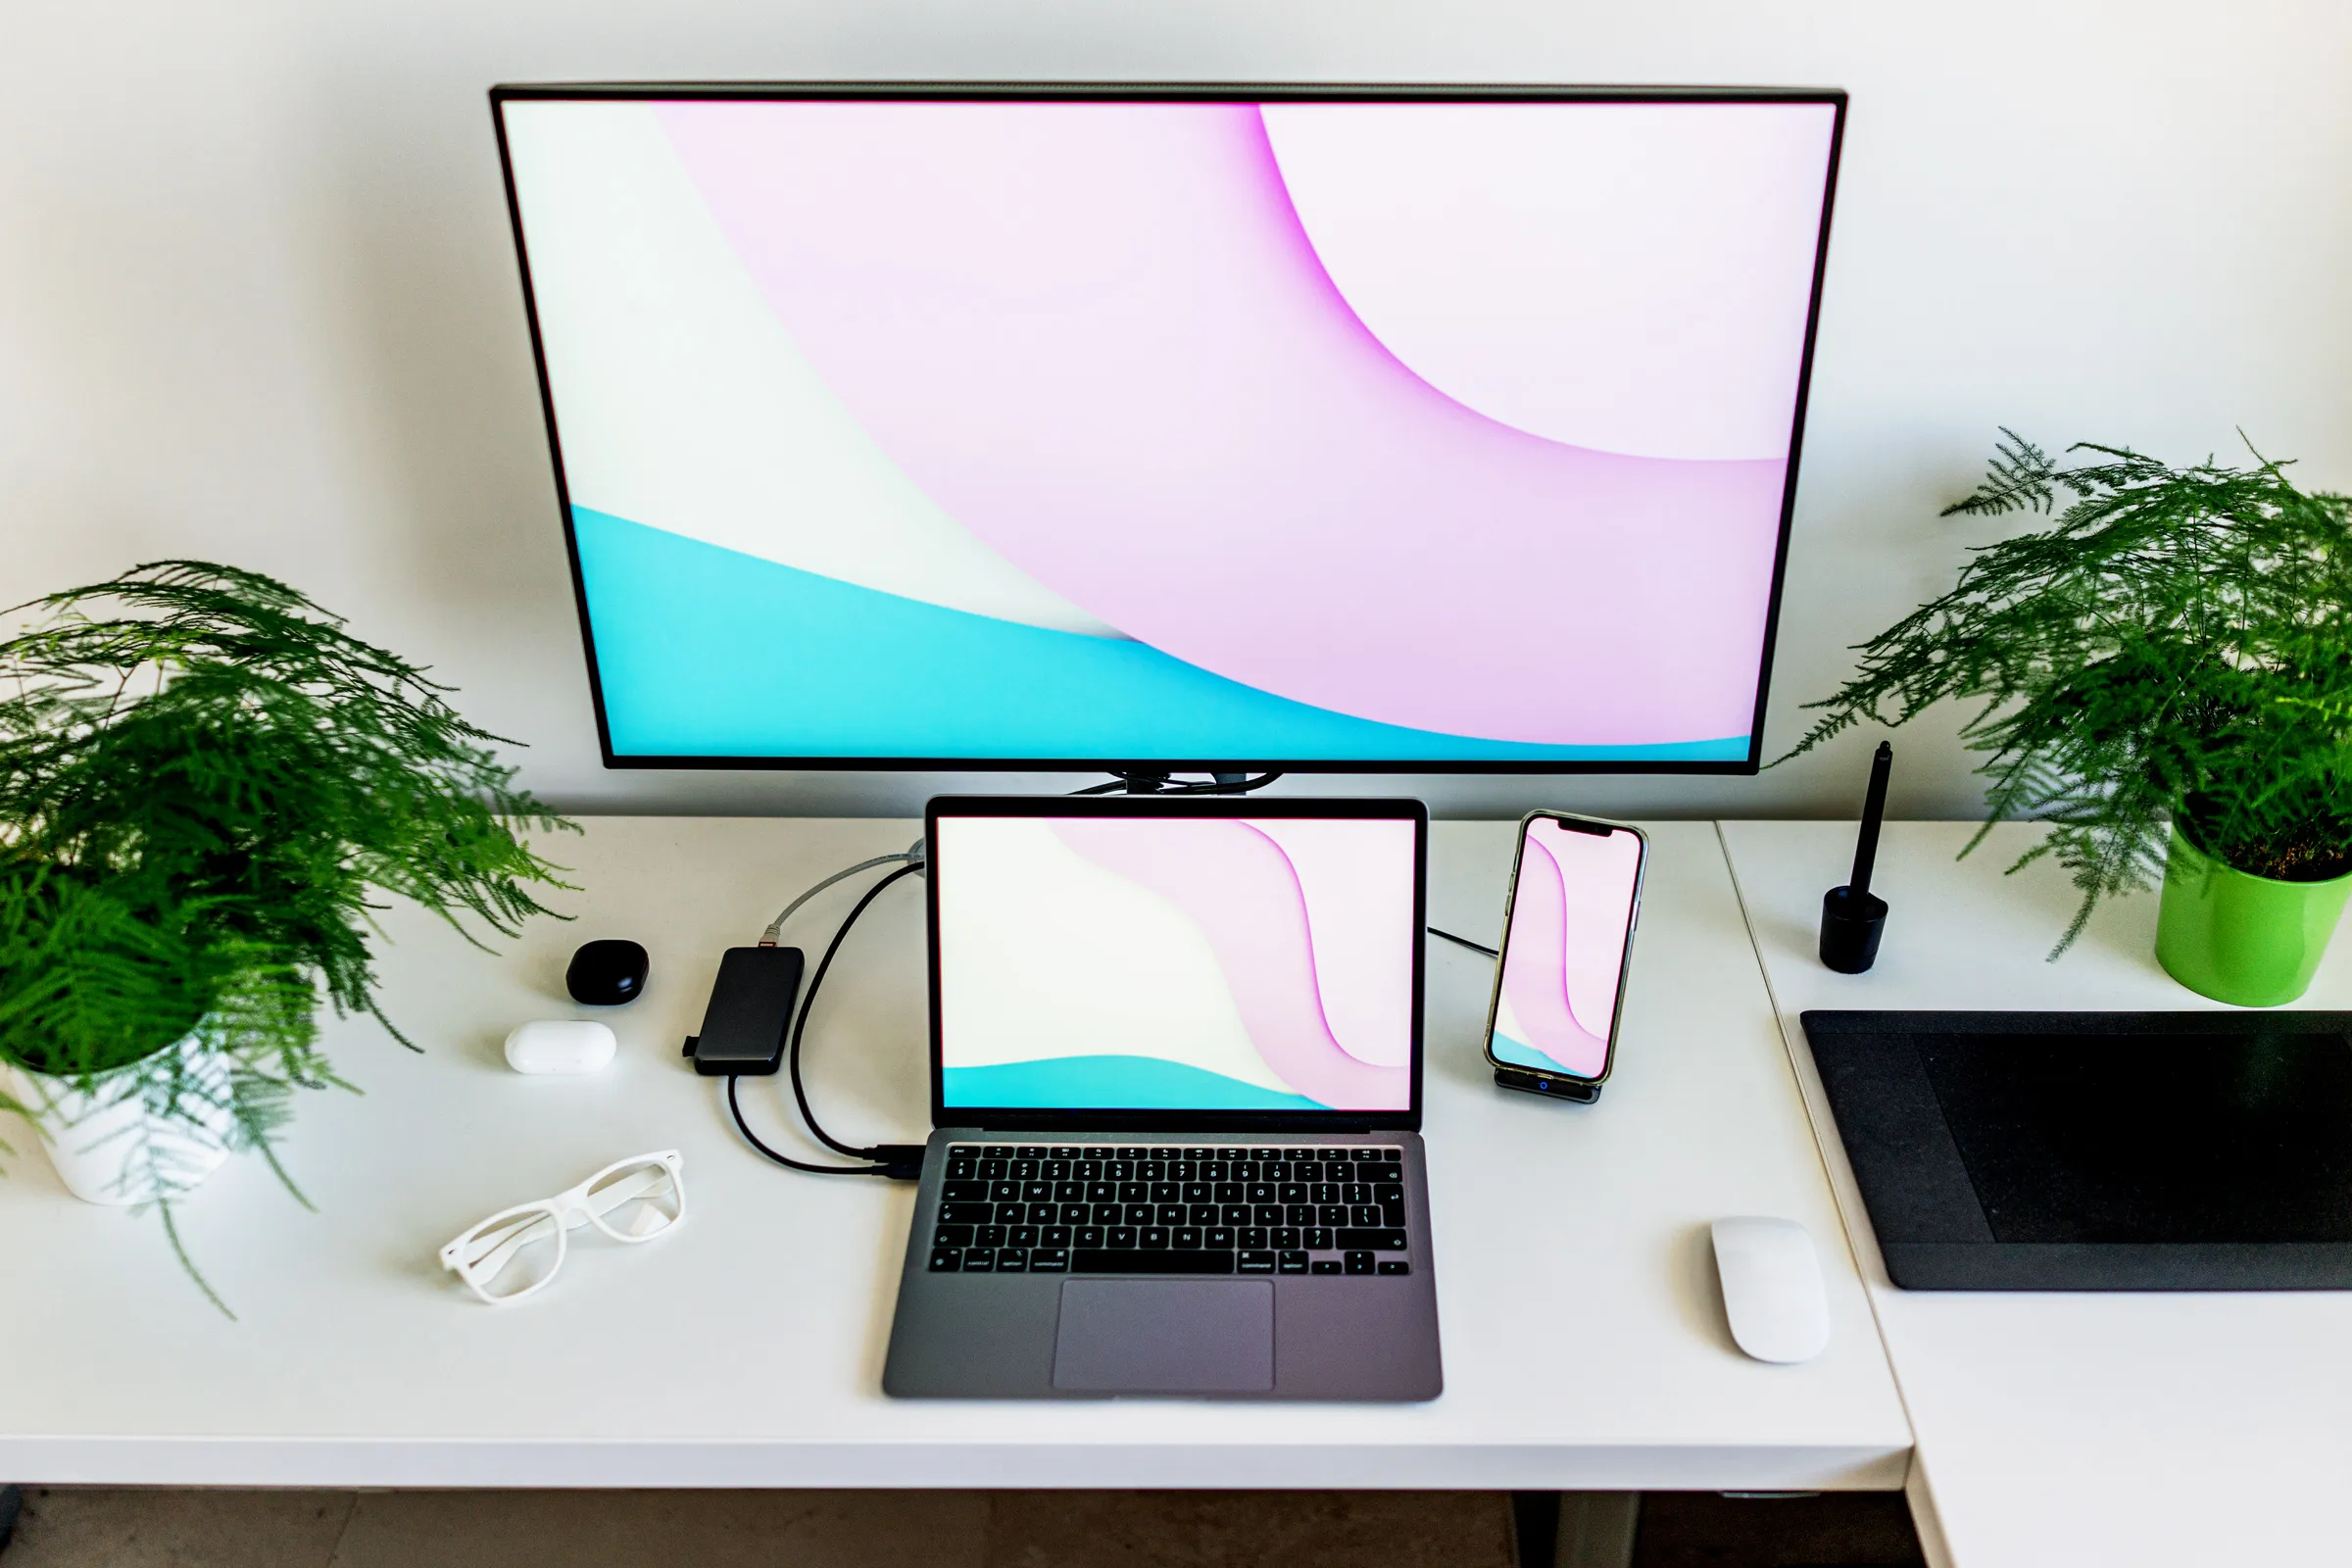
Welcome to our step-by-step guide on how to connect a laptop to a monitor using an HDMI cable. Whether you want to expand your workspace, enjoy a larger display for gaming or multimedia, or simply mirror your laptop’s screen onto a larger monitor, connecting your laptop to a monitor can provide a more immersive and comfortable viewing experience.
With the rise of HDMI technology, it has become easier than ever to connect laptops and monitors. HDMI (High-Definition Multimedia Interface) is a widely used standard for transmitting audio and video signals in high-definition quality. Most modern laptops and monitors are equipped with HDMI ports, making it a convenient option for connecting the two devices.
In this guide, we will walk you through the process of connecting your laptop to a monitor using an HDMI cable, ensuring that you have all the necessary equipment and providing clear instructions for each step. By following these steps, you’ll be able to enjoy a larger screen and take full advantage of the capabilities of your laptop and monitor.
Before we get started, it’s important to note that different laptop models and monitor brands may have slightly different ports and configurations. Therefore, while this guide provides a general overview of the steps involved, we recommend referring to the user manuals or support documentation for your specific laptop and monitor if you encounter any difficulties.
Now, let’s dive into the exciting world of connecting a laptop to a monitor and unlock a whole new level of productivity and entertainment!
Step 1: Check laptop and monitor compatibility
Before you start connecting your laptop to a monitor, it’s essential to ensure that both devices are compatible with each other. Here are a few points to consider:
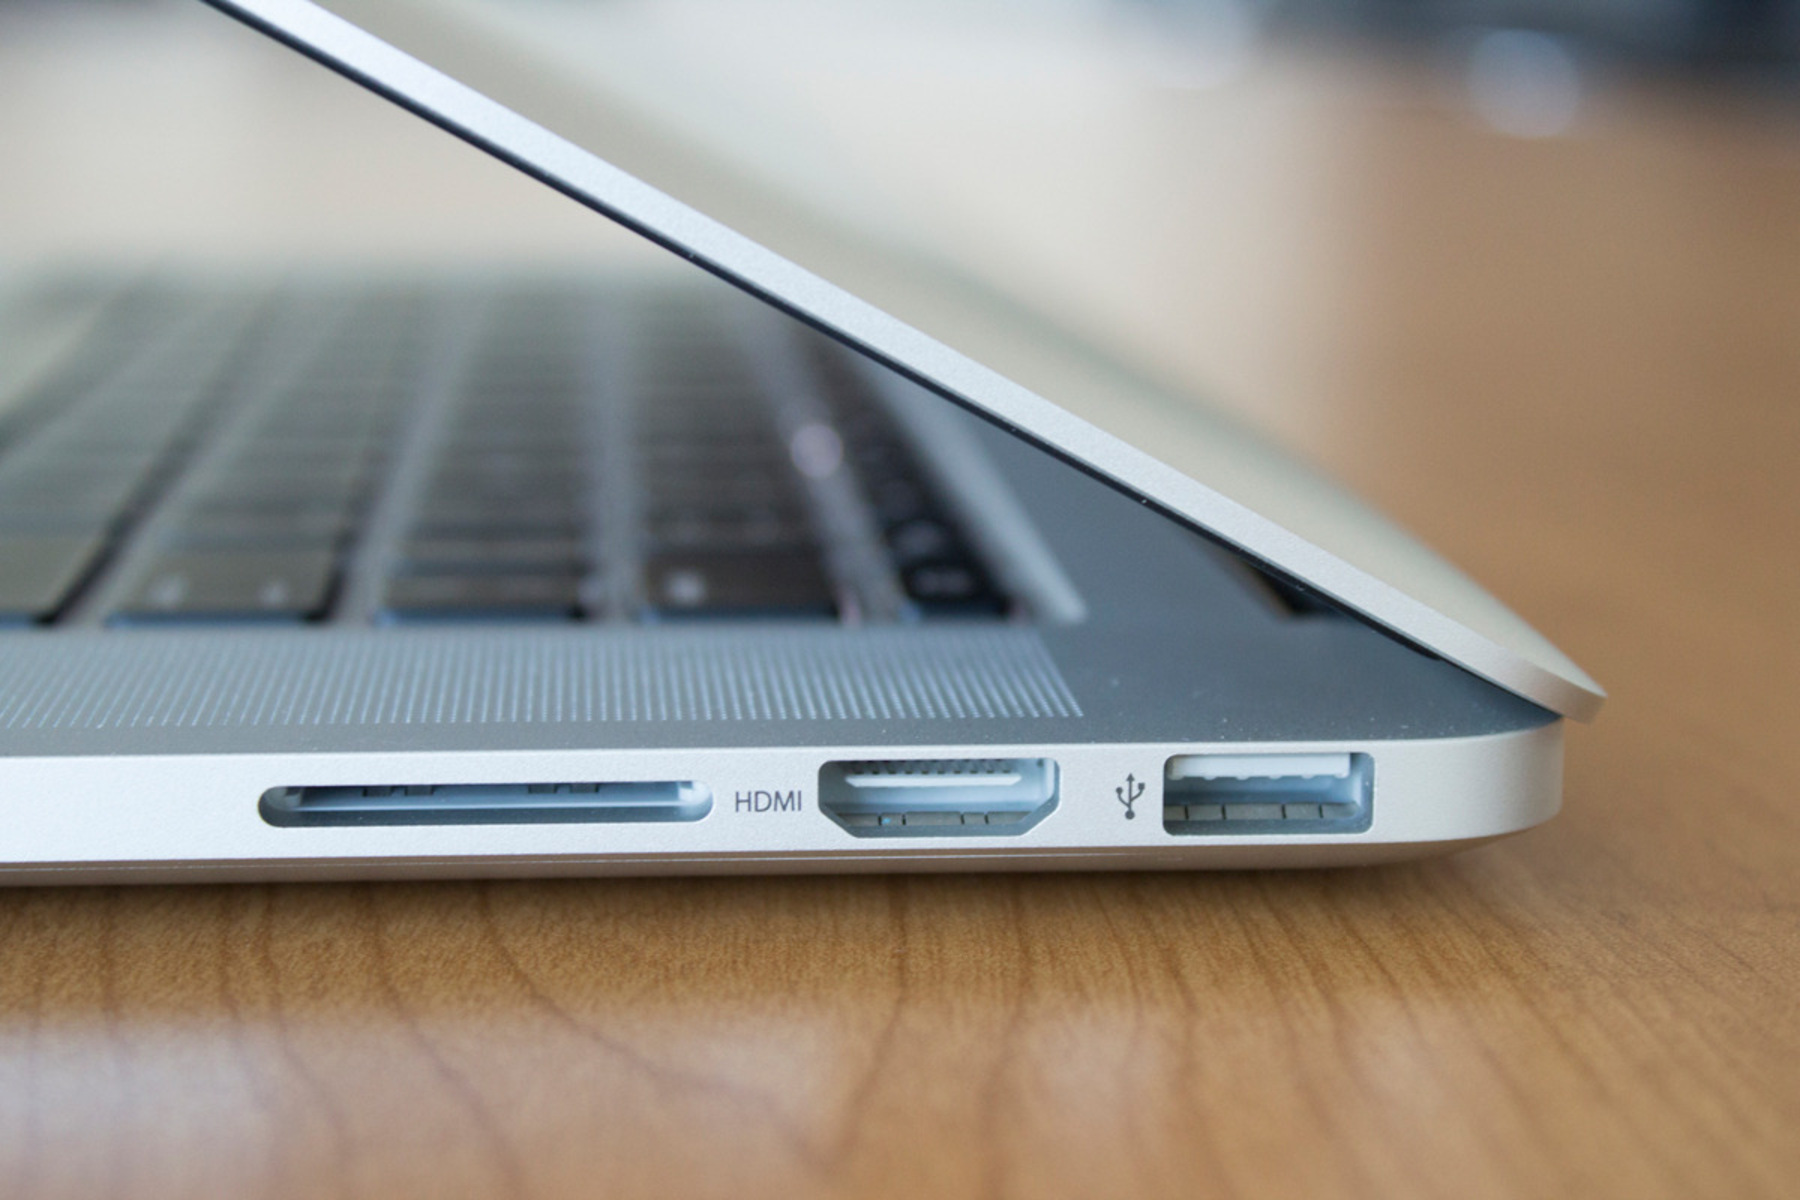
- Check the laptop ports: Look for an HDMI port on your laptop. It is usually labeled “HDMI” and has a standard rectangular shape. If your laptop doesn’t have an HDMI port, don’t worry! There are alternative methods like using a VGA or DVI cable with the appropriate adapters.
- Inspect the monitor’s ports: Examine the ports on your monitor. Most modern monitors come with an HDMI input port, typically located on the back or side of the monitor. Make sure your monitor has an HDMI port that matches the HDMI cable you’ll be using for the connection.
- Check the HDMI cable version: HDMI cables come in various versions, such as HDMI 1.4, HDMI 2.0, and HDMI 2.1. While HDMI 1.4 can transmit high-definition video and audio, newer versions like HDMI 2.0 and 2.1 offer additional features like higher resolutions and refresh rates. Ensure that your HDMI cable supports the desired resolution and refresh rate for optimal performance.
- Consider compatibility with graphics cards: Some laptops and monitors rely on external graphics cards for enhanced visuals. If your laptop uses an external graphics card, make sure it supports the necessary HDMI output for connecting to a monitor.
- Check operating system compatibility: Although HDMI is a universal standard, it’s always a good idea to ensure that your laptop’s operating system supports external monitor connections through HDMI. Most modern operating systems, including Windows, macOS, and Linux, have built-in support for HDMI connections.
By examining these compatibility factors, you can ensure a smooth and successful connection between your laptop and monitor. If you encounter any compatibility issues or have questions specific to your laptop or monitor model, refer to the user manuals or contact the respective customer support for further assistance.
Step 2: Gather necessary cables and adapters
Once you have confirmed the compatibility of your laptop and monitor, the next step is to gather the necessary cables and adapters for the connection. Here’s what you’ll need:
- HDMI cable: Ensure you have a high-quality HDMI cable that is long enough to comfortably connect your laptop and monitor. If you don’t already have an HDMI cable, you can easily find them online or at electronics stores.
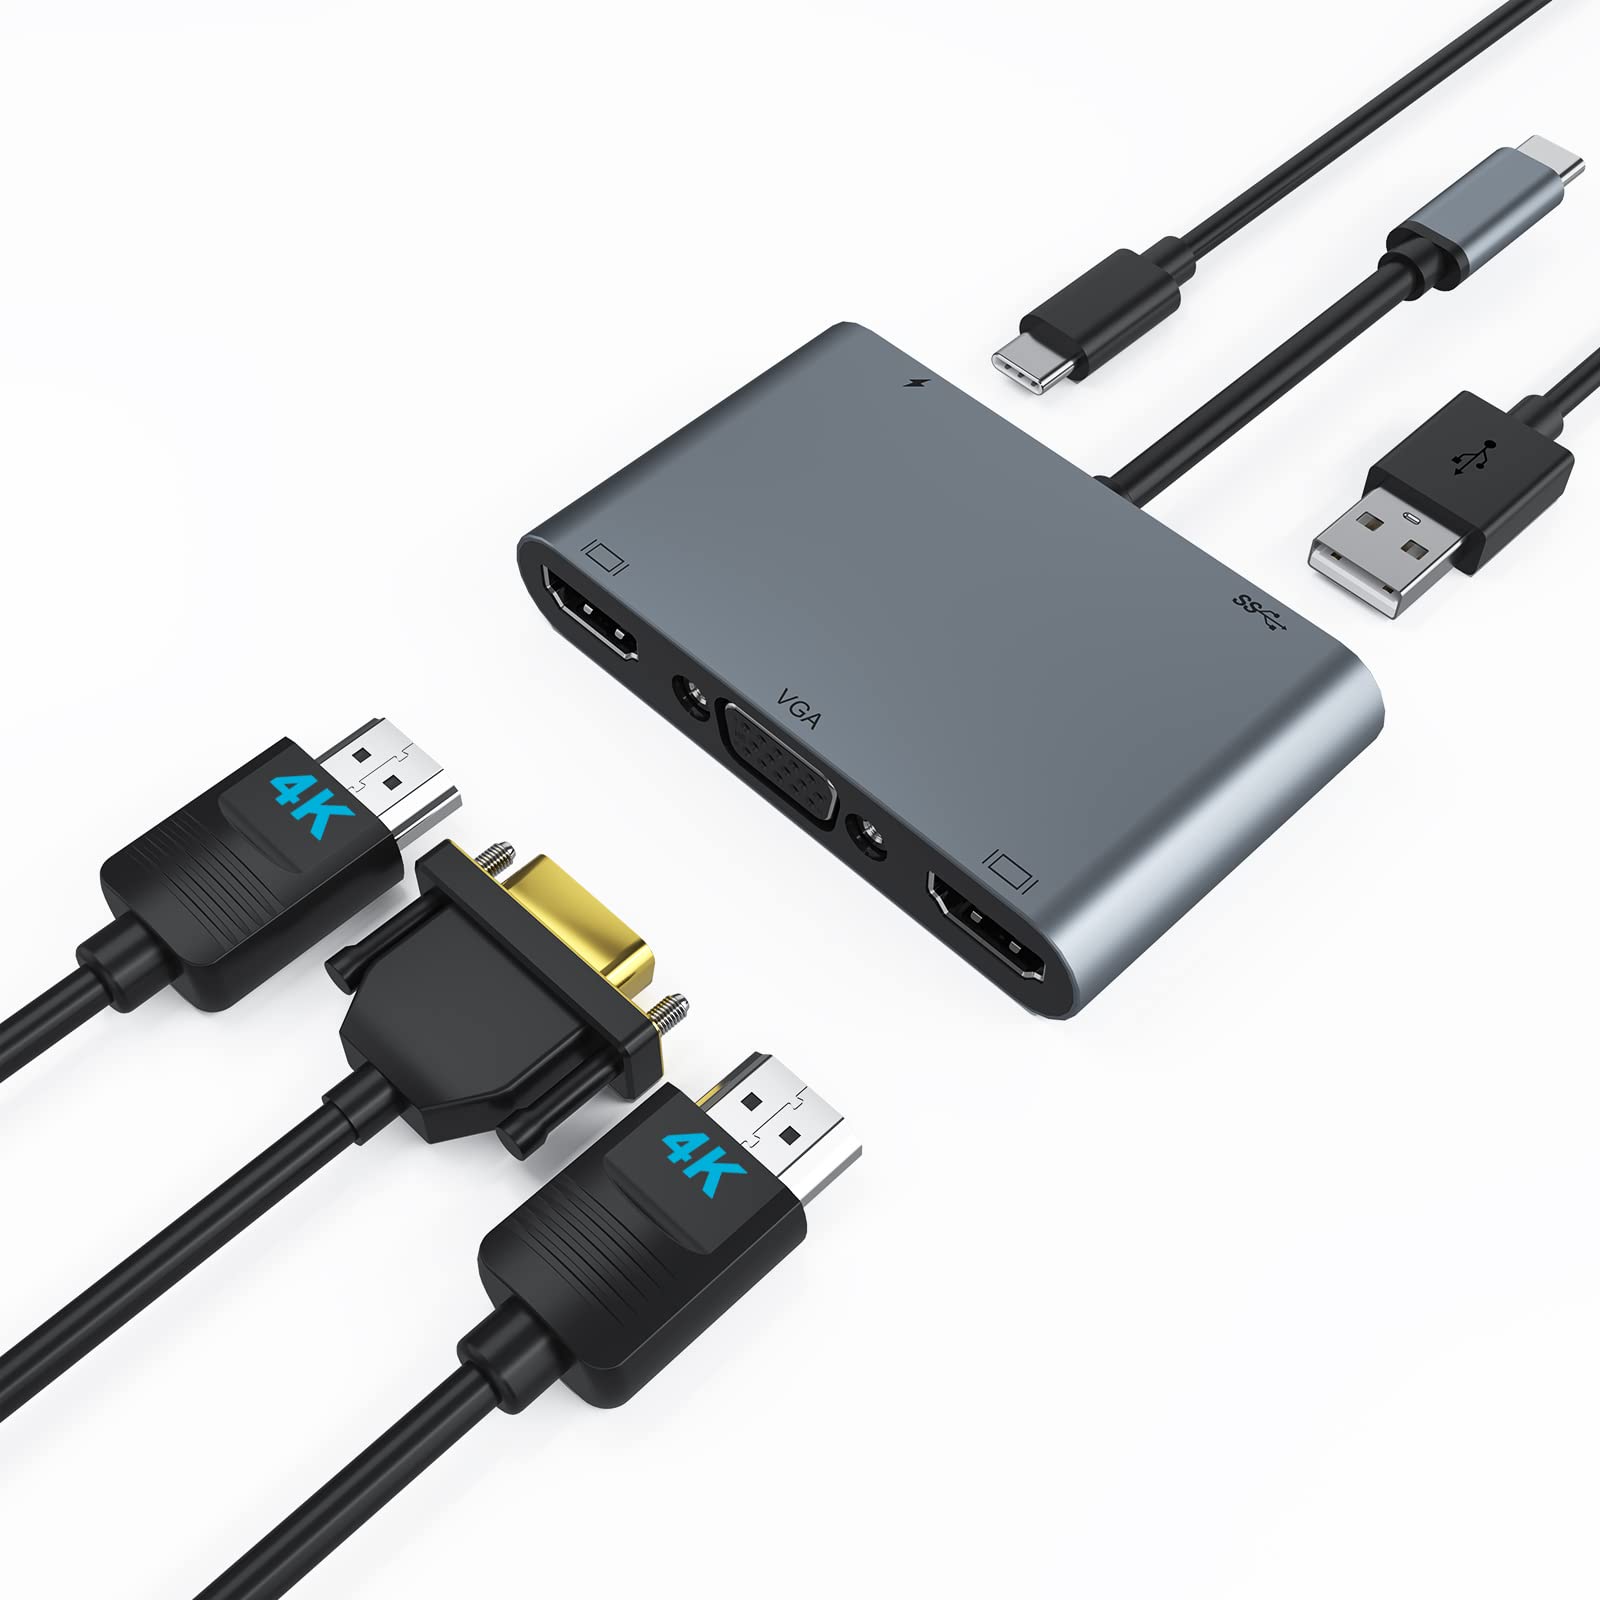
- HDMI to VGA/DVI adapter (if needed): If your laptop or monitor doesn’t have an HDMI port, you may need an adapter to connect them. Determine whether you require an HDMI to VGA or HDMI to DVI adapter based on the available ports on your devices. These adapters can be found in most electronics stores.
- Power cables: Ensure that both your laptop and monitor are connected to power sources. Check that the power cables are securely plugged in and that there is an available power outlet near your setup.
- Optional audio cable: If you want to transfer audio from your laptop to the monitor’s speakers, check if your monitor has an audio input option. If it does, you may need an additional audio cable, such as a 3.5mm audio jack or a separate audio HDMI cable.
Gather all the necessary cables and adapters before proceeding to the next steps. Ensure that the cables and adapters are in good condition, as damaged cables can affect the quality of the connection. If you are unsure about the type of cables and adapters you need for your specific laptop and monitor, consult the user manuals or reach out to customer support for guidance.
Now that you have all the required cables and adapters, you’re ready to move on to the next step: powering off your laptop and monitor.
Step 3: Power off laptop and monitor
Before making any connections, it’s crucial to power off both your laptop and monitor to avoid any potential damage or disruption. Follow these simple steps to ensure a safe power-off process:
- Save your work: If you have any unsaved work on your laptop, make sure to save it and close any open applications or programs. Powering off your laptop will result in a shutdown, which may cause loss of unsaved data if not properly saved.
- Disconnect power cords: Unplug the power cords of both your laptop and monitor from their respective power outlets. This will prevent any electrical currents and ensure complete power-off.
- Wait a few seconds: Give your devices a few seconds to completely power down. This will ensure that any residual power is discharged and the devices are fully powered off.
- Double-check: Before proceeding to the next step, double-check that both your laptop and monitor are completely powered off. Look for any indicator lights that may still be on and verify that the screens are blank.
By taking these precautions, you minimize the risk of any power-related issues when making the necessary connections between your laptop and the monitor. Additionally, powering off your devices provides a stable starting point for the connection process.
Once you have confirmed that your laptop and monitor are powered off, you can move on to the next step: connecting the HDMI cable to your laptop.
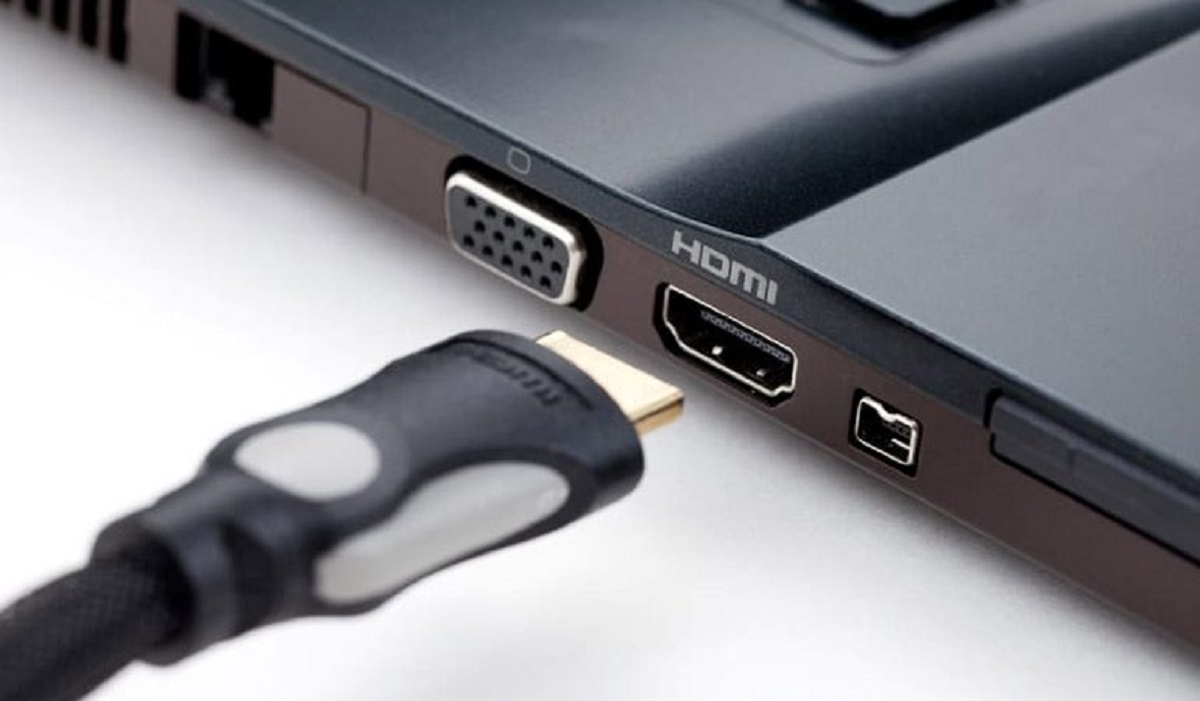
Step 4: Connect HDMI cable to laptop
Now that your laptop and monitor are powered off, it’s time to connect the HDMI cable to your laptop. Follow these simple steps:
- Locate the HDMI port: Look for the HDMI port on your laptop. It is typically located on the side or back of the laptop. The HDMI port is rectangular in shape and marked with the “HDMI” label.
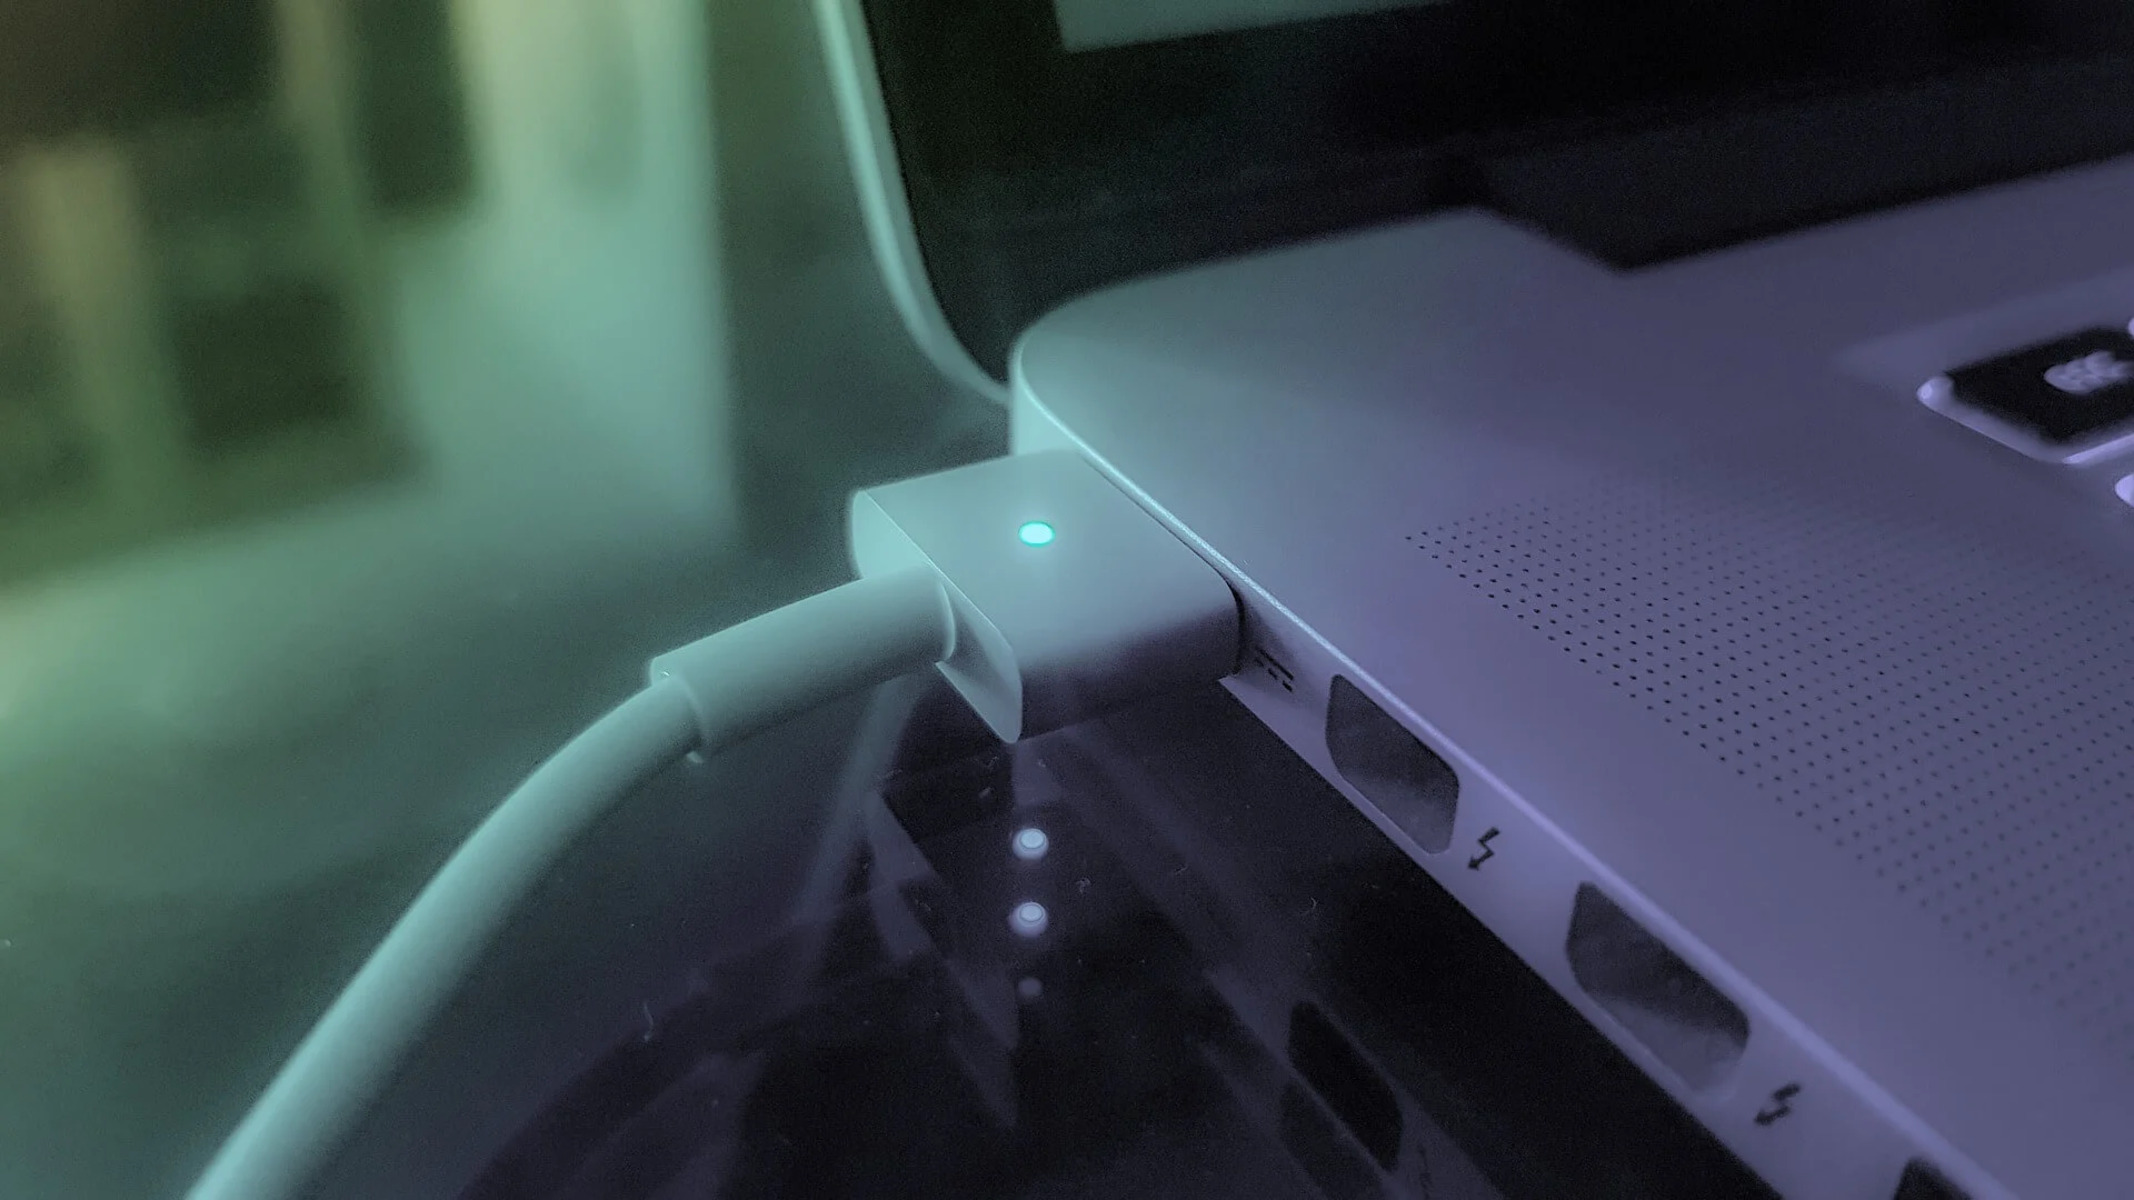
- Insert one end of the HDMI cable: Take one end of the HDMI cable and insert it into the HDMI port on your laptop. Make sure to align the shape of the connector with the port and insert it gently but firmly.
- Secure the connection: Once the HDMI cable is inserted into the port, gently push it in until it is fully seated. You should feel a slight click or resistance when it is properly connected.
- Note the HDMI number: If your laptop has multiple HDMI ports, take note of the HDMI port number you have used. This will be helpful when selecting the input source on your monitor later on.
- Optional: Connect audio cable (if needed): If your monitor does not have built-in speakers or you prefer to use external audio devices, you can connect an audio cable to your laptop’s headphone or audio output port and the corresponding audio input on your monitor.
Once you have successfully connected the HDMI cable to your laptop, you’re ready to proceed to the next step: connecting the HDMI cable to your monitor.
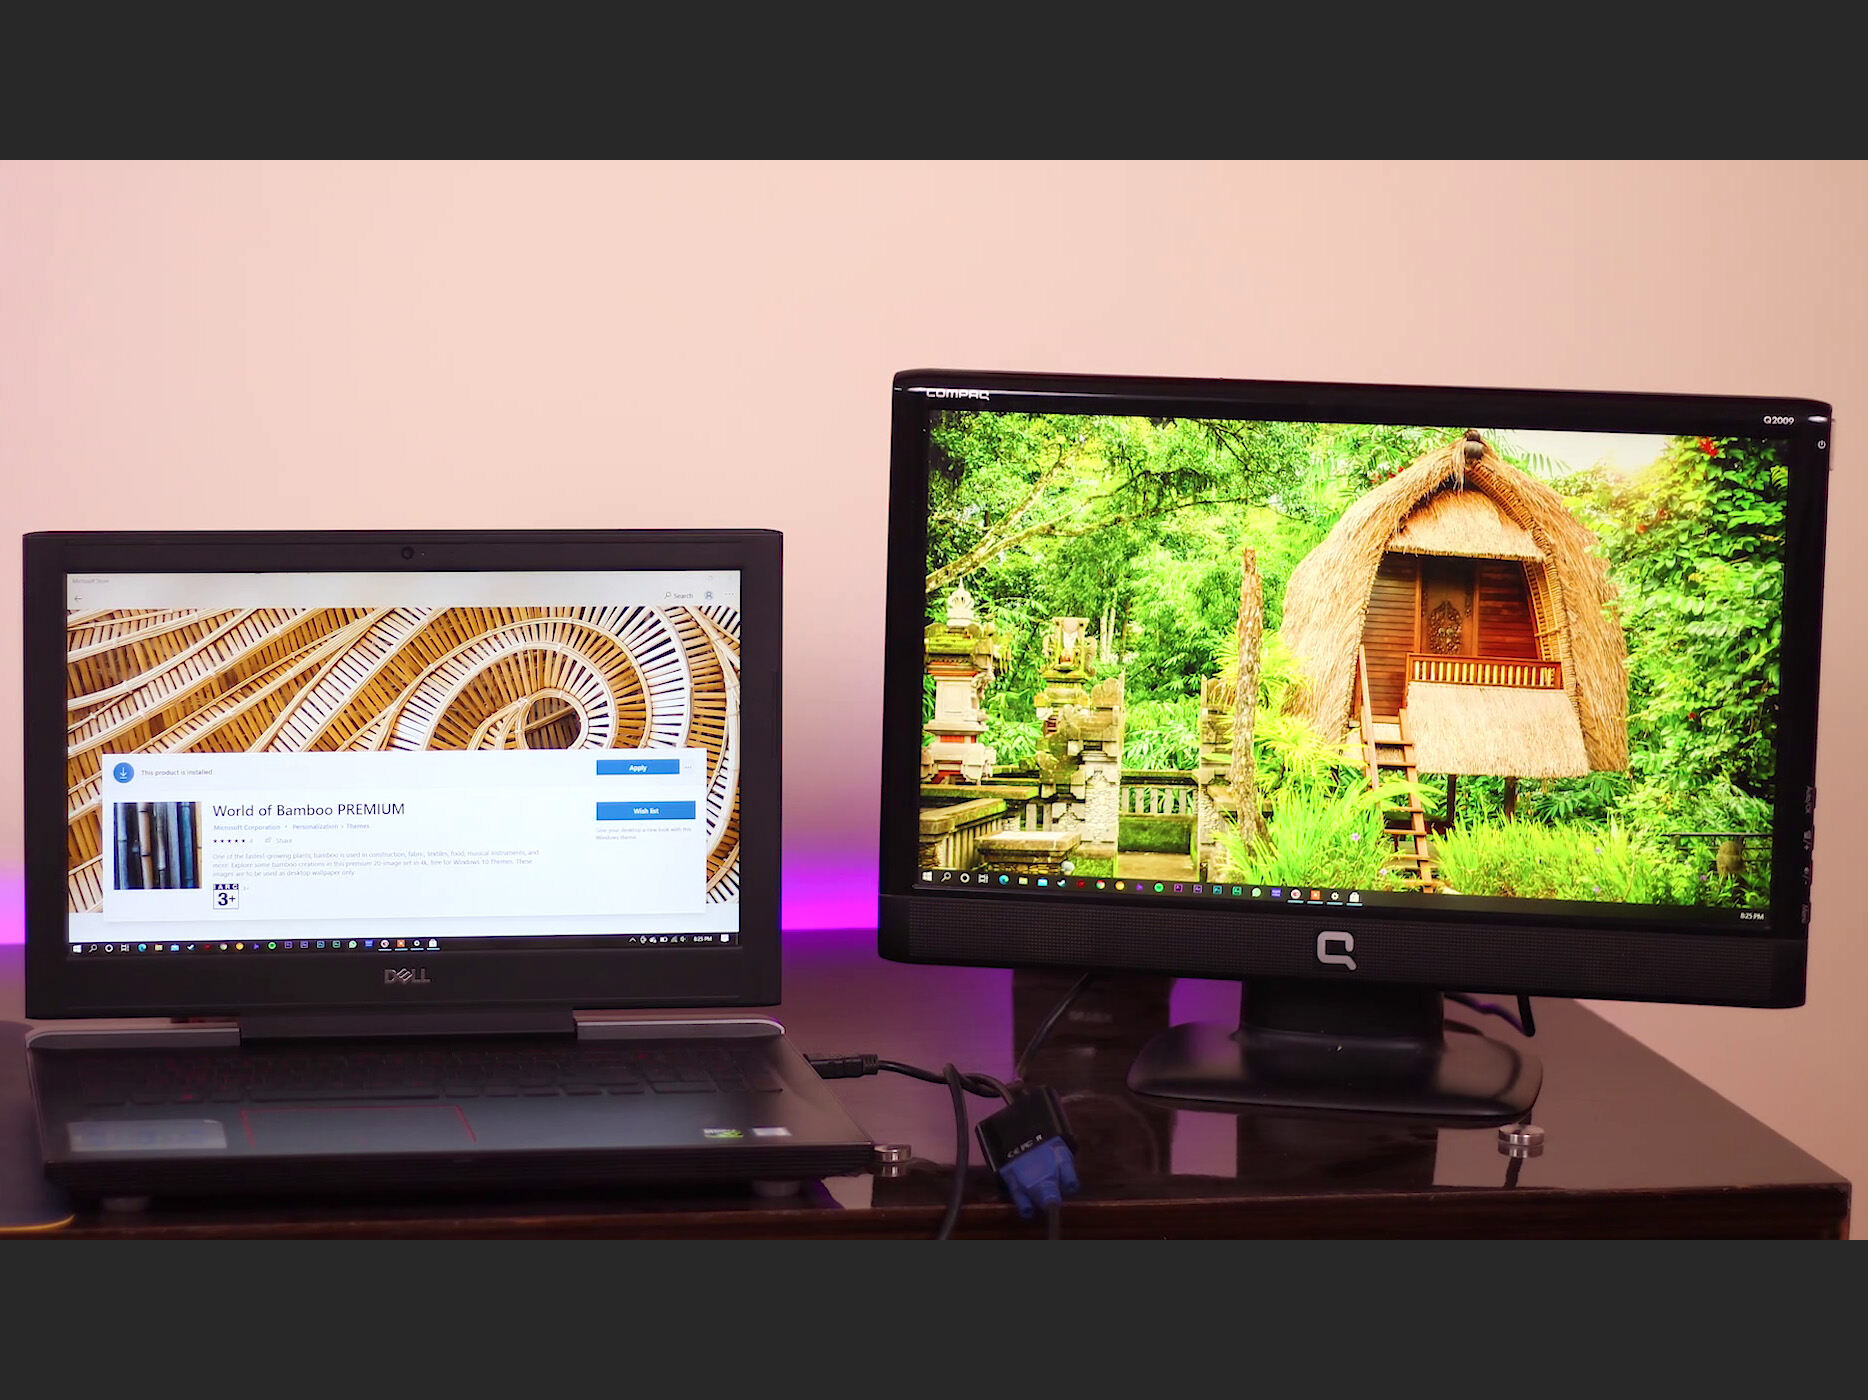
Step 5: Connect HDMI cable to monitor
Now that you have connected the HDMI cable to your laptop, it’s time to connect the other end of the cable to your monitor. Follow these steps:
- Locate the HDMI port: Look for the HDMI port on your monitor. It is typically located on the back or side of the monitor. The HDMI port is rectangular in shape and labeled “HDMI”.
- Insert the other end of the HDMI cable: Take the other end of the HDMI cable that is not connected to your laptop and insert it into the HDMI port on your monitor. Align the shape of the connector with the port and gently insert it.
- Secure the connection: Push the HDMI cable into the port until it is fully seated. Ensure that the cable is firmly connected, but be careful not to apply excessive force or bend the cable excessively.
- Optional: Connect audio cable (if needed): If you haven’t already connected an audio cable in the previous step, and your monitor requires a separate audio connection for audio output, connect an appropriate audio cable to the audio output port on your monitor and the corresponding audio input port on your external speakers or headphones.
Once the HDMI cable is securely connected to your monitor, you have completed the physical connection between your laptop and monitor. Now, it’s time to move on to the next step: powering on your laptop and monitor.
Step 6: Power on laptop and monitor
With the HDMI cable successfully connected to both your laptop and monitor, it’s time to power on your devices. Follow these steps to ensure a proper power-on sequence:
- Connect power cables: Plug in the power cables of both your laptop and monitor into their respective power outlets. Ensure that the power cables are securely connected.
- Switch on the monitor: Locate the power button or switch on your monitor and press it to turn on the monitor. Wait for a few seconds for the monitor to power up fully.
- Power on the laptop: Press the power button on your laptop to turn it on. Wait for your operating system to boot up, and you should see your desktop or login screen on your laptop’s display.
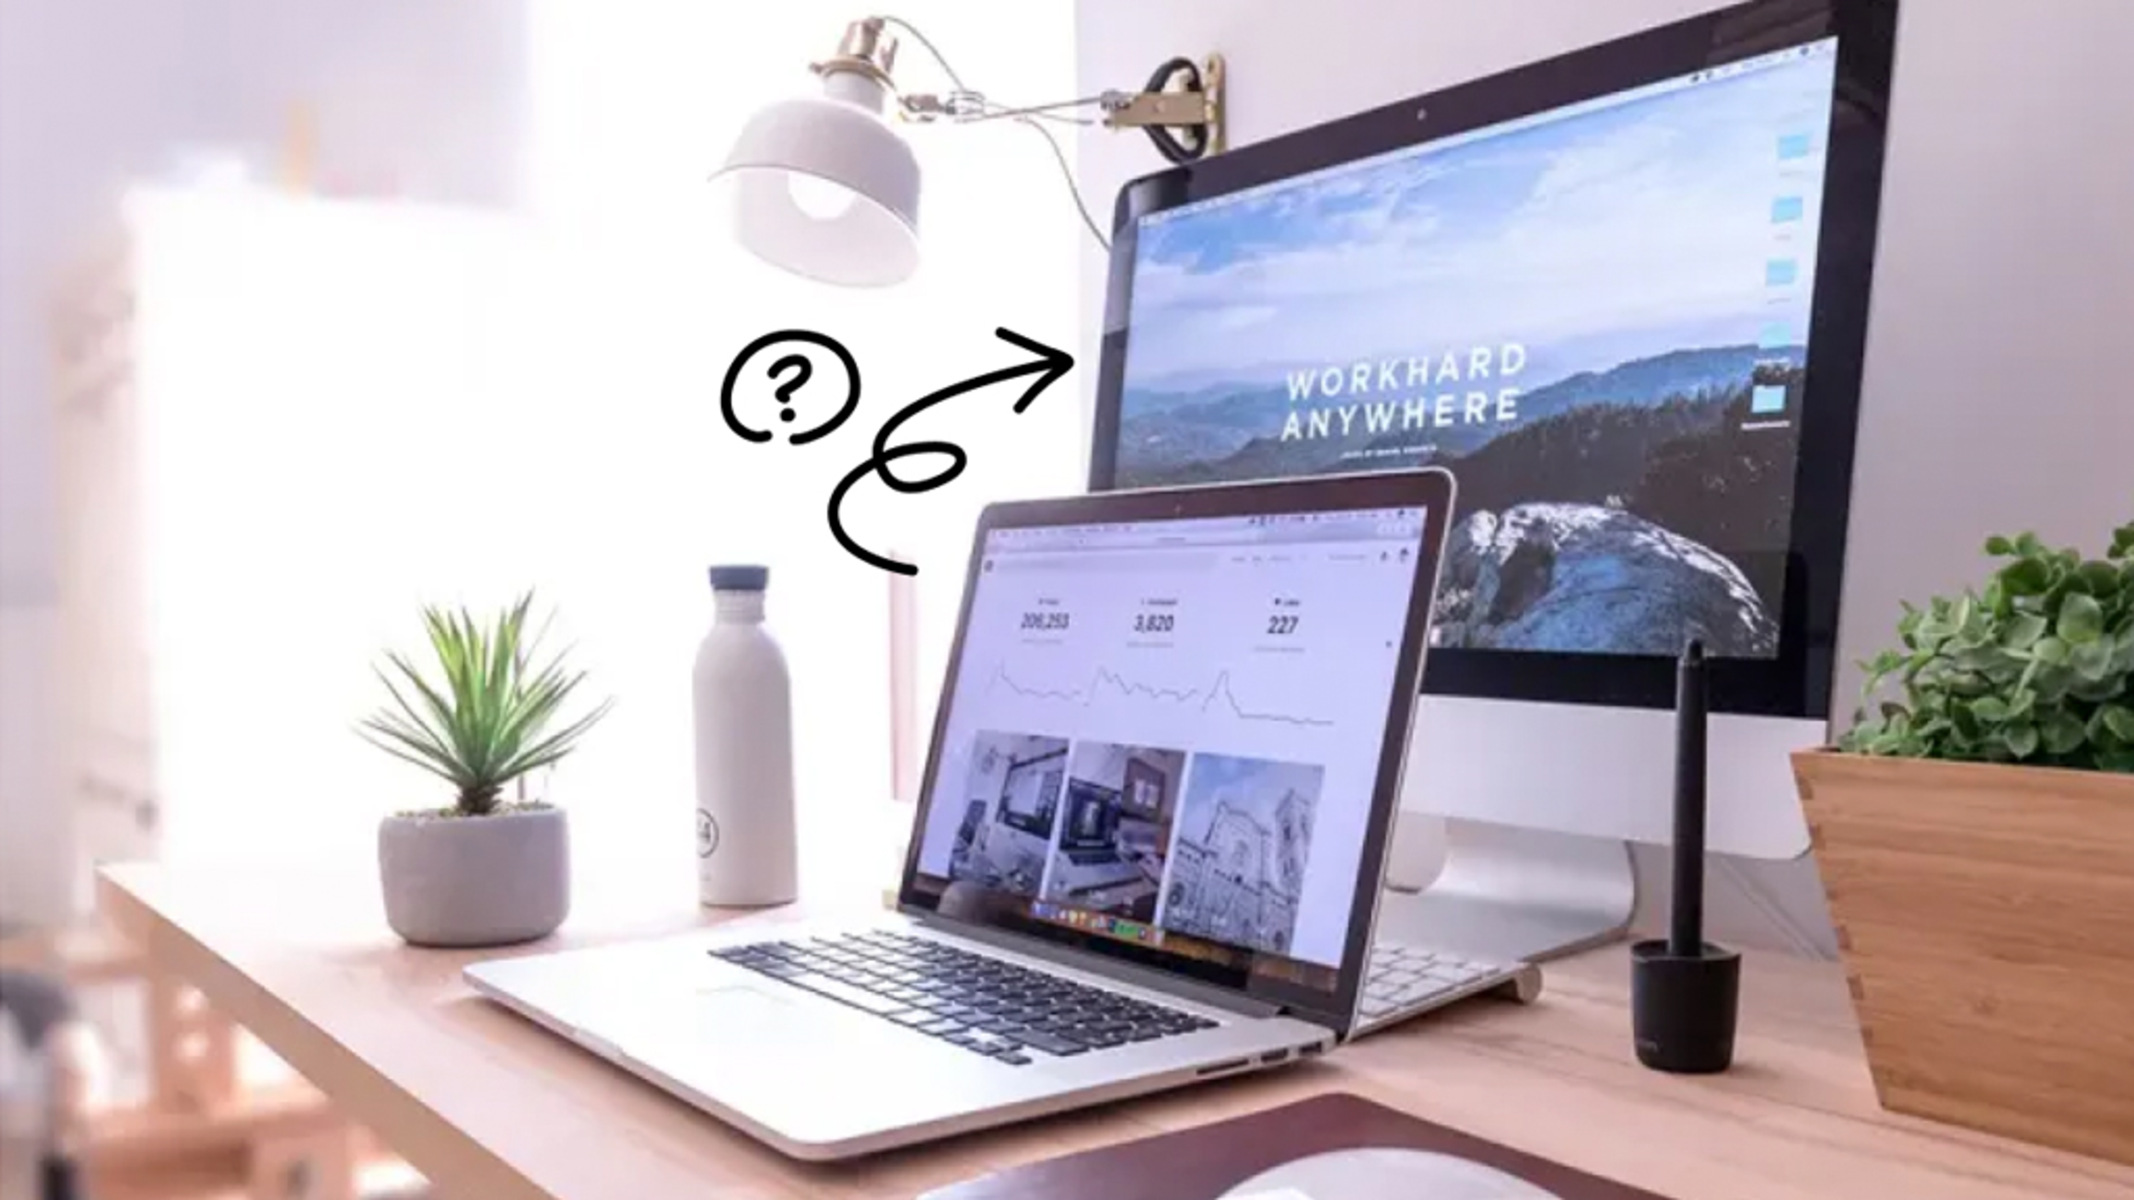
- Wait for the connection: Once your laptop has powered on, give it a moment to recognize the connected monitor. The system should automatically detect the monitor and adjust the display settings accordingly.
In most cases, your laptop’s display will extend to the connected monitor by default. However, if the display does not extend, you may need to adjust the display settings manually. We will cover this in the next step.
Now that both your laptop and monitor are powered on, you can proceed to the next step: selecting the correct input source on your monitor.
Step 7: Select the correct input source on the monitor
After powering on your laptop and monitor, it’s important to ensure that the monitor is set to the correct input source to receive the display signal from your laptop. Here’s how you can select the correct input source:
- On-screen menu: Locate the menu button or a dedicated input/source button on your monitor. Press the button to access the on-screen menu.
- Navigate the menu: Use the navigation buttons on your monitor to move through the menu options. Look for an option related to input/source selection.
- Select HDMI: Once you have found the input/source selection option, choose HDMI as the input source for the monitor. If your monitor has multiple HDMI ports, select the one corresponding to the HDMI port you connected your laptop to.
- Save and exit: After selecting the HDMI input source, save the changes and exit the on-screen menu.
By selecting the correct input source, your monitor will now receive the display signal from your laptop via the HDMI connection. You should see your laptop’s screen mirrored or extended on the monitor, depending on your display settings.
If you do not see any display on the monitor or encounter any issues with the input source selection, double-check the HDMI cable connections, make sure your laptop is powered on and displaying properly, and consult the user manual or customer support for your specific monitor model.
Once you have successfully selected the correct input source, you’re ready to move on to the next step: adjusting the laptop display settings to optimize the dual-monitor arrangement.
Step 8: Adjust laptop display settings
After successfully connecting your laptop to the monitor and selecting the correct input source, you may need to adjust the display settings on your laptop to optimize the dual-monitor setup. Here’s how you can adjust the display settings:
- Access display settings: Depending on your operating system, right-click on the desktop and select “Display Settings” or navigate to the display settings through the control panel or system preferences.
- Identify and arrange displays: In the display settings window, you’ll see a visual representation of your displays. Identify and select the laptop display and the connected monitor display.
- Choose display mode: Decide on the display mode you prefer for the dual-monitor setup. You can choose from the following options:
- Extended display: This mode allows you to have separate desktops on your laptop and monitor screens, effectively extending your workspace.
- Mirror display: This mode duplicates the same content on your laptop and monitor screens, creating an identical display on both.
- Single display: This mode allows you to use only your laptop display or only the connected monitor display.
- Adjust resolution and orientation: If needed, you can fine-tune the resolution and orientation of each display. Ensure that the resolution matches the capabilities of your monitor for optimal visual quality.
- Apply and save changes: Once you have configured the desired display settings, click “Apply” or “Save” to apply the changes. Your laptop and monitor displays should now be adjusted accordingly.
Experiment with different display settings to find the configuration that works best for your needs. By adjusting the display settings, you can maximize productivity, enhance gaming experiences, or improve multimedia viewing on your dual-monitor setup.
If you encounter any difficulties or have specific requirements for your display settings, refer to the user manual or support documentation for your laptop and operating system.
Now that you have successfully adjusted the laptop display settings, you’re all set to enjoy the benefits of your connected laptop and monitor. It’s time to take full advantage of the expanded workspace, immersive gaming, or enhanced productivity offered by your dual-monitor setup!
Conclusion
Connecting a laptop to a monitor using an HDMI cable opens up a world of possibilities, whether you are looking to increase your productivity, enjoy a larger display for gaming or multimedia, or simply mirror your laptop screen to a larger monitor. By following the step-by-step guide outlined in this article, you can successfully connect your laptop to a monitor and optimize your dual-monitor setup.
From checking the compatibility of your laptop and monitor to gathering the necessary cables and adapters, powering off the devices, connecting the HDMI cable, selecting the correct input source on the monitor, and adjusting the laptop display settings, each step is essential to ensure a proper connection and an optimal viewing experience.
Remember to always refer to the user manuals or support documentation for your specific laptop and monitor if you encounter any difficulties or have questions specific to your devices. Additionally, ensure that all cables and adapters are in good condition and of high quality to maintain a stable and reliable connection.
Connecting a laptop to a monitor opens up new possibilities for productivity, entertainment, and multitasking. Whether you’re a professional looking to expand your workspace or a gamer seeking a more immersive experience, utilizing a dual-monitor setup can greatly enhance your computing experience.
Now that you have completed the step-by-step process, you can enjoy the benefits of an extended workspace, improved gaming visuals, and enhanced multimedia experiences. So go ahead, connect your laptop to a monitor, and unlock the full potential of your devices!