Introduction
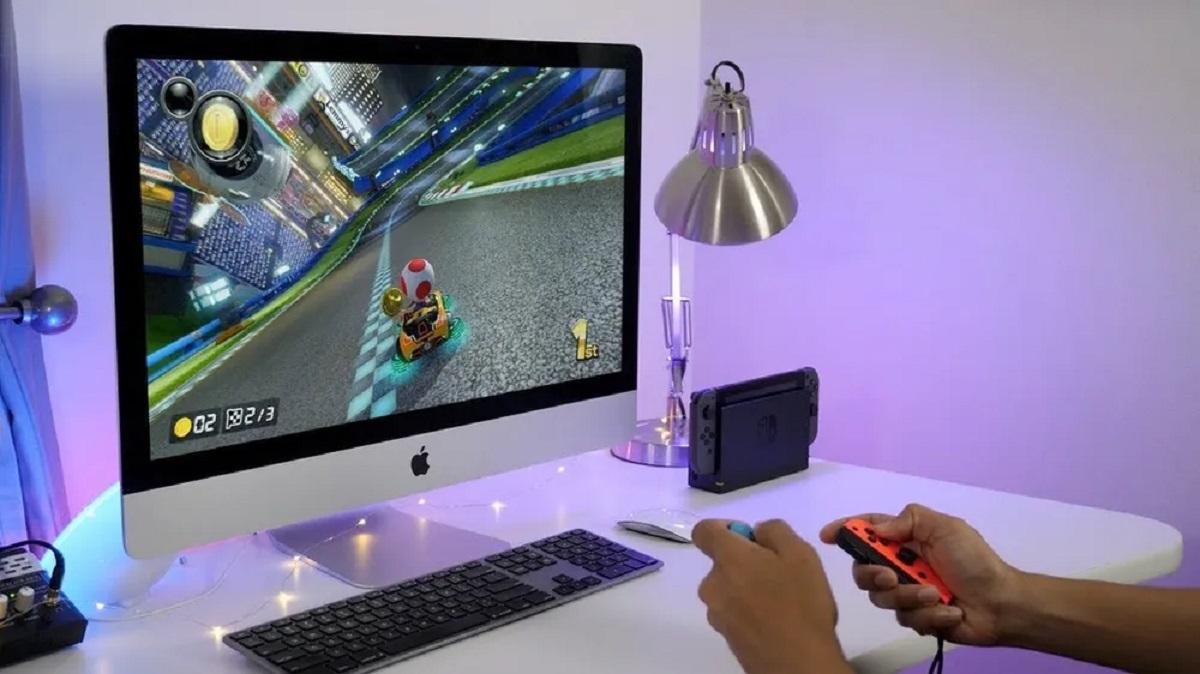
Connecting your Nintendo Switch gaming console to a monitor can greatly enhance your gaming experience. Whether you want to enjoy your favorite games on a bigger screen, play with friends in split-screen mode, or simply have a larger display, connecting the Switch to a monitor is a straightforward process.
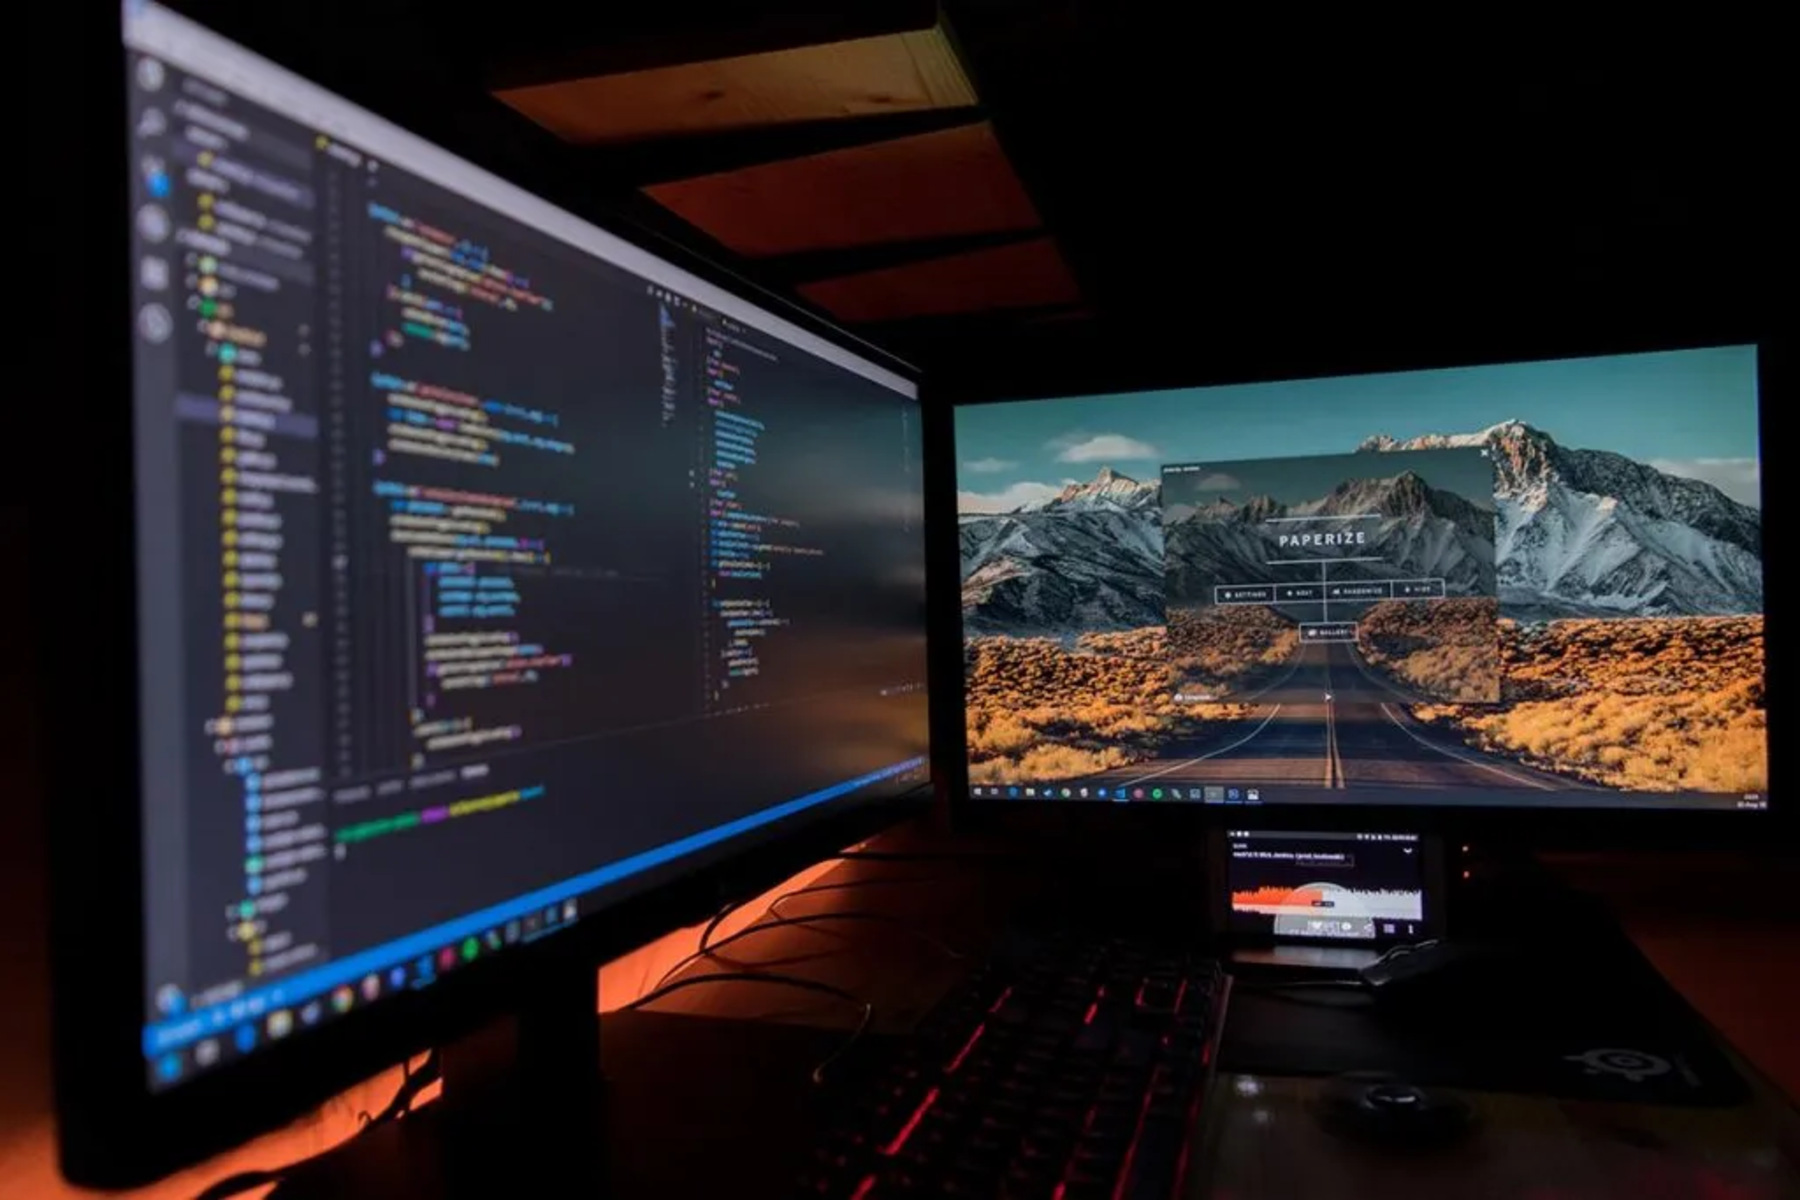
The Nintendo Switch is a versatile console that can be connected to a variety of displays, including televisions, computer monitors, and even projectors. By connecting it to a monitor, you can enjoy high-definition graphics and immersive gameplay.
In this guide, we will walk you through the step-by-step process of connecting your Nintendo Switch to a monitor. We will cover the necessary equipment, the connection methods, and the steps to ensure a successful setup.
Before we dive into the details, it’s important to note that the Nintendo Switch supports several connection options, including HDMI and USB-C. In this guide, we will focus on the most common method: connecting the Switch to a monitor using an HDMI cable.
So, if you’re ready to take your Nintendo Switch gaming to the next level and enjoy a larger and more immersive gaming experience, let’s get started with the first step: gathering the necessary equipment.
Step 1: Gather the necessary equipment
Before you can connect your Nintendo Switch to a monitor, you will need to gather the following equipment:
- Nintendo Switch: Make sure you have your Nintendo Switch console on hand. This is the main device that will be connecting to the monitor.
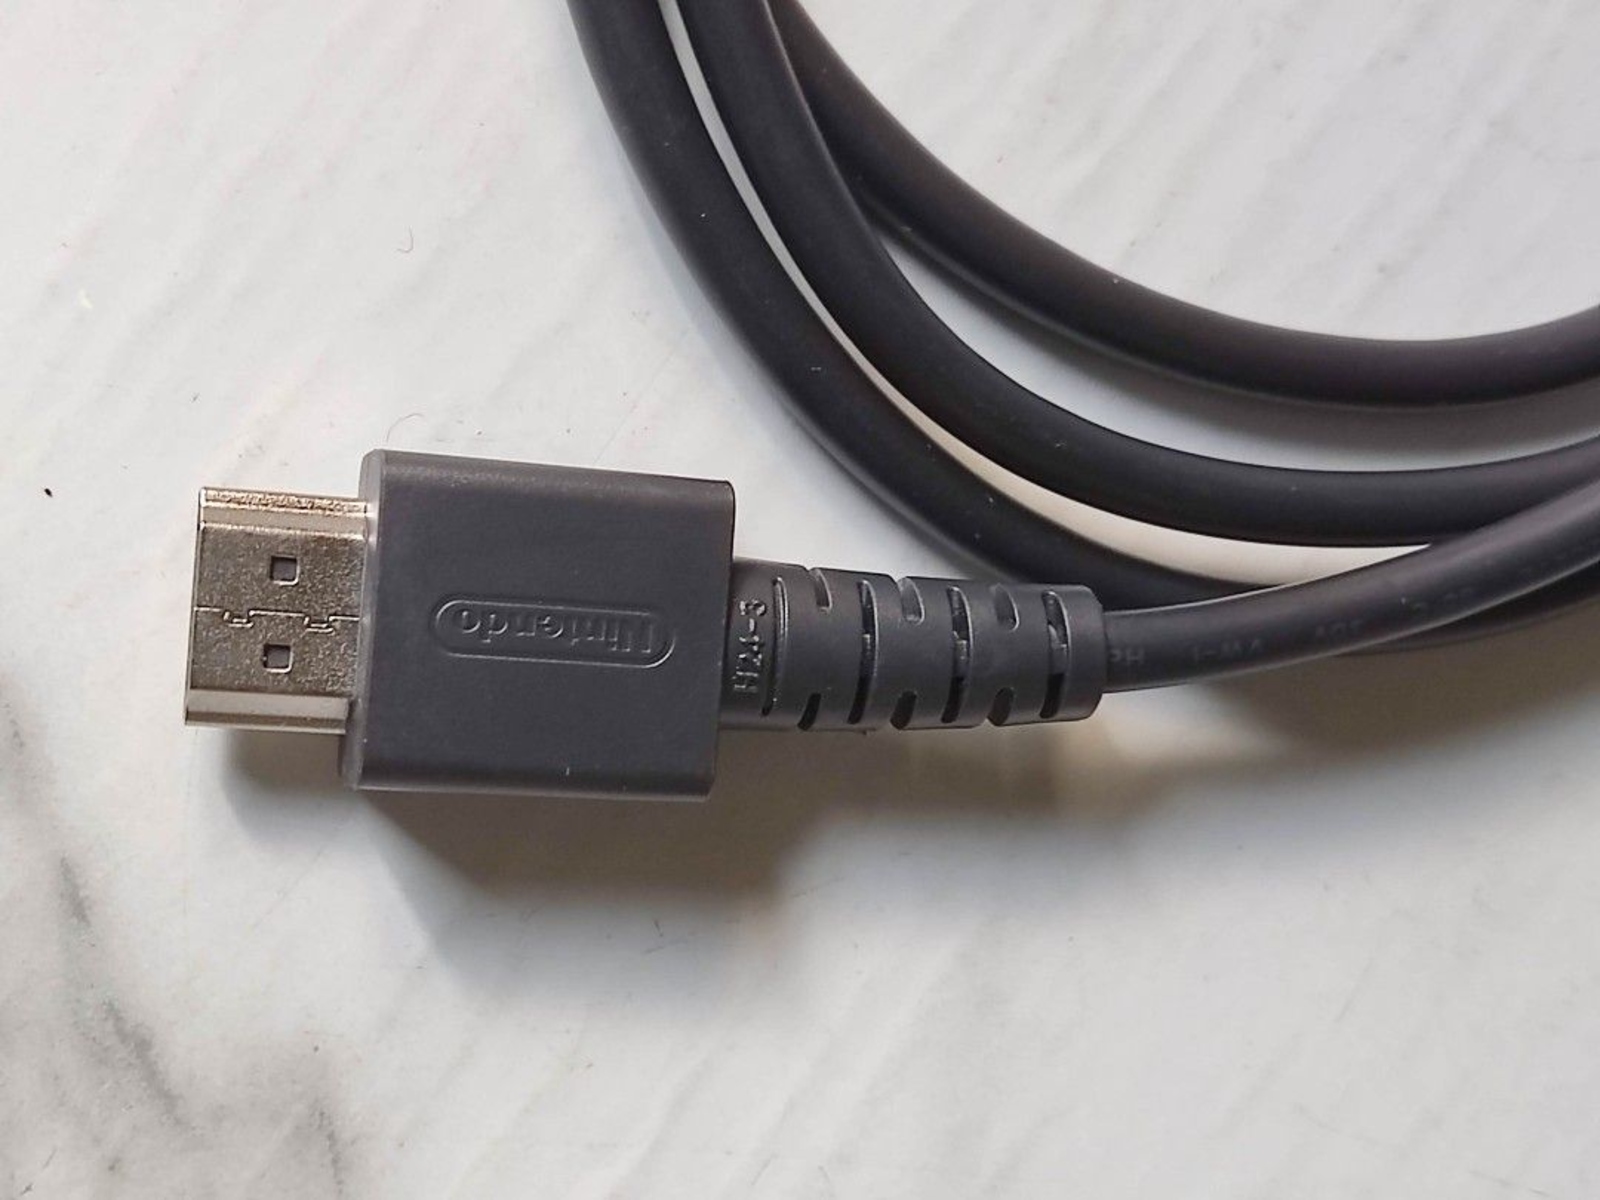
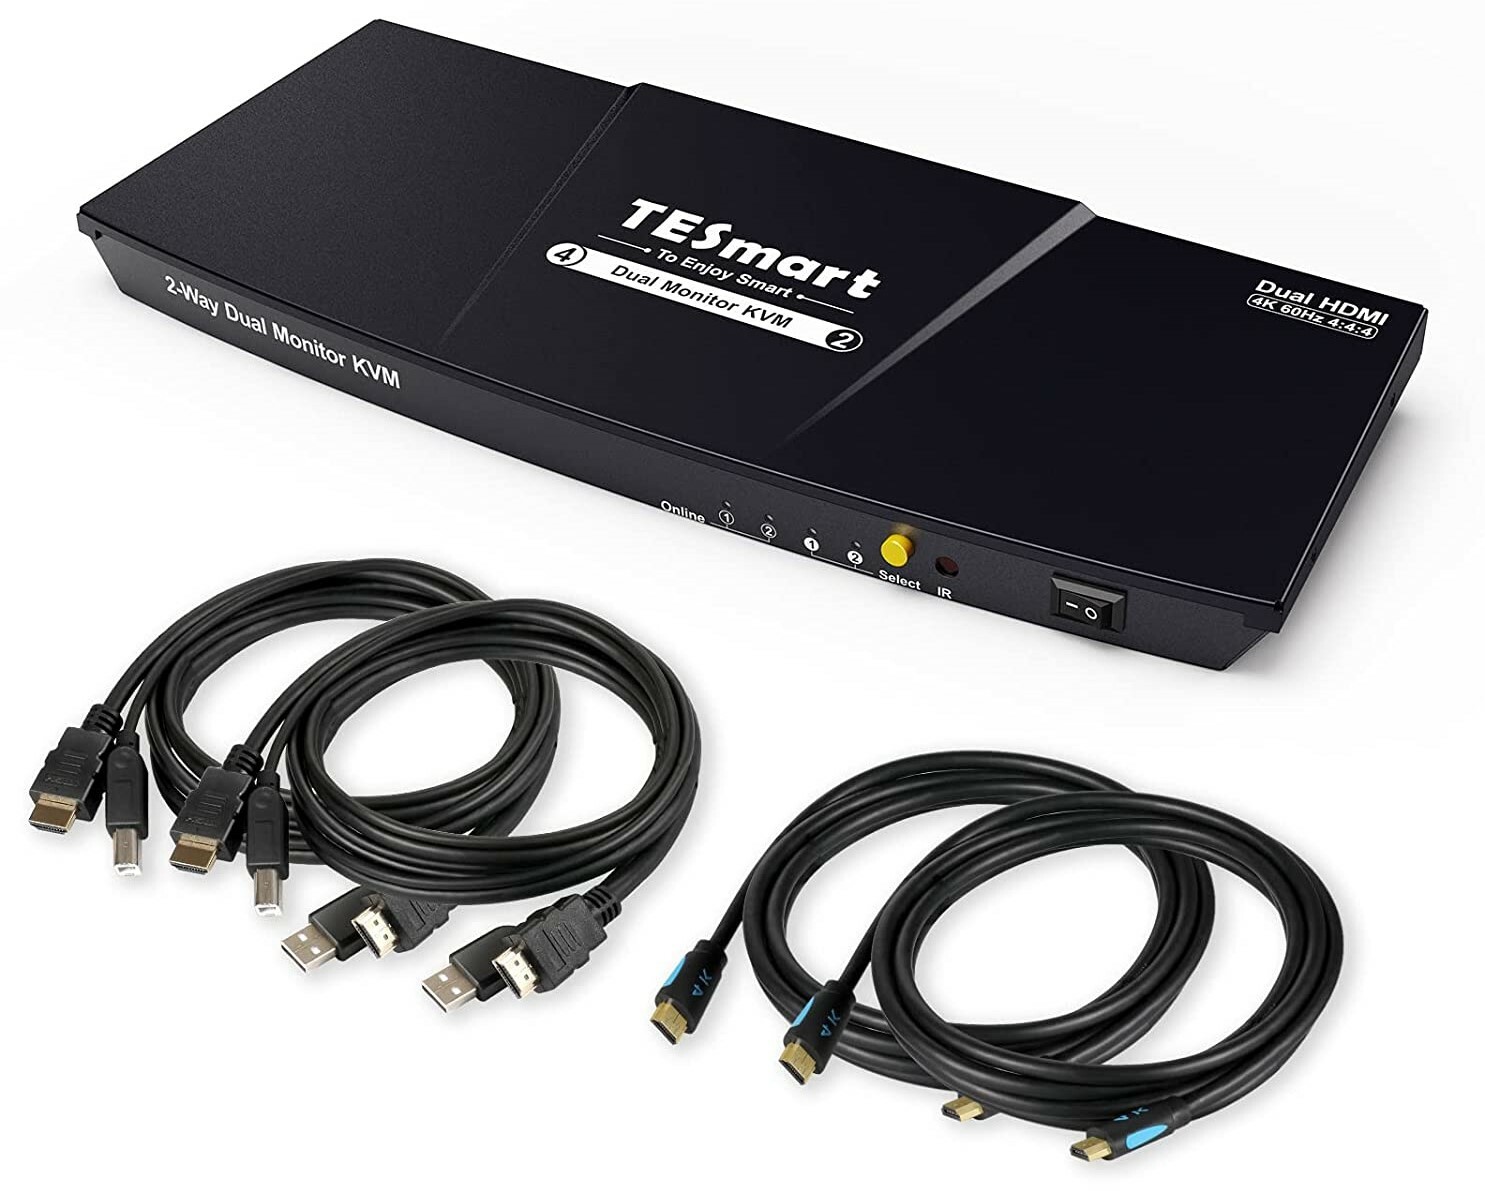
- HDMI cable: You will need an HDMI cable to establish the connection between the Nintendo Switch and the monitor. Ensure that the cable is in good condition and supports video and audio transmission.
- Monitor: Of course, you will need a monitor with an available HDMI input to connect your Nintendo Switch. Ensure that your monitor is turned off and that you have access to its ports.
- Power adapter: The Nintendo Switch requires power to operate, so make sure you have the power adapter that came with the console. This will allow you to connect the console to a power source.
- Power outlet or power strip: You will need a power outlet or a power strip with available outlets to connect the monitor and the Nintendo Switch to a power source. Make sure there is an easily accessible power source near your setup.
Once you have gathered all the necessary equipment, you are ready to move on to the next step: connecting the HDMI cable.
Step 2: Connect the HDMI cable
Now that you have all the necessary equipment, it’s time to connect the HDMI cable to establish a connection between your Nintendo Switch and the monitor. Follow these steps:
- Locate the HDMI port on the back of your Nintendo Switch dock. It is usually labeled as “HDMI”.
- Connect one end of the HDMI cable to the HDMI port on the dock. Make sure it is securely plugged in.
- Locate the HDMI input on your monitor. It is usually labeled as “HDMI IN”. Different monitors may have multiple HDMI inputs, so choose the one that corresponds to the HDMI port you connected to on the Nintendo Switch dock.
- Connect the other end of the HDMI cable to the HDMI input on the monitor. Again, ensure a secure connection.
With the HDMI cable securely connected to both the Nintendo Switch and the monitor, you have successfully established the physical connection between the two devices. The next step is to turn on the Nintendo Switch.
Keep in mind that some monitors may have different input settings or source selection menus. If your monitor has multiple inputs, you might need to select the correct HDMI input manually using the monitor’s menu or input/source button. Refer to the monitor’s user manual for specific instructions on how to do this.
With the HDMI cable connected and your monitor ready, it’s time to move on to the next step: turning on the Nintendo Switch.
Step 3: Turn on the Nintendo Switch
Now that the HDMI cable is connected between your Nintendo Switch and the monitor, it’s time to turn on the console. Follow these steps:
- Ensure that your monitor is on and set to the correct HDMI input that you connected the Nintendo Switch to. If you’re not sure, refer to the monitor’s user manual.
- Locate the power button on the Nintendo Switch dock. It is usually located on the front or top of the dock.
- Press the power button on the dock to turn on the Nintendo Switch.
- The Nintendo Switch dock will now display a light indicating that it’s receiving power. The console itself will display the Nintendo logo or the game’s startup screen on the monitor.
If you don’t see any image on the monitor, double-check that the HDMI cable is securely connected to both the Nintendo Switch dock and the monitor. It’s also a good idea to check that the monitor is on the correct input and that it’s set to receive a signal from the HDMI port.
Once the Nintendo Switch is turned on and the image is displayed on the monitor, you’re ready to move on to the next step: adjusting the monitor settings.
Step 4: Adjust the monitor settings
After turning on the Nintendo Switch and seeing the image displayed on your monitor, you may need to make some adjustments to the monitor settings to optimize the display. Follow these steps:
- Access the menu or settings options on your monitor. This can usually be done by pressing a button on the monitor or using a remote control if your monitor has one.
- Look for display settings or picture settings options in the menu. The exact names and locations may vary depending on your monitor.
- Adjust the brightness, contrast, and color settings as desired to achieve the optimal visual experience. It’s recommended to set the display settings based on personal preference and the lighting conditions in your gaming setup.
- Additionally, you may find options for aspect ratio or screen size. Make sure the setting matches the aspect ratio and resolution supported by the monitor and the Nintendo Switch for the best display quality.
It’s important to note that every monitor is different, and the available settings and options may vary. Refer to your monitor’s user manual for specific instructions on adjusting the settings and making the appropriate changes.
Take your time to experiment with the settings and find the configurations that suit your preferences and provide the best gaming experience. Once you are satisfied with the adjustments, you can move on to the final step: testing the connection.
Step 5: Test the connection
Now that you have connected your Nintendo Switch to the monitor and adjusted the settings, it’s time to test the connection and ensure everything is working properly. Follow these steps:
- On your Nintendo Switch, navigate to the home screen by pressing the home button on your joy-con or controller.
- Select a game or an application you would like to play from the list of available options.
- The game or application should launch and display on the monitor. Use your joy-con or controller to play the game or navigate through the application.
- Pay attention to the visuals, audio, and any input lag. Ensure that the game or application is running smoothly and that there are no display or audio issues.
- If you encounter any issues, double-check the connections, monitor settings, and make sure the Nintendo Switch is up to date with the latest system software.
- If everything is working as expected, congratulations! You have successfully connected your Nintendo Switch to the monitor.
Take this opportunity to fully enjoy your gaming experience on a larger screen. Immerse yourself in high-definition graphics, vibrant colors, and smooth gameplay.
If you encounter any persistent issues or have specific questions regarding the connection between the Nintendo Switch and the monitor, refer to the console’s user manual or reach out to Nintendo’s support for further assistance.
With the connection tested and confirmed, you are now ready to enjoy your Nintendo Switch games on a larger display, providing you with a more immersive gaming experience.
Conclusion
Connecting your Nintendo Switch to a monitor can open up a whole new world of gaming possibilities. By following the step-by-step process outlined in this guide, you can easily connect your Nintendo Switch to a monitor and enhance your gaming experience.
We started by discussing the necessary equipment, including the Nintendo Switch console, HDMI cable, and a compatible monitor. With these items ready, we then covered the steps to connect the HDMI cable, turn on the Nintendo Switch, adjust the monitor settings, and test the connection.
Remember to double-check the connections, ensure the monitor is on the correct input, and adjust the settings to optimize your display quality. Take your time to explore the various settings and configurations that suit your preferences and provide the best gaming experience.
Now that you have successfully connected your Nintendo Switch to the monitor, you can enjoy your favorite games on a larger screen with immersive visuals and audio. Whether you’re playing solo or with friends, this setup will undoubtedly elevate your gaming sessions.
If you encounter any issues during the process, don’t hesitate to consult the console’s user manual or reach out to Nintendo’s support for assistance. They will be able to provide the guidance needed to troubleshoot and resolve any technical difficulties you may encounter.
With the connection established and the setup complete, it’s time to sit back, relax, and dive into the exciting world of Nintendo Switch gaming on your monitor. Let the adventures begin!