Introduction
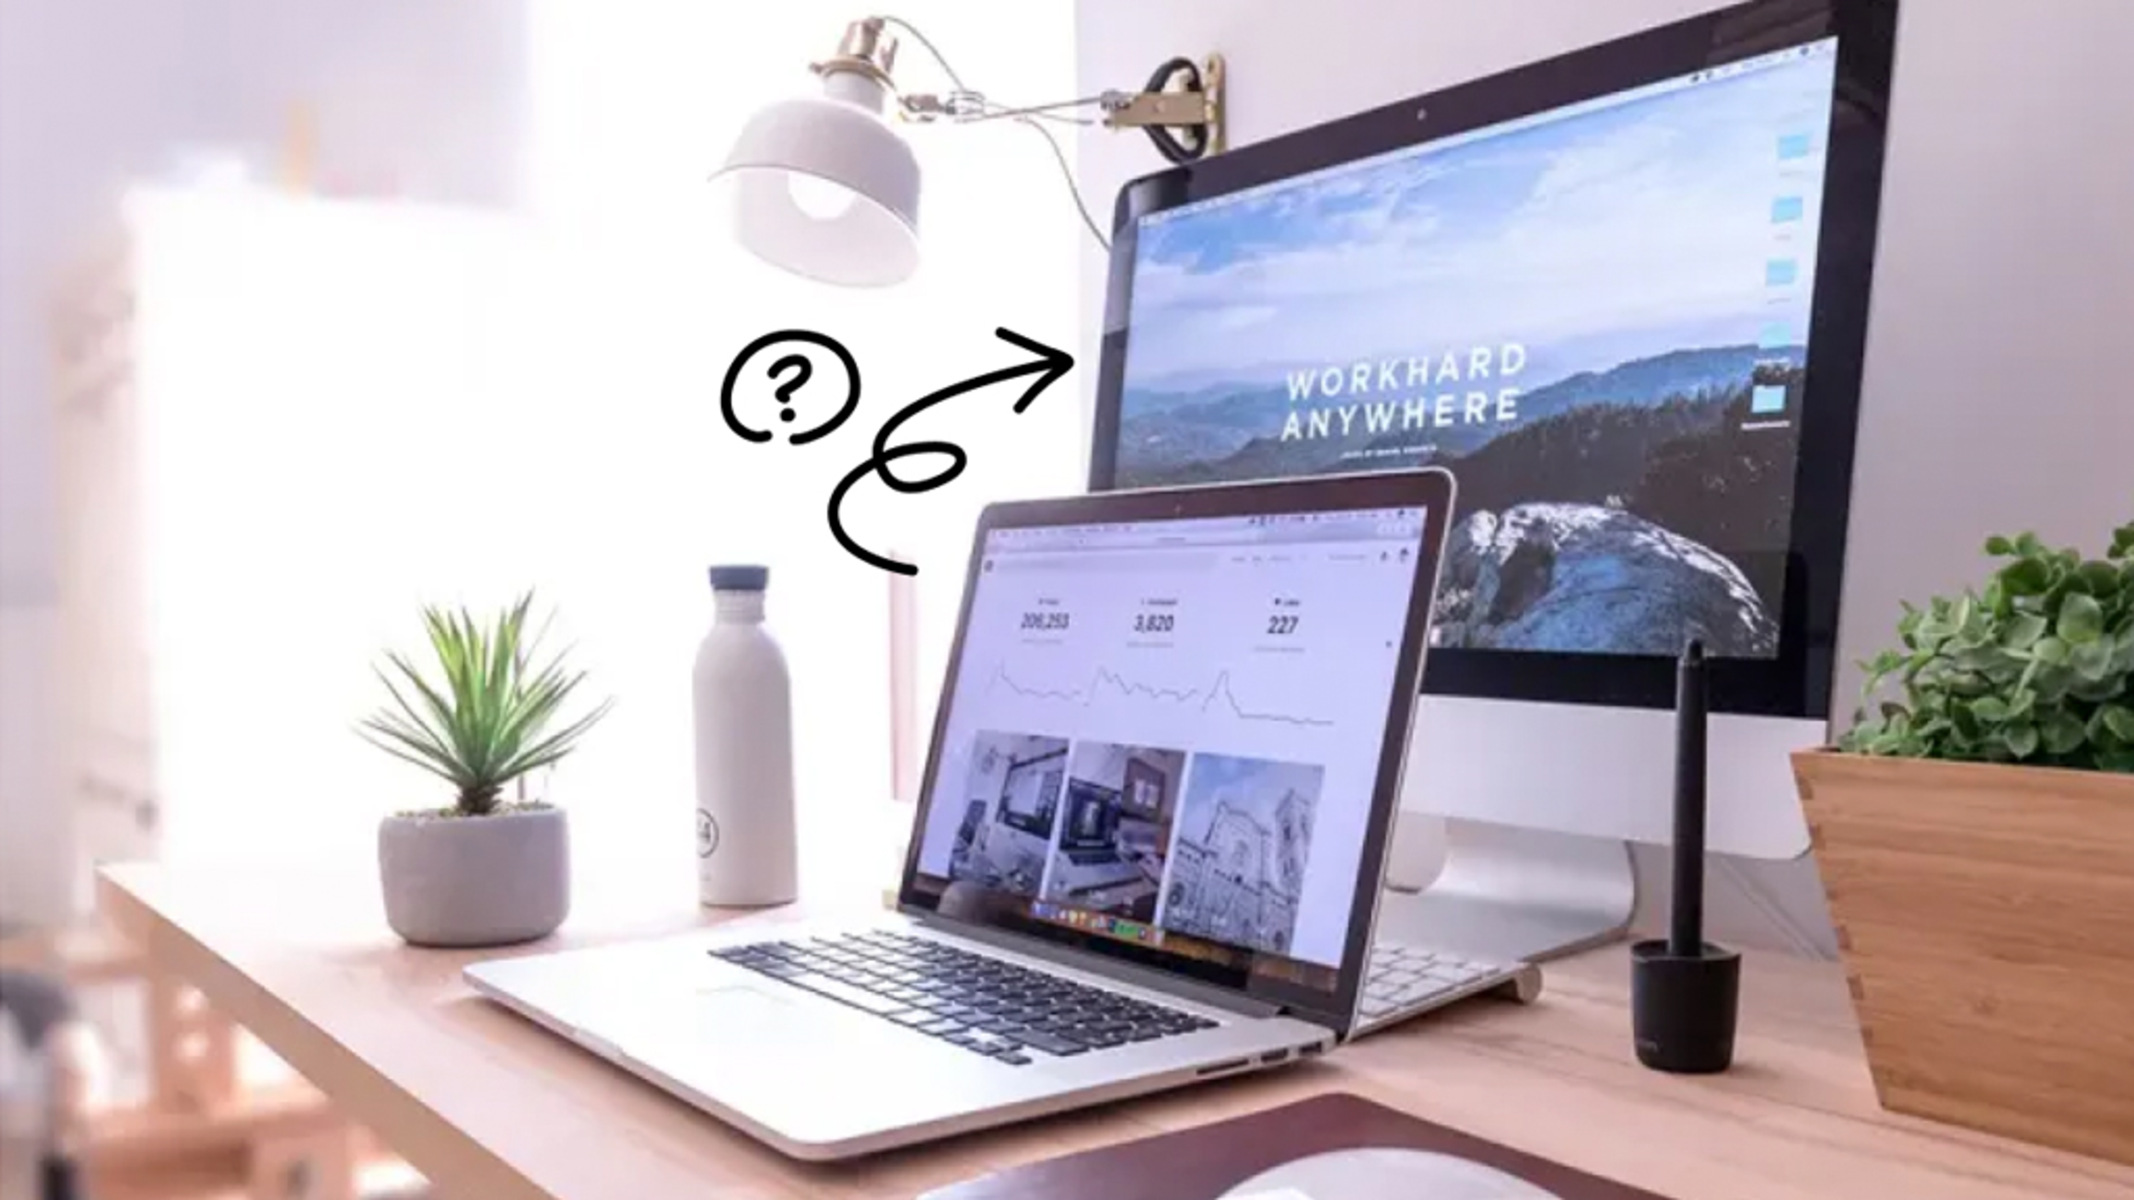
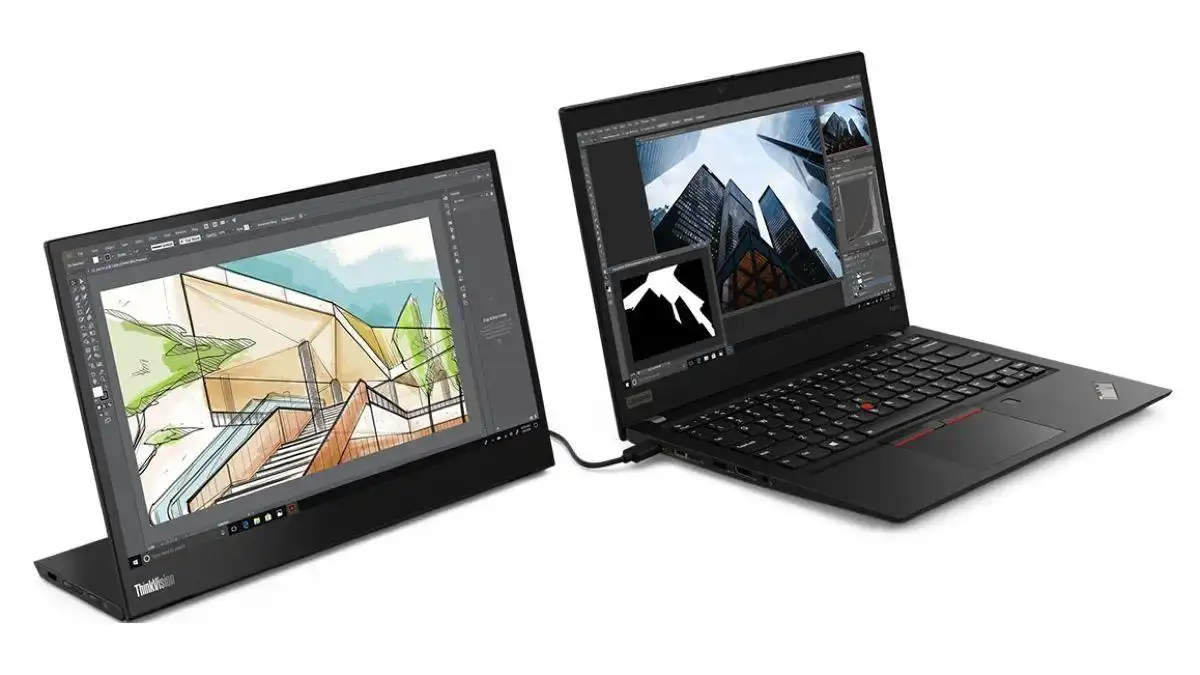
Ever wondered if there’s a way to make the most out of your laptop by using it as a second monitor? Whether you’re a professional who needs additional screen real estate or a gamer wanting a dual-screen setup, the good news is that it’s possible to utilize your laptop as a monitor for another device. Not only does this setup enhance productivity, but it can also provide a more immersive experience.
In this guide, we’ll walk you through the steps of using your laptop as a monitor. We’ll cover the necessary compatibility check, the connection process, adjusting display settings, and resolving potential issues along the way. With a few simple steps, you’ll be able to extend your desktop and maximize your workspace using just your laptop and main device.
Before we dive into the details, it’s important to note that the ability to use your laptop as a monitor depends on certain factors, such as your laptop’s hardware capabilities, operating system, and the ports available on both devices. Additionally, keep in mind that while some laptops natively support acting as a second monitor, others might require specific software or hardware solutions.
Now that you have a brief overview, let’s get started with the first step: checking compatibility between your laptop and the device you want to use it with.
Step 1: Check Compatibility
Before you begin using your laptop as a monitor, it’s crucial to check the compatibility between your laptop and the device you want to connect it to. While many laptops are equipped with the necessary features, it’s still important to ensure that both devices can seamlessly work together.
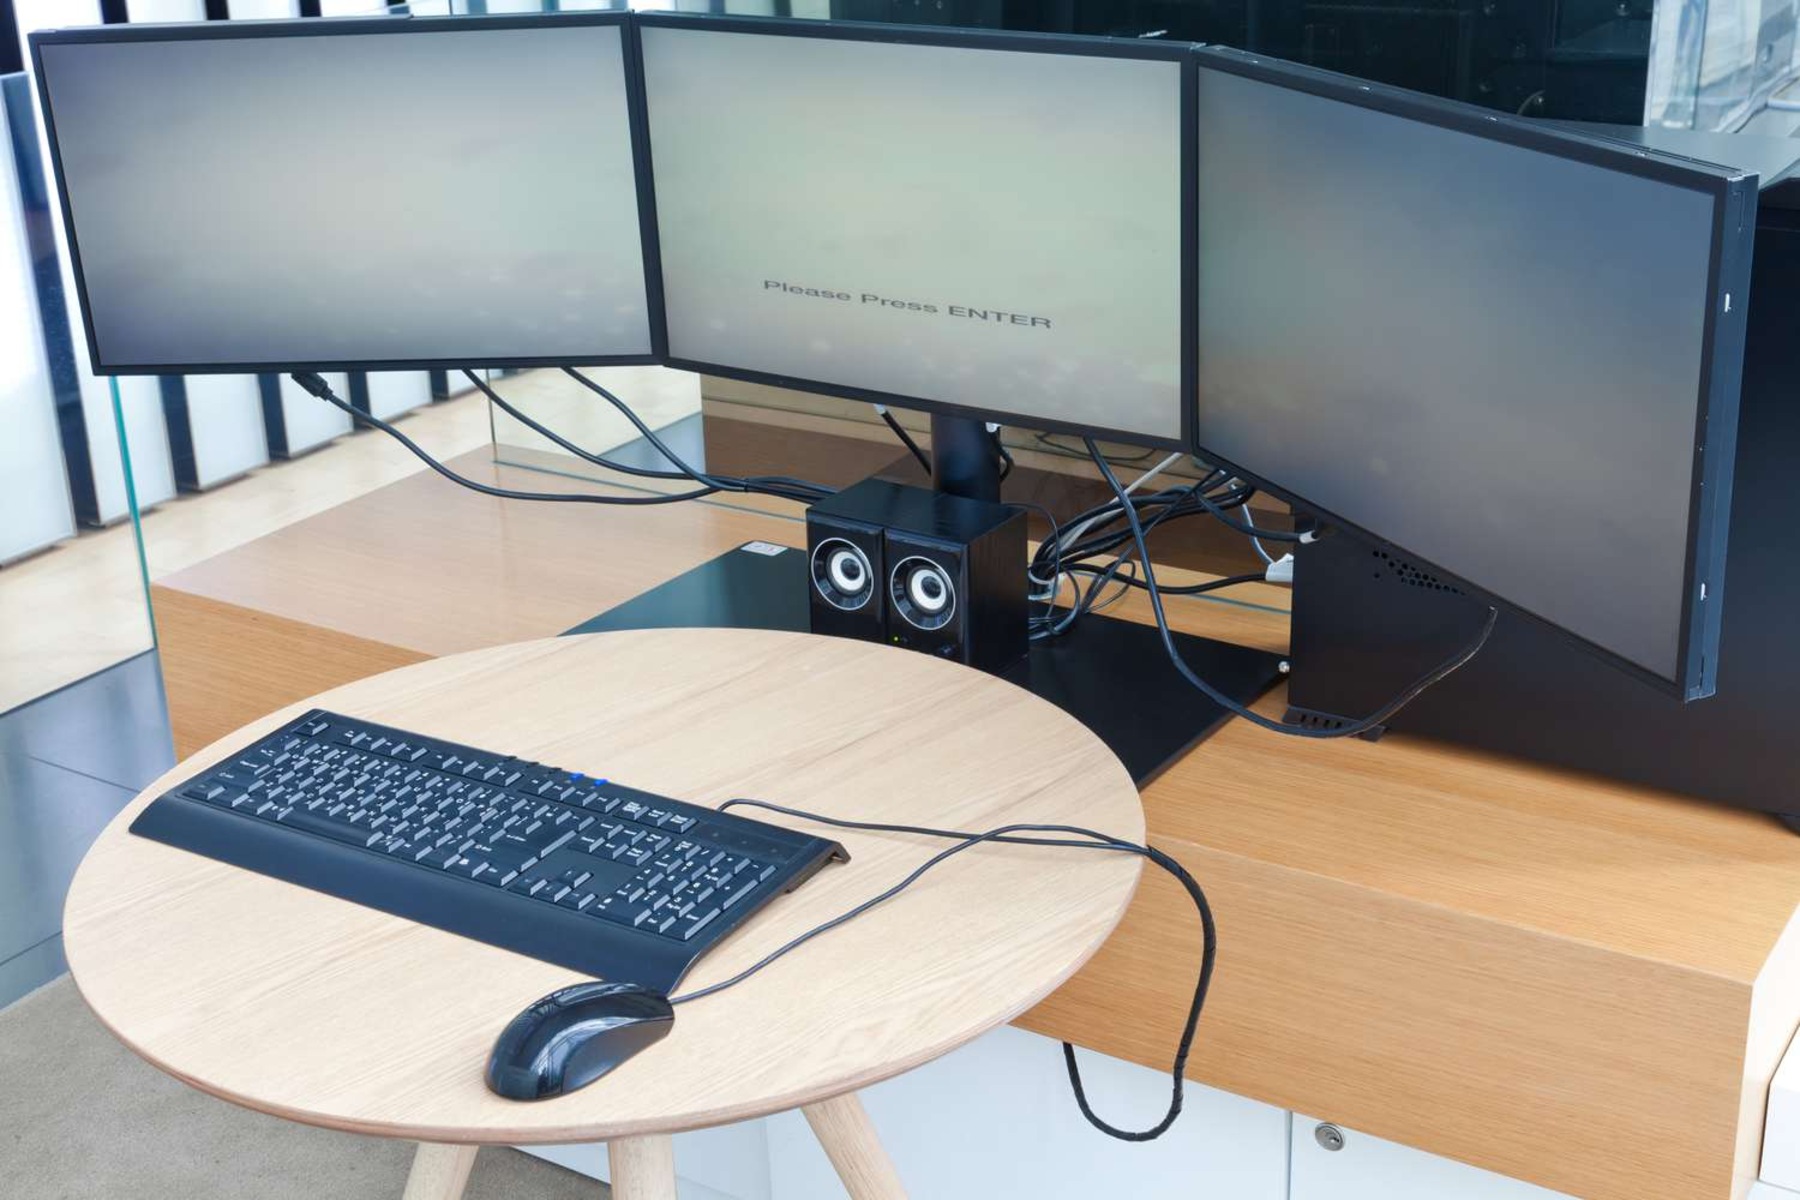
Start by checking the available ports on your laptop. The most common port used for connecting an external display is HDMI, but your laptop might also have DisplayPort, USB-C, or VGA ports. Review the specifications of both your laptop and the main device to confirm that they share at least one compatible port.
Next, consider the screen resolution and size of both devices. Ideally, the laptop’s screen resolution and aspect ratio should match or be similar to the main device’s display for a more seamless experience. If there’s a significant difference, it may result in distorted graphics or improper scaling of the content.
Additionally, ensure that your laptop’s graphics card supports multiple displays. Some laptops may have integrated graphics that can handle dual screens, while others may require a dedicated graphics card to enable this feature. Check the specifications of your laptop to determine if it has the necessary graphics capabilities.
Operating system compatibility is another essential factor to consider. In most cases, using your laptop as a monitor requires both devices to be running the same operating system or at least be compatible with each other. For example, if you’re using a Windows laptop, it’s typically easier to connect it to another Windows-based device.
Lastly, check the documentation or support resources for your specific laptop model. Some laptops come with manufacturer-specific tools or software that facilitate using the laptop as a second monitor. These tools may offer additional customization options or features that can enhance your dual-screen setup.
By ensuring compatibility between your laptop and the main device, you can avoid potential issues and ensure a smooth experience while using your laptop as a monitor.
Step 2: Connect the Laptop and the Main Device
Once you have confirmed compatibility between your laptop and the main device, it’s time to connect the two devices together. The specific steps may vary depending on the ports and connectivity options available on your laptop and the main device, but the general process remains relatively similar.
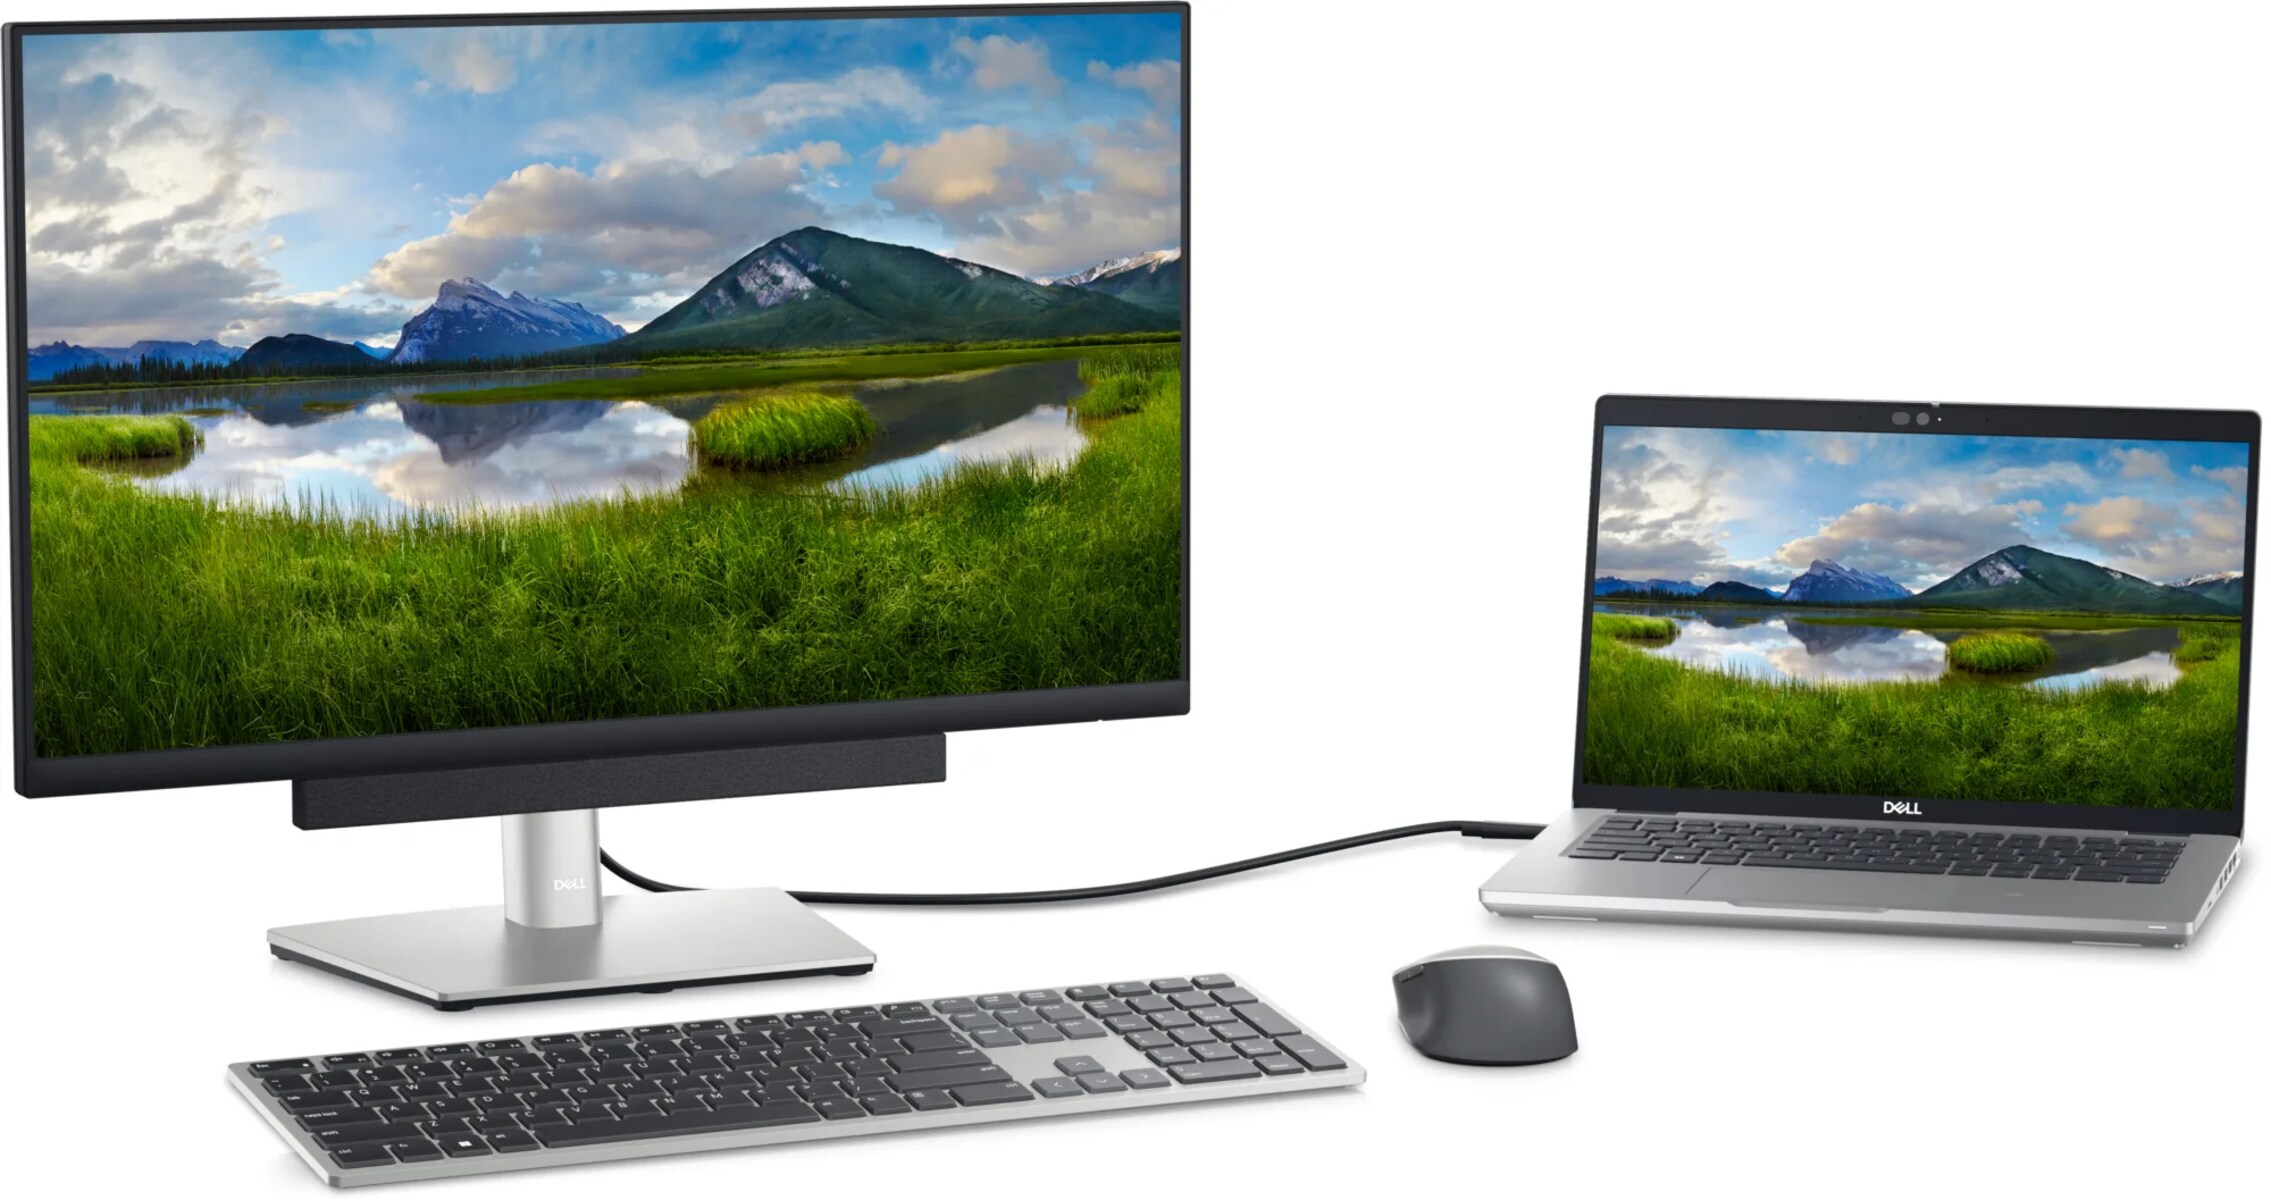
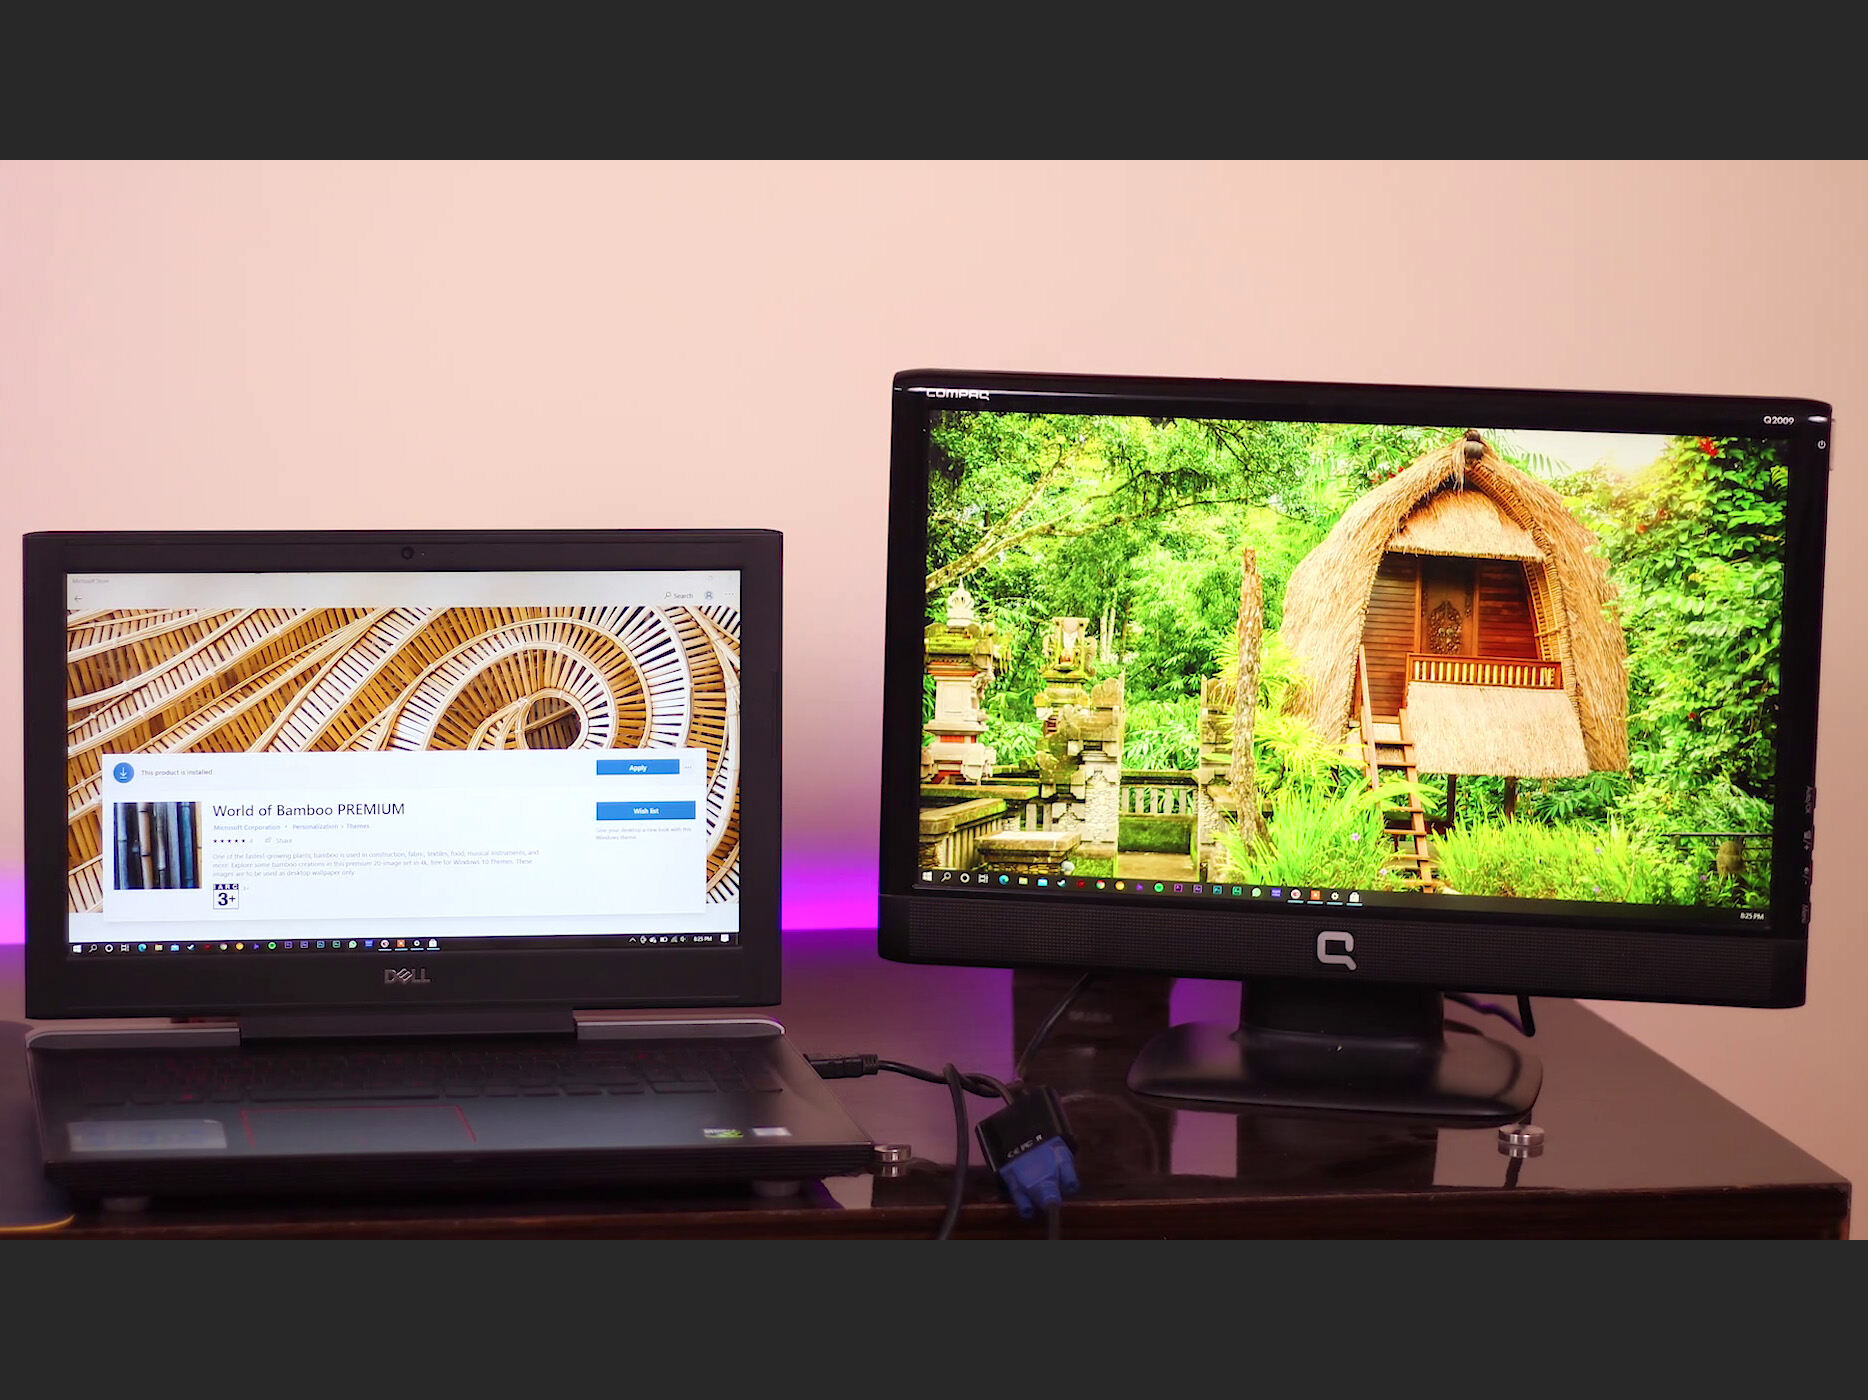
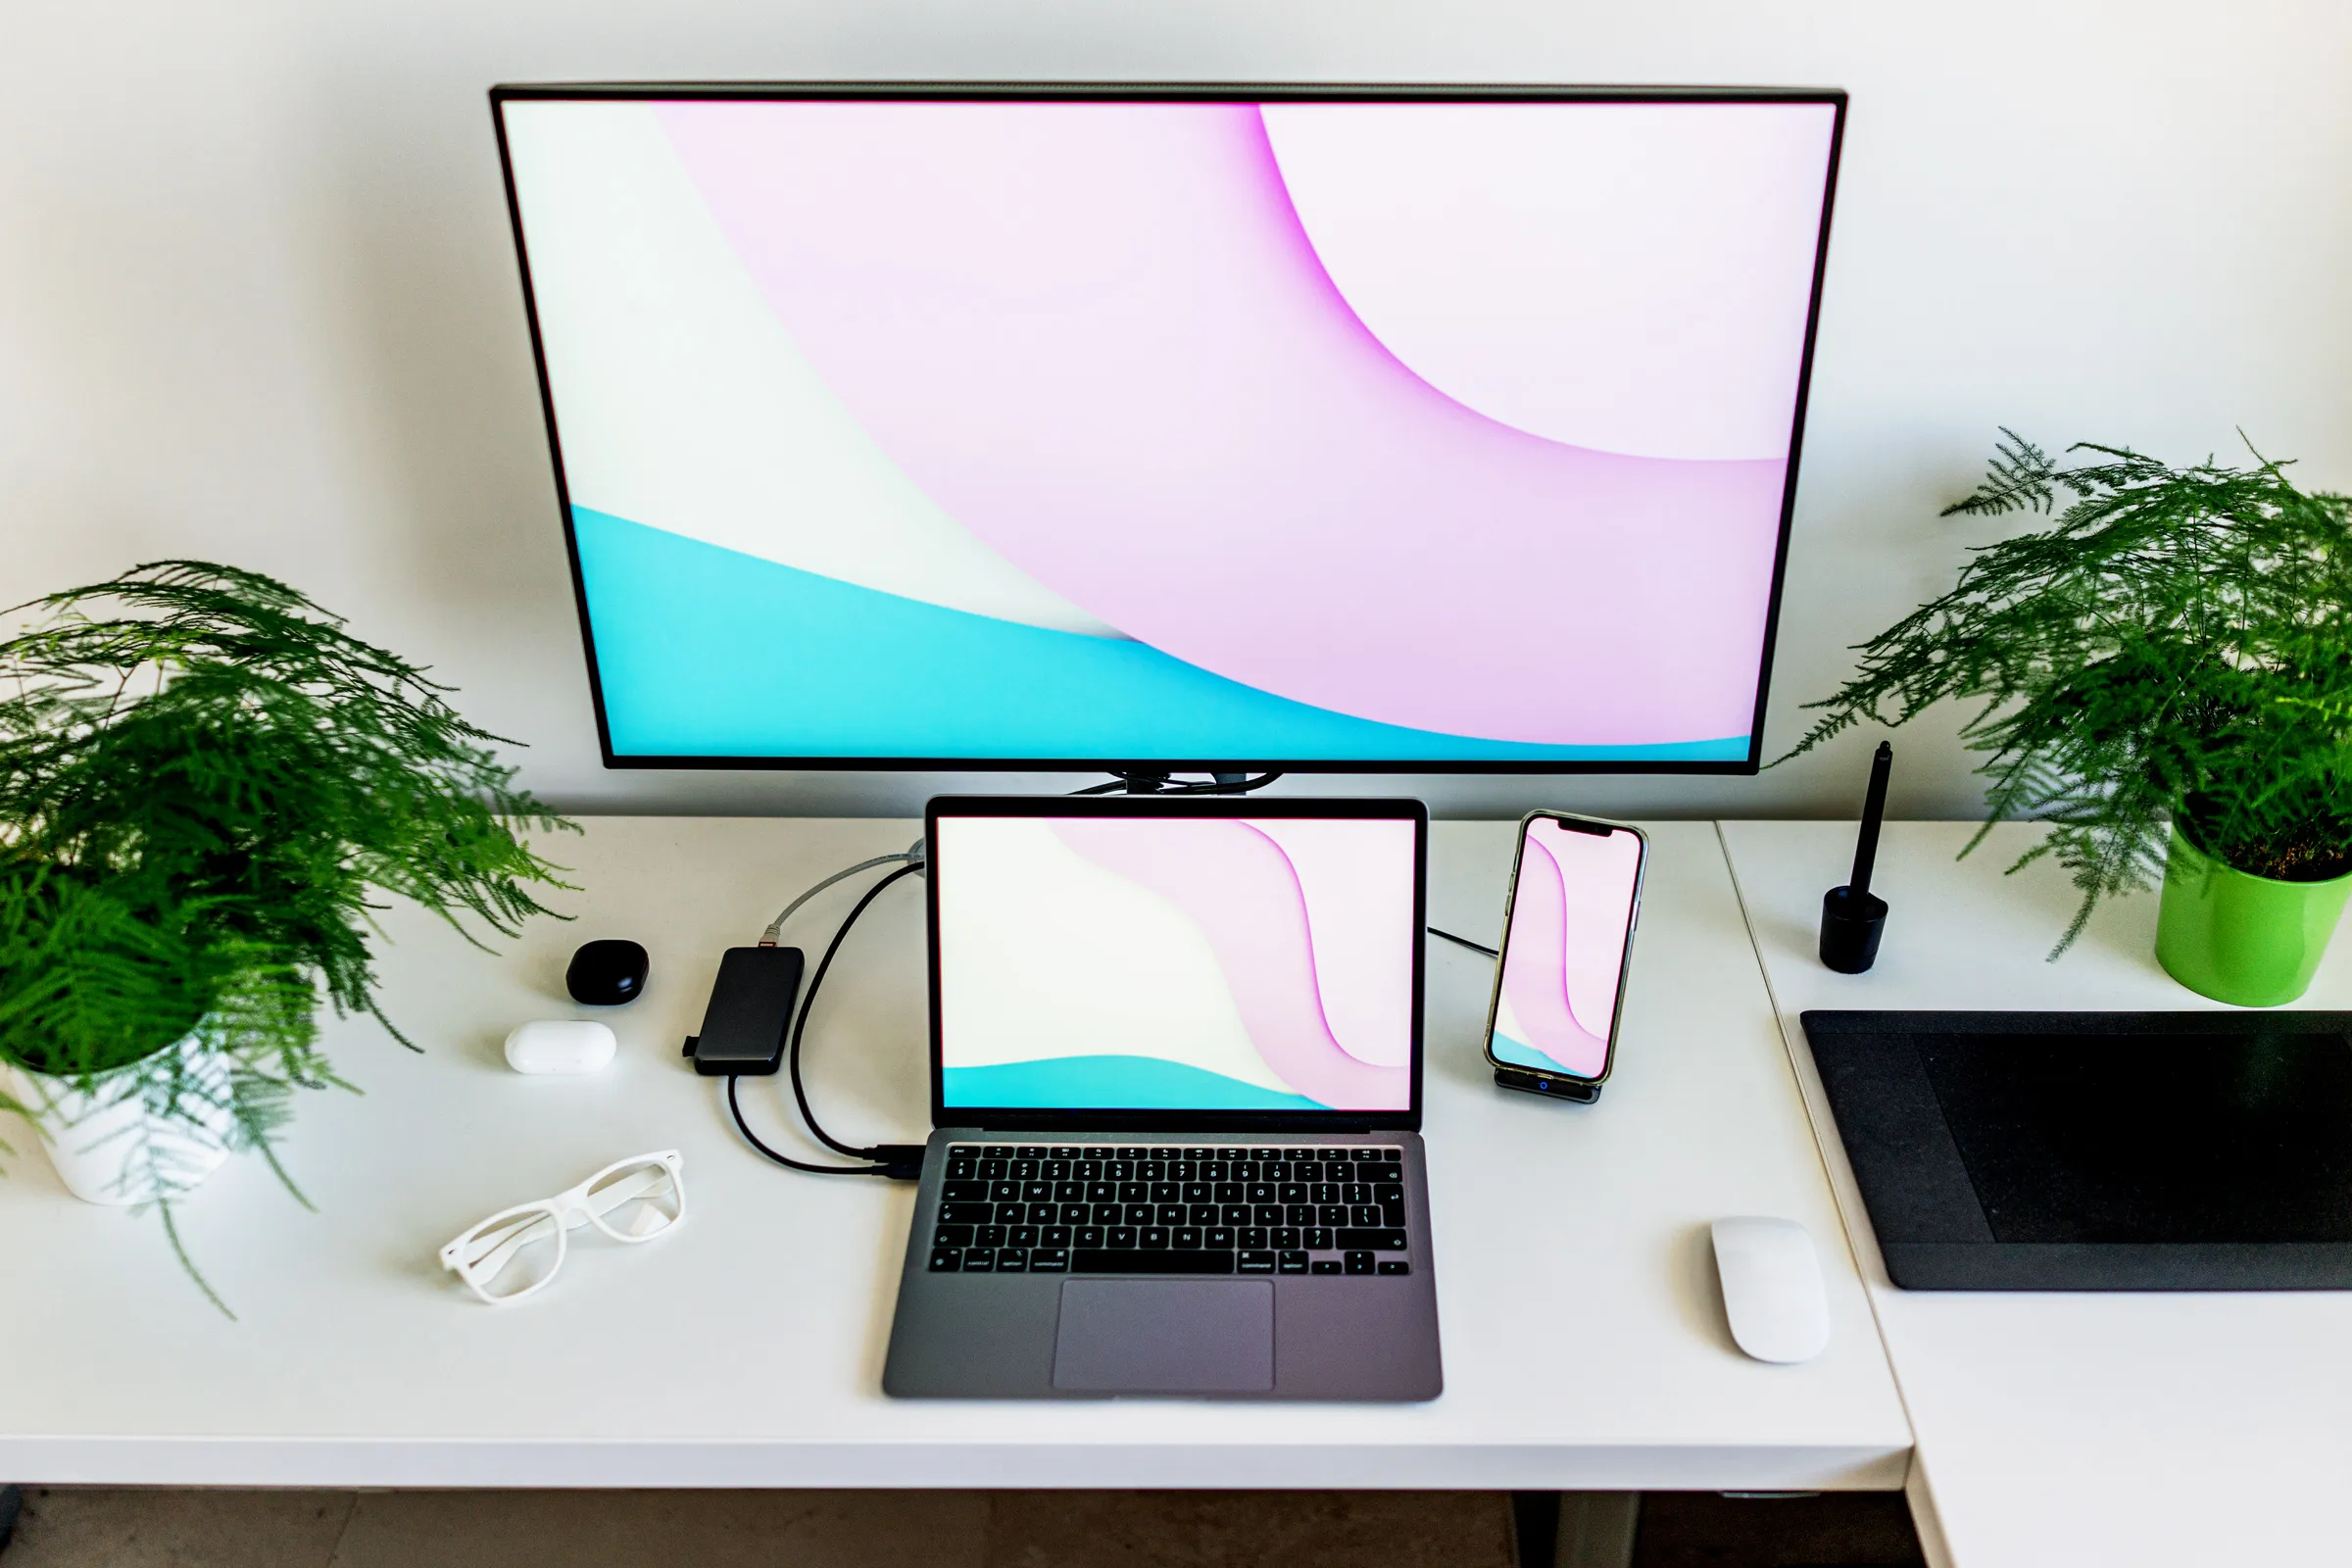
First, locate the appropriate cable or adapter to connect the two devices. If both your laptop and the main device have HDMI ports, you can use an HDMI cable for a direct connection. Alternatively, if your laptop has a different port (such as USB-C or DisplayPort), you may need to use an adapter or a specific cable compatible with that port.
Once you have the necessary cable or adapter, power on both devices and connect them using the appropriate ports. Make sure the cable is securely inserted into the ports on both the laptop and the main device. If you’re using an adapter, ensure that it is connected correctly and tightly secured.
After connecting, your laptop may automatically detect the external display (the main device) and adjust the settings accordingly. In some cases, you may need to manually enable the display output on your laptop. To do this, you can usually press the “Windows” key + “P” (on Windows) or the “Command” key + “F1” (on macOS) to open the display settings and select the appropriate display mode.
Depending on your preference and needs, you can choose between several display options:
- Extend: This mode allows you to use your laptop as an additional monitor, effectively extending your desktop workspace. You can drag applications, windows, and files between the screens, providing you with more flexibility and multitasking capabilities.
- Mirror: In this mode, the laptop’s screen will mirror the main device’s display, showing the same content on both screens. This is useful when you want to share your screen with others or duplicate the content for a presentation.
- Second screen only: This mode disables the laptop’s internal display, using only the external display as the primary screen. It’s handy when you want to solely focus on the main device’s screen or use your laptop purely as a monitor.
Experiment with these display options to determine which one best suits your needs and workflow. You can easily switch between the modes from the display settings or by using the keyboard shortcuts mentioned earlier.
Now that you have successfully connected your laptop and the main device, it’s time to move on to the next step: adjusting the display settings on your laptop.
Step 3: Adjust Display Settings on the Laptop
Once you have connected your laptop and the main device, you may need to make some adjustments to the display settings on your laptop. This will ensure that the dual-screen setup functions optimally and provides the best viewing experience.
Start by accessing the display settings on your laptop. On Windows, you can right-click on the desktop and select “Display settings” from the context menu. On macOS, go to the Apple menu, select “System Preferences,” then choose “Displays.”
In the display settings, you can adjust various parameters such as resolution, orientation, brightness, and color calibration. It’s crucial to configure these settings according to your preferences and to match the capabilities of both the laptop and the main device.
First, check and select the appropriate screen resolution. Ideally, the resolution should be set to match or closely resemble the main device’s display resolution. This will ensure that the content appears clear and sharp across both screens.
Next, consider the orientation of the external display. You can choose to position it as an extension to the left, right, above, or below your laptop’s screen. This option allows you to arrange the screens in a way that suits your workflow, making it easier to navigate between applications and windows.
Adjusting the brightness and color settings can also optimize the visual experience. Ensure that the brightness level is comfortable for both the laptop and the external display. You can use the built-in controls on the laptop or the display settings to make these adjustments.
Additionally, consider calibrating the colors of the external display to match your preferences. Some laptops offer built-in color calibration tools or allow you to install third-party color calibration software for accurate color representation.
While adjusting the display settings, keep an eye out for any advanced options or additional features specific to your laptop model. Some laptops provide options for screen scaling, color profiles, and other visual enhancements that can further refine your dual-screen setup.
Once you have adjusted the display settings to your liking, you’re ready to utilize your laptop as a second monitor. Take a moment to ensure that everything appears as you intended and that the content seamlessly extends between both screens.
If you encounter any issues or the display does not function as expected, don’t worry. We’ll address common troubleshooting steps in the next step to help you resolve any potential problems.
Step 4: Use the Laptop as a Second Monitor
With your laptop connected as a second monitor and the display settings properly adjusted, it’s time to put your dual-screen setup to use. In this step, we’ll explore some practical ways to make the most out of using your laptop as a second monitor.
One of the main advantages of having a second monitor is the increased productivity it offers. You can extend your desktop workspace and have multiple applications and windows open simultaneously. Use your laptop screen to offload secondary tasks or reference materials while keeping your main work on the larger display of the main device.
For example, if you’re a video editor, you can have your editing software open on the main device, while tools like timelines, color correction controls, or asset libraries can be placed on the laptop screen. This allows you to dedicate more screen real estate to the primary task and have quick access to supplementary tools.
If you’re a writer or researcher, you can have your main document or web browser open on your main device, while using your laptop screen to view reference materials, take notes, or keep track of your research. This enables a more streamlined and efficient workflow.
Another use case is in gaming. Some games offer dual-screen support, allowing you to have the game running on your main device’s screen while using the laptop as a secondary display for game-related information, such as maps, inventory, or chat windows.
Remember that you can easily move applications and windows between screens by dragging them from one screen to another. This provides a seamless experience when multitasking or rearranging your workspace on the fly.
Furthermore, if your laptop supports touch input, you can leverage this feature for increased interactivity. You can use touch gestures to navigate on-screen elements or interact directly with touch-based applications or games on your laptop screen.
Experiment with different configurations and workflows to find what works best for you. Everyone’s needs and preferences vary, so feel free to customize and organize your dual-screen setup in a way that boosts your productivity and enhances your user experience.
Now that you’re familiar with using your laptop as a second monitor, let’s move on to the final step: troubleshooting common issues that may arise during the setup process.
Step 5: Troubleshooting Common Issues
While using your laptop as a second monitor can be a valuable addition to your setup, there may be instances where you encounter some challenges. In this step, we’ll address common issues that may arise and provide troubleshooting steps to help you overcome them.
No Display on the External Monitor: If you’re not seeing any display on the external monitor, first check that the cables are securely connected to both devices. Ensure that the correct input source is selected on the external monitor. You can also try restarting both devices and checking the display settings on your laptop to confirm that the external monitor is enabled.
Distorted Graphics or Improper Scaling: If you notice distorted graphics or improper scaling on the external monitor, verify that the screen resolution and aspect ratio on your laptop are compatible with the external monitor. Adjust the display settings on your laptop to match or closely resemble the main device’s display settings for a seamless experience.
Incompatibility or Erratic Behavior: In some cases, certain laptops or operating systems may not be fully compatible with using a laptop as a second monitor. Update your laptop’s graphics drivers and check for any available software updates that may address compatibility issues. If the problem persists, consult the manufacturer’s support documentation or forums for further assistance.
Unresponsive Touchscreen (if applicable): If the touchscreen on your laptop becomes unresponsive when used as a second monitor, ensure that the necessary drivers and software are up to date. If the issue persists, try disabling and re-enabling the touchscreen or consult the manufacturer’s support resources for additional guidance.
Poor Performance or Lag: If you experience performance issues or lag when using your laptop as a second monitor, make sure your laptop is connected to a power source, as running it solely on battery may limit its performance. Close any unnecessary applications or processes running in the background that may consume system resources. If the problem persists, consider upgrading your laptop’s hardware, such as adding more RAM or opting for a faster storage drive, to improve overall performance.
Remember that troubleshooting steps may vary depending on your specific laptop model and the main device you’re connecting it to. Refer to the documentation provided by the manufacturer or seek assistance from their support channels for device-specific troubleshooting guidelines.
With these troubleshooting steps in mind, you should be able to resolve common issues that may arise during the process of using your laptop as a second monitor.
Conclusion
Using your laptop as a second monitor can greatly enhance your productivity and provide a more immersive computing experience. By following the steps outlined in this guide, you can seamlessly connect your laptop to a main device, adjust the display settings, and utilize the dual-screen setup to its full potential.
Remember to check the compatibility between your laptop and the main device, ensuring that the necessary ports and hardware capabilities align. Connect the two devices securely using the appropriate cables or adapters, and adjust the display settings to optimize your viewing experience.
Once you’ve successfully set up your laptop as a second monitor, explore the various ways you can make the most out of the extended workspace. Whether you’re a professional needing more screen real estate, a gamer looking for an immersive gaming experience, or a multitasker seeking improved efficiency, the dual-screen setup offers endless possibilities.
In the event that you encounter any issues, consult the troubleshooting steps provided to address common problems. Keep in mind that resolutions may vary depending on your specific laptop model and the main device you’re using.
Now that you have the knowledge and tools to use your laptop as a monitor, it’s time to unleash the power of your dual-screen setup. Explore, customize, and optimize your workspace to suit your unique needs and workflow.
So go ahead, connect your laptop as a second monitor, and unlock a new level of productivity and enjoyment in your computing tasks.