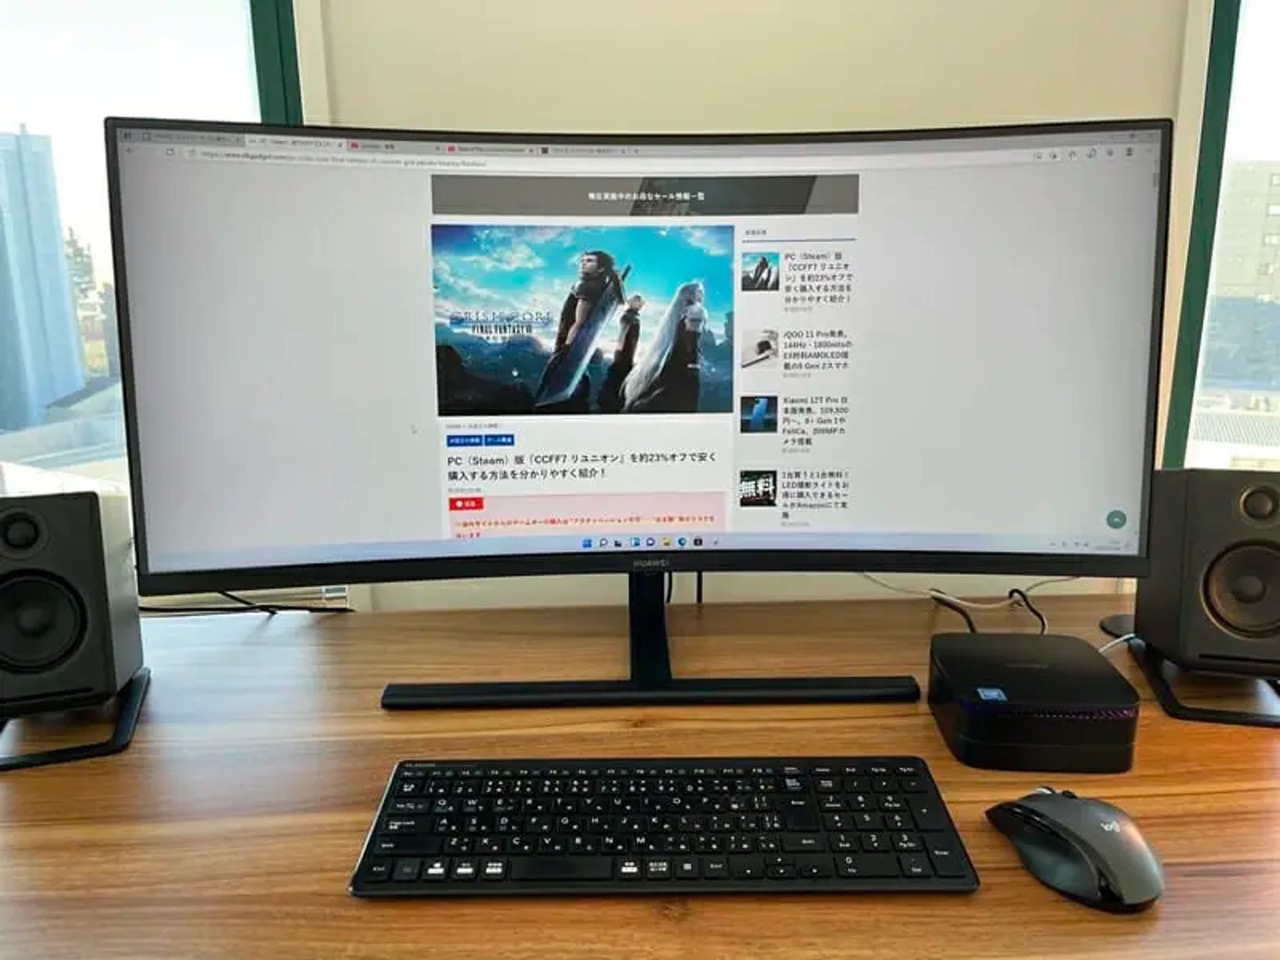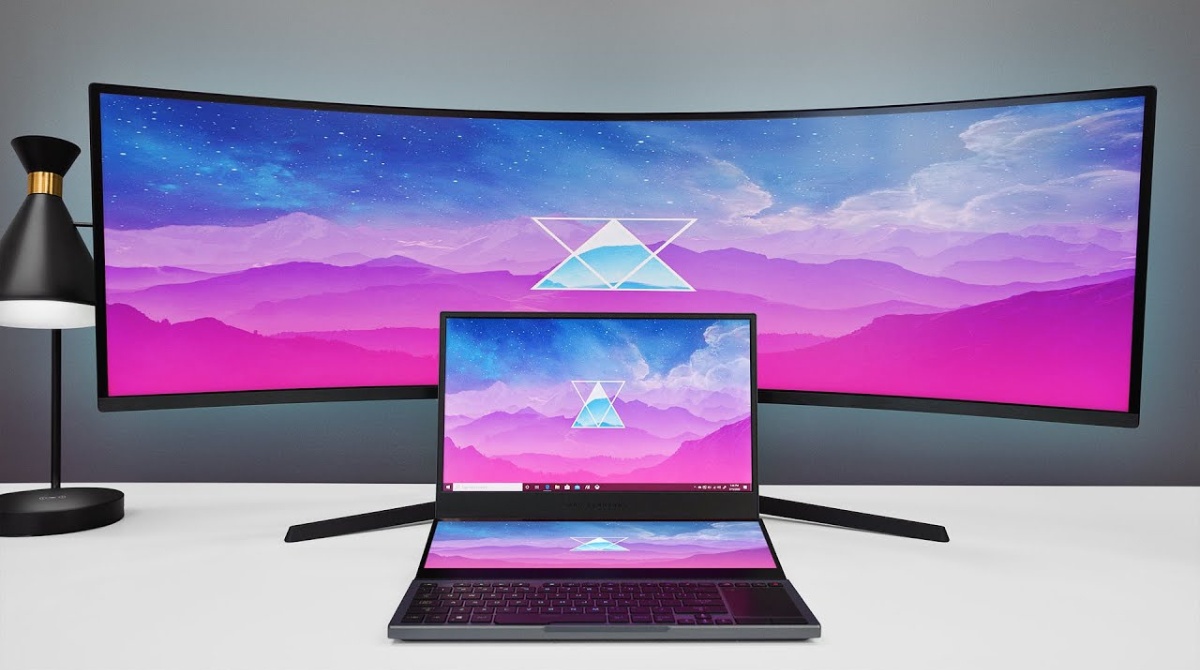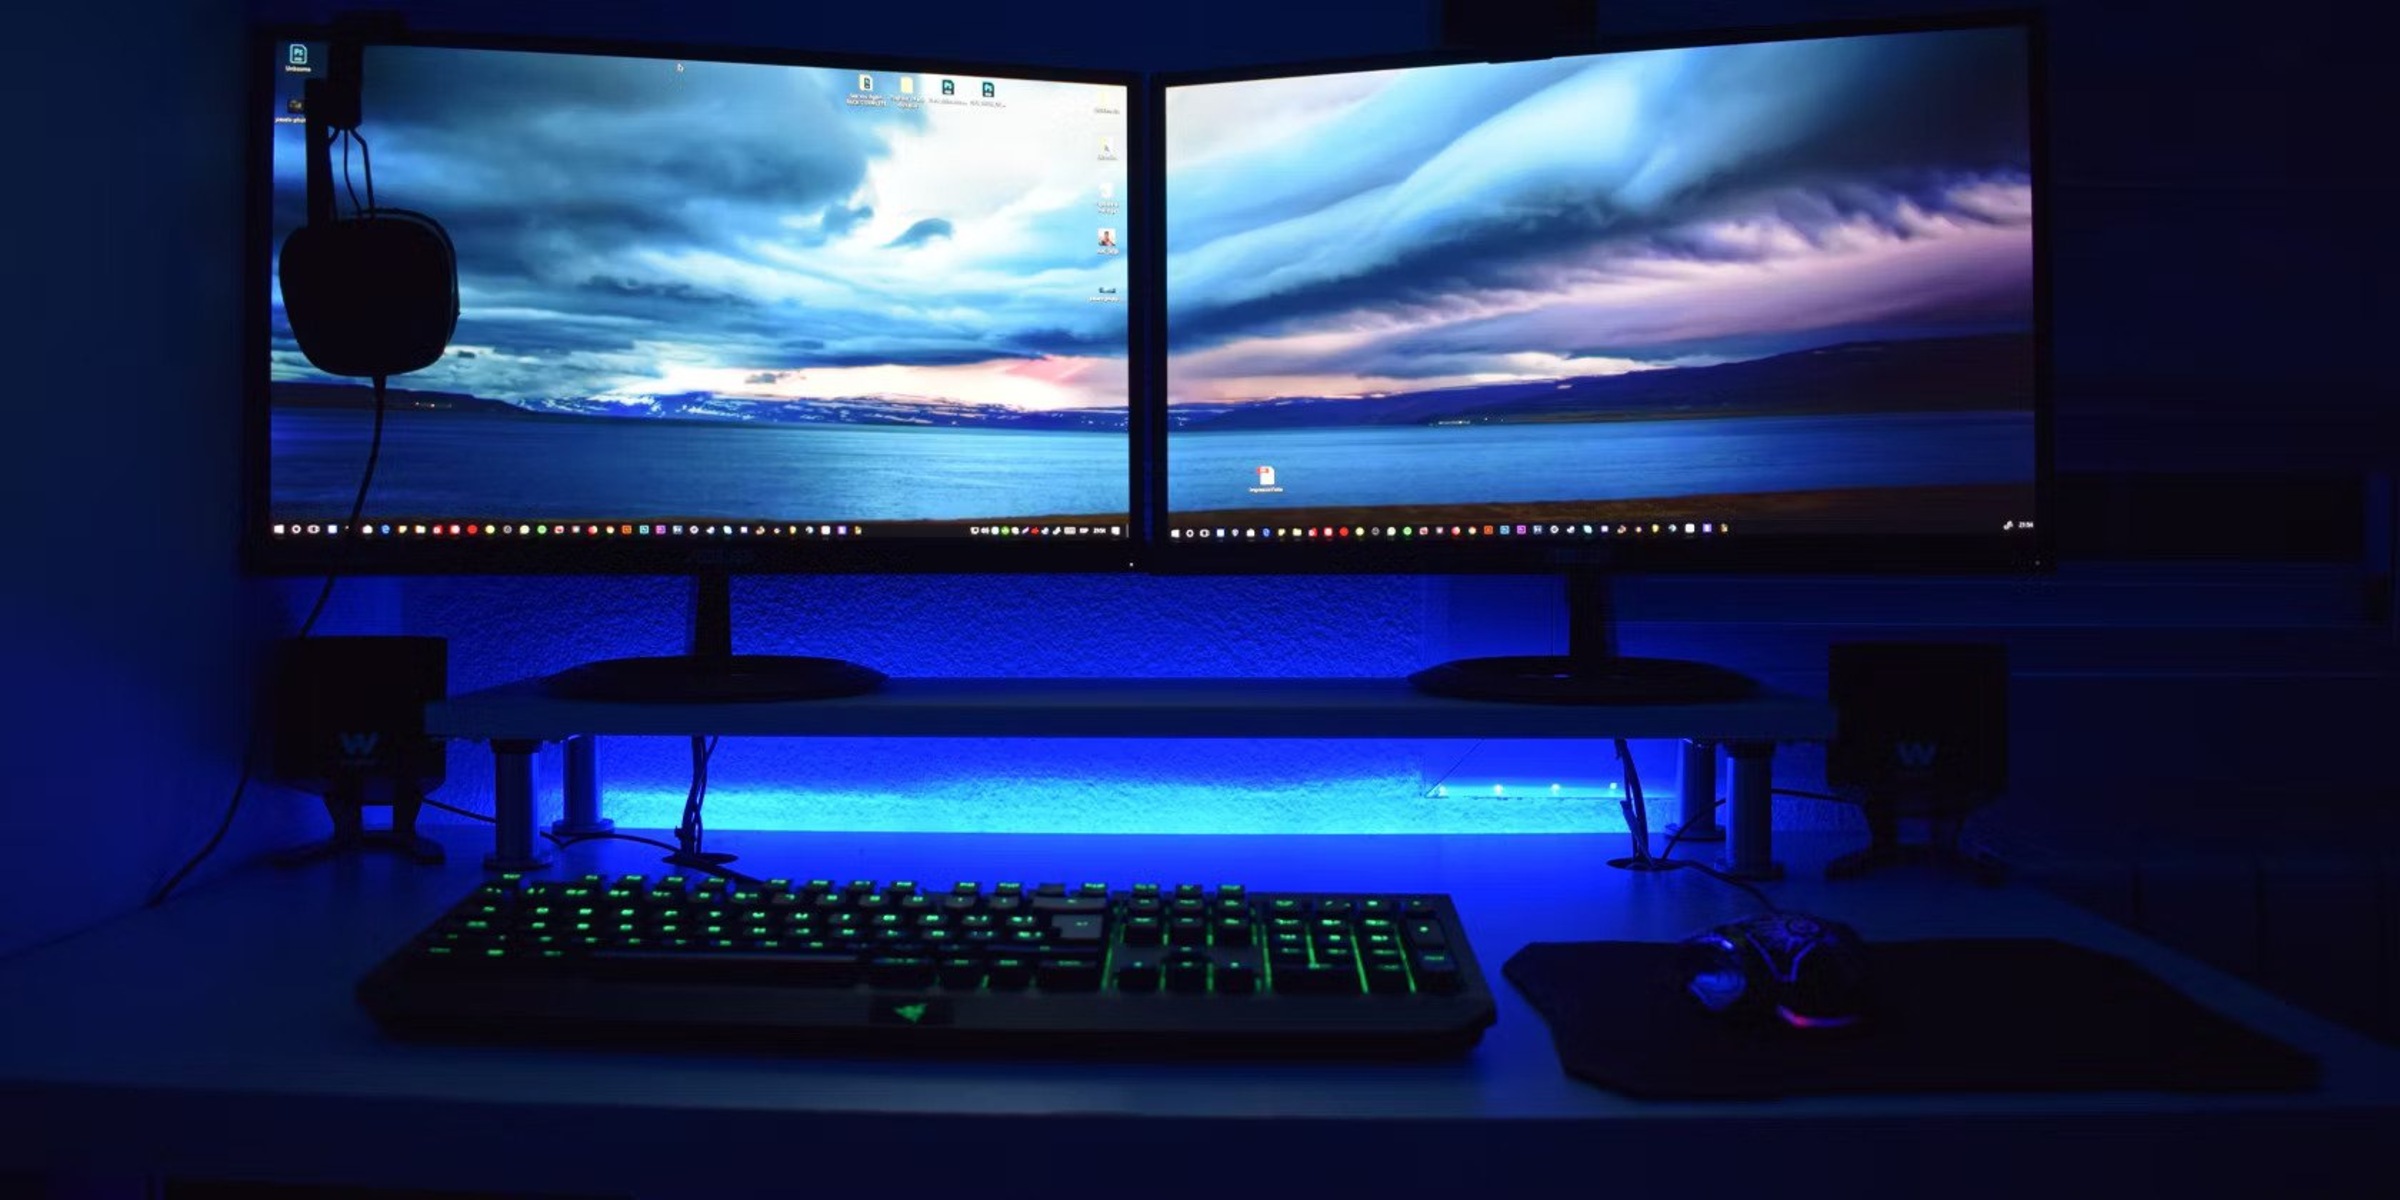
To connect an HDMI laptop to a DisplayPort monitor, you need a specific active adapter, a passive cable or a standard HDMI-to-DisplayPort cord will not work. This is because HDMI and DisplayPort use fundamentally different signaling methods, and only an active adapter can convert the signal correctly. Follow the steps below to establish a reliable connection between your HDMI laptop and DisplayPort monitor.
Why a simple cable won't connect your HDMI laptop to DisplayPort monitor
HDMI and DisplayPort are not just different physical connectors; they transmit data using incompatible signaling protocols. HDMI uses TMDS (Transition Minimized Differential Signaling), while DisplayPort uses LVDS (Low-Voltage Differential Signaling) in a packet-based format. A simple passive cable or a basic adapter merely re-routes the pins, but it cannot translate between these two distinct signal types. Because the electrical signals are fundamentally different, a passive solution will result in no image at all, the monitor simply won't recognize the laptop's output. The only way to bridge this gap is with an active adapter that contains a chip to convert the TMDS signal from your HDMI port into the LVDS signal your DisplayPort monitor expects. Without this active conversion, the connection is physically impossible.
What you need: the active adapter and cables
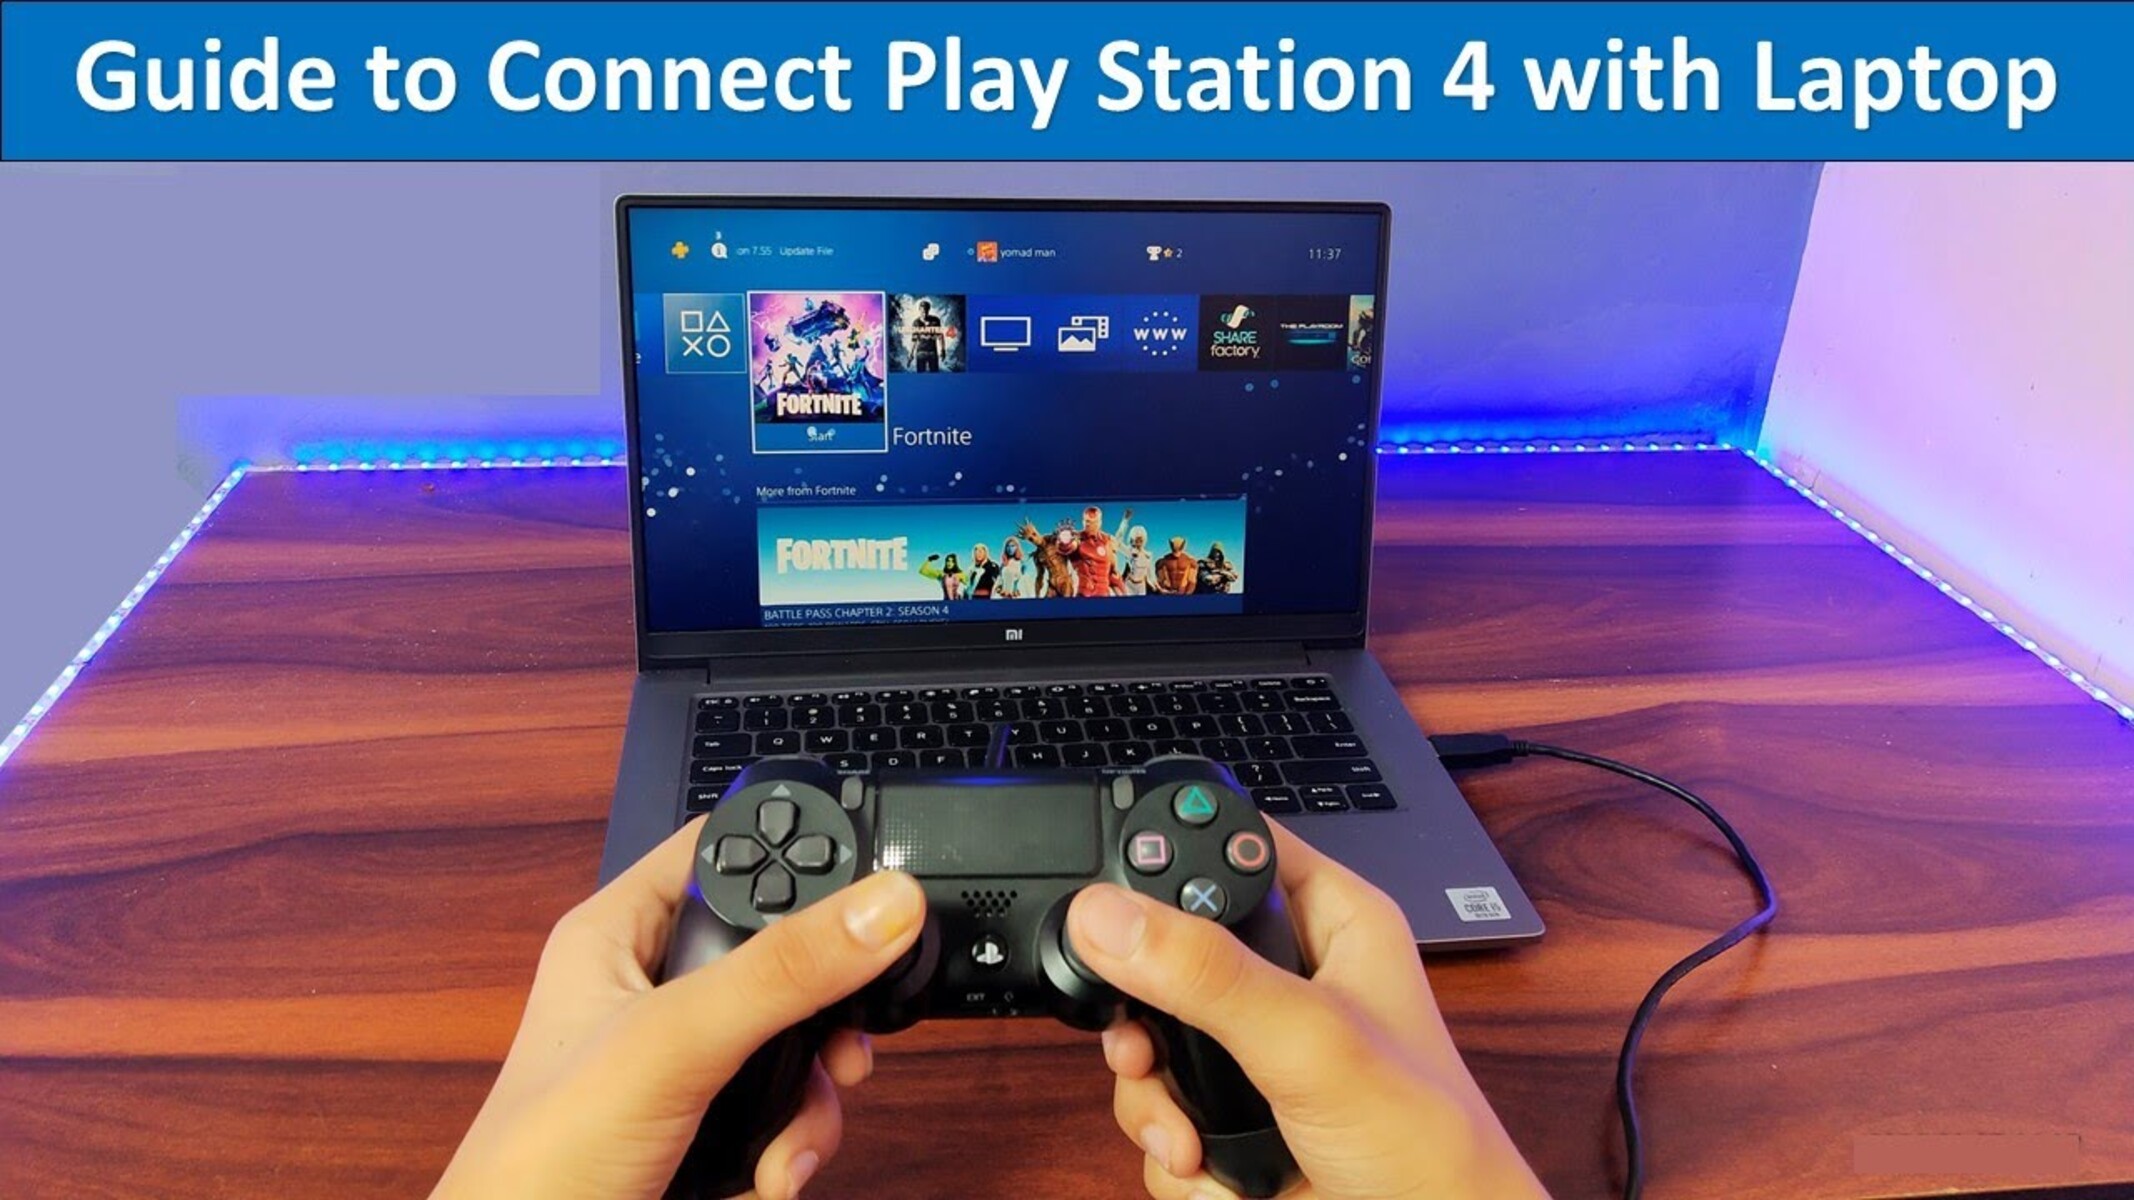
To complete this connection, you'll need three essential items. First and most critically, you need an active HDMI to DisplayPort adapter (not a passive one, and not a DisplayPort-to-HDMI adapter, which works in the opposite direction). Second, you'll need a standard HDMI cable to connect your laptop to the adapter. Third, you'll need a DisplayPort cable to connect the adapter to your monitor, though some active adapters include a built-in DisplayPort cable, so check your specific model. The 'active' requirement is non-negotiable: passive adapters lack the conversion chip and will simply not function for this direction. Also, ensure the adapter is explicitly labeled as "HDMI to DisplayPort", a bidirectional or DisplayPort-to-HDMI adapter will not work because the conversion is one-way. If you are instead trying to connect PS4 to laptop with HDMI, you will face a different set of hardware limitations entirely. If your setup uses a standard HDMI-to-HDMI connection, you can skip the adapter and simply connect Samsung monitor to PC with HDMI using a single cable.
Step 1: Power and connect the active adapter to your laptop
Before connecting any cables, plug the adapter's USB power cable into a power source. Many active HDMI to DisplayPort adapters require external USB power to drive the signal conversion, especially when supporting higher resolutions like 4K at 60Hz. This USB cable typically needs to be connected to a USB port on your laptop or a USB wall charger. Once powered, take your HDMI cable and insert one end into your laptop's HDMI output port. Then, insert the other end into the HDMI input port on the active adapter. Make sure both connections are snug and secure, a loose HDMI connection is a common cause of signal failure.
Step 2: Connect the adapter to your monitor
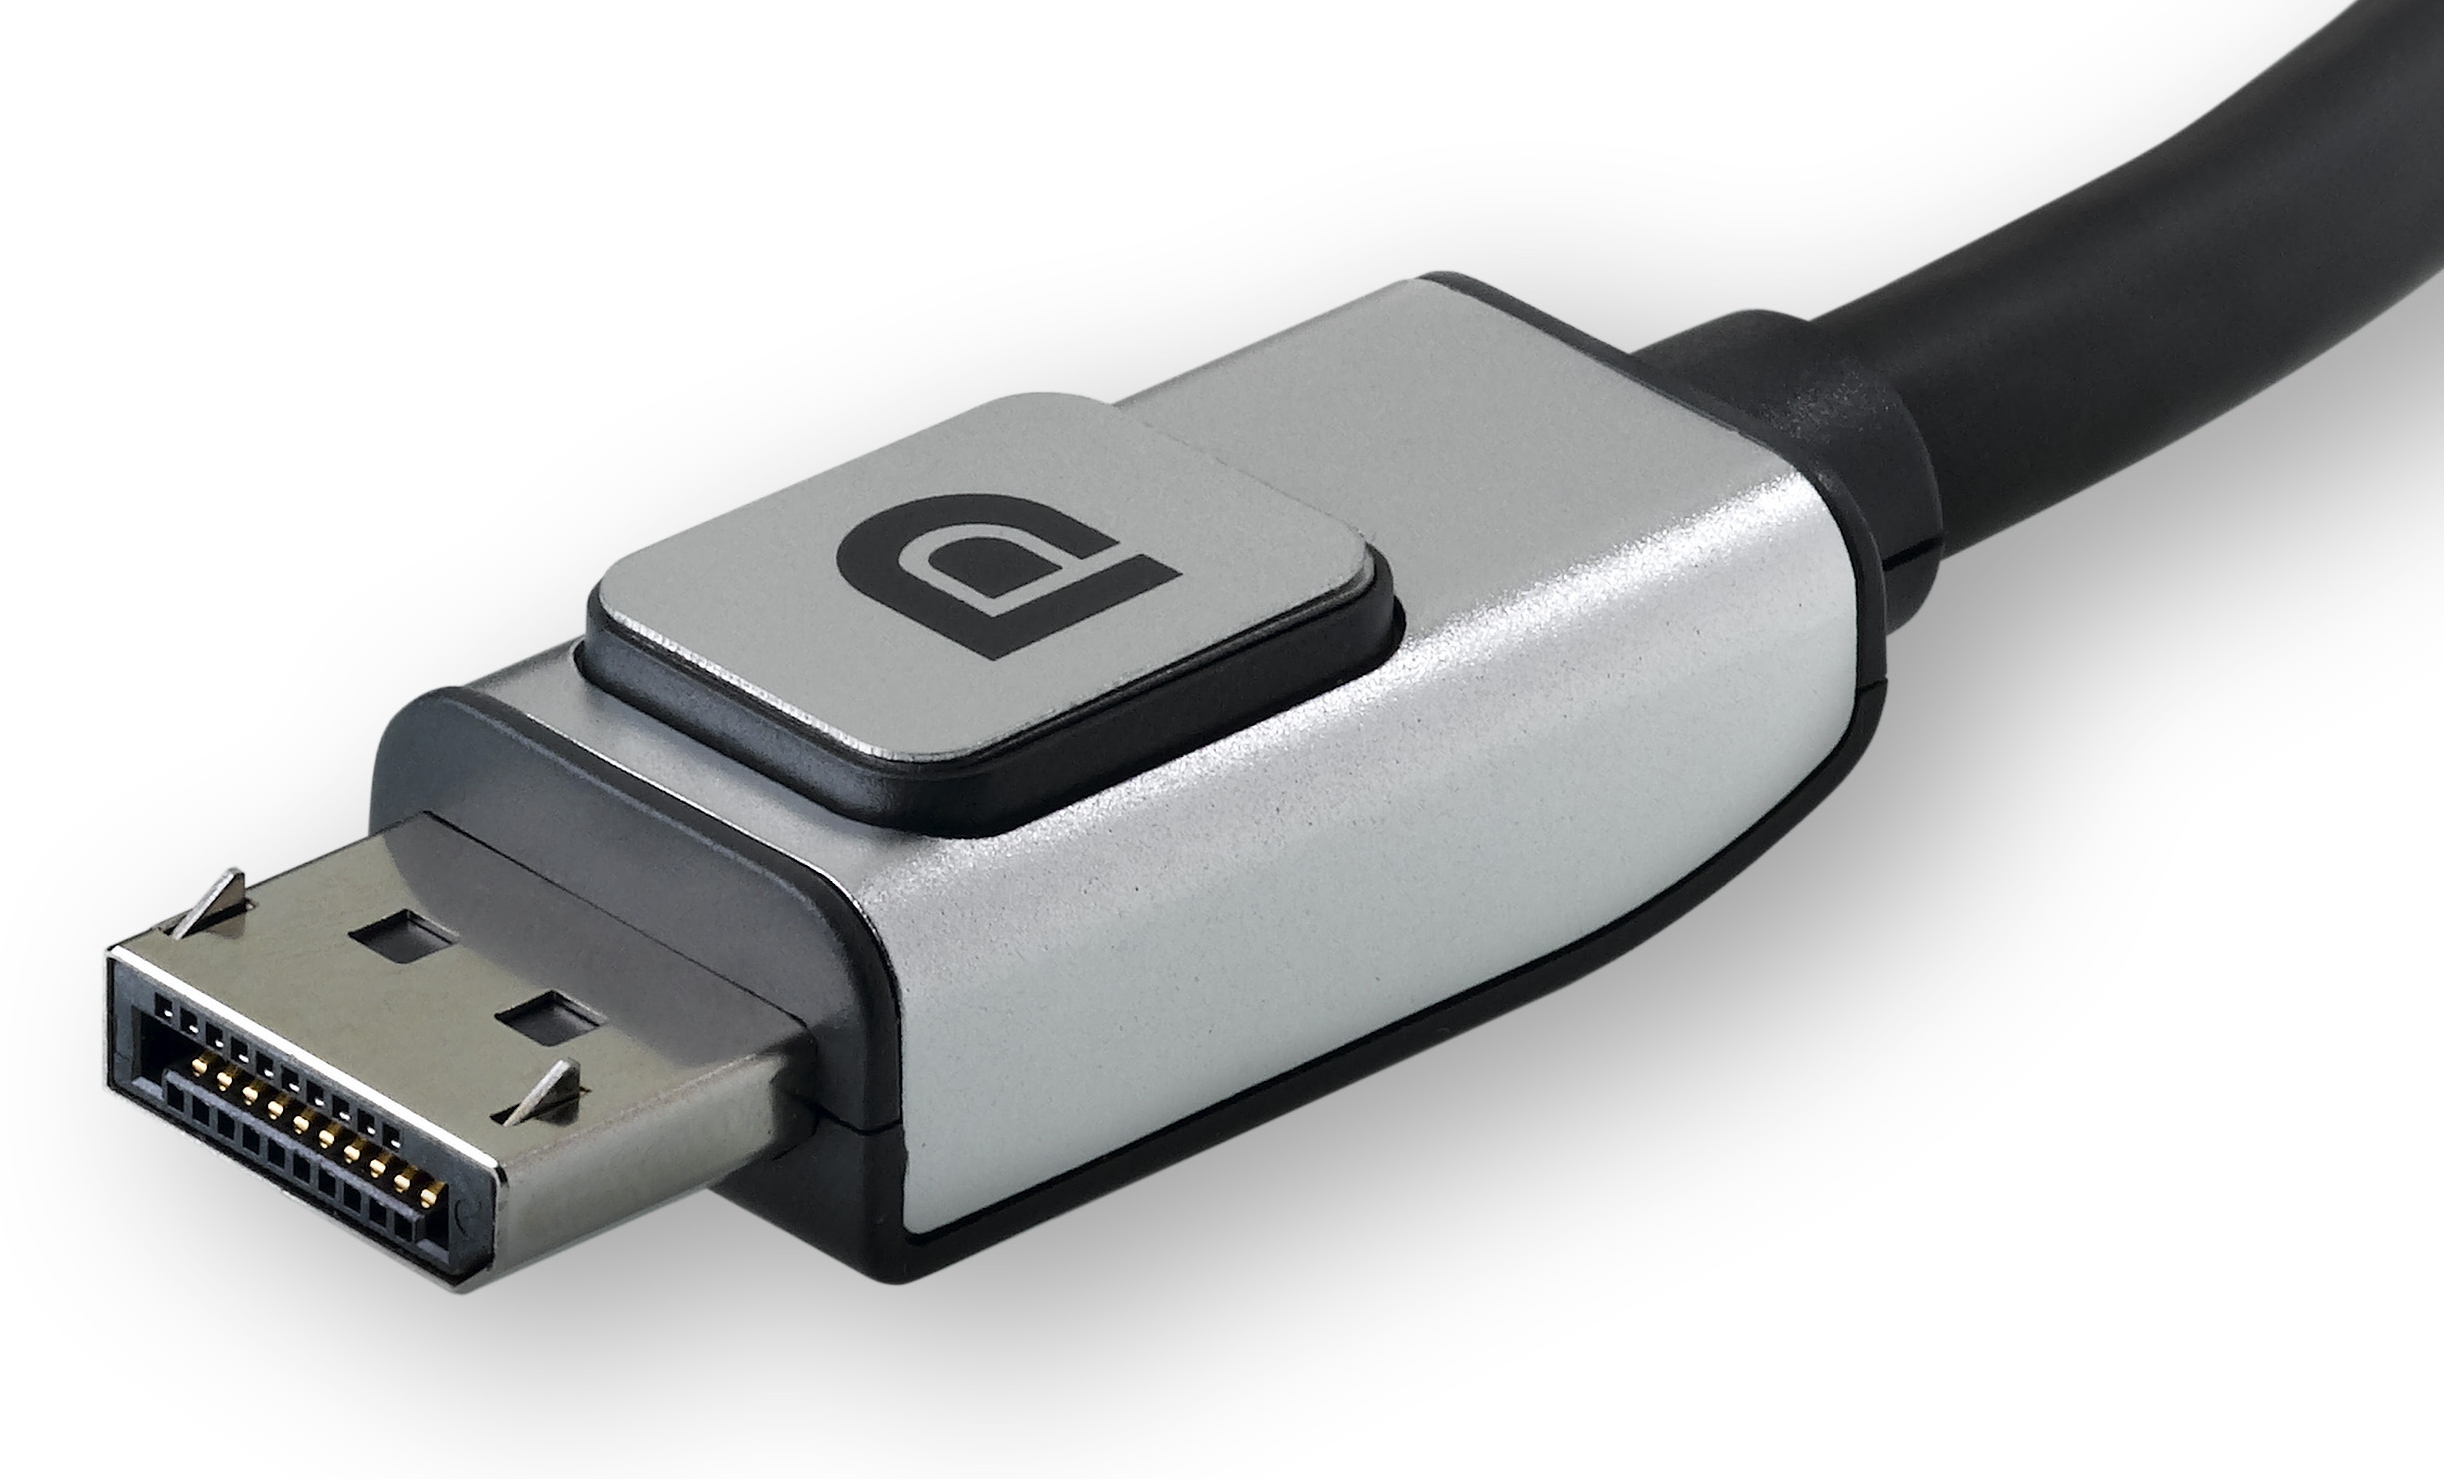
Now, take your DisplayPort cable and plug one end into the DisplayPort output on the active adapter. The adapter's DisplayPort connector is usually clearly labeled. Then, connect the other end of the DisplayPort cable to the DisplayPort input on your monitor. If your adapter has a built-in DisplayPort cable, simply plug that directly into the monitor. Some DisplayPort connectors have a small latch or release button, press it gently to ensure the cable clicks into place. Once both ends are connected, turn on your laptop and your monitor. At this point, the physical connection is complete, but you may still need to configure the display settings.
Step 3: Select the DisplayPort input on your monitor
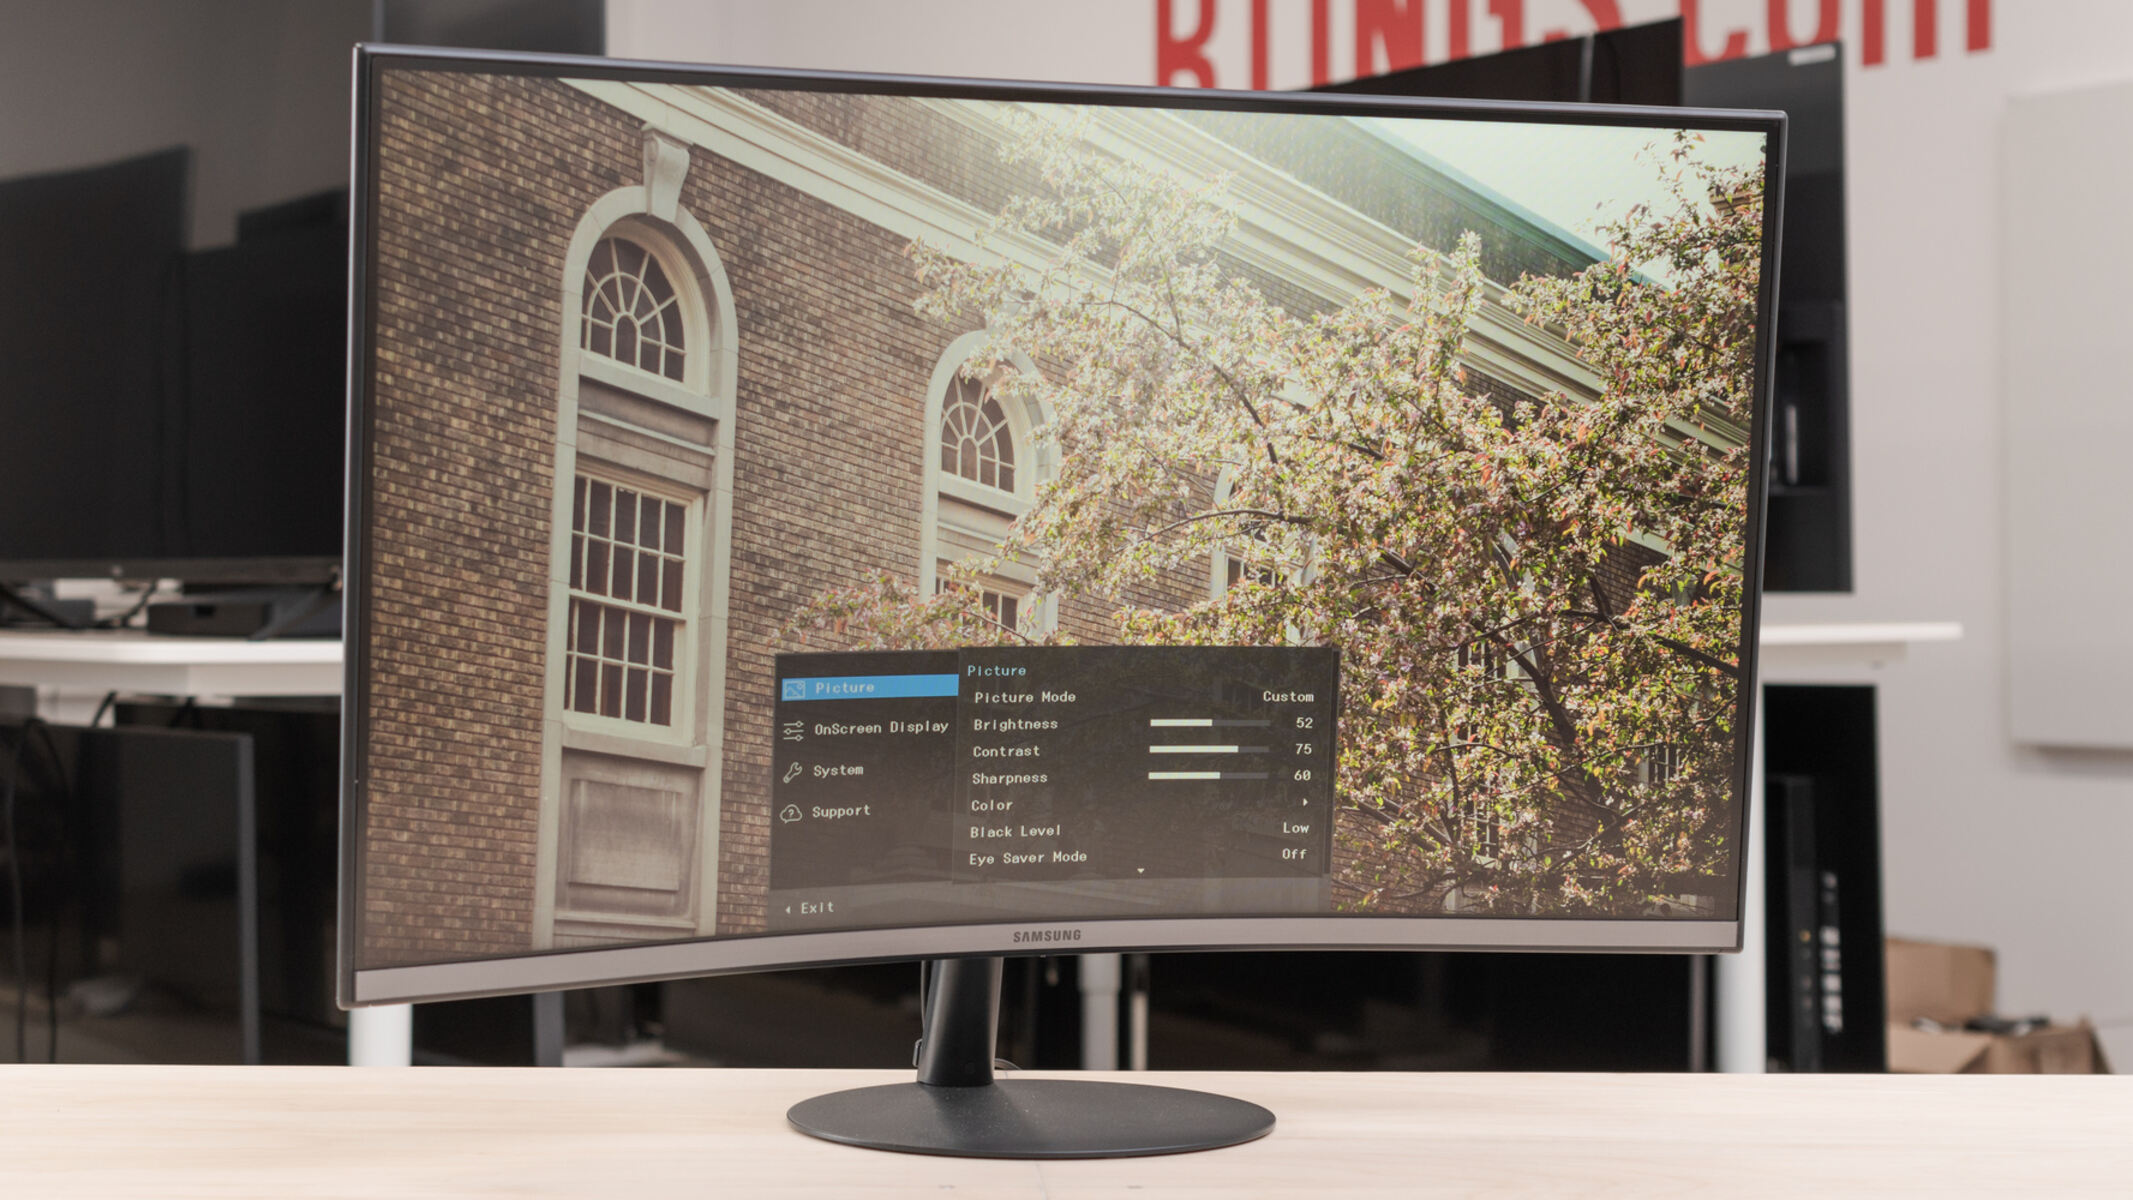
If the monitor doesn't automatically detect the new signal, you'll need to manually select the correct input source. Locate the "Input" or "Source" button on your monitor, this is typically found on the bottom bezel, side edge, or on a joystick-style control at the back. Press it to open the on-screen menu, then navigate to the DisplayPort option and select it. Some monitors may label this as "DP" or "DisplayPort 1" or "DisplayPort 2." If your monitor has multiple DisplayPort inputs, choose the one you connected the cable to. If you're unsure which input you used, try each DisplayPort option until you see your laptop's screen appear. This manual selection is often necessary because many monitors do not auto-switch inputs when a new device is connected.
Step 4: Configure Windows display settings
Once the monitor is showing your laptop's desktop, you may want to adjust how the displays work together. Right-click on your desktop and select "Display settings" from the context menu. Scroll down to the "Multiple displays" section. Here, you can choose to "Extend these displays" to use the monitor as an additional workspace, or "Duplicate these displays" to mirror your laptop screen. You can also select the external monitor and adjust its resolution and refresh rate to match its native specifications, look for the recommended resolution, which Windows will usually mark as "Recommended." For the best visual experience, set the refresh rate to the highest value your monitor and adapter support, but be aware that higher resolutions may require a DisplayPort version adjustment on the monitor itself.
Troubleshooting: no signal, wrong resolution, or flickering
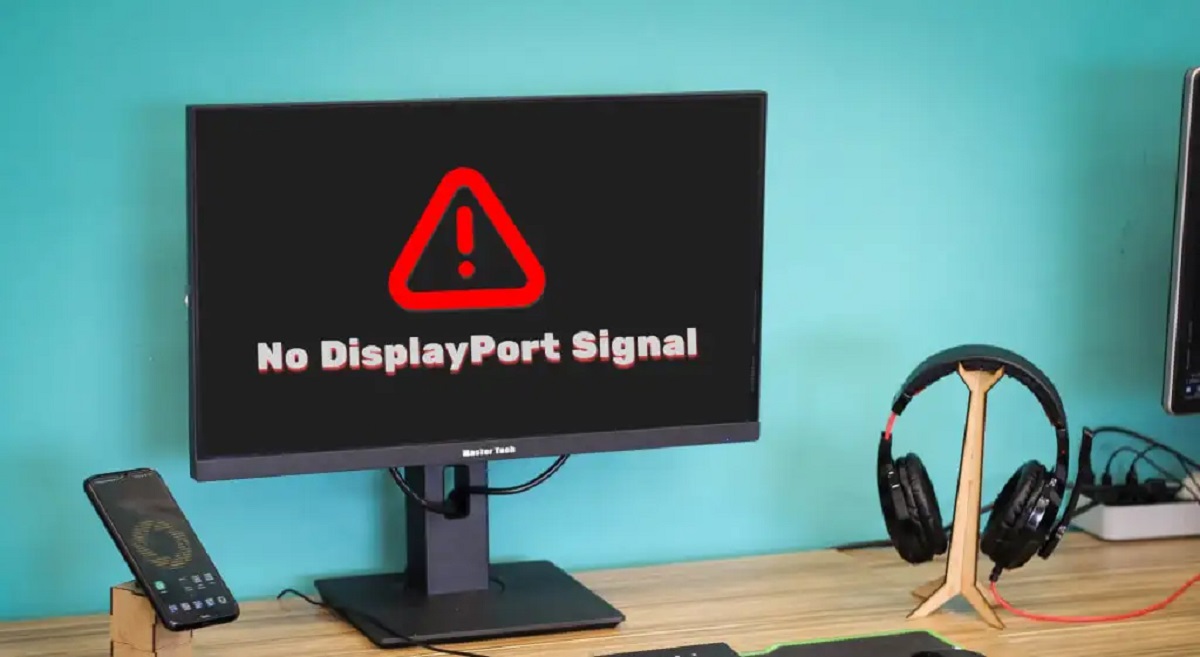
If you see a "no signal" message on your monitor, first verify that the active adapter's USB power cable is firmly connected and that the power source is working. A powered adapter is essential for signal conversion, without it, you'll get nothing. Next, confirm that your adapter is indeed an active HDMI-to-DisplayPort model, not a passive one or a DisplayPort-to-HDMI adapter. If the image appears but at the wrong resolution or with flickering, you may need to update your monitor's On-Screen Display (OSD) settings. Access your monitor's OSD menu, find the DisplayPort version setting (often under "Input" or "Configuration"), and switch it to DisplayPort 1.2 or higher. This is particularly important if you're trying to achieve resolutions above 2560 x 1600 pixels. Also, be aware that the maximum resolution and refresh rate are limited by the HDMI version on your laptop, the DisplayPort version on your monitor, and the adapter's own capabilities, so if you're not getting 4K, one of these components may be the bottleneck. If you still experience flickering, try a different DisplayPort cable or ensure that the cable is fully seated. Finally, remember that both HDMI and DisplayPort carry audio signals, so if you're not getting sound, check your Windows audio output settings to ensure the monitor is selected as the playback device. If your laptop has multiple HDMI ports, you can use the keyboard shortcut or the display settings to switch from HDMI 1 to HDMI 2, which can sometimes resolve detection issues if you plugged into the wrong port. For persistent problems, restart both your laptop and monitor, and verify that your graphics drivers are up to date.