Introduction
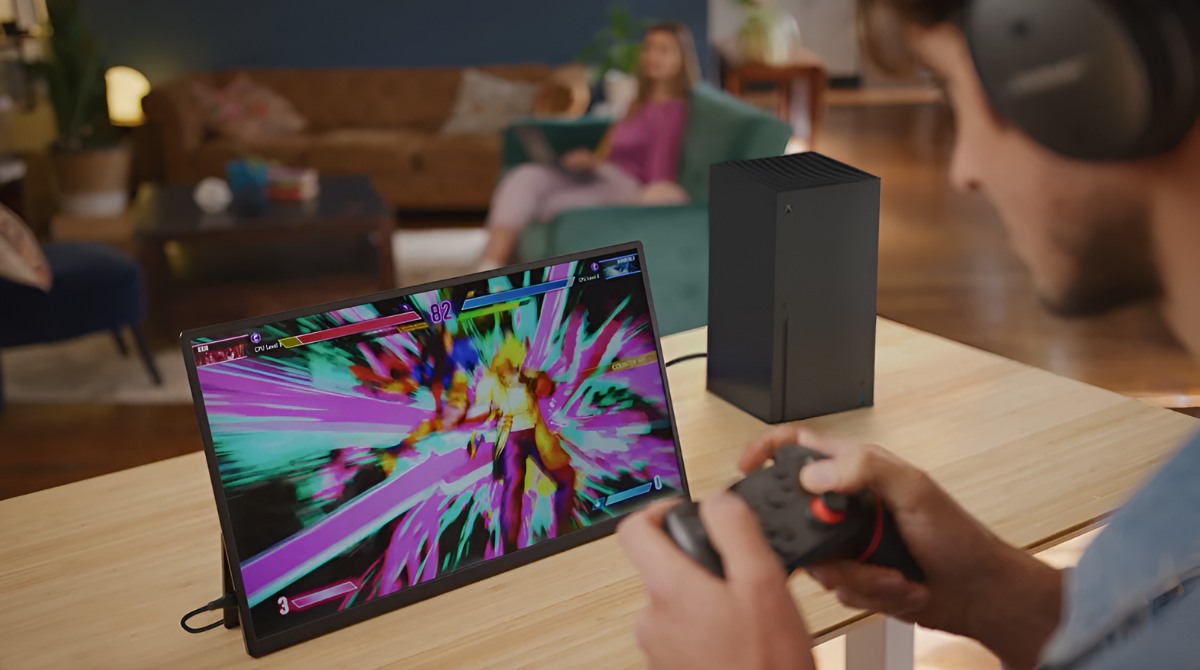
Connecting your PS4 console to a laptop can be a great way to enjoy your favorite games on a bigger screen and take advantage of the laptop’s portability. Whether you want to play games in a different room or simply prefer the convenience of a laptop display, connecting your PS4 to a laptop with an HDMI cable offers a simple solution.
However, before you start the setup process, it’s important to check if your laptop and PS4 are compatible and equipped with the necessary ports. Once you have confirmed the compatibility, you can follow a few easy steps to establish the connection and start gaming.
In this step-by-step guide, we will walk you through the process of connecting your PS4 to a laptop using an HDMI cable. So, grab your laptop and let’s get started!
Note: The steps mentioned here are applicable to both Windows and Mac laptops. However, the specific process might vary slightly depending on the operating system.
Step 1: Check the laptop and PS4
Before you begin connecting your PS4 to a laptop, it’s important to ensure that both your laptop and the PS4 console meet the necessary requirements and have the required ports. Here’s what you need to do:
- Check the laptop’s specifications: Make sure that your laptop has an HDMI output port. Most laptops have this port, but if you’re using an older model, you may need to check the specifications or refer to the user manual.
- Inspect the PS4 connectivity: Examine the back of your PS4 console and look for the HDMI output port. This is where you will connect the HDMI cable from the laptop.
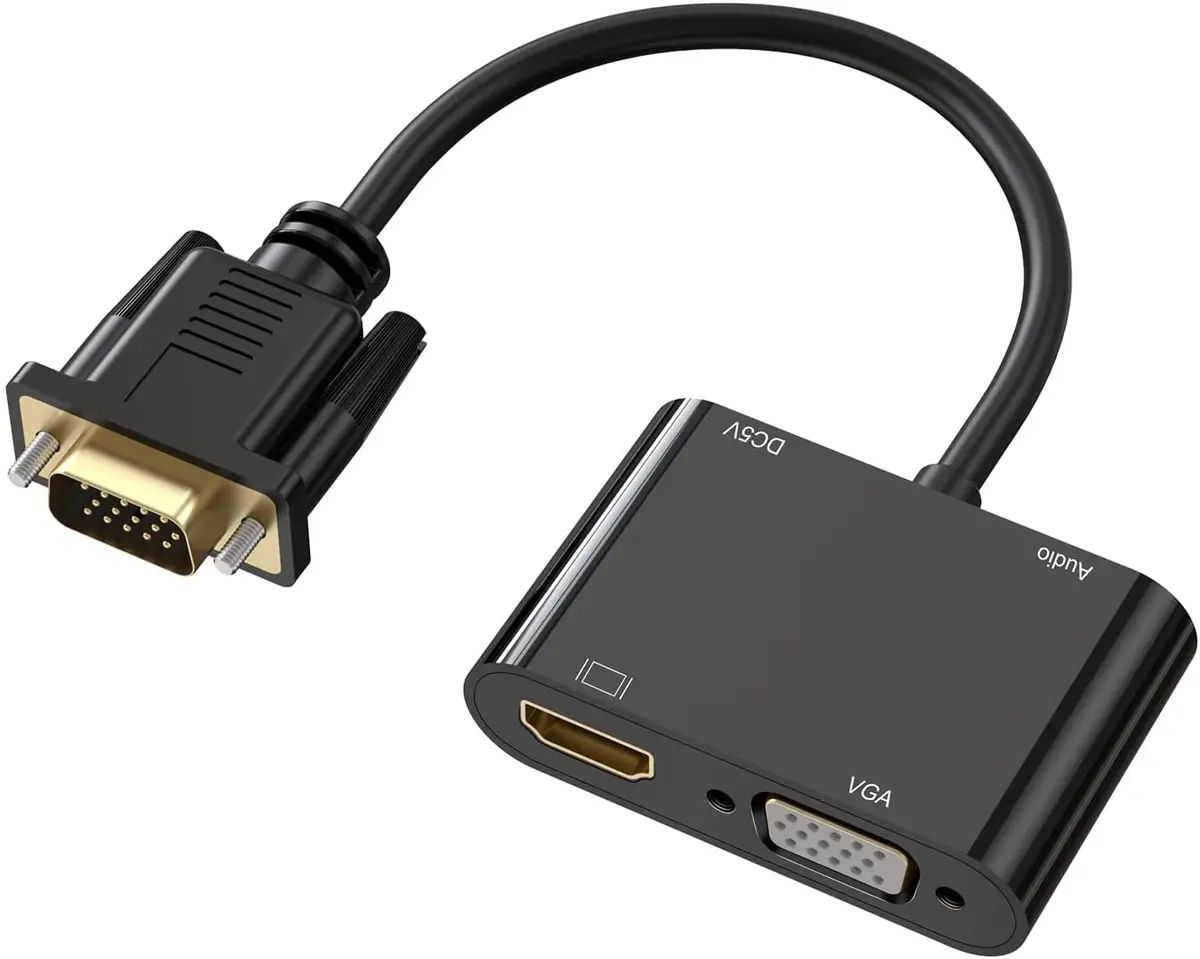
- Gather additional cables (if needed): In some cases, you might require an HDMI-to-VGA or HDMI-to-DVI adapter if your laptop or monitor only supports those types of connections. If needed, make sure you have the appropriate adapter before proceeding.
By ensuring that your laptop and PS4 have the necessary ports and any additional cables or adapters, you can prevent any compatibility issues and make the connection process much smoother.
Step 2: Get the necessary cables
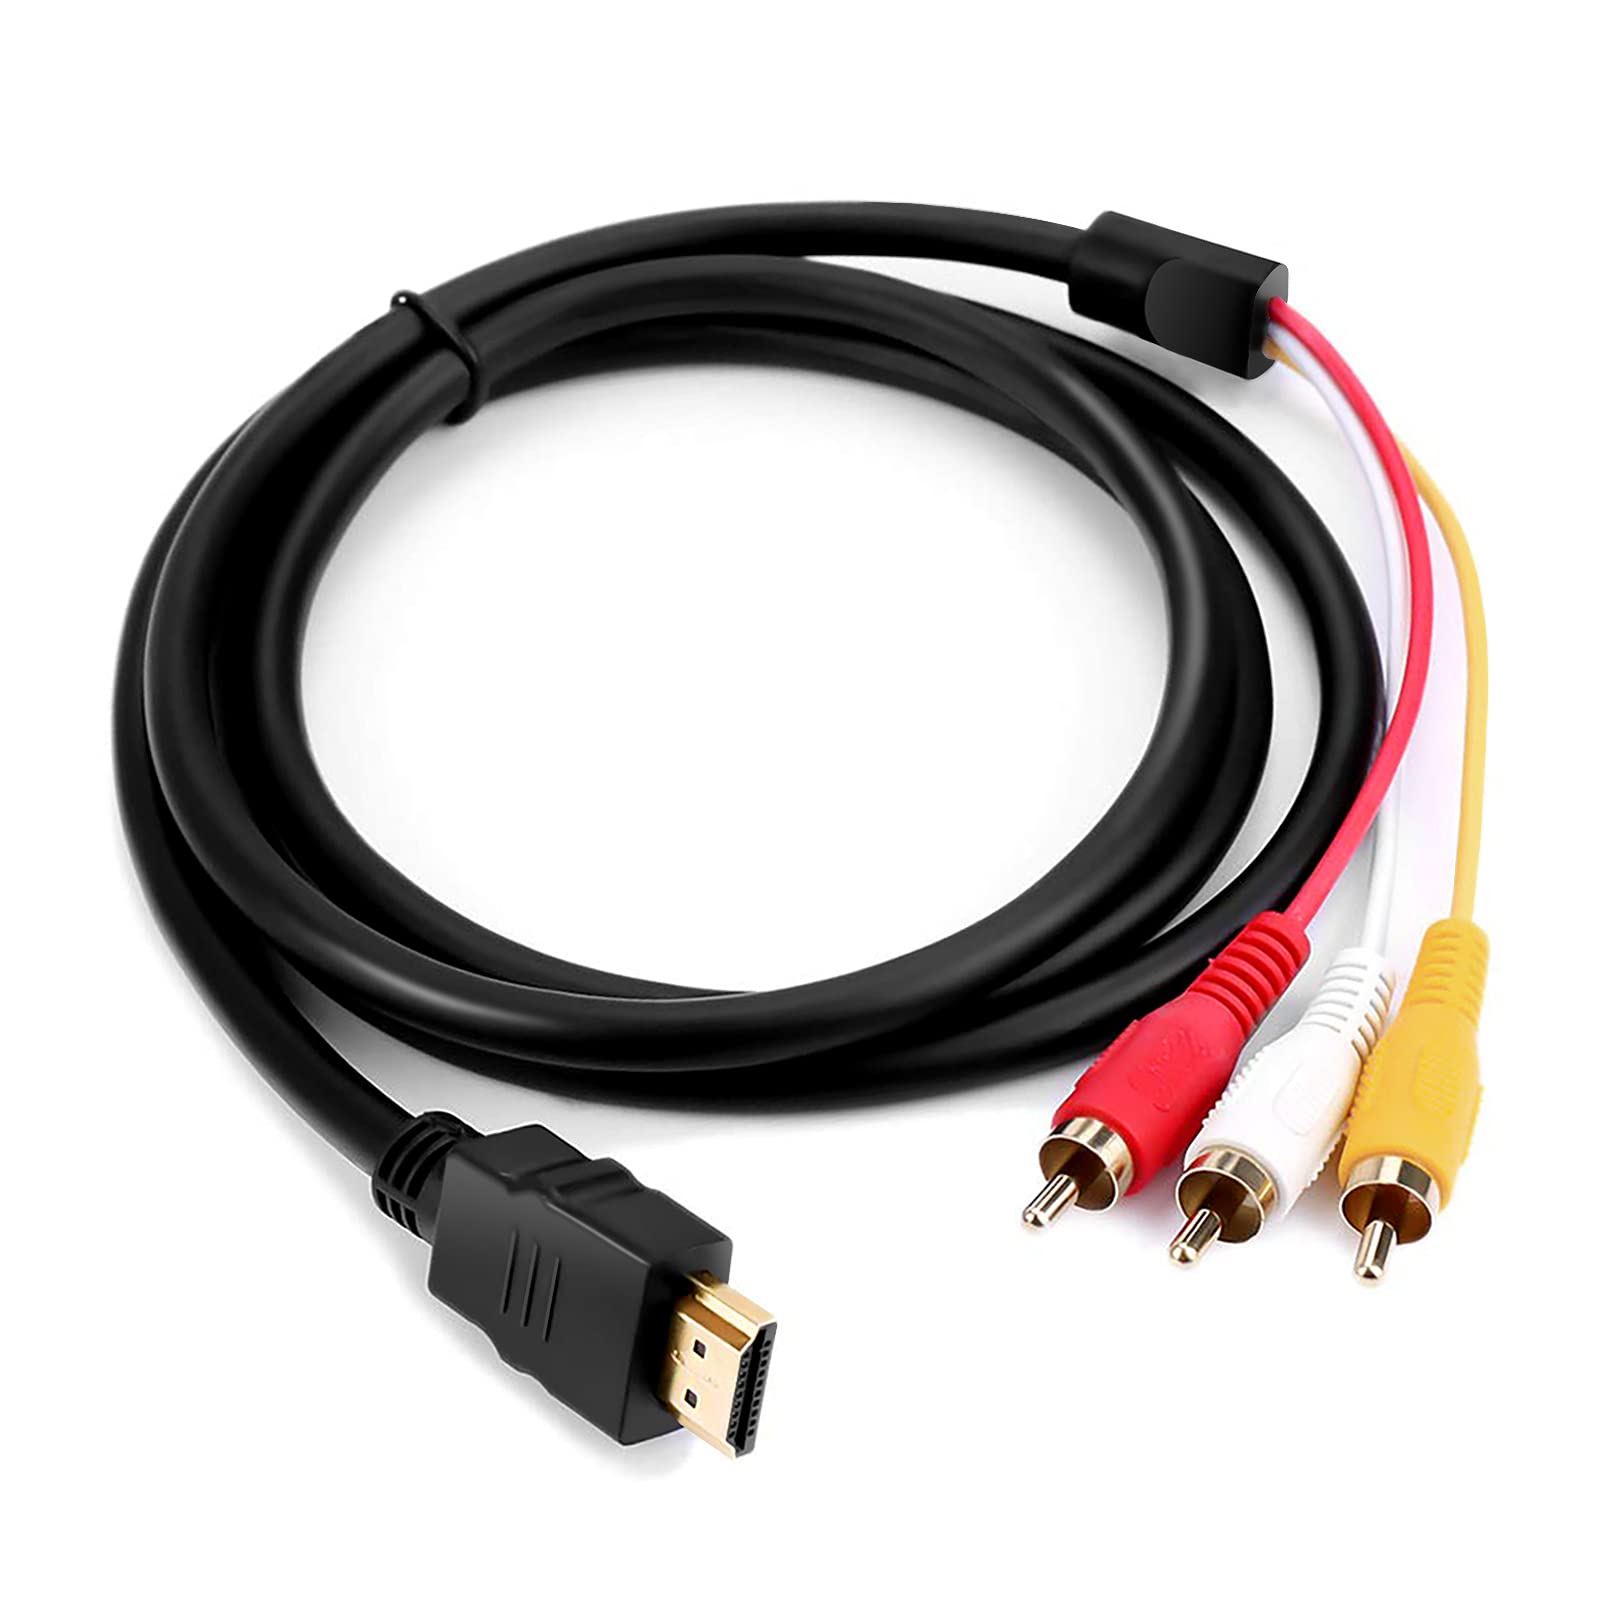
Once you have confirmed that your laptop and PS4 console are compatible, the next step is to gather the necessary cables. To connect your PS4 to a laptop, you will need an HDMI cable. Here’s how to get the right cable:
- Check the HDMI version: The HDMI cable you choose should be compatible with both your laptop and the PS4 console. Most modern laptops and PS4 consoles support HDMI 1.4 or newer versions, which provide high-definition video and audio output. However, if you have an older system, ensure that the HDMI cable supports the appropriate version.
- Determine the cable length: Consider the distance between your laptop and the PS4 console. Measure the distance and choose an HDMI cable that is long enough to connect the two devices without any strain. Remember, it’s better to have a slightly longer cable than one that is too short.
- Quality matters: Opt for a good-quality HDMI cable to ensure clear and reliable transmission of audio and video signals. While you don’t need to spend a fortune, investing in a cable from a reputable brand will minimize the chances of any connectivity issues or signal loss.
Once you have the necessary HDMI cable, you are now ready to proceed with the next steps and connect your PS4 to the laptop.
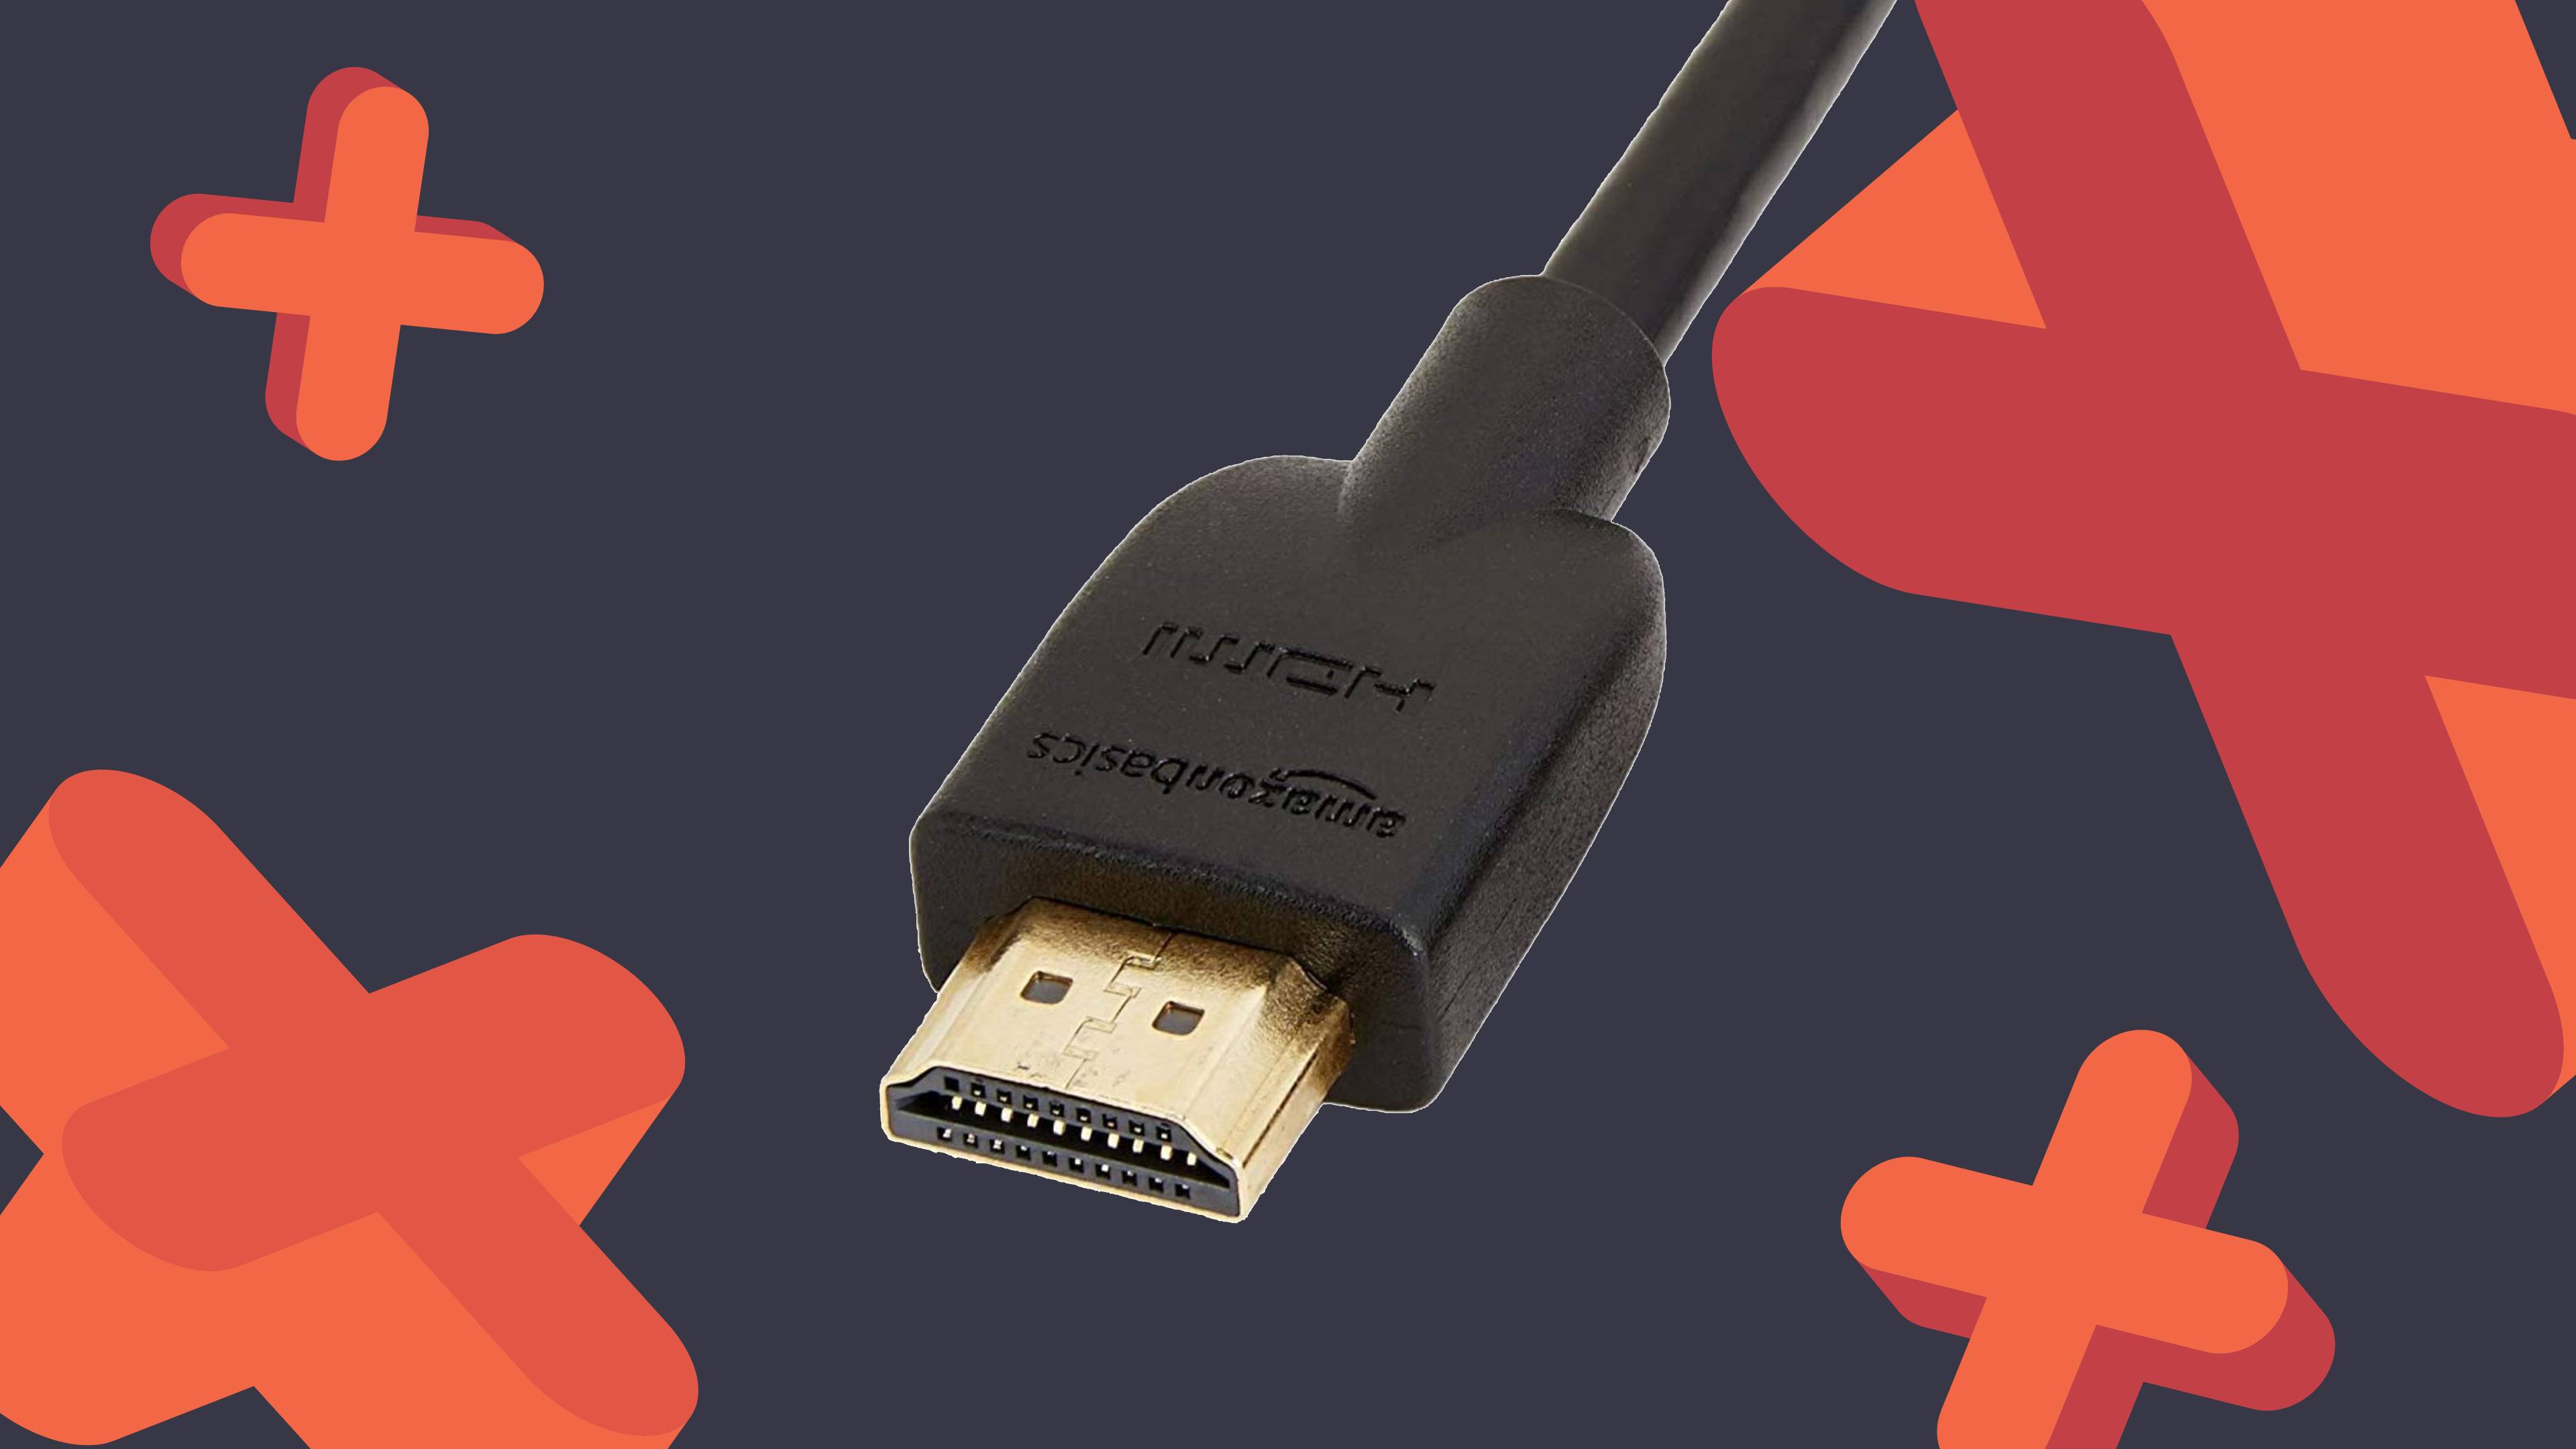
Step 3: Connect the HDMI cable to the laptop
With the required HDMI cable in hand, you can now move on to connecting it to your laptop. Follow the steps below:
- Locate the HDMI port on your laptop: Look for the HDMI output port on your laptop. It is usually located on the side or back of the device. The HDMI port is rectangular in shape and has multiple pins inside.
- Insert one end of the HDMI cable: Take one end of the HDMI cable and firmly insert it into the HDMI output port on your laptop. Ensure that the connection is secure, as a loose cable may cause signal problems.
- Note: Depending on the laptop model, you may need to adjust a locking mechanism or tighten screws to secure the HDMI cable in place.
By connecting the HDMI cable to your laptop, you have completed the first part of the setup process. The next step is to connect the other end of the HDMI cable to your PS4 console, which we will cover in the following step.
Step 4: Connect the other end of the HDMI cable to the PS4
Now that you have successfully connected one end of the HDMI cable to your laptop, it’s time to connect the other end to your PS4 console. Here’s how:
- Locate the HDMI input port on your PS4: Look at the back of your PS4 console and find the HDMI input port. It is typically labeled “HDMI” and is similar in appearance to the HDMI port on your laptop.
- Insert the remaining end of the HDMI cable: Take the other end of the HDMI cable and firmly insert it into the HDMI input port on your PS4. Ensure that the connection is secure and snug.
- Verify the HDMI input source on your PS4: Once the HDMI cable is connected, turn on your PS4 console and navigate to the settings to confirm that the HDMI input source is selected. This ensures that the console detects the laptop signal and displays it on your laptop screen.
By completing this step, you have successfully connected your PS4 console to your laptop using the HDMI cable. The next steps involve adjusting the display settings on your laptop to ensure a seamless gaming experience, which we will cover in the following step.
Step 5: Set the laptop to detect the PS4
After connecting the HDMI cable to both your laptop and PS4, you need to set your laptop to detect the PS4 as an external display. Here’s what you need to do:
- On your laptop, navigate to the display settings: Go to the “Display Settings” or “Graphics Settings” on your laptop. You can usually access these settings by right-clicking on the desktop and selecting the appropriate option from the drop-down menu.
- Identify the external display: In the display settings, you should see a list of detected displays. Look for the name or model of your PS4 console in the list. If you don’t see it, click on the “Detect” button to search for the external display.
- Select the PS4 as the display: Once your laptop detects the PS4, select it as the display option. You may need to click on a checkbox or a radio button next to the PS4’s name to make it the primary display.
- Configure display options (if needed): Depending on your laptop’s settings, you may have additional options to adjust the screen resolution, orientation, or other display settings for the PS4. Customize these settings according to your preferences.
By setting your laptop to detect the PS4 as an external display, you are now ready to optimize the display settings and start enjoying your PS4 gaming experience on the laptop.
Step 6: Adjust display settings on the laptop
Now that your laptop has successfully detected the PS4 as an external display, it’s time to fine-tune the display settings to ensure optimal visual quality and smooth gameplay. Follow these steps to adjust the display settings on your laptop:
- Open the display settings: Go to the “Display Settings” or “Graphics Settings” on your laptop. This can usually be accessed through the Control Panel or the settings menu specific to your laptop’s operating system.
- Select the PS4 display: In the display settings, locate the option that corresponds to the connected PS4 display. Click on it to access the settings for that display.
- Configure the resolution: Adjust the screen resolution to match the native resolution of your laptop’s display. This ensures that the games are rendered at the optimal resolution and prevent any stretching or distortion.
- Set the display mode: Choose the appropriate display mode, such as extended display, duplicate display, or second screen only, based on your preference and how you want the PS4 output to appear on your laptop.
- Enable gaming mode (optional): Some laptops have a gaming mode or a dedicated display mode for gaming. If available, enable this mode to enhance the display performance and reduce input lag during gameplay.
- Save and apply the settings: Once you have adjusted the display settings according to your preferences, save the changes and apply them. Your laptop will now optimize the display for the connected PS4.
By adjusting the display settings on your laptop, you can ensure a visually appealing gaming experience with the proper resolution, display mode, and any additional gaming enhancements your laptop offers.
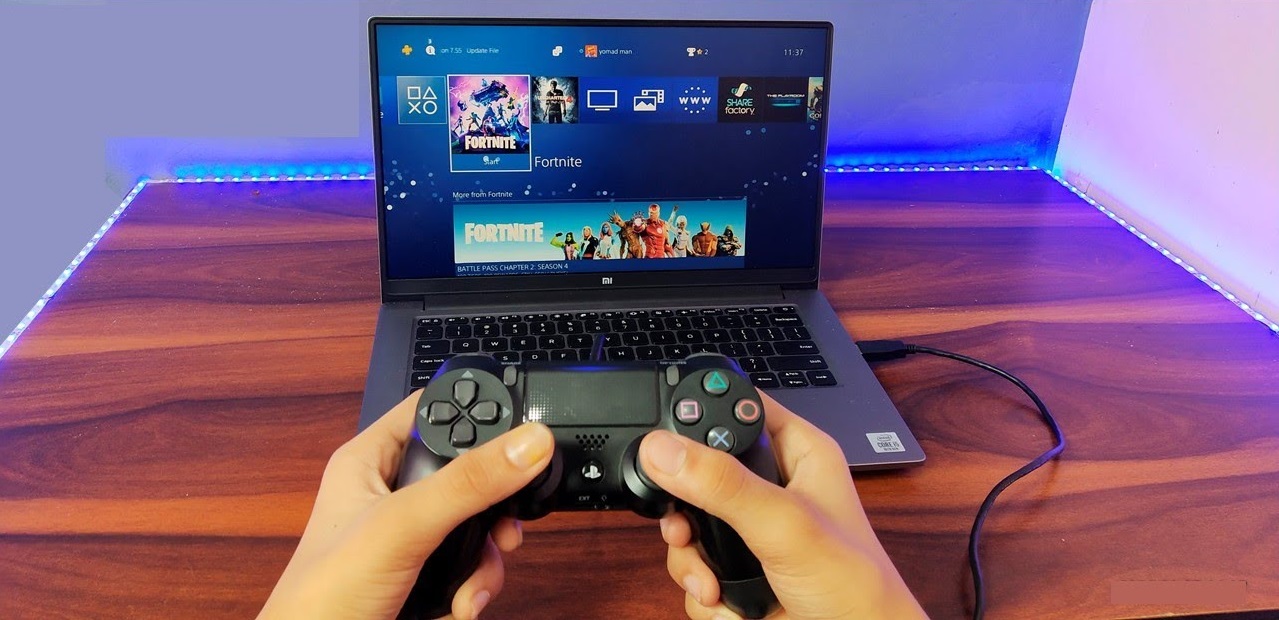
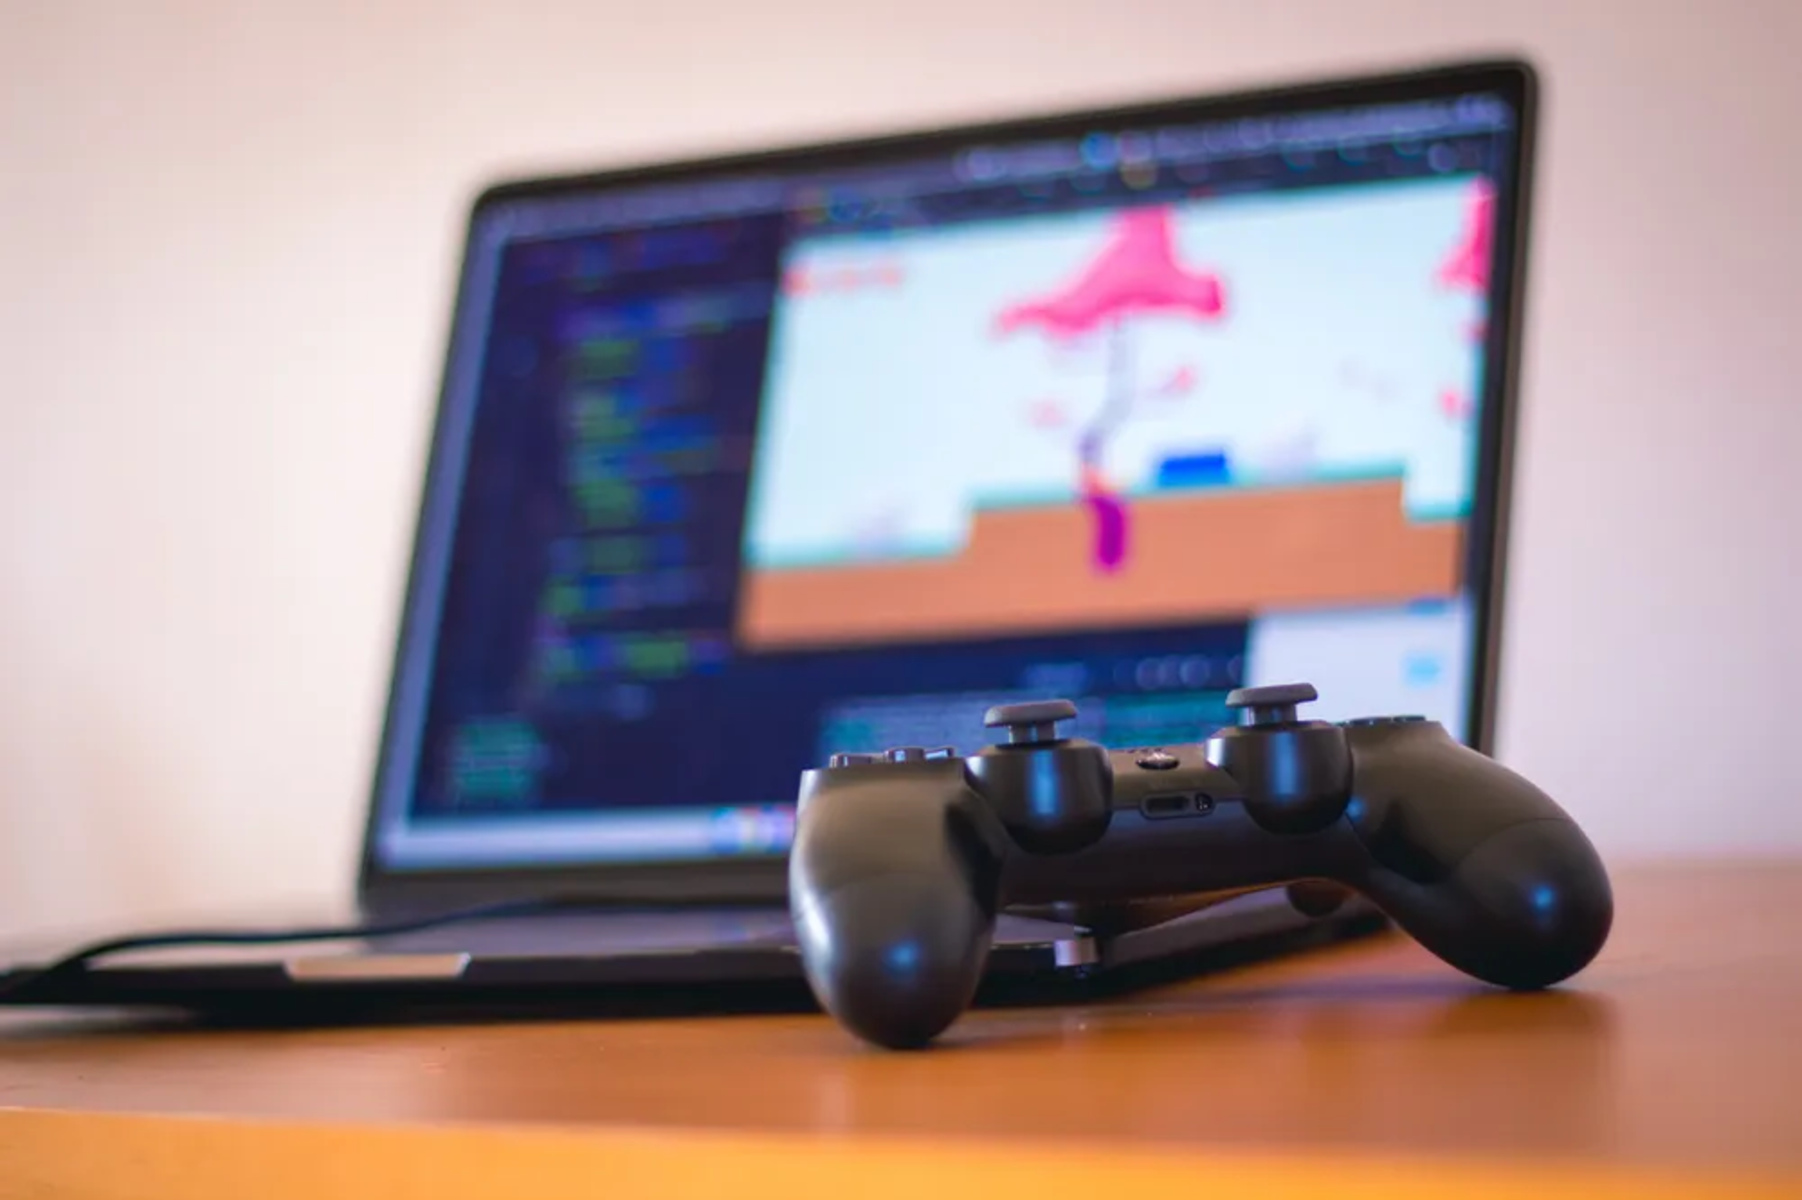
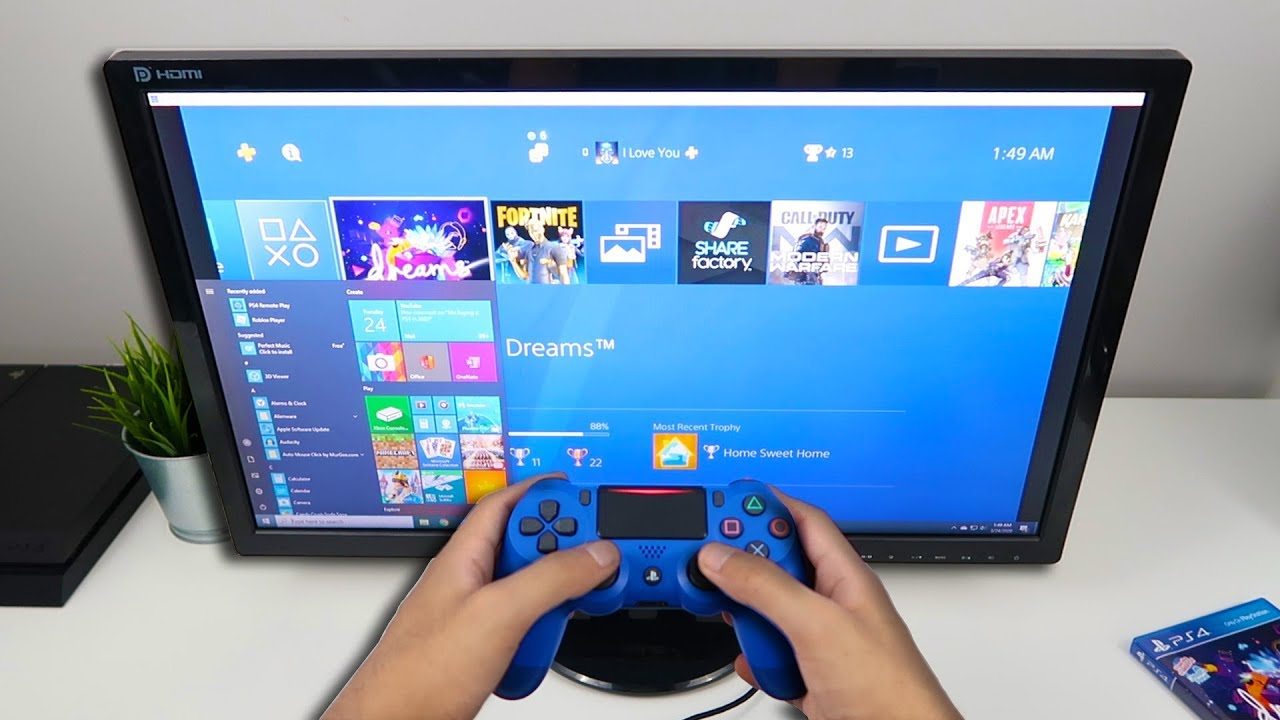
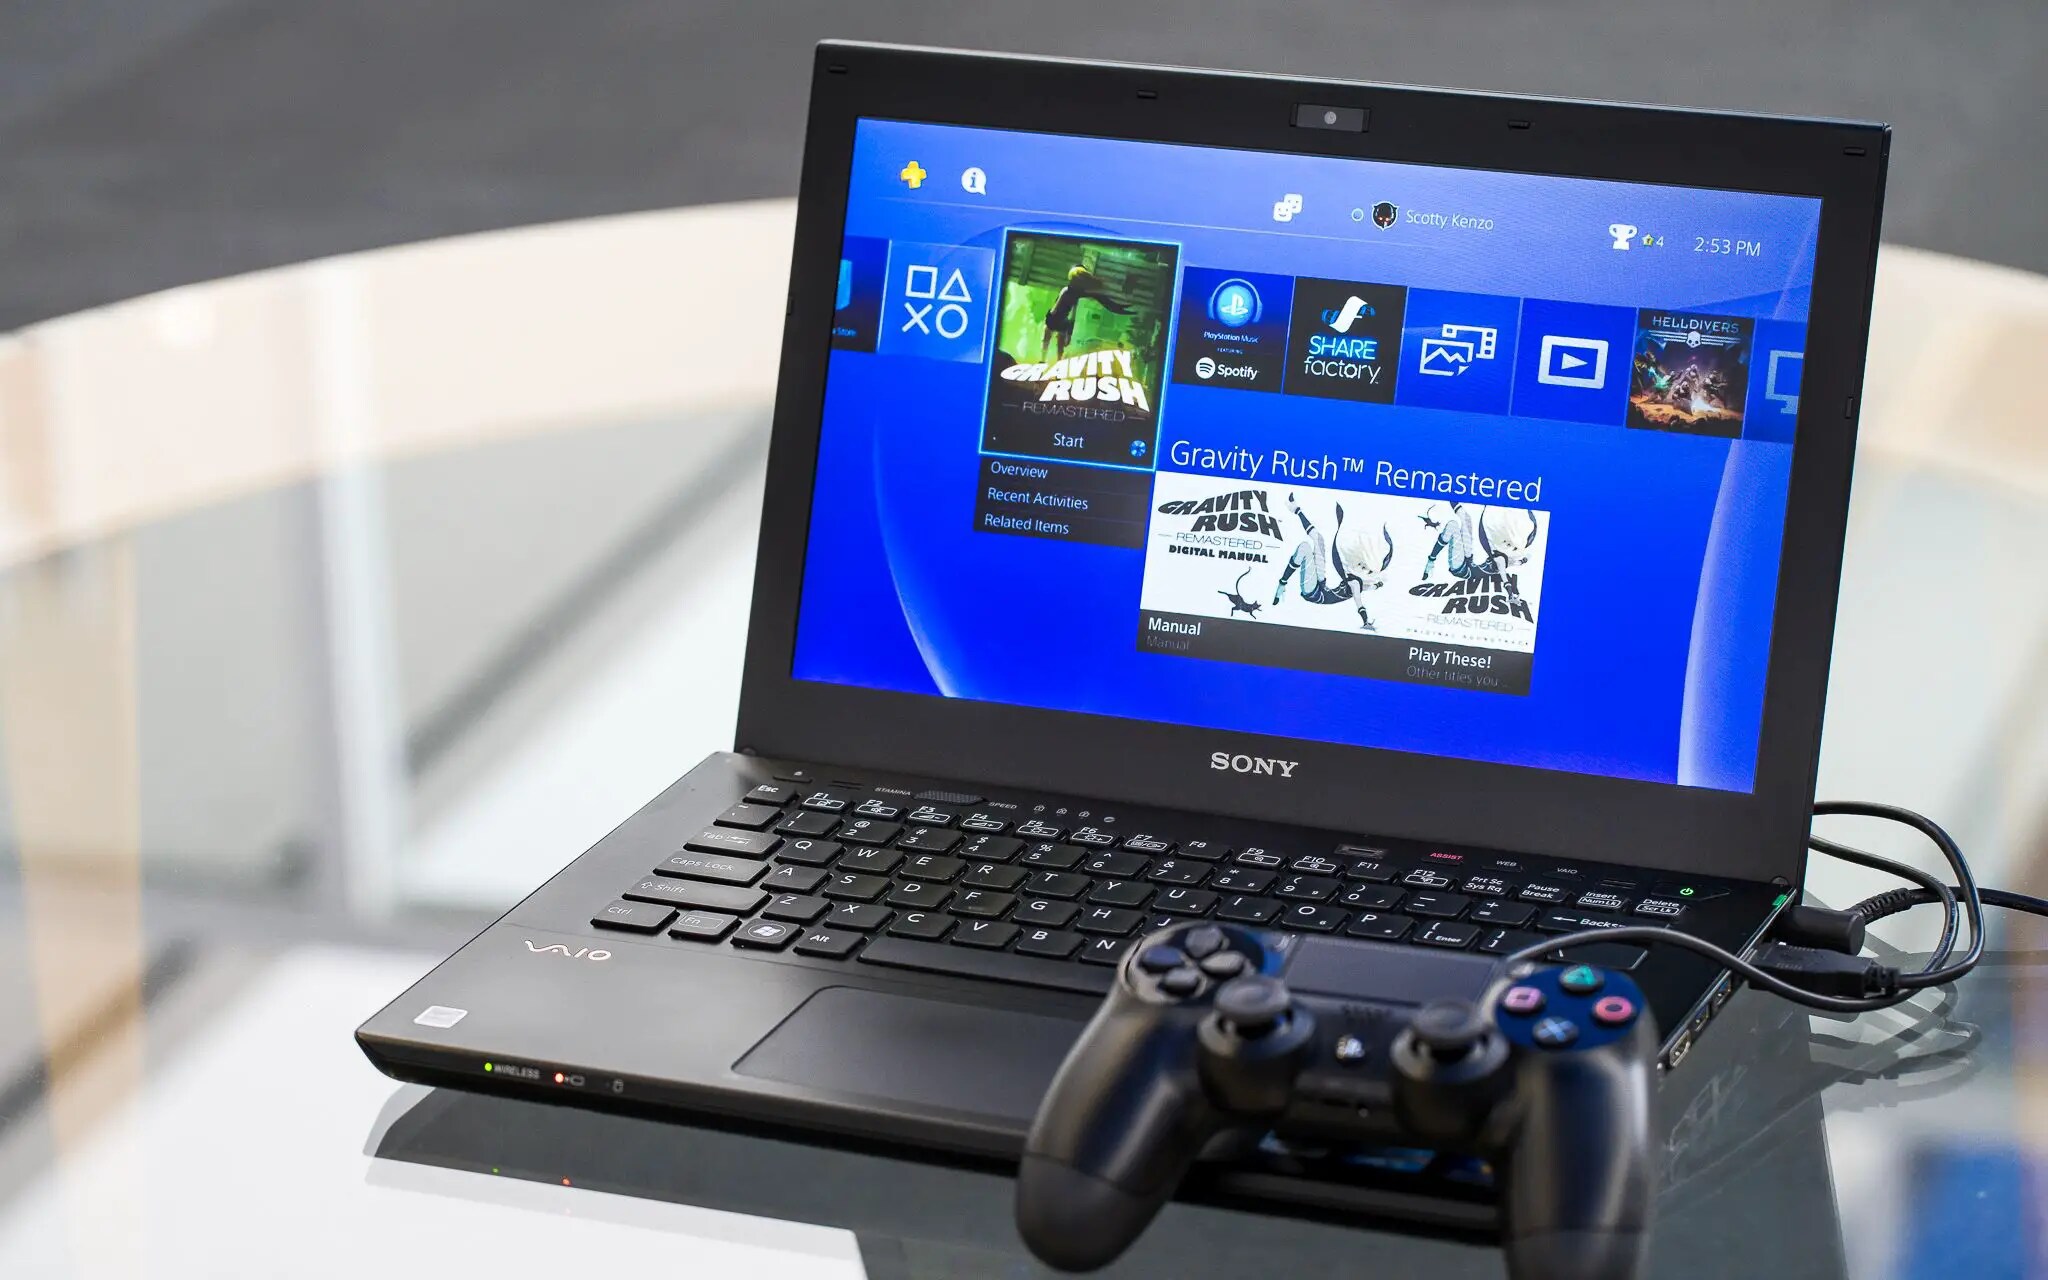
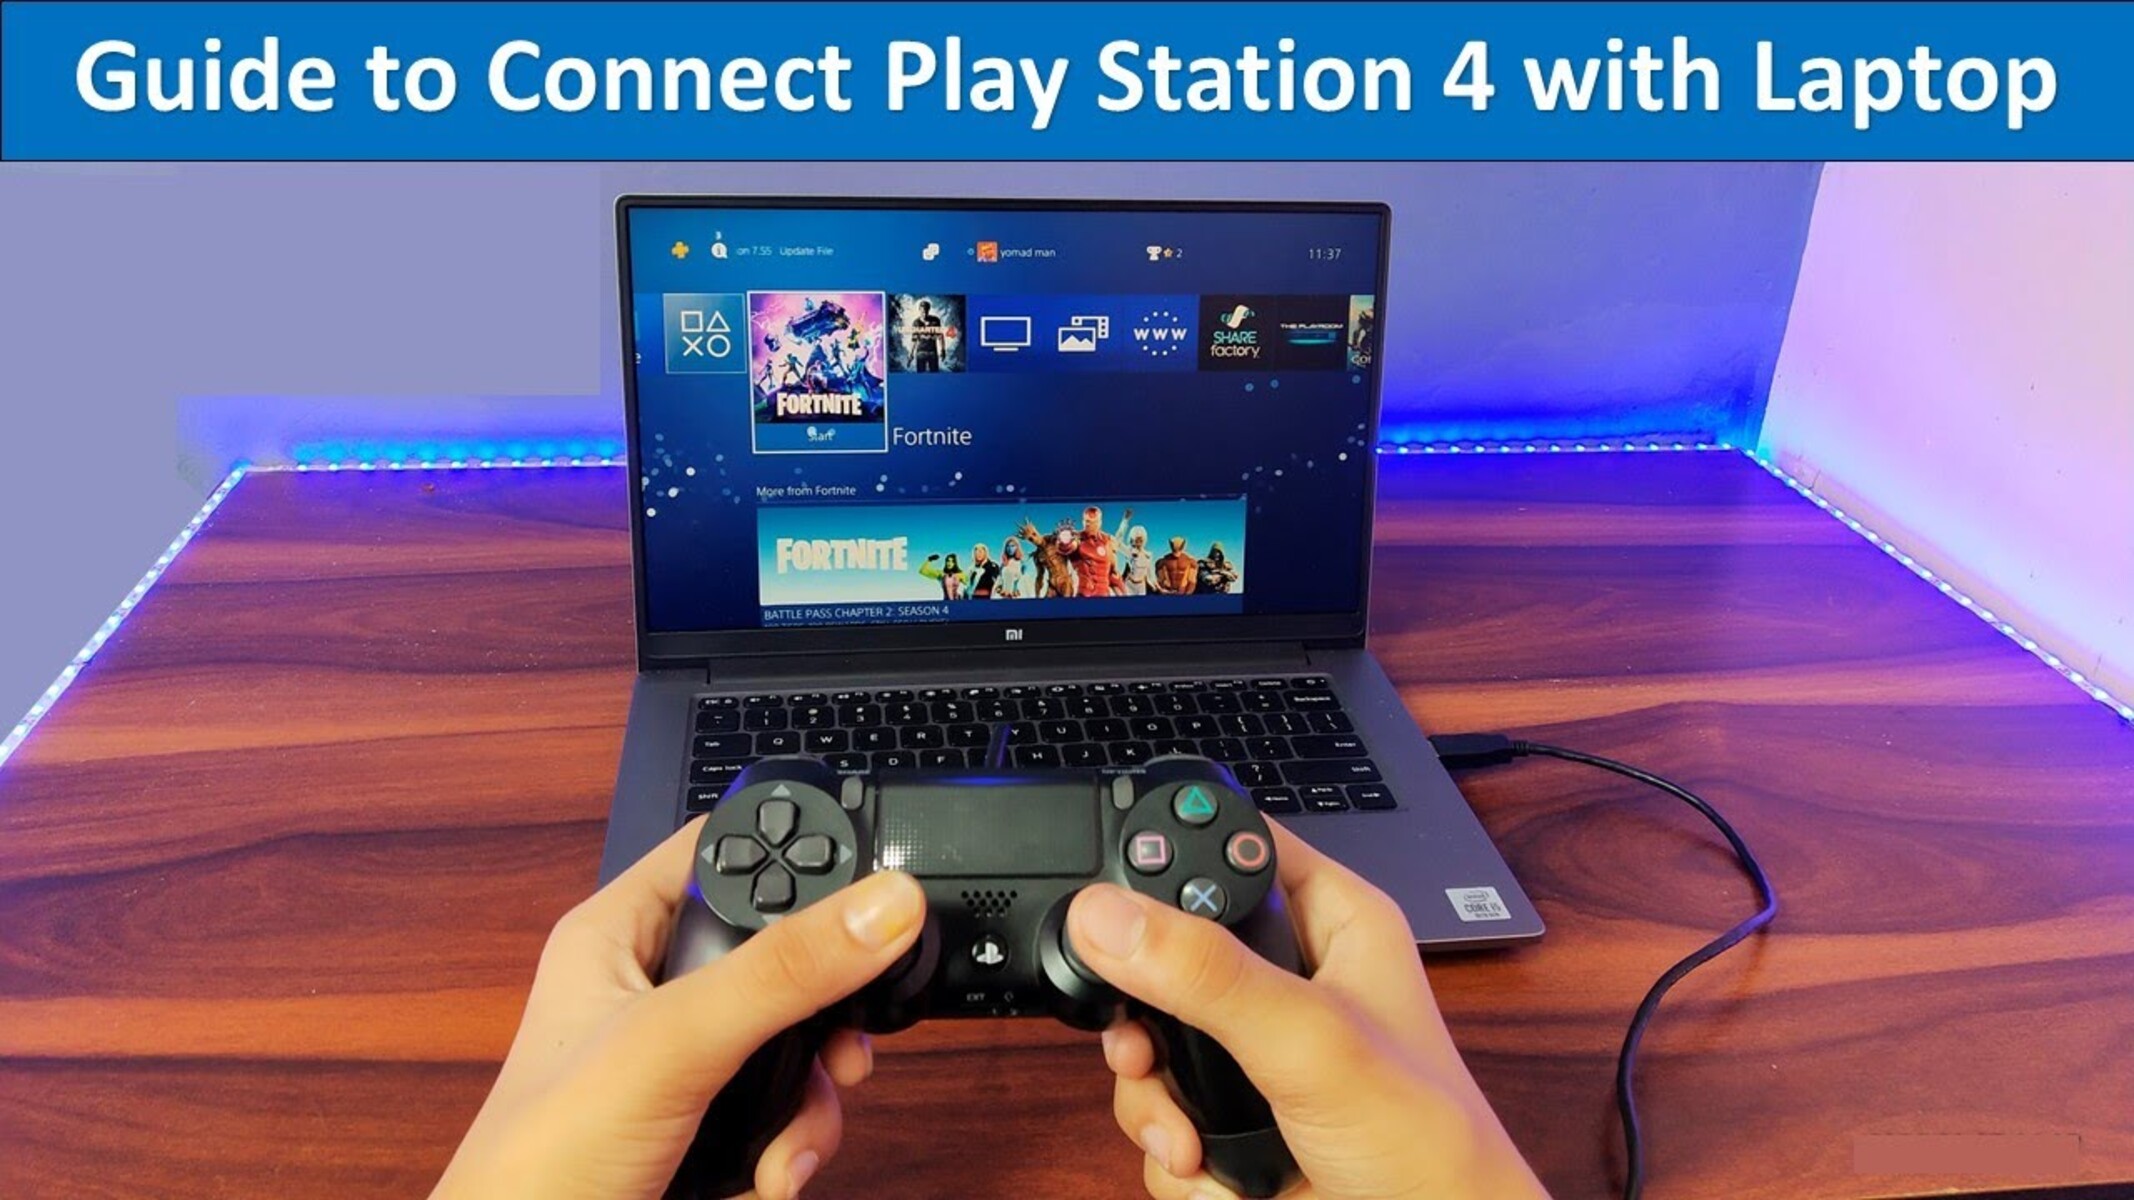
Step 7: Start playing your PS4 on the laptop
With all the necessary connections and display settings in place, you are now ready to start playing your PS4 games on your laptop. Follow these final steps to begin your gaming session:
- Turn on your PS4: Make sure your PS4 console is powered on and ready to use.
- Switch to the laptop display: On your laptop, ensure that the display is set to show the PS4 output. If needed, press the appropriate key combination (e.g., Windows key + P on Windows laptops) to switch to the PS4 display.
- Launch the game: Locate the game you want to play on your PS4, and launch it as you would normally.
- Enjoy your gaming experience: Once the game launches, you’ll see it displayed on your laptop screen. Use your PS4 controller to navigate and play the game, just as you would on a regular TV.
- Adjust audio settings (if needed): If the audio is not playing through your laptop speakers or headphones, make sure to configure the audio output settings on your PS4 to route the sound to the correct device.
Now you can fully immerse yourself in your PS4 games on the larger screen of your laptop. Sit back, relax, and enjoy your gaming session!
Conclusion
Connecting your PS4 to your laptop using an HDMI cable opens up a whole new world of gaming possibilities. Whether you want to play games on a larger screen, take advantage of your laptop’s portability, or simply enjoy a different gaming setup, this guide has provided you with the necessary steps to make it happen.
By checking the compatibility of your laptop and PS4, gathering the required cables, and connecting them properly, you can establish a seamless connection. Setting your laptop to detect the PS4 as an external display and adjusting the display settings ensure optimal visual quality and a smooth gaming experience.
Remember to experiment with audio settings as well, ensuring that the sound is routed to the appropriate device for an immersive gaming experience. Once everything is set up, you can start playing your favorite PS4 games on the screen of your laptop.
Whether you’re gaming on the go or simply want a change of scenery, connecting your PS4 to your laptop gives you the flexibility to enjoy your games in a whole new way. So, grab your laptop, connect your PS4, and let the gaming begin!